DIY Easy Bathroom Tile Wall
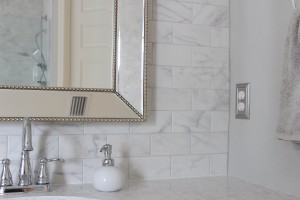
I probably say after each project I complete that it’s my favorite project to date. But you guys, seriously this one is my favorite. I always love me a good feature wall because they yield a large impact for a small cost and I couldn’t wait to do this feature wall in our master bathroom. Believe it or not, I’ve been dreaming of a marble tile wall in my bathroom long before we moved into our new house. This photo by Emily Hewett (A Well Dressed Home) has been tattooed on my brain since the first time I laid eyes on it.
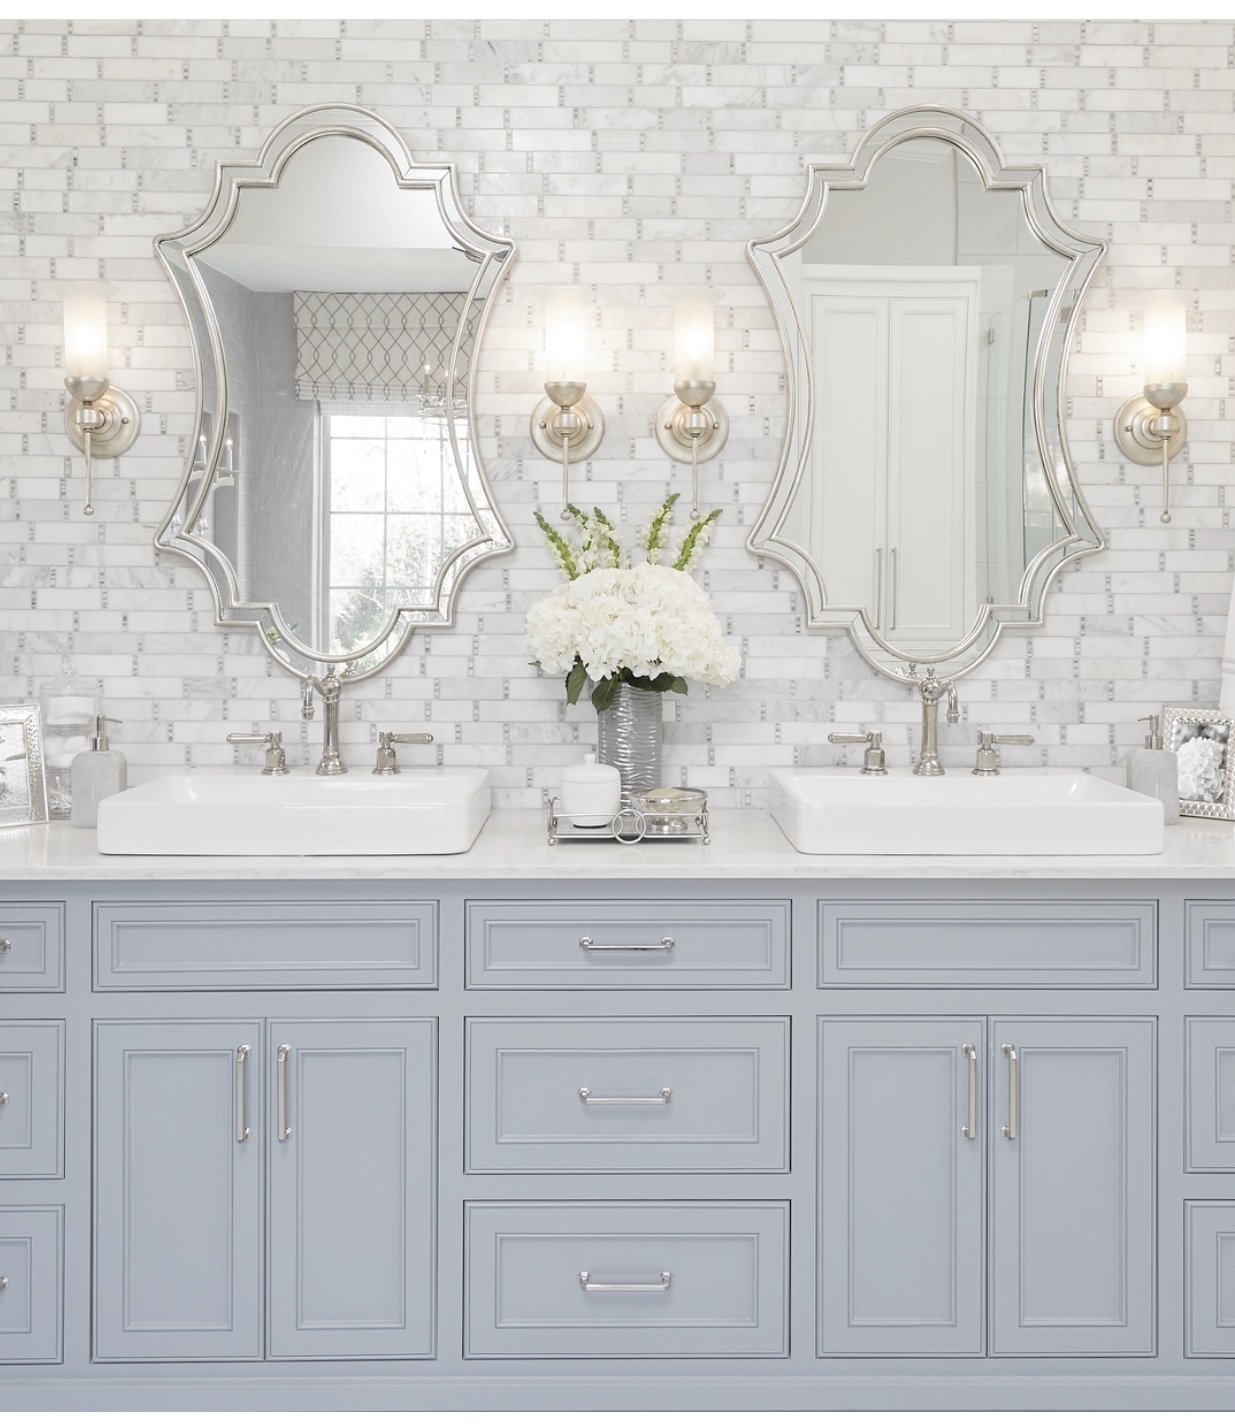
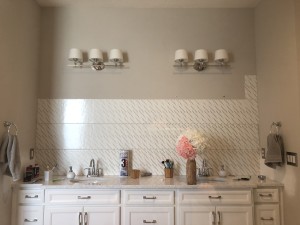
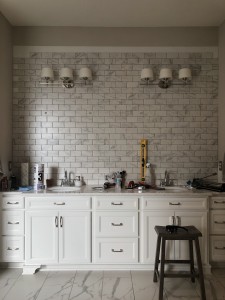
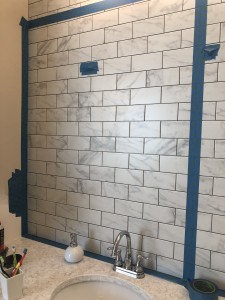
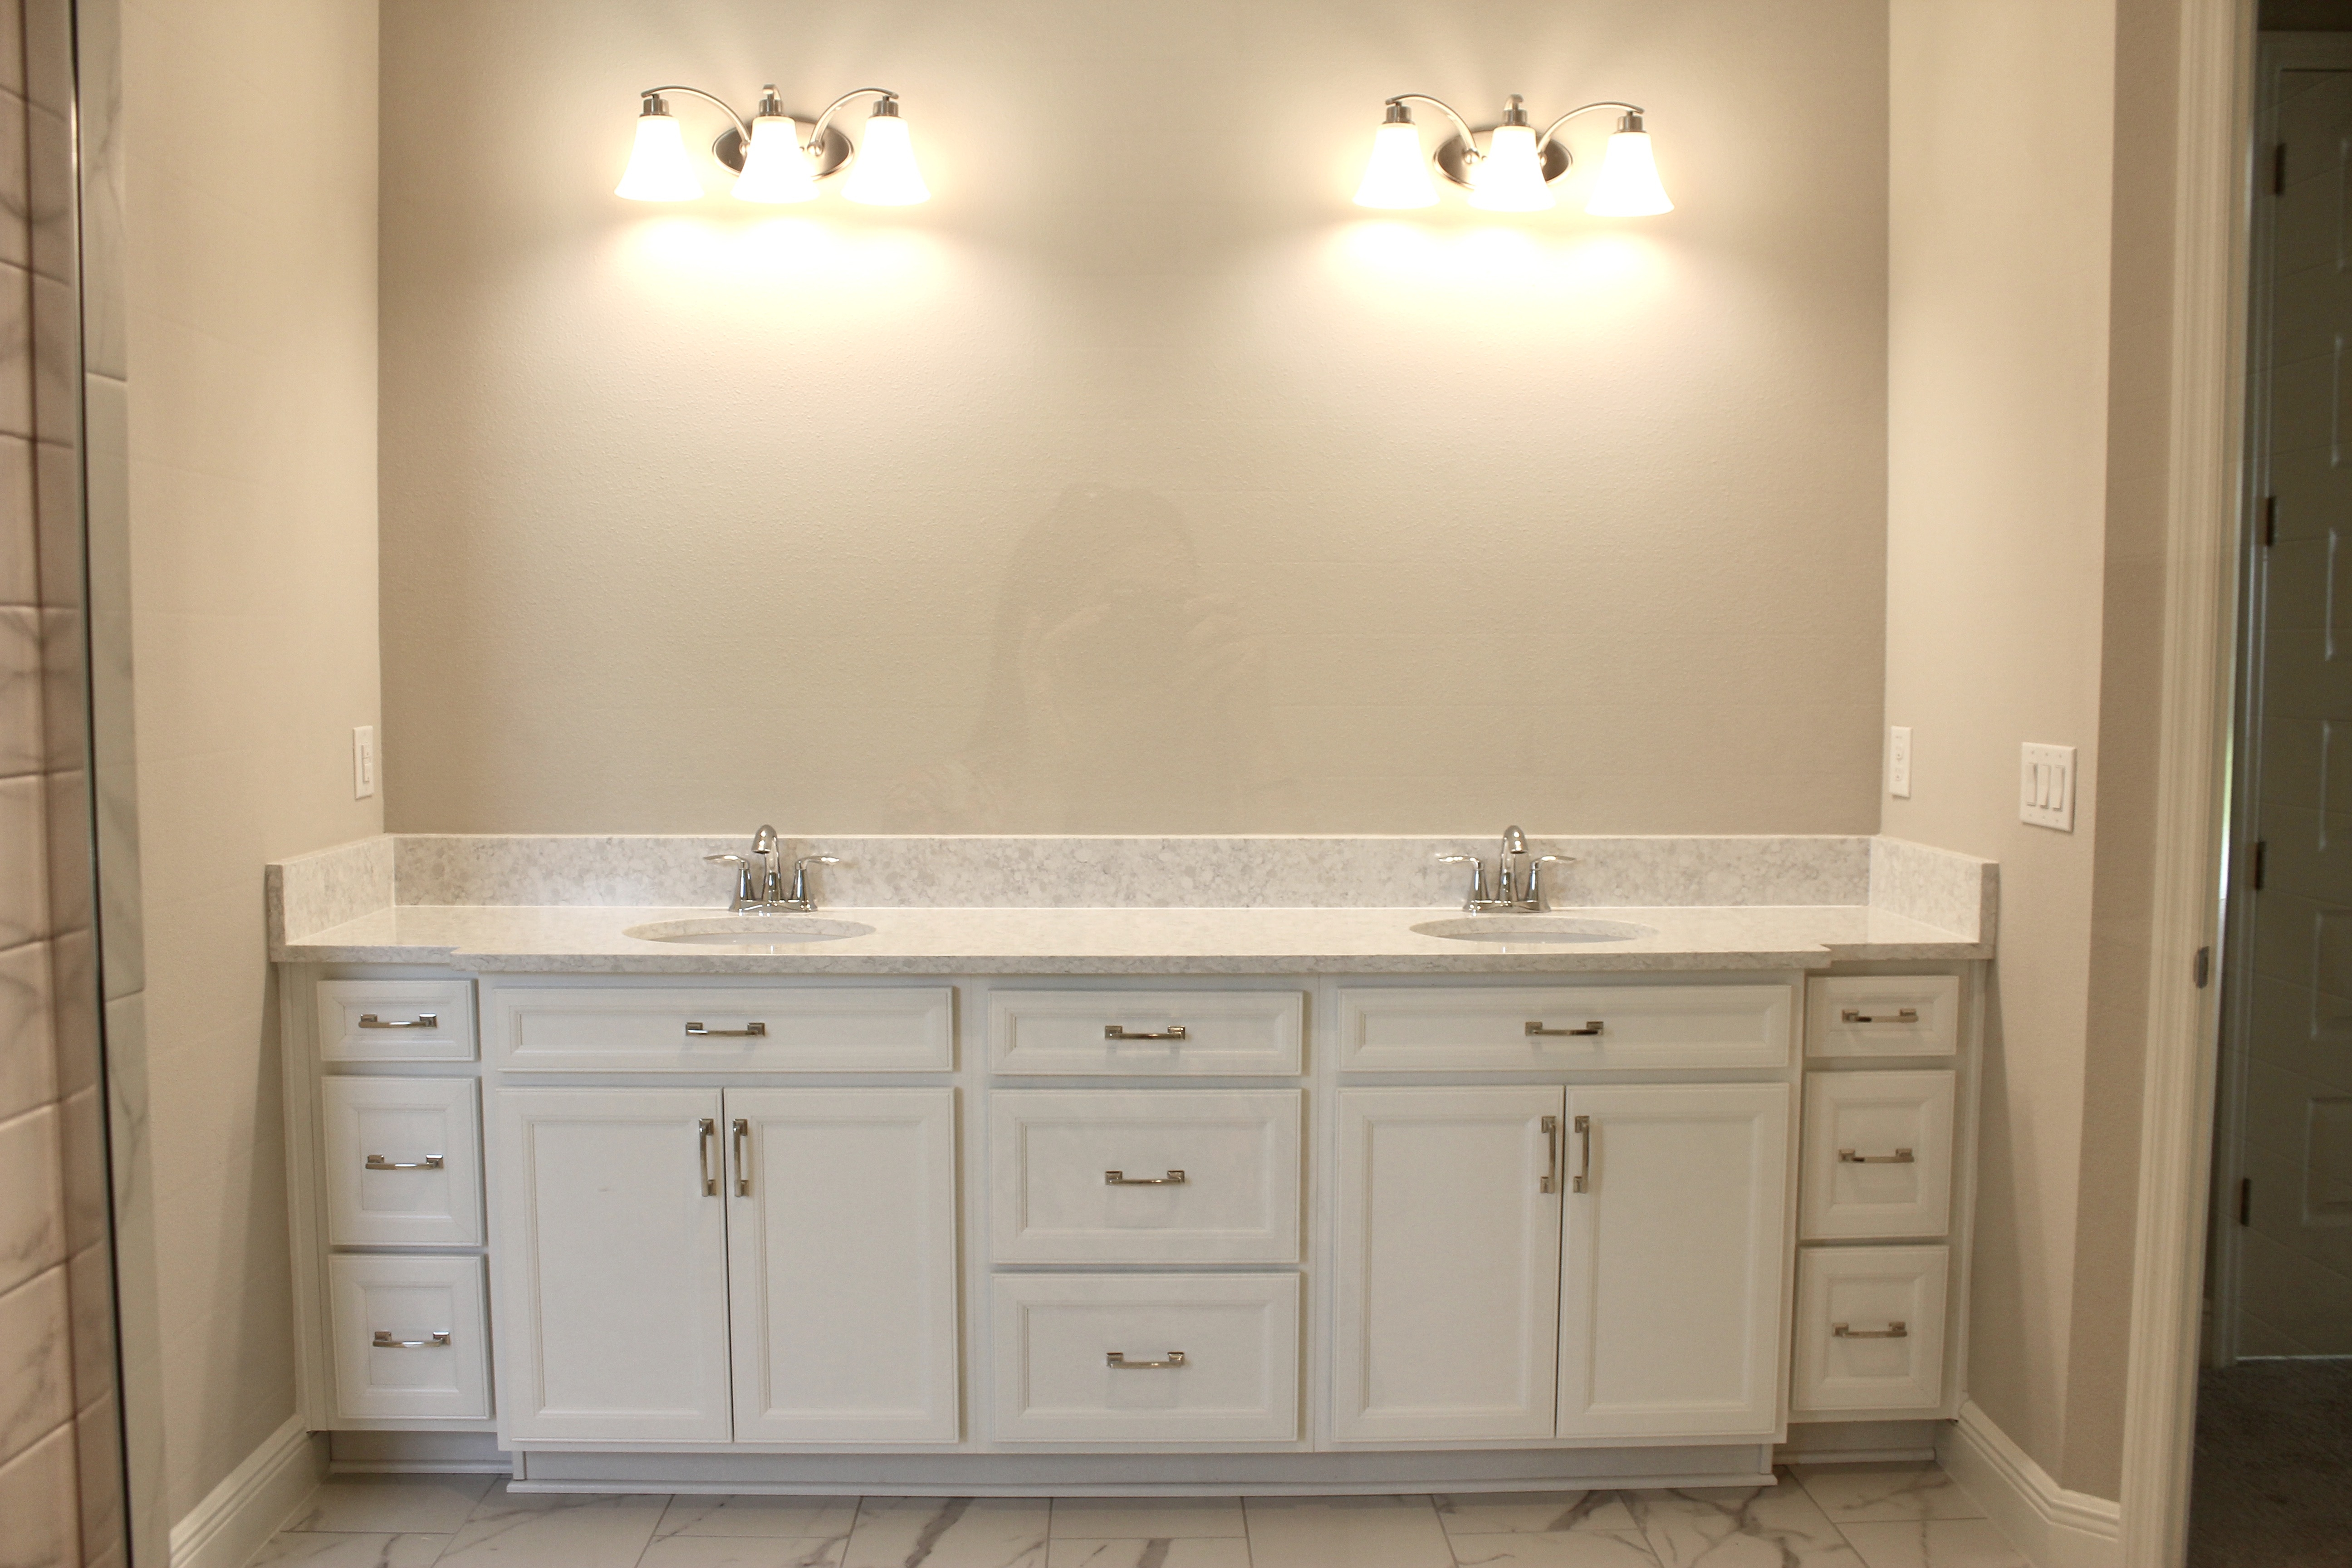
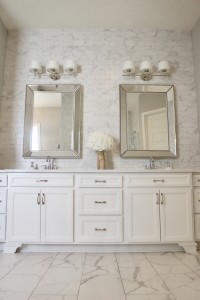
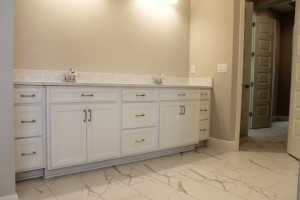
I could just stare at that gorgeous space all day. So I was determined to do the best I could recreating it in our new home. I know when it comes to tile jobs, that I will ALWAYS use this tile tape alternative to mastic like I did in our last house when I did the backsplash. Here’s the vanity area in our bathroom that I started with.
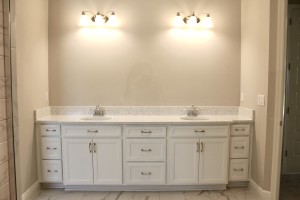
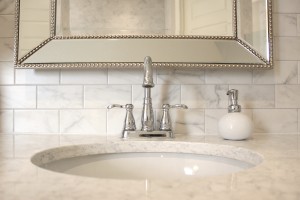
I designed the vanity cabinet layout with our builder and selected the countertops and hardware as well. I accepted the “standard” faucets and light fixtures with the builder knowing I would replace them both later. I also chose to leave off the builder grade mirror that spanned from wall to wall above the vanity.
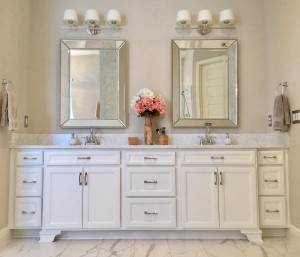
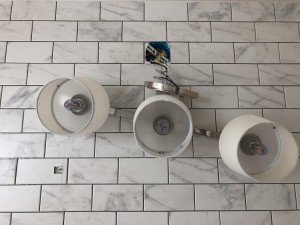
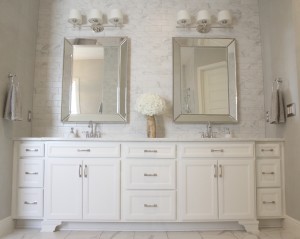
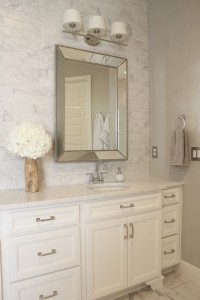
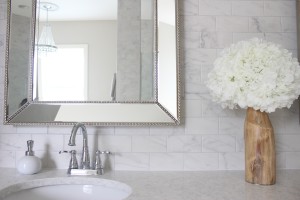
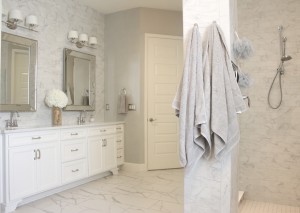
After a gorgeous pair of new mirrors, custom vanity “feet” added to the bottom of the cabinets, and new light fixtures here is what I had. Pretty close to my vision! But I just knew the tile wall would complete it perfectly. And I knew I wanted to use the same tile that is in our shower so that everything matched. Let me take you through the process of how I easily tackled it!
Materials Needed for Tile Wall:
- This double-sided tile tape AKA the MAGIC
- Ceramic tile of your choice. This is the tile I used in 150 carrara and can be purchased through any local Shaw Flooring Retailer. (It’s a much cheaper and easier to work with alternative to real marble.)
- 14″ ceramic tile cutter
- tile nippers for any unique cuts
- tile spacers
- grout
- grout float
- grout sponge
- caulk
**For reference my wall is 9’x7′ or approximately 63 square feet and I purchased 11 cases of tile which cost approximately $360. Plus the 4 rolls of tape I used were $100. This project cost me roughly $460 in materials.**
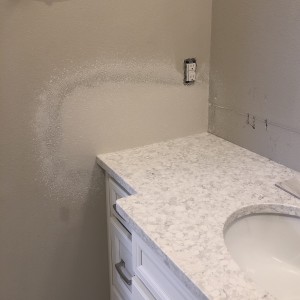
Step 1: Remove countertop backsplash
This is an optional step, but I decided to remove mine by scoring the seams with a razor knife and using a flat head screwdriver and hammer to pry them off myself. There was a pretty decent sized gap between the wall and the countertop on each side where I would not be placing tile. The back wall gap was insignificant since tile would be covering it anyway. I had my drywall guy do a graded wall patch to hide the gaps.
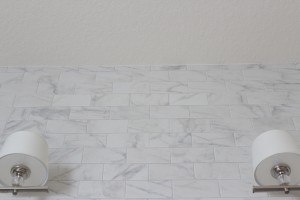
Step 2: Roll double-sided tape to wall
This is the magic ingredient you guys. That’s right, there’s NO messy mastic you have to mix up and evenly smear all over the wall. It’s tiling made easy! Just roll and stick. I’ve used this product before in our old home on my DIY backsplash and it worked perfectly. Once you use this stuff, you’ll see tiling in a whole new light and never use mastic again.
For my wall (that is approximately 9′ wide by 7′ tall) I used 4 rolls. My walls are textured and there was no prep work needed to the walls. It sticks to texture great. I lined up each row as close as possible, but small gaps are fine. This stuff is incredibly sticky.
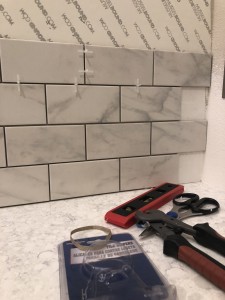
Step 3: Stick the tile on
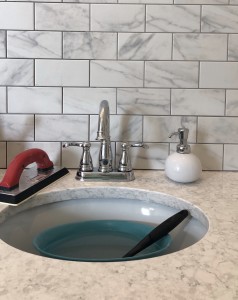
There’s a paper backing on the tape that you peel off once you’re ready to apply. Then it’s time to stick up your tile. I used 1/16″ spacers and also left a 1/16″ space between the countertop and the first row of tile.
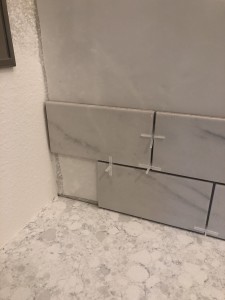
You can readjust your tile if you stick it in the wrong place. Just peel it off and stick again. I don’t press down with any pressure until I’m 100% sure it’s in the right spot. In fact, I LIGHTLY stick all of my tiles up and then go back after every 4th row and press down everything at once with pressure.
Step 4: Make cuts
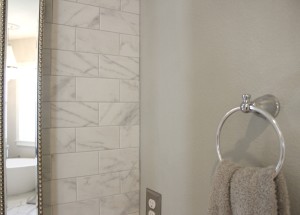
I lucked out with the edges of the wall where I only needed half pieces every other row. I used my manual tile cutter to SCORE and SNAP each piece for my cuts.
Something to keep in mind with the score and snap cutter method is that it cannot cut off less than 1/2″. If you need less than that cut off you may need a wet saw, or you can have a place like Lowe’s cut your tile for free.
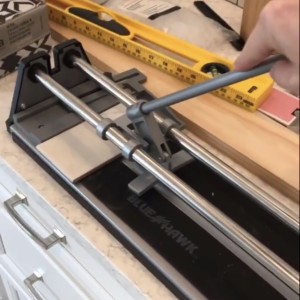
My instagram story highlights have video of me scoring and snapping the tile, but it’s a pretty straightforward and easy to use tile cutter.
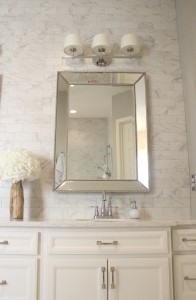
When it came to my mirrors, they were going to be hanging on top of tile now. I actually left the screw holes exactly in the wall where they were and cut the tile around them. (I also replaced the screws with ones that were slightly longer to accommodate the depth of the tile.)
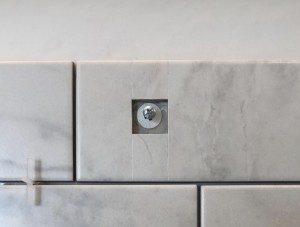
If you look closely, you can see that I actually cut the tile into 4 squares and pieced it back together like a puzzle around the screw, creating a box hole. An alternative method to do this to avoid the seams is to use a diamond bit on a drill to create an actual hole in the tile. I don’t have any diamond bits and wasn’t interested in purchasing one. In my mind, you will NEVER see this piece of tile (and many others) since the mirrors will always hang over it, and if I ever decide to change the mirrors in the future I will have to remove this entire piece of tile regardless of how the hole was cut.
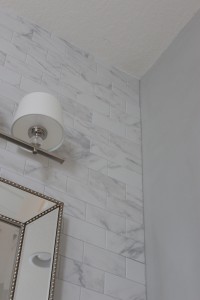
For the light fixtures, I turned the power off and unscrewed the fixture but left it completely wired. Again, I lucked out with the cuts here and only had to make one straight cut on one tile to create a box hole around the outlet. If you weren’t as lucky as me and had to make more difficult, or rounded, cuts and want to do them yourself, I recommend this pair of nippers. I actually purchased them anticipating to use them and didn’t have to. There’s a video of me demonstrating them on my instagram story highlight, but you can also watch this youtube video to see how to use them. OR, as I mentioned before, Lowe’s can make most cuts for you for free if you bring your tile to them with markings.
For the ceiling, I had to cut my tiles in half long ways. I used the same score and snap cutter method.
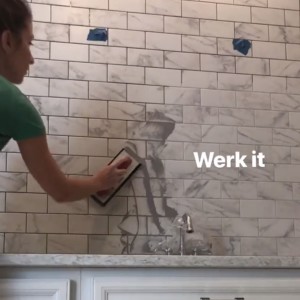
Step 5: Grout
I used grout that was left here from our builder. It’s a silver color and is UNsanded grout since the gaps are 1/16″. Larger gaps like 1/4″ require sanded grout usually.
I used a mixing bowl and spatula to mix the grout and water mixture according to the bag. Its supposed to be peanut buttery in consistency. I taped off the wall in 5-6 sections since grout is a time sensitive item and I wouldn’t be able to do the entire wall at once. I taped all around the edges, over the screw holes, outlets, and put a trash bag around my light fixtures. Grout is messy. Very very messy.
Once the grout is mixed up, I used this grout trowel to smear it on the wall. You literally work it in multiple directions making sure the cracks are completely filled. Going in diagonal angles is best.
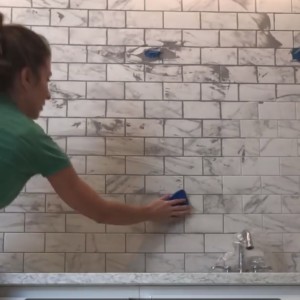
After you’ve smeared it in all the cracks, use the grout trowel to get off as much of the excess grout as possible. Then use a sponge to clean all the grout completely off. Keep cleaning your sponge with water and wiping again. And again. Until all the grout is off. Then I use my finger to smooth over every single crack to make sure they are clean and even.
Step 6: Caulk
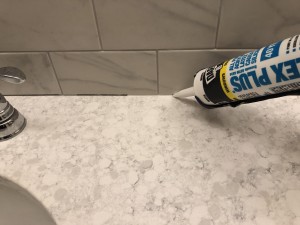
I let the grout dry overnight and woke up early the next morning to caulk all 4 sides of my wall. I used a white caulk to do the top and bottom and a gray caulk to do the sides since I am painting the walls gray. I use a thin line of caulk and just smear over it with my finger to create the smooth look.
Step 7: Admire!
Before:
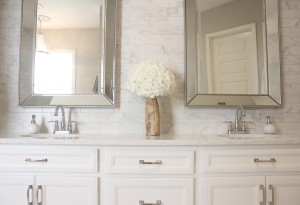
After!
Here’s another before shot when we closed on the home last August.
And after! You can see how the tile I added to the vanity wall matches the shower.
FAQ & Sources:
- Can you use this tape product to tile over existing tile?
- The manufacturer does not specifically state that. Do I believe it would work? Yes. However in the instance of a backsplash for example, you may run into problems on the edges where the thickness of both tiles are exposed.
- Can you use this tape product on a fireplace surround or in a shower?
- Yes and Yes! It is recommended for walls, showers, fireplaces and countertops.
- What if my walls are textured?
- Mine are too! It totally works.
- Does the score and snap tile cutter work on marble or glass tile?
- No! It’s only for ceramic tile. You would need a wet saw for other kinds of tile.
Sources:
- Mirrors
- Countertops color: Status White
- Sink Faucets
- 3×6 ceramic marble tile (ordered through a local Shaw retailer)
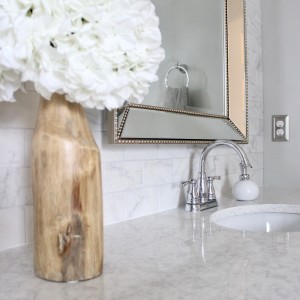
- Faux white hydrangeas
- Vanity Lights
- Bathroom Floor Tile (potentially can order through a local Shaw retailer)
- Wall color – Repose Gray by Sherwin Williams

You make it look so easy! It’s beautiful 😍
Wow I absolutely love this ! Thanks for the inspiration!
Love the finished job! This is my favorite project you’ve done so far!
I followed your Insta-story and Wow, this came out incredible! Looks luxurious and chic!! Truly love it! And enjoyed watch the whole process! This has inspired me to get working on one of our three bathrooms! Good Job!! 😍😍
You are my HERO!!!! This looks incredible!
This looks incredible – I just wish I had something to rile now!
Everything looks fantastic. You are a rock star for sure!!!! Where do you get the feet for your cabinet?
Thank you so much Diane! I got the feet from Lowe’s! They sell cabinet accessories though special order in the cabinet department 🙂
For once, I can relate because I’ve done tile work! I didn’t know about that amazing tape, though, and that would have made it soooo much easier. I love how this turned out!
Now I strive to be able to relate to your woodworking projects. It’s a goal!
Lindsay you are amazing. BEAUTIFUL work. You are one talented young woman.
So so kind!! thank you!
Good golly miss molly!! Hands down MY FAVORITE! You never cease to amaze me with your skills! I’m so tiling something just because I can! I love that sticky tape stuff too! It’s all I use!
Such sweet words! Thank you so much!!
Wish I could do this!!!!! You are my idol!!!!! Thank you for sharing
Very nice! Great job as always 🙂
Thank you Lori!
This is amazing! You need to start a home design service where you come up with suggestions for DIYers who want to do this but have no creativity! You have a great eye. What a beautiful house.
That would be cool! thanks so much jennifer!