DIY Kitchen Backsplash
Happy Sunday you guys! Today I’m sharing a project that is LONG overdue! Something I completed quite a while ago, but have been failing to share – my kitchen backsplash!
(I apologize up front for the terrible iPhone quality photos that I clearly took without having a blog tutorial in mind.)
I knew from the day we moved in our new house that I wanted a backsplash installed. But shortly after moving in, I priced out having someone professionally install it and knew it wasn’t going to make the budget. So what did I do? Figure out how to do it myself, of course!
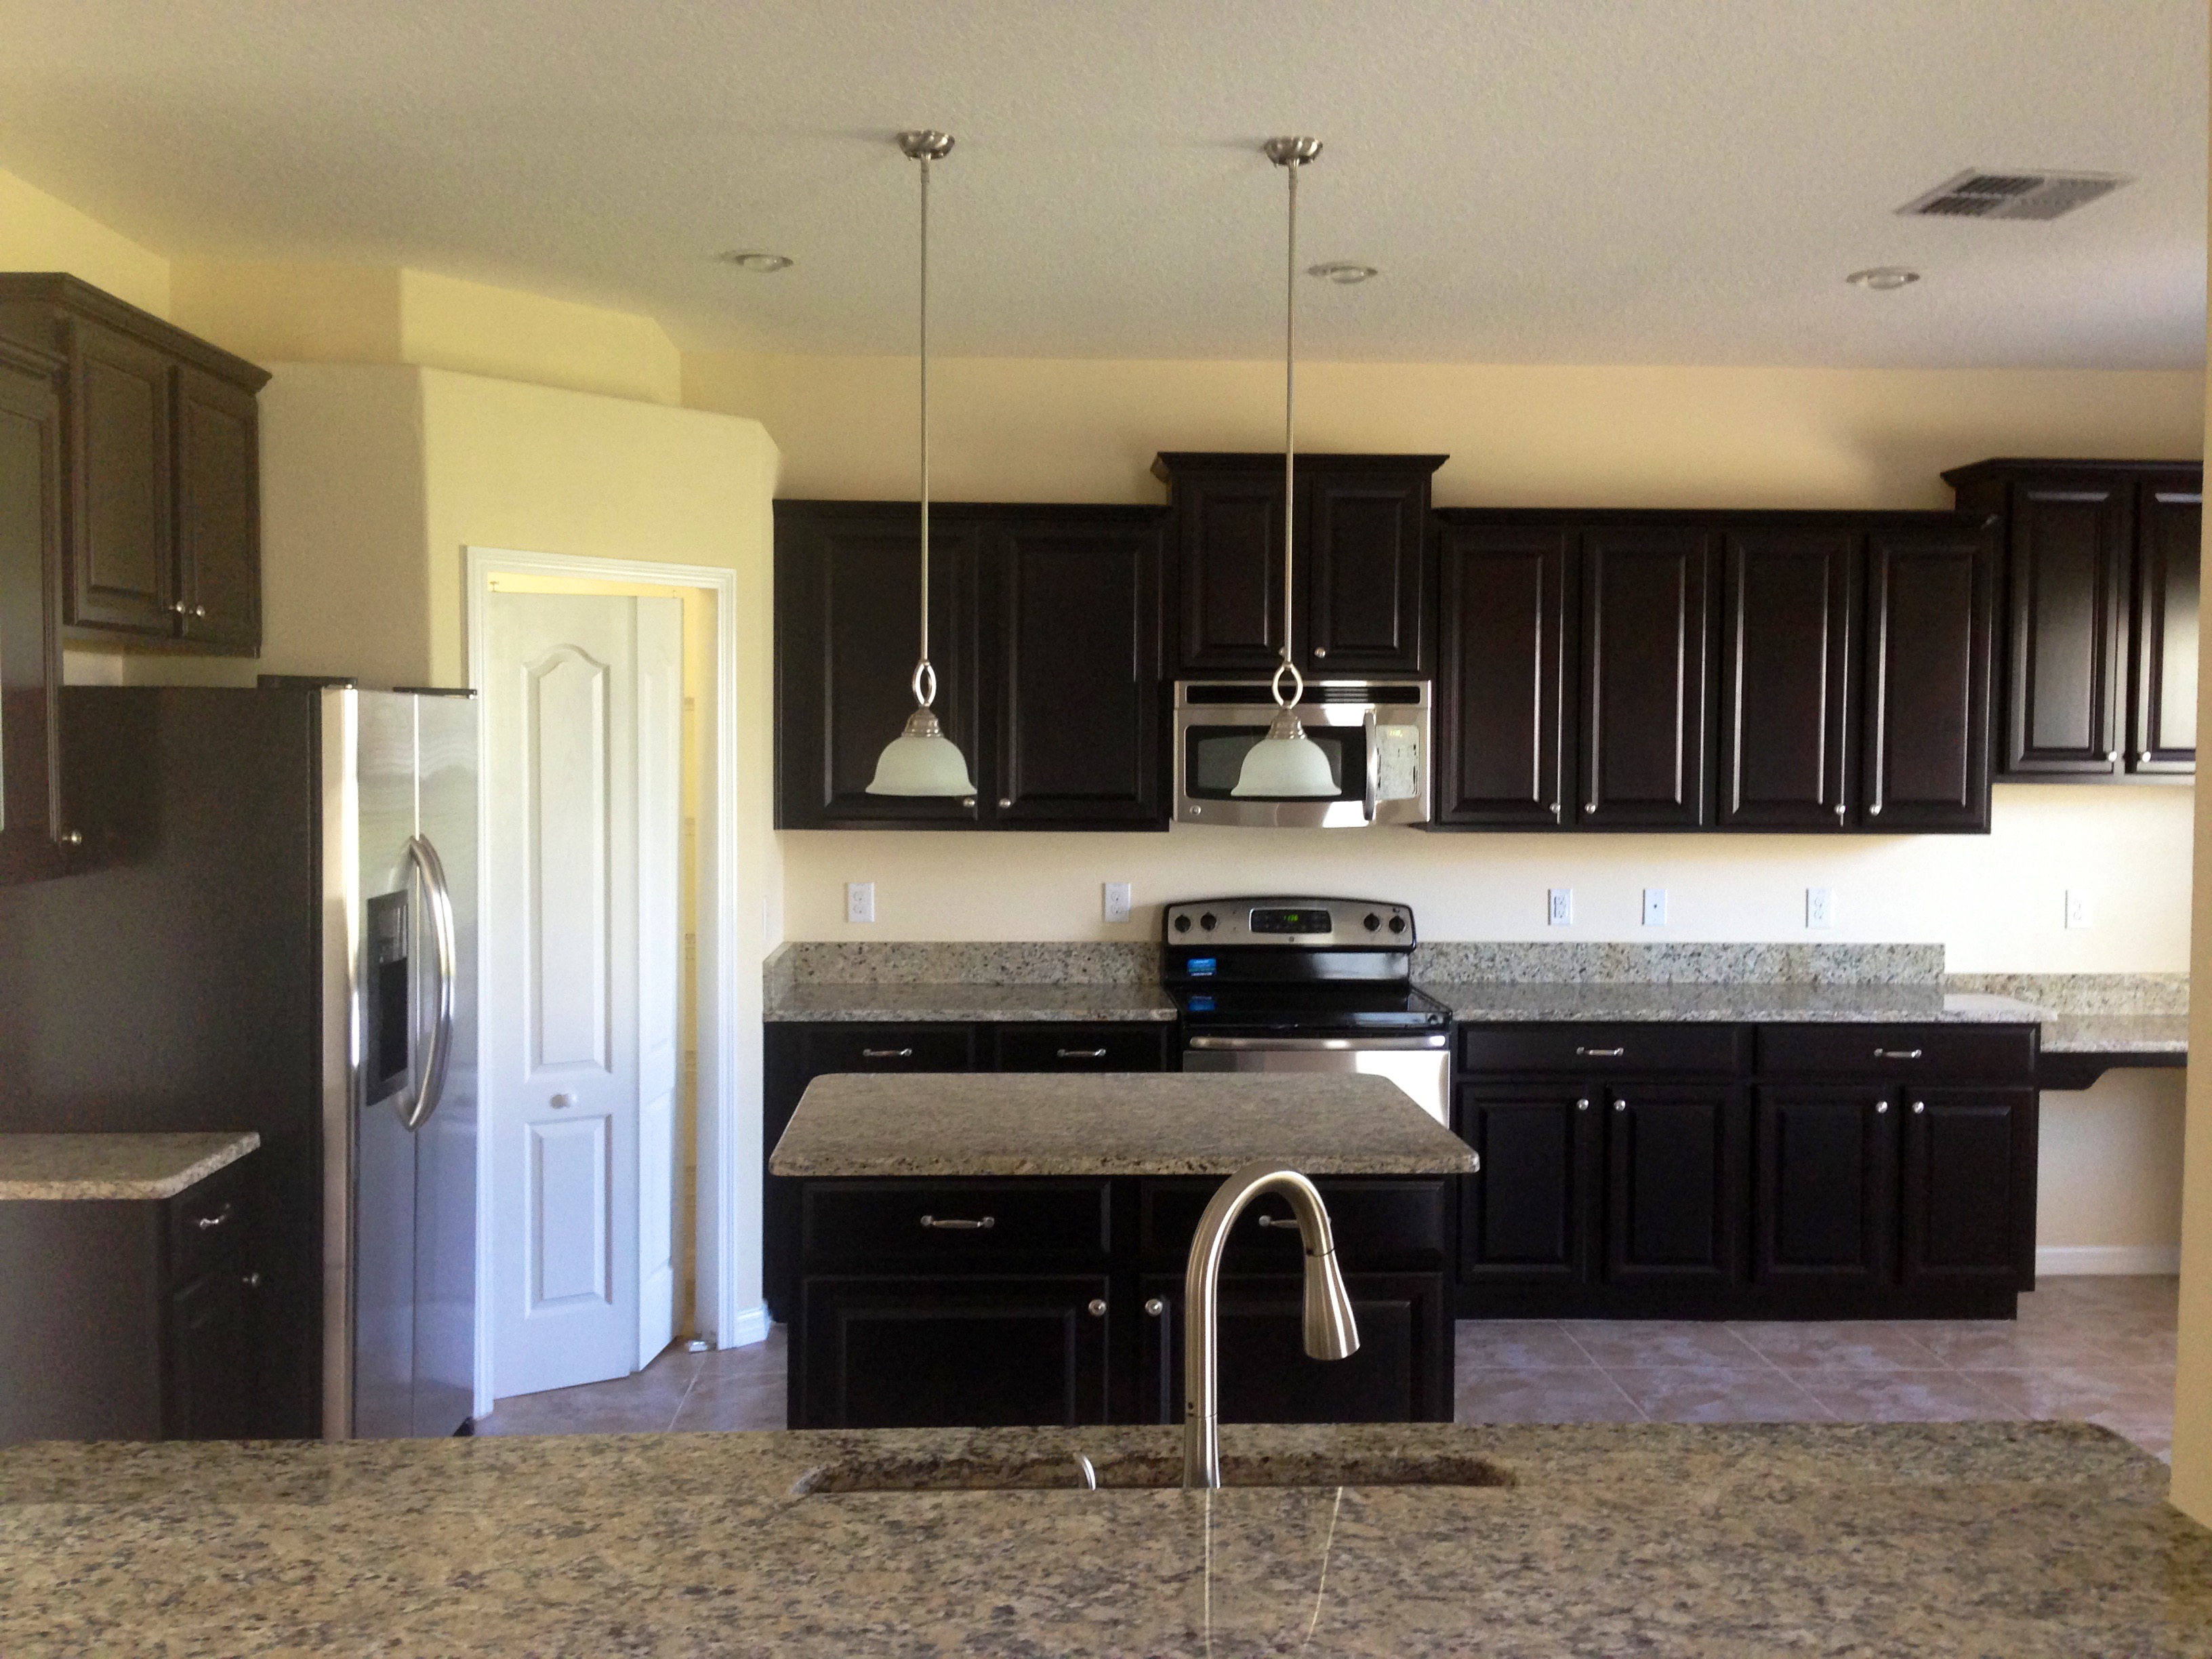
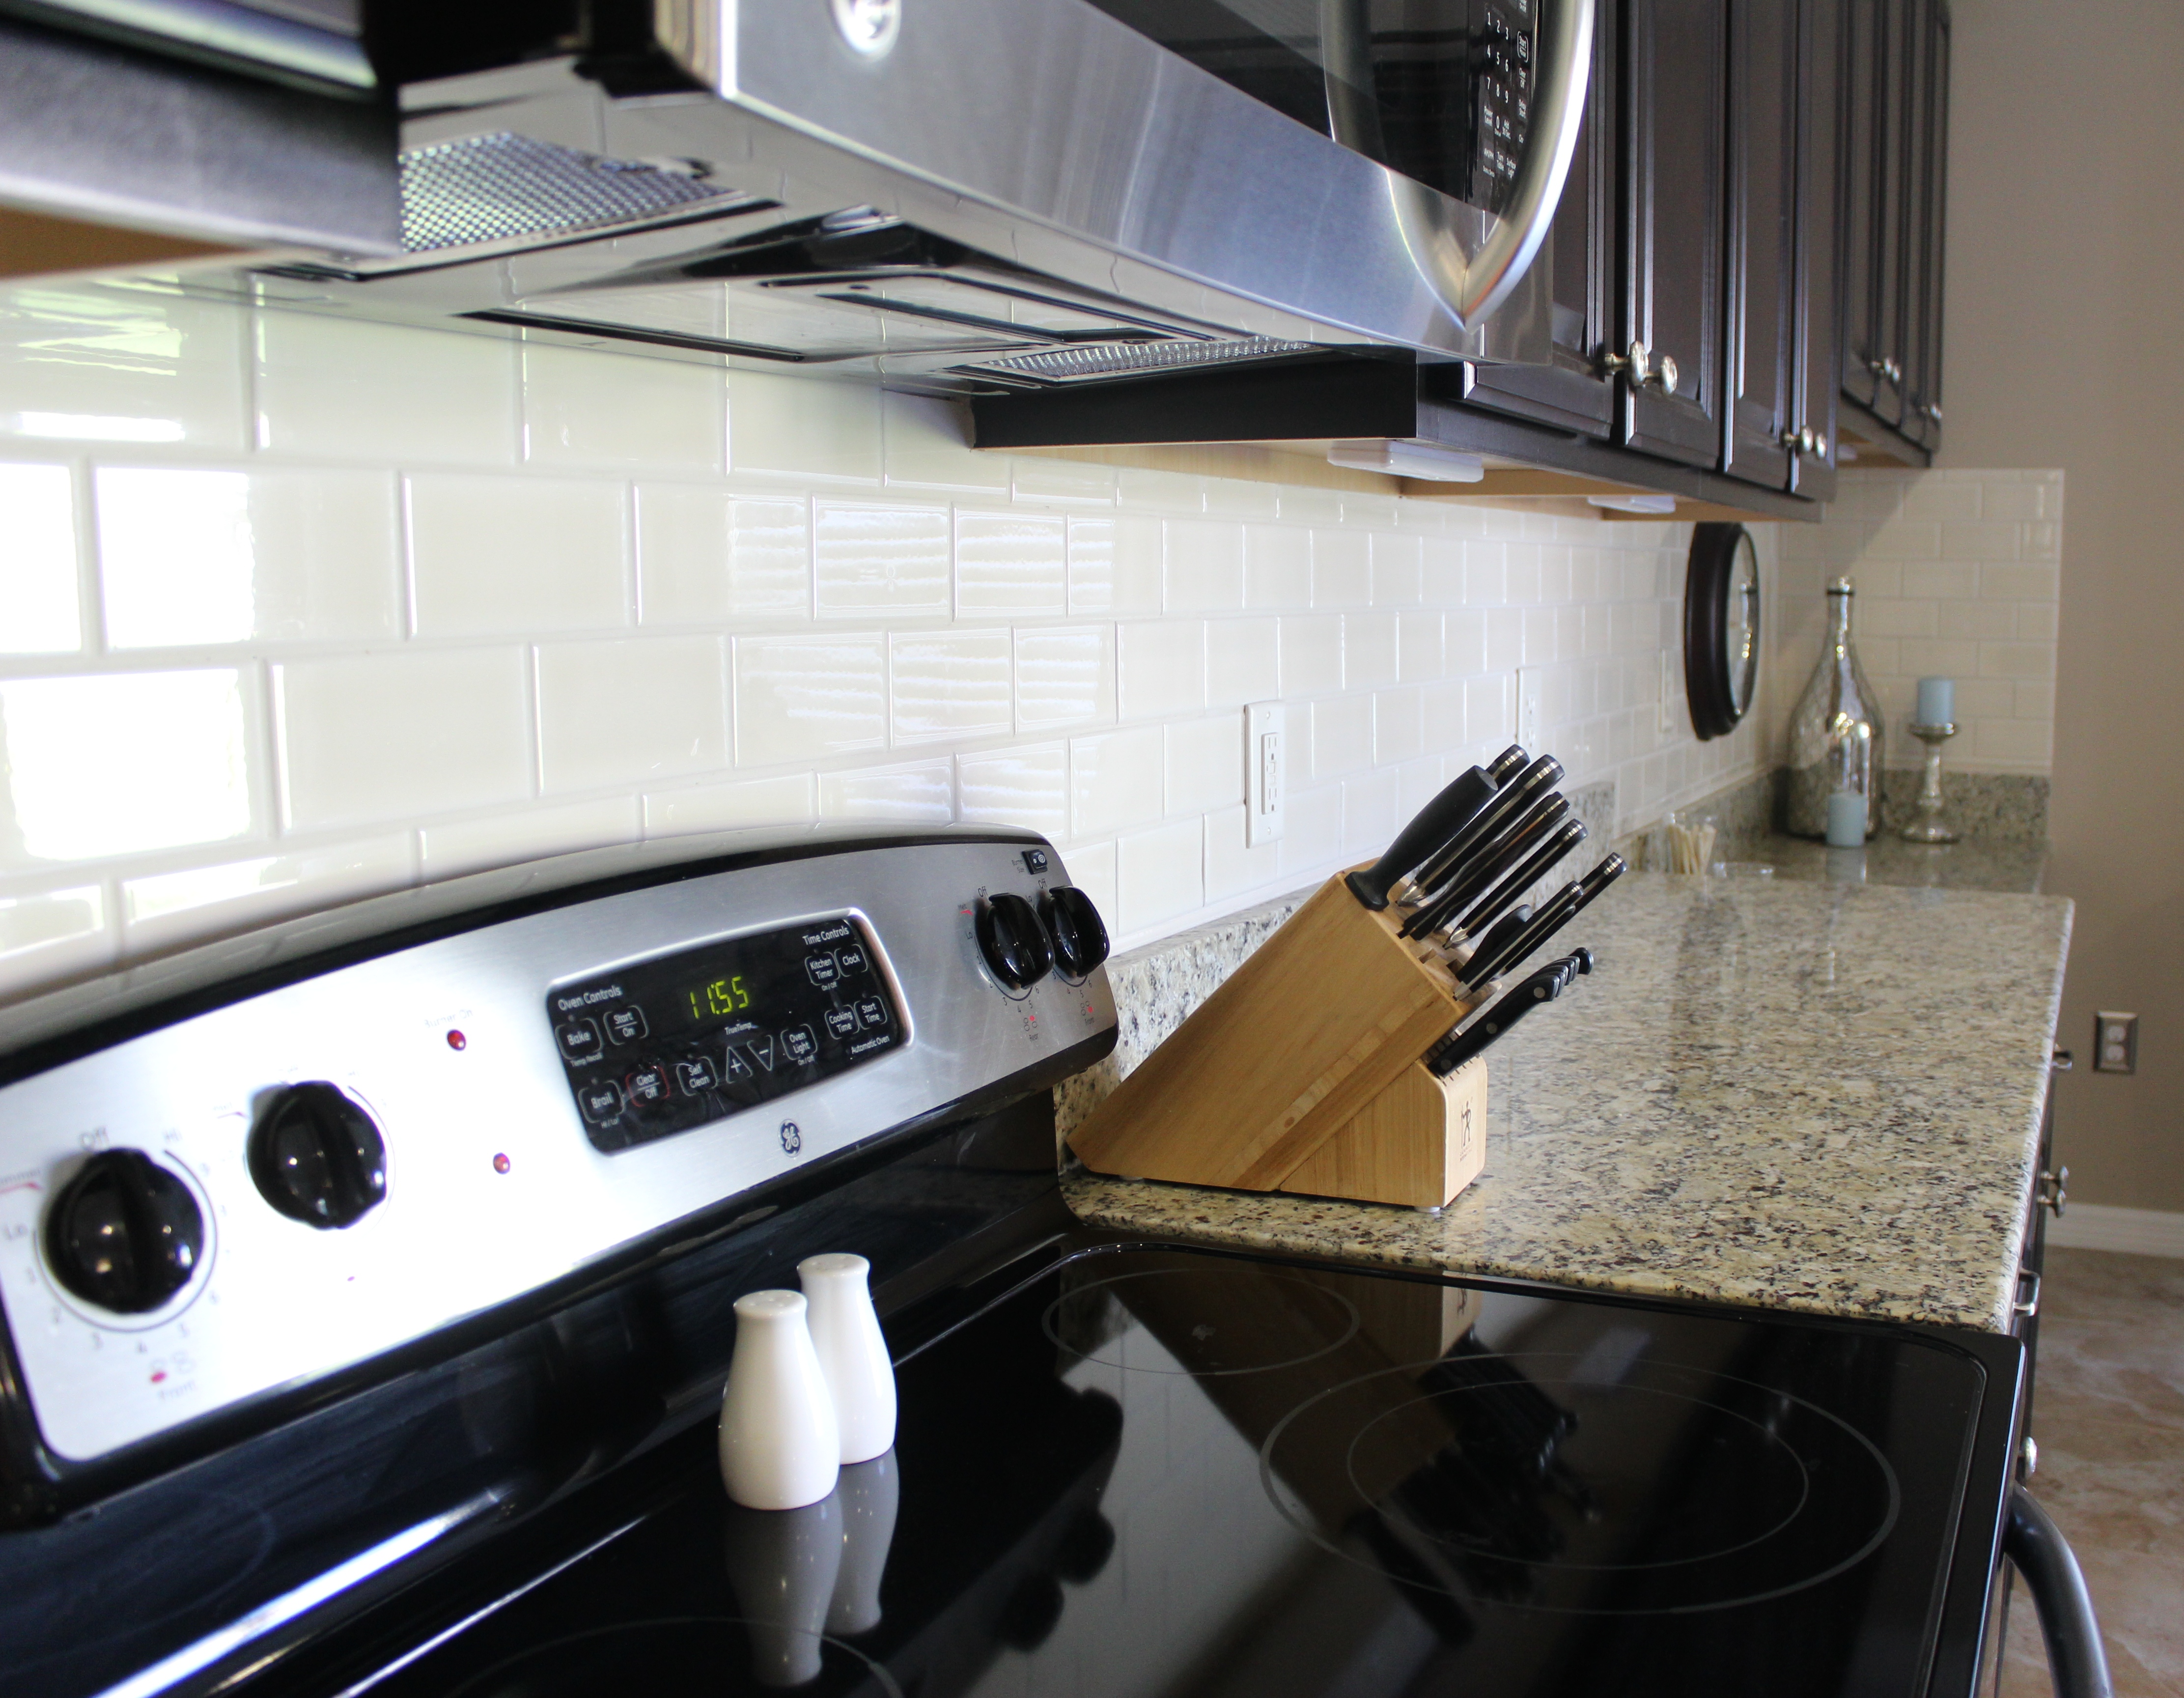
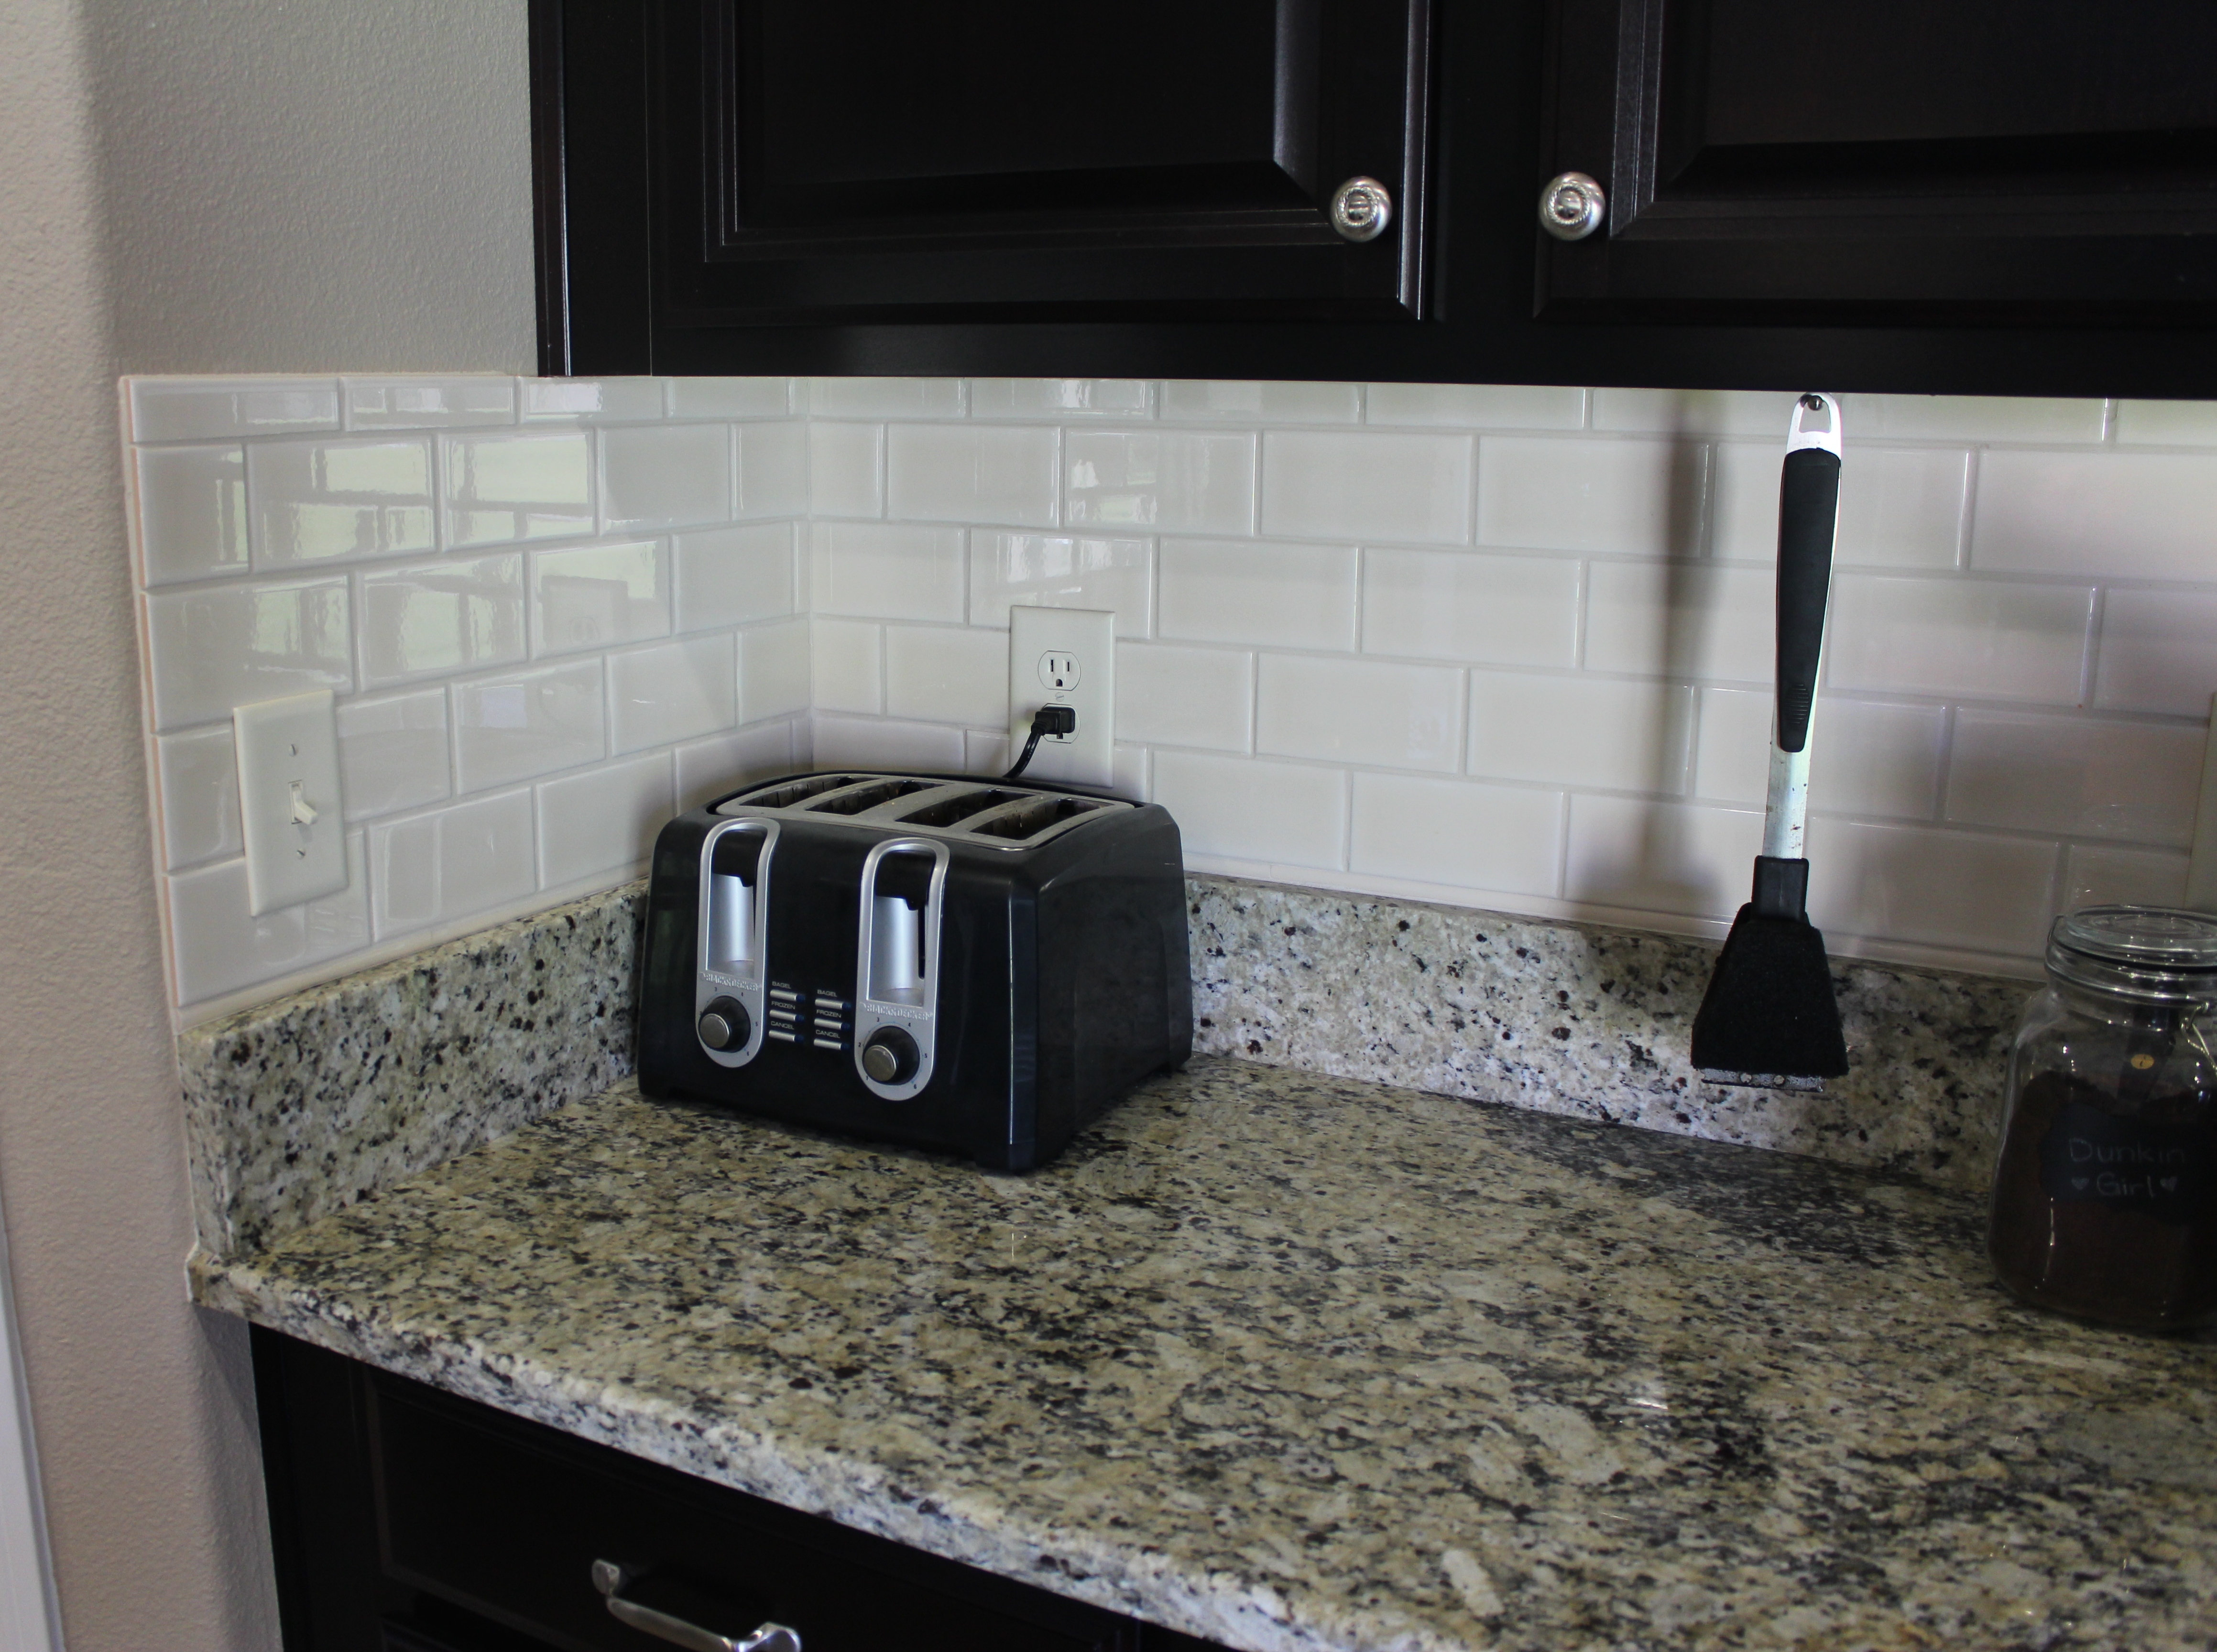
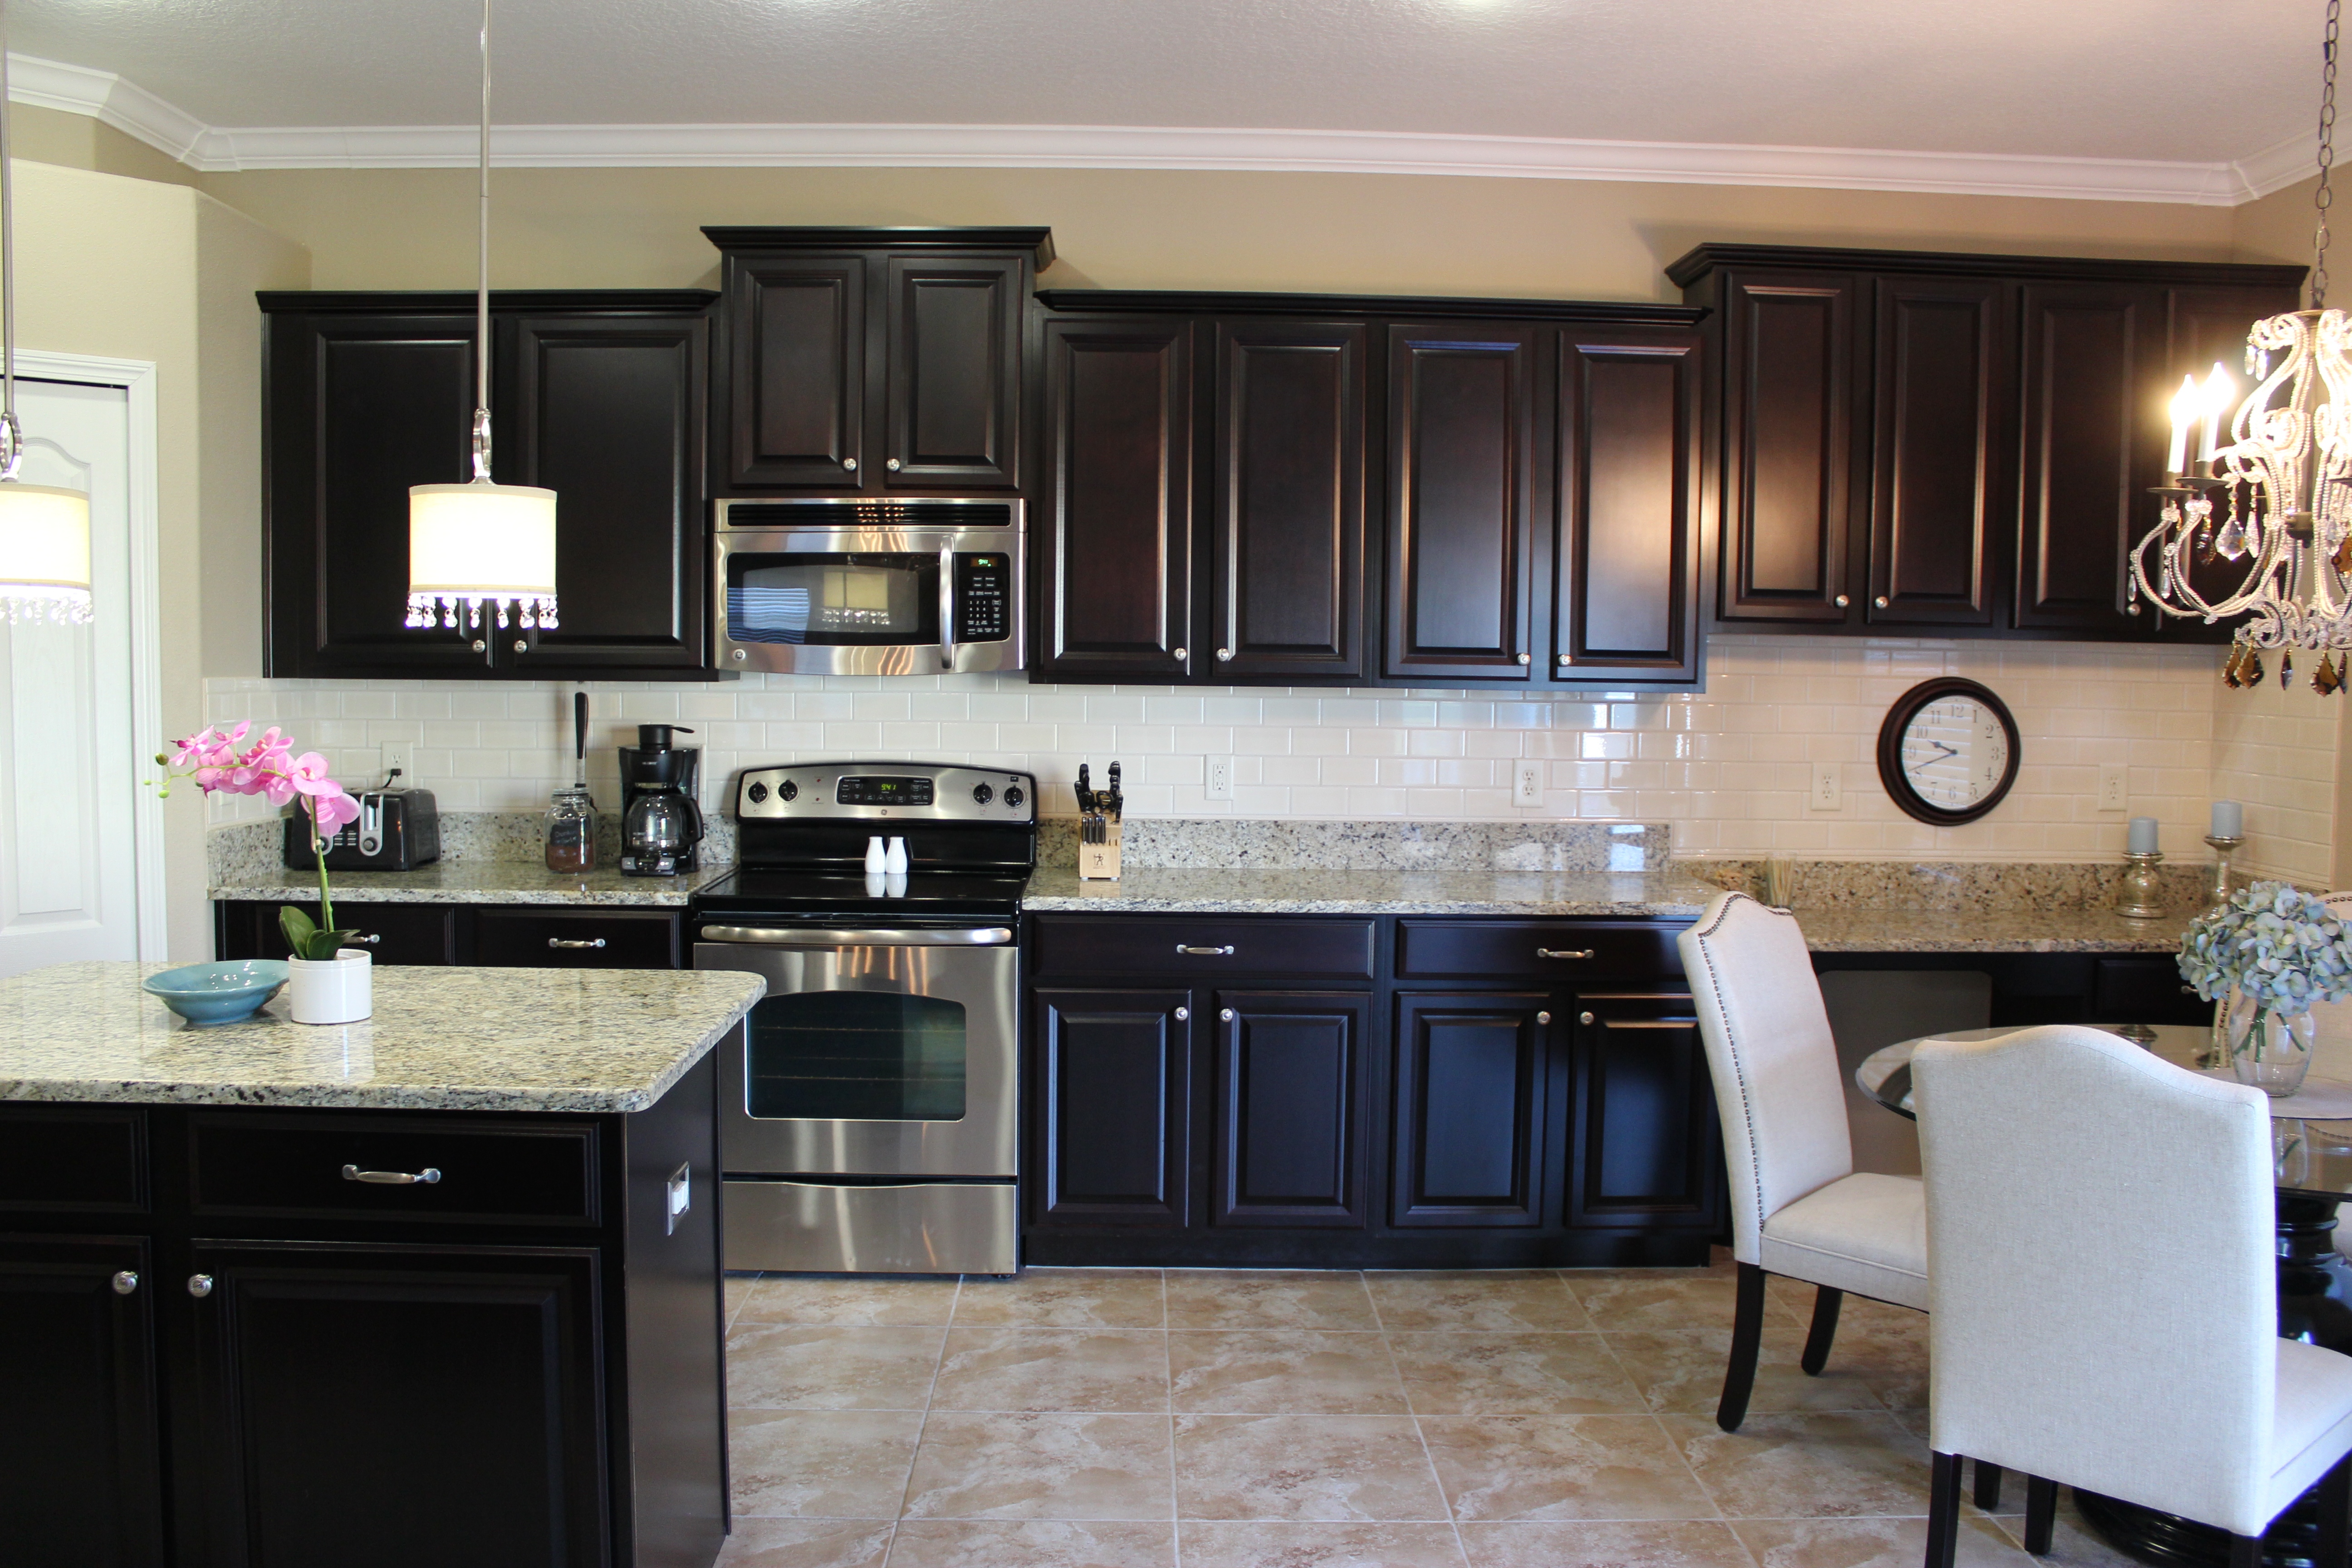
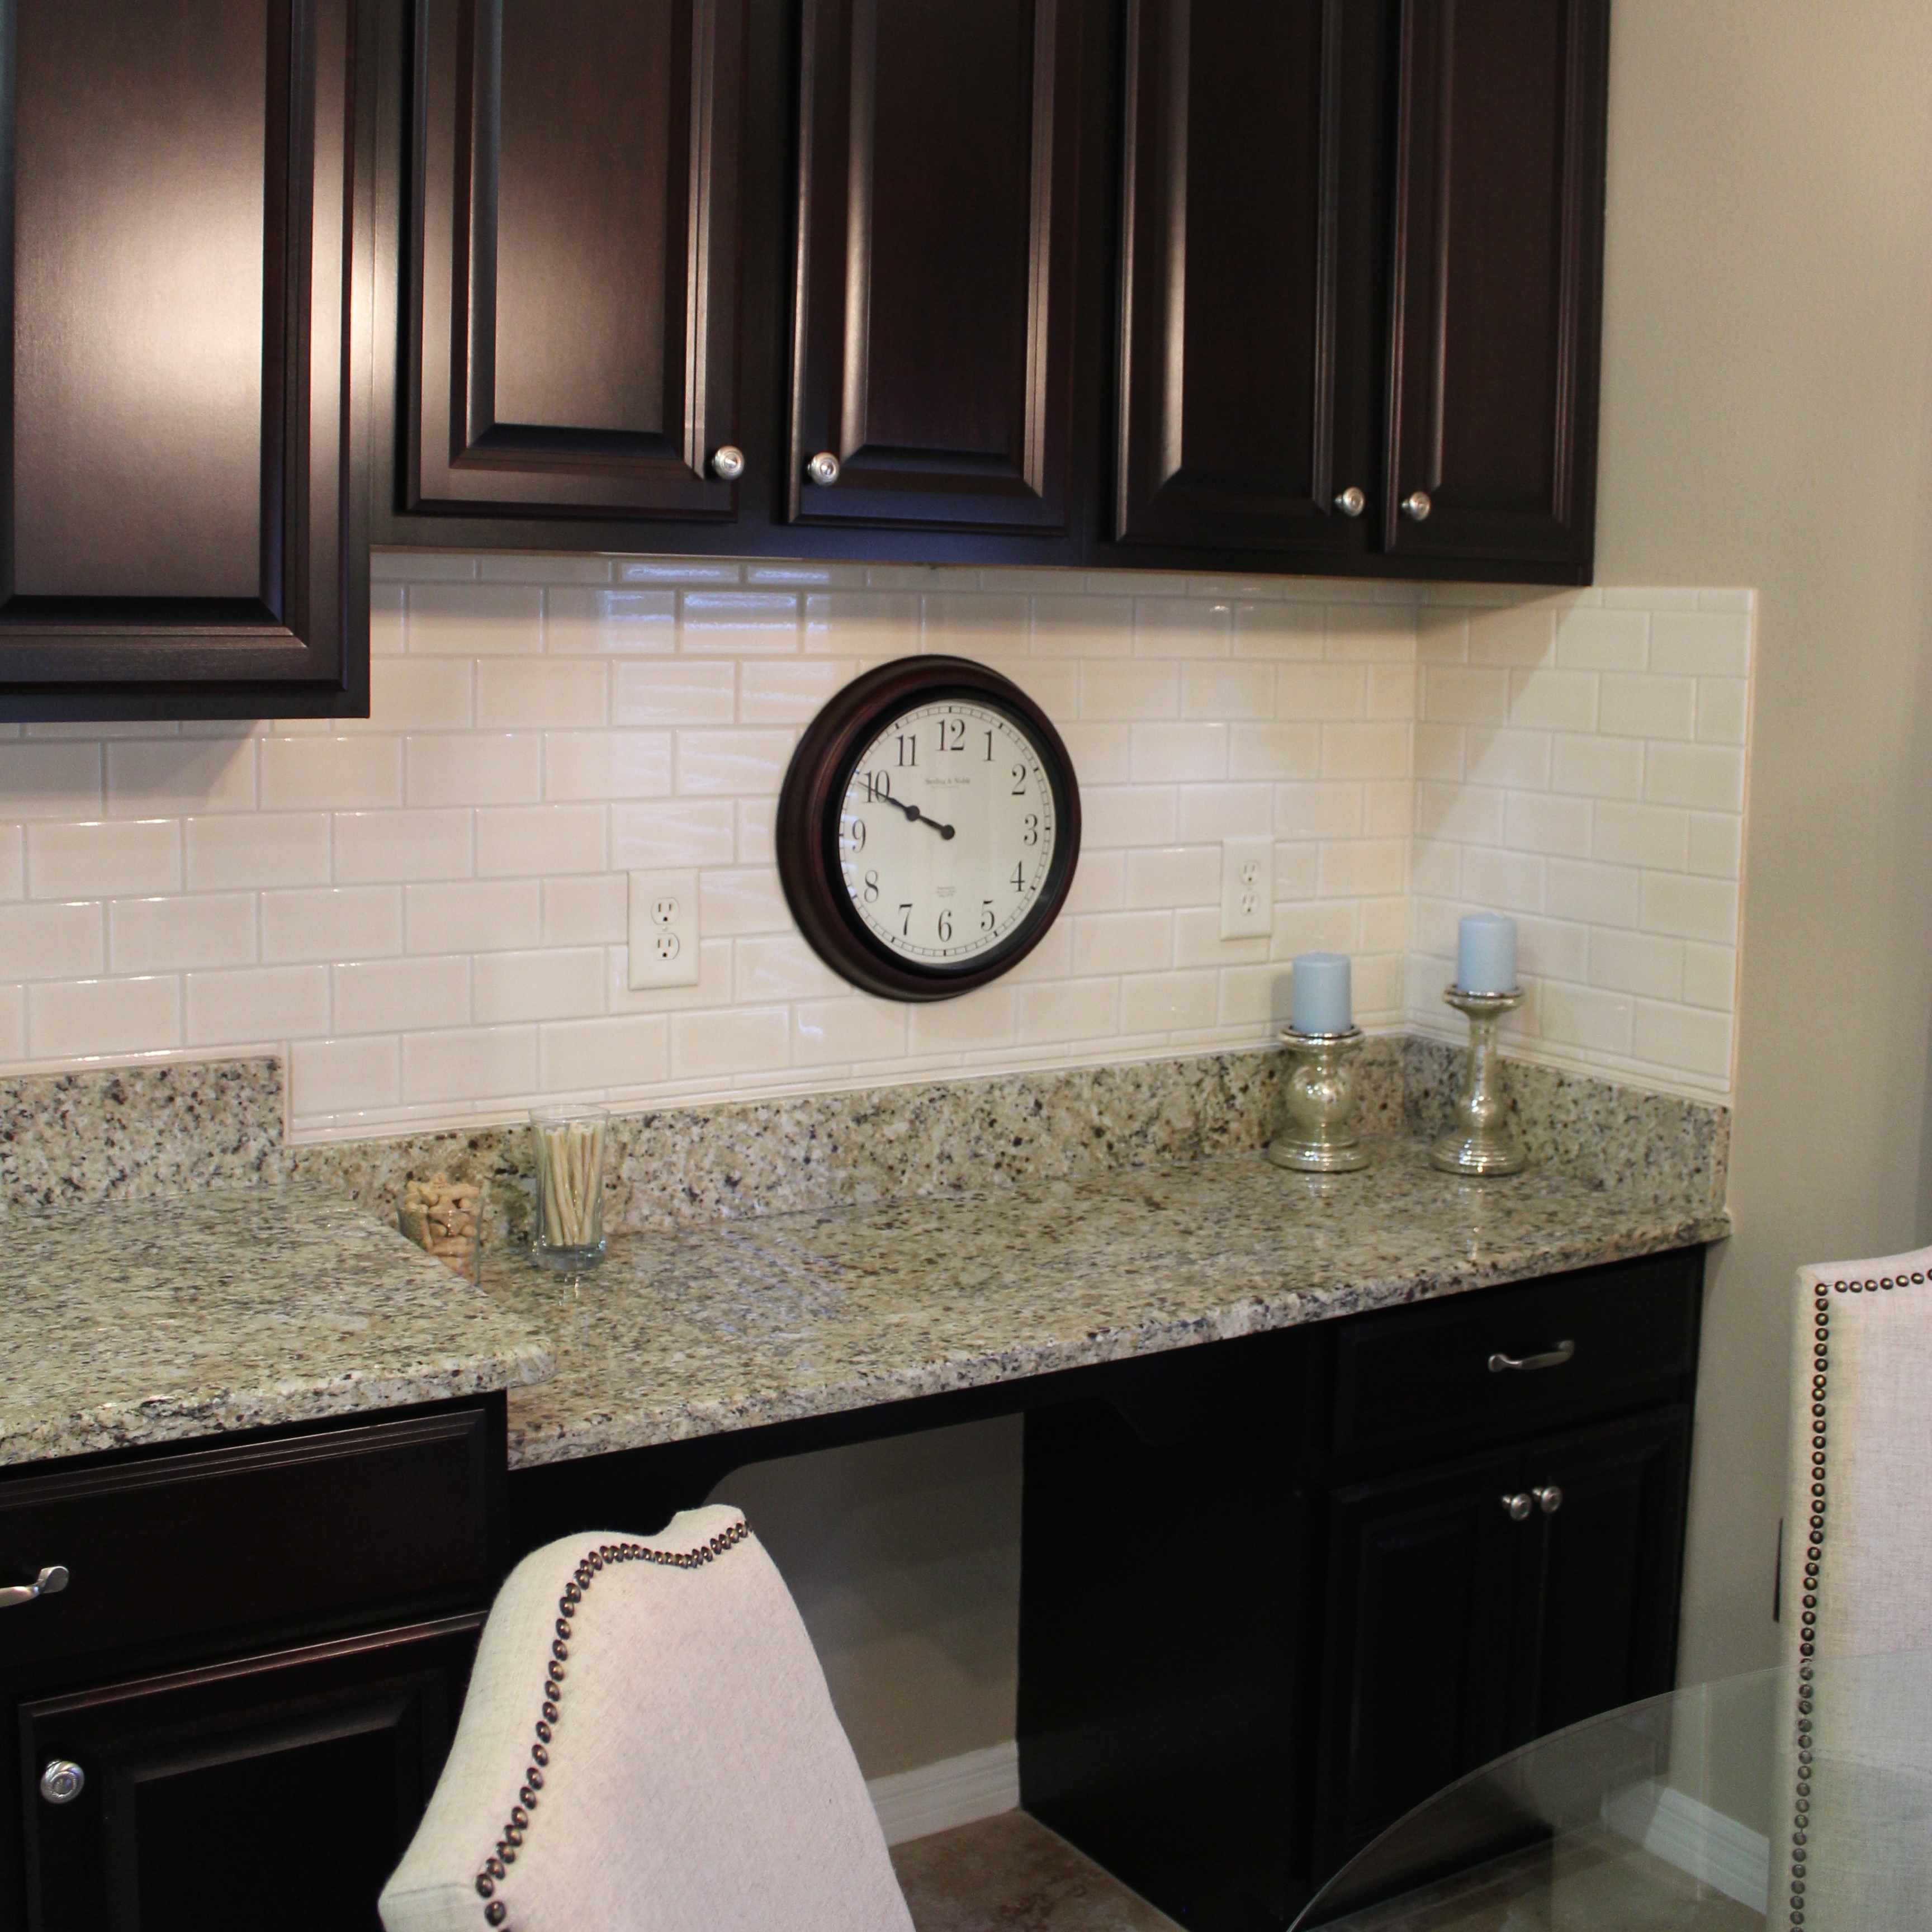
So here are the photos I took of our kitchen the day we closed on the house!
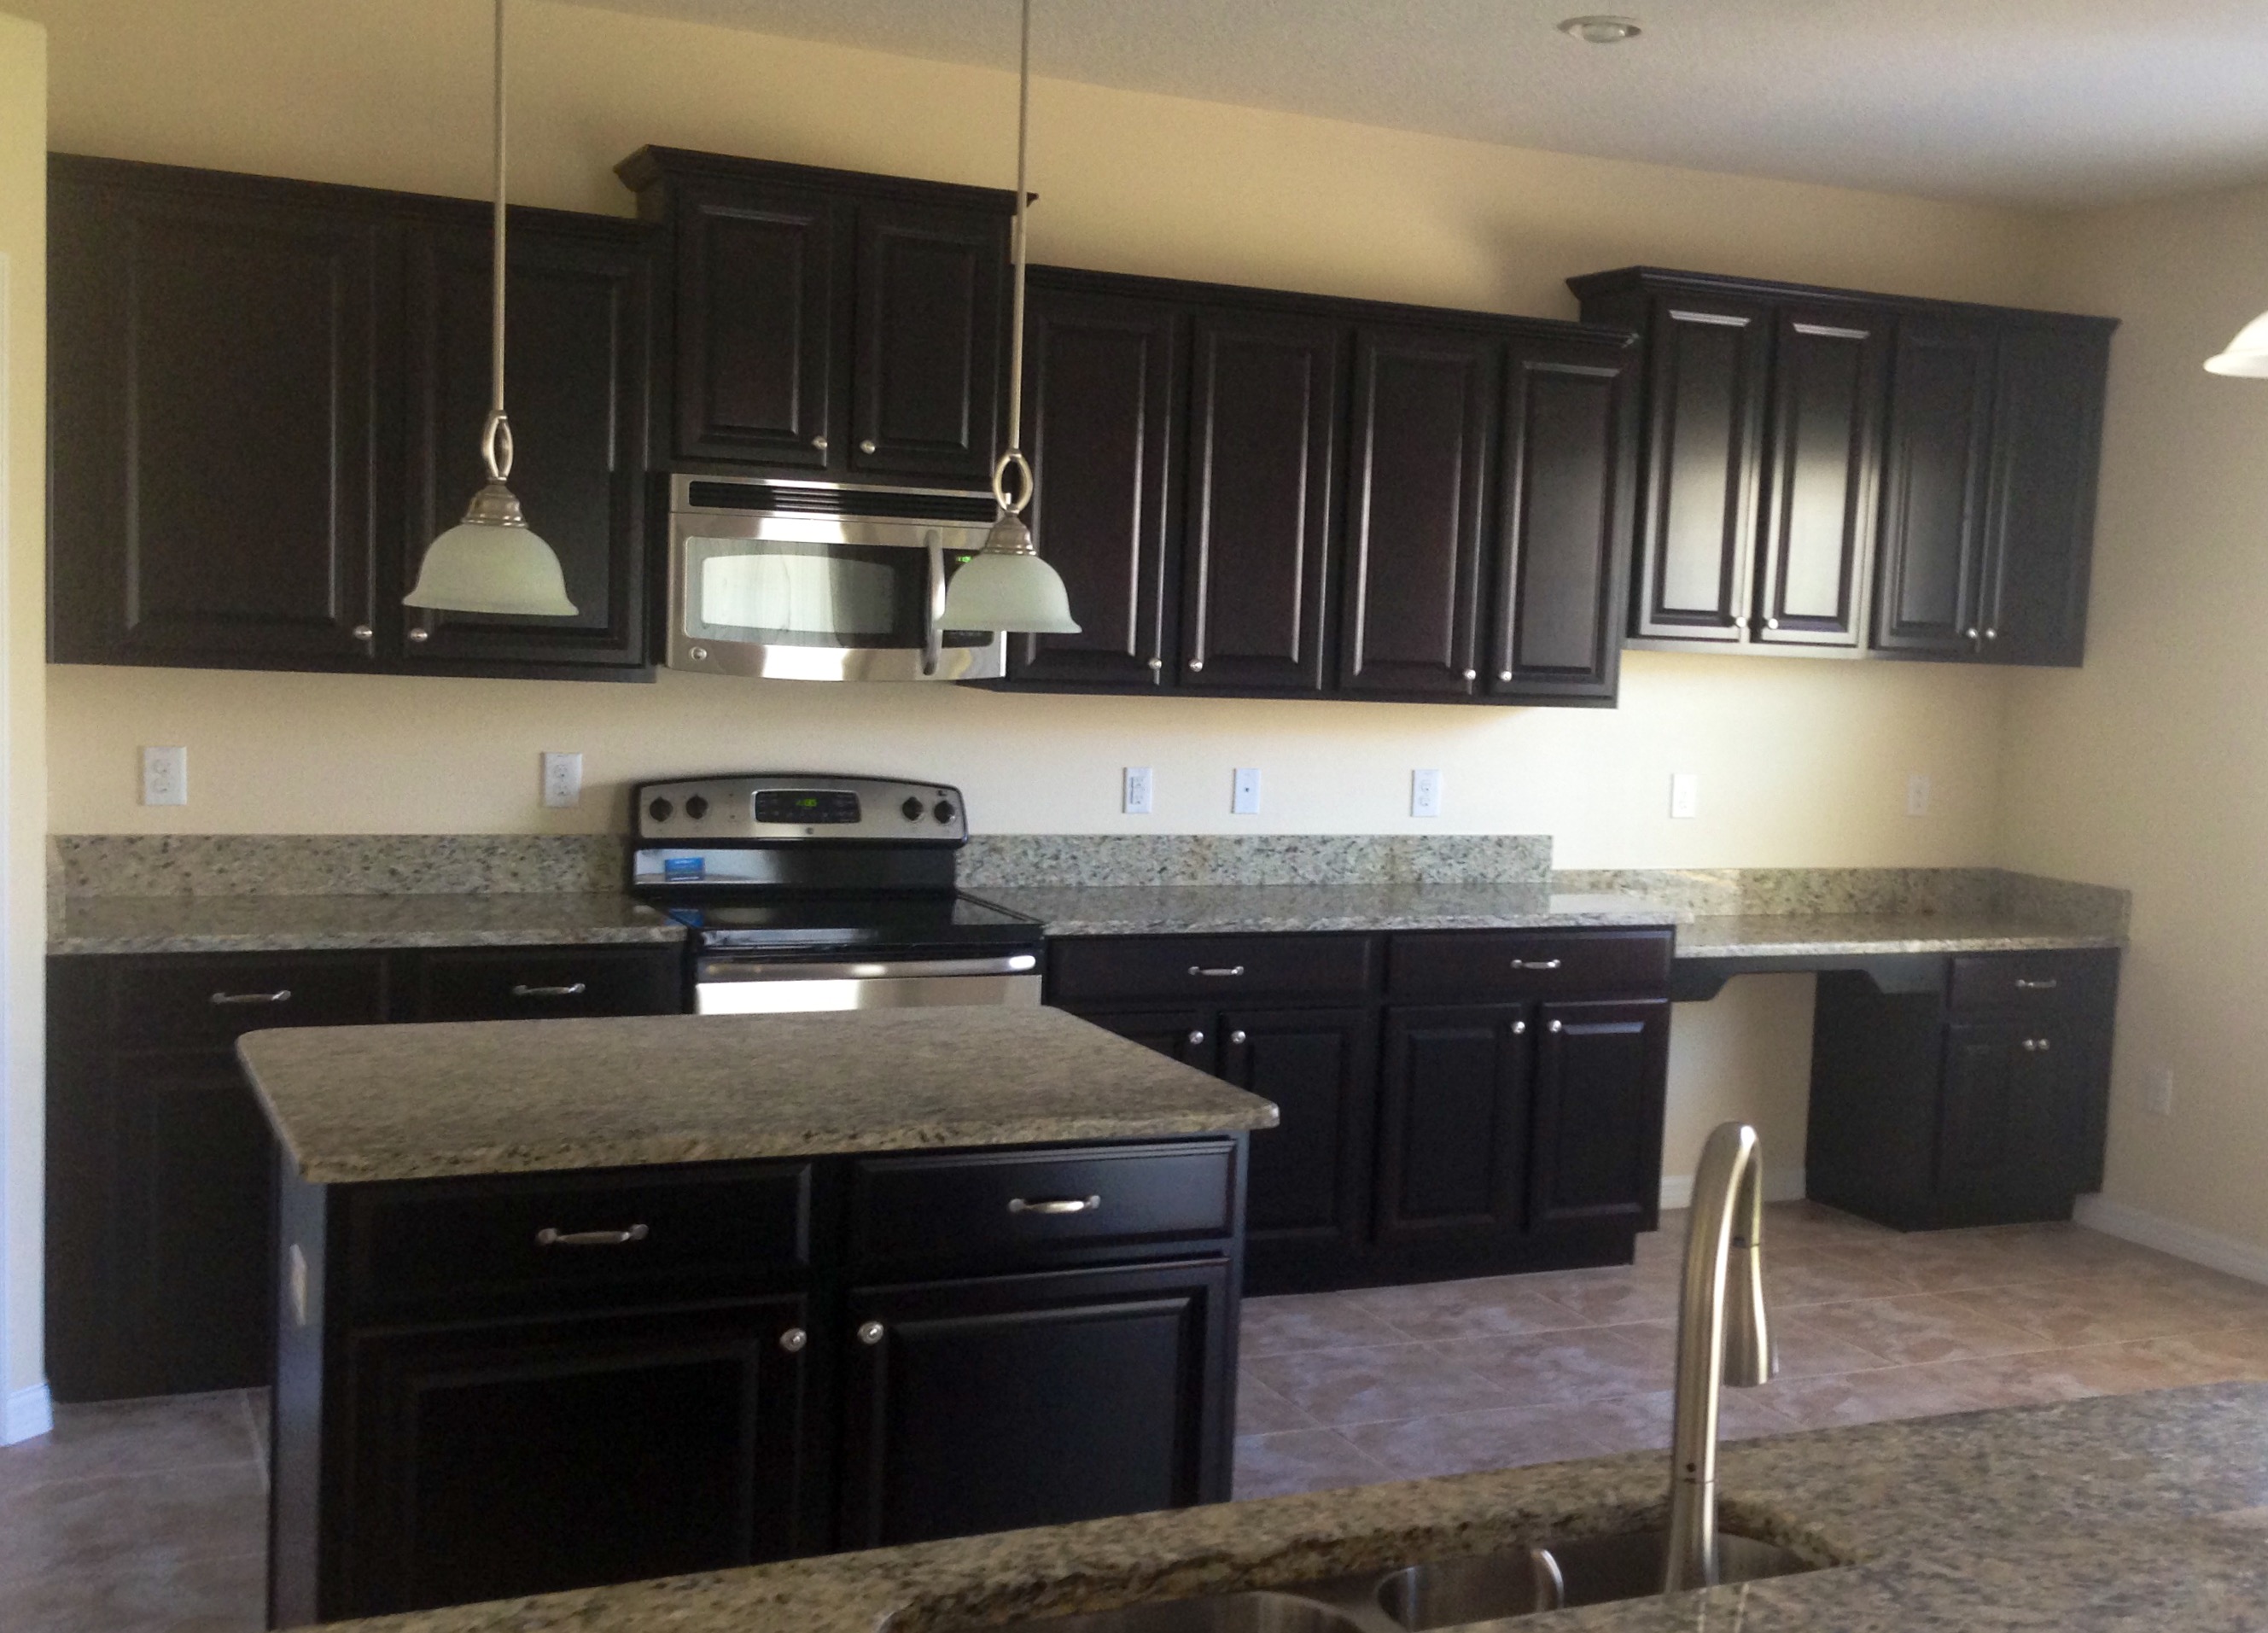
Check out the number of outlets!! 6 in total just on that wall!
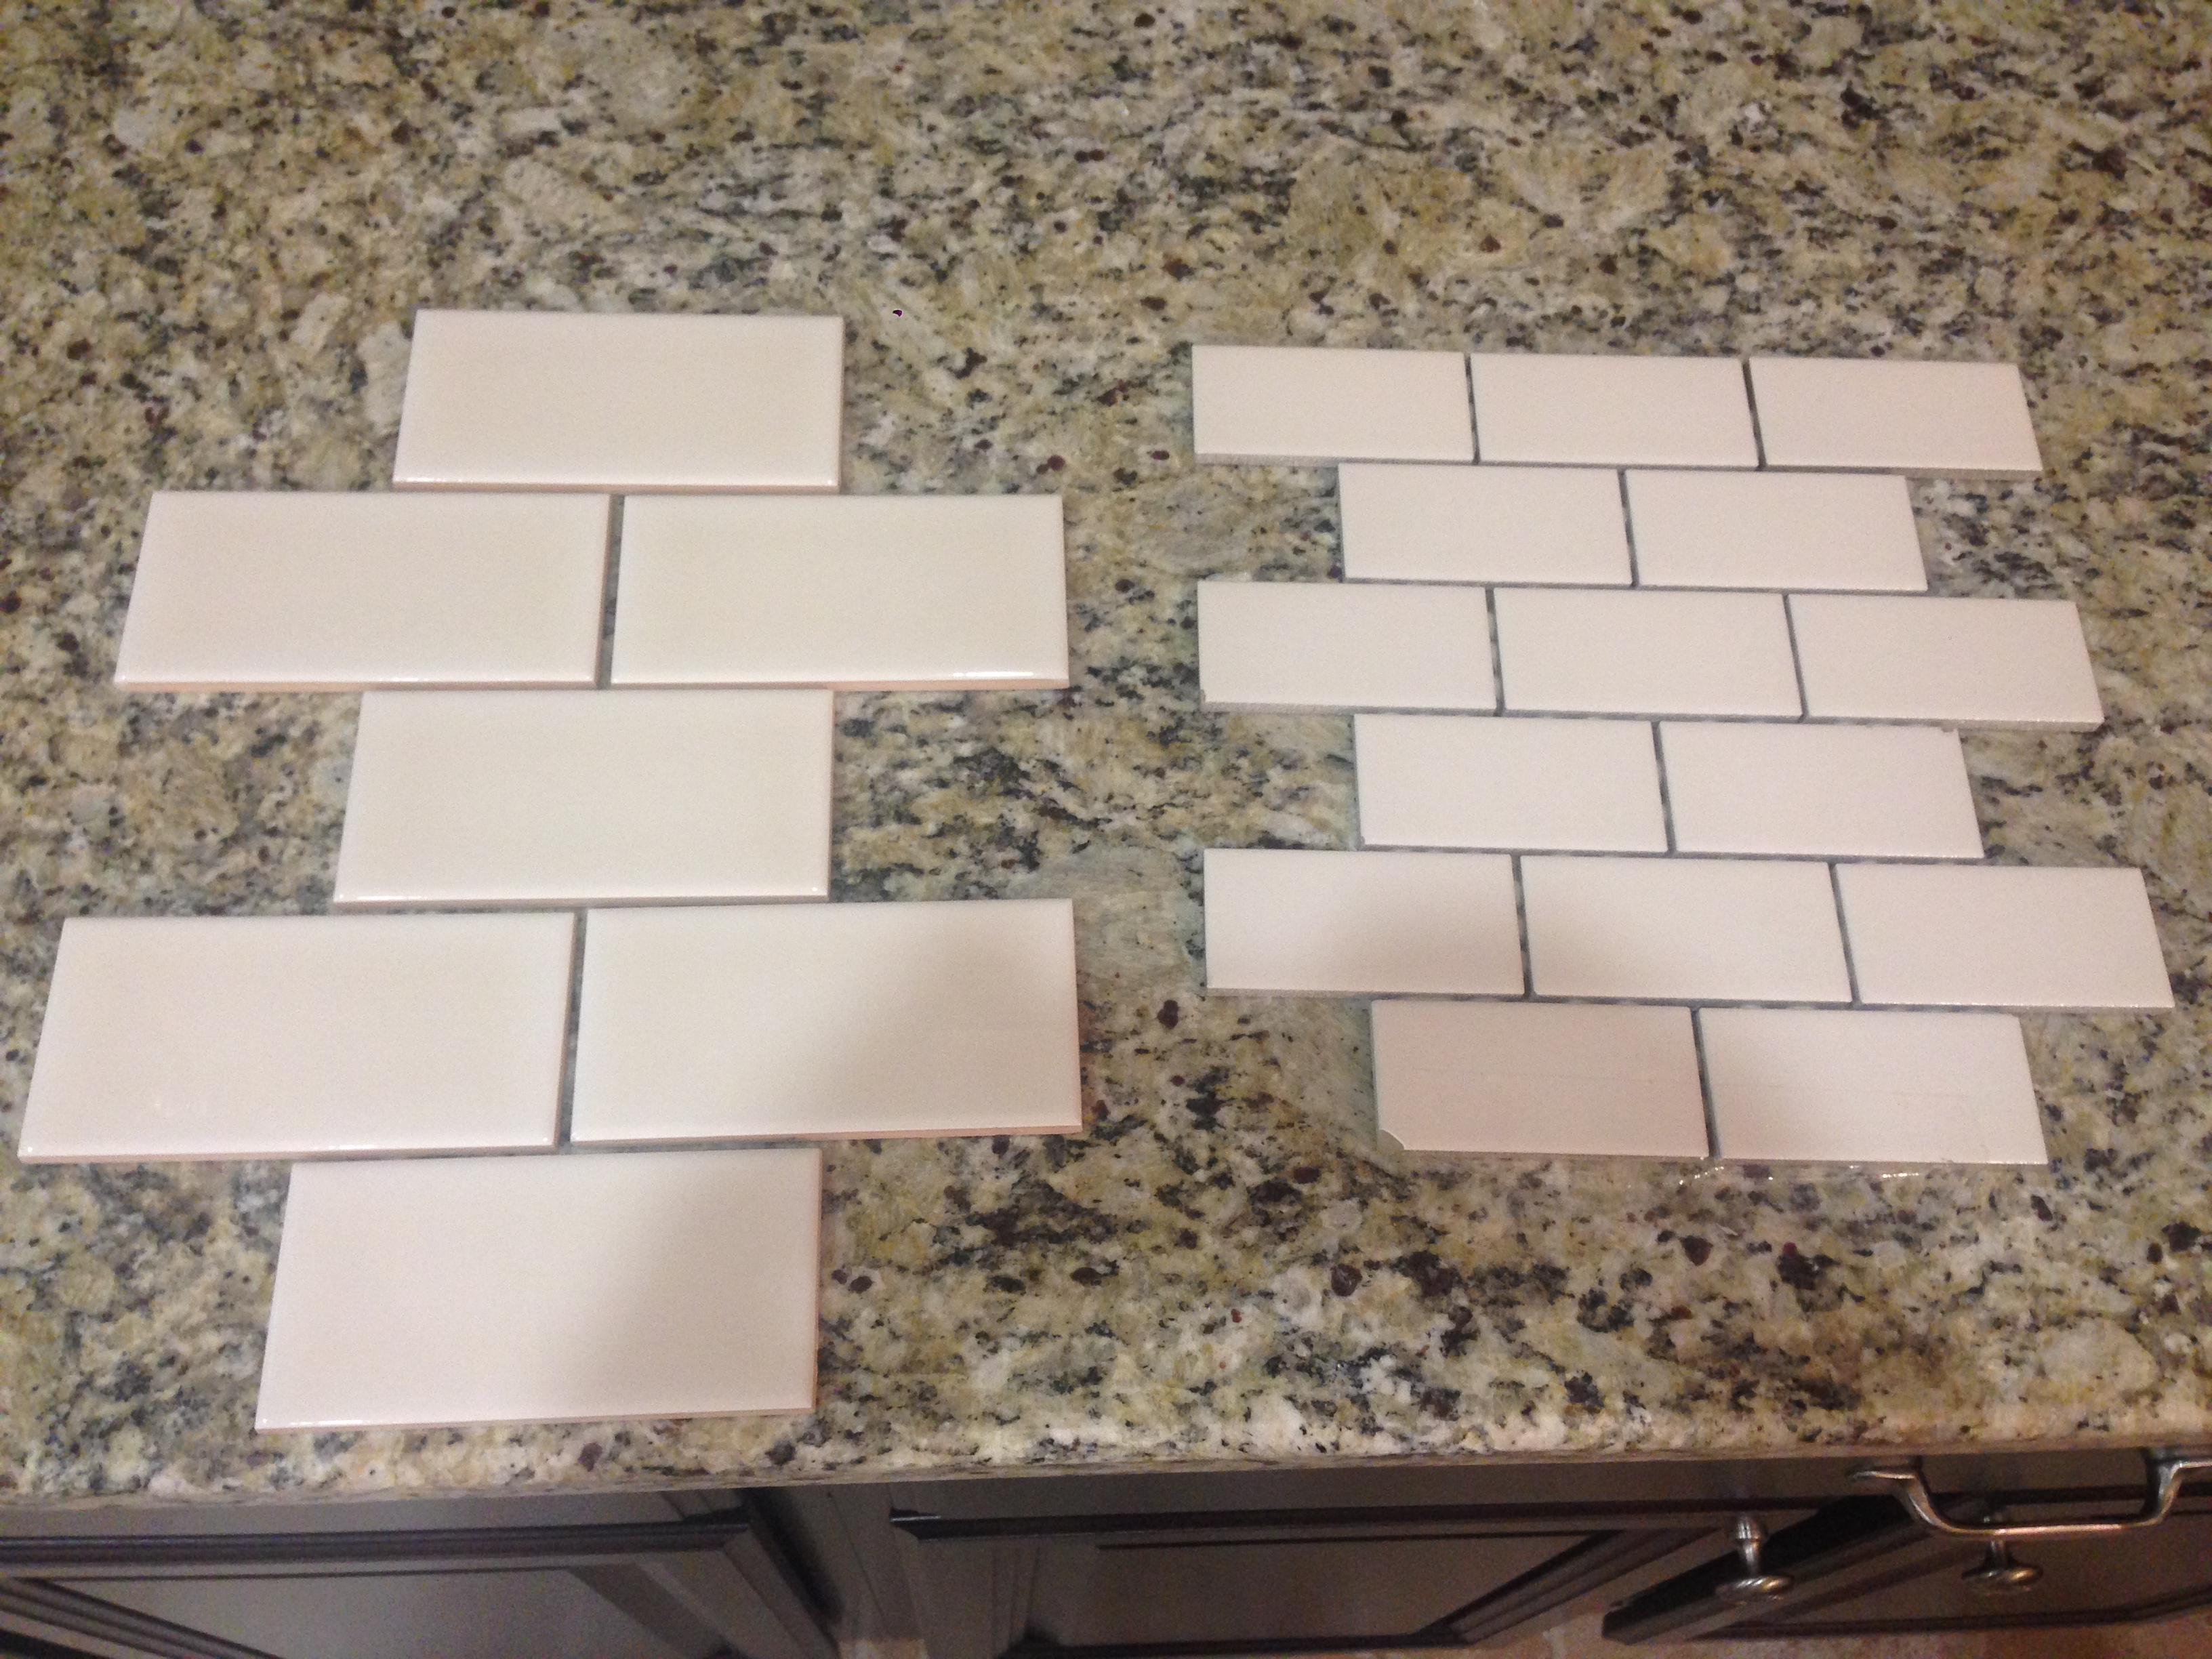
To be honest with you, I shopped around for months and months trying to decide what style backsplash I wanted. At the time, I was really set on these mosaic ones.

But with how spotty our granite is, and how multi-colored these mosaic backslashes were, my eyes just couldn’t deal with how busy it was. No matter how many samples I brought home to try, I couldn’t fall in love with any of them. So I “reluctantly” settled for these solid cream colored subway tiles from Lowe’s. Like I said, my heart was set on one of the mosaics, but I am SO thankful I decided to go with the solid subway. Because now? I absolutely love it!
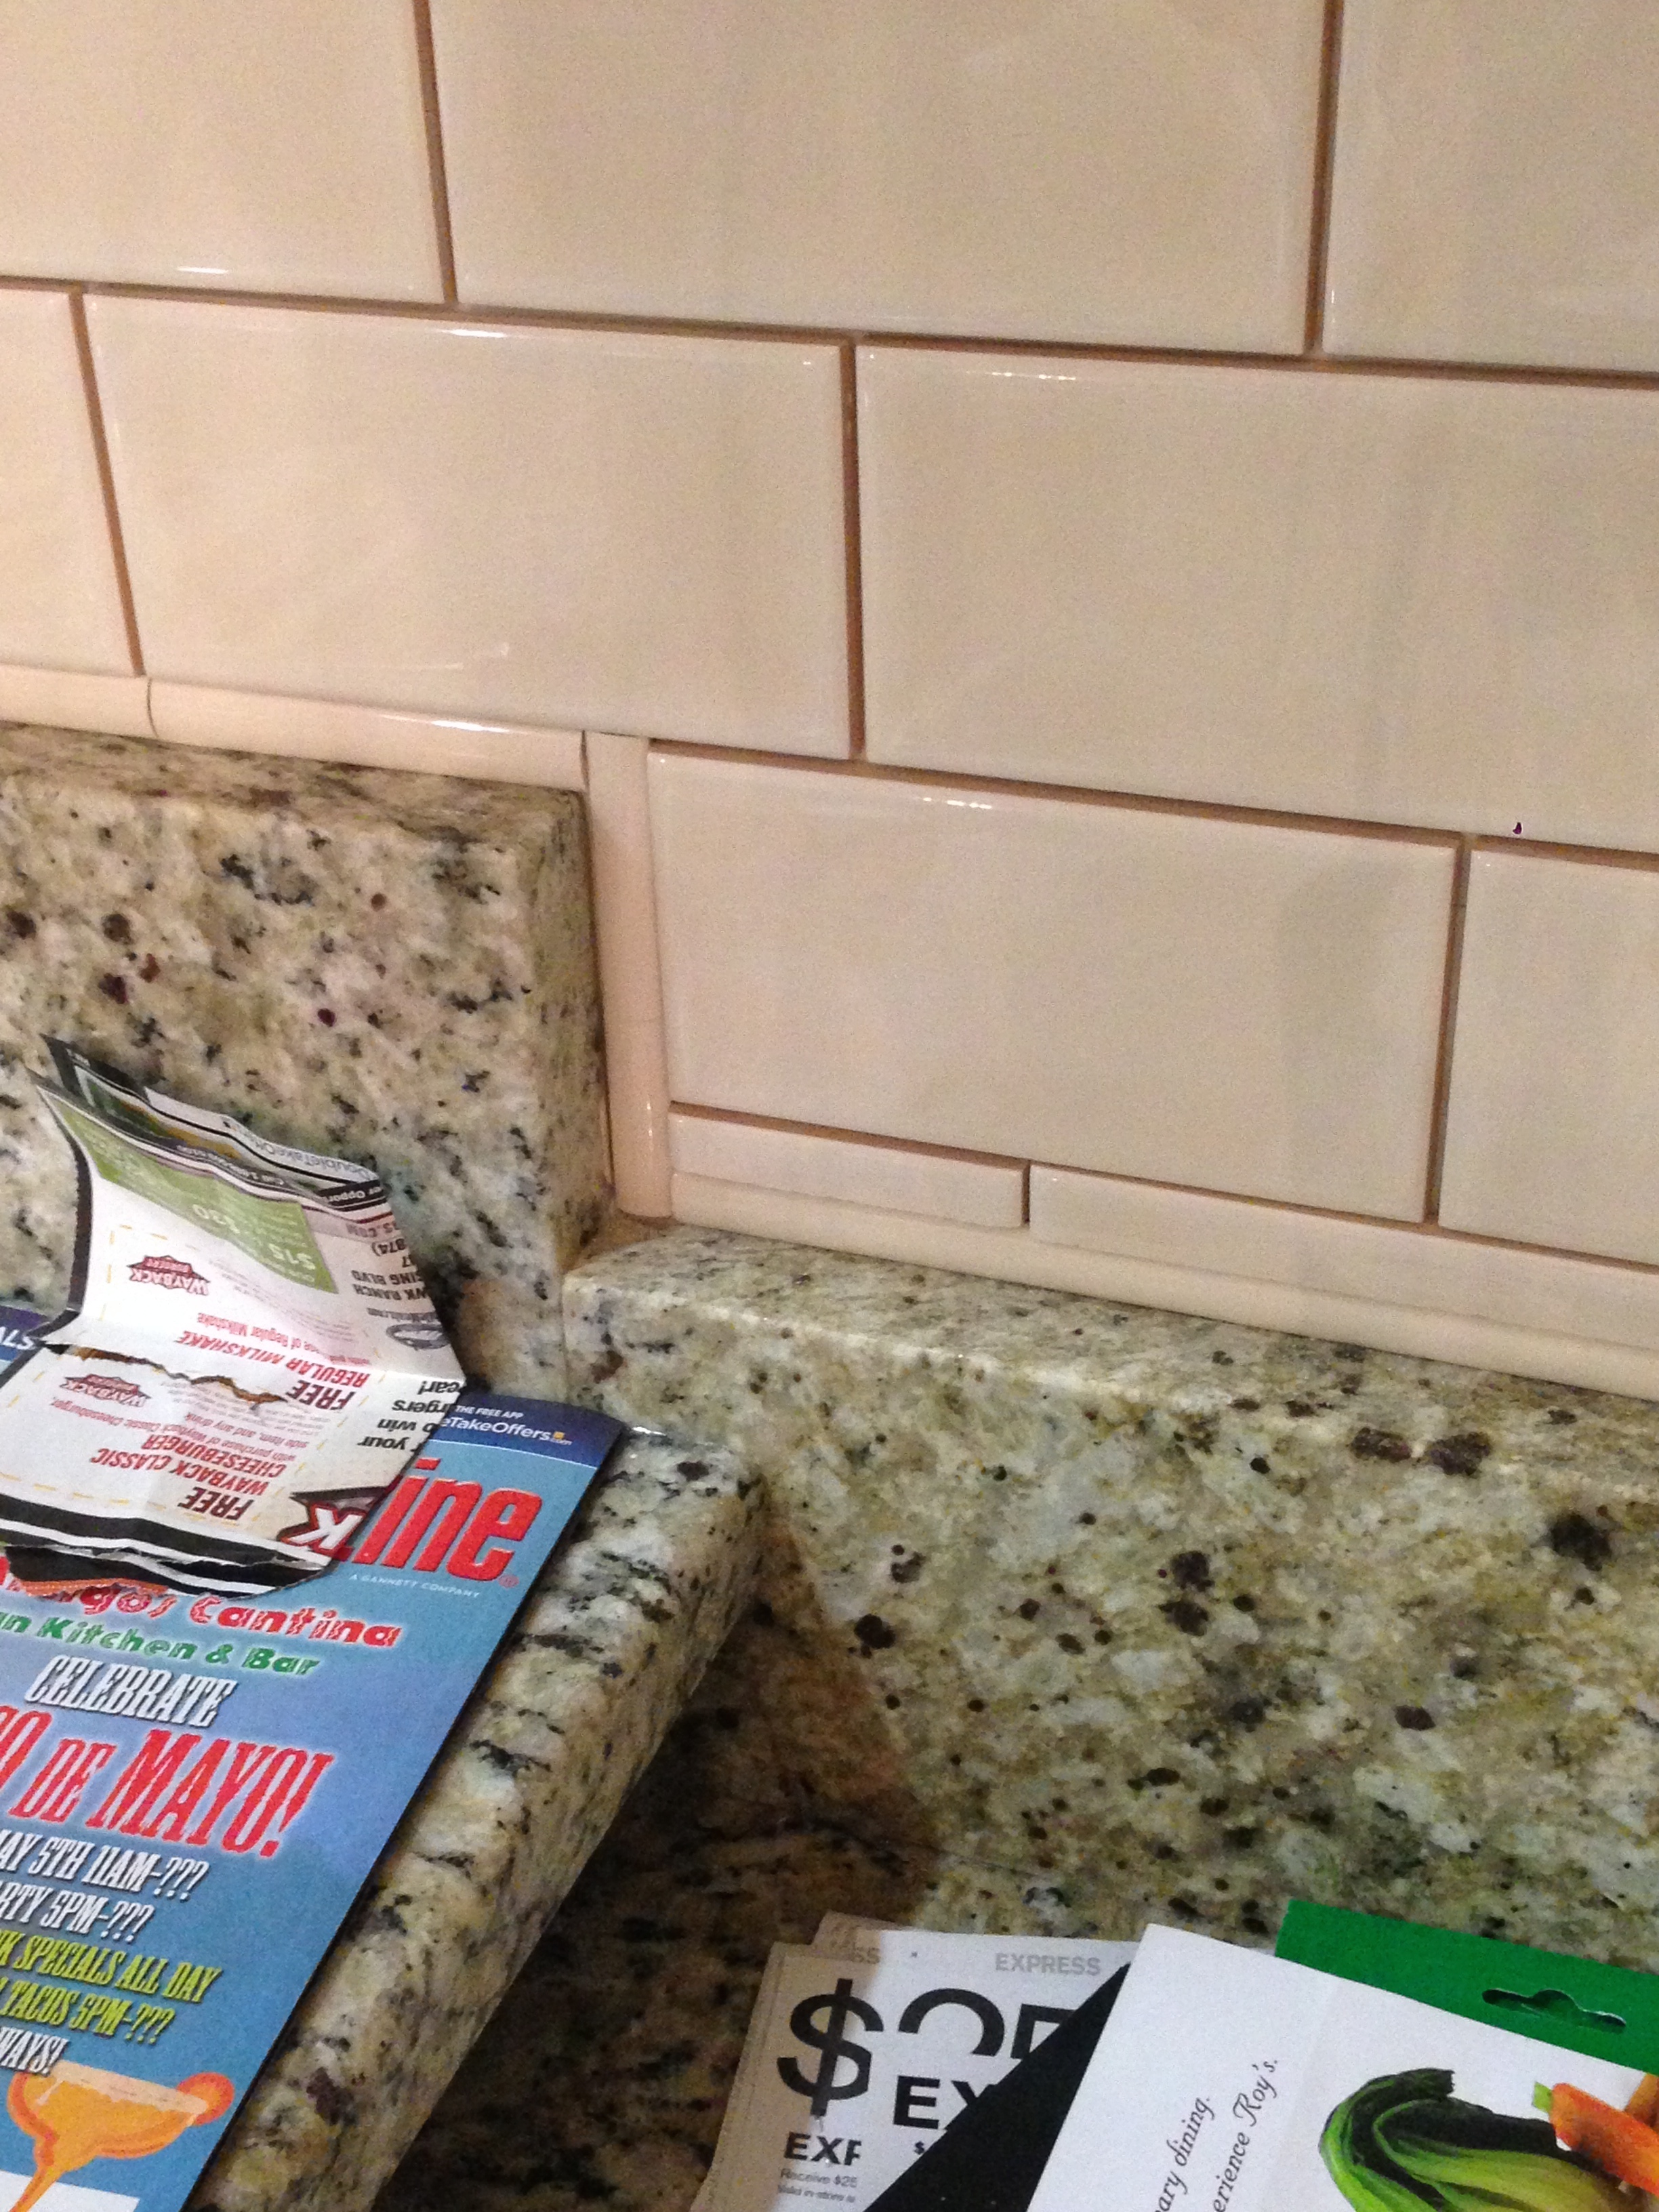
The next decision I had to make was whether or not to remove the 4″ backsplash “lip” on the wall. I went back and forth for a while on this one, but ended up deciding to leave it. For 2 reasons. One, I didn’t trust the builder and that there wouldn’t be a gap between the bottom granite and the wall when I removed the thick lip. The second reason is I was worried about destroying or removing some of the drywall in doing so. I prefer the look of it being removed but because of these two reasons I wasn’t really comfortable doing that.
So in my opinion, the hardest part about a tile job, is setting the mortar. Mixing it to the perfect consistency, layering it on a VERTICAL wall, all while attaching the tiles in a perfectly timed fashion just doesn’t sound like something I wanted to attempt. Especially being the novice that I am and never doing a tile job before. My solution?
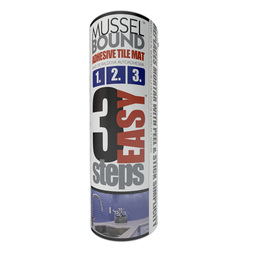
This! It’s a DOUBLE SIDED BACKSPLASH TAPE. Seriously? Sounds like a dream come true if you ask me. I found this in the middle of the aisle when I was shopping for the different tiles. I read the package several times in skepticism until I finally decided it was worth a try. It does cost a bit more than mortar, but it’s MORE than worth it in my opinion!
I think I was too anxious and excited to start, because this was the first picture I took. The double sided sticky roll is the same size as a paper towel roll. You simply unroll it, peel back the paper, and stick it directly on the wall and trim it to size with an exacta knife.
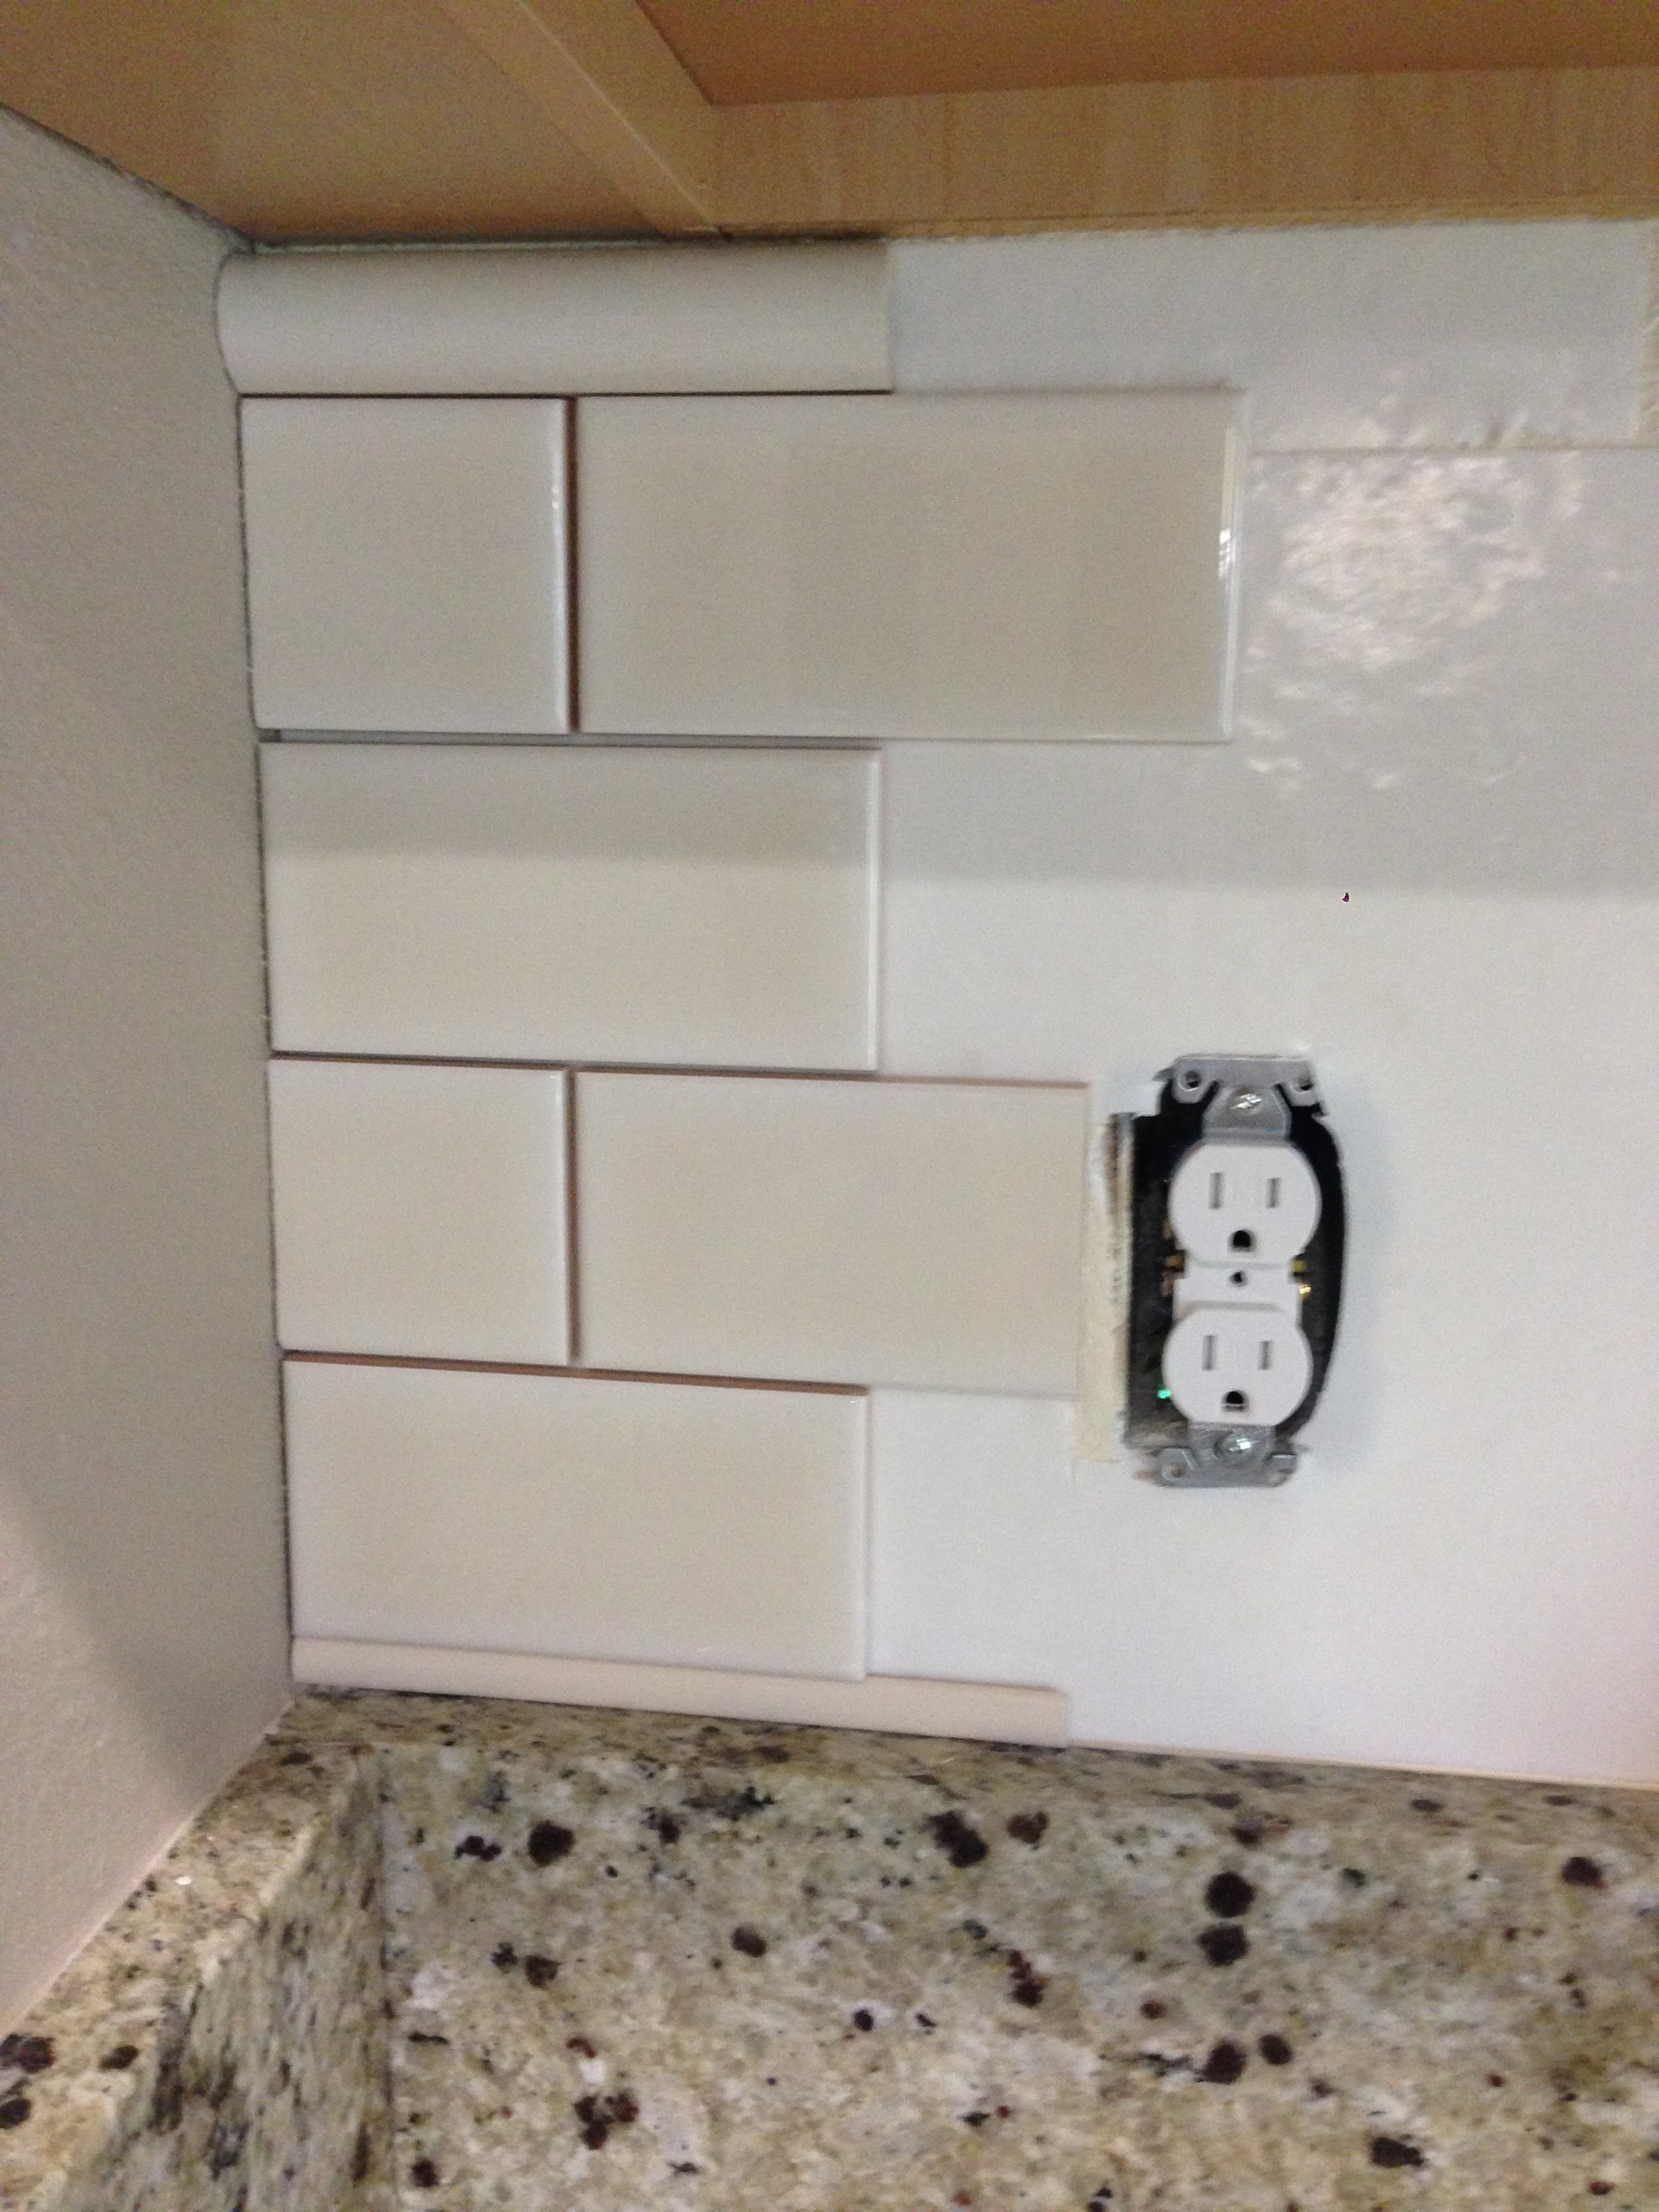
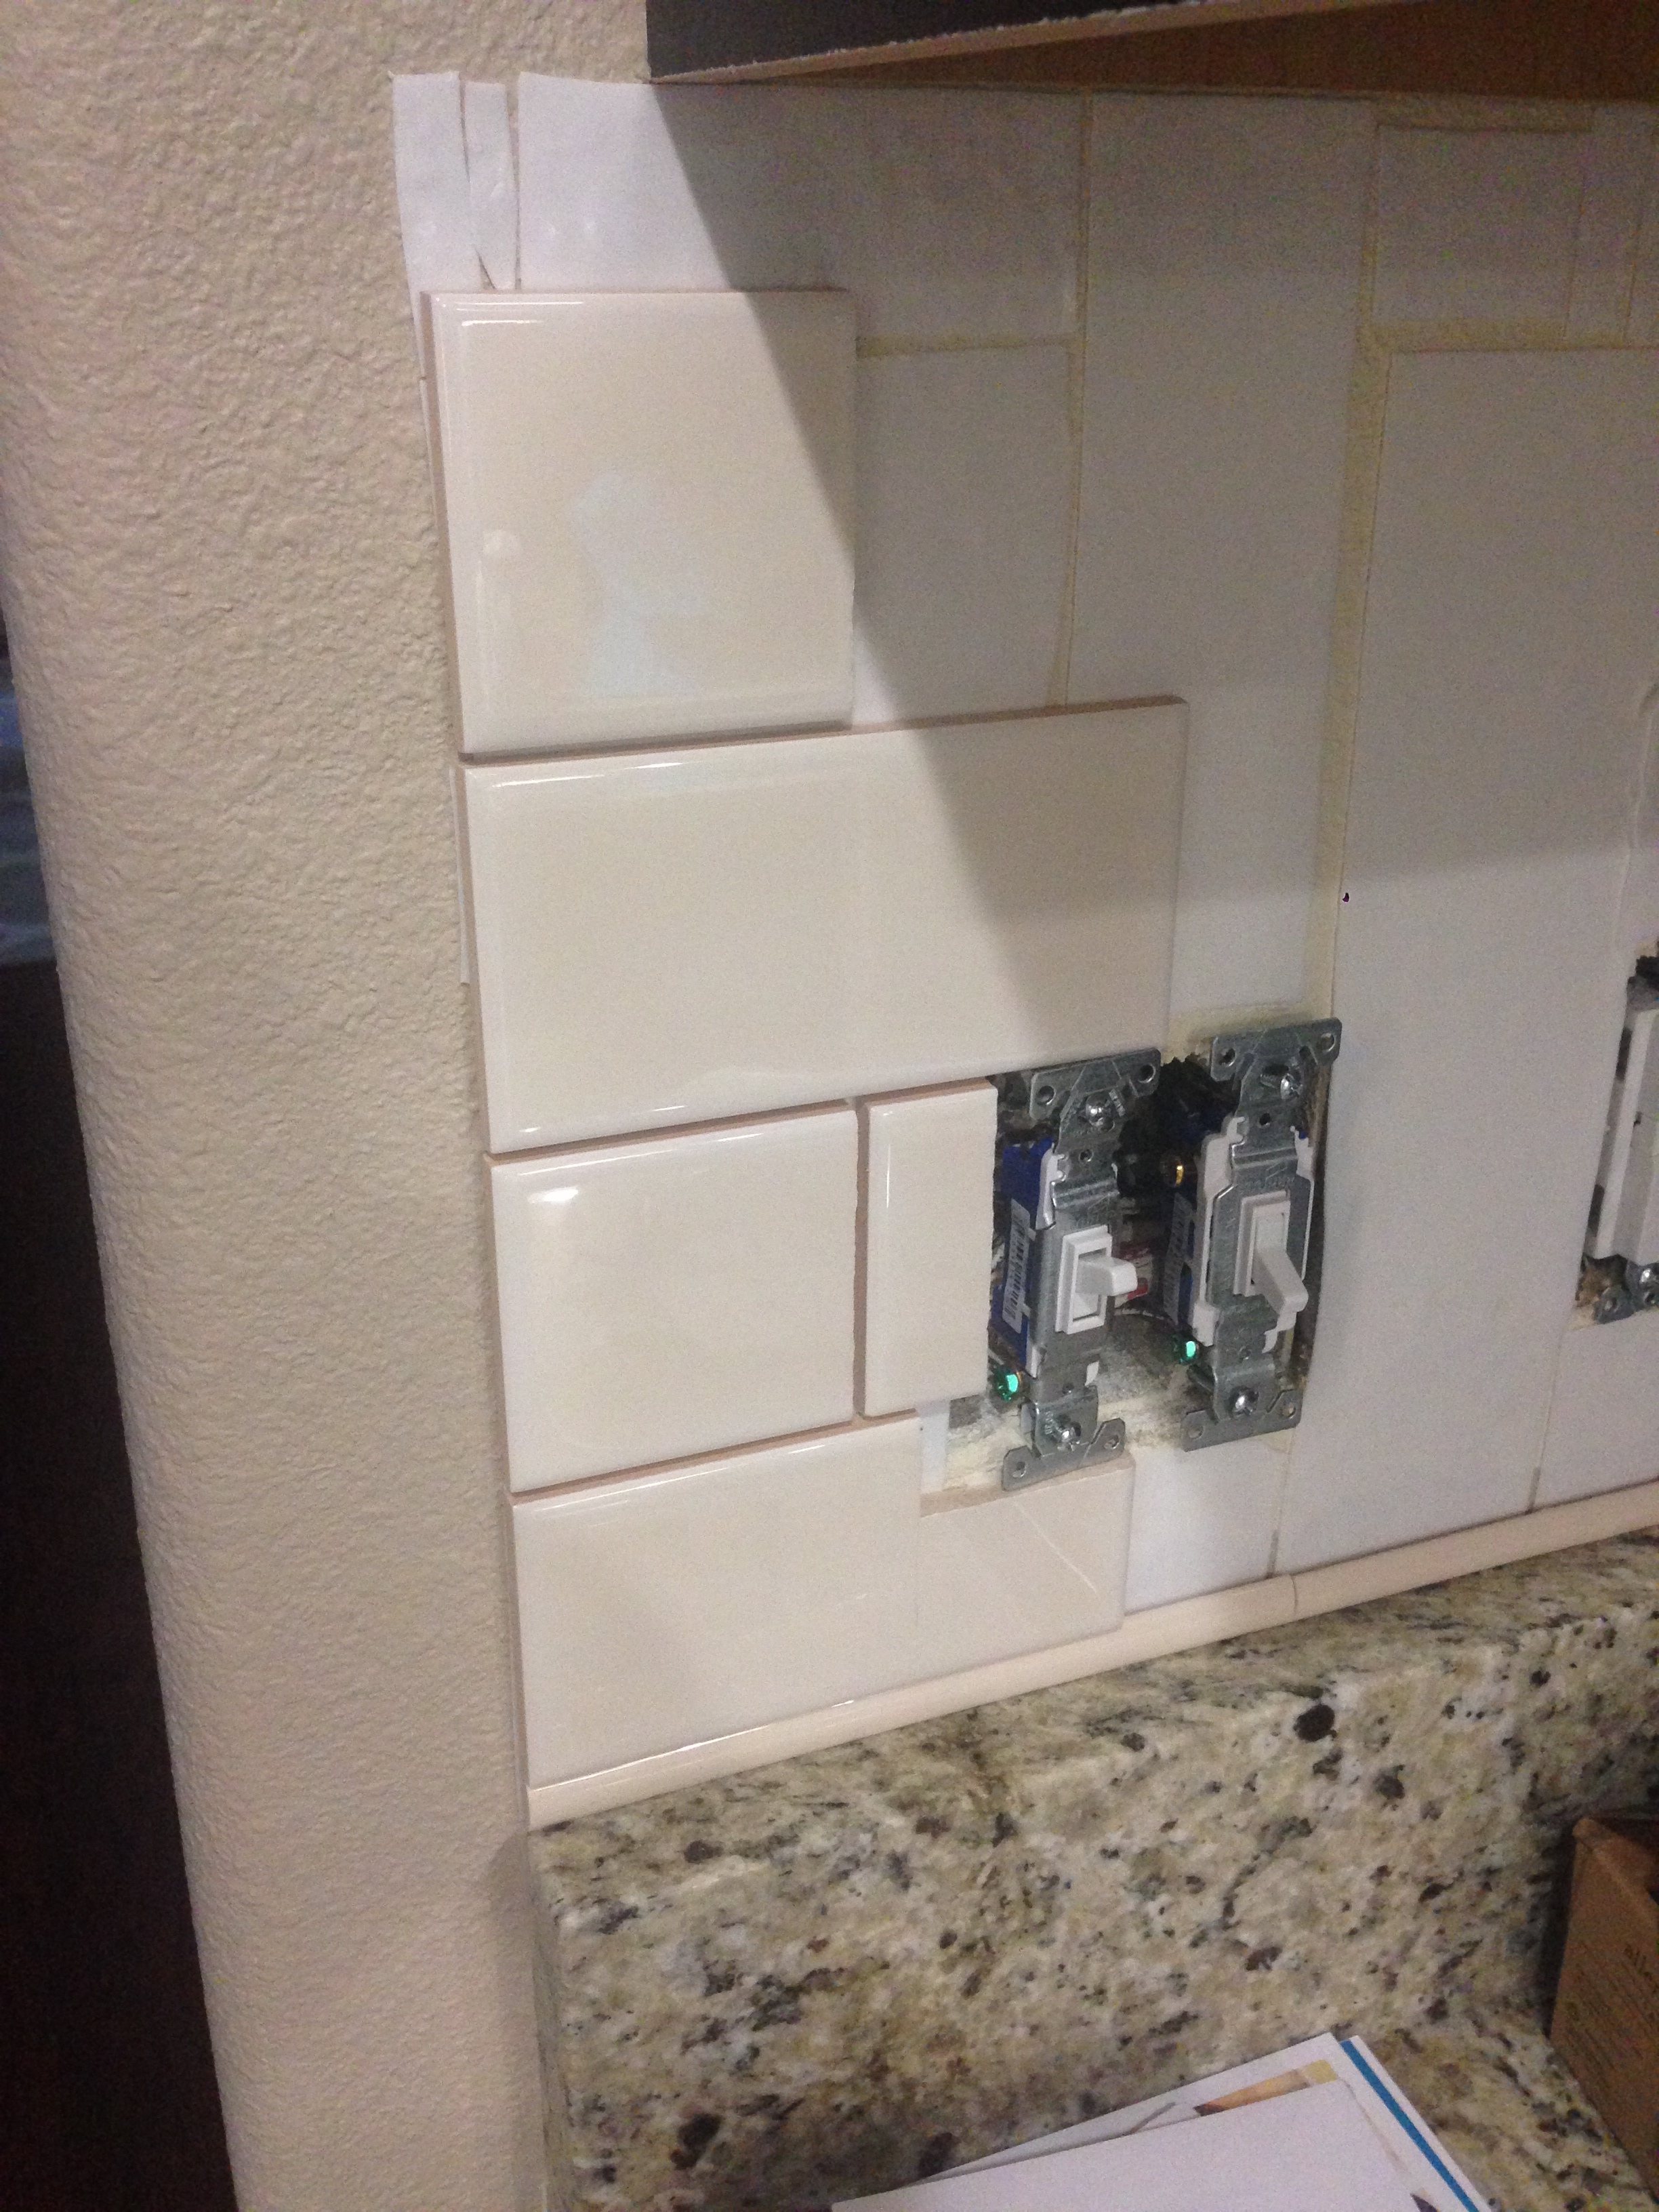
I started in the left hand corner wall and first stuck my bottom border piece on and then followed it by the subway tiles. You’ll see on the left hand edge I started with a full tile on the bottom, and then a half tile above it to start the pattern. It’s very easy, you simply push the tile in place and hold it for 2 seconds and DONE. You can even peel the tiles off and restick them if you didn’t place it in the right spot. You’ll see the border piece at the top, but I actually decided not to use it because you couldn’t see it when standing back and it was super expensive! No thank you!
Here’s the hand held tile cutter I used to make all my cuts. It was only $19.97 from Lowe’s and worked like a champ!
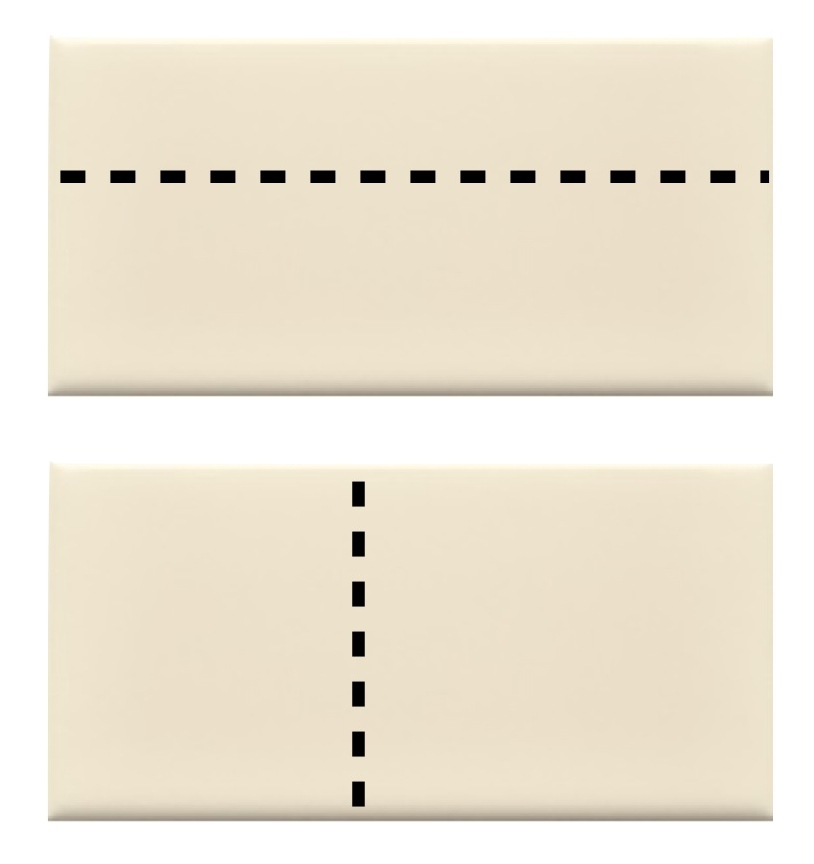
Here are the type of cuts I made using my tile cutter. Only ones where the tile was cut in half, either length or width.
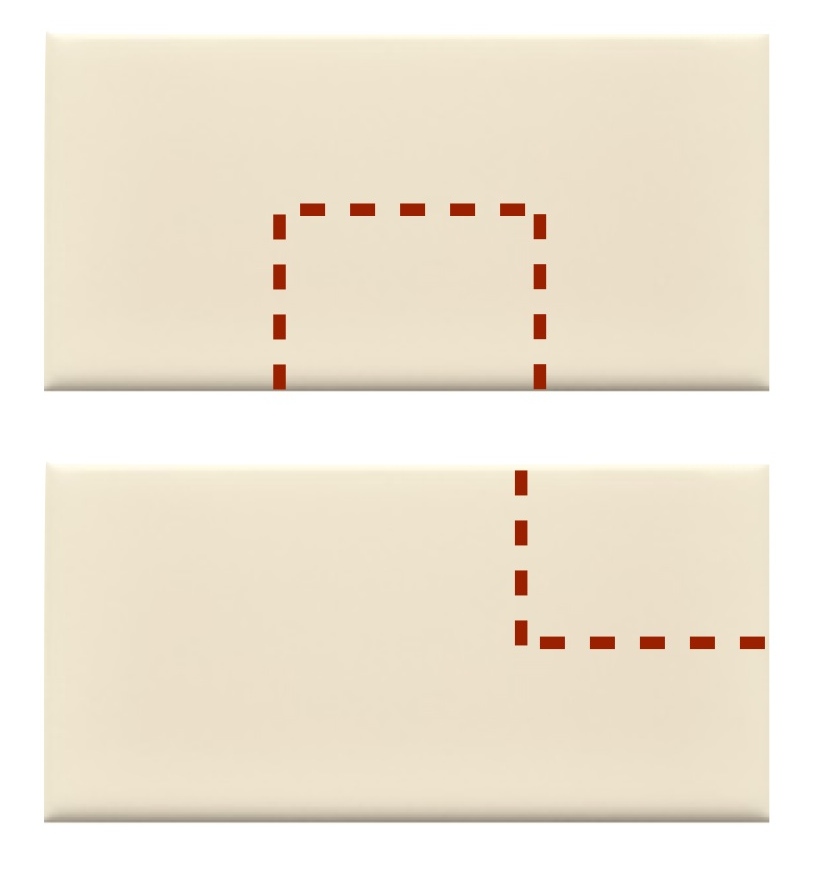
Contrarily, here are the cuts I DID NOT make. The ones that had more than one cut that were around the outlets. I took these to Lowe’s with precise crayon marks on them to have Lowe’s cut for me for FREE! In total I only had 6 of these that I wasn’t able to cut myself.
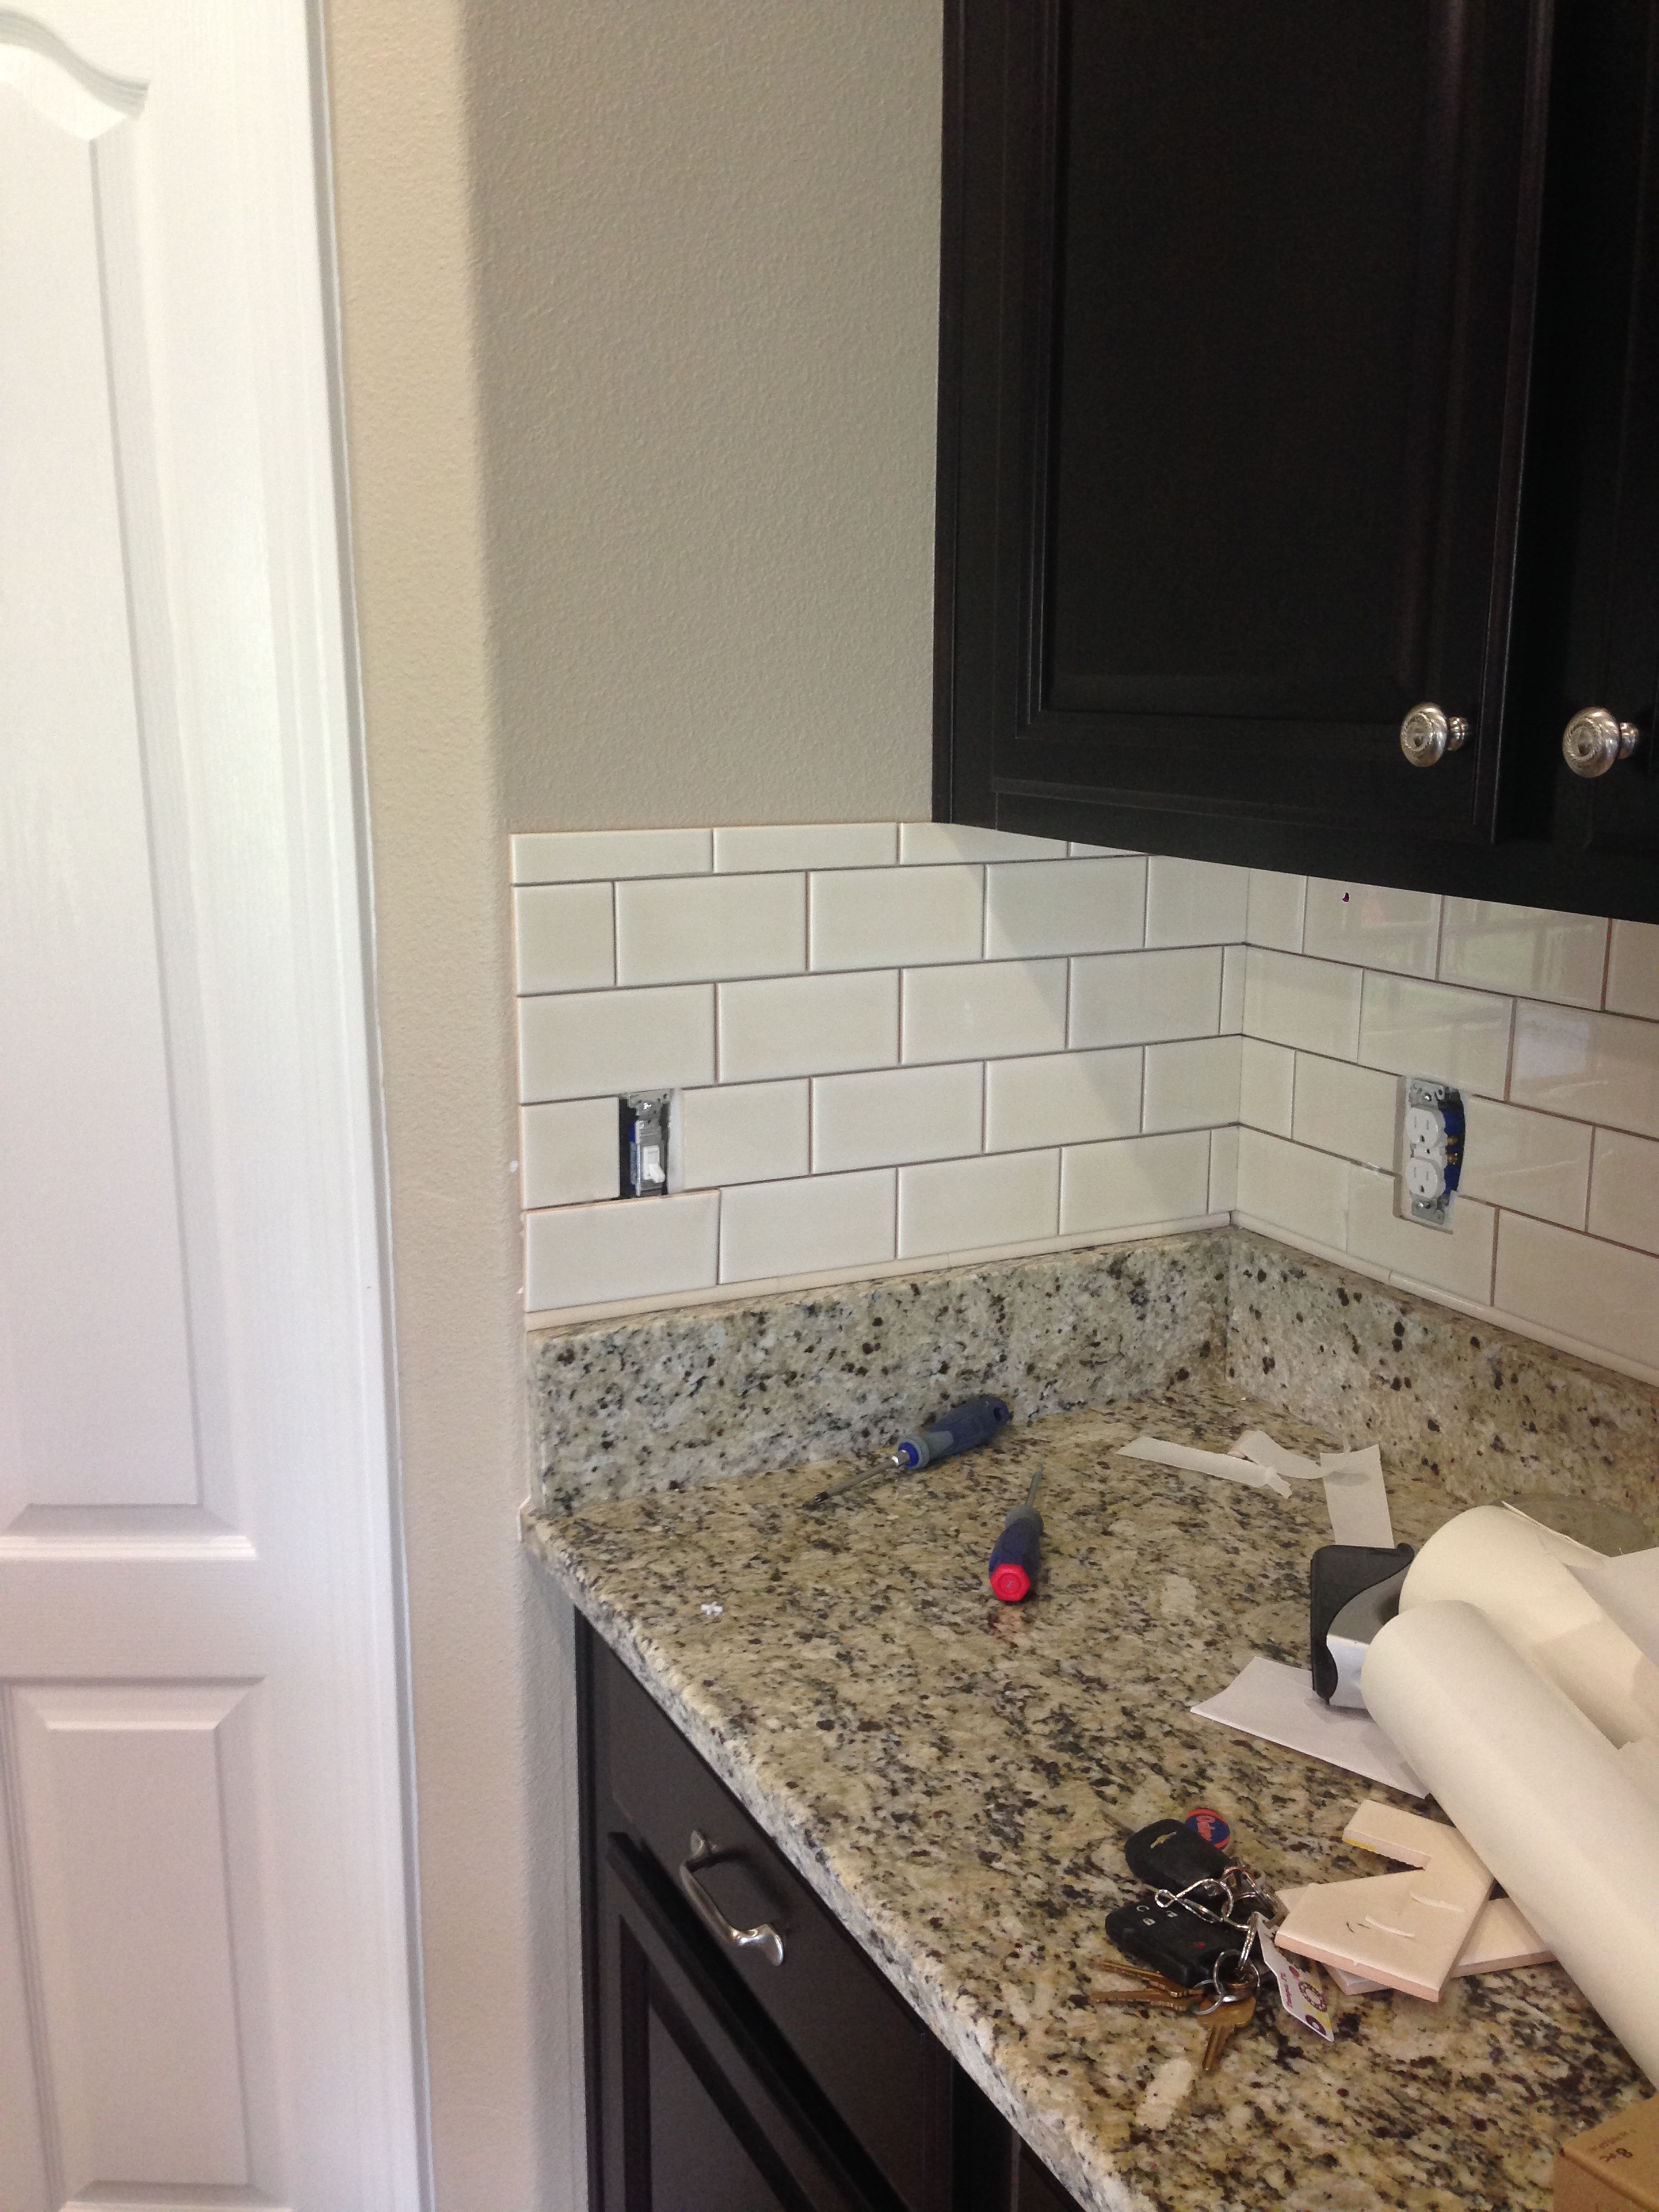
Here’s where I left an empty spot for one of the tile’s I wasn’t able to cut myself and just kept moving along.
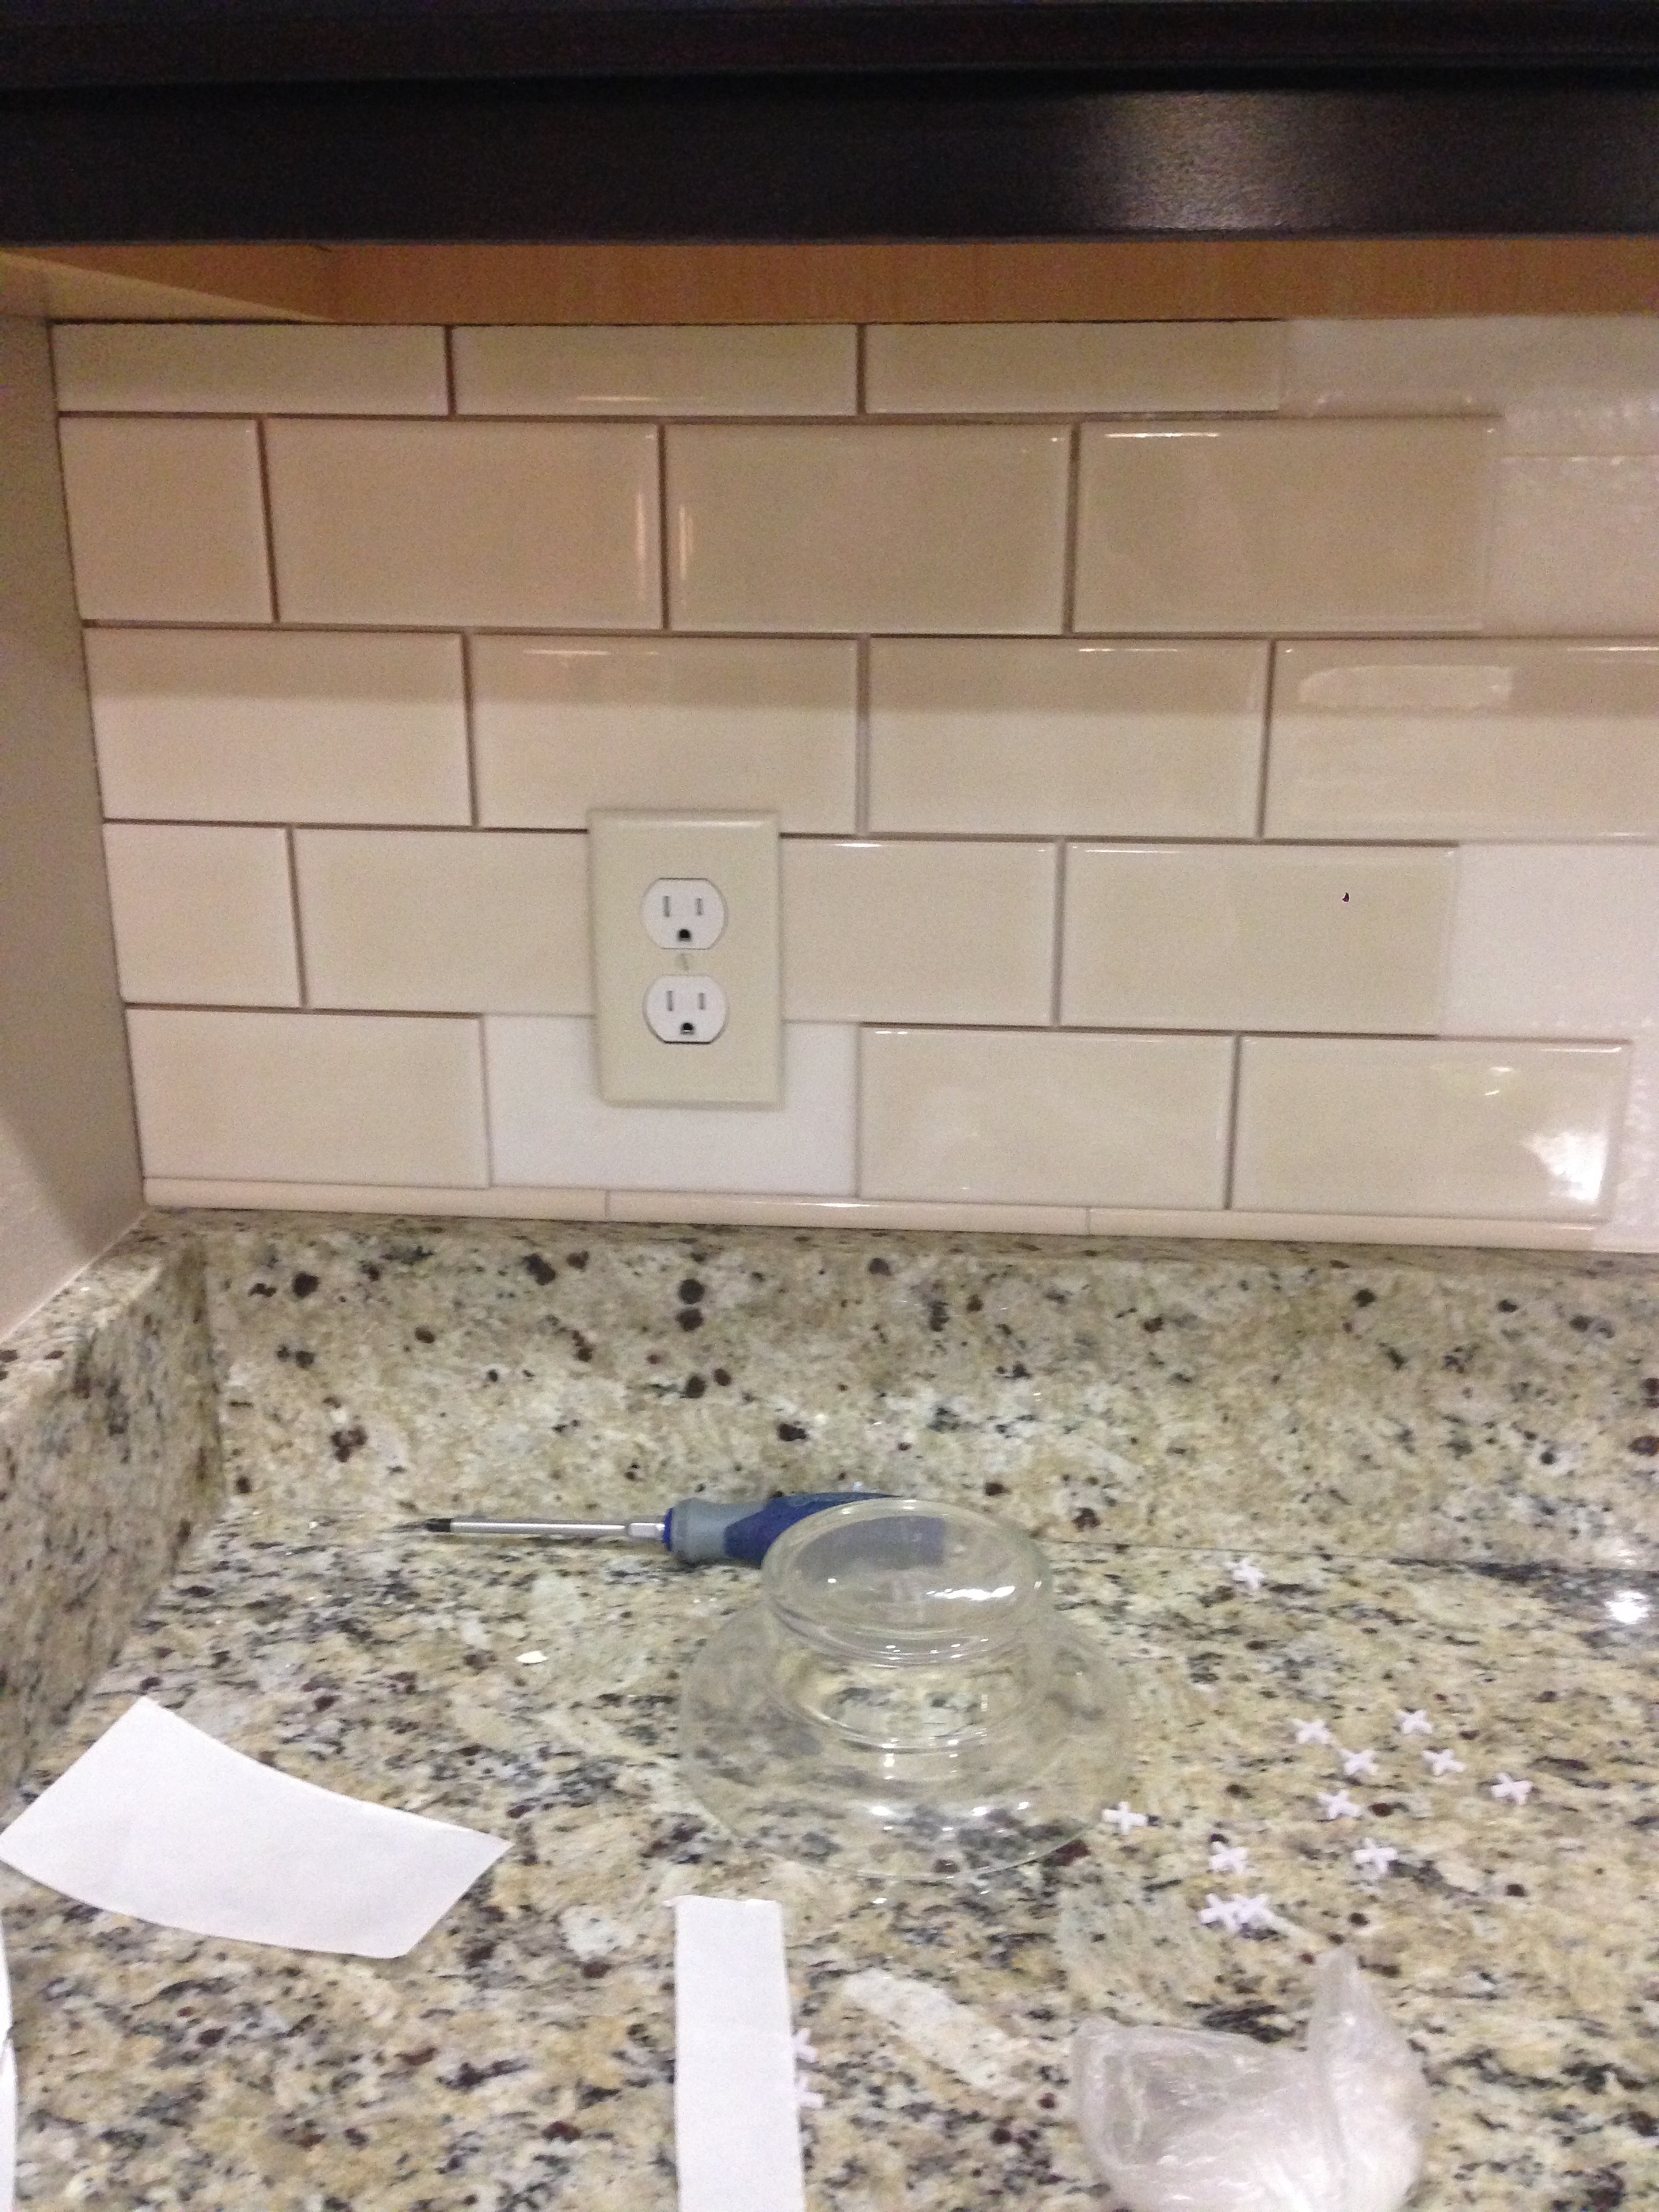
I started out using very small spacers, but I’ll be honest, I stopped pretty early on and just “eye-balled” the rest. I like to wing things!
When I got towards the end of the wall where our desk is, it dropped down a few inches and I simply brought my border down and continued as normal.

Had some small cuts to make, but not anything my cutter couldn’t handle!
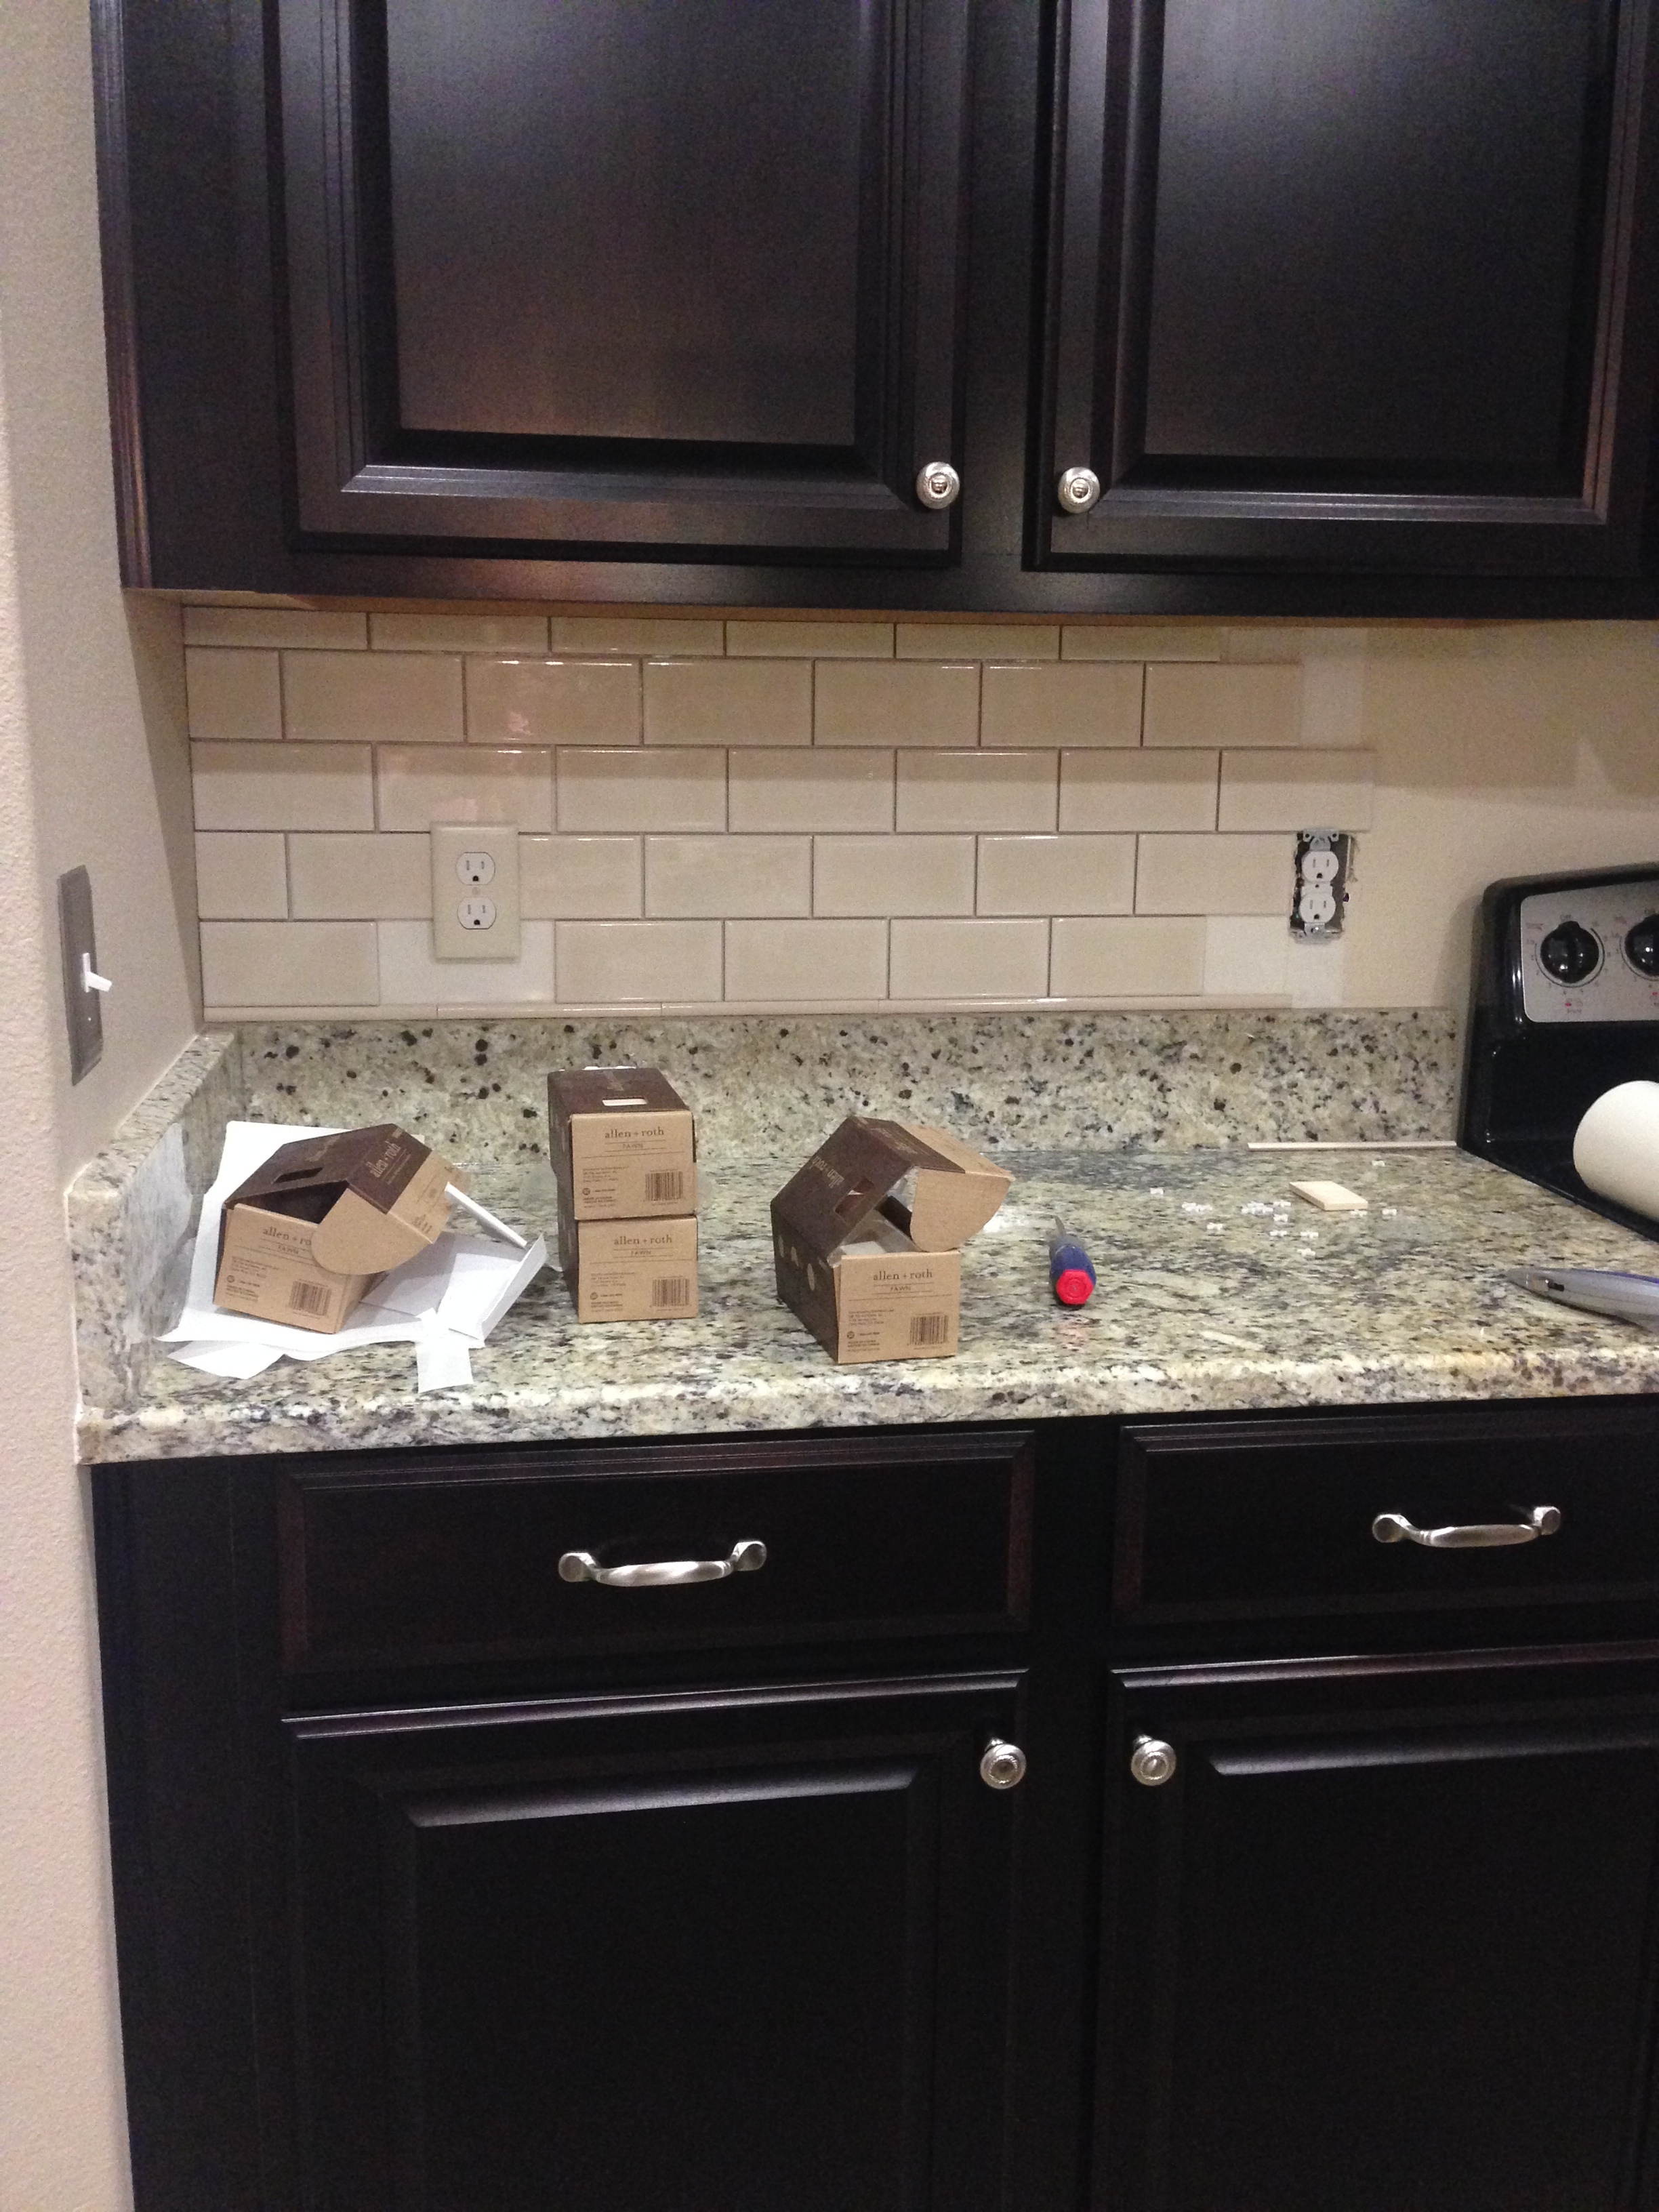
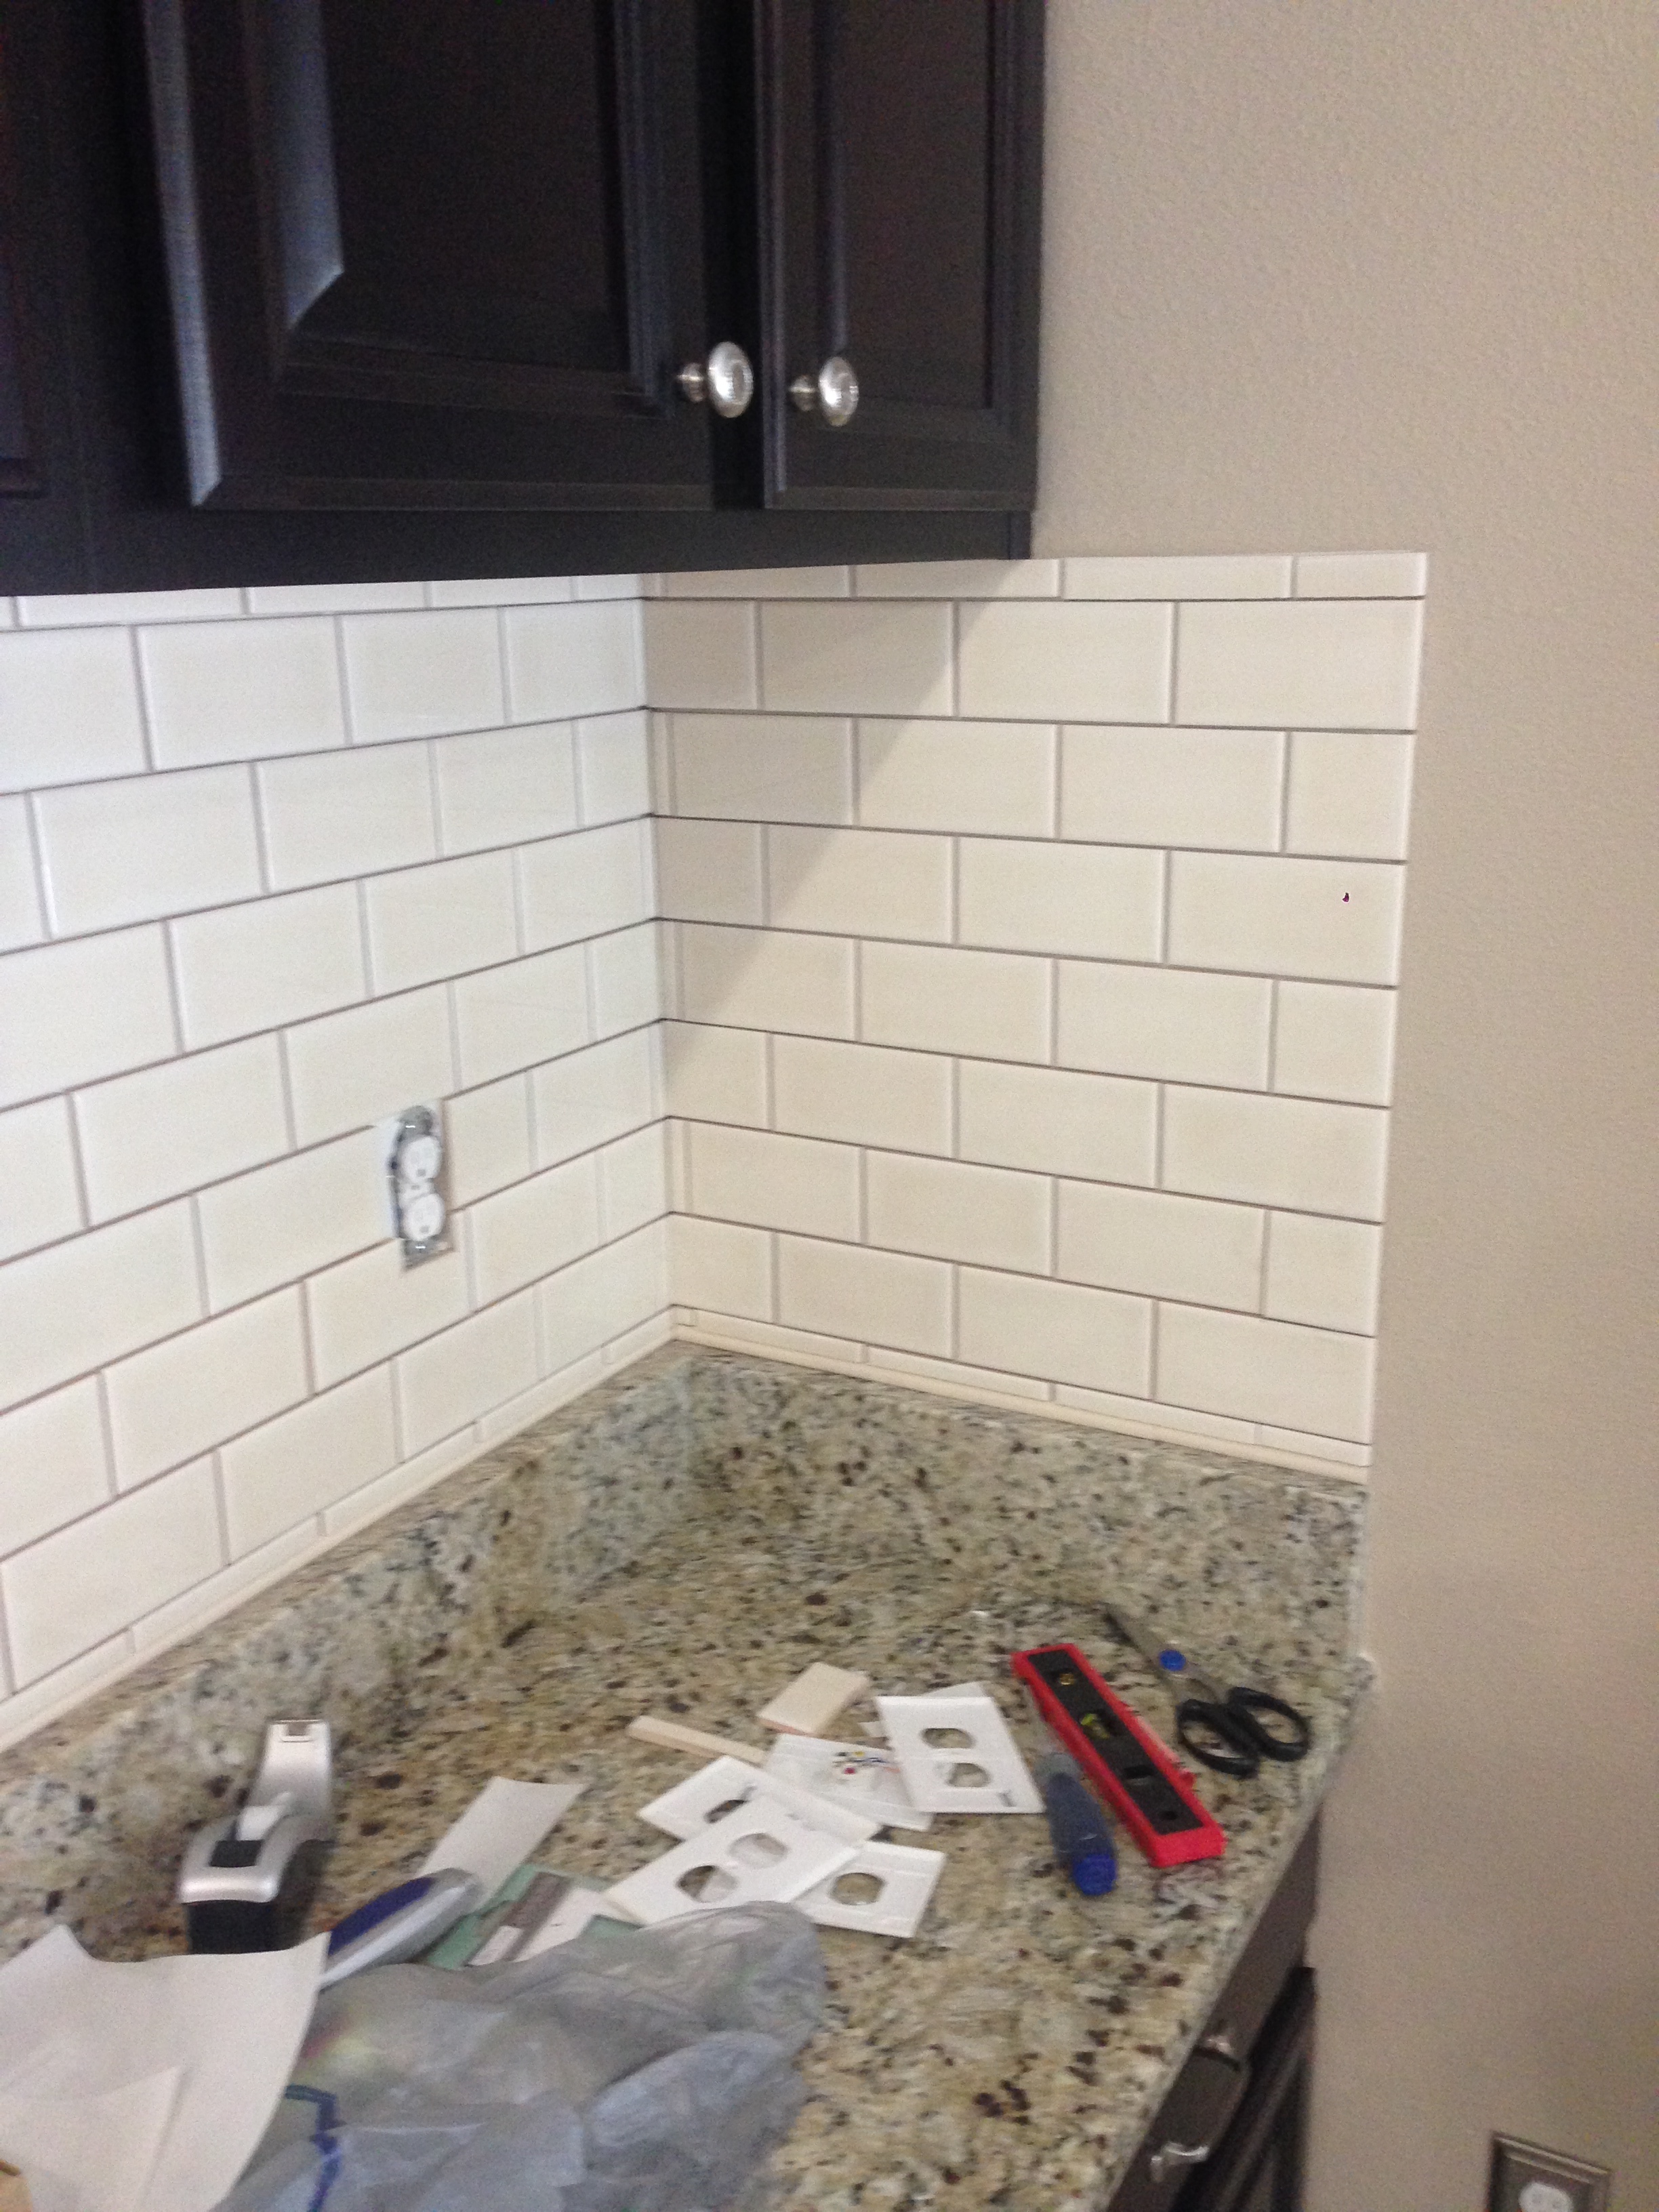
Only thing missing were the 6 outlet tiles I had to get cut from Lowe’s. And the sides! See where I left the sides empty?

I wasn’t sure how I liked that, so I did a quick google search to see what was “normal” and learned that most of the time the backsplash is carried over to the side wall. So I ended up tiling that as well and am VERY thankful I decided to do so!
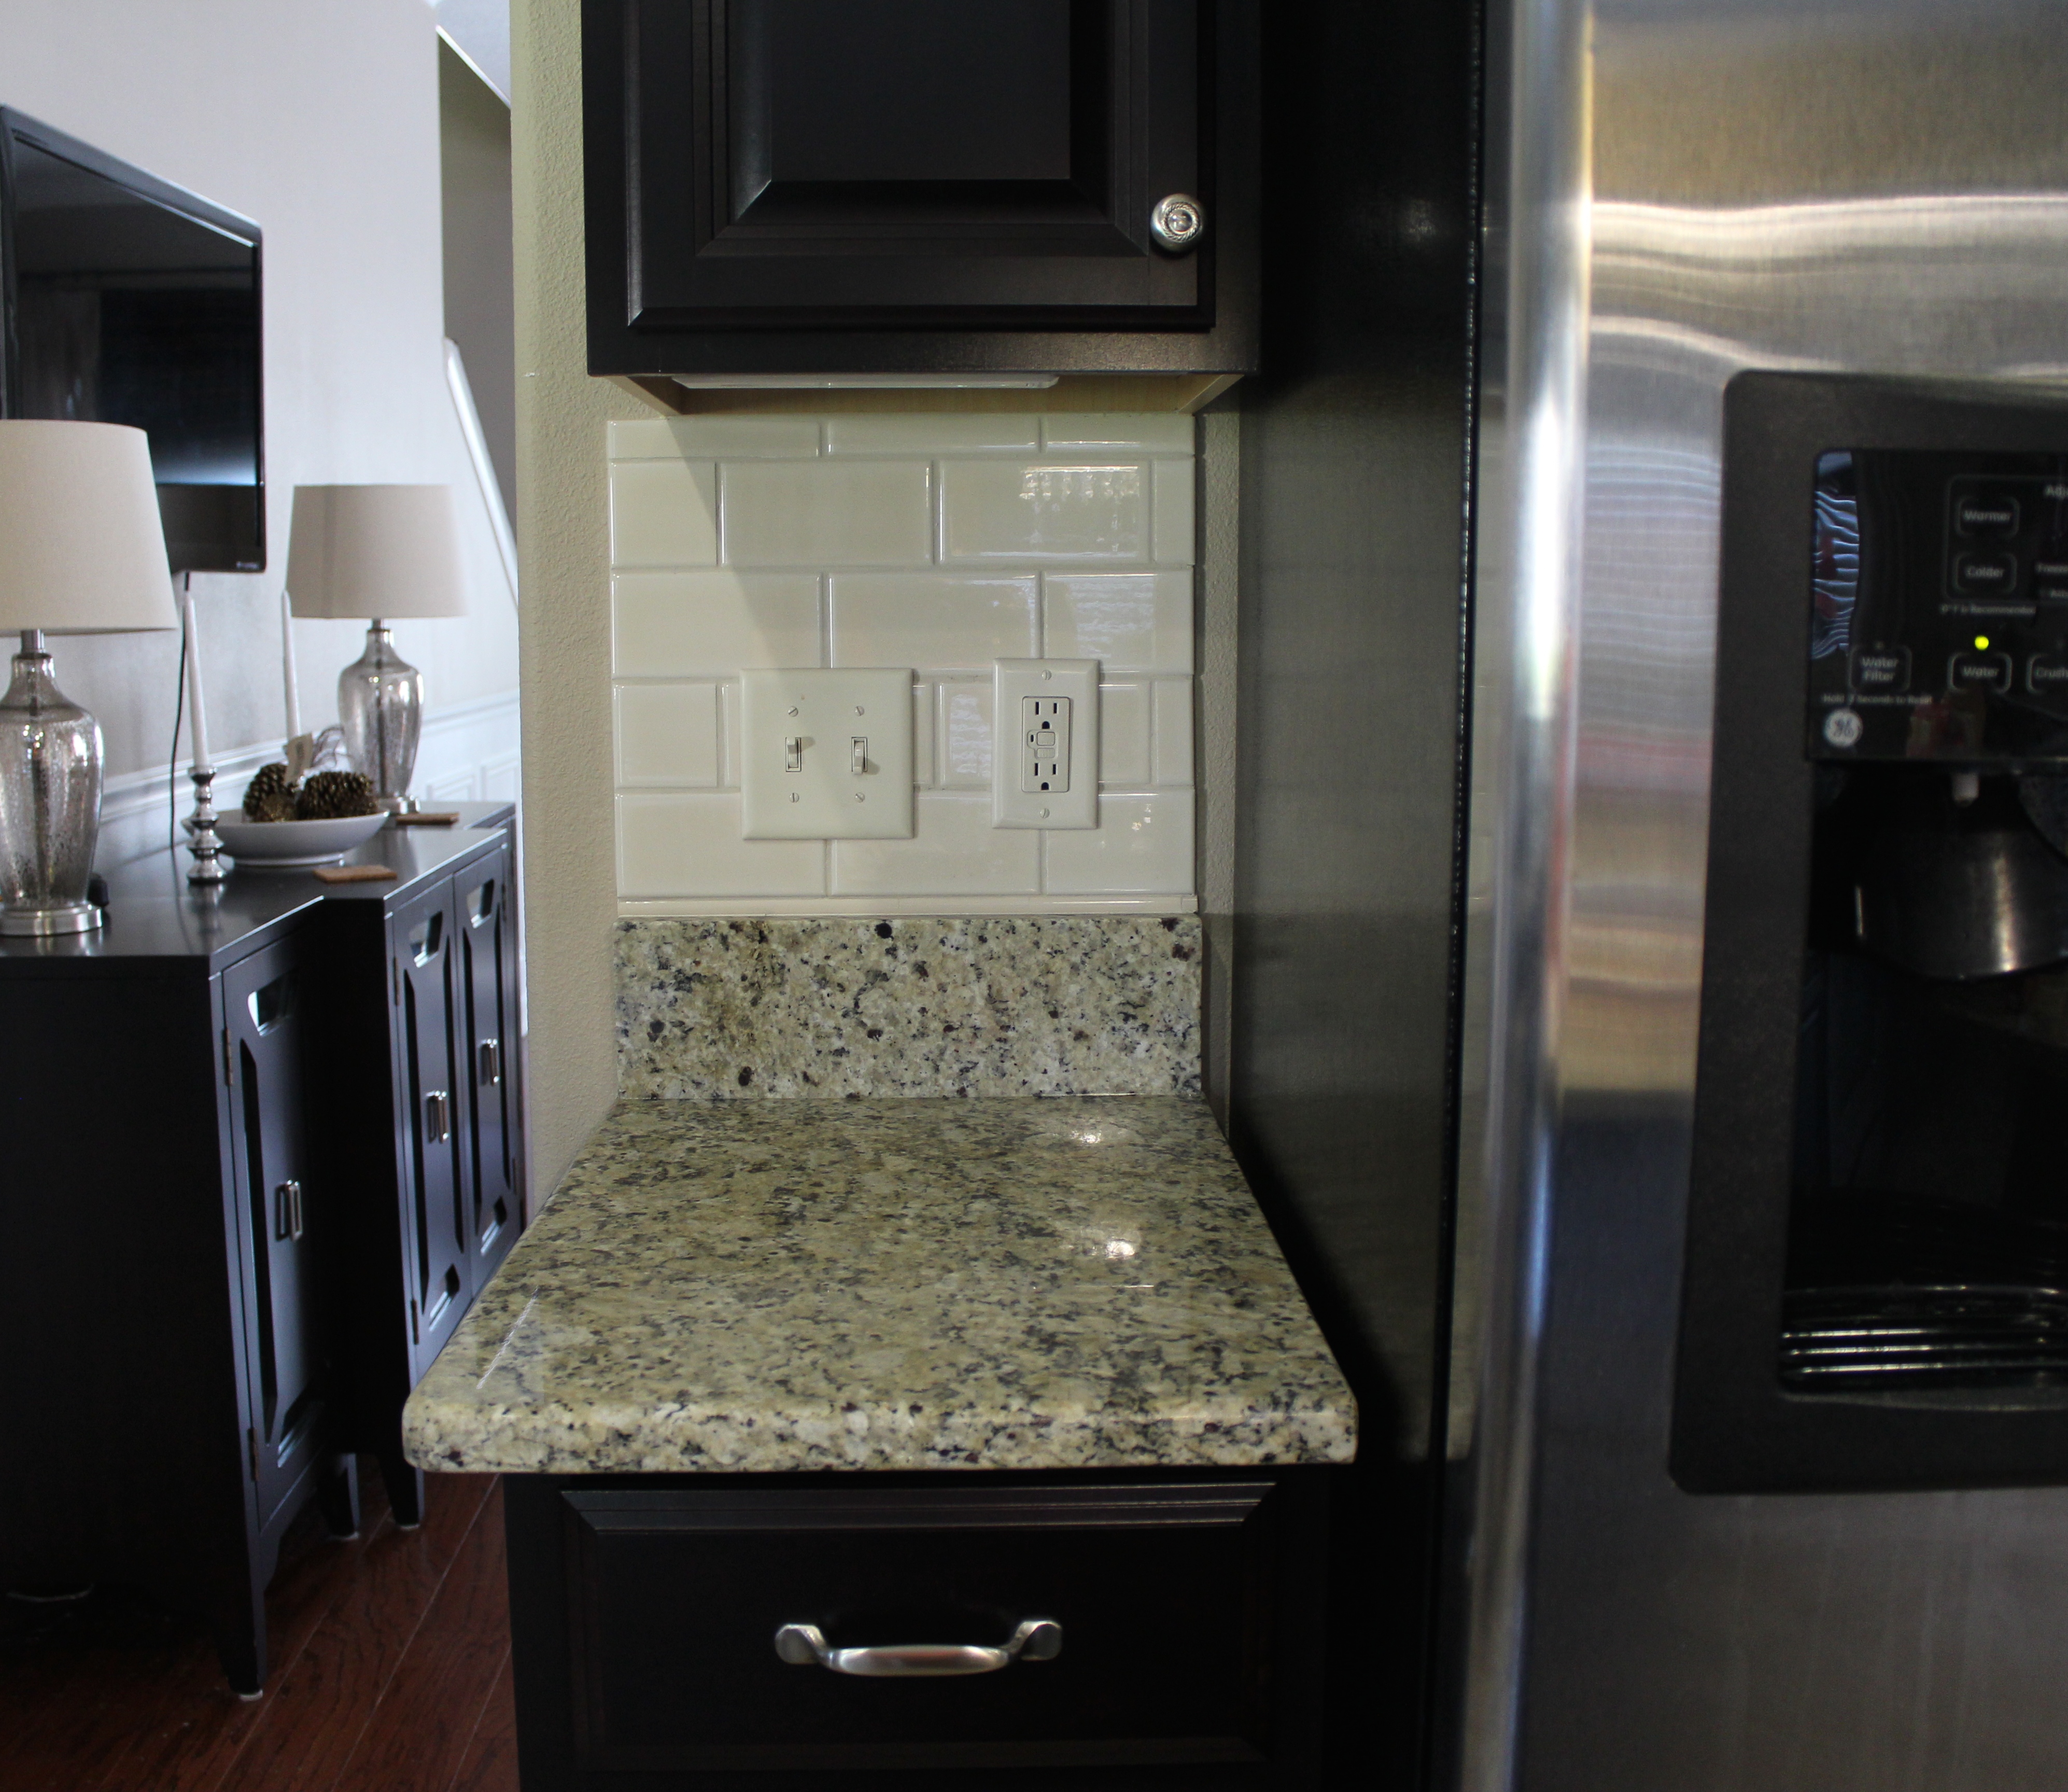
The only other part of backsplash to complete was this tiny section on the left side of our refrigerator. It was difficult with quite a few cuts due to the two outlets in such a small space.
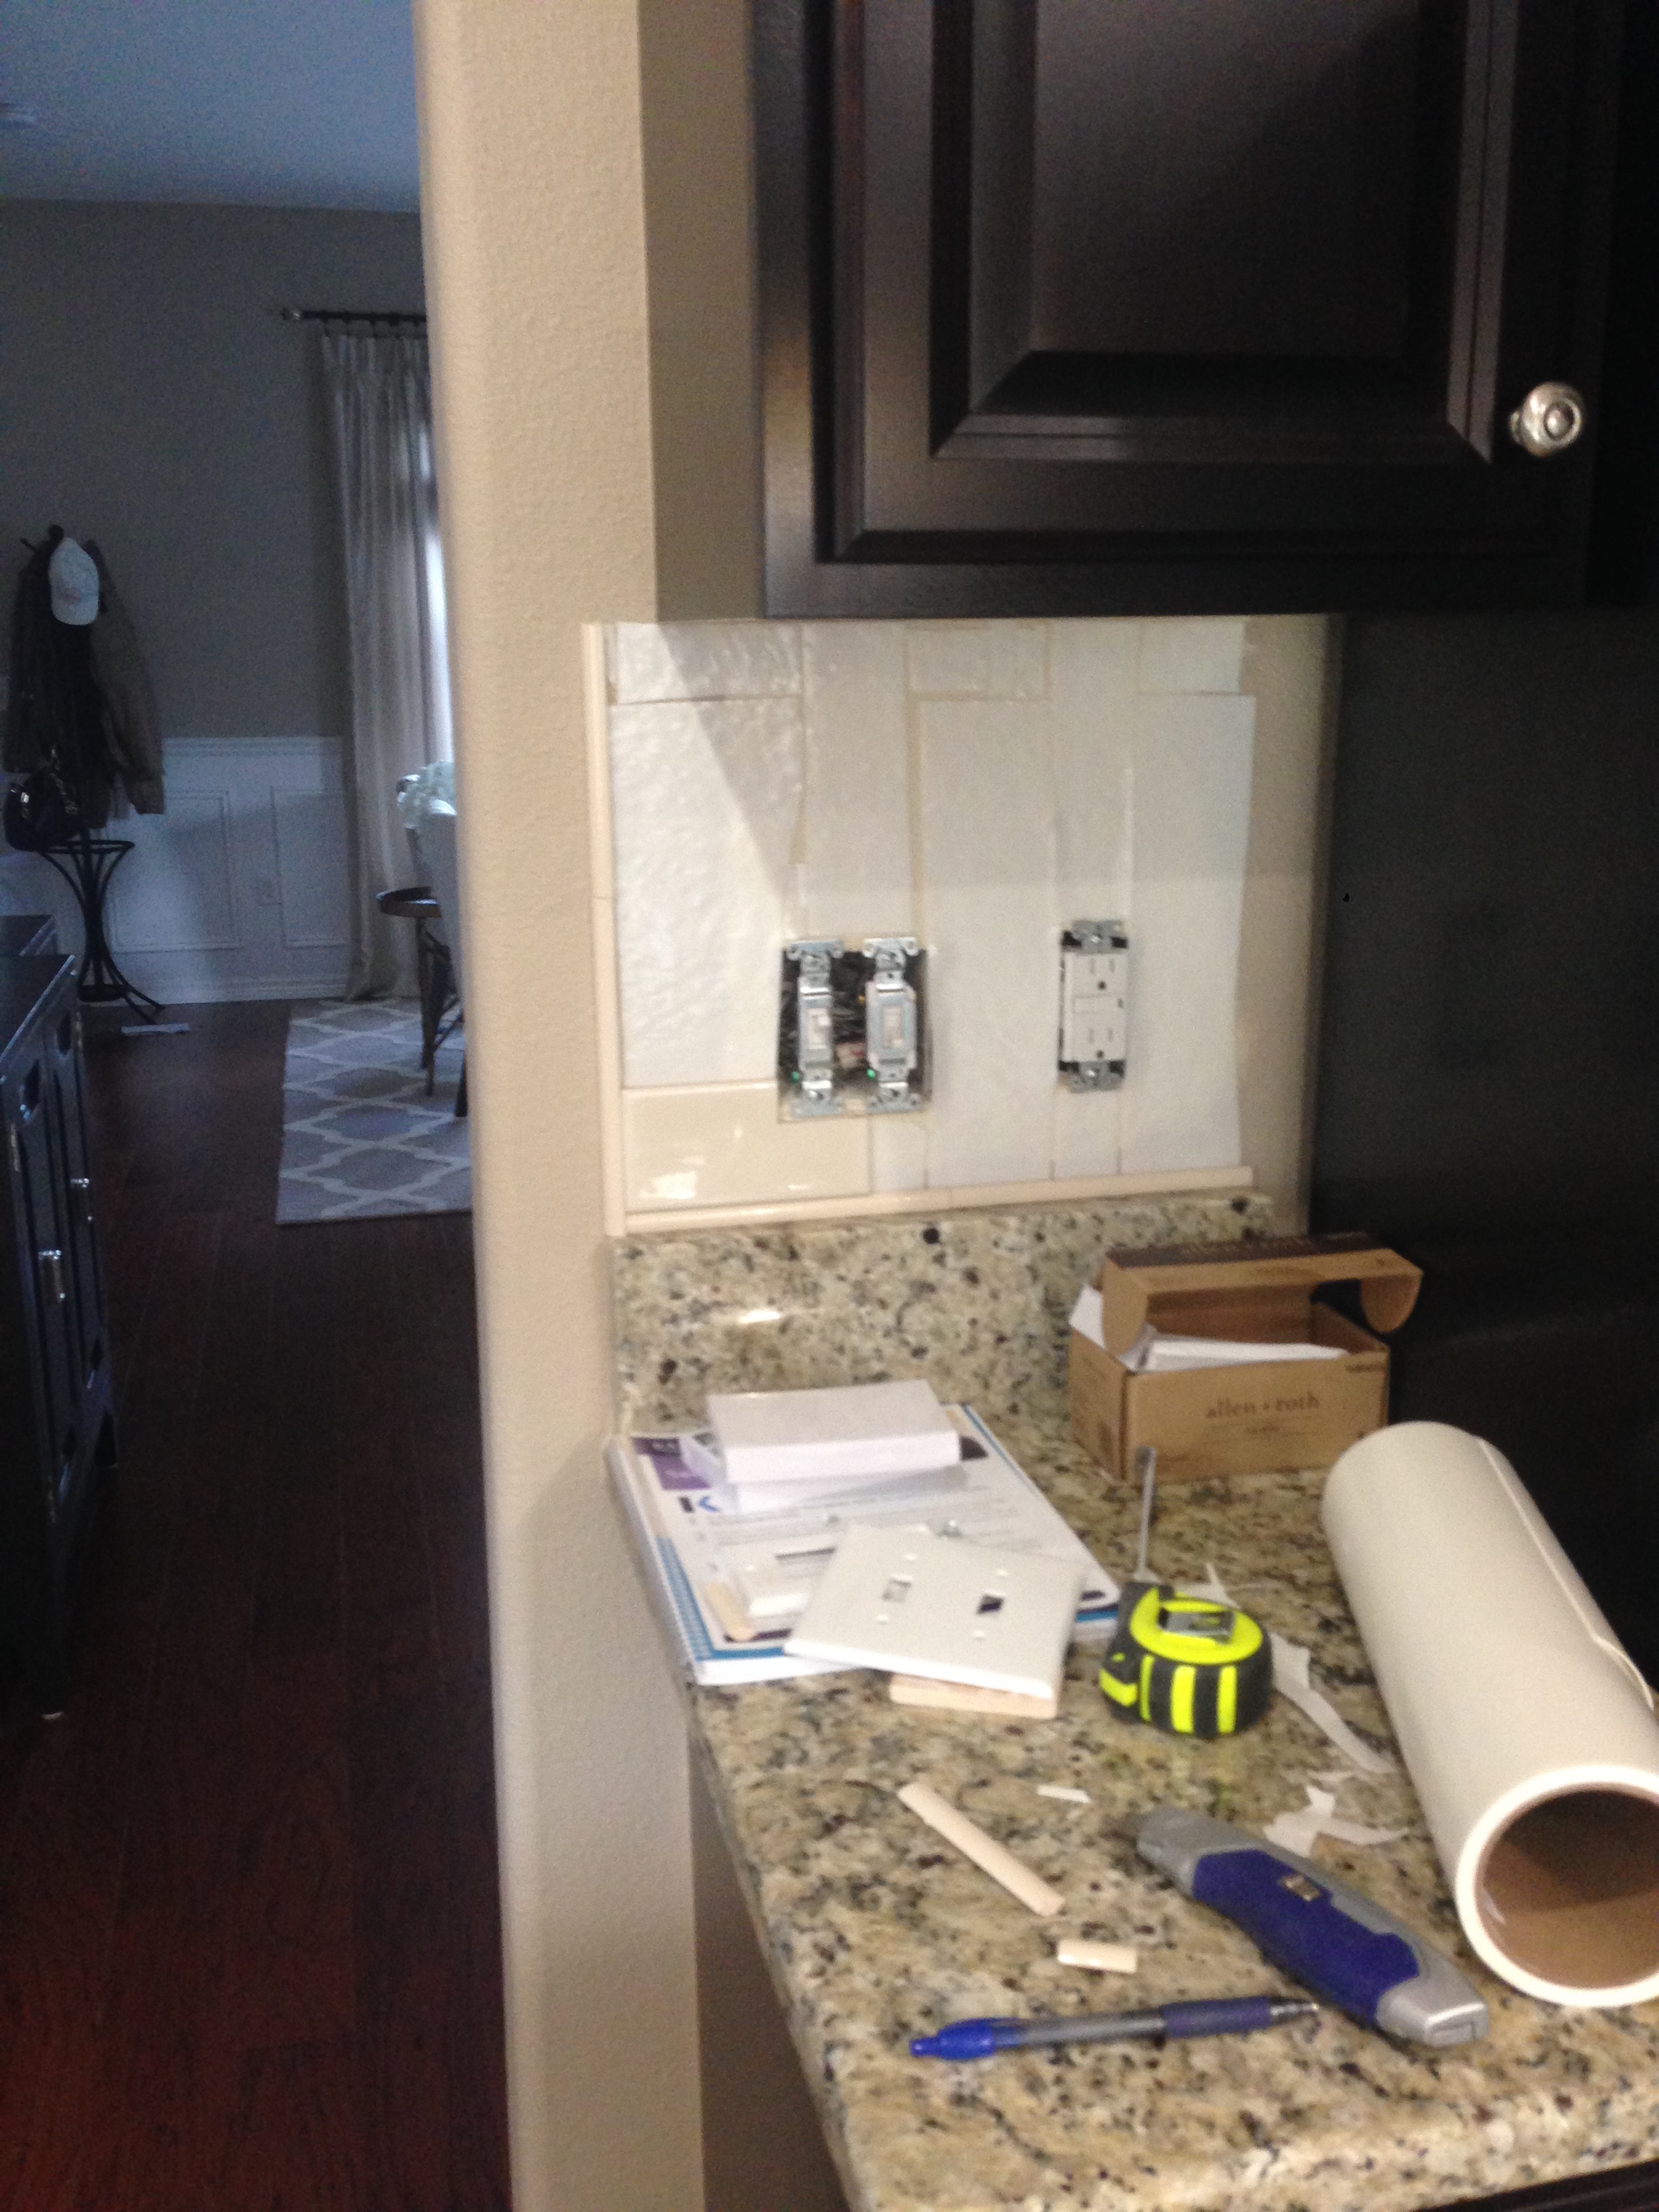
I followed the same exact principles and had Lowe’s do any of the 2 or 3 sided cuts.
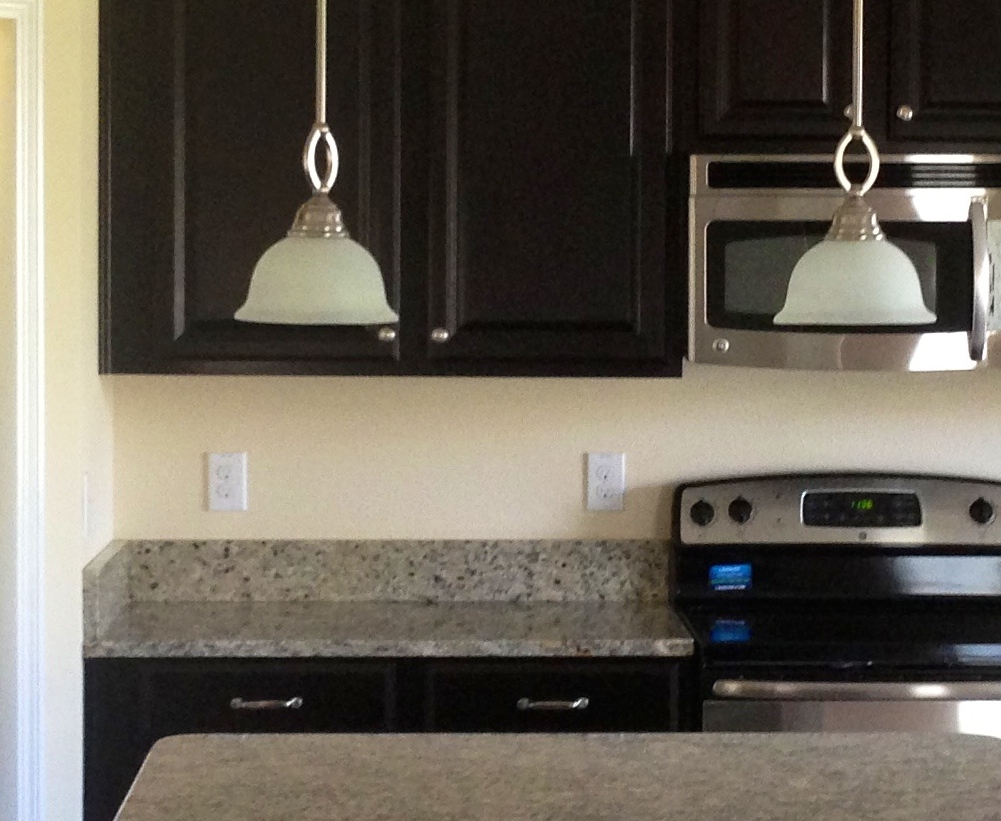
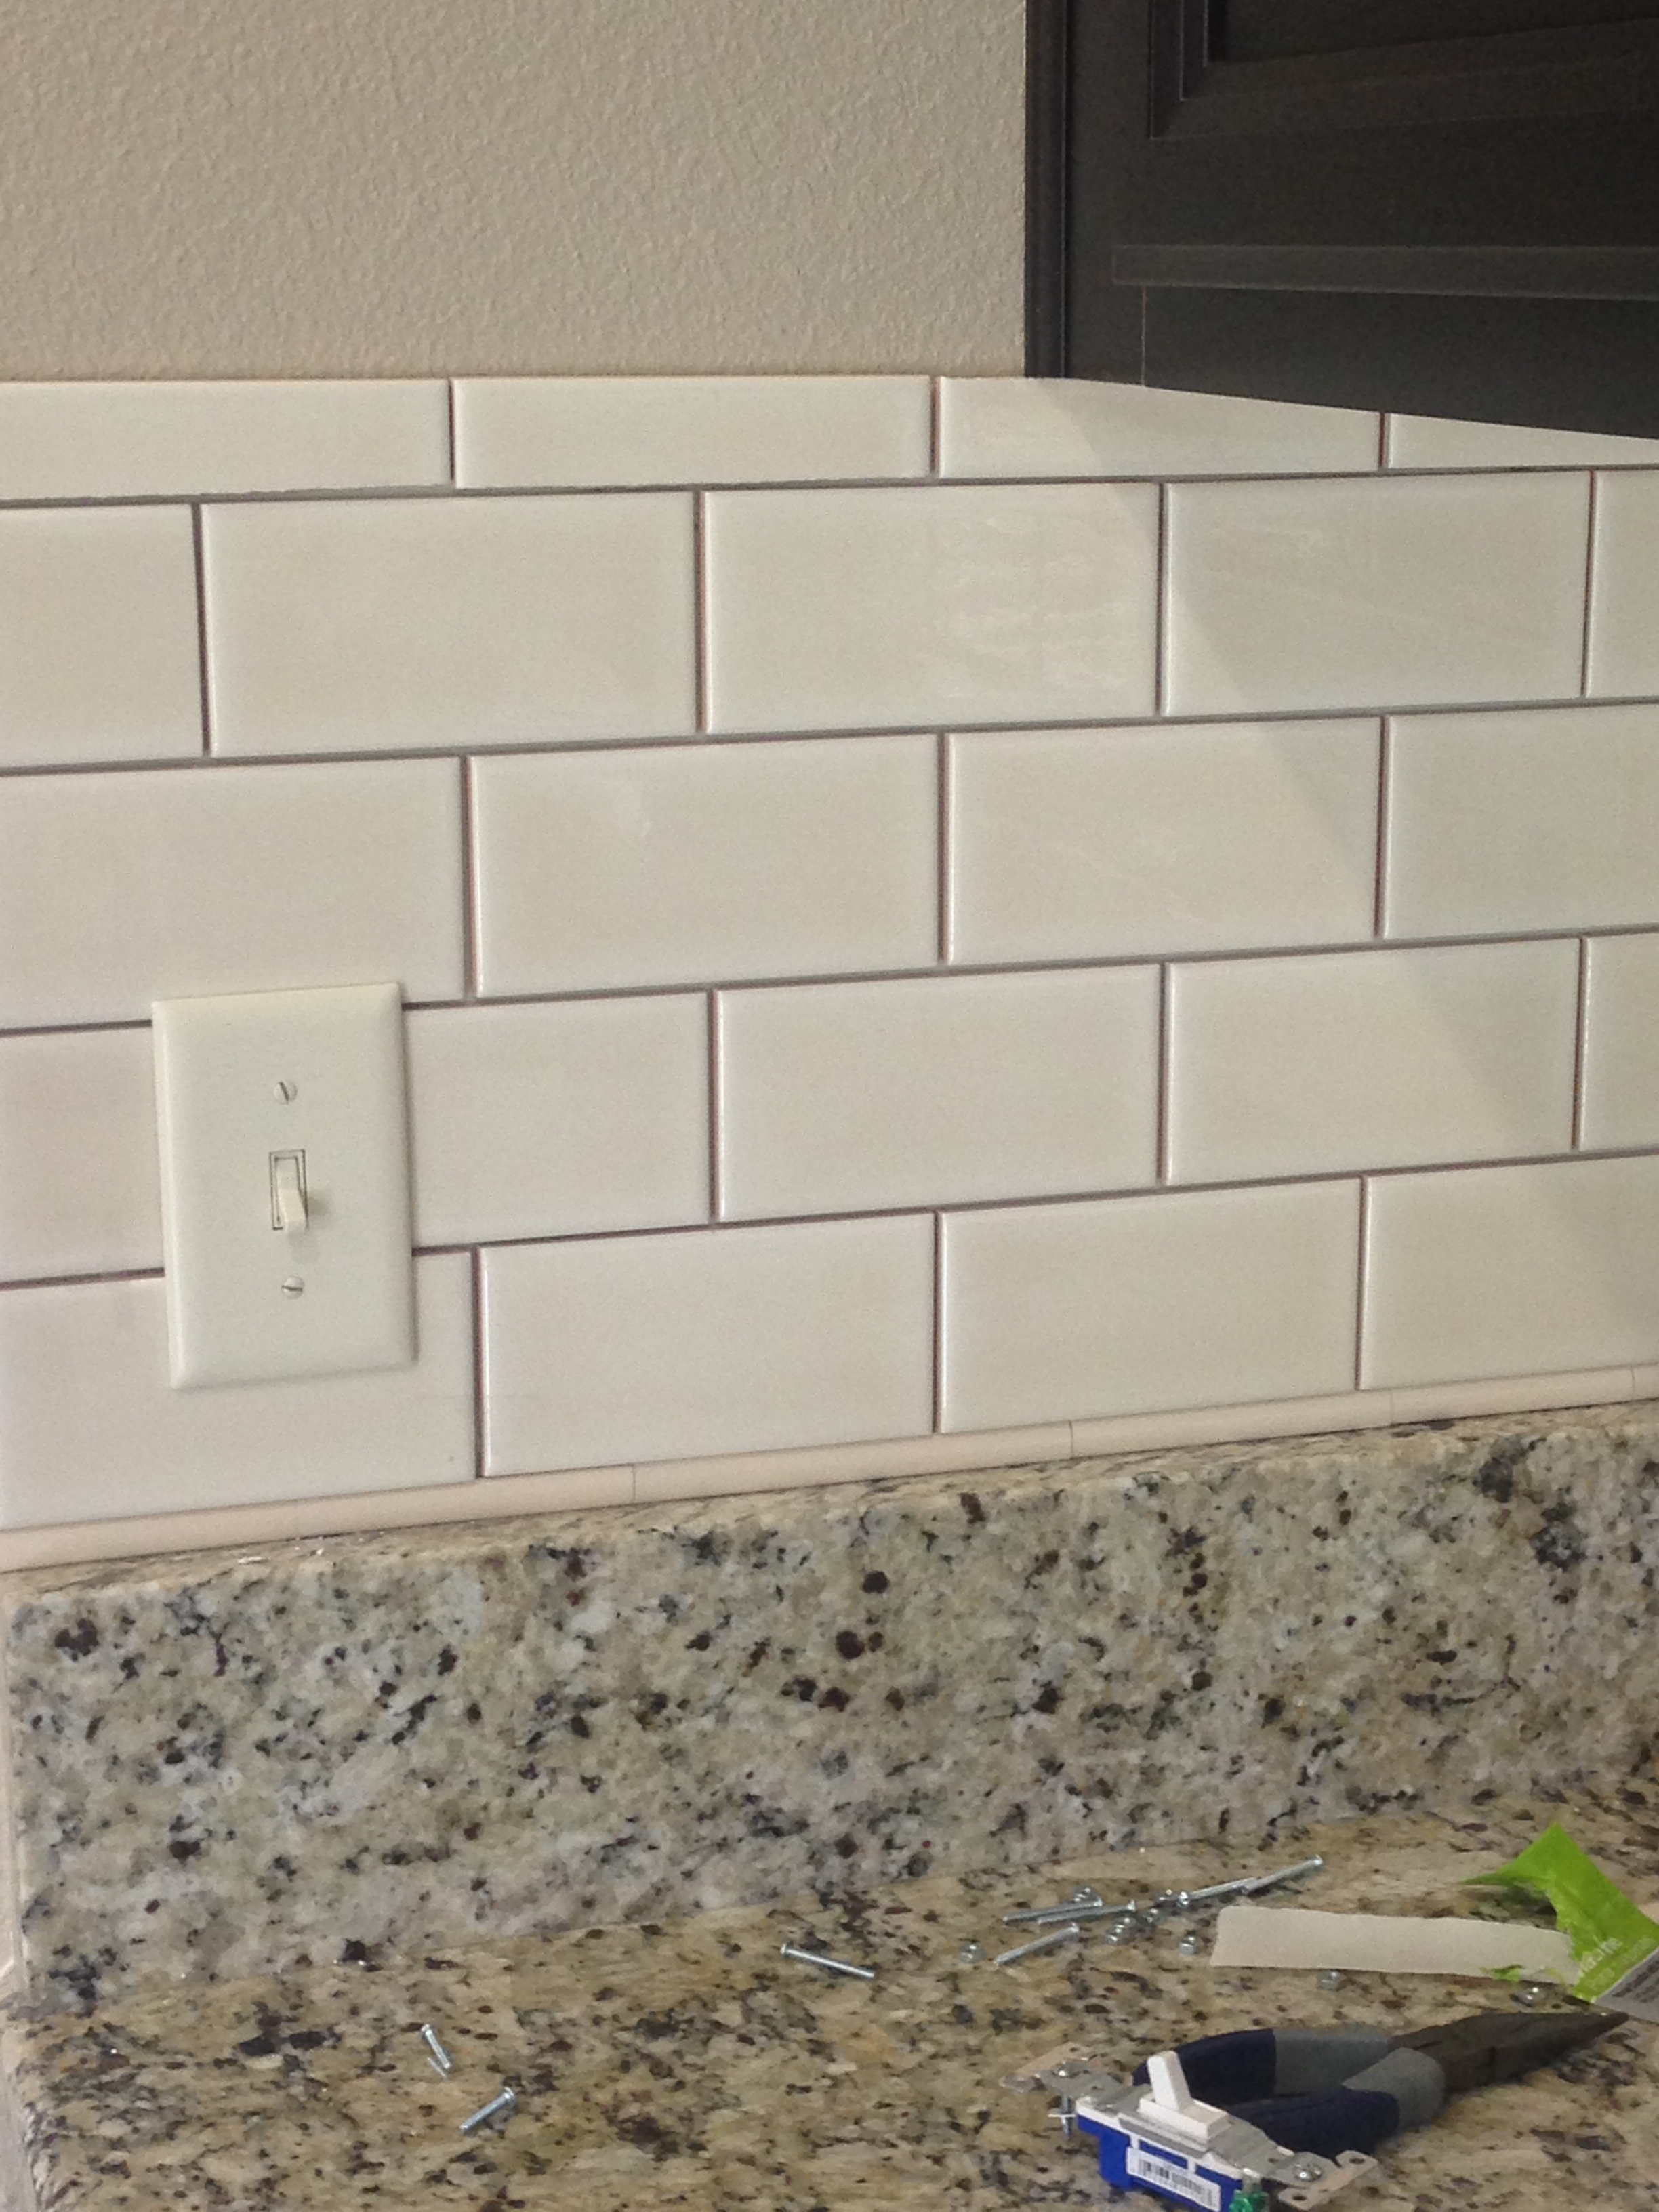
If you remember from above, my outlets used to be white. The plates and the actual switches themselves. Since I was doing an all cream backsplash, I wanted them to blend as much as possible. I went to Lowe’s and found cream plates & cream switches. THE EXACT COLOR OF MY TILE. Are you kidding me? It’s like the stars aligned all at once and the angels sang. And the plates were 62 cents and the switches were $1.39!!
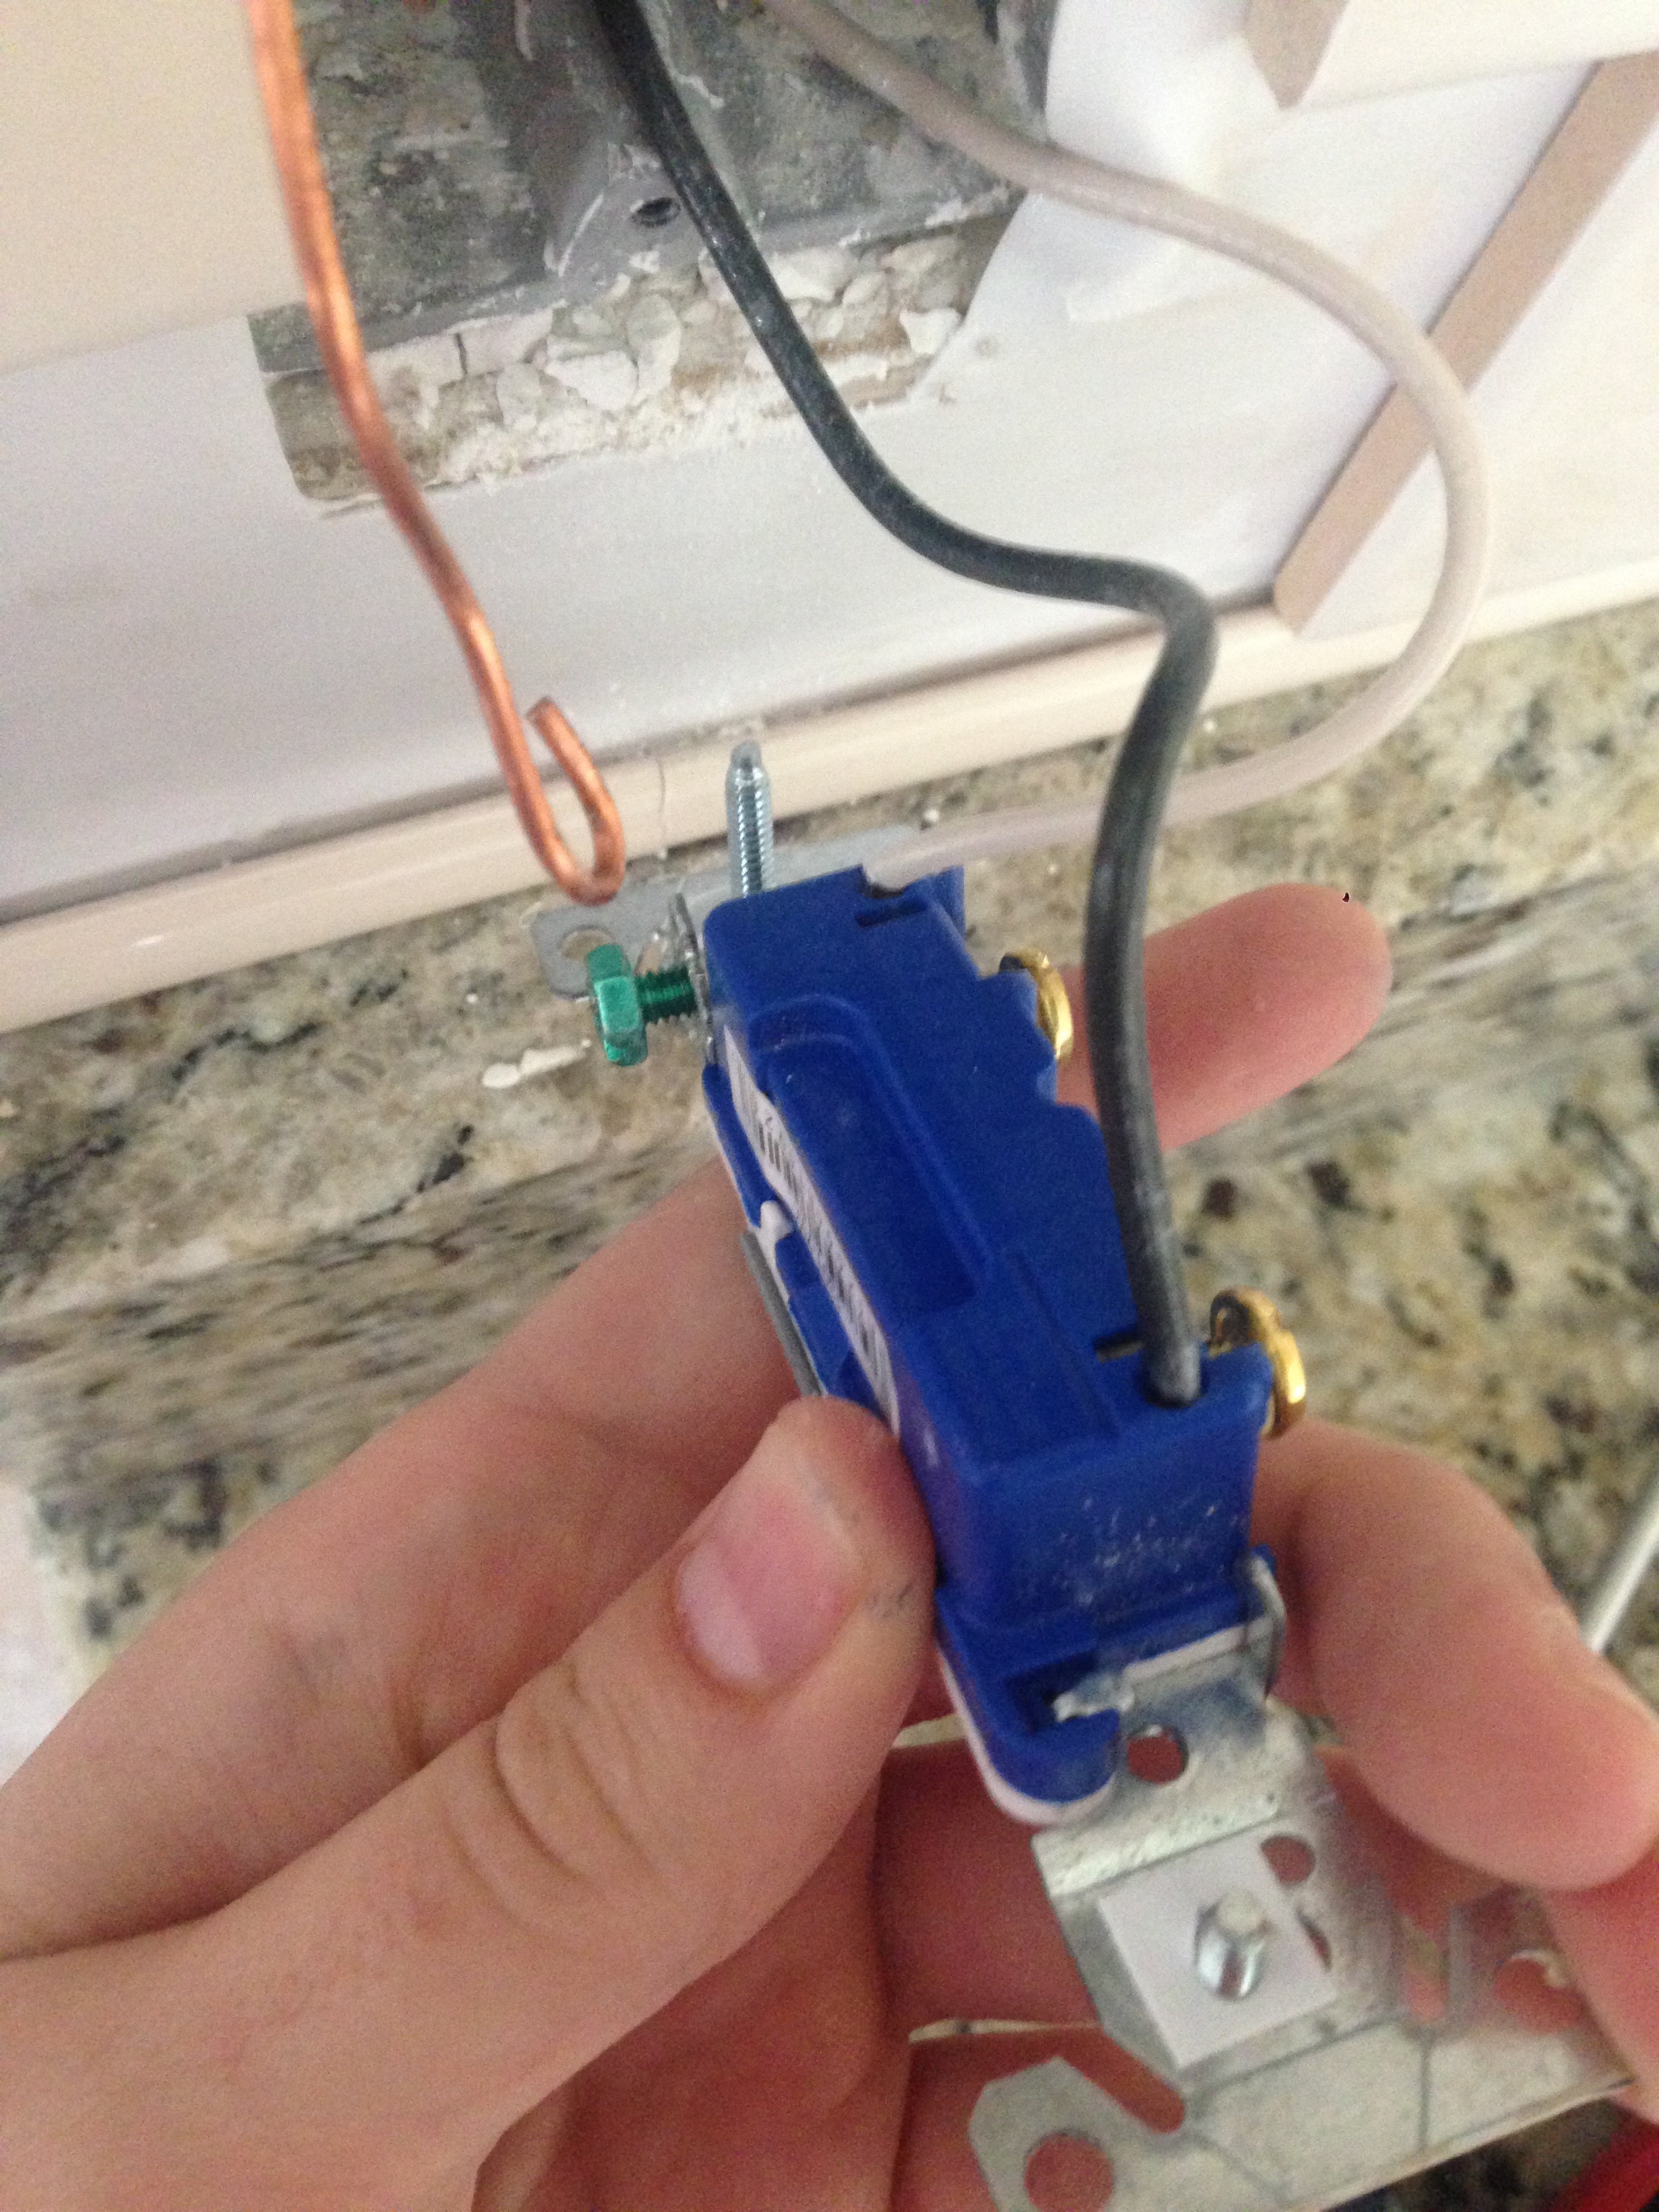
Did a quick switcharoo on all 6 outlets and I had perfectly camouflaged outlets. Did I say “quick”? Oops. It actually took a while because the wires are so tiny and it requires small fingers, or a small pair of plyers, and a lot of patience. It wasn’t hard, just tedious. But so incredibly worth it!

See what I mean?
After all the tile was “stuck on” the last step was to grout. I didn’t really know much about picking grout, so I told the man at the store what I was working on and he pointed me to this. I chose a color that was as close to the color of the tile as I could.
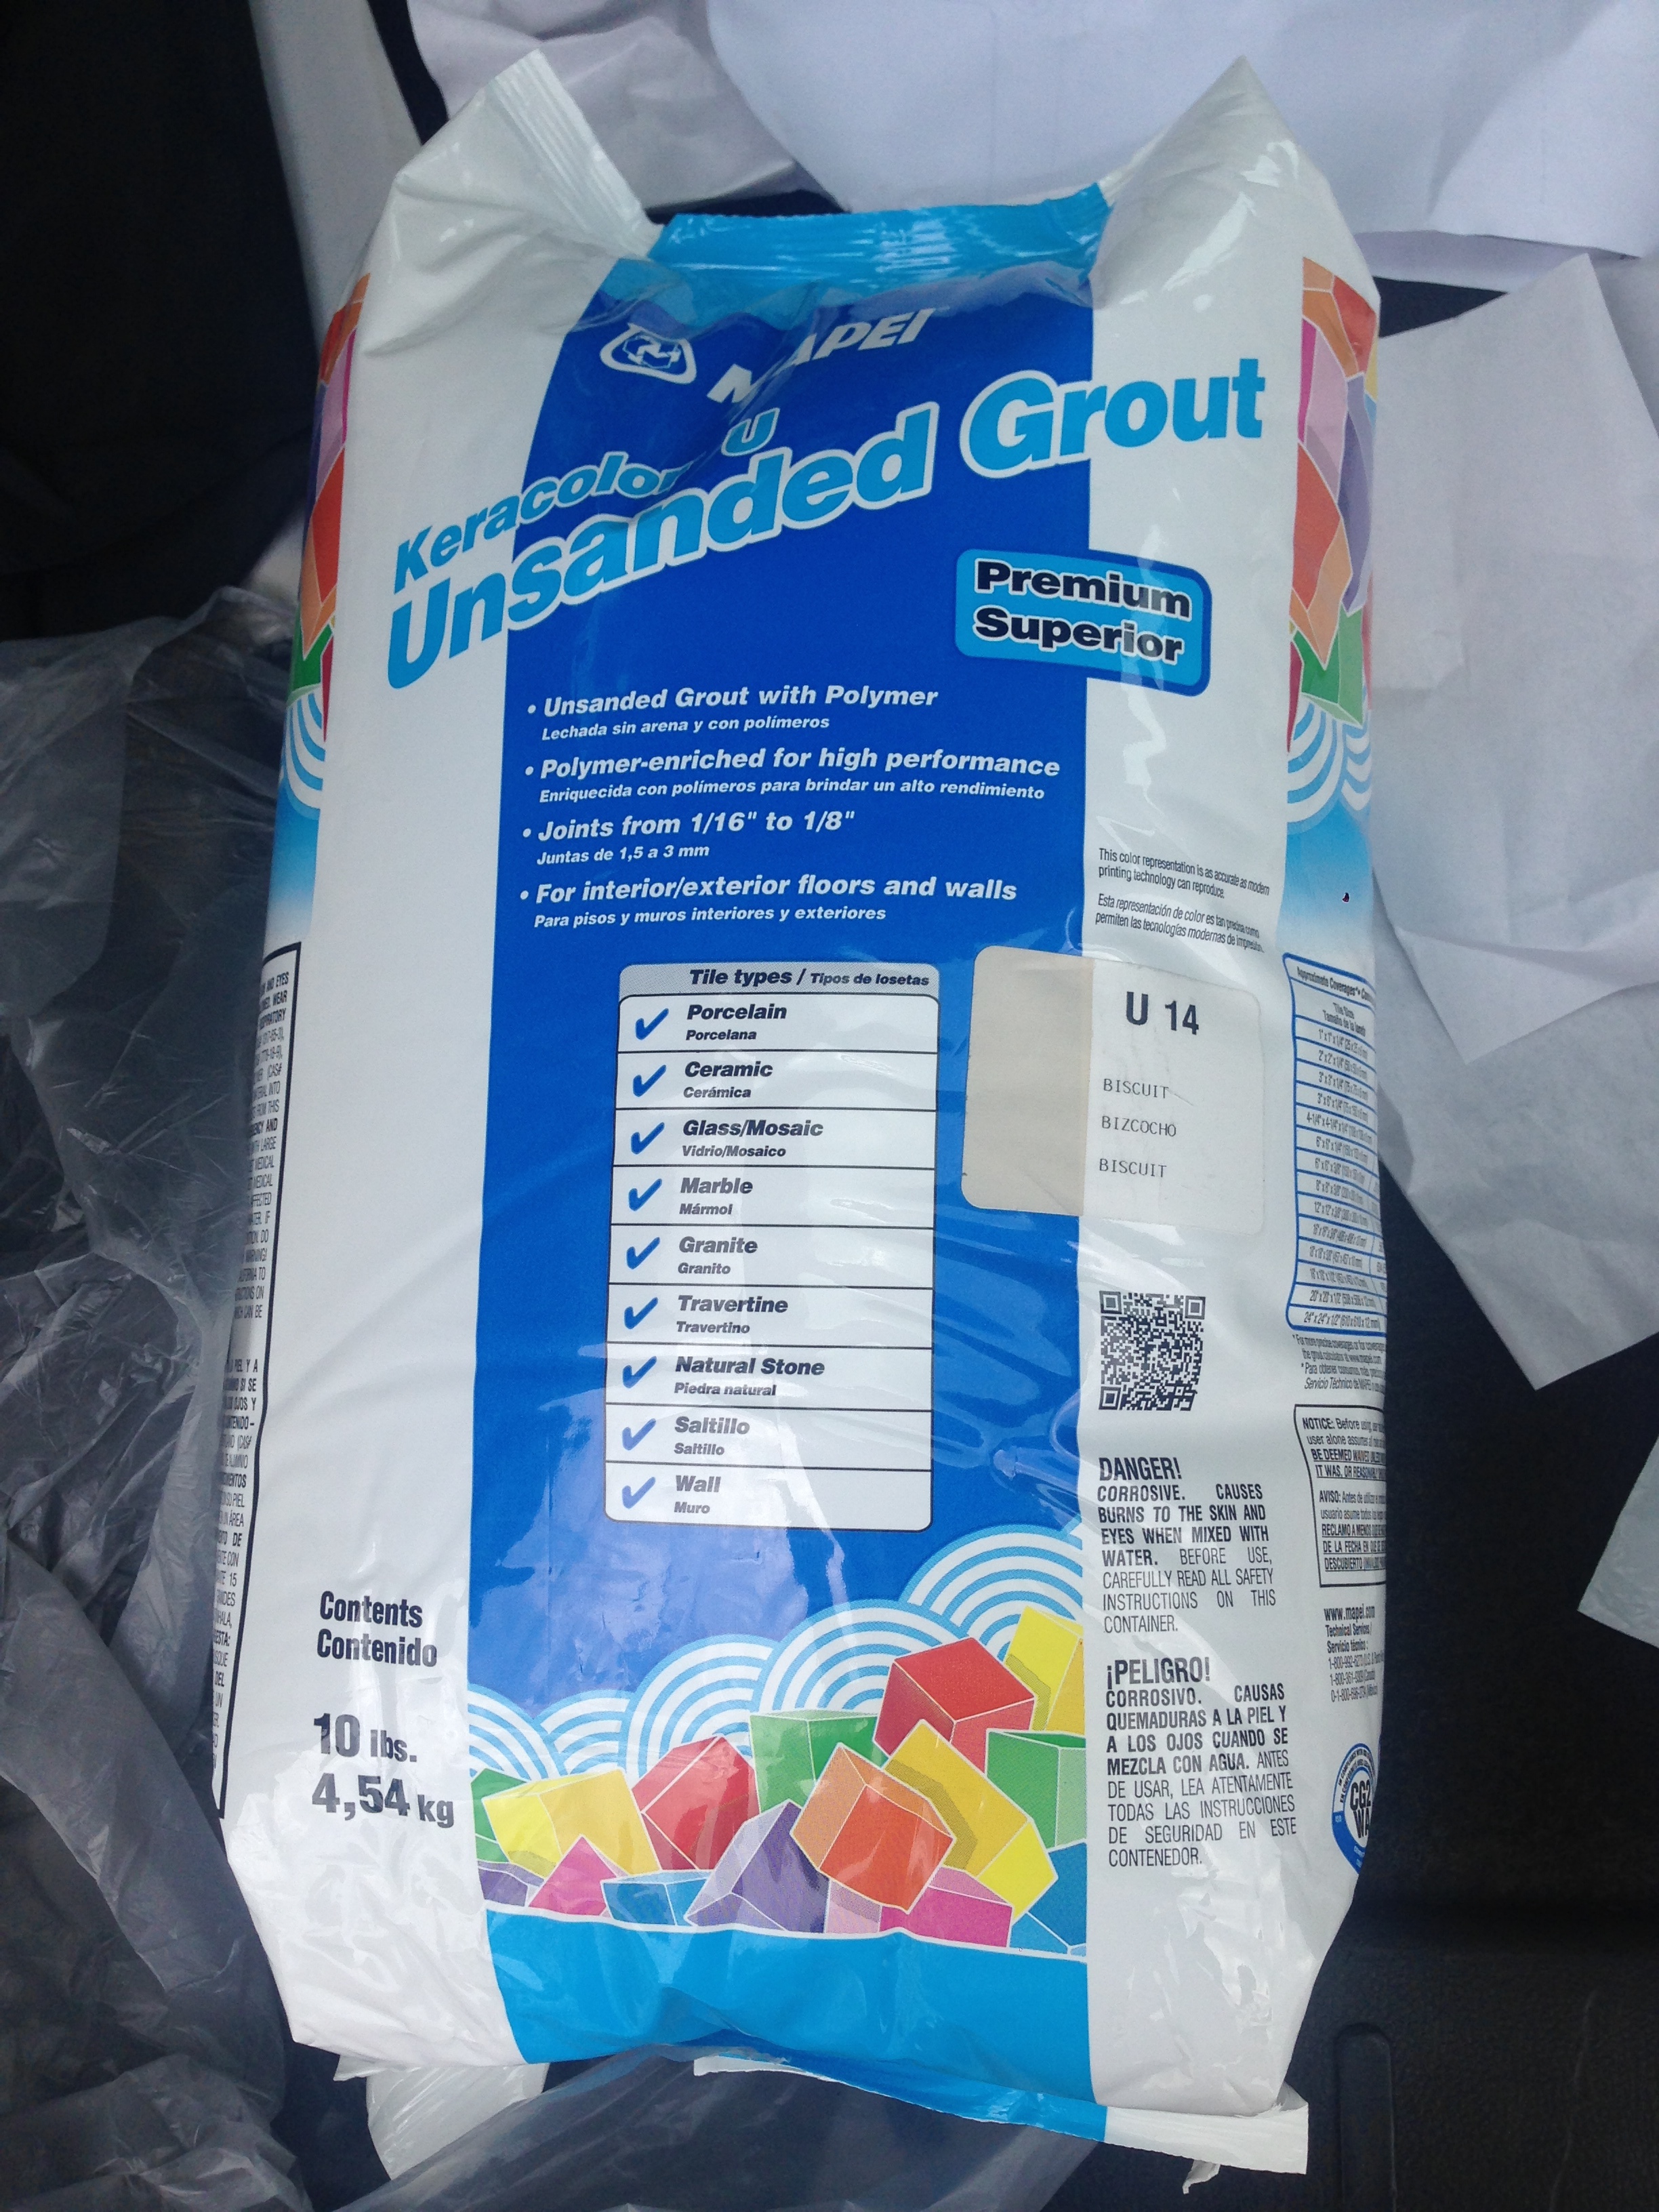
I brought it home, followed the mixing instructions on the pouch, and began grouting. I’m not going to lie, this was definitely the hardest part of the entire project. Remember how I said that I wasn’t a fan of using mortar because it has to be mixed at the perfect consistency, applied at just the right time, and on a vertical surface? Well it’s the same thing with the grout. You have to move quick. That’s the key. Apply, spread, and wipe off. QUICKLY. And then repeat. QUICKLY. I wish there was a peel and stick version of grout. Ha!
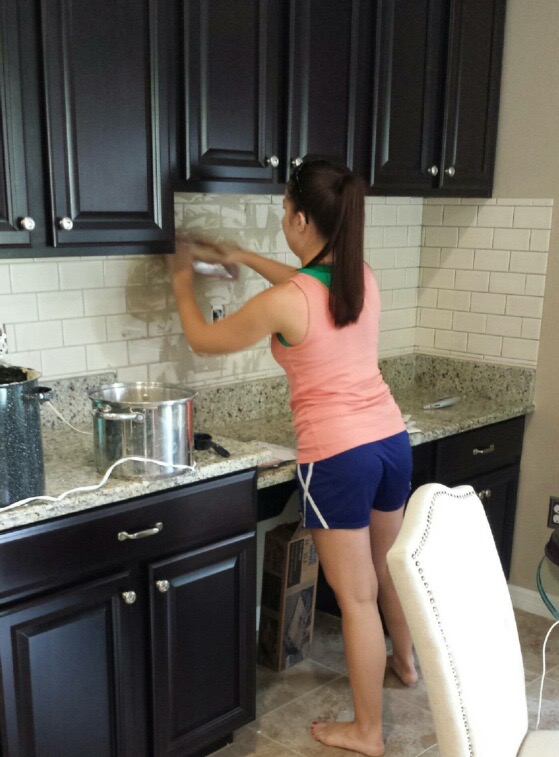
My first time grouting definitely wasn’t perfect by any means, but at the end of the day? It was a learning experience, I saved a ton of money, and I did it all MYSELF. And that’s what makes me happy.
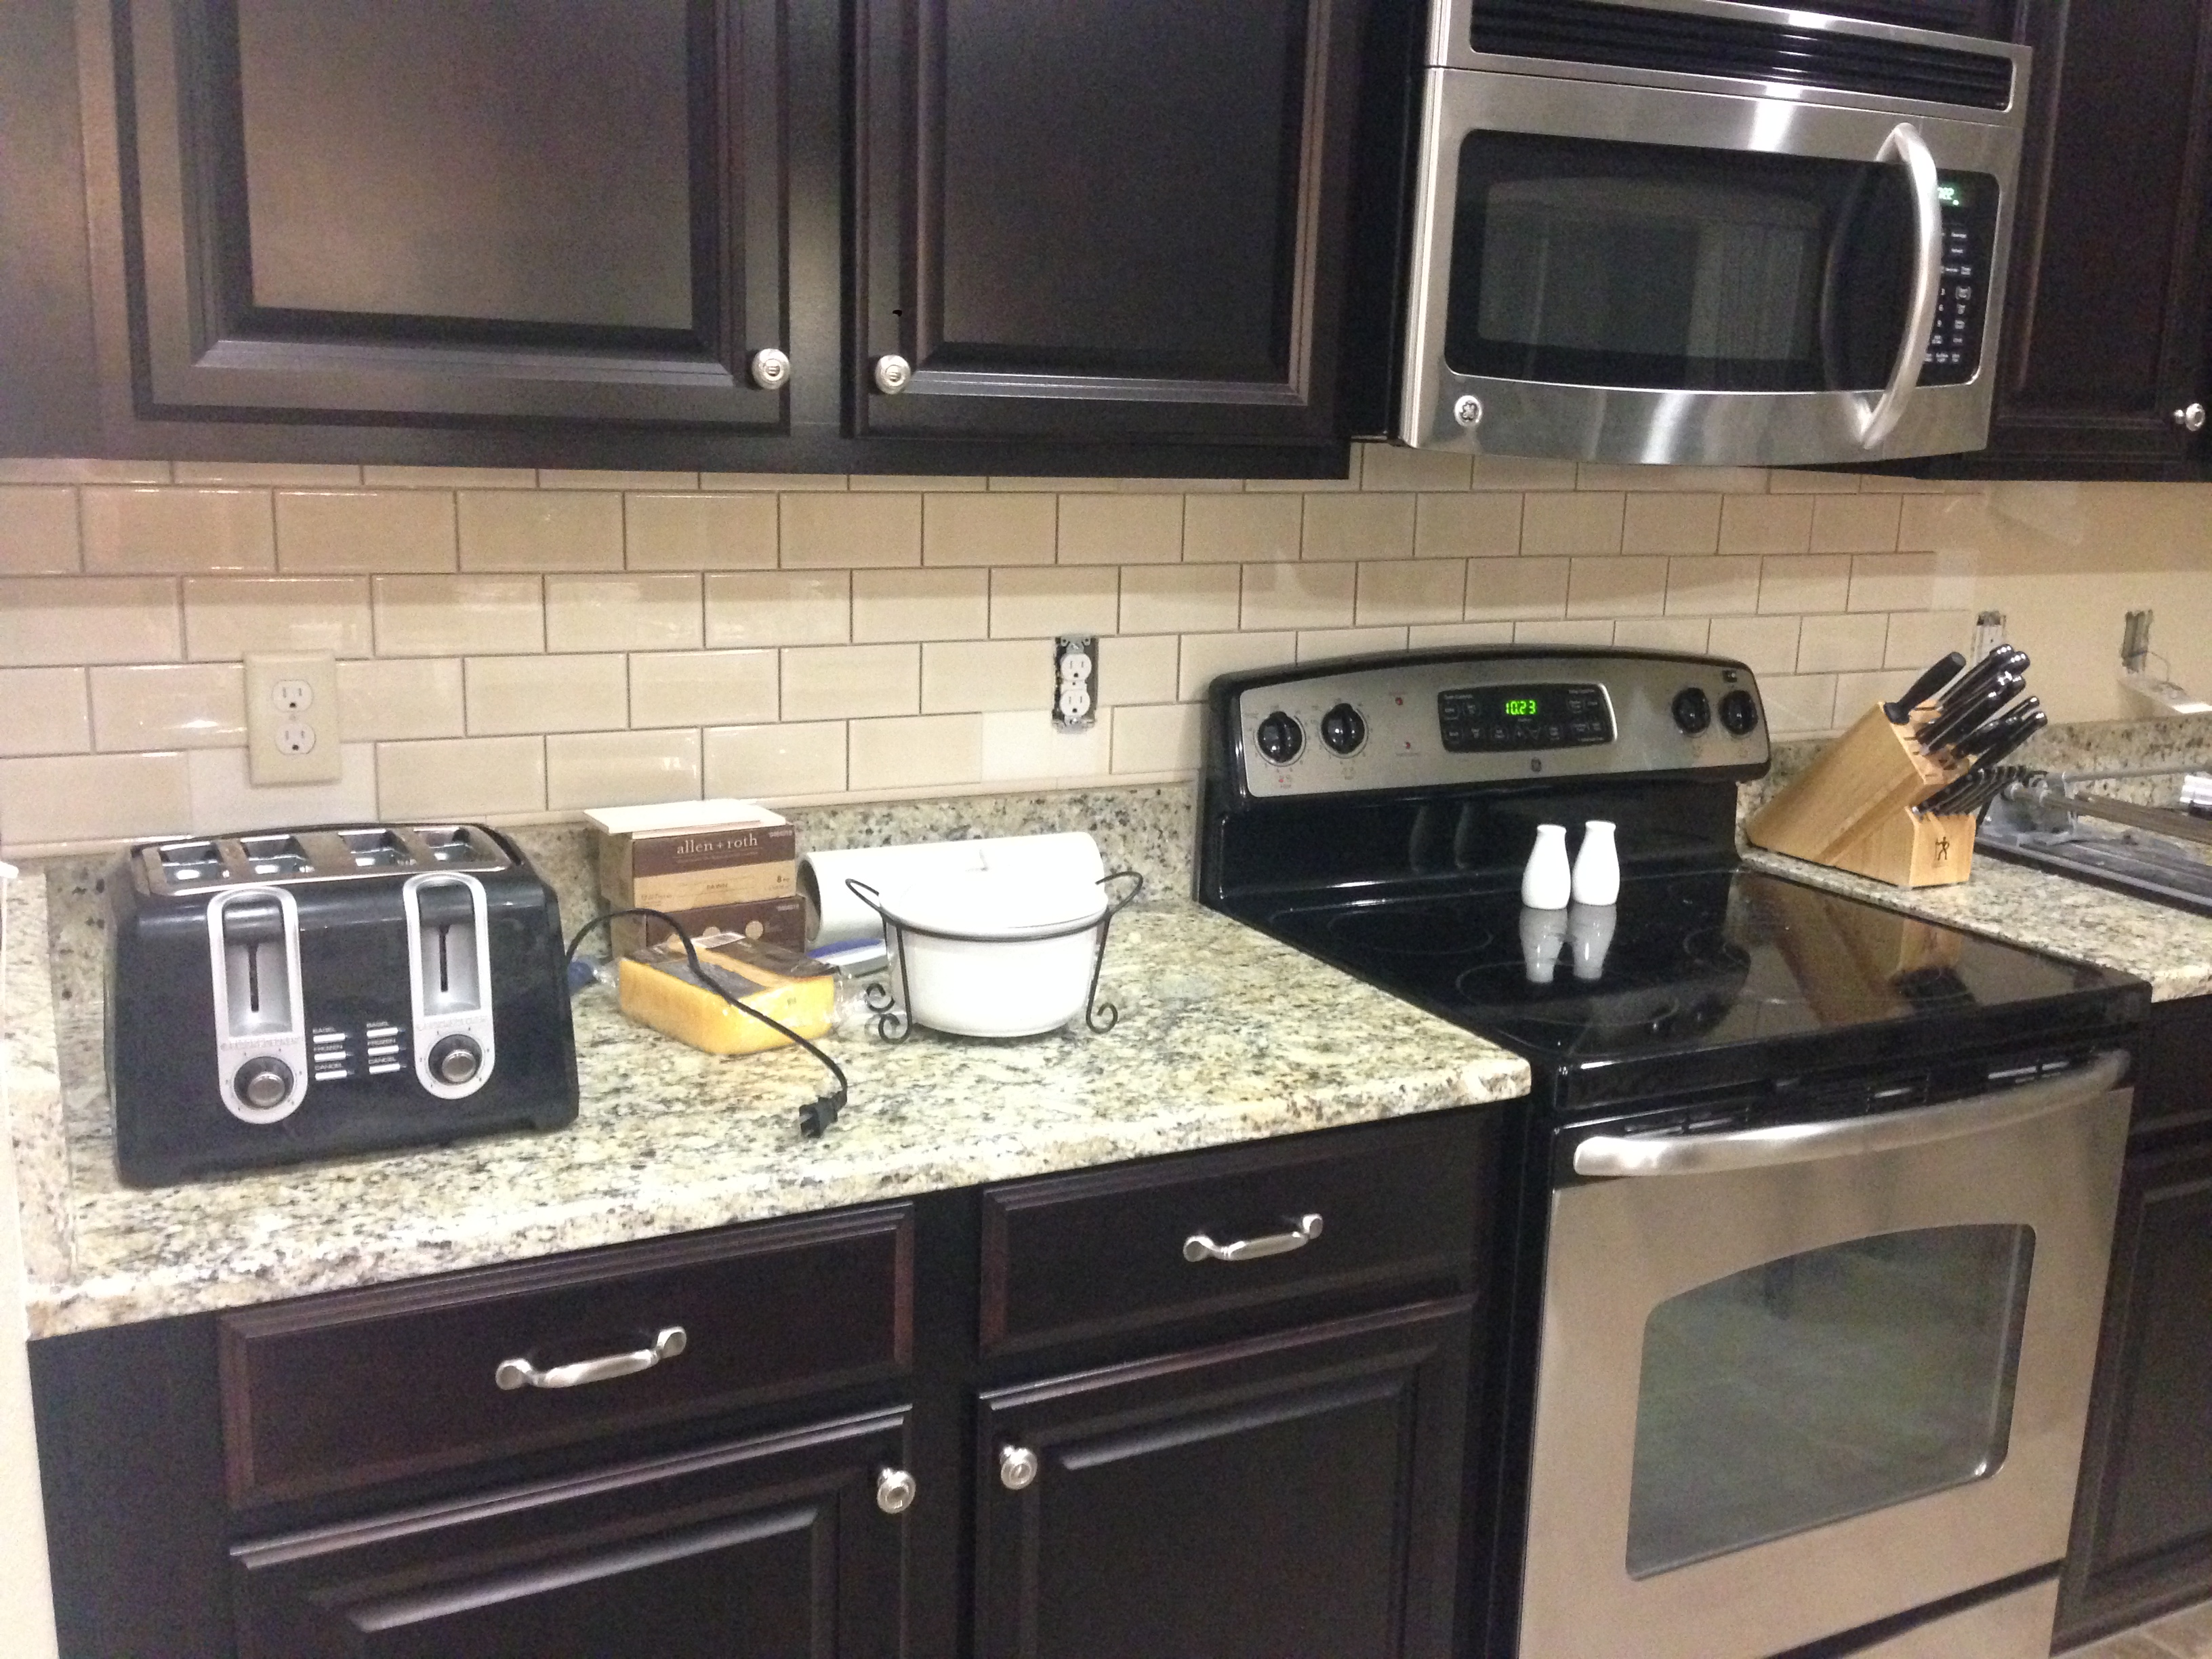
Here’s the finished product!
What do you think of my DIY backsplash? Do you think this is something you could tackle? Comment and let me know your thoughts, I love hearing from you all!


You did a wonderful job! I think it is beautiful. Did you do this all in one day? I have the same granite as you and I am contemplating darkening my cabinets. Your cabinets are gorgeous!
Thank you so much Jeanne! I did not do it in one day, but over a few days. It’s funny you say that about my cabinets because I dream of lightening mine to white! haha! The grass is always greener, right?
I love it!! You are great at what you do and I love seeing all your DIY accomplishments!
Great taste!
Thank you Natalia! Your comment is so sweet and this is exactly why I keep doing it! Thank you again!
Lindsay, this is something I’ve been wanting to do. I love that Lowe’s cut the tiles for you and that you’re not too proud to ask them to! It looks great, and I’m eager to try this myself. Thanks for the inspiration and tips!
Thanks Nancy! I don’t think Lowe’s was too happy about my 6 tedious multi-cuts, but I asked with a smile and it always works!! The sticky tape makes this project a breeze, you can definitely do it!
It turned out great! I never would have thought of that. And when you got to the part where you were grouting over that, my jaw dropped. That is totally cool that you could stick the tiles up and then grout on top of that. Awesome. I don’t know if I’d be so brave to attempt it but you have me thinking. I had an estimate to have my backsplash done and you are correct they bring the tile around to the side wall. It was really expensive so I haven’t done it yet. I totally agree with you about not removing that 4 inch granite piece. They used the four inch granite pieces on my counters and they
forgot to caulk the granite to the wall and
there was a gap. I ended up having to do that myself. I can tell you that if there was a gap “with” the four inch granite piece,
then if you removed it, there most likely would have been a gap there.
I really like the cream subway tile that you chose and your decision to change those outlets and light switches to cream was a good one. But how did you hang that clock on the tile, that’s what I really want to know lol.
With regards to the sticky stuff for the tile, recently I had a similar dilemma but in the bathroom. I have beautiful travertine tile for the shower walls and was nervous about hiring somebody to drill into the tile so that I could hang a shower curtain rod. I worried they might crack the travertine and then I would have a mess on my hands. I wanted the rod hung higher to give it a more elegant look since I was going to use an 84 inch drapery panel instead of the 70 inch shower curtains you see everywhere. I also had a second shower curtain rod inside the top one that was a little lower for the plastic lining ( since they don’t make the liner longer than 70 inches). So what I did was to take heavy duty velcro and purchased a bronze shower curtain rod with bronze end caps that did not have pre-drilled holes in them. Next, I attached Velcro to the end
caps of the shower rod and put the velcro on the travertine tile and attached the velcro from the end cap to the velcro on the travertine wall. You would assume that it was drilled into the travertine because you cannot see how it attached. It looks amazing. I wasn’t sure if it could withstand the humidity in there but it’s been holding for six months now and no one who comes in would ever know that its not drilled into the travertine. The solutions we come up with are amazing!
I am a fan of your instagram and your blog. OMG! I am in the process of buying my first home, and I saw alot of things I wanted to change. One being the backsplash in the kitchen. I’m confident that with the patience I can do it myself, however, I’m not so sure about the grouting part. Is it as simple as spreading it on, and wiping it off? I’m afraid I may do that part incorrect.
Hi TaMara! Thanks for the comment and I apologize for the late reply. The grouting really is as simple as spreading it on and wiping it off. They sell a nice, cheap spreader in the grout aisle that makes it pretty easy. The hardest part is getting the grout the right consistency, but it’s definitely doable! Good luck 🙂
Wow, it looks amazing. I could learn a lot from you
Thanks so much Finsa!