TV Stand Refinish & Gallery Wall Makeover
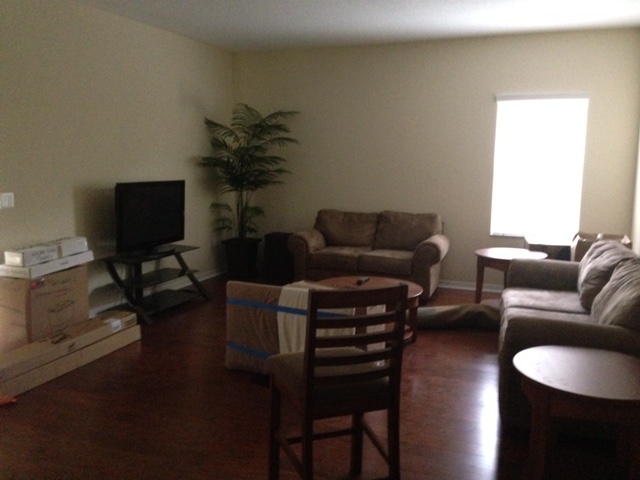
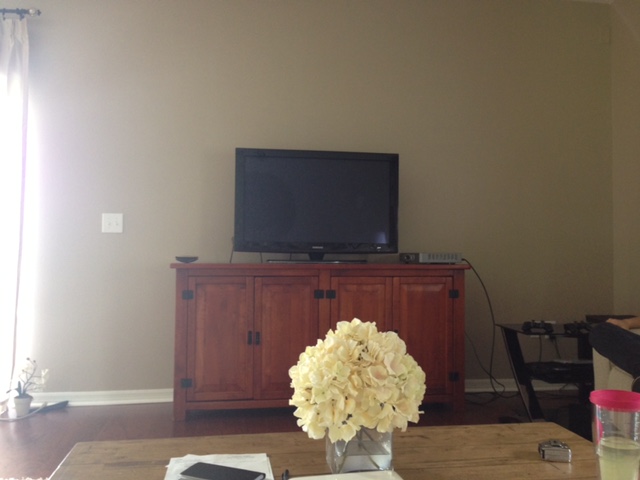
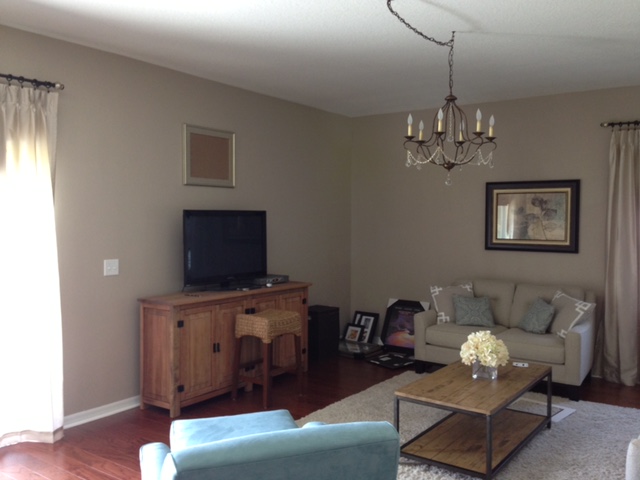
Have you ever had your heart set on a certain piece of furniture? Or even a certain style? That you just KNEW you weren’t able to afford? Well that was me when it came to my family room media console. I had this idea of a huge 72″ Restoration Hardware piece that would be proportionate for my big empty TV wall. Is anyone else as crazy about proportions as I am?? I can’t stand the thought of having a 52″ or 54″ TV console on a wall that’s about 16 feet long. I just can’t. Here are some shots of the room a few days after we moved in. You can see our old TV stand and TV look dwarfed in this new room.
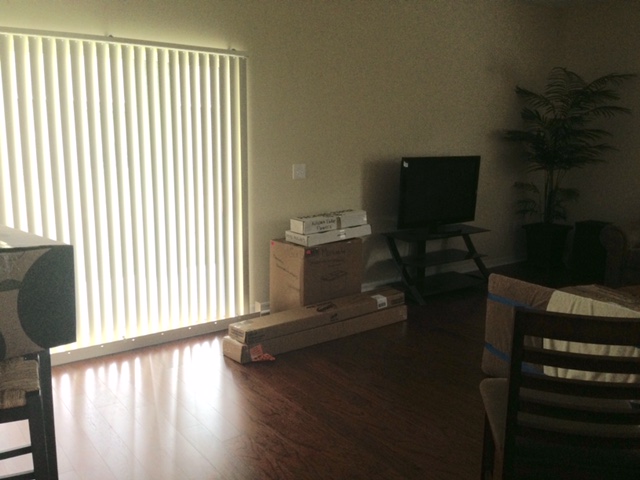
Here’s the setup after I painted the room. This helps you see my proportion problem. Please tell me you agree that this just would’t work!
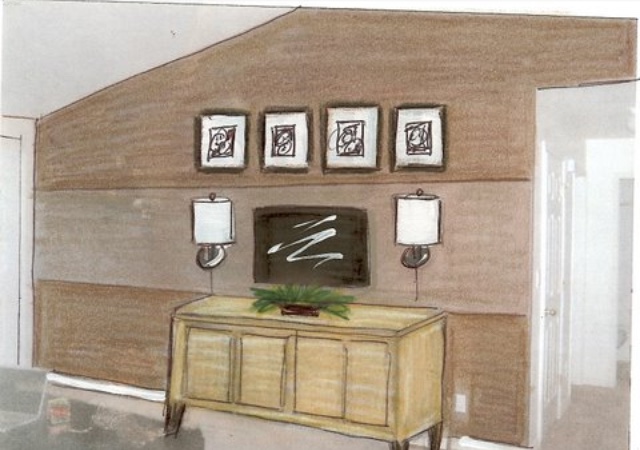
I saw the picture below on Pinterest and it became my inspiration for this wall. To fill up the space I wanted to make sort of a gallery wall around the TV. (Can I call it a gallery wall when there’s like 5 pictures and they’re all symmetrical?) Anyway, you get the gist. I would’ve liked the sconce light idea but I didn’t have an easy way to get electricity there.
Then I used some of my photoshop skills to visualize my dream RH console with some gallery pictures around it and it came out like this:
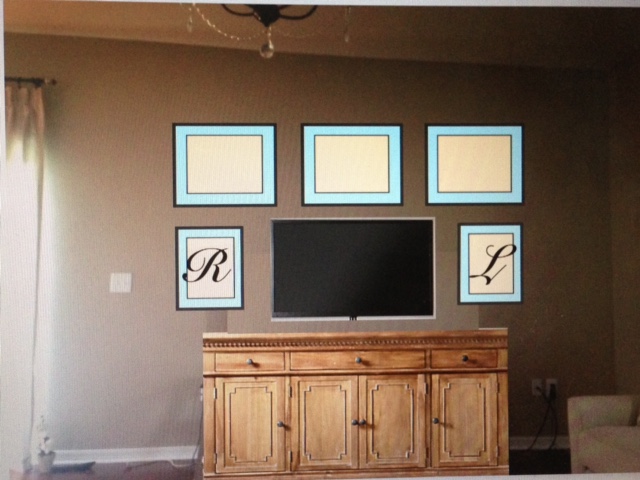
I was happy with this sketch. So the search began for my dream Restoration Hardware piece. And it had to be 72″. I searched all my usual low cost furniture and decor places like Joss, Wayfair, Home Goods, and Home Decorations. Over and over. Week after week. With no luck. The couple pieces I found that met my 72″, light distressed wood, simple look were WAY more than I was willing to spend. So Craigslist it was. And it didn’t take me long to find her. And I knew immediately this was her. Yes. Her.
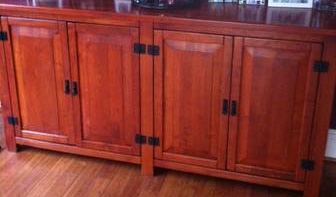
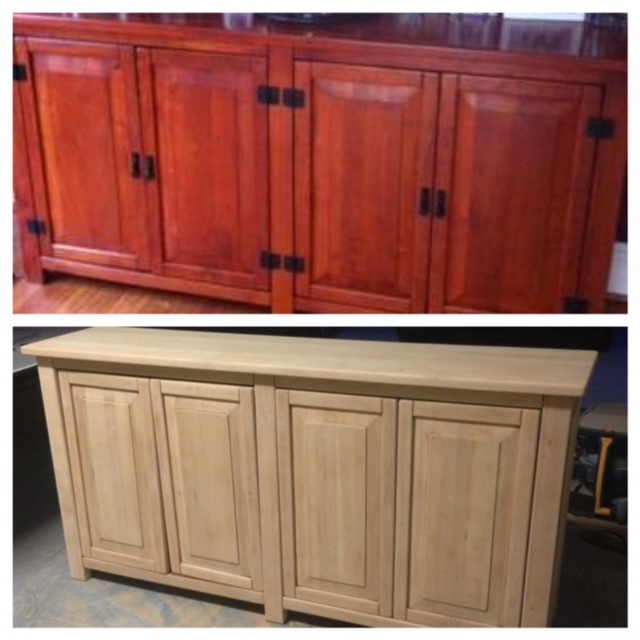
This was her actual Craigslist ad picture. A woman who lived an hour from us had it in her dining room as a sideboard and was selling it for $350. Yes, $350!! I told my husband we had to go look at it ASAP. So we did. The woman’s home was absolutely beautiful, and she told me how she bought it only a couple years prior from Restoration Hardware and paid $1800 for it! The only thing wrong was the color. It was very, very wrong. But for a REAL RH piece, 72″, and perfect in every other way? I would refinish it. I was up for the challenge for this great of a price of an RH piece is nearly perfect condition.
Here she is once we got her home testing her out.
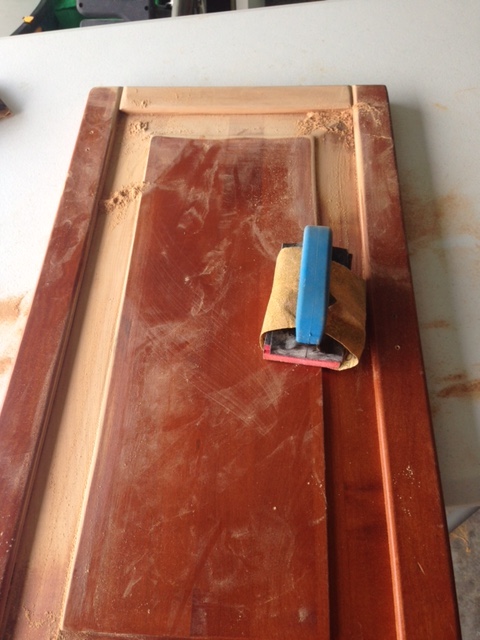
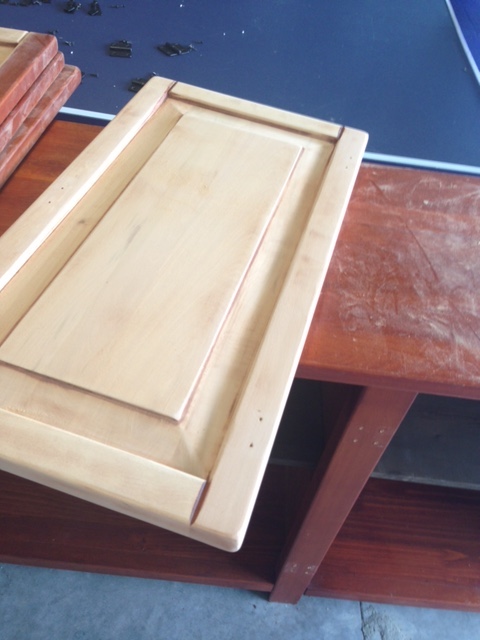
Brought it back out in the garage, removed the hardware, disassembled the doors, and the sanding process began right away. I used a handheld manual sander on the first door. As you can tell from the pictures, the nice thing about this piece is that for the most part is has zero creases, or intricate sanding involved. The hardest parts were the frames around each door because they had a slight slant to them. That’s where I started using the manual sander in the photo below. Let me just tell you. I had ZERO idea how much sweat I was going to drip, and muscle I was going to gain from this. It was no joke. But I knew it was going to be worth it because I couldn’t wait for it to become that light, distressed piece I had visioned.
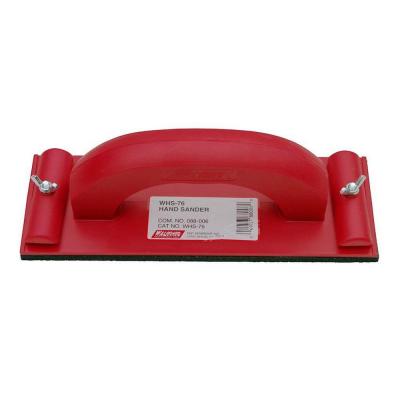
The manual hand sander I used can be found any hardware store. I can’t find that exact one online anymore, but one similar to this will work:
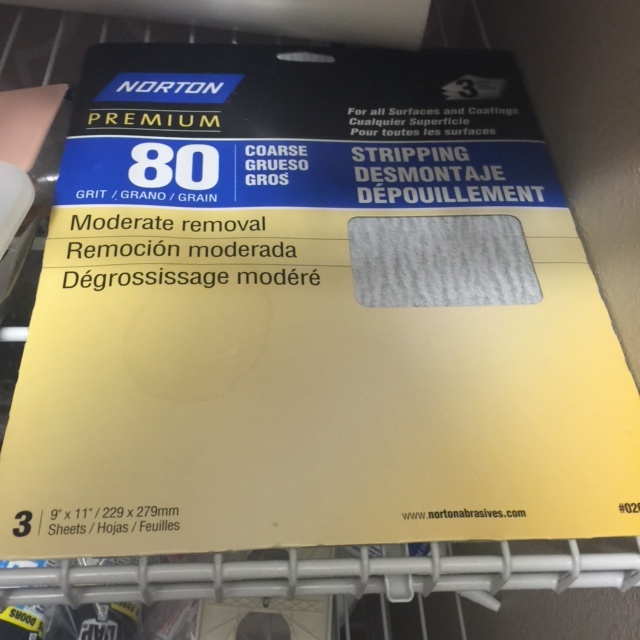
I bought the sand paper pictured below (which you can find here), cut it into strips and attached it to the handheld sander. I used an 80 grit for the job, which is coarse.
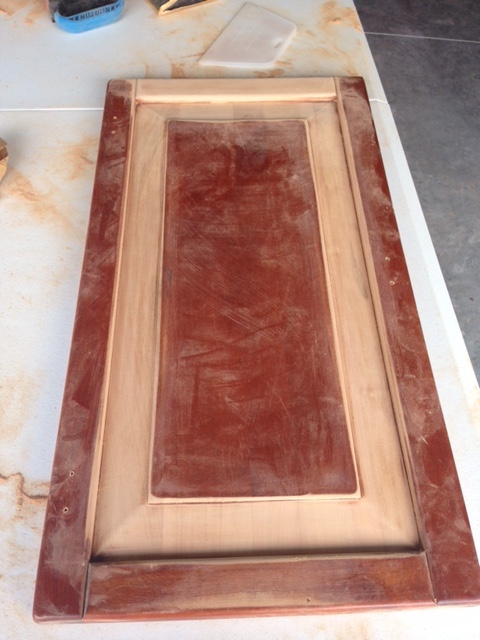
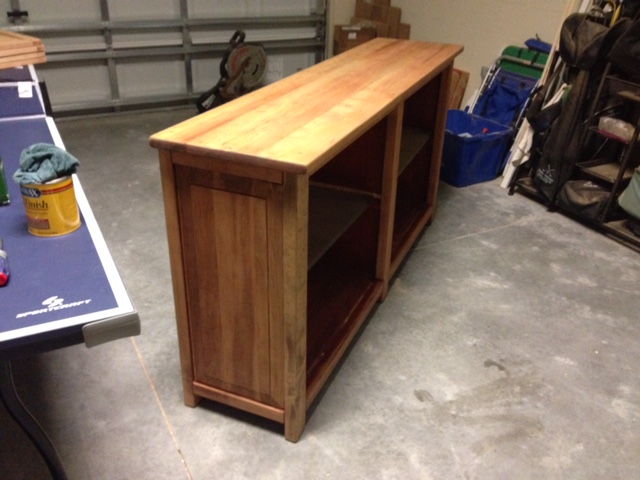
This is what each door looked like once I did the hand sanding parts. The rest were all flat surfaces which I decided would NOT be done manually.
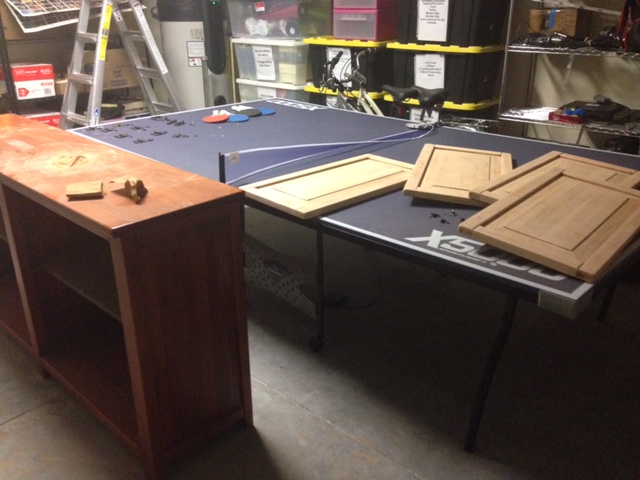
It was time to rent an electric sander for the rest of the job. I went to Home Depot’s tool rental department and found this guy. It’s only $14 a day to rent. Score! You can find the link to the sander here.

And like magic, each door turned into this:
Literally the easiest thing ever. Best $14 ever spent. Here’s my garage during the electric sanding process. LESSON LEARNED: Be careful where you do this because everything within a HUNDRED FOOT RADIUS will be covered in saw dust. Not fun.
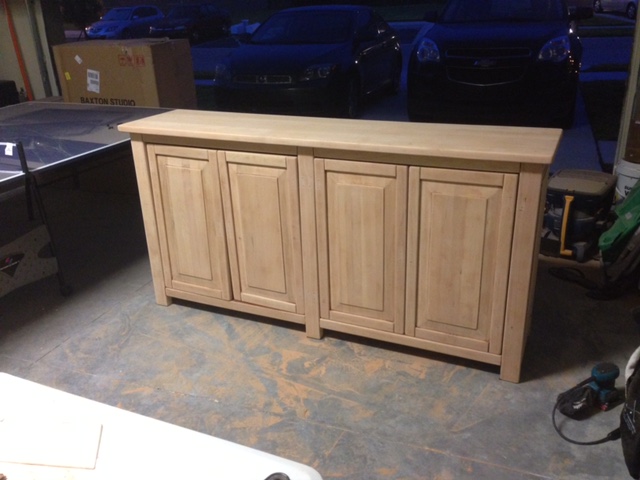
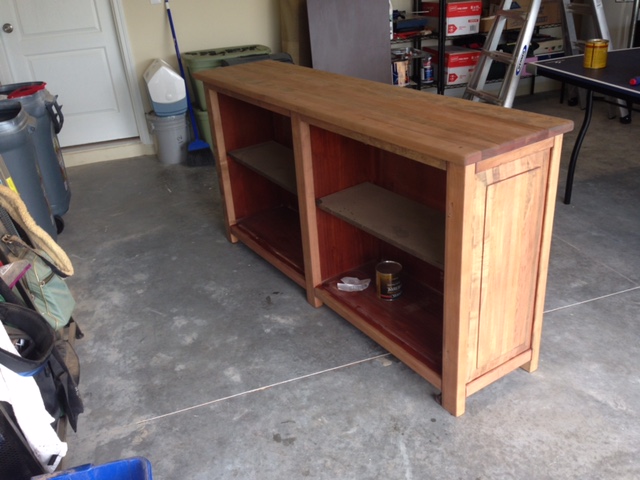
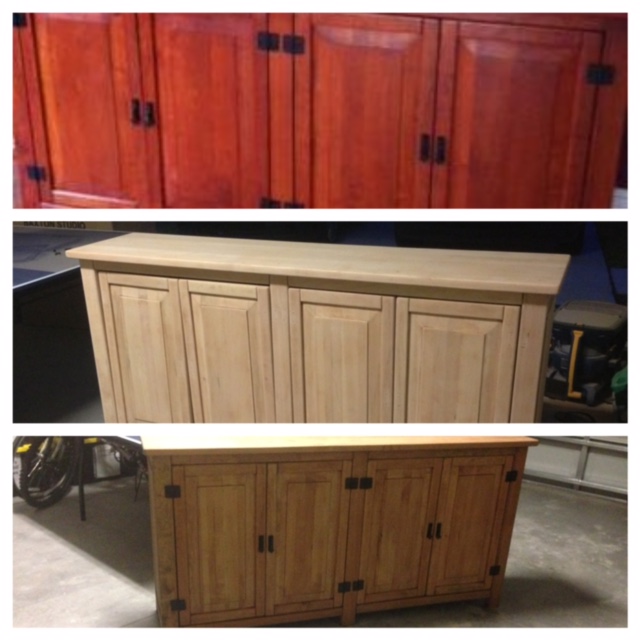
Here she is before and after sanding:
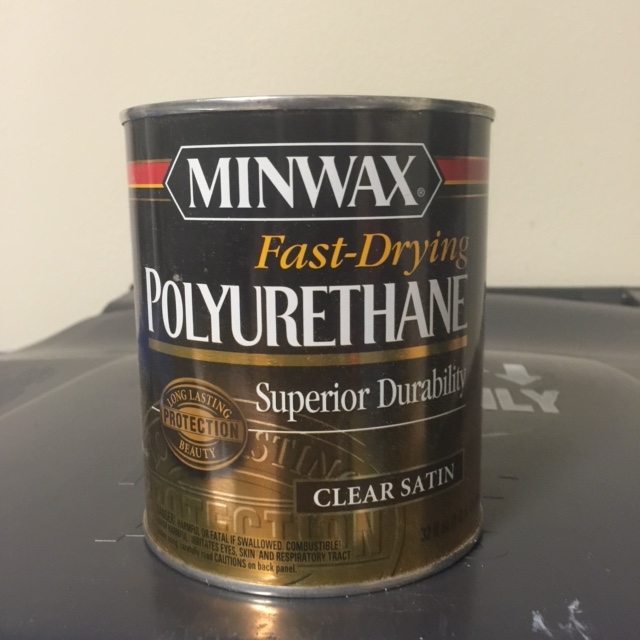
All that was left was staining and finishing. I used MINWAX products recommended by the Home Depot guy. This is the stain that I used. I chose the color by matching it to my existing coffee and end tables. It was the closest match.
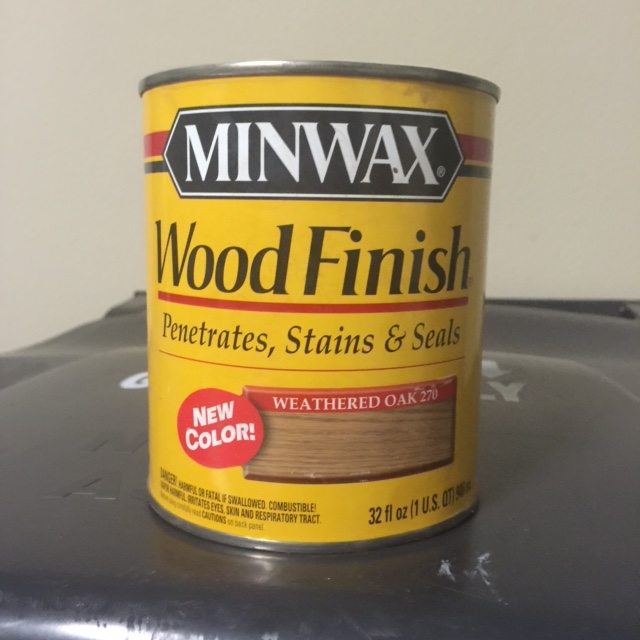
All I did was use an old rag, dipped, and rubbed on. The furniture gets wet in the spots as you rub it on and just evenly coat it on generously until the entire thing is coated. I did 2-3 coats with about 30 minutes drying time between each.
After the stain, I used this Polyurethane. I applied one coat the exact same way as the stain. It’s a protective coat that locks in the stain and protects from wear and tear.
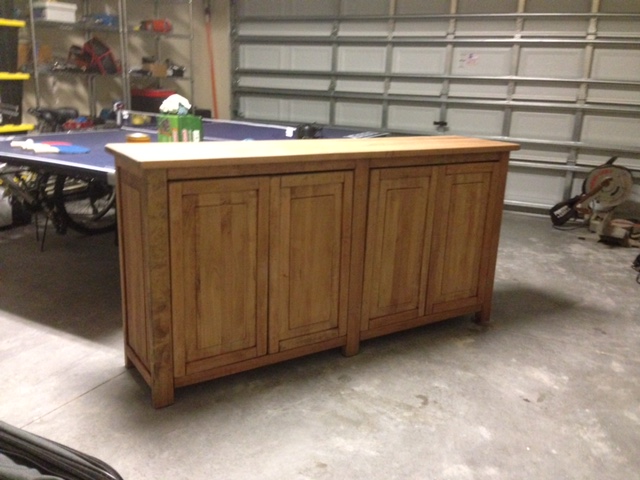
Ta-da!
Before, During and After!
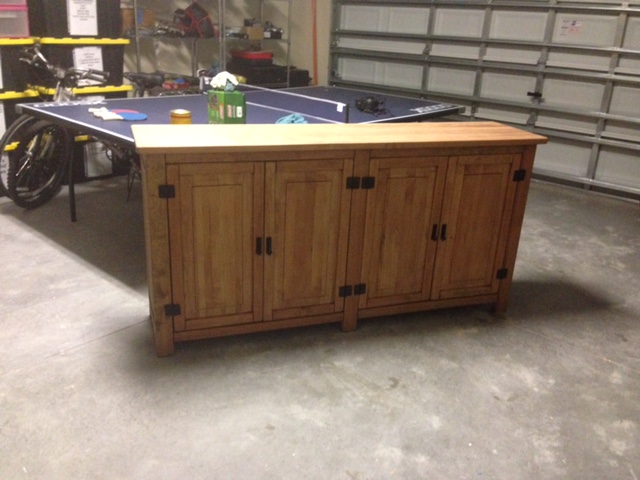
Back in the house she goes!

I think it matches the other furniture in the room pretty well and no longer blends in with the wood floor.
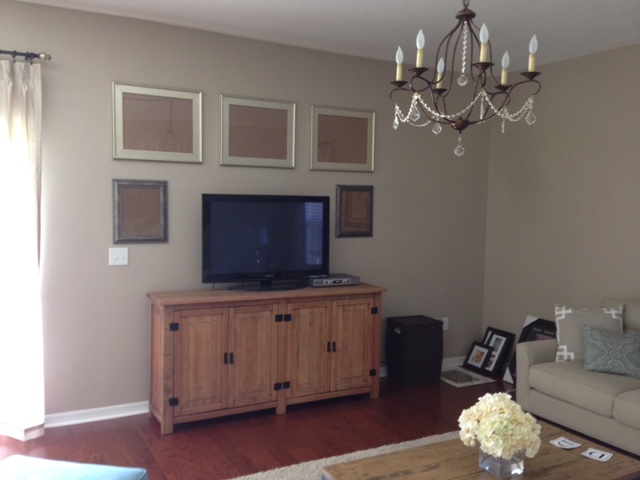
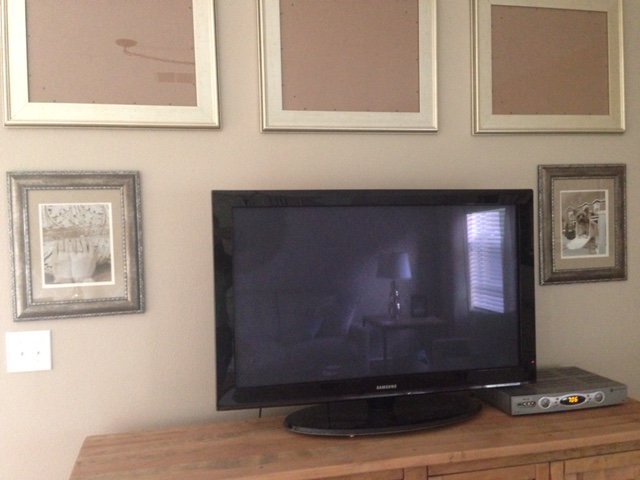
Now for the gallery wall. I wanted to get gold or neutral frames because well, gold is my current obsession if you hadn’t noticed. I got the frames from my local Michael’s during one of their Buy One Get One Free sales on frames. They do this very often so check it out. I would never pay full price for these frames. Unfortunately Michael’s doesn’t have an online store so I can’t link to the actual frames, but you can find them there or at most craft stores.
I bought 3 frames that are 16×20 with matching neutral mats that hold 11×14 size photos. I also bought 2 frames that are 11×14 and mats that hold 8×10 photos. As far as pricing, I believe they were $60 each for the large ones and I bought 4 since they were BOGO (I have an extra for another room) and so they were $30 each after all was said and done. The smaller ones were $20 each. I had my hubby hold one of each type up on the wall while I stood back and made him adjust until I liked exactly where they were. No technical measuring involved here, guys!
If you’re wondering where I got the photos printed: Wal*Mart. I had the photo files saved on my computer so I transferred them to a thumb drive and then took the thumb drive in to the self service photo kiosk at Wal*Mart and ordered 3 large prints in sepia and 2 smaller ones. The large 11×14 prints cost around 13 bucks each and the 8x10s are about 7 each.
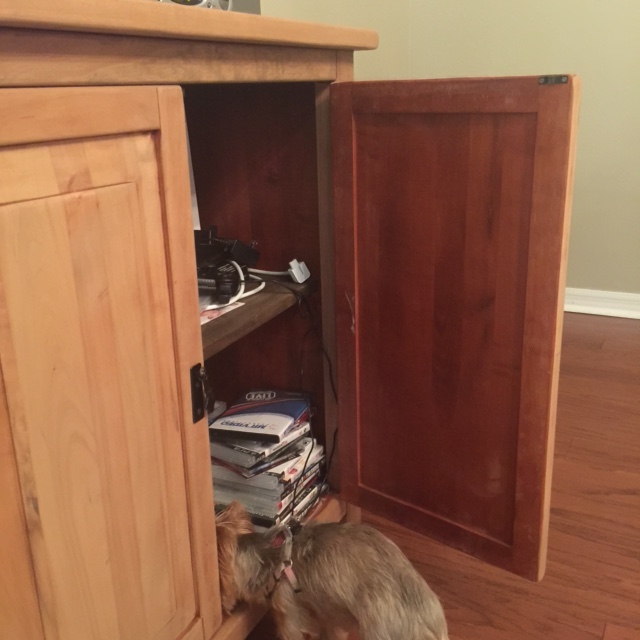
I wanted to show this picture so you can see that I did NOT sand or stain the inside of the console because well, nobody can see that part!. So, yes! I’m lazy!
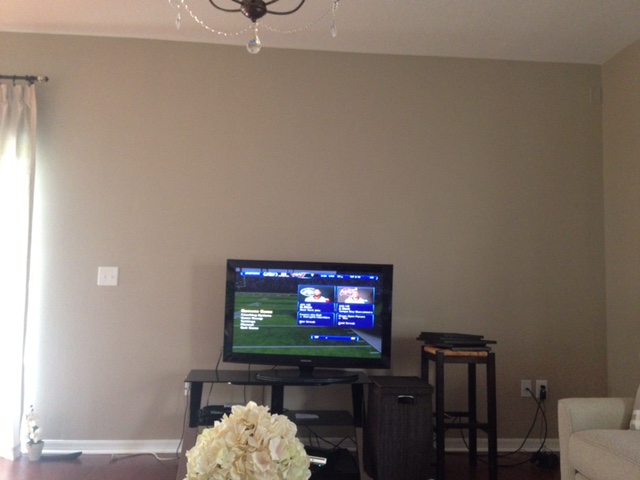
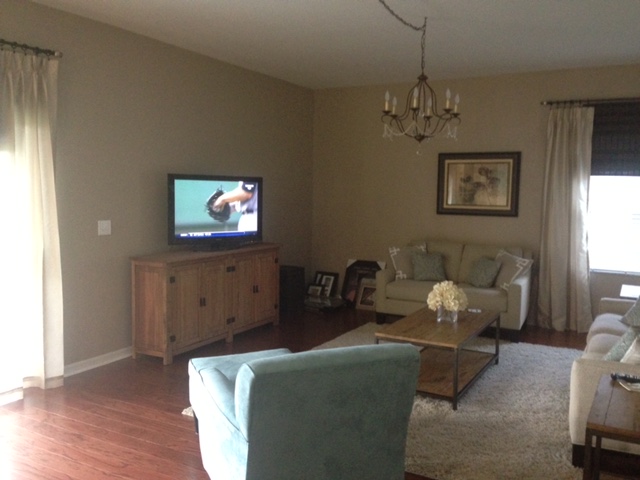
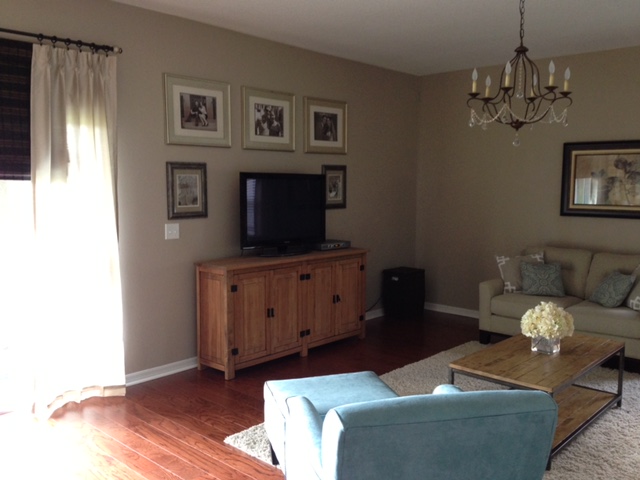
And here’s the finished product. I would have preferred to mount the TV to the wall, but we have plans of potentially buying a larger TV at some point in the future, so I would rather wait to buy the right size mount and poke all the holes in the wall until we know what size TV we are going to get. And I may have to reconsider the gallery wall and the placement of the frames once that happens as well. Now that I’m thinking about it…that probably won’t happen anytime soon!

Comment and let me know what you guys think! Entire makeover post of my living room coming soon so stay tuned!