Spare Bedroom Makeover
In some of my first few posts, I showed how to make a faux headboard for only $14 and how to makeover a dresser with zero sanding. But I wanted to dedicate an entire post on the total makeover, start to finish, since I’m so very proud of how it turned out! This spare bedroom was my first major house project that I tackled in our first home, and probably the “ah-ha moment” that made me realize how much I loved DIY and home improvement.
This bedroom started out with lime green and dark green walls (eww!) and hideous baseboards. After changing my mind 63 times, I decided I wanted to go with a purple/gray/white theme in the new bedroom. My husband still thinks it’s “too girly” but whatever. Let me show you a few “before” pictures so you an see just how awesome it was. Could you see my eyes rolling just now?
This is how the previous owner had it:

And here’s the other side:

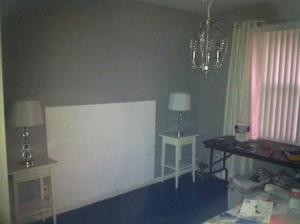
And here’s the room after we moved in and used it as our catch-all:

So I picked out a soft gray color (Porpoise – eggshell) at Home Depot and designated a painting weekend and told the husband he better be ready.
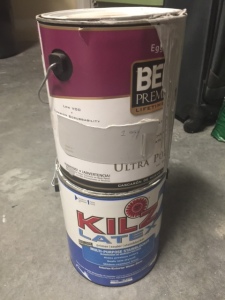

After one coat of “Kilz” and two coats of gray, we finally got the result I wanted:q


I also wanted to re-do the baseboard because they were a mess. The previous owners installed the bamboo floors themselves and instead of removing the baseboards, they just put in the bamboo and then covered up the gabs between the new floor and the old baseboards with quarter round molding. It wasn’t a good look at all. So I bought a nice thick baseboard (which was actually casing) from Home Depot to cover the gap between the wall and the wood floors once we had removed it all. Thanks to the help from my husband and stepdad for cutting them and installing them for me!


Here’s the gap in between that I mentioned. It was pretty thick, so you can see why we used this particular molding because it was literally the only one I could find that would be thick enough to cover and still look like a baseboard.

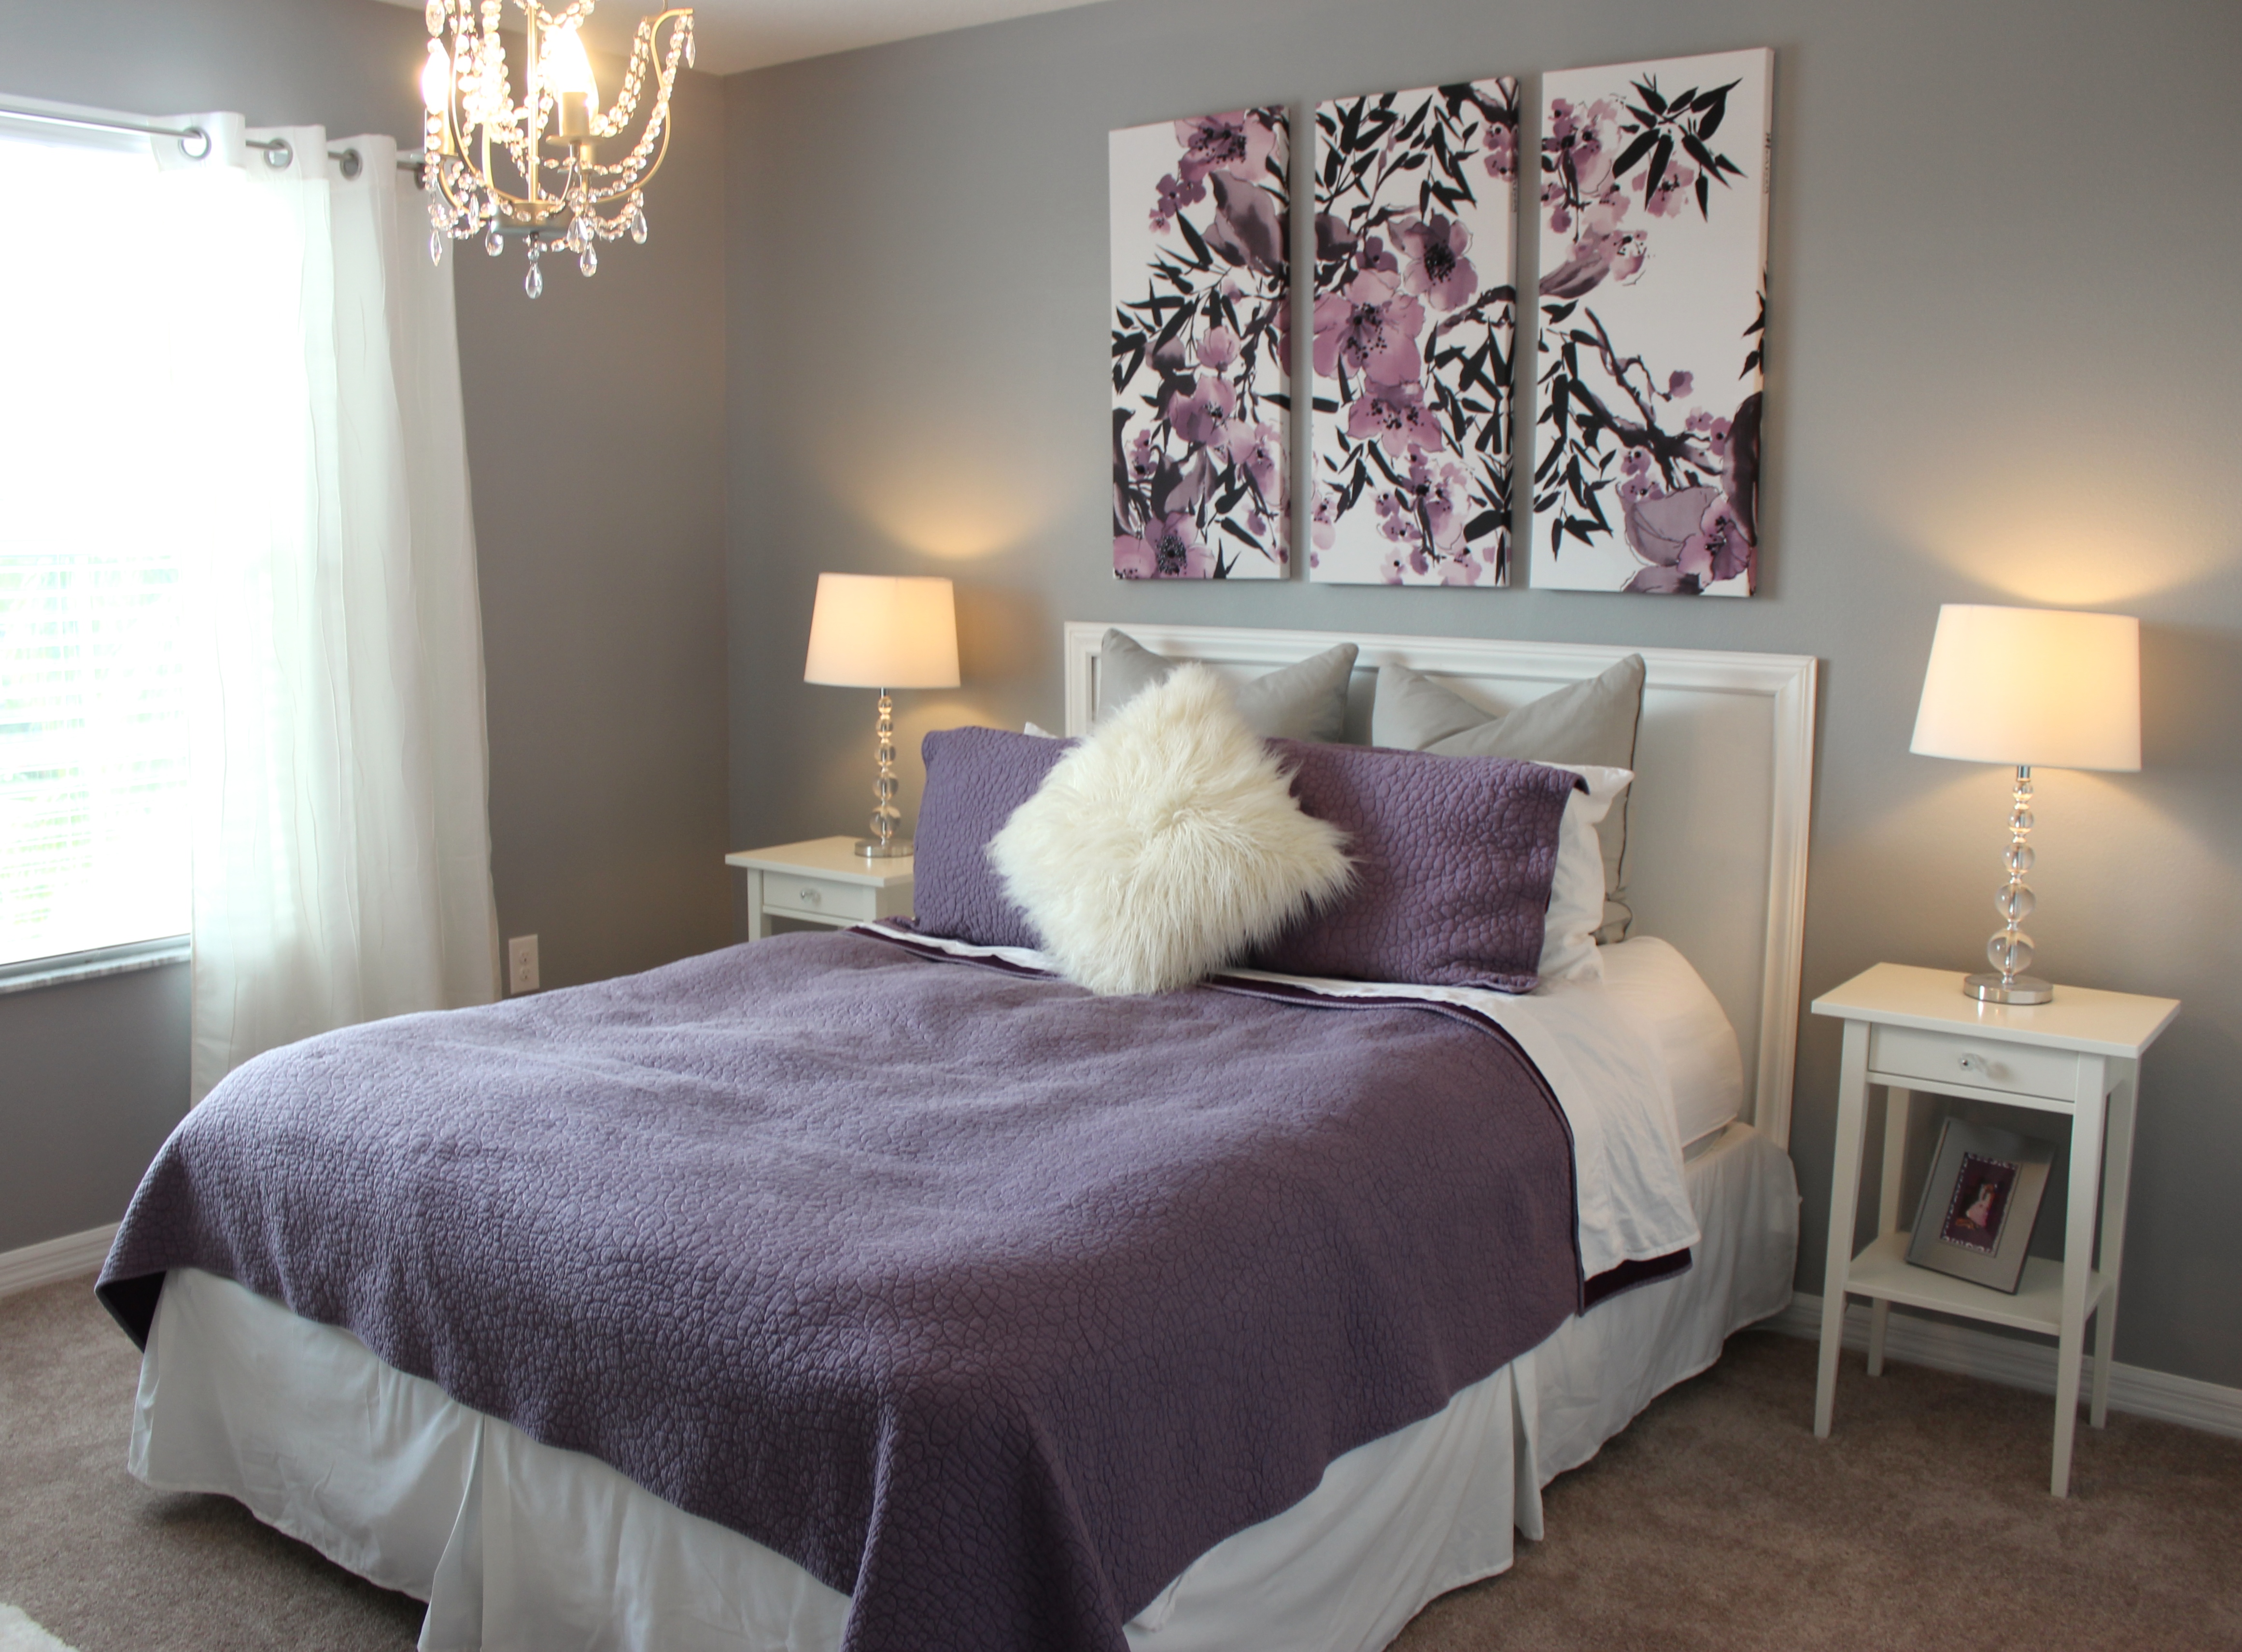
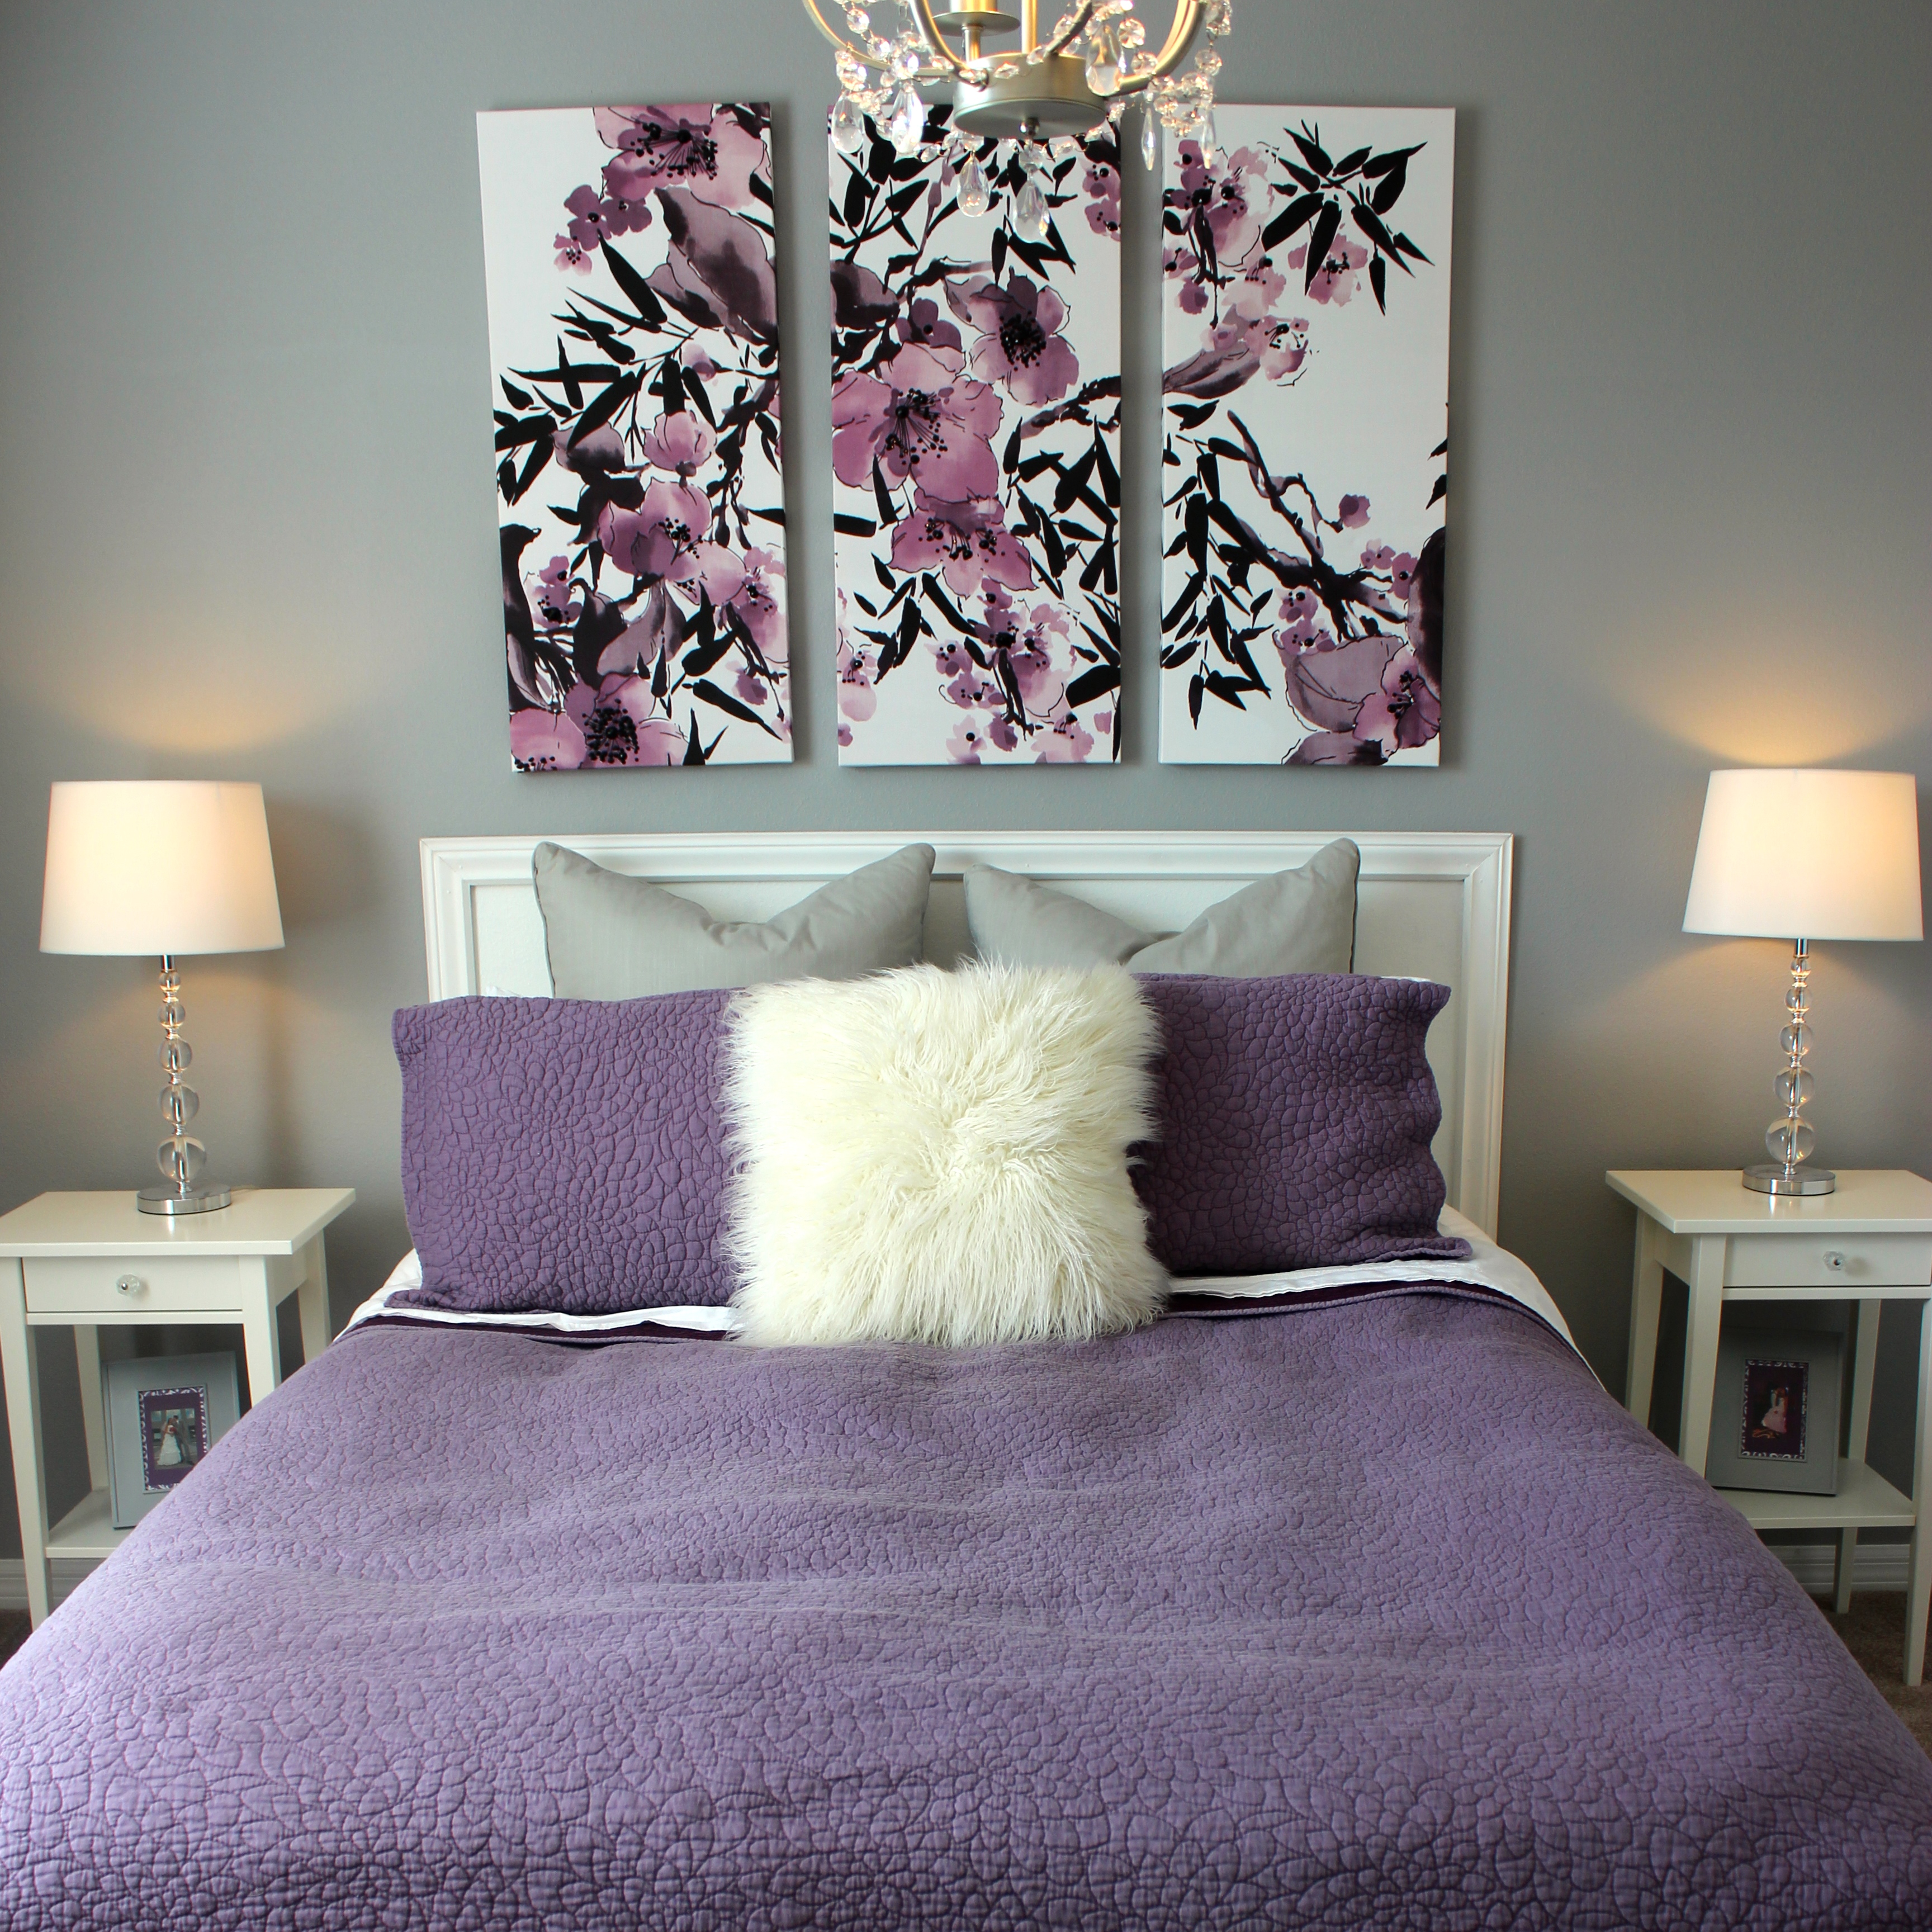
After the walls were painted, I painted on the headboard. I had wanted a white headboard and they were all around $200! I measured the real headboard in my master bedroom and used the same dimensions, taped it off, and painted a white square. Then I attached plain, simple baseboards to the edges, and wa-la! A $14 faux headboard!! The tutorial for that is here!


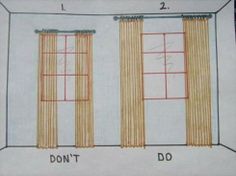
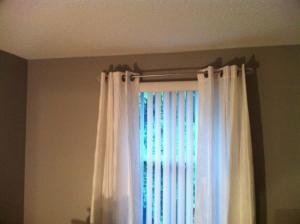
Next, I hung the curtains, as you can see in the last picture. I bought these 84″ grommet panels from Bed, Bath & Beyond with my wedding gift cards. The panels were $39.99 each minus the 20% coupon which came to $32. I also bought crystal finials to add to the brushed nickel rod for $19.99. The crystal theme was carried throughout the room to make it all cohesive. I hung the rod much wider than the actual window to give the illusion the window was bigger (since it was pretty tiny). So the window went from this to this:

You’ve probably seen this pinterest post that depicts how to hang panels on a window. Take it seriously, y’all.
Next, I painted an old dresser that I didn’t like the color of and decided to once again save some $$ here. I took this old dresser, did ZERO sanding, and just gave it several coats of regular white house paint. Changed the handles to some crystal ones to match and ta-da! You can see my tutorial on the dresser makeover here!


Then I hung a chandelier I had been eyeing at Ikea for months. It was only $39.99 and I think it was a perfect centerpiece for this room! You can find the chandelier here. (This is seriously a score for any room, bathroom, or even closet!)

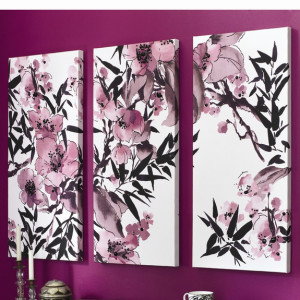
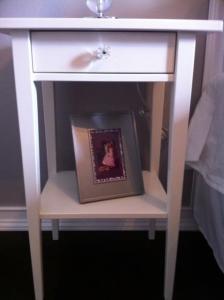
Then I was able to start adding the fun, pretty, parts. I bought two night stands from Ikea (only $69.99 each) and then used the same crystal knobs I used on the dresser for the night stands. So now I had matching crystal knobs on the dresser, the night stands, the chandelier, and the finials on the curtain rod 🙂 I also bought the pictures for above the bed at Bed, Bath & Beyond for $129. Bed Bath doesn’t currently sell that set of canvas’ anymore, but you can find the exact same ones online here for $139!
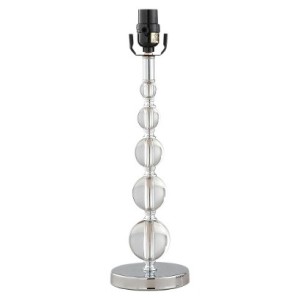
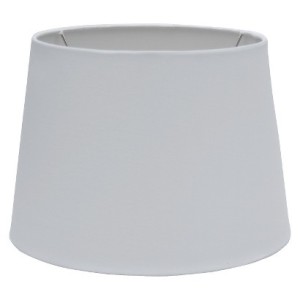
The crystal lamps on the night stands are from Target too and the base was $30 and the shade was $14.

All that was left at this point was to make the bed, bring in the dresser and add a few decorations to the walls!
I bought plain white sheets from Bed Bath ($60)
The purple quilt and two shams ($150)
Fuzzy white pillow ($15)
Gray European pillows on clearance at Target ($30). Similar ones here.
White shag rug ($27),
4 white & 2 gray picture frames on clearance at Target ($20). Found anywhere.
5 square mirrors ($20),
2 white frame mirrors ($10). Found anywhere.
2 floating white shelves ($15)
2 small vases and flowers ($11) all from Target. Found anywhere.
And that’s it! The room was complete!


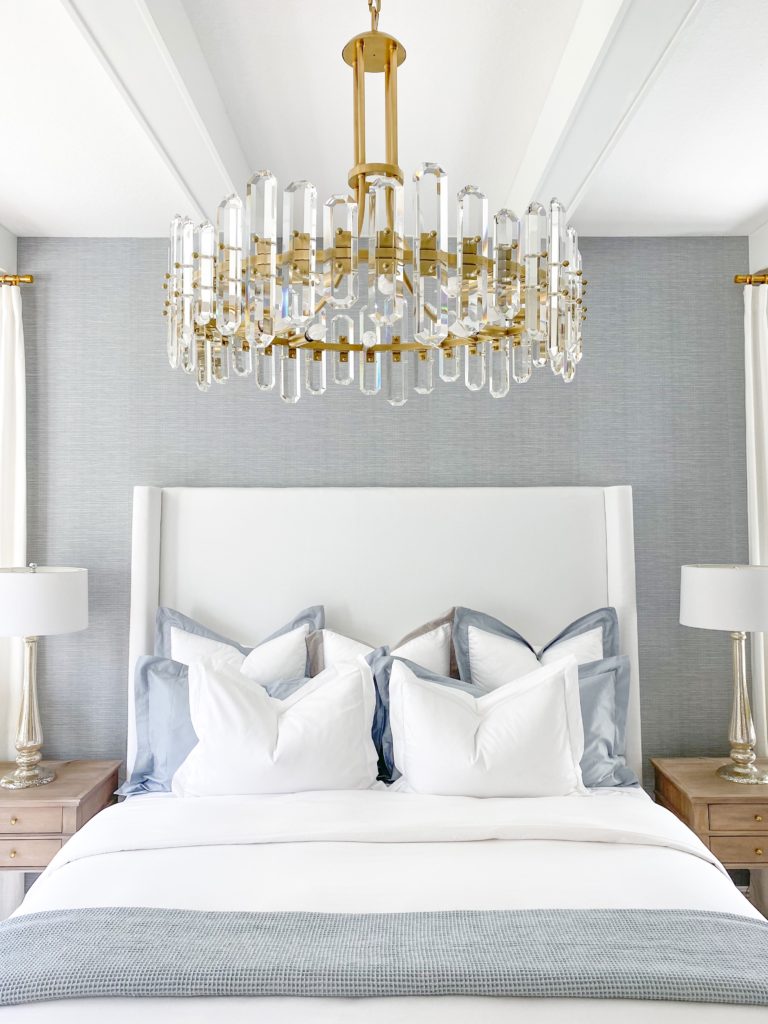
And here’s the same room in my new house!
Comment and let me know what you guys think, I love hearing from you!

![Closet Reno [Part 2]](https://www.frillsanddrills.com/wp-content/uploads/2015/03/closet2.15.jpg)
I love that you give all of the resources and prices! Thanks!!!