Nursery Lighting & Dimmer Installation
Today I’m excited to be sharing the choices I made for the lighting in the nursery, as well as how I installed a dimmer on some of the lights! I’m so thrilled with how all the lighting turned out and can’t wait for your to see more pictures!
As you may recall from my nursery design board, I had 3 lighting decisions to make: the main overhead light, the wall sconces, and a lamp.

The decision of whether or not to install wall sconces was a large one, I’m not going to lie. I’ve never been a sconce person before, but once I saw this nursery inspiration by Sophie Paterson Interiors, it was love at first sight.
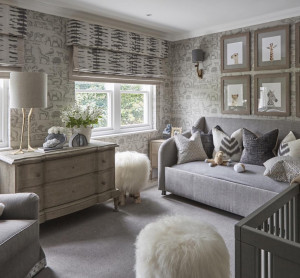
I thought they would be a great way to add even more interest to my focal wall, provide additional lighting in the room, and add more character and value to my builder grade home. Debuilderizing, if you will 🙂
I went back and forth on whether or not I thought it was worth it to install the sconces (since I had to hire an electrician) but I am SO glad I decided to go through with this. Local family recommended an electrician to me, and he did an awesome job.
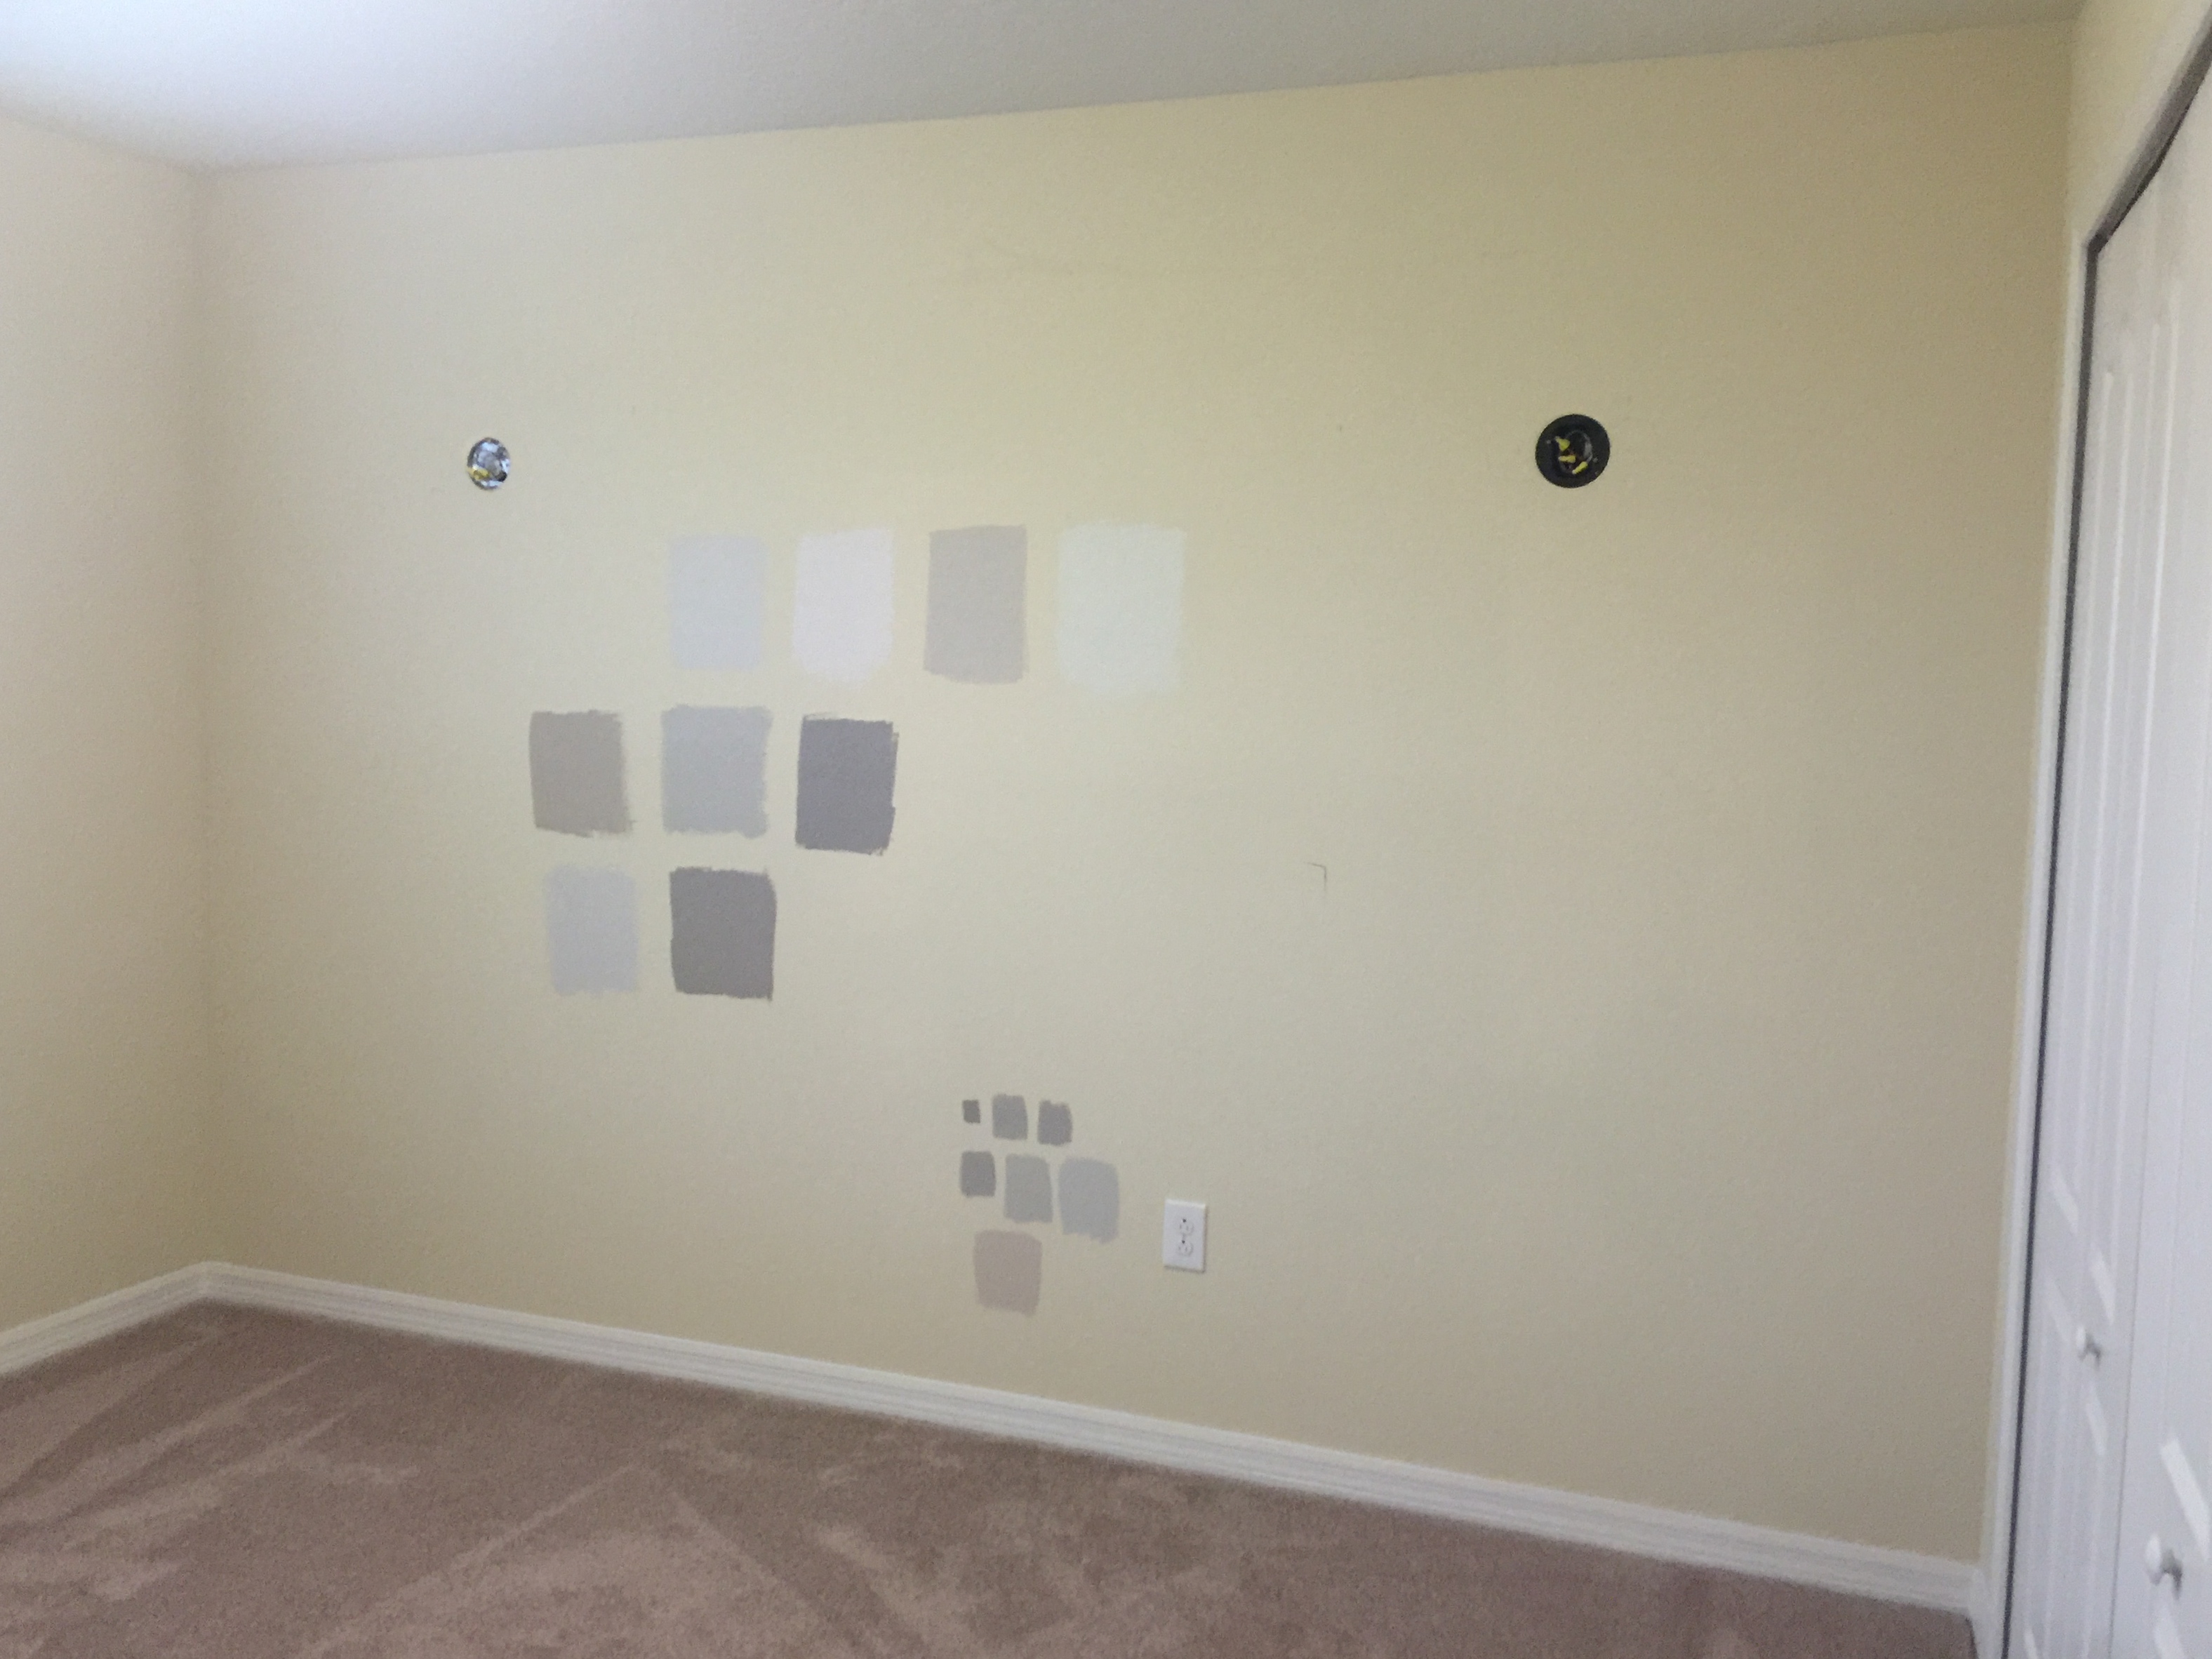
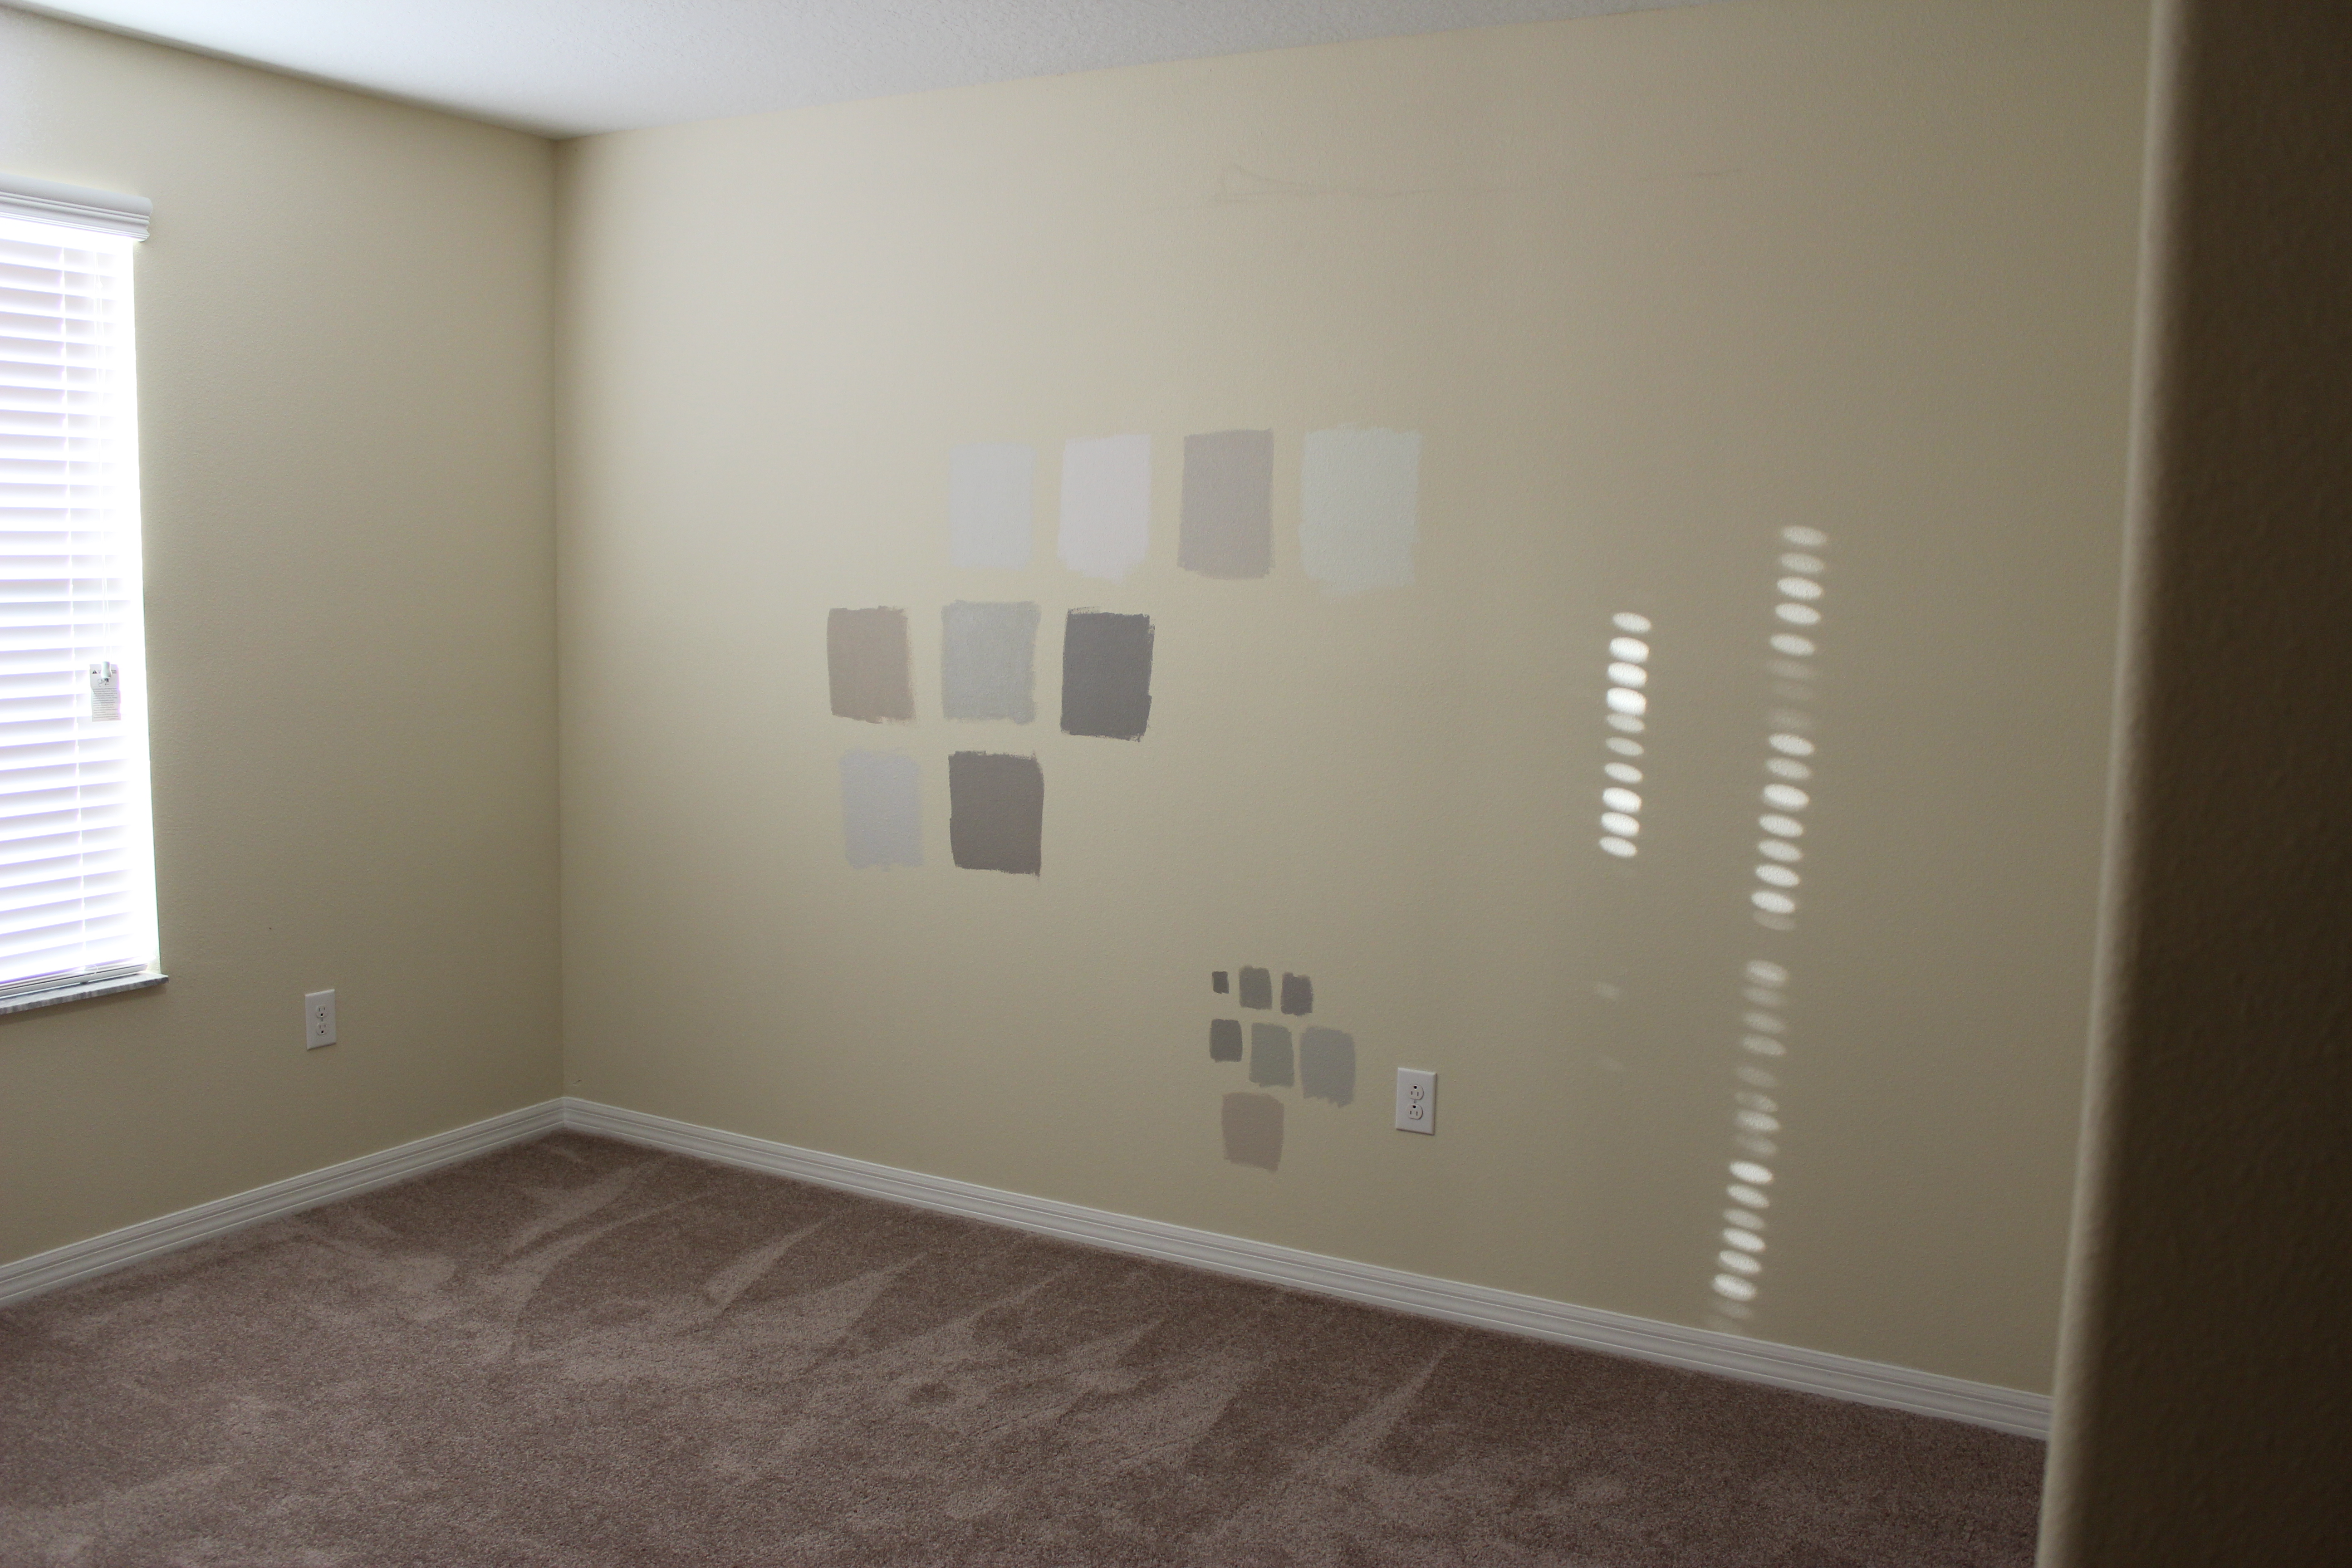
The outlets were placed at 6 feet high (the electrician said that was standard so I went with it), and I have them centered on the wall where the crib will be. He wired them to one of the switches on the wall which I think is fabulous!
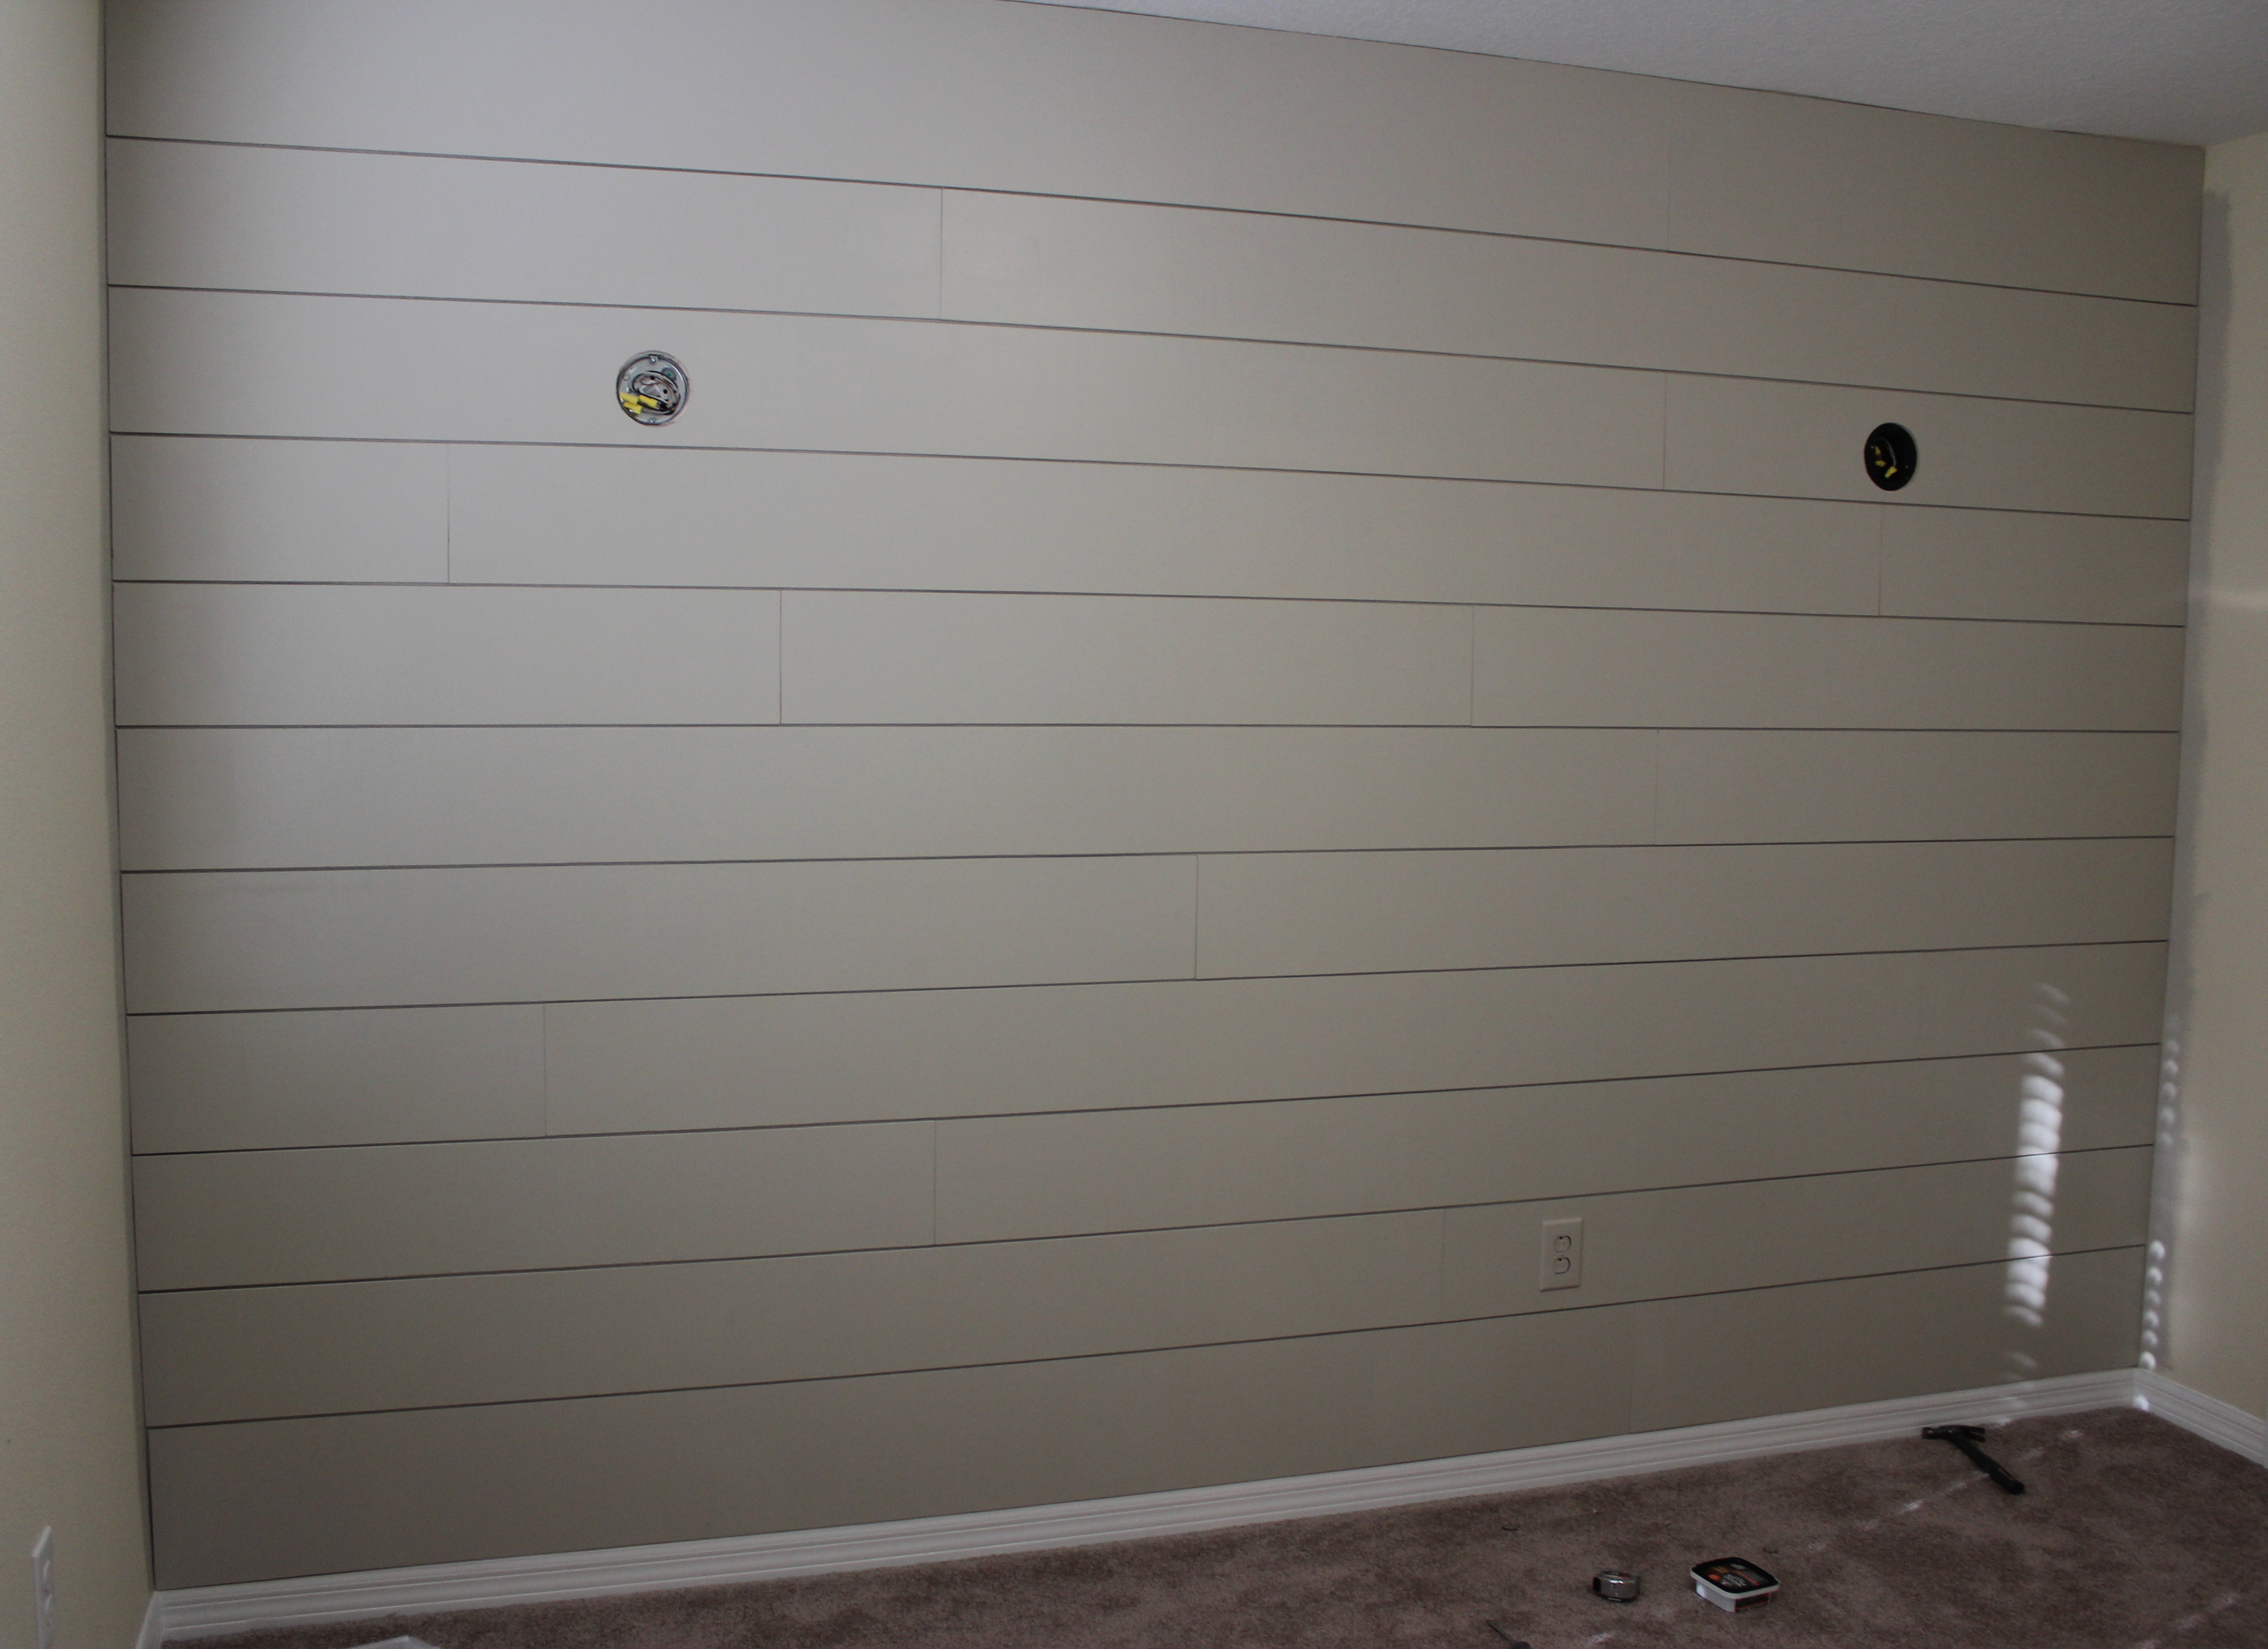
I installed my shiplap around the outlets and the lights were ready to be wired.

Finding the perfect sconces was not an easy task! I had a vision in my head that I wanted a solid, simple gold base with a solid white shade. It sounds simple, but it certainly wasn’t! I scoured the internet and lighting stores for weeks trying to locate the sconces in my head. Sometimes I don’t know whether its a curse or a blessing to know exactly what you want. Here are some of the sconces I was liking on wayfair.com before I found “the ones”.
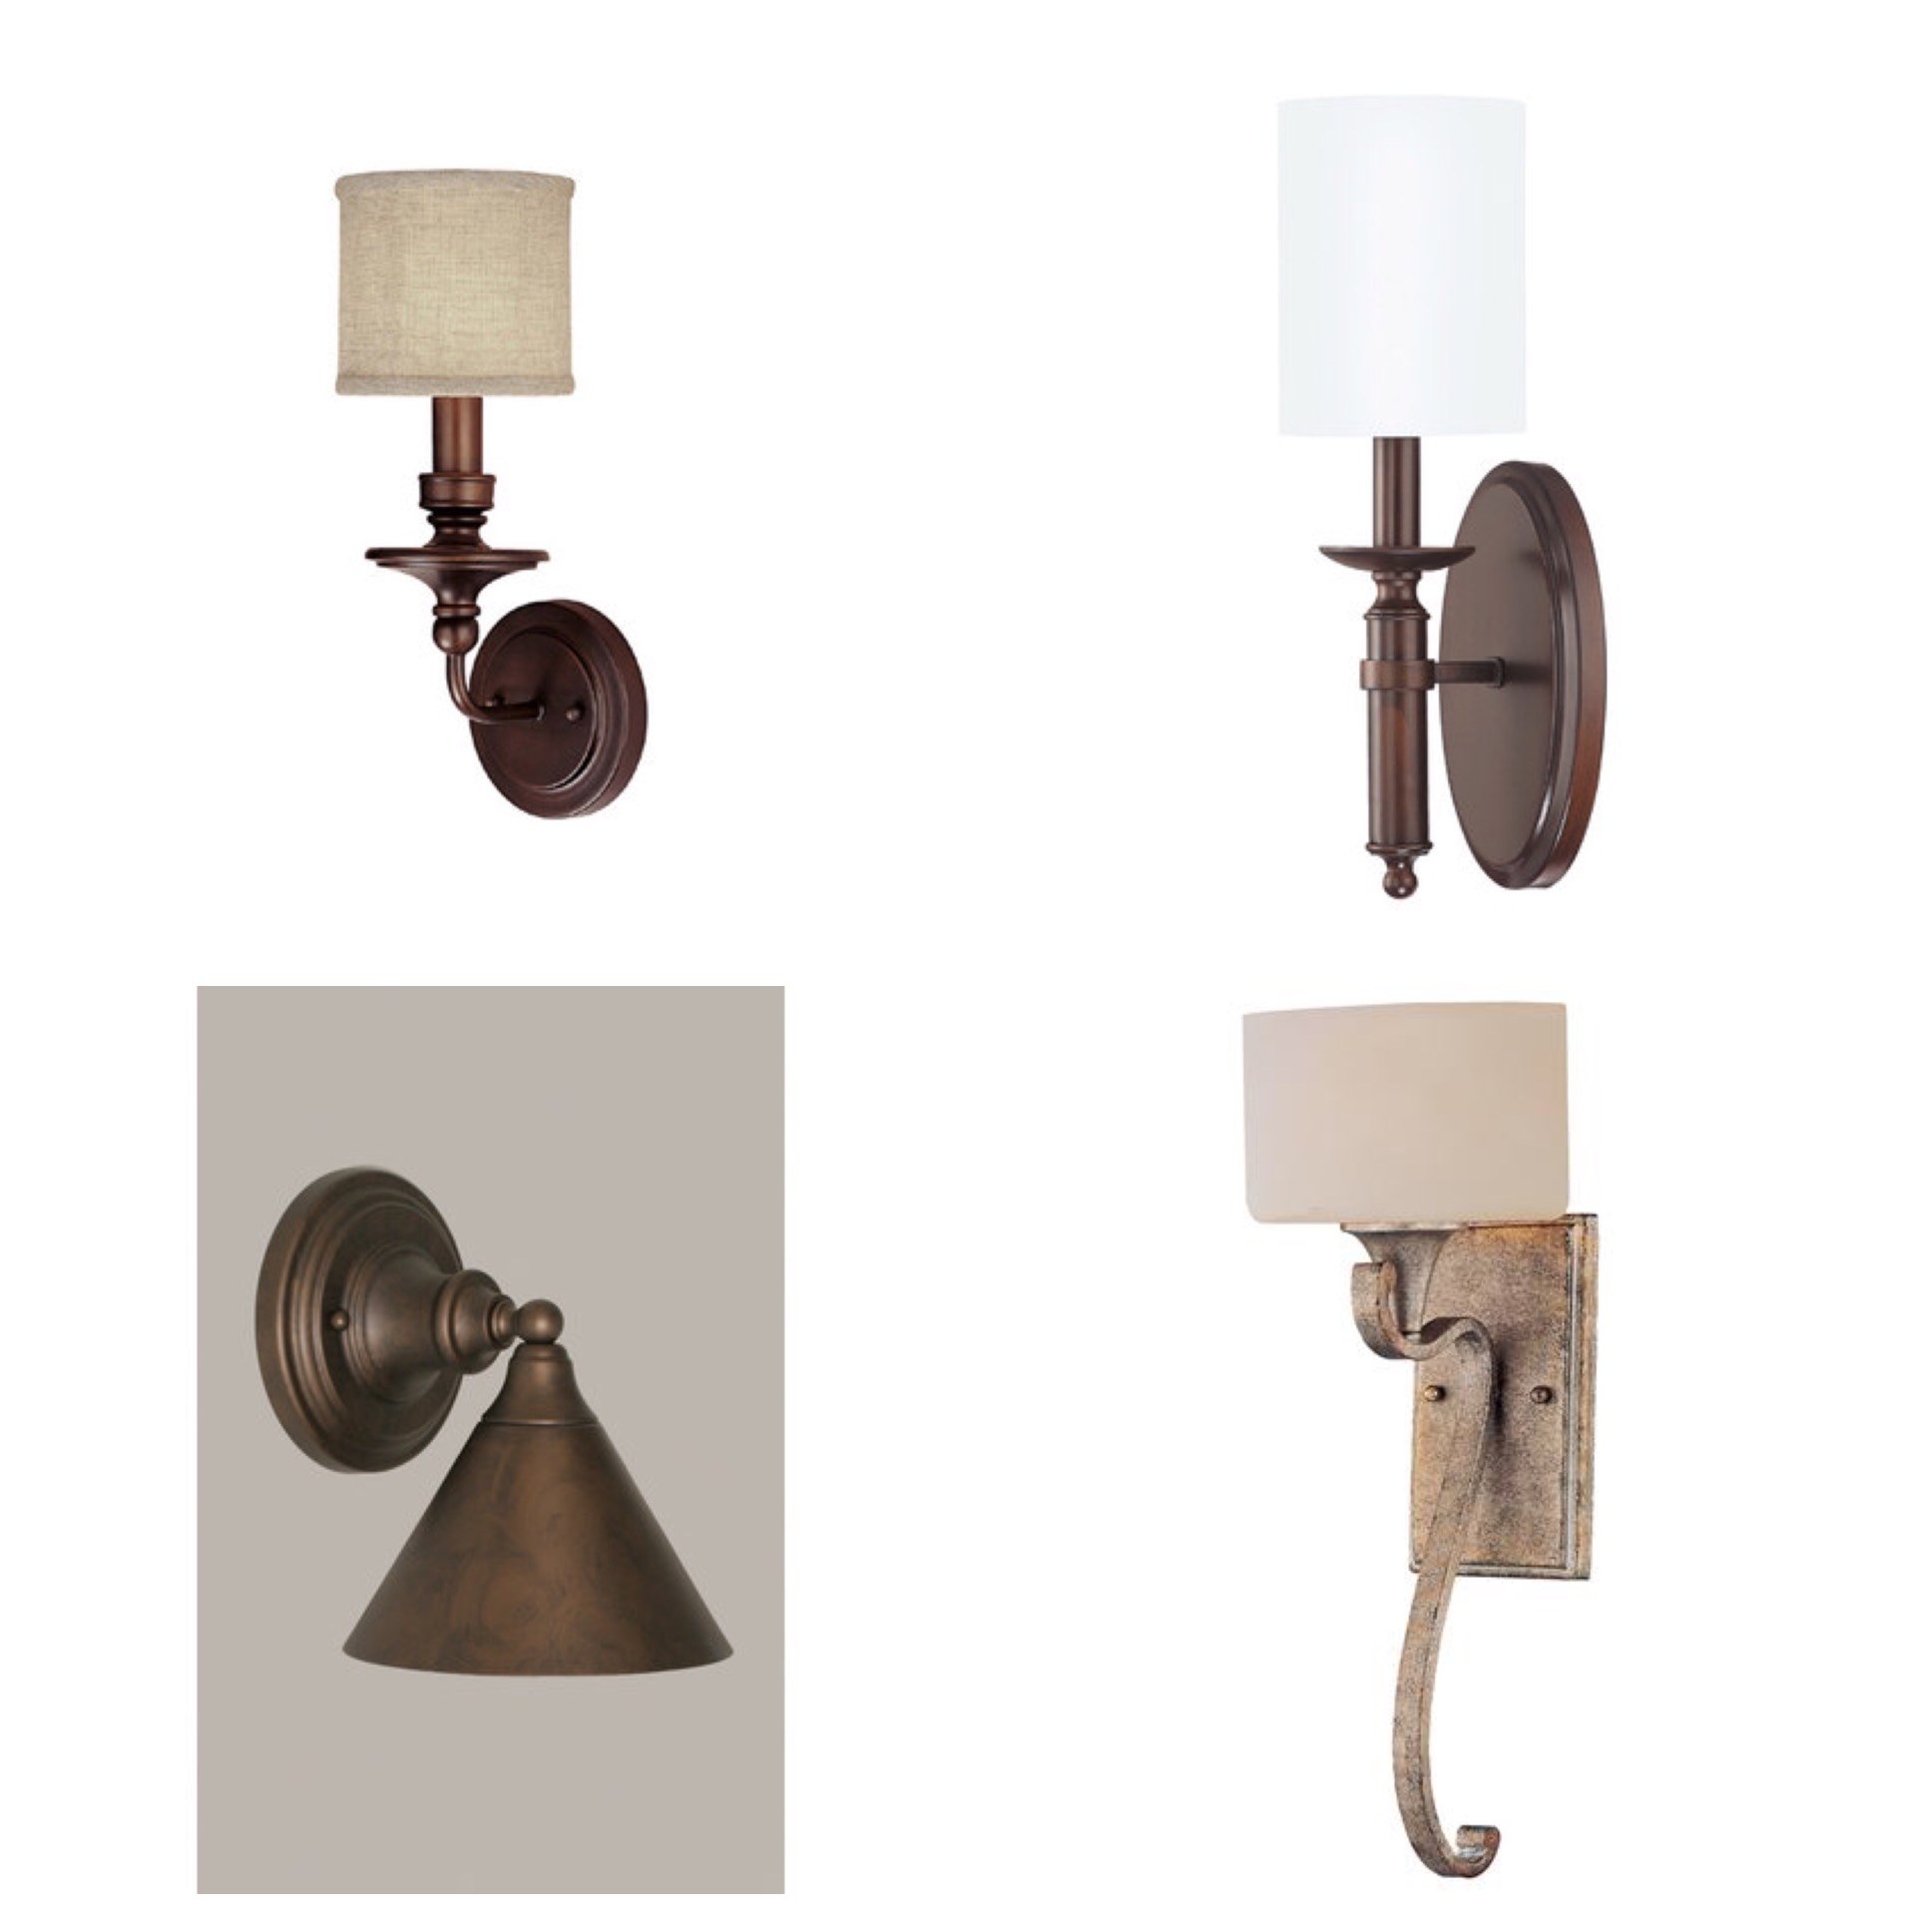
Oh! And keeping in mind a budget, of course. Sconces can get pricey, and being that I already had to pay an electrician, I couldn’t stomach paying several hundred more for the actual sconces. Then I found these.
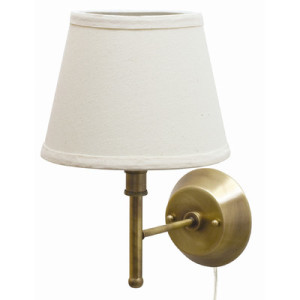
Boom. That’s exactly what’s been in my head all along. Except for one thing. Do you see that cord hanging from the bottom of the circle mount? After reading the description online, I realized these are “plug in” sconces. Meaning they are not meant to be hardwired to a wall outlet, but instead to be attached to the wall and then the cord hangs down the wall and plugs into a standard outlet. I was devastated. But only for a few minutes. Because I thought to myself, wait; Can’t I just cut the cord wire off and wire it directly to my wall outlet? I know it maybe seems like a lot of trouble to go through, but like I said, I had scoured the internet and these were the ONLY ones that fit my criteria in my budget. So I was going to make it work. Whatever it took.

I placed my order online, waited on them to arrive, took them out of the box, and discovered yet another road block with the sconces. The shade was beige! What?! The shade was clearly white in the picture. I was so annoyed. I got in my car, drove to Target, and picked up these small white shades. Thank you Target for saving the day as usual.

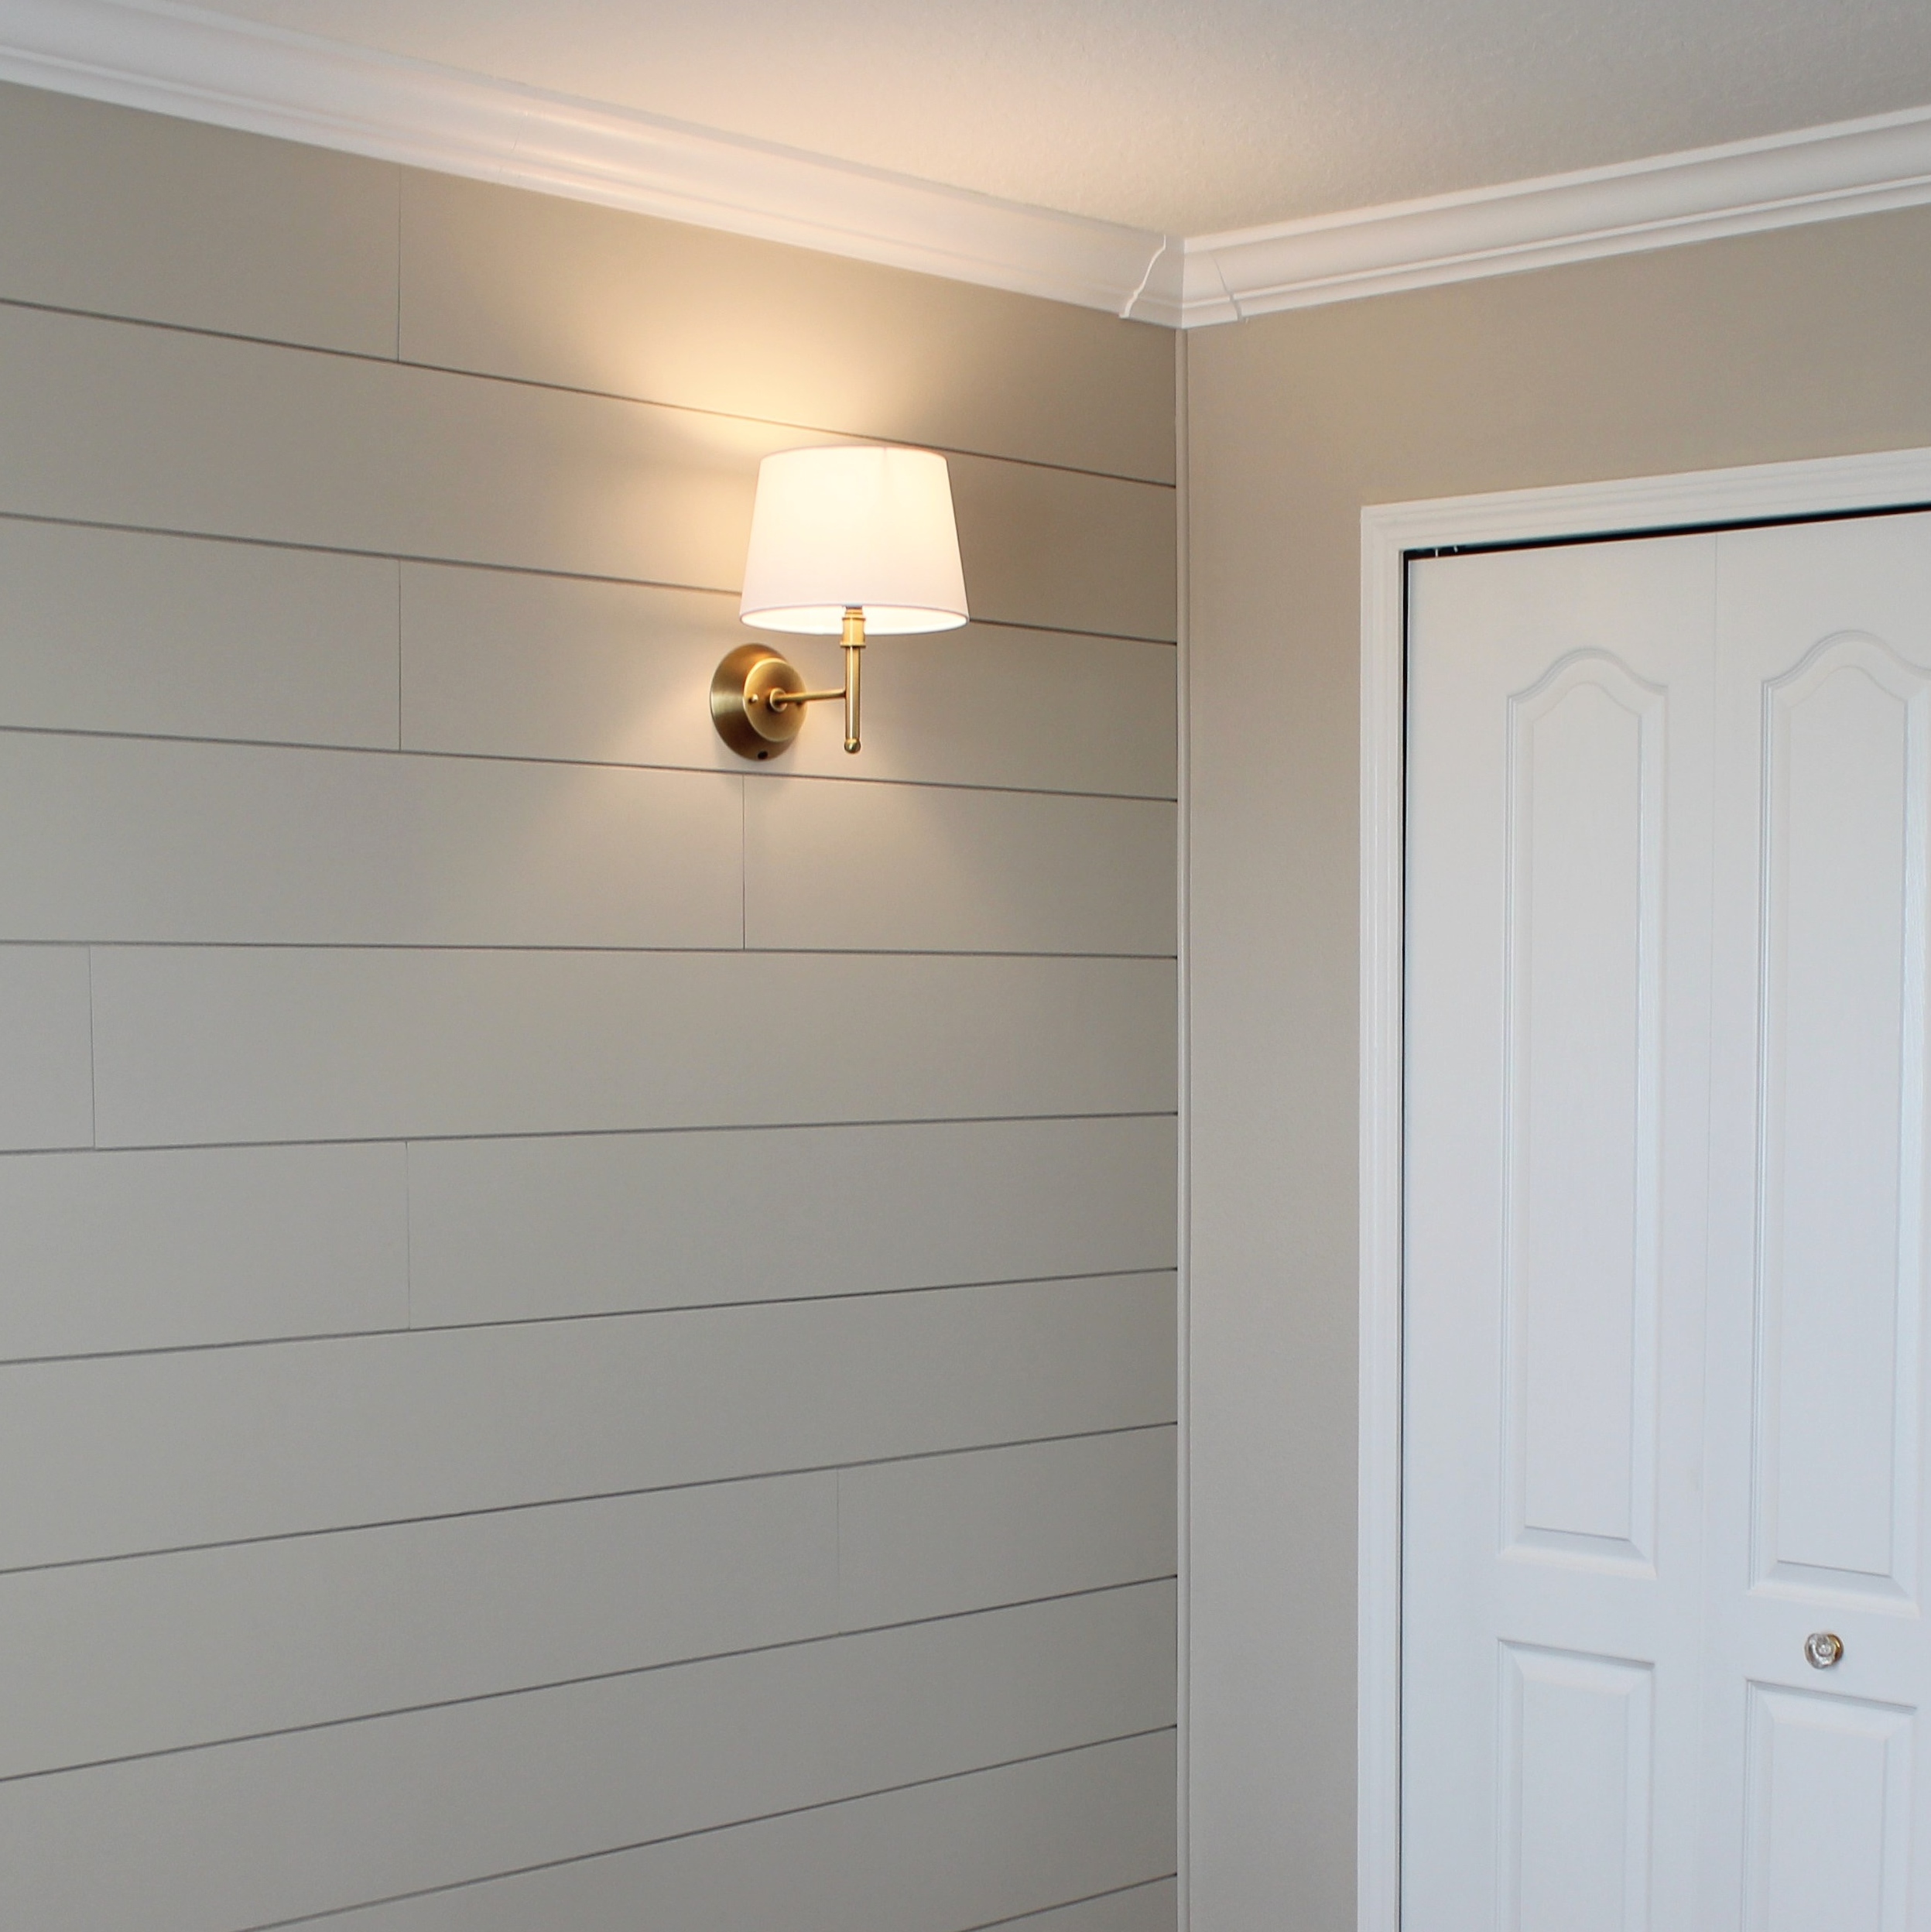
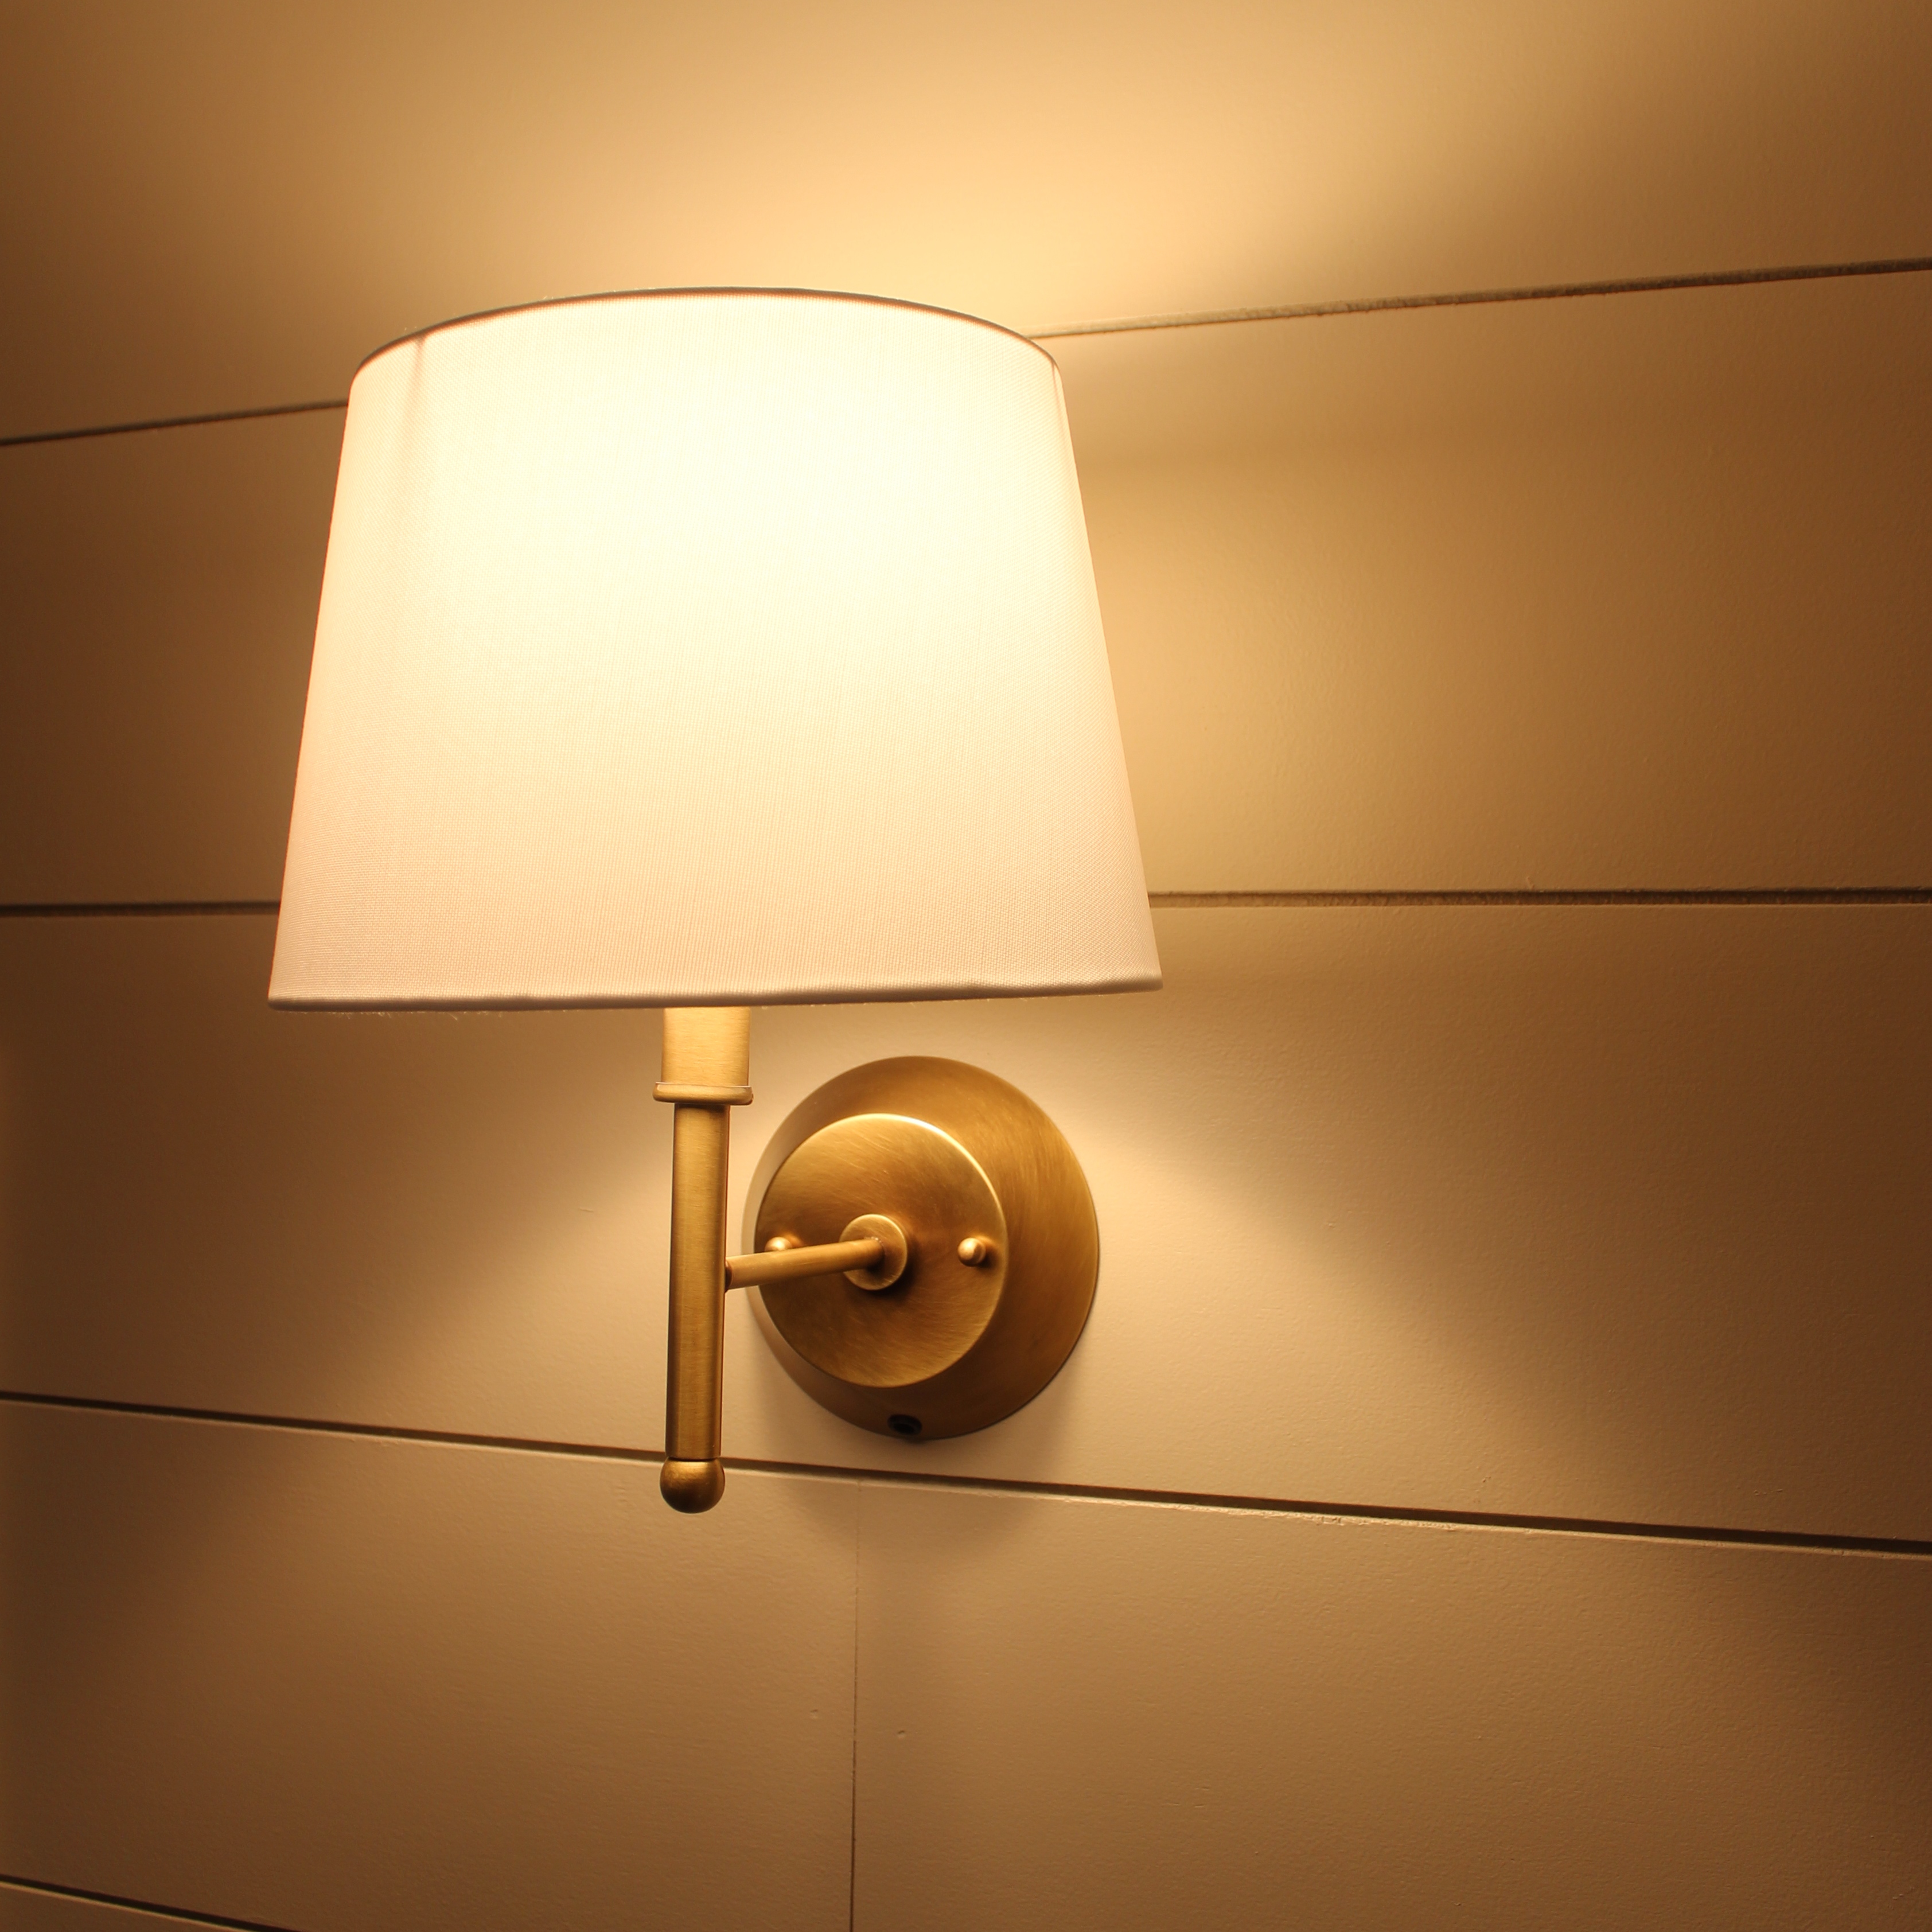
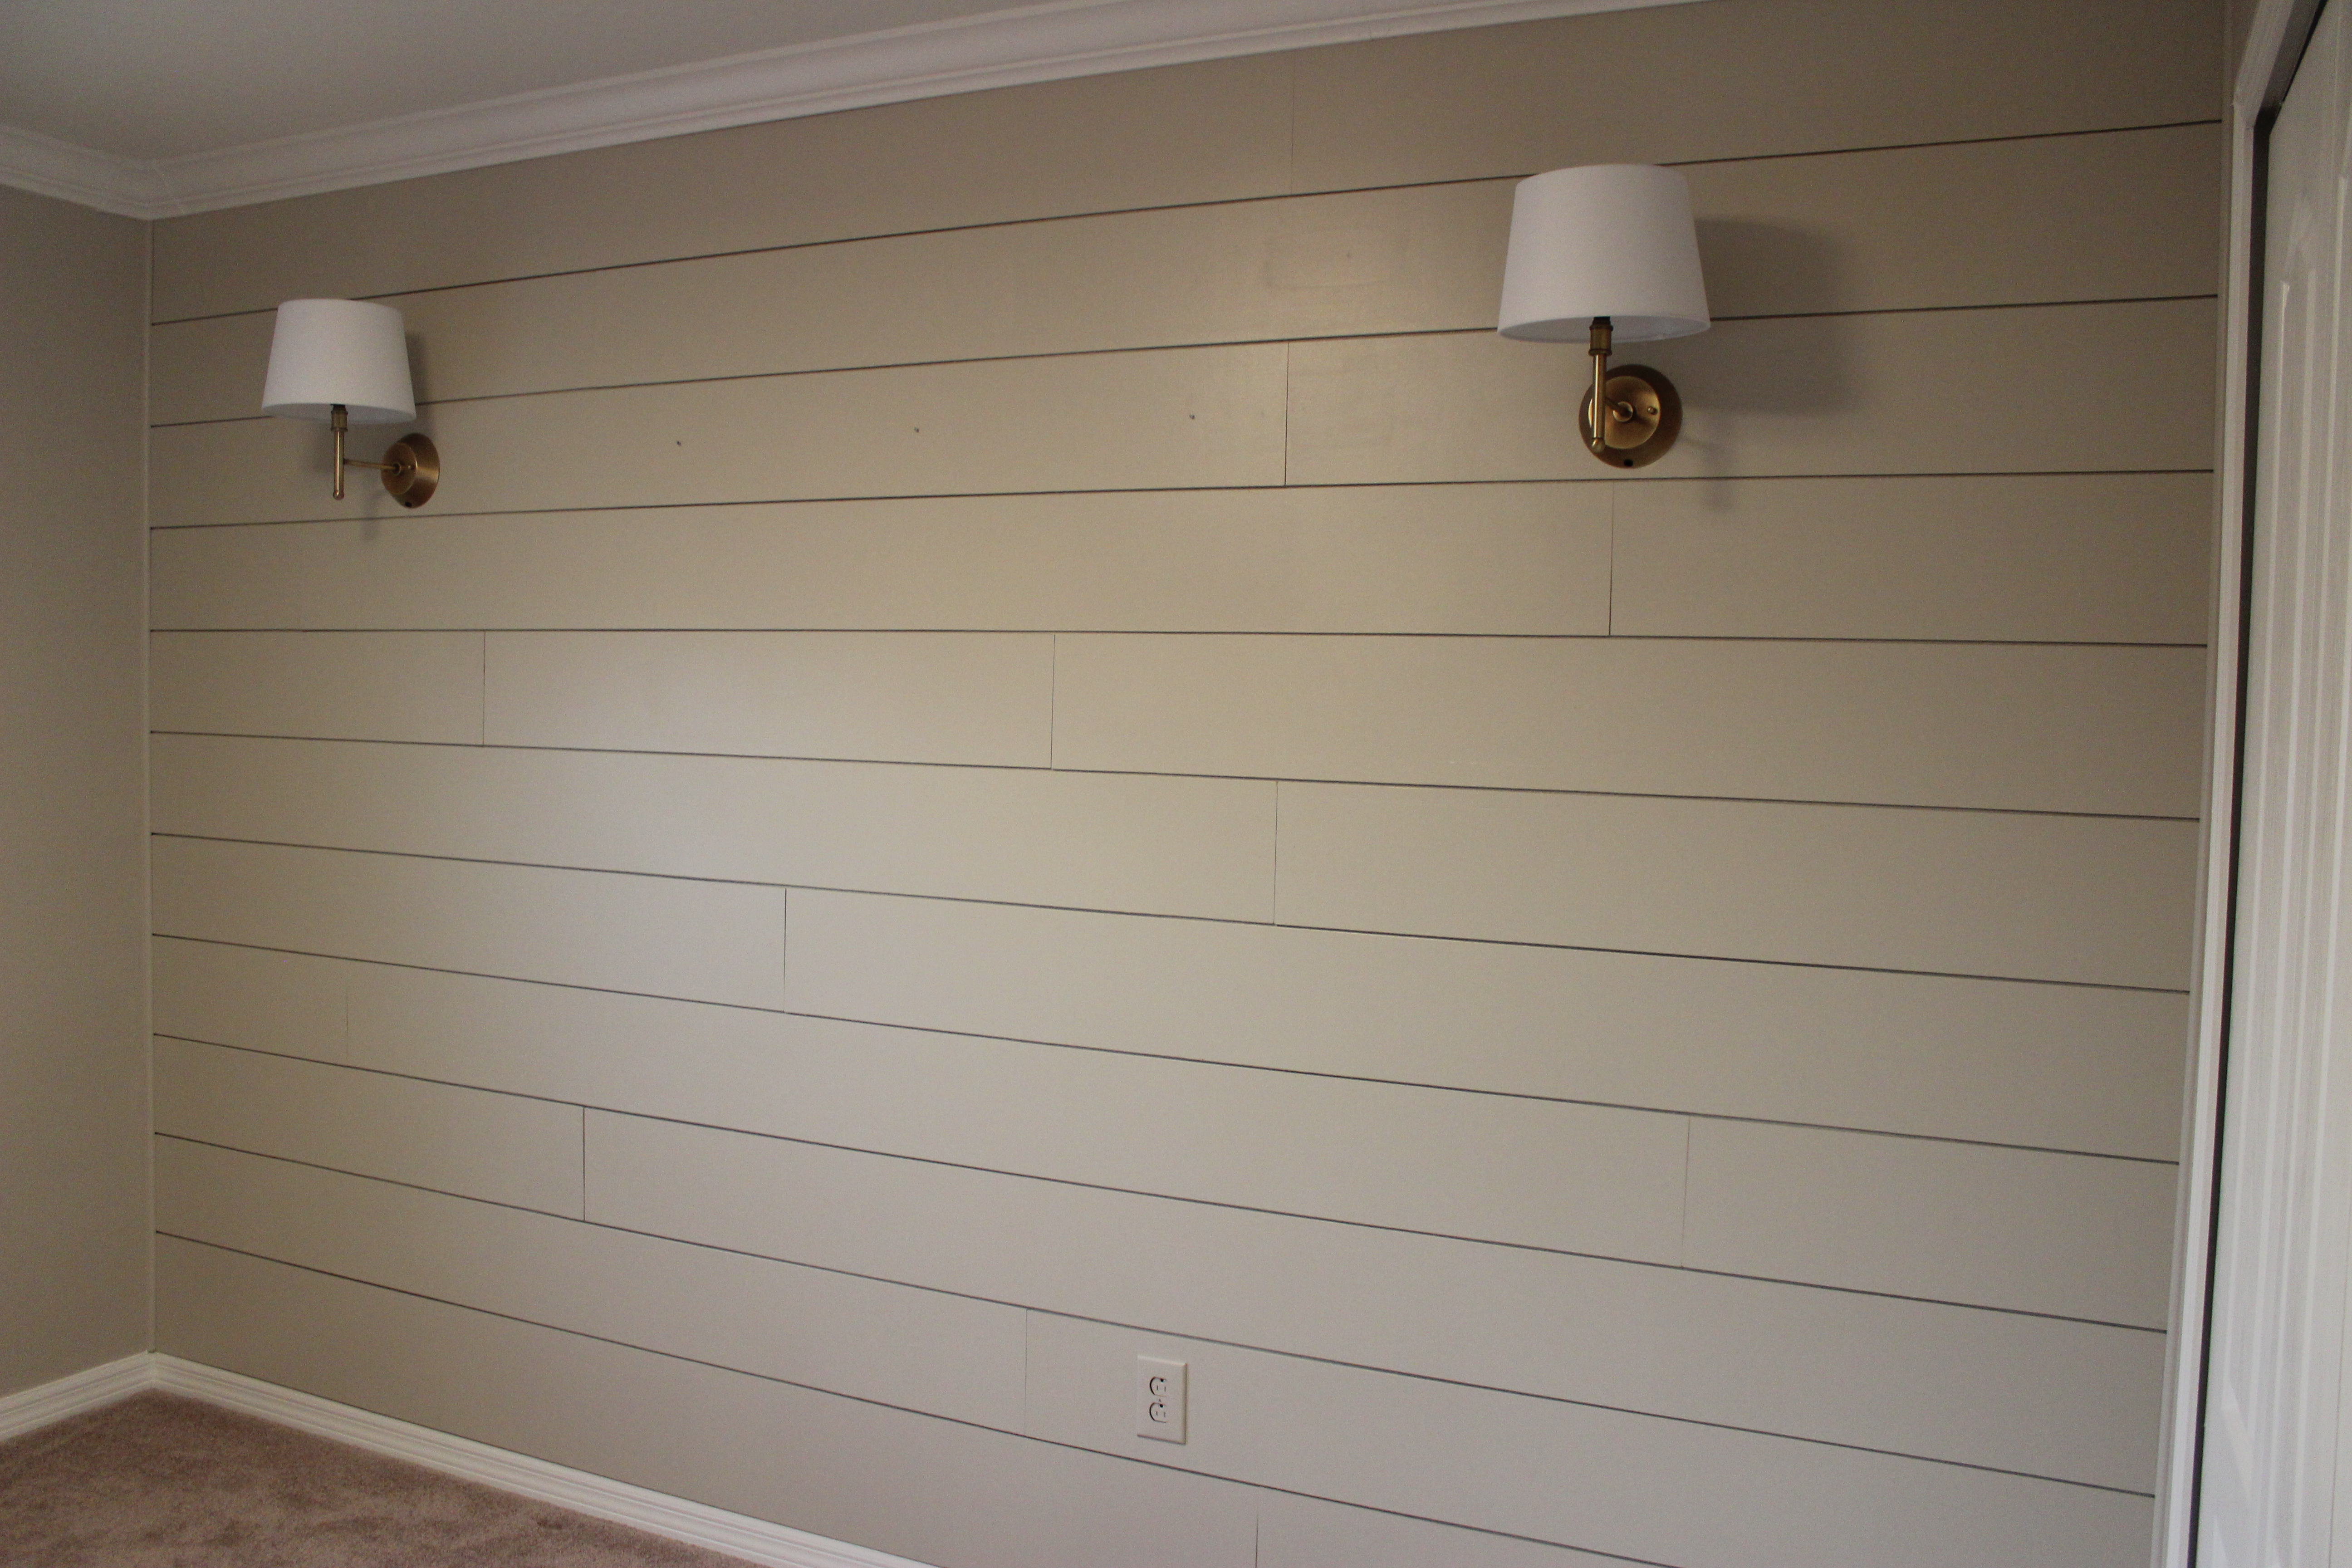
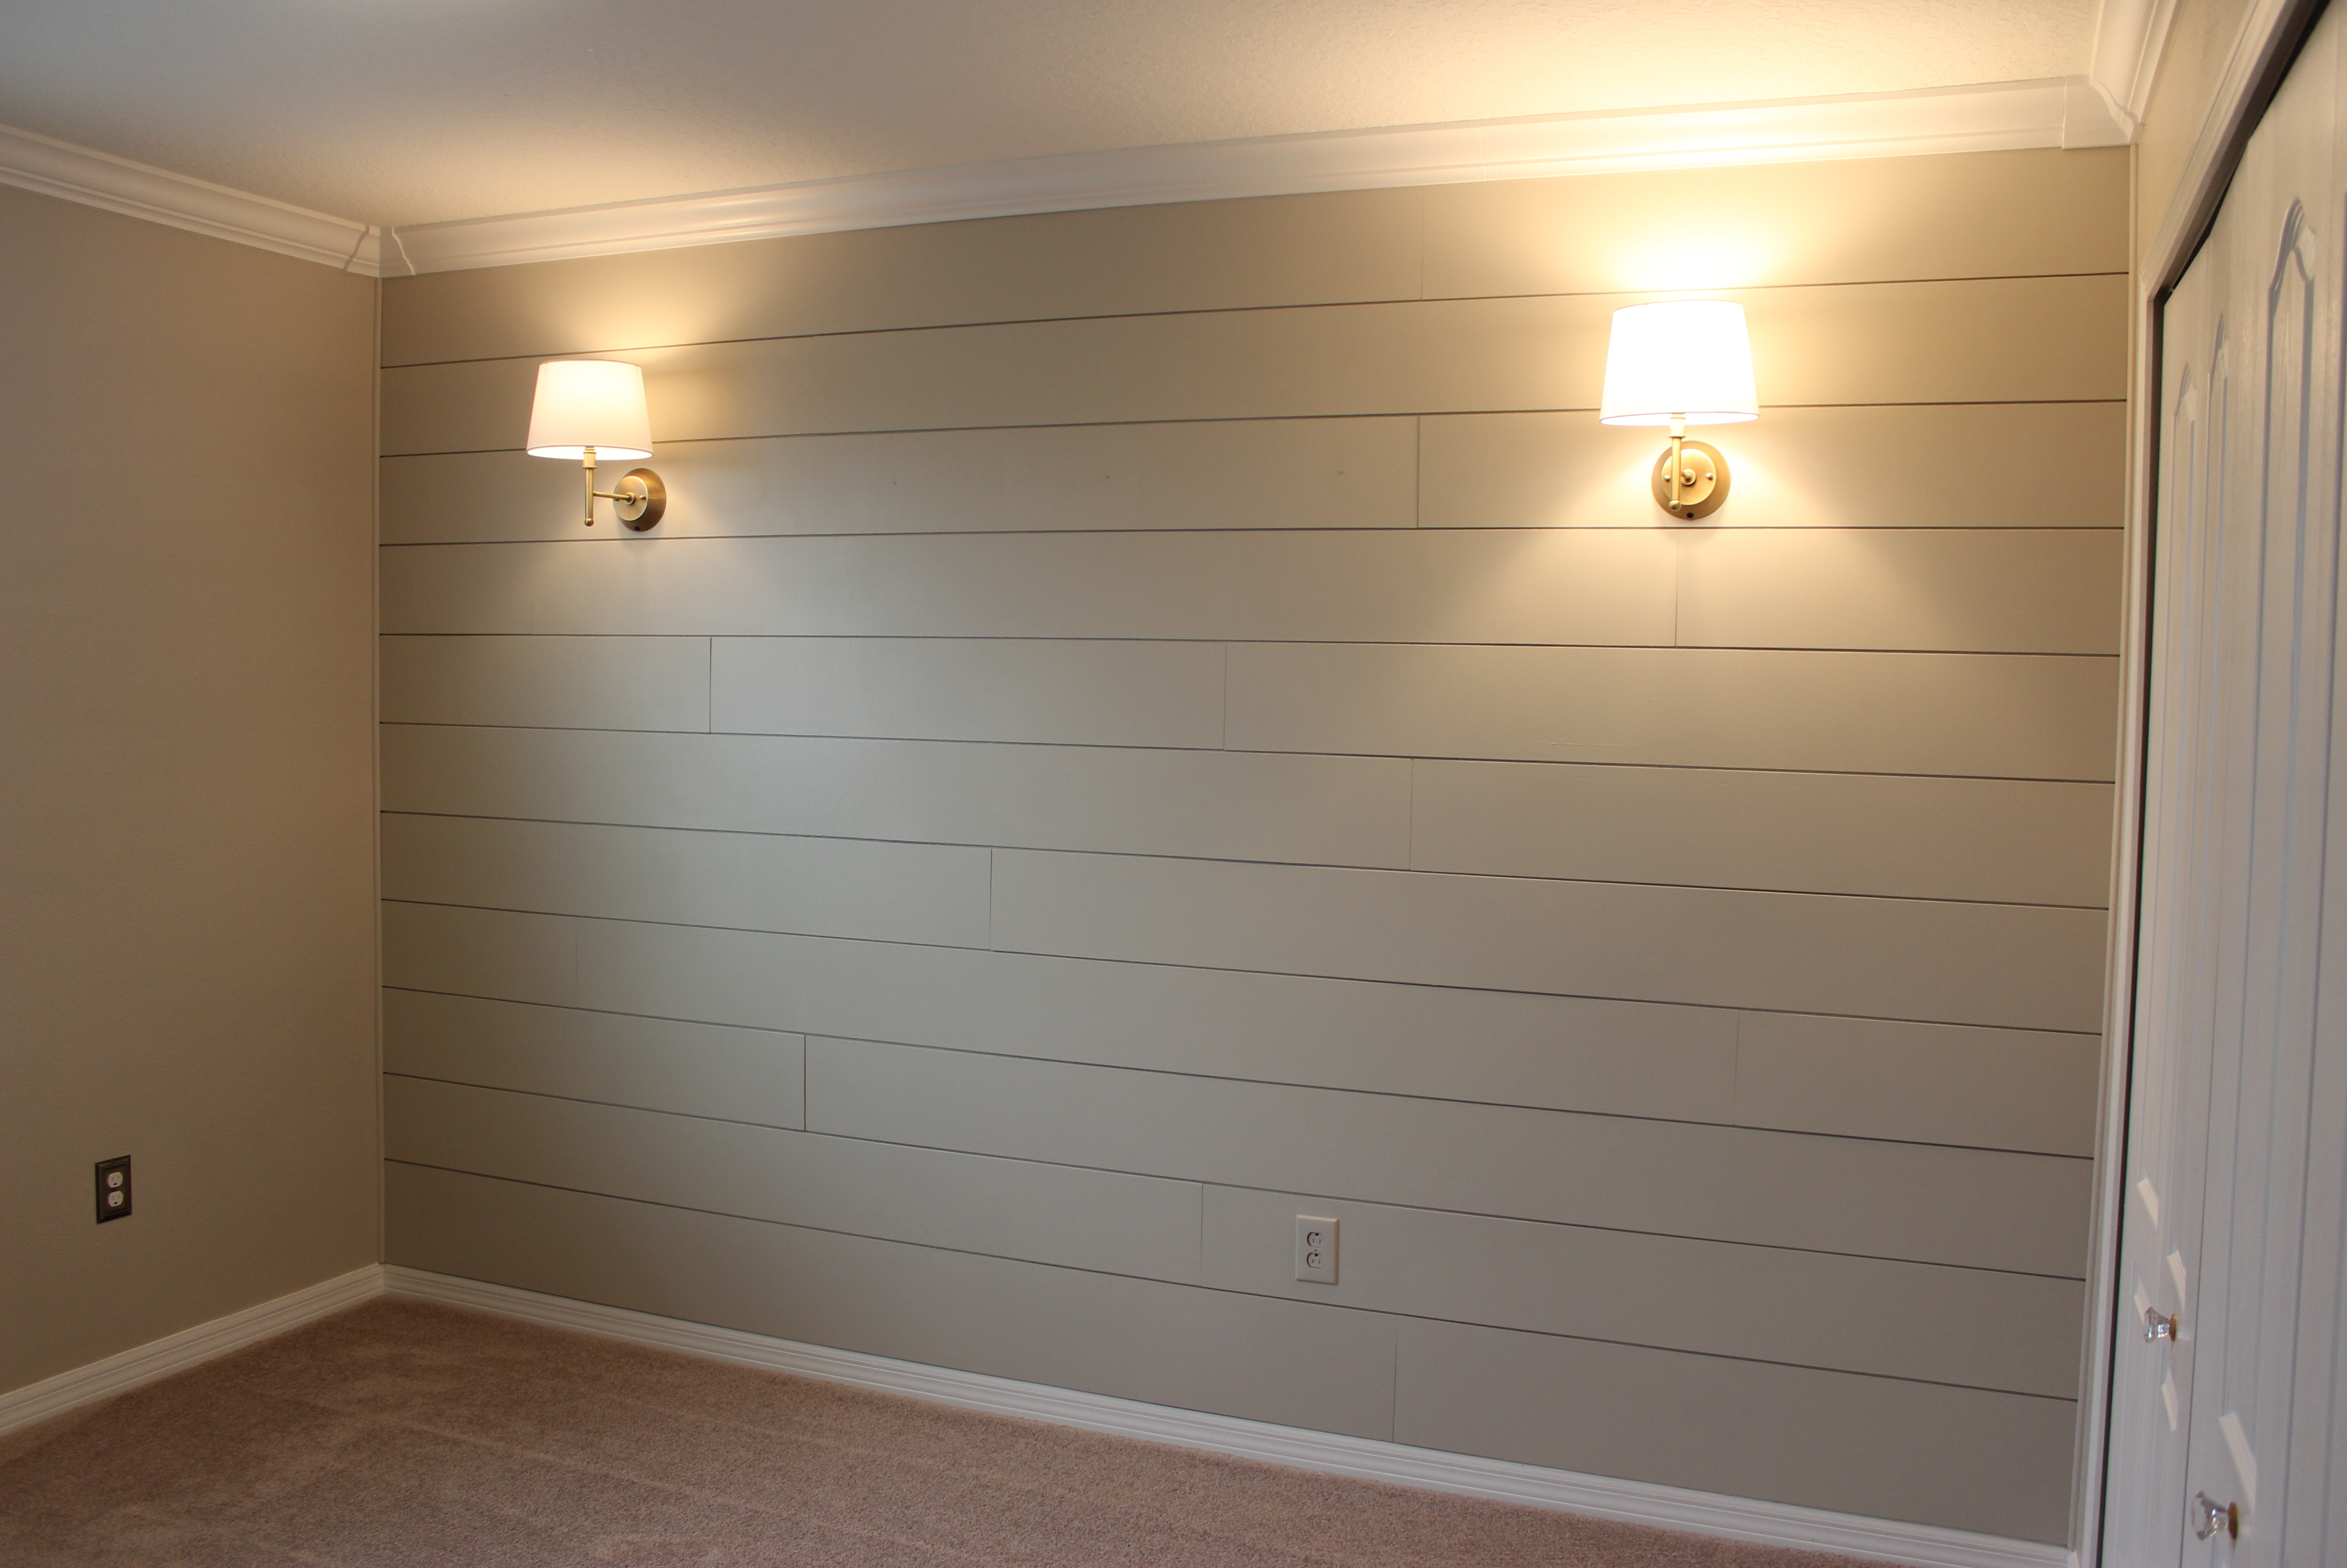
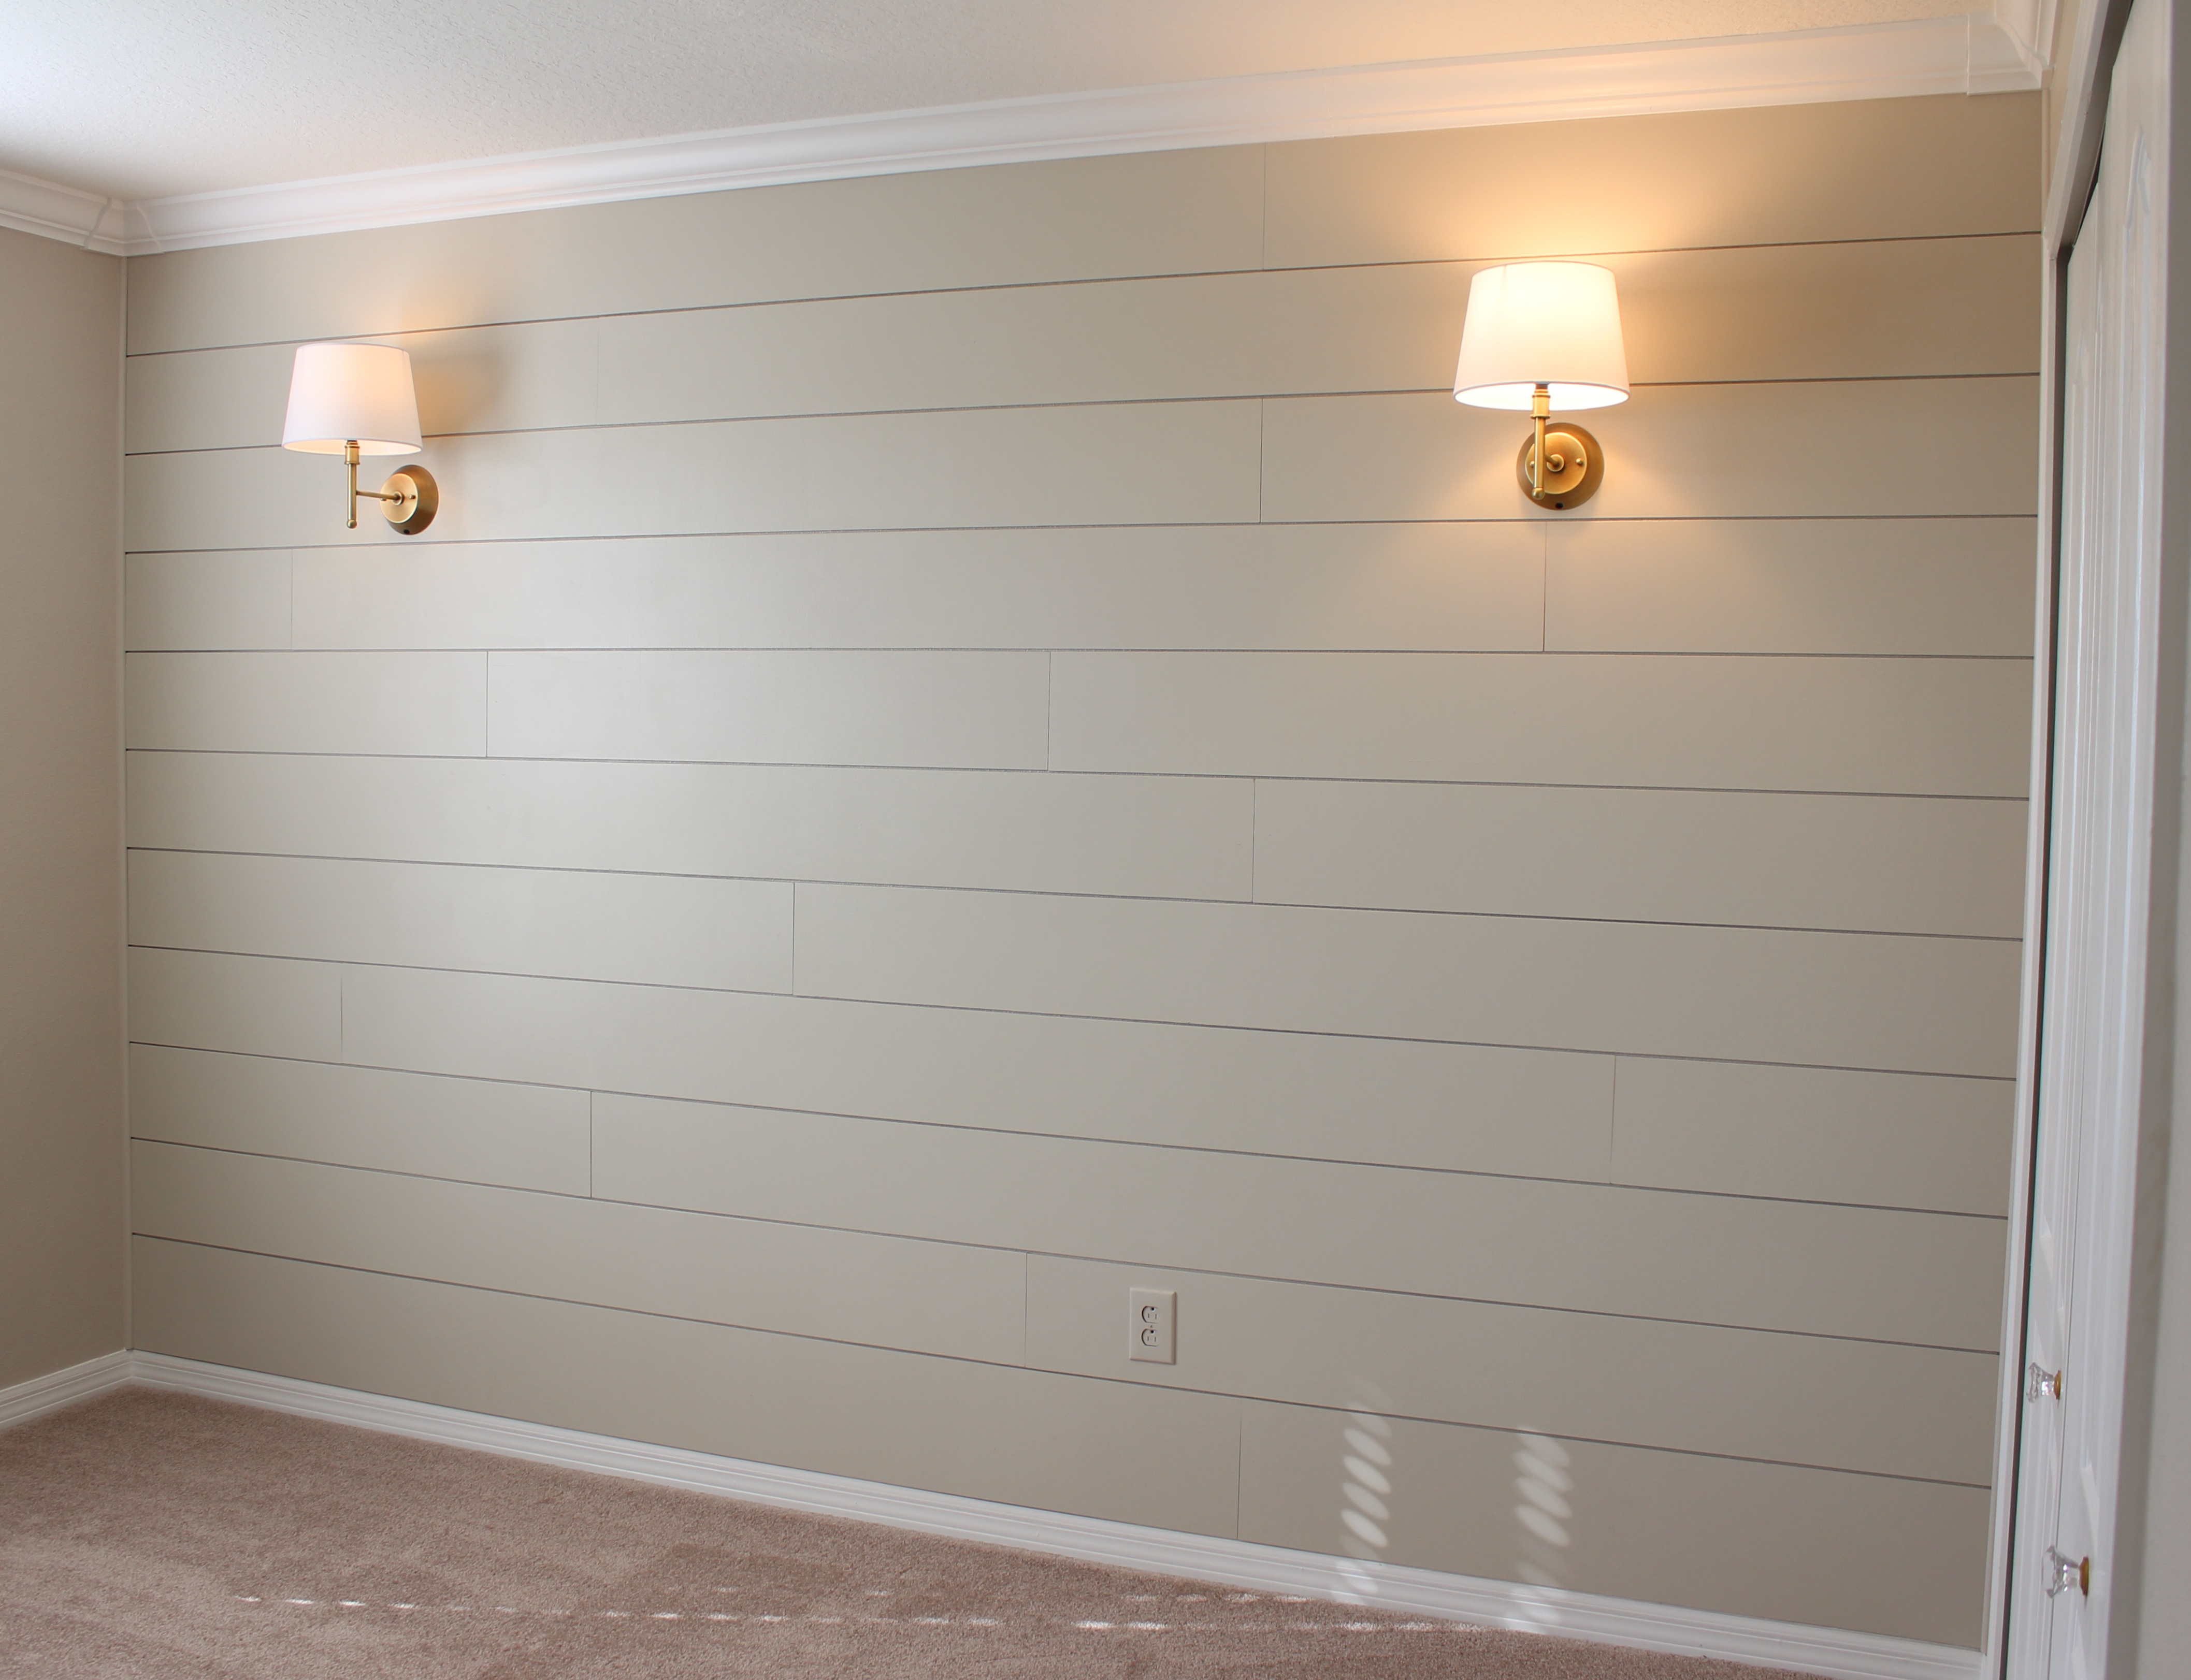
Thanks to the help of my handy stepdad, we cut the lamp cords off, hardwired them directly to my new wall outlets, switched out the beige shades for my new white ones, and TA-DA!
I had already purchased this decorative light switch plate (which is seen all throughout my home) to replace the plastic, white one when my friend Amy recommended that I put the sconces on a dimmer.
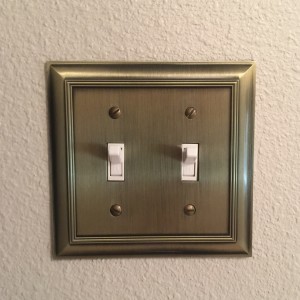
That idea never occurred to me before, but I thought it was pretty genius for when I have those late night feedings and diaper changes in the nursery. The full overhead, or full sconce lights will probably be more light than I want at 2am, but a dimmer would be perfect! So I returned the gold light switch plate and purchased the supplies I would need for installing the dimmer.
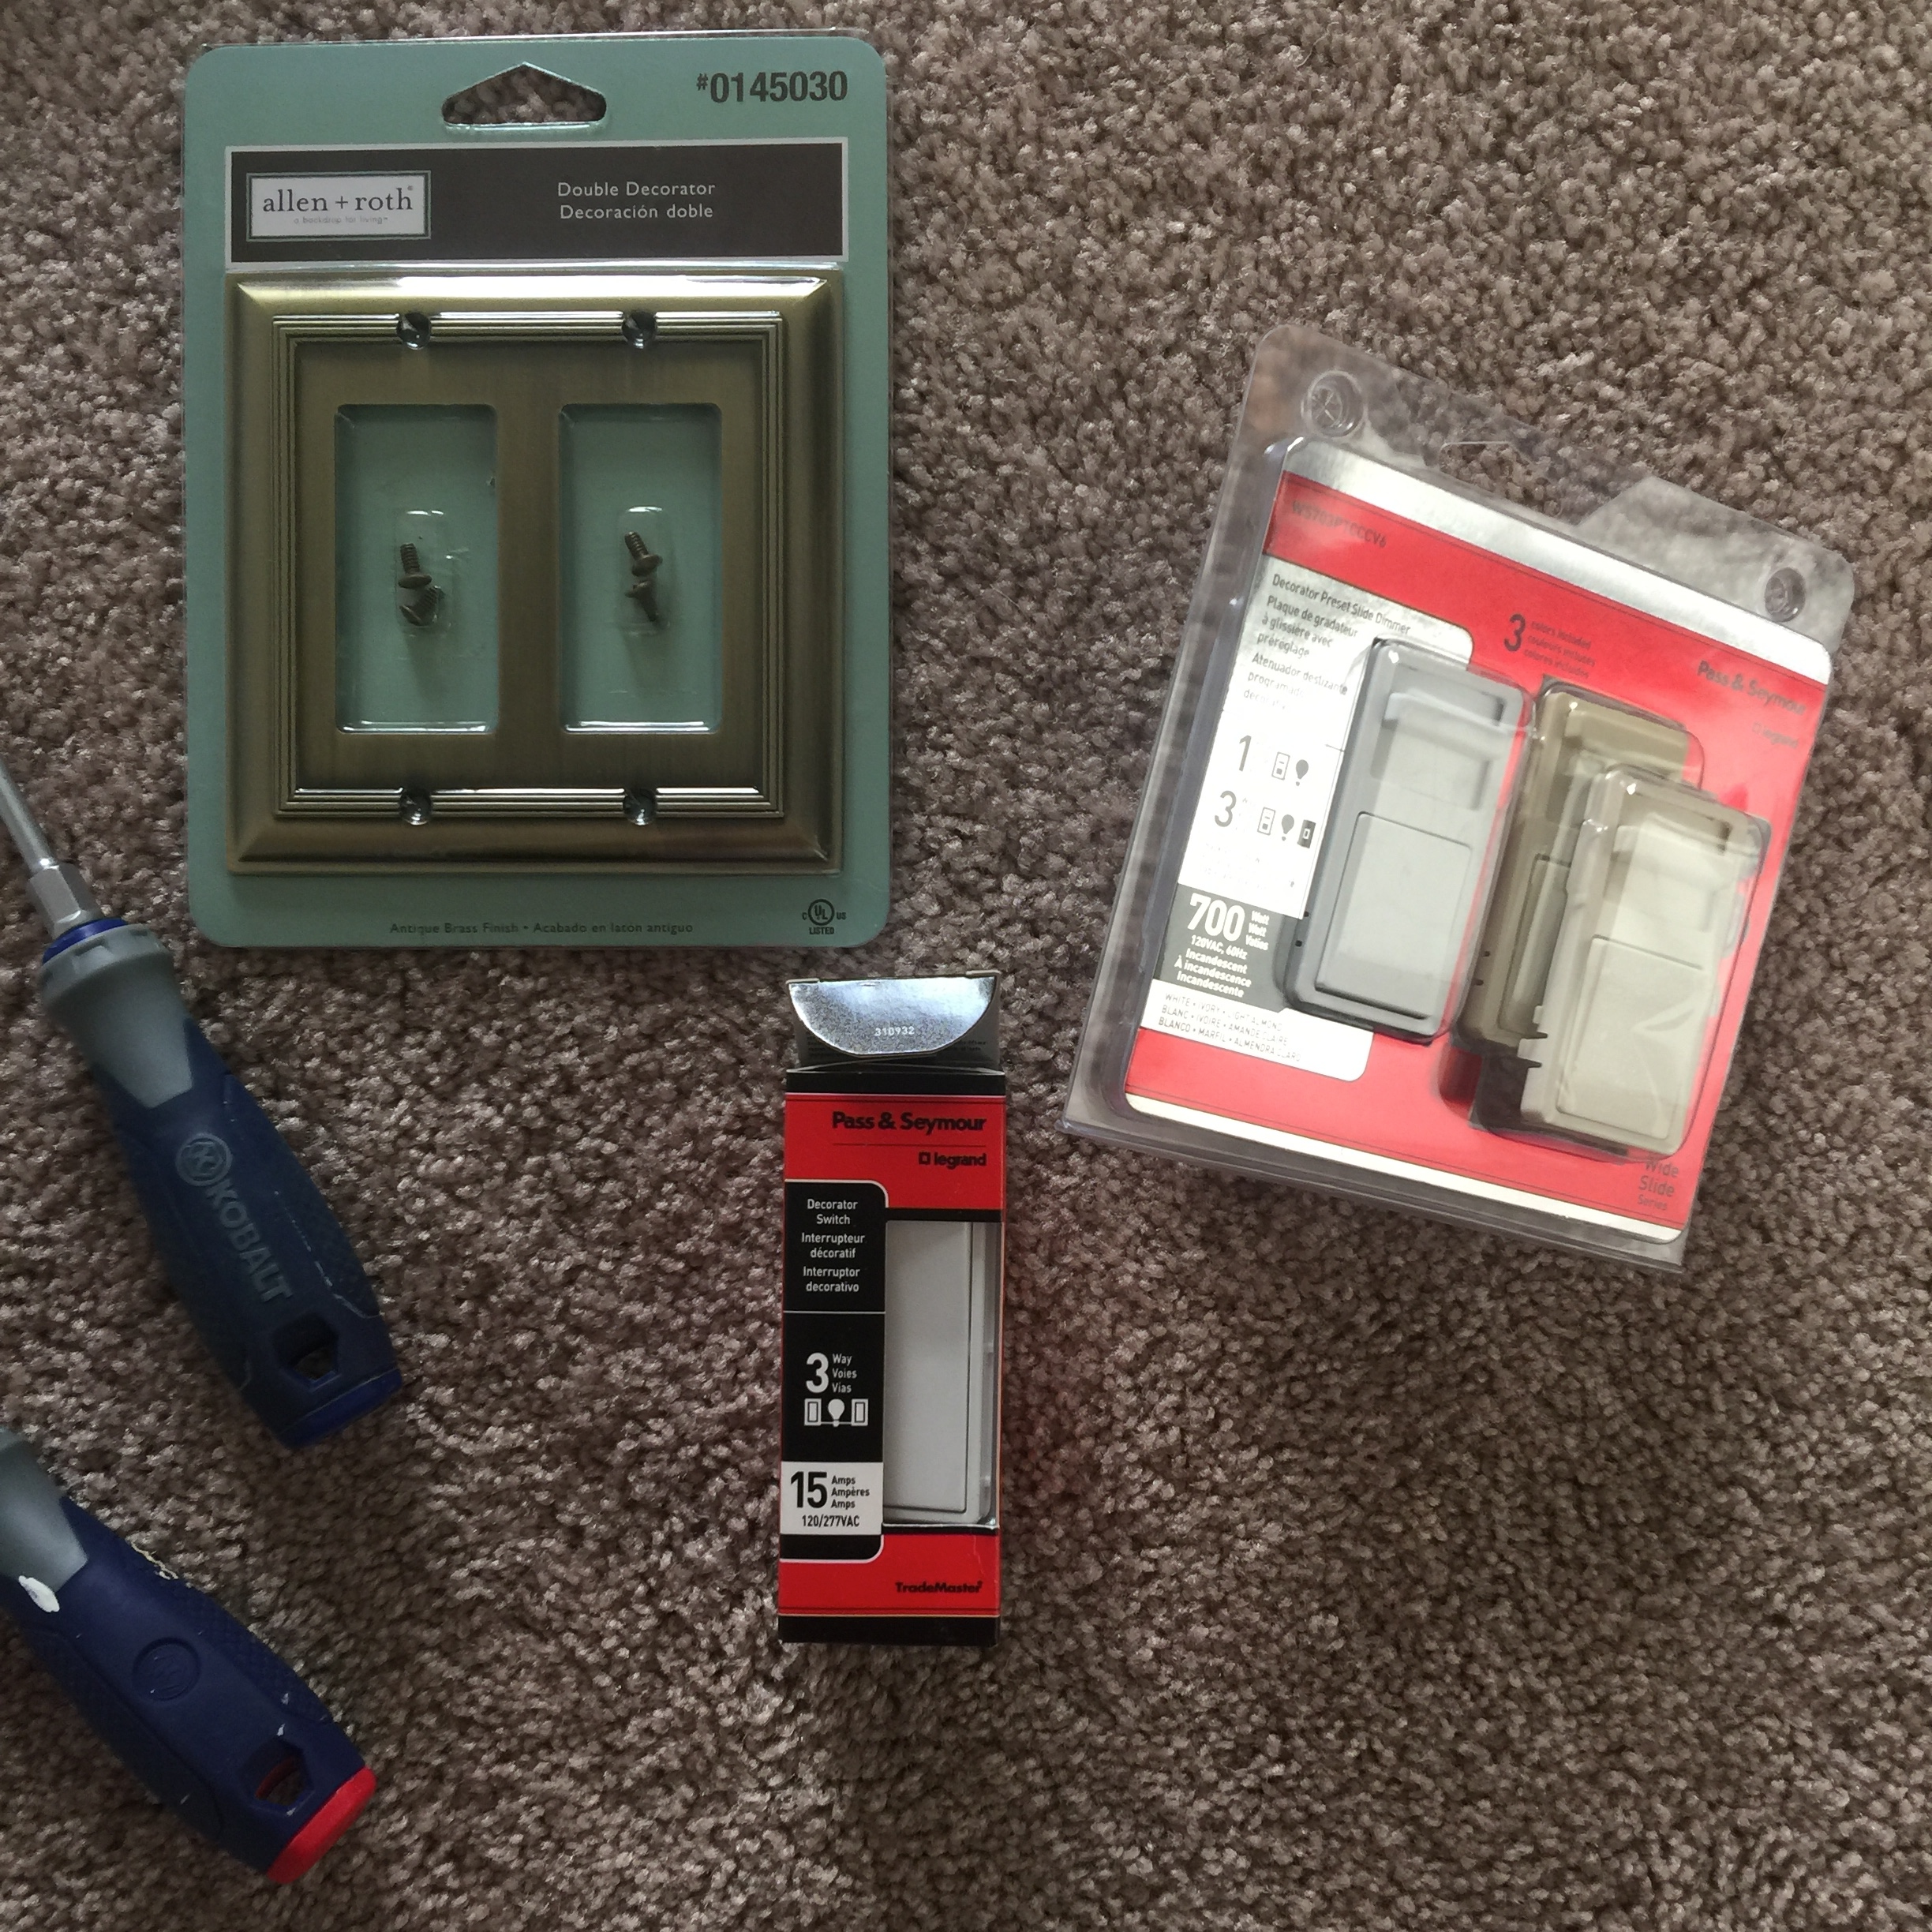
The only other alternative for the gold switch plates were 2 large flat switches. So even though I was only changing out one switch to make it a dimmer, I would need to change out the other switch for a large flat one as well so they would fit in the plate.

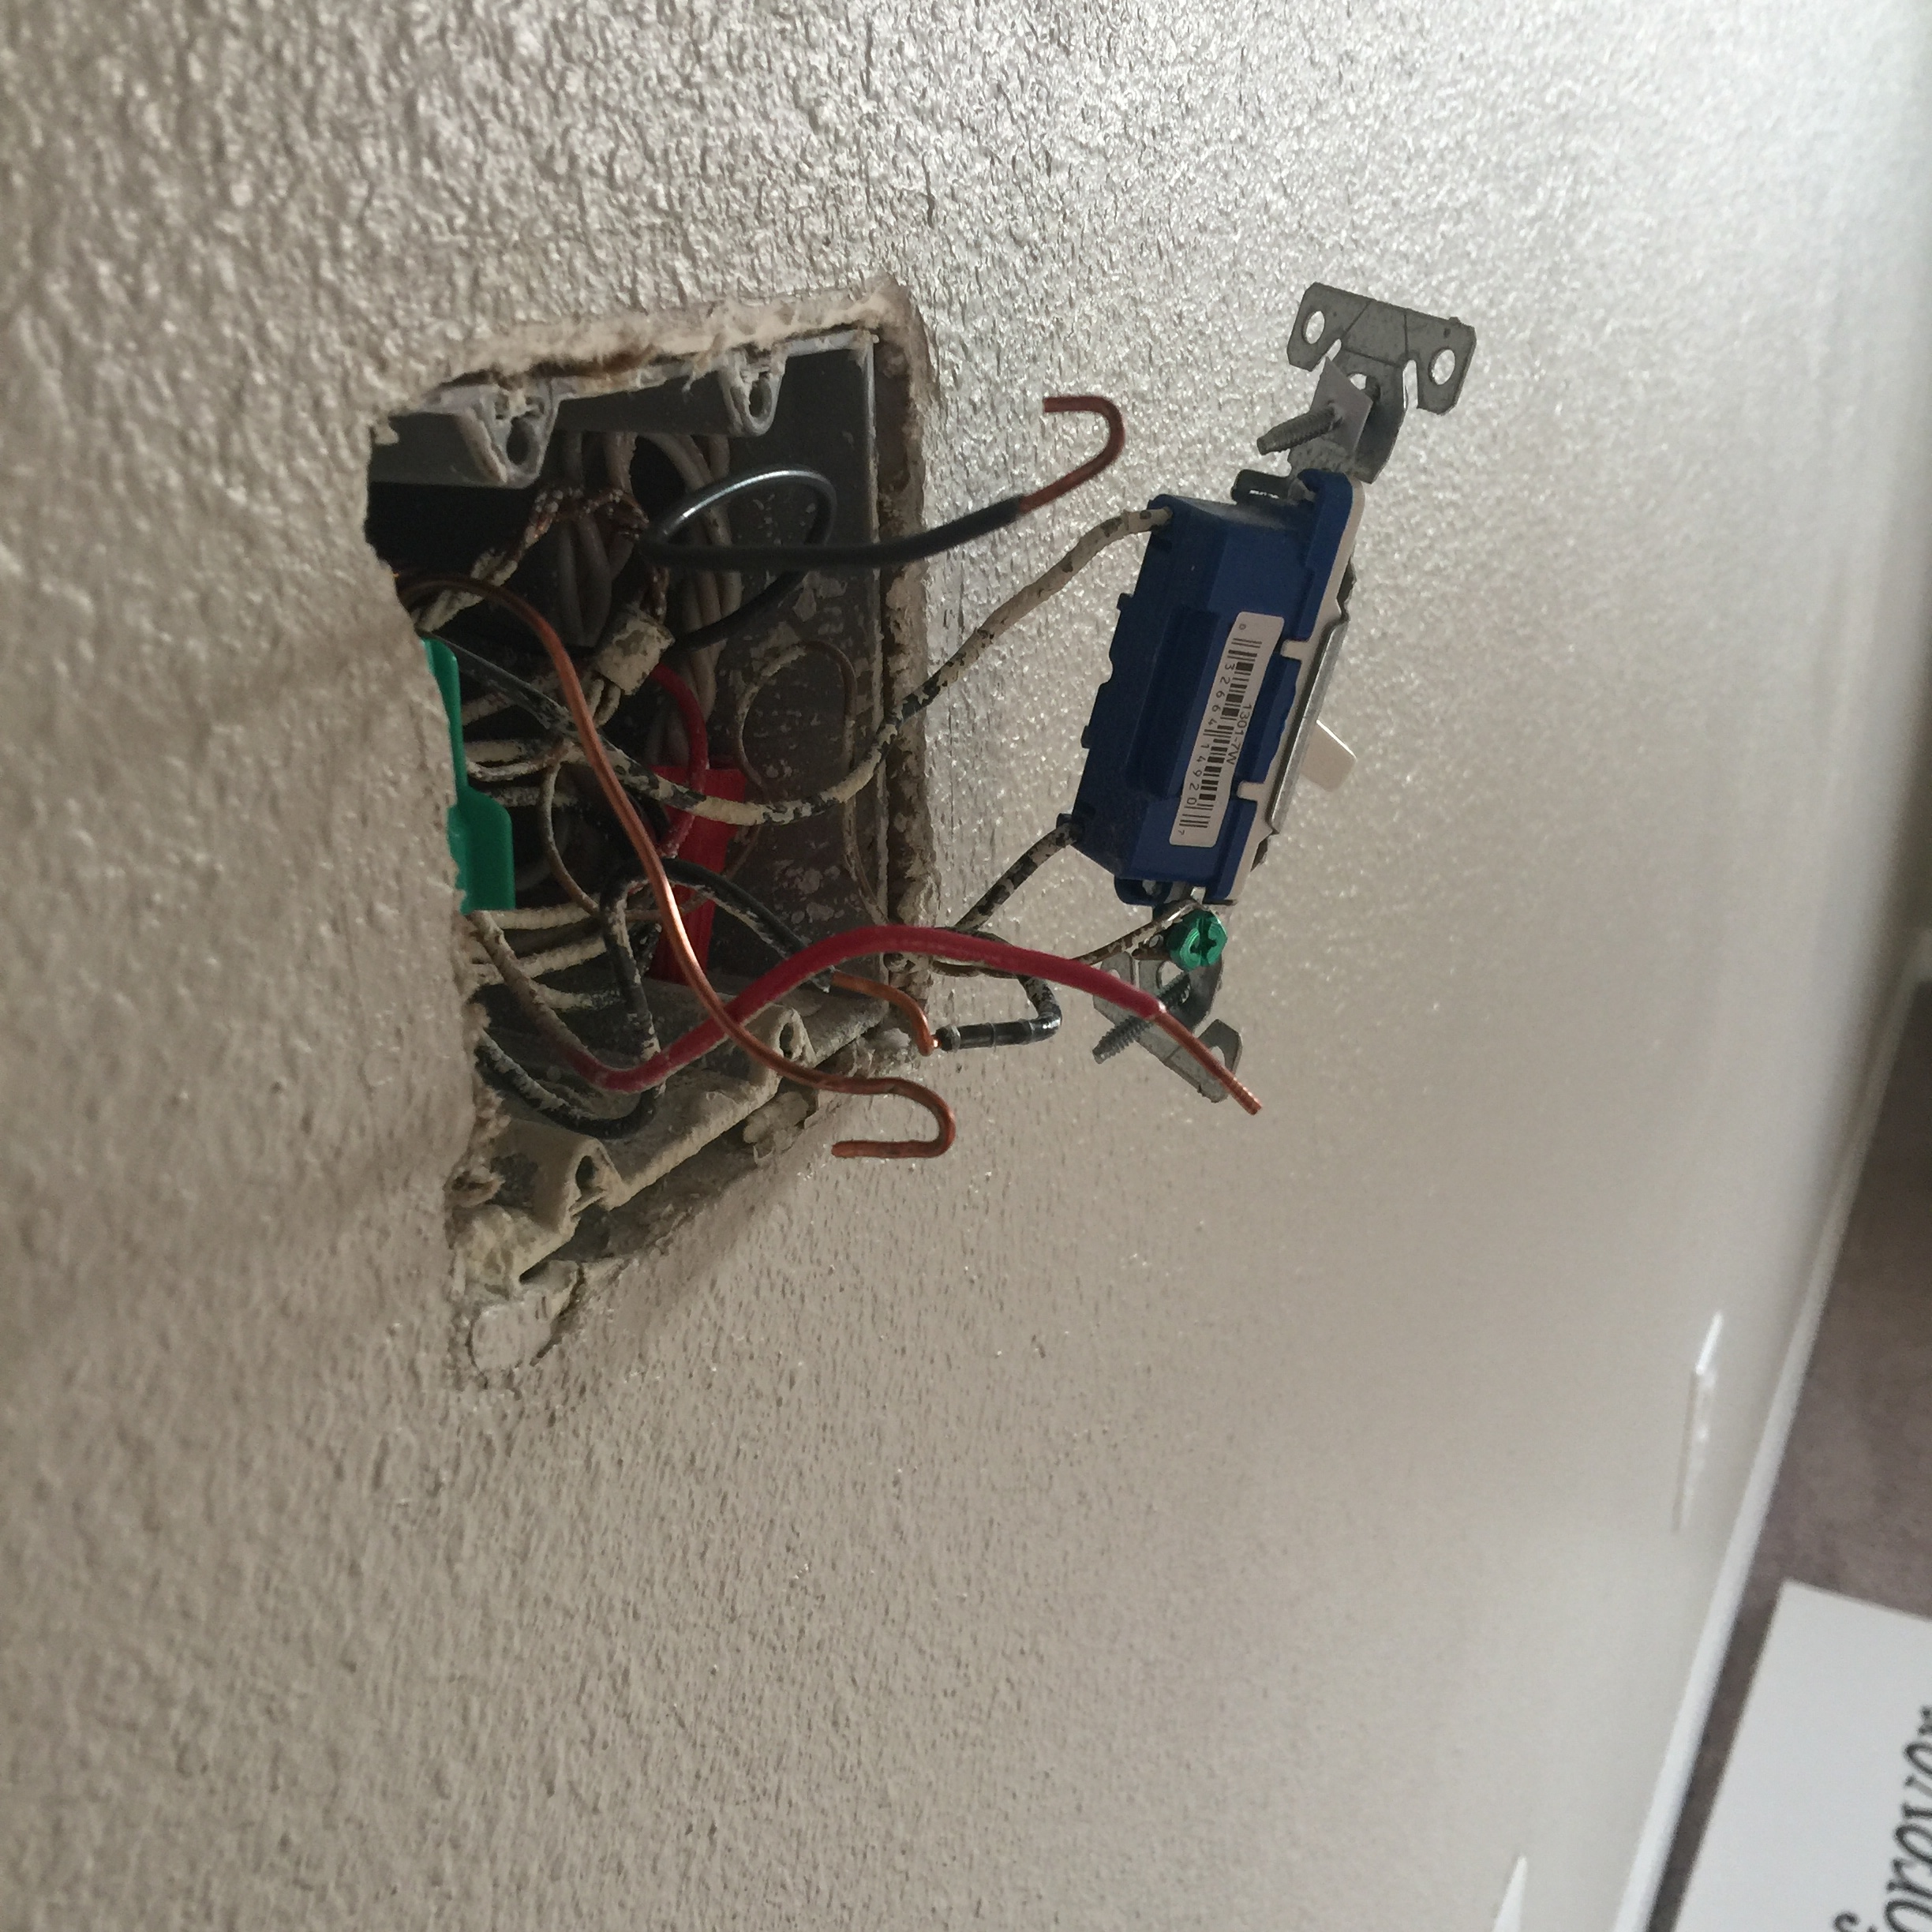
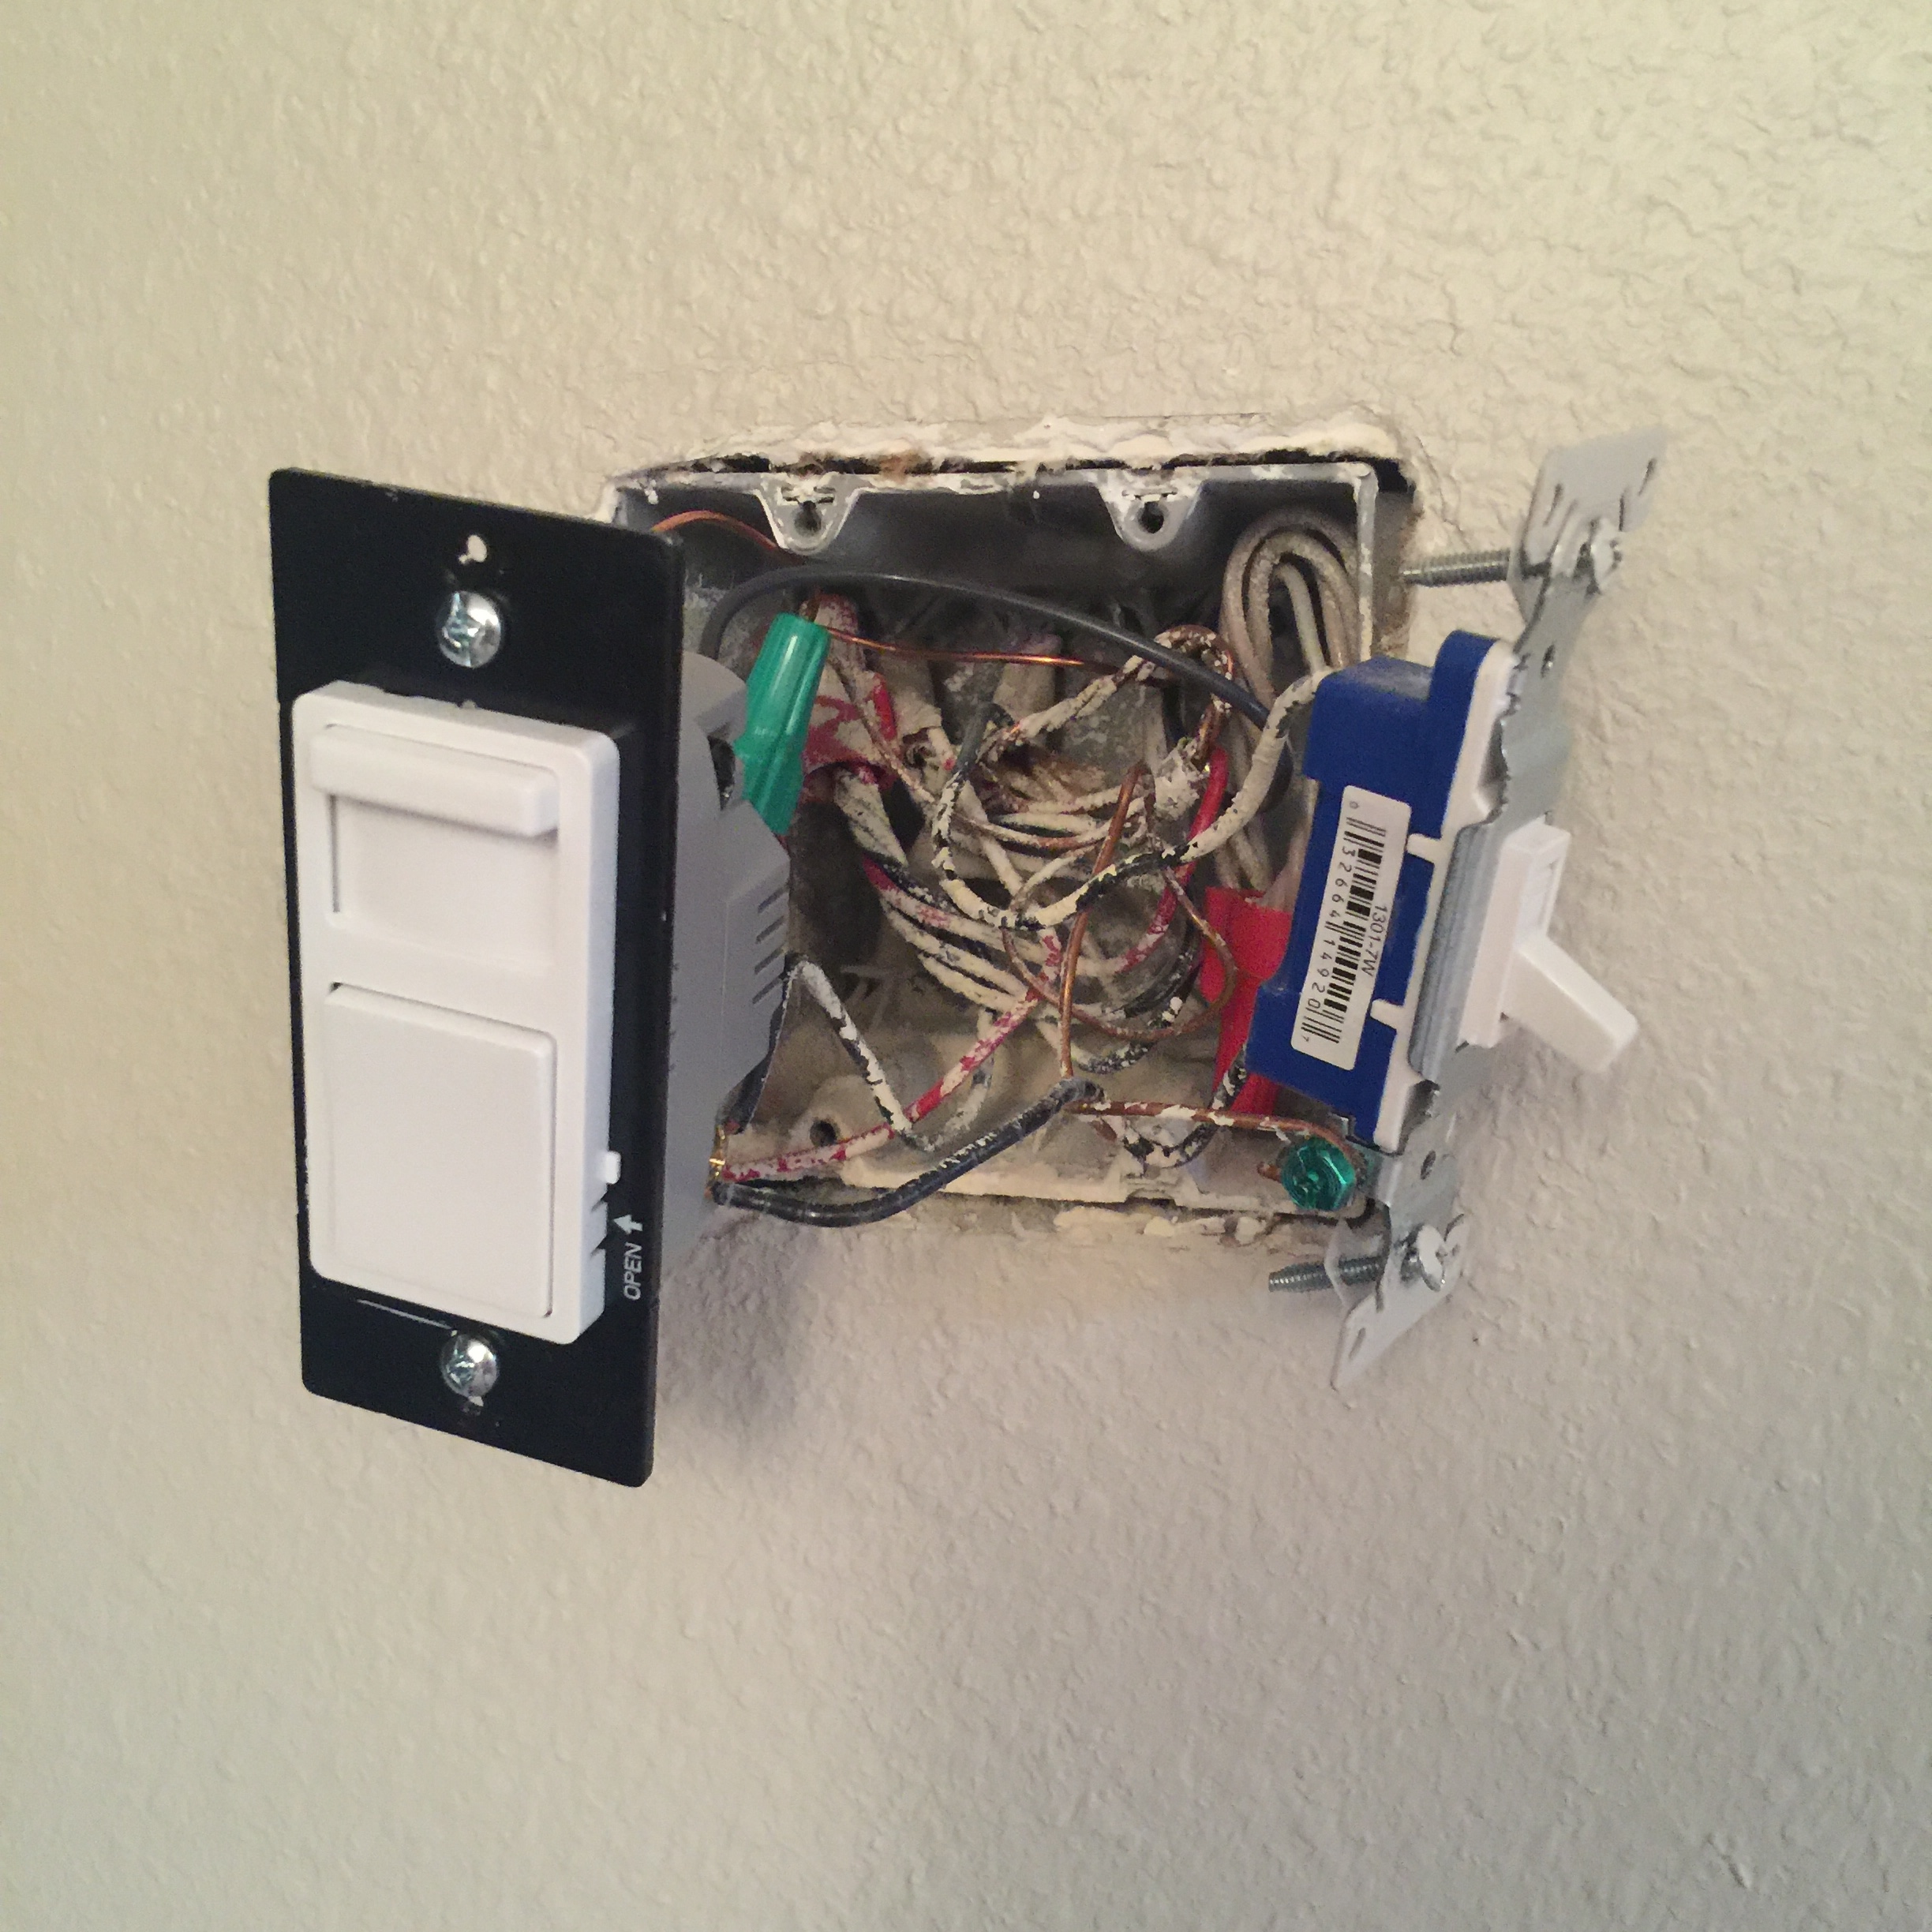
I started by removing the current switches and taking note as to how they were wired. I removed the switch connected to the sconces first to install the dimmer switch.
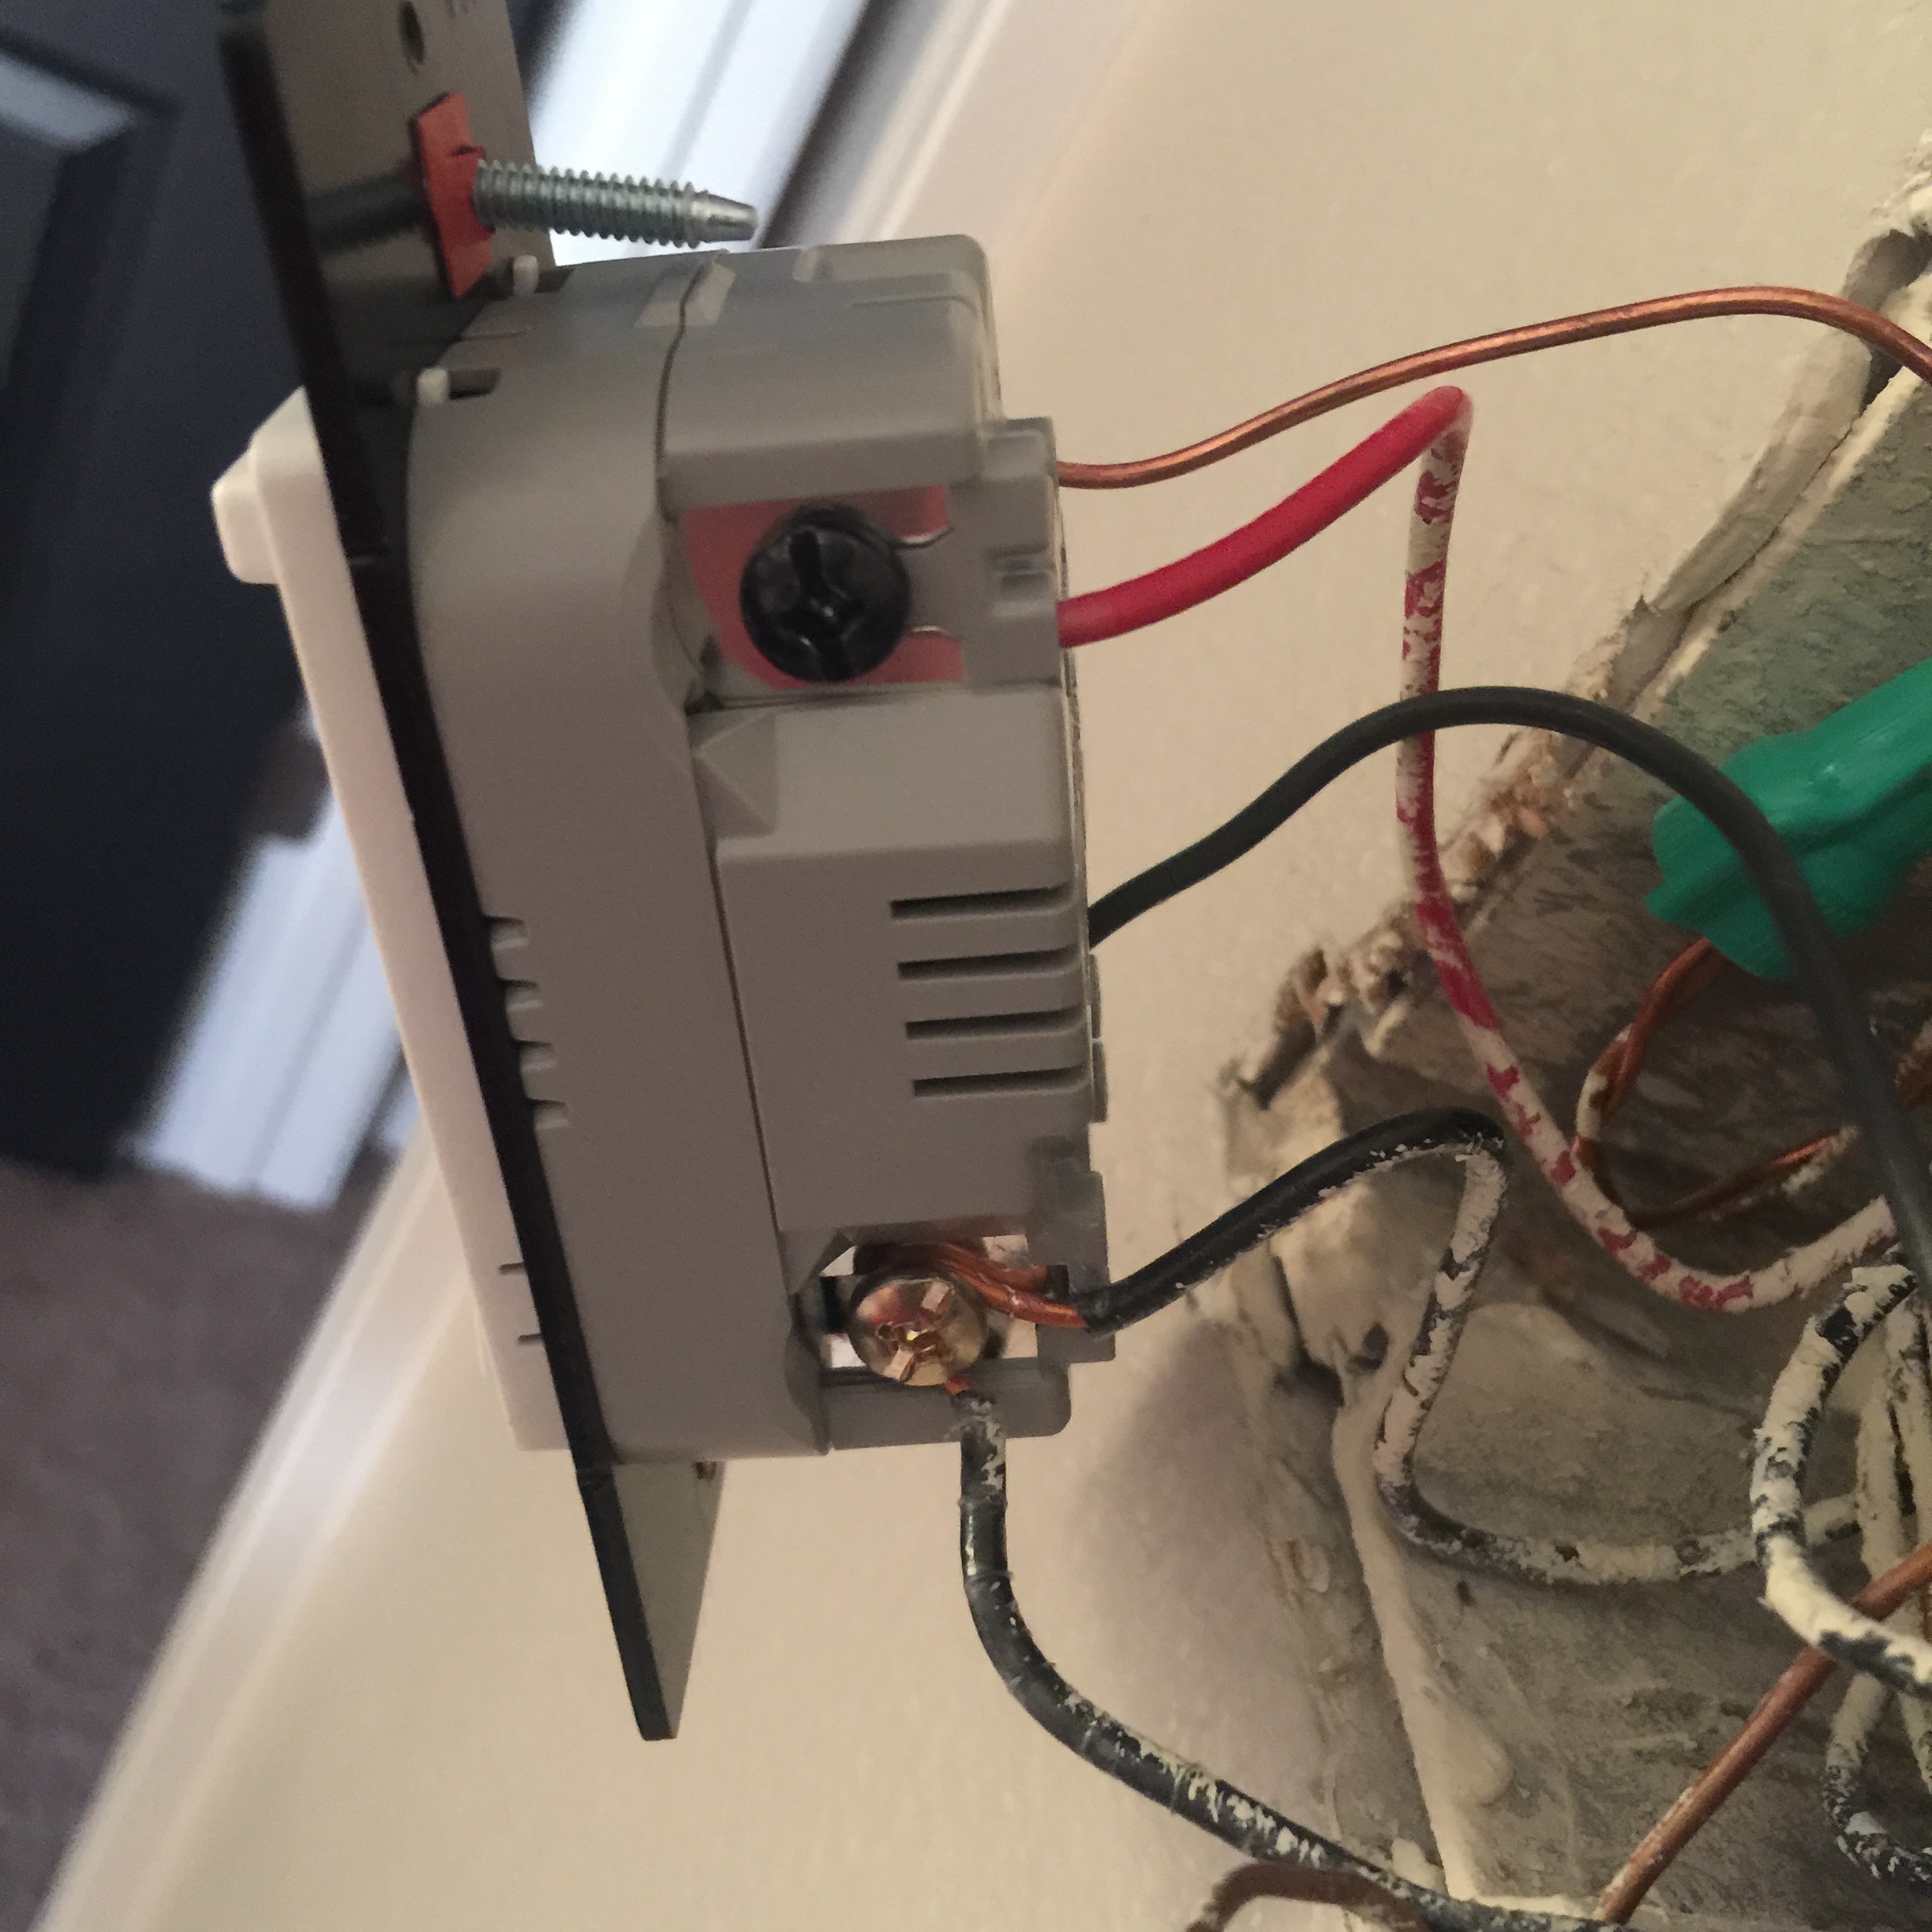
It’s a pretty bulky box, but is wired the same as the first switch was.
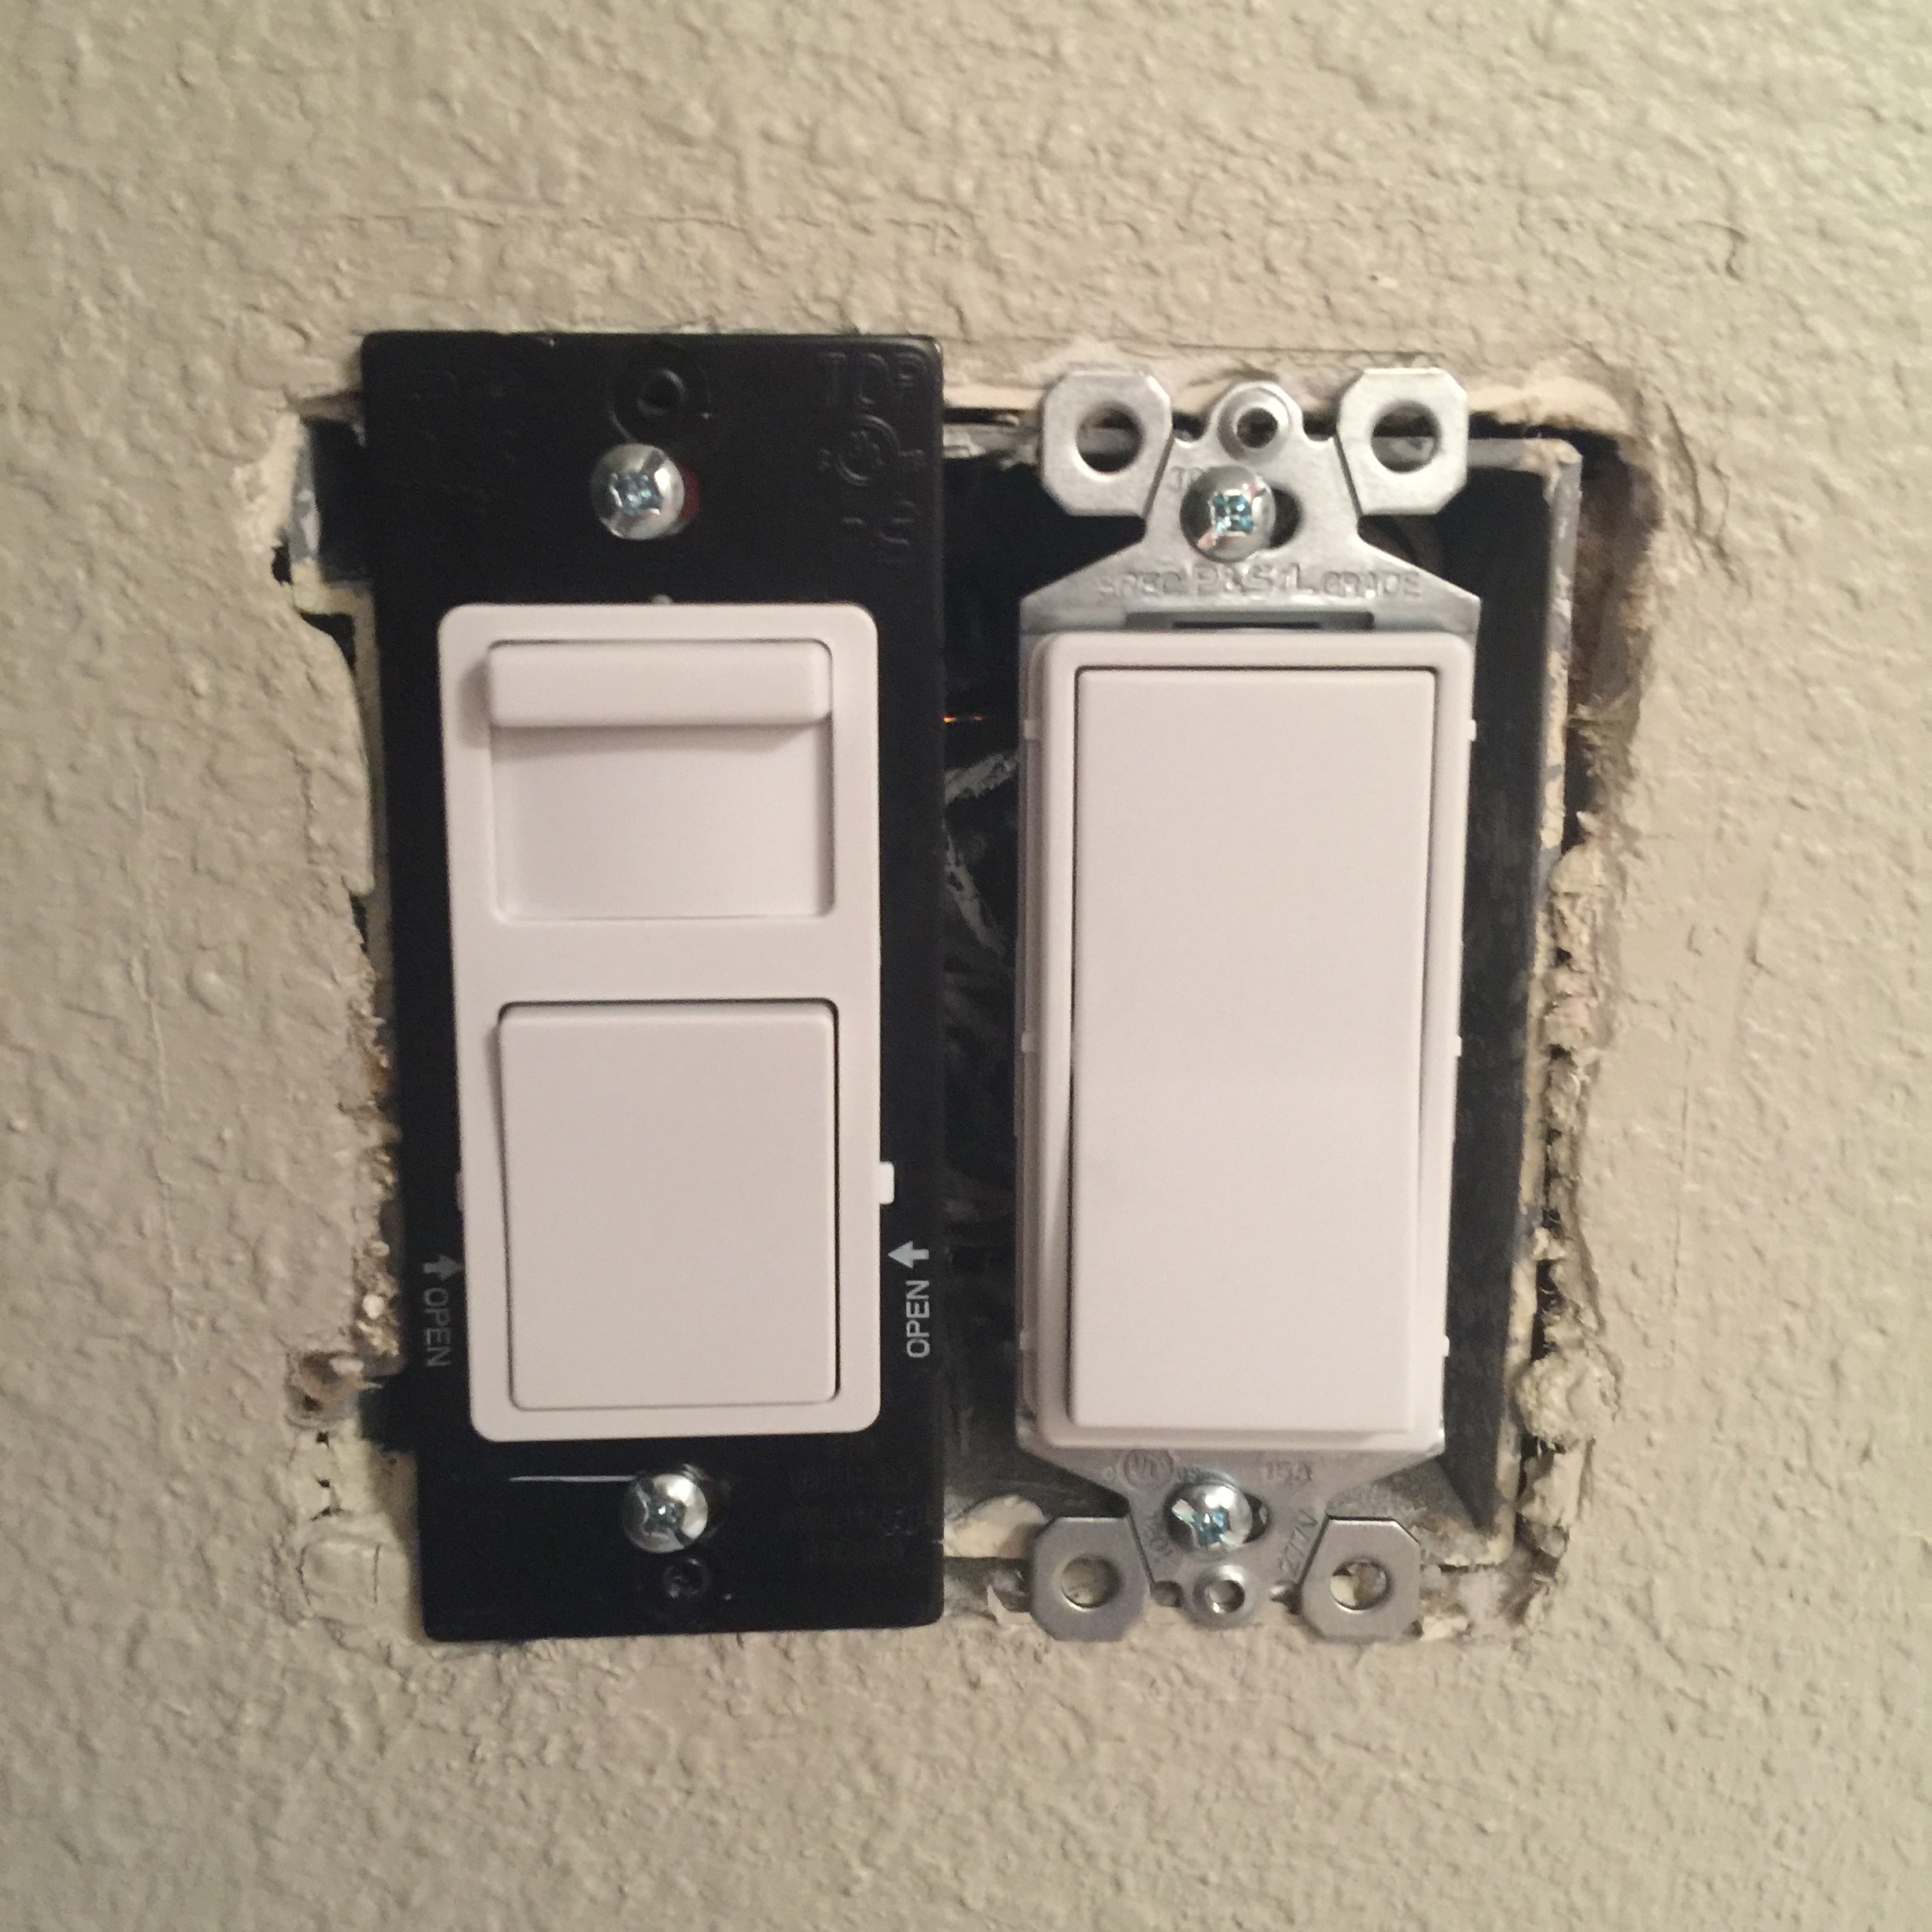
Once I got the dimmer box in, I removed the other switch (connected to the overhead light) and changed it out for the same basic on/off switch, but a large flat switch instead to match the dimmer.
Once installed, the new switches look like this!
And here they are with the new plate:

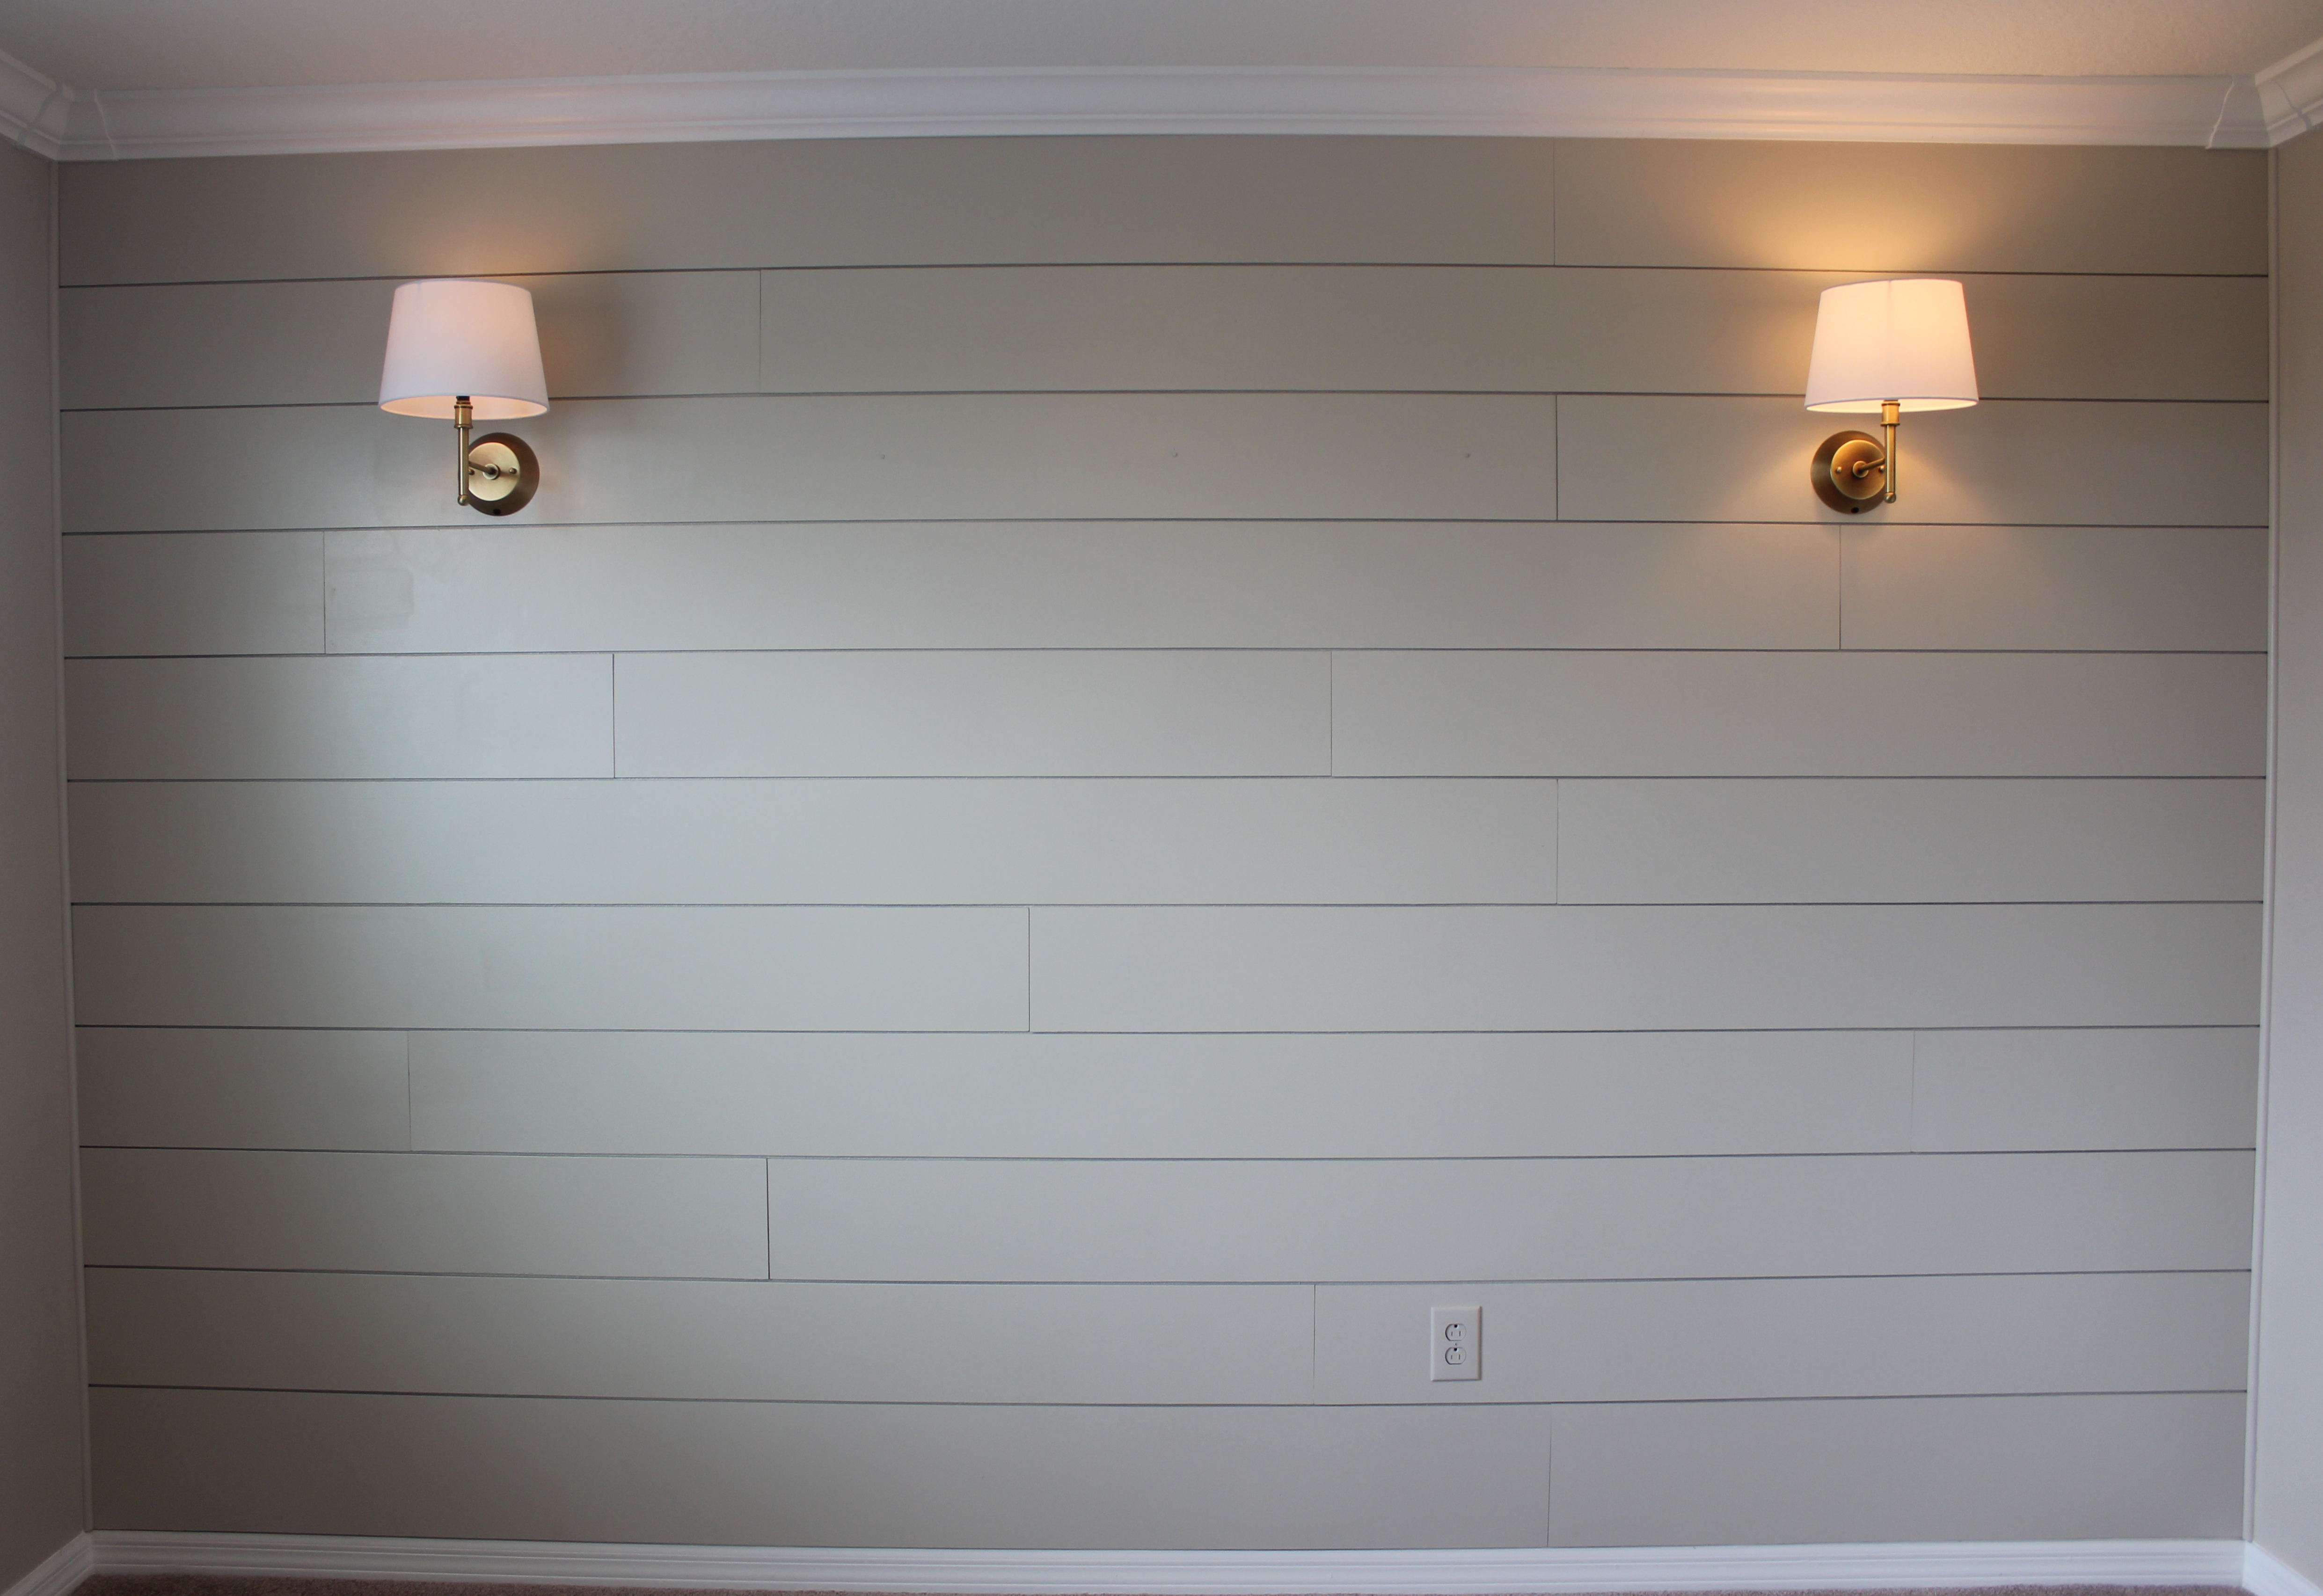
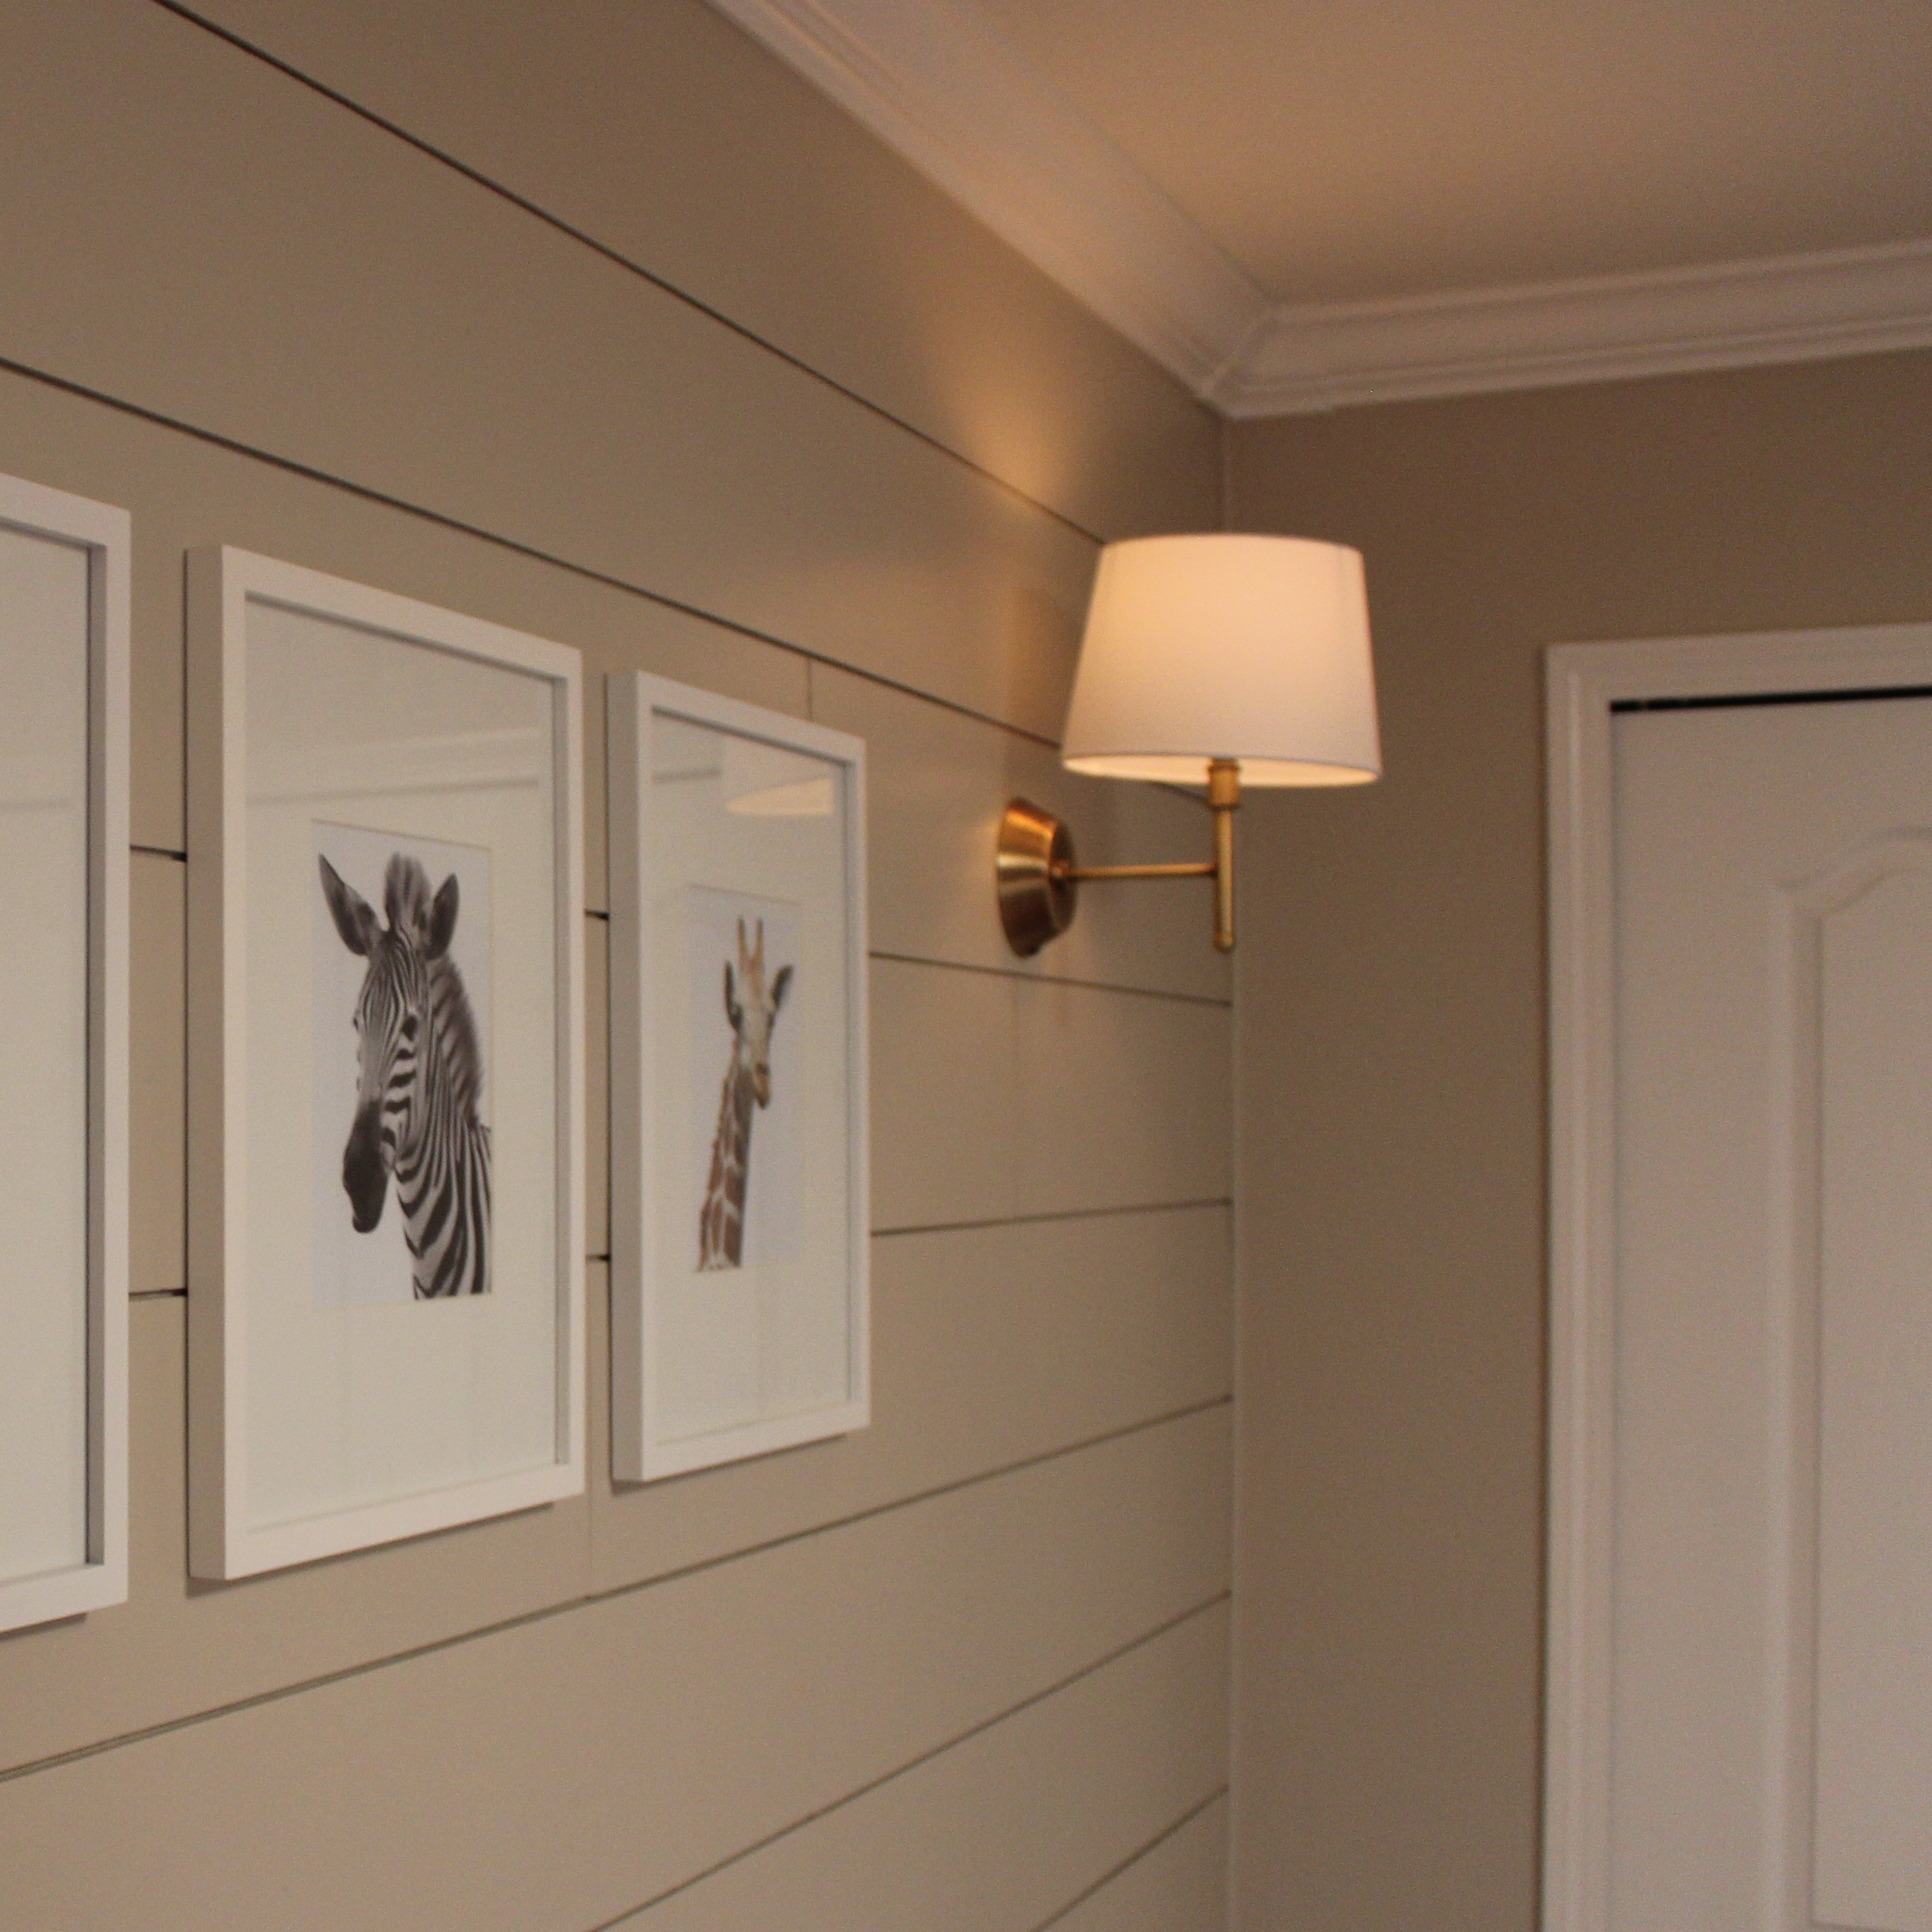
And here are the sconces OFF, half dimmed, and fully lit.
Next was the overhead light choice! This one was pretty easy and wasn’t nearly the headache that the sconces were. I browse Joss & Main almost daily and had been keeping an eye out for a while for options. The thought of NOT having a chandelier in a room took me a LONG time to get over 😉 But ultimately, I didn’t want an overhead light that was going to be too overpowering, or take any attention away from my focal wall. I want the crib, zoo photos, and sconces to be the ‘wow’ factor when you walk in the nursery and didn’t want a large center light dangling in front of that to distract or take away from it. So I knew a simple, flush mount was the way to go.
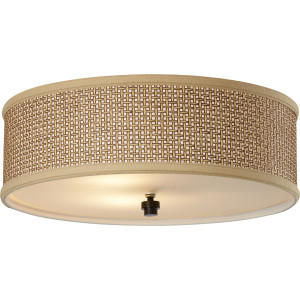
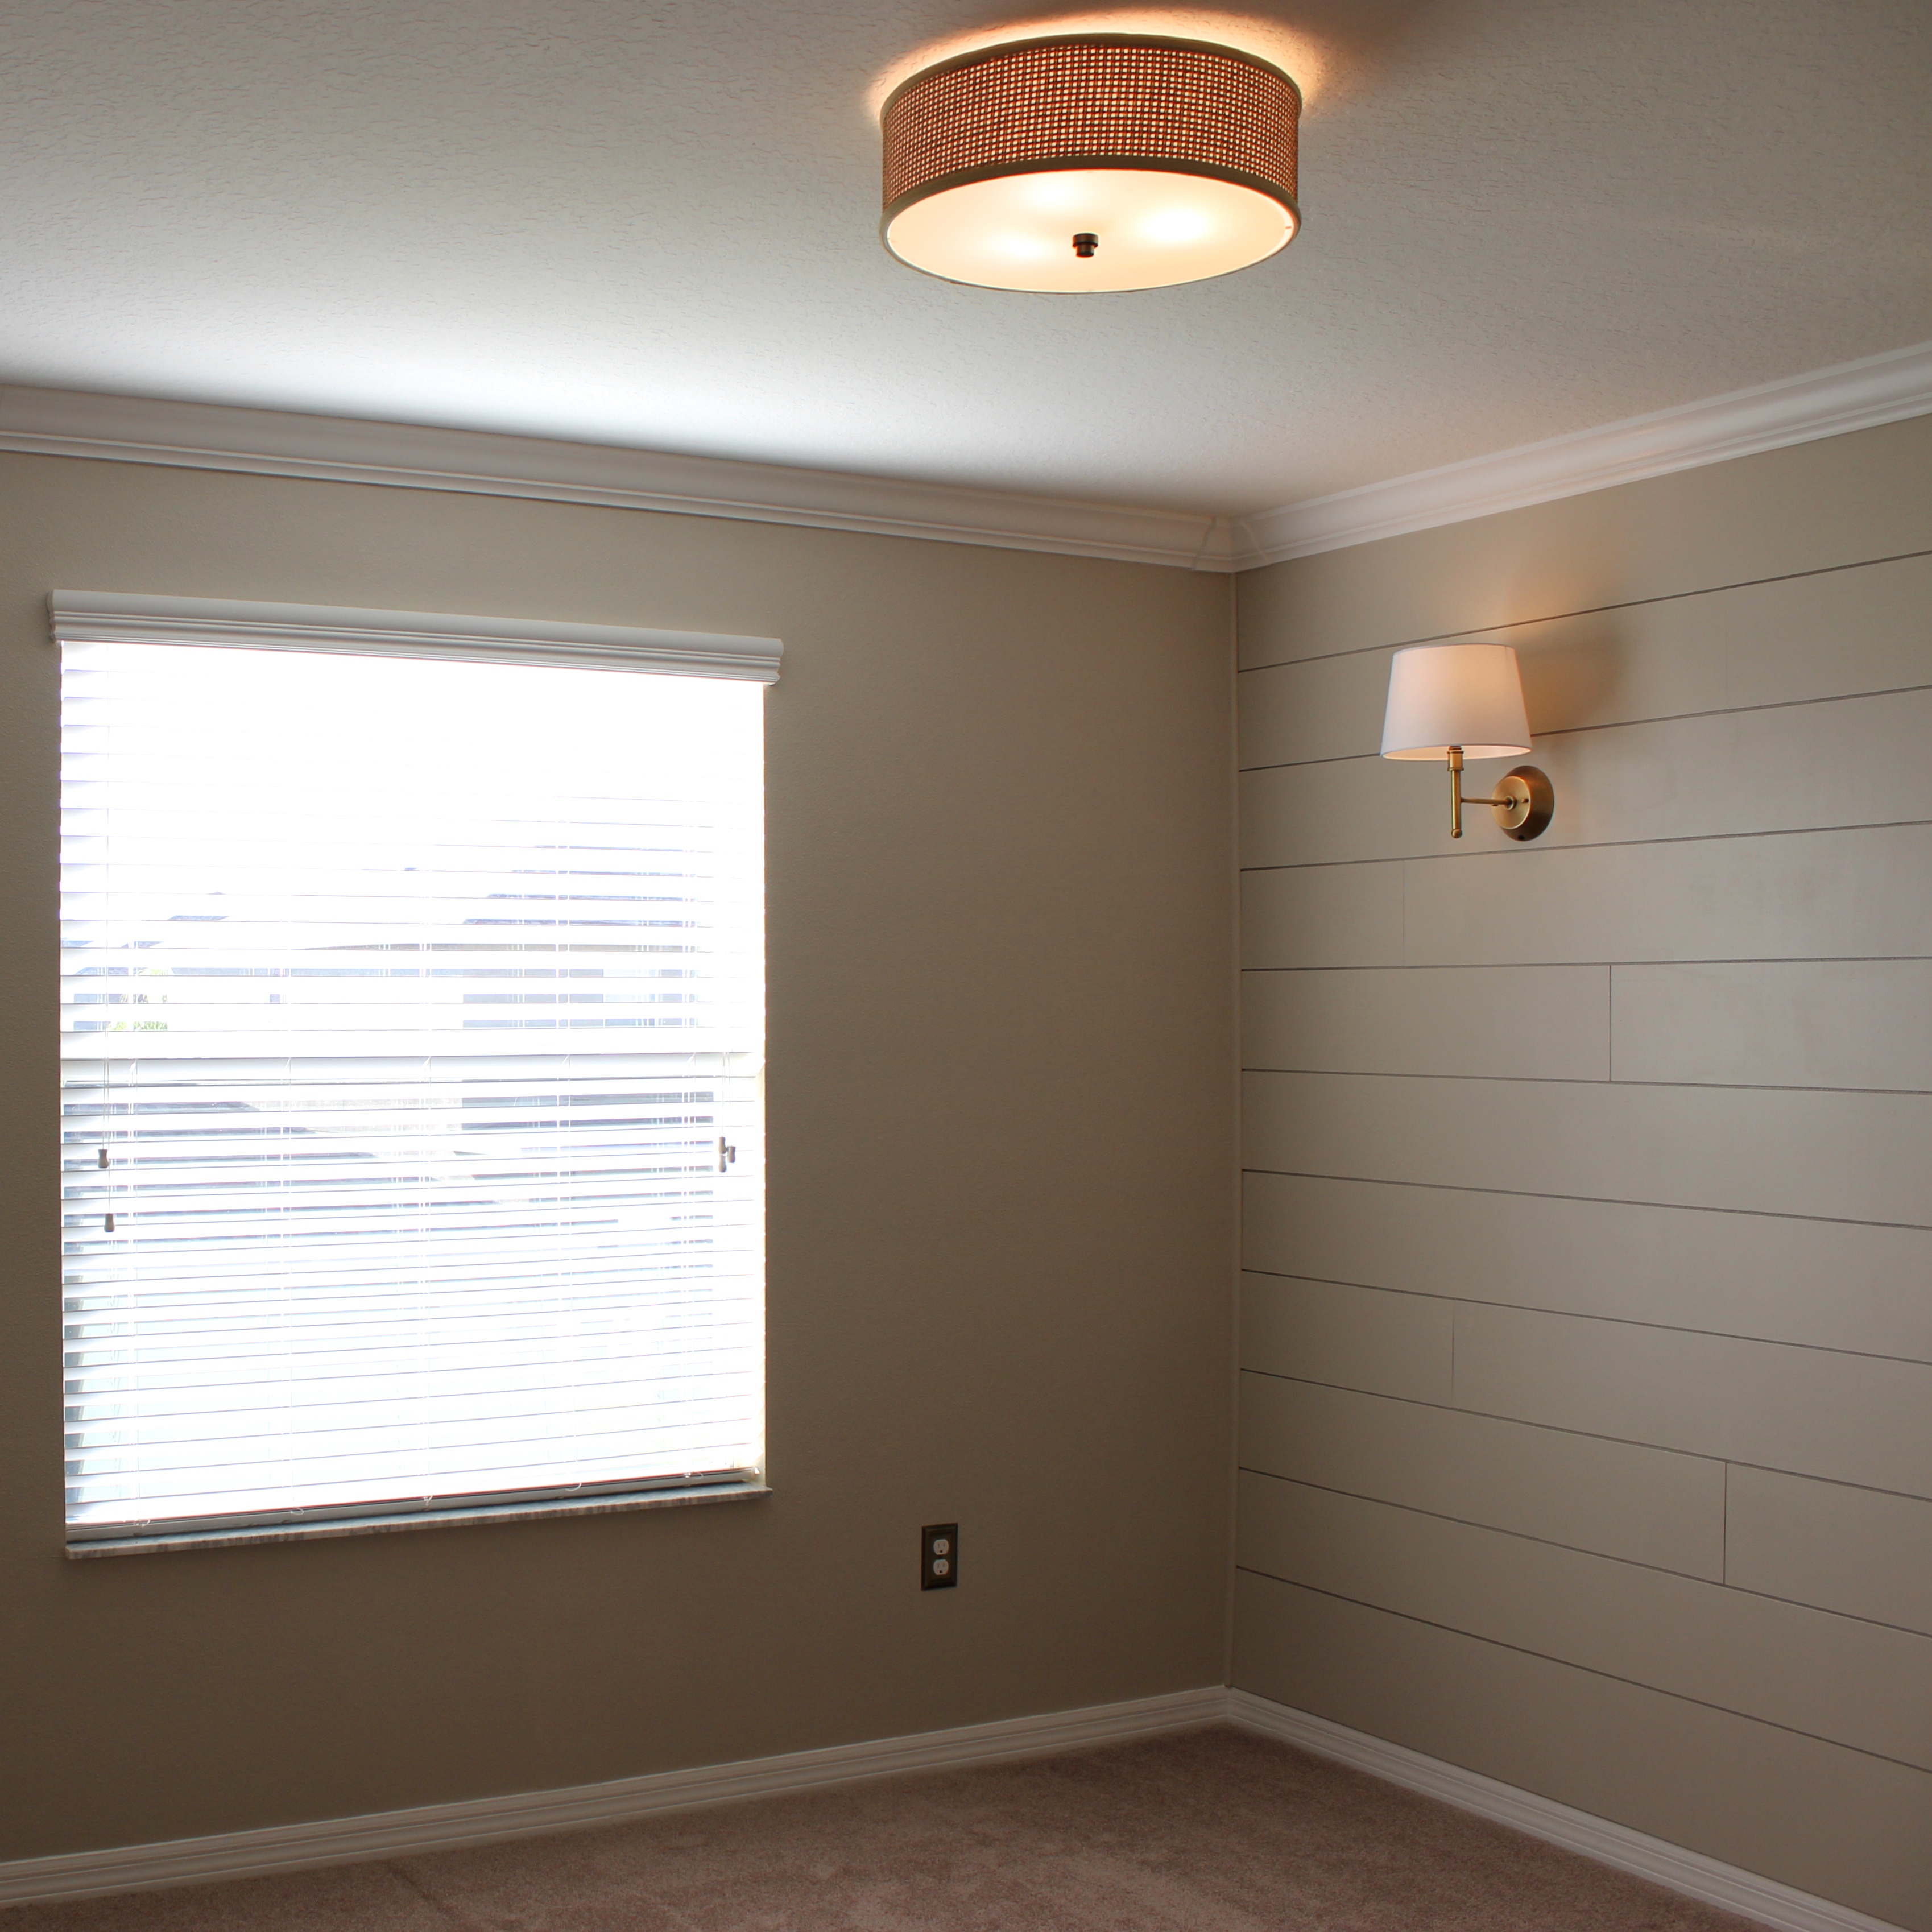
I saw this flush mount light on Joss one day and knew it was perfect. I loved that it had that burlap look to it as well, since I was carrying that on the window treatments, and lampshade also. It also comes in a “semi” flush mount option that hangs down slightly more, but I decided to go with the regular flush mount.

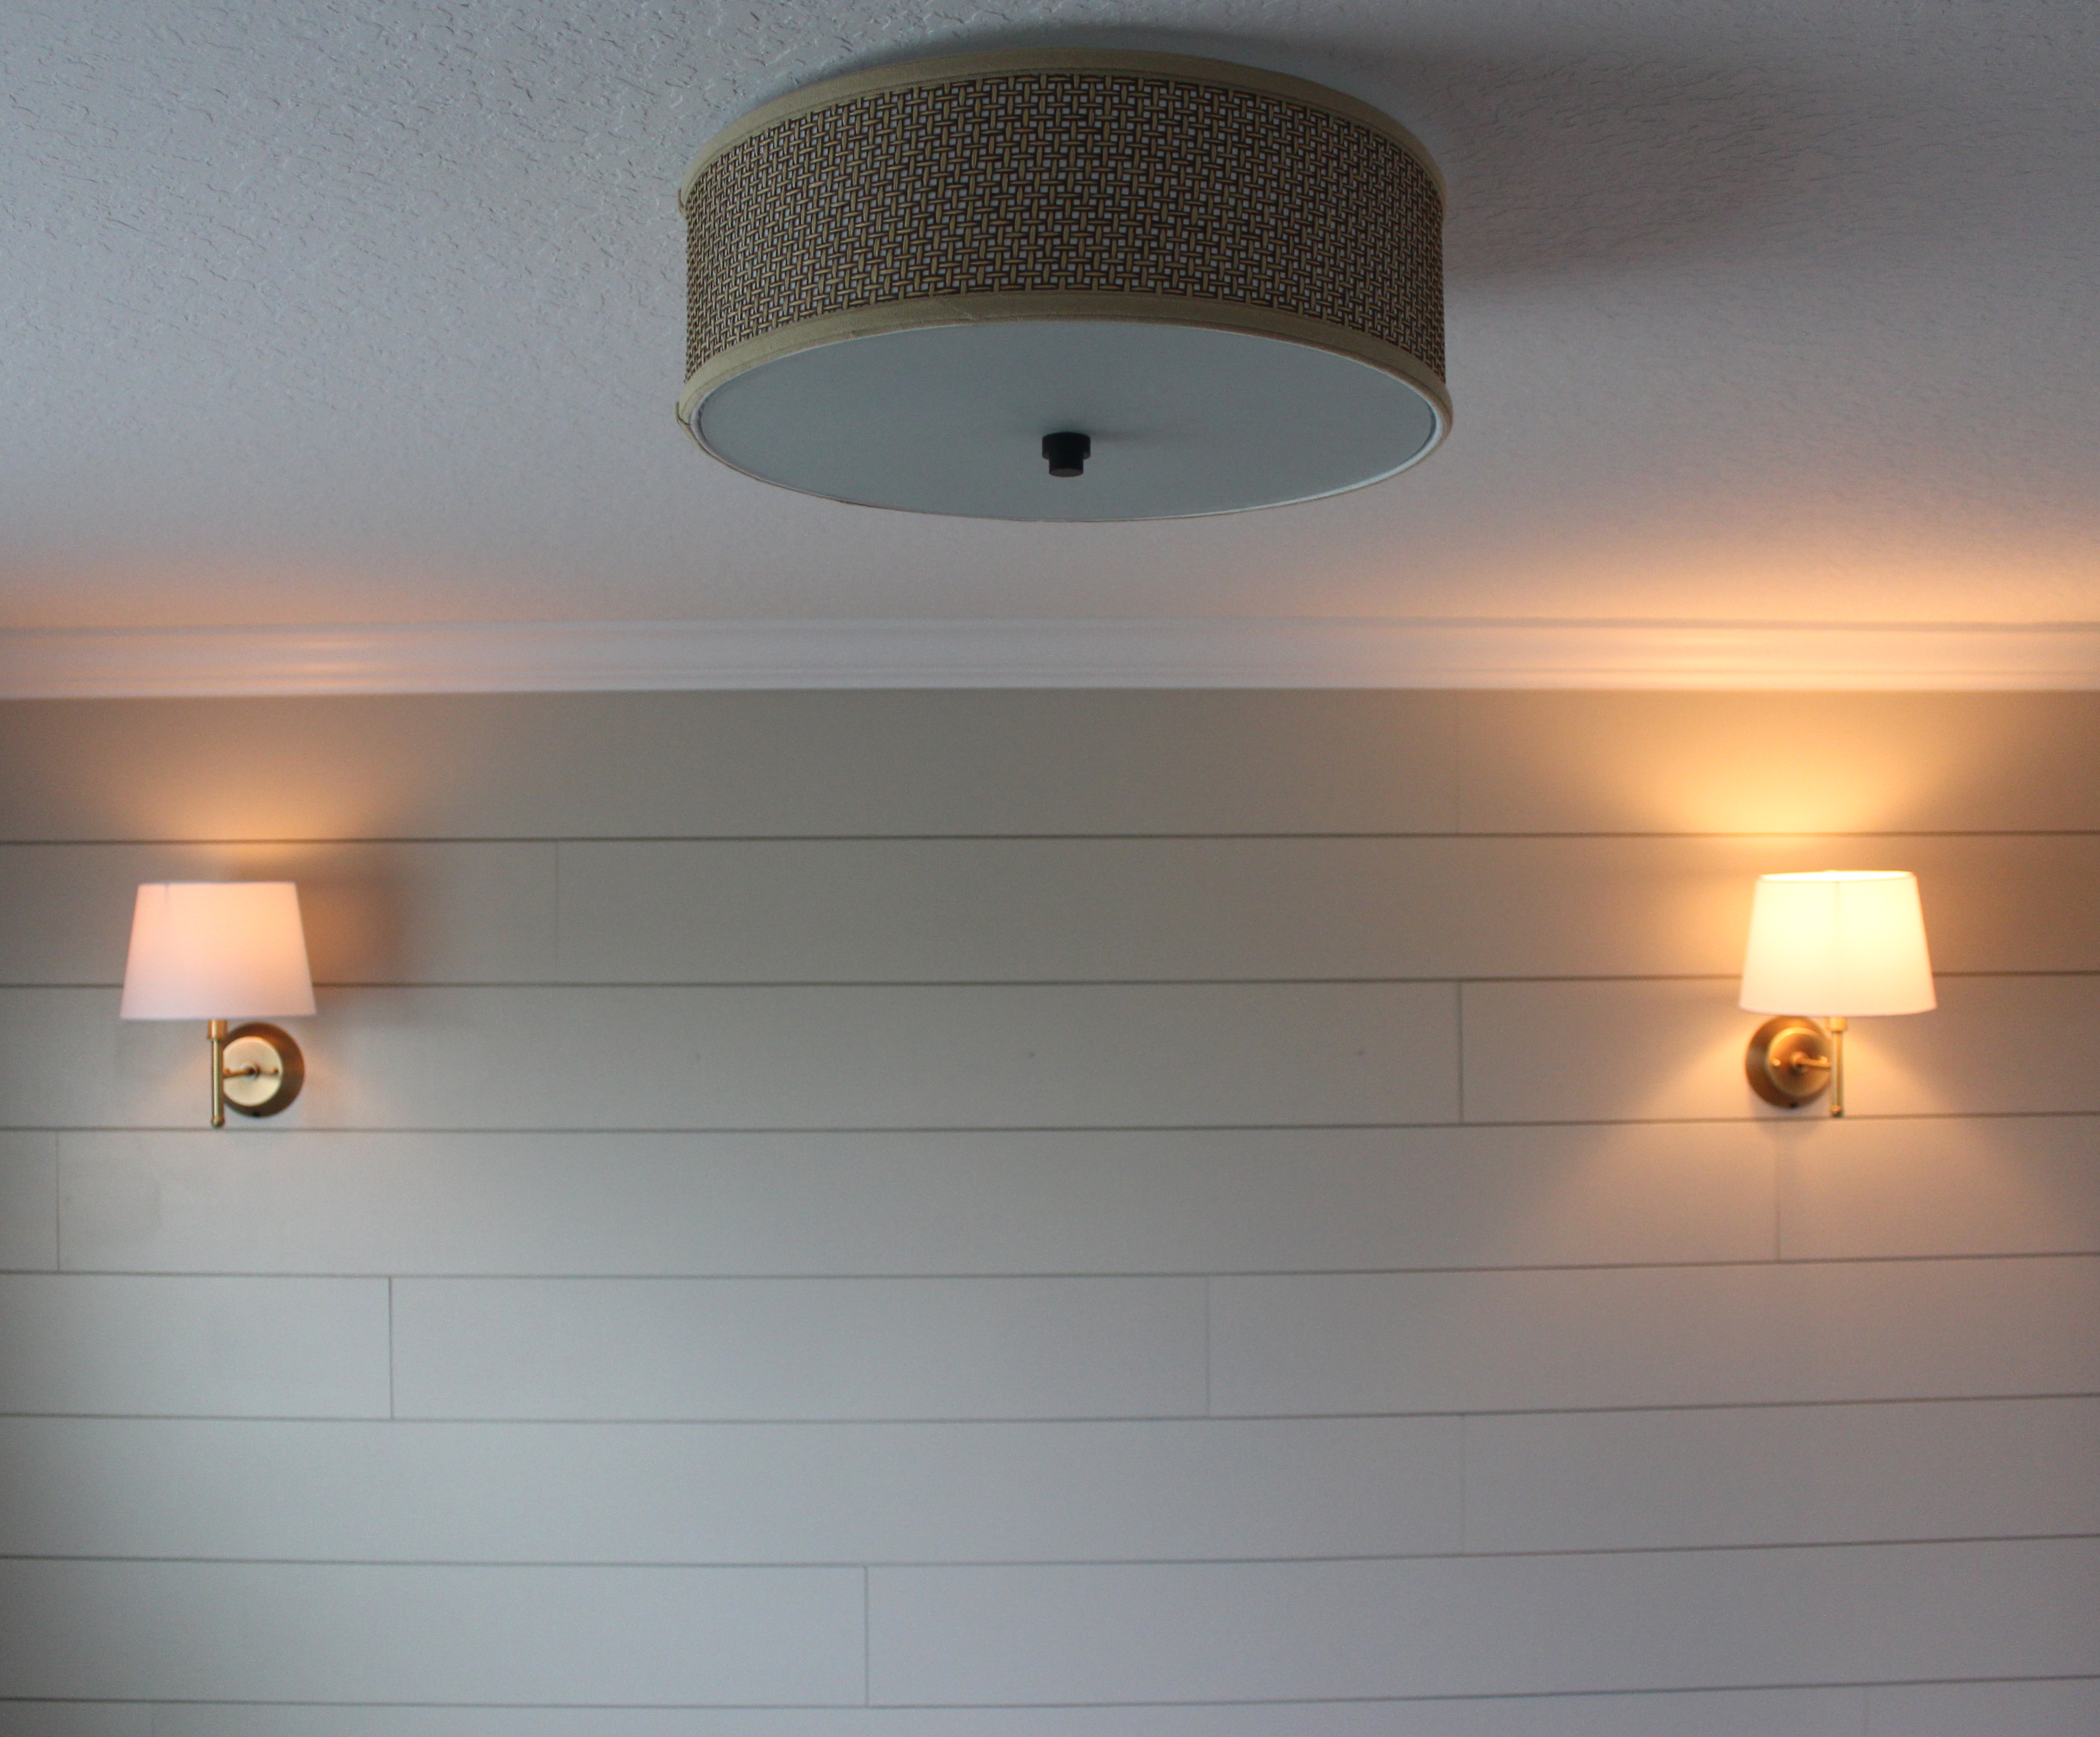
And here it is installed!
The last lighting decision was the table lamp! I plan on having this sit on a small side table that will be next to the rocking chair. I was browsing Target one day (surprise surprise) and saw this one and knew it belonged in my nursery.
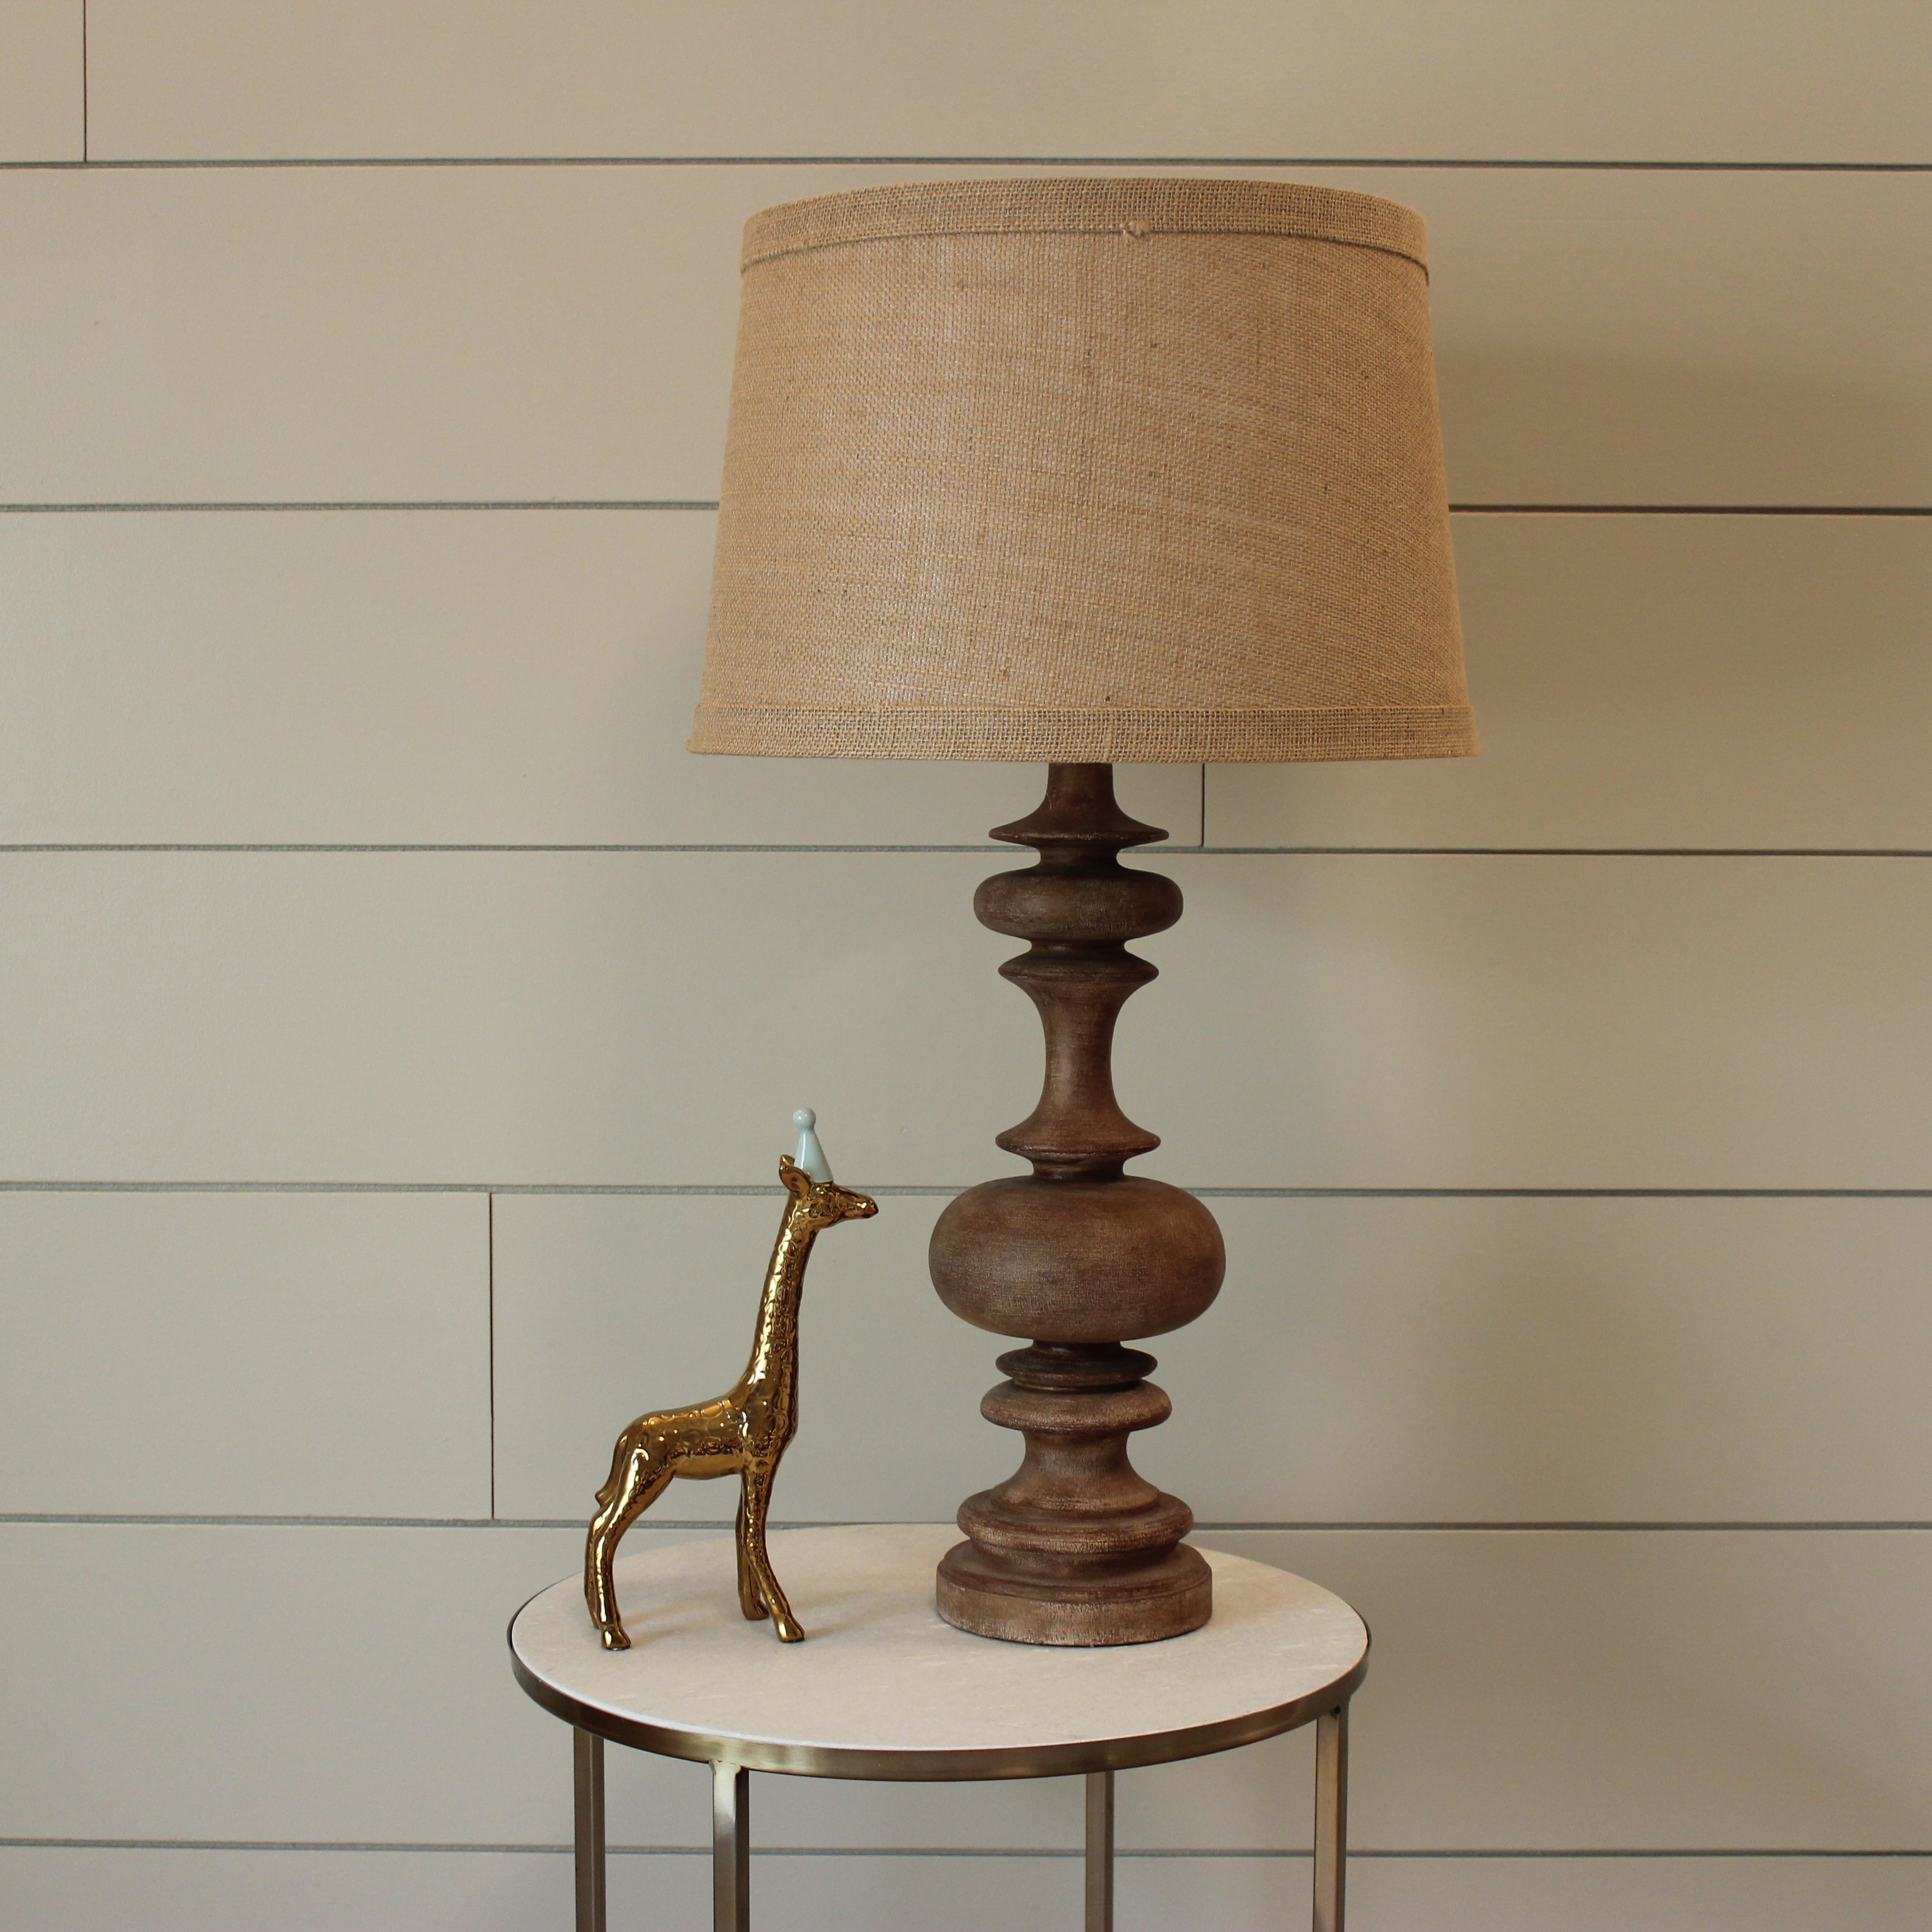
It was sold as separates, the base, and the shade. And if you’re curious about the cutie pie giraffe, it’s also from Target in the new ohjoy! line.
So there you have it! All that’s left is moving in the furniture and adding all the fun stuff 🙂 Can’t wait to share more with you guys next week!
Comment and let me know your thoughts, I love hearing from you guys!
[Post contains affiliate links]

Everything turned out nice. I really like that table lamp from Target. The pictures on the wall are adorable! Can’t wait for the reveal!
Wow! That reminded me so much of the process I go through with every project. It’s comforting to know I’m not alone! The nursery is coming along so well. It’s going to be perfect!