New House Lighting Update
Last week I shared a post all about the design choices for our new house, and what we chose to pay the builder to do, versus what I plan on DIYing myself. You can check that post out here. And one of the main things (and first things) I wanted to do as soon as we moved in was swap out all the builder grade light fixtures.
Quick back story – I absolutely LOVED all the light fixtures in my old house. I mean, I was practically married to them.
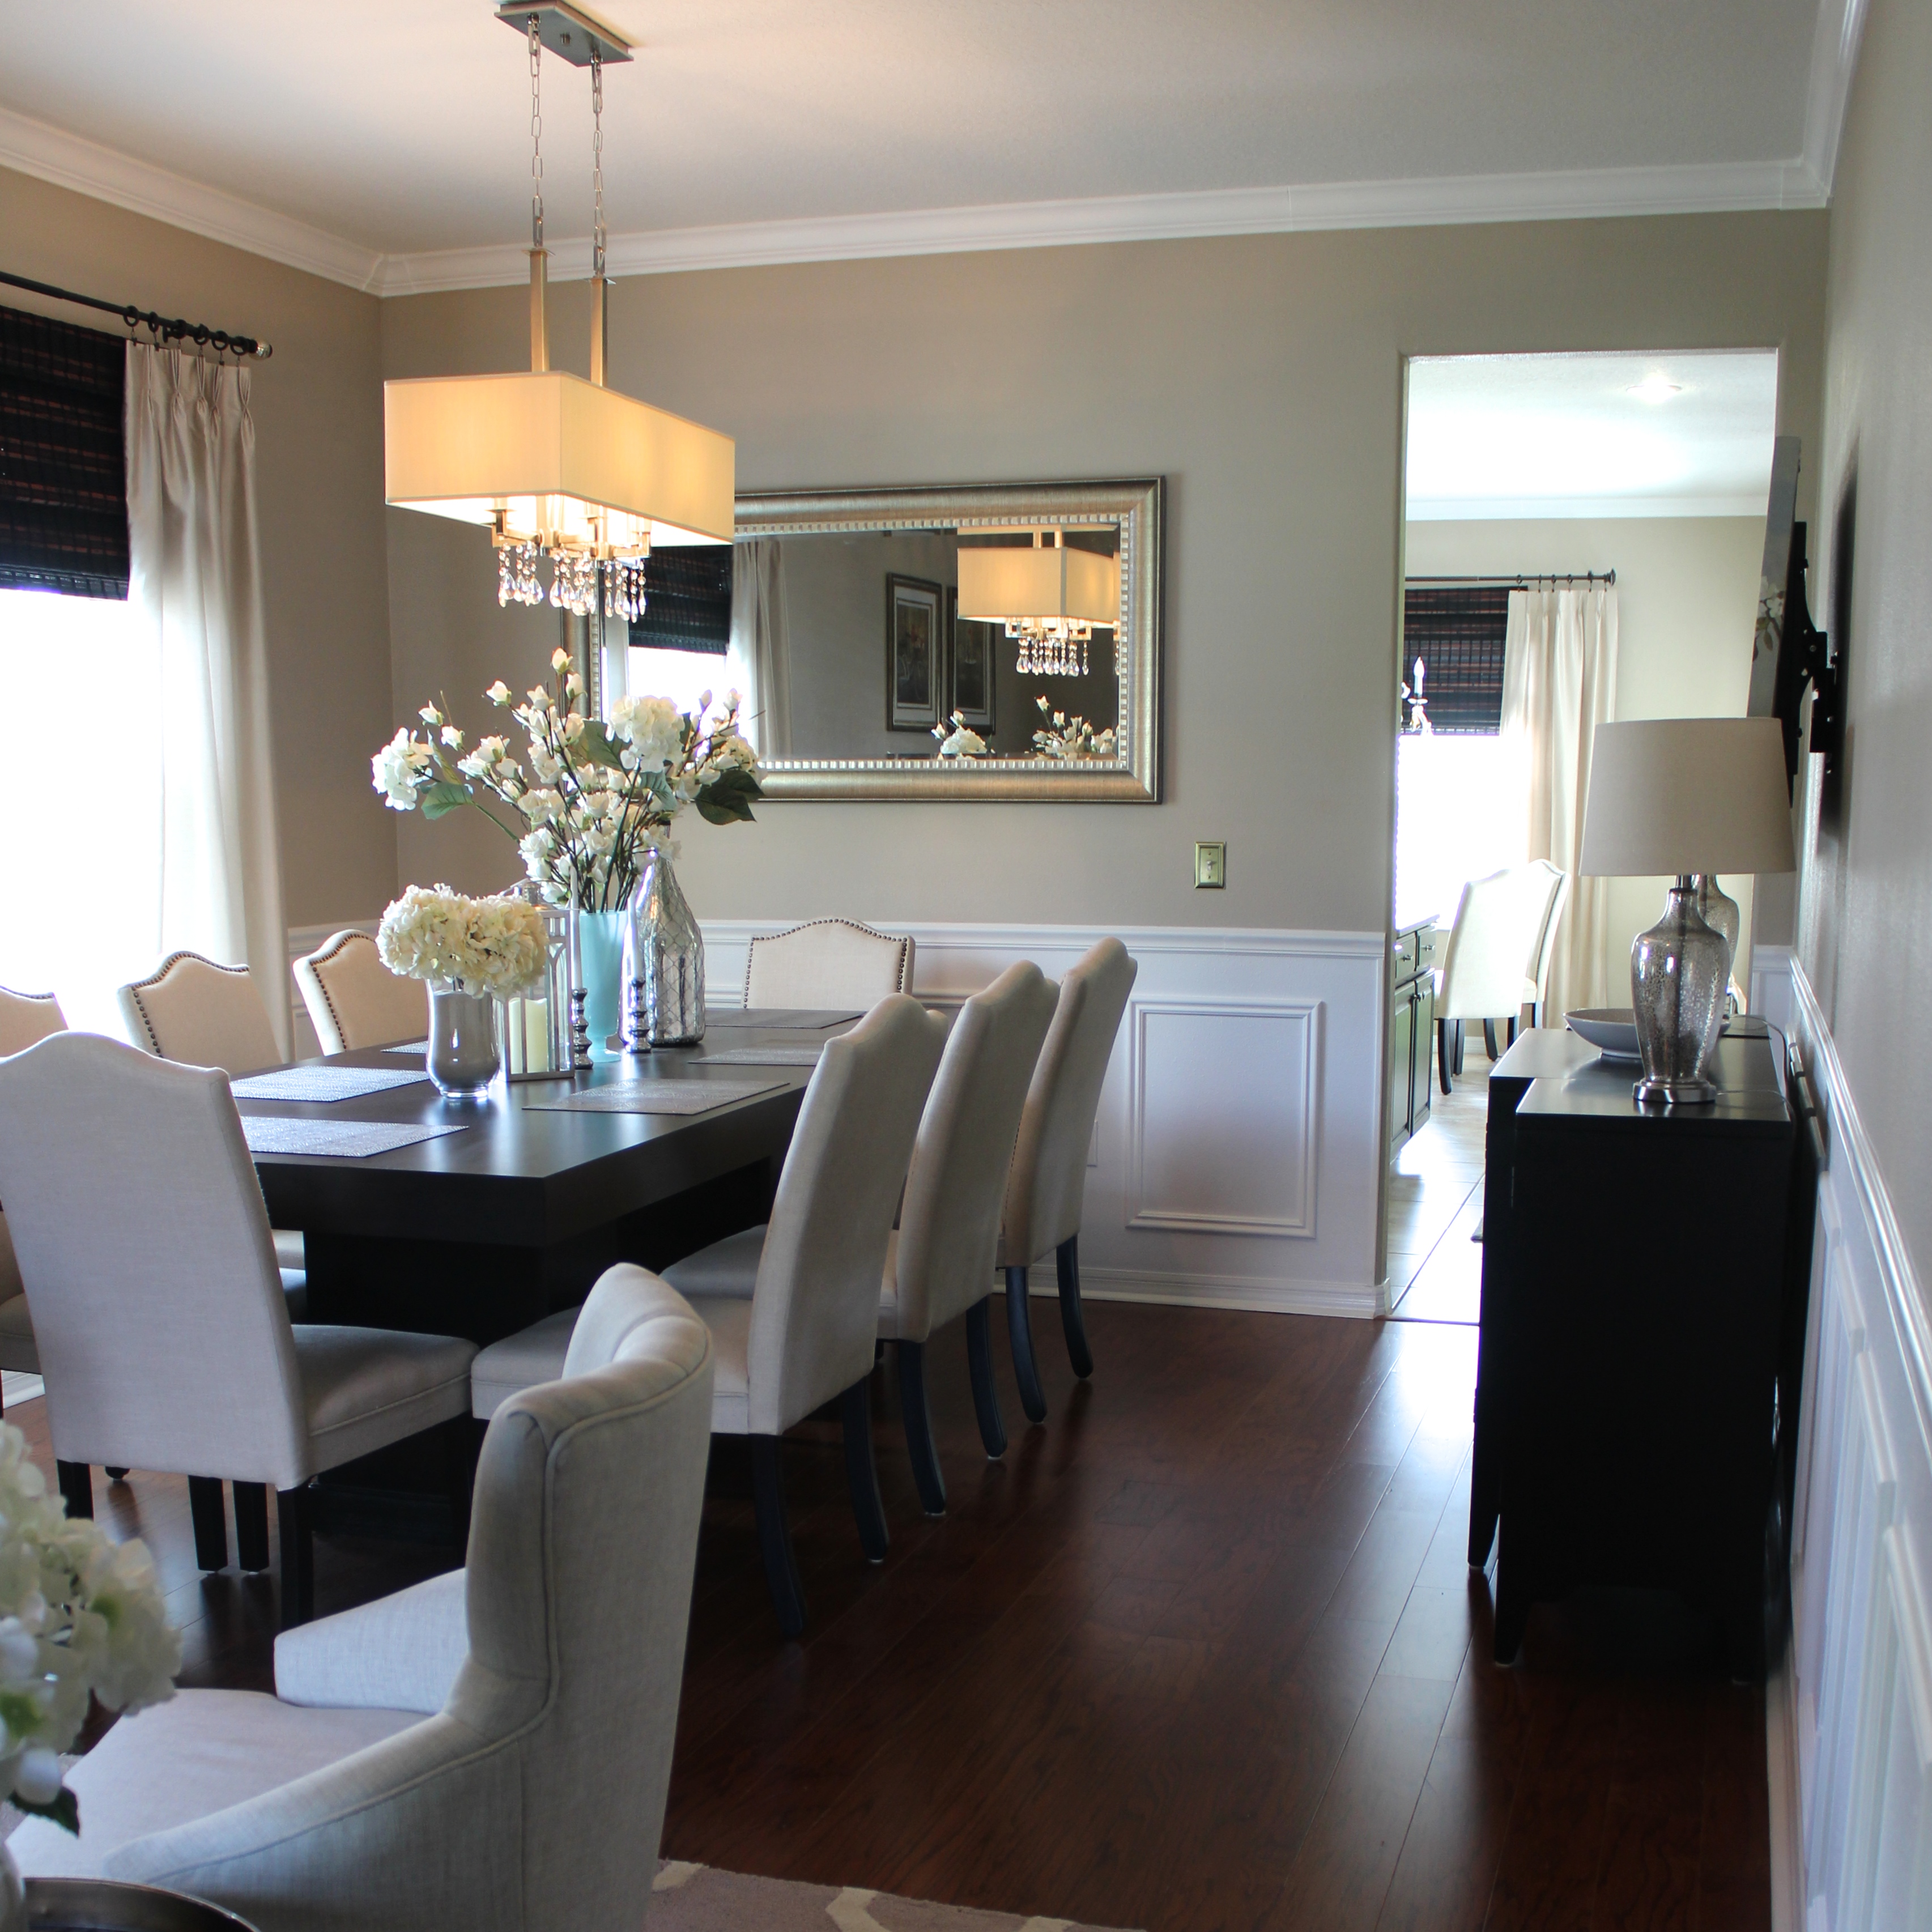
Especially this one in my dining room! It was a DIY that I made myself that I get sooo many questions and compliments on!
I even asked my realtor if I could take them all down before we listed the house because I wanted to bring them to my new house so badly. She gave me very wise advise and told me that the light fixtures are a huge part of the “wow factor” in my house and what will truly make it sell quick. I reluctantly agreed, and decided to leave the light fixtures at the house. Under one condition. And that was that my husband would let us get all new fixtures for our new house ASAP. He obliged, haha. (Theoretically, the lighting at our old house giving it that wow factor is what we hoped would get us top dollar for the house – and it worked! So essentially it paid for the new house lights 😉
Back on track. So I started shopping light fixtures for the new house long before we moved in. I got ideas from several local model homes, as well as just browsing IG, and my favorite shopping sites. There were some fixtures where I already knew exactly what I wanted because it was something I dreamed of having for so long. Other ones were more of a “I’ll know it when I see it” type. To help me visualize everything, I added all the fixtures to a design board. Here I could see them all on one screen and make sure they “flowed” well. I also wanted to make sure I had a good mix of different metals. One of my main goals for this new house was to incorporate mixed metals. I didn’t want to limit myself to all chrome, or all gold, or all bronze. I wanted a little bit of everything to give me flexibility all over the house.
So here’s the design board I came up with.
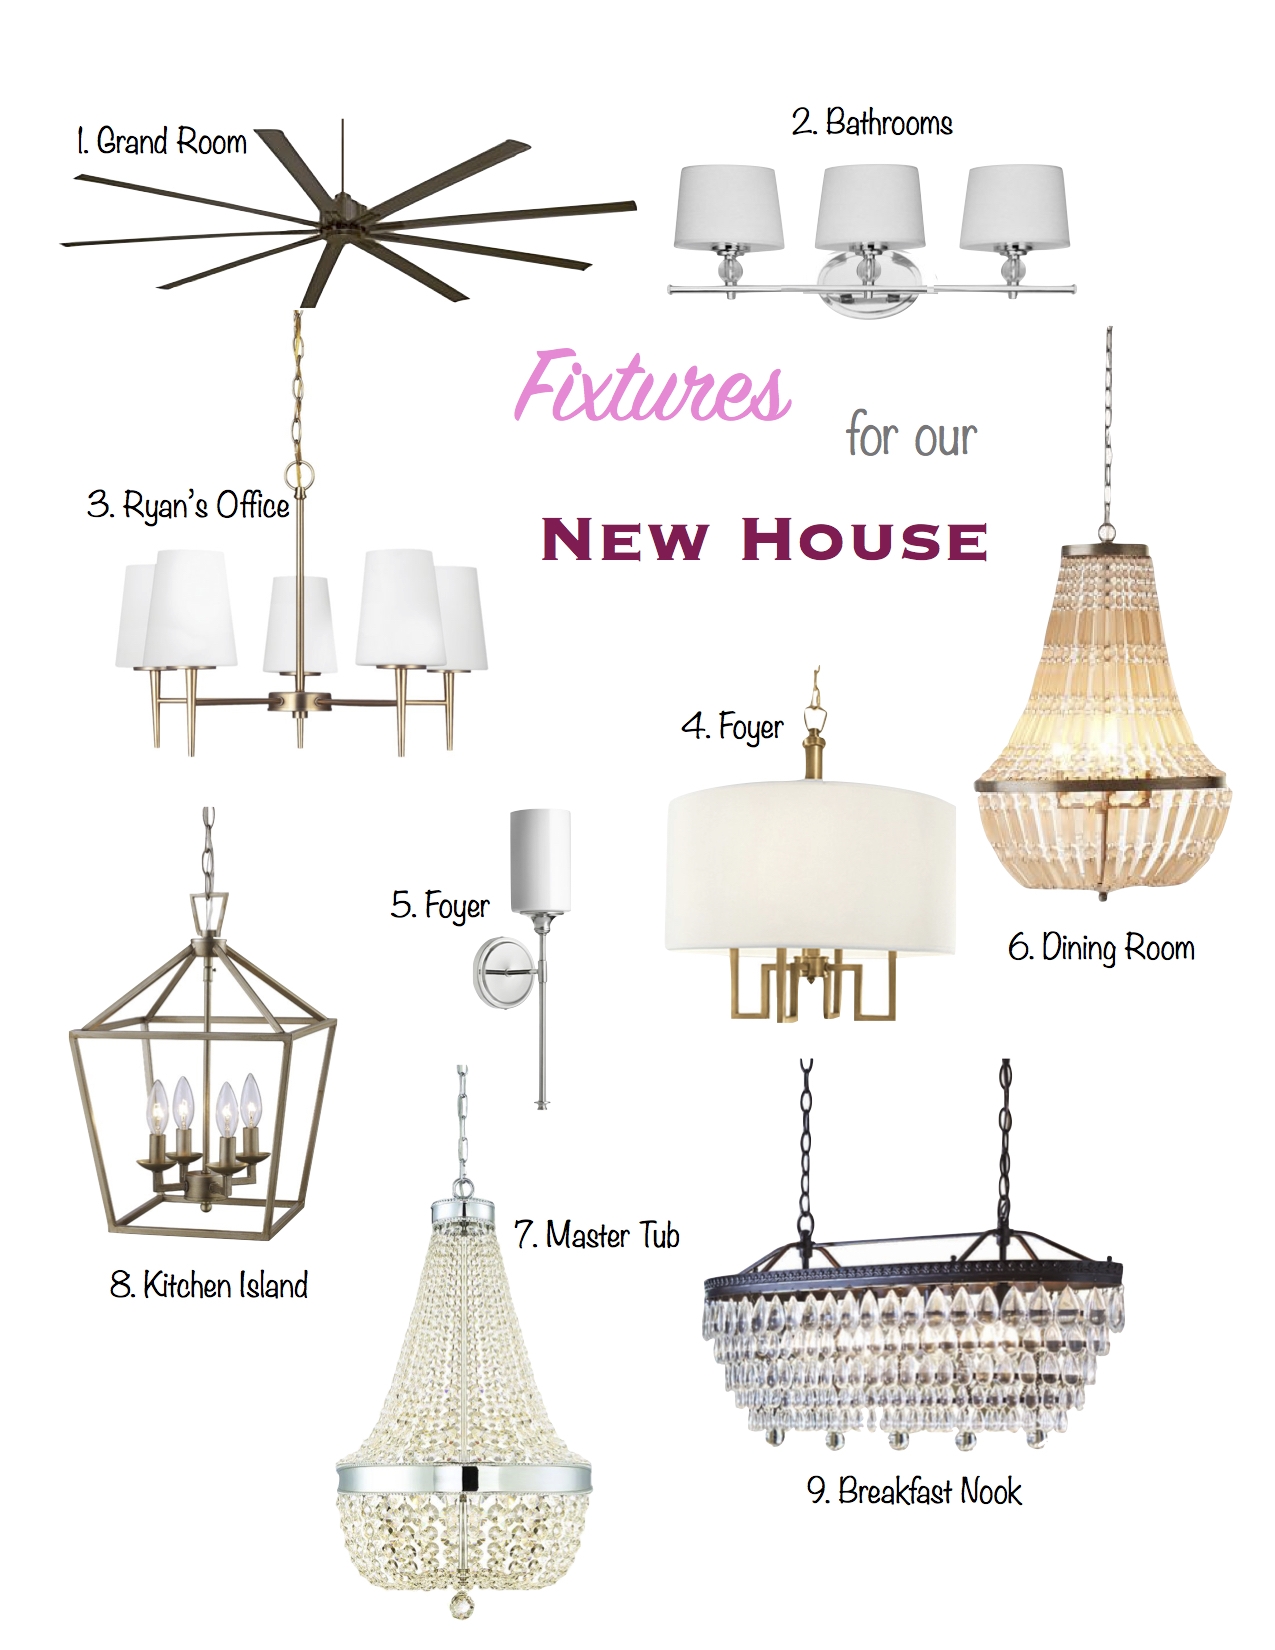
To shop any of these fixtures, click on the number below associated with the light.
[ 1 ] [ 2 ] [ 3 ] [ 4 ] [ 5 ] [ 6 ] [ 7 ] [ 8 ] [ 9 ]
Here is the first thing that got installed. It’s a HUGE 72″/SIX FOOT tornado of a fan. This thing will put out some SERIOUS wind. We absolutely love this fan and it’s definitely a statement maker that has already received lots of comments by visitors. Click here to shop it.
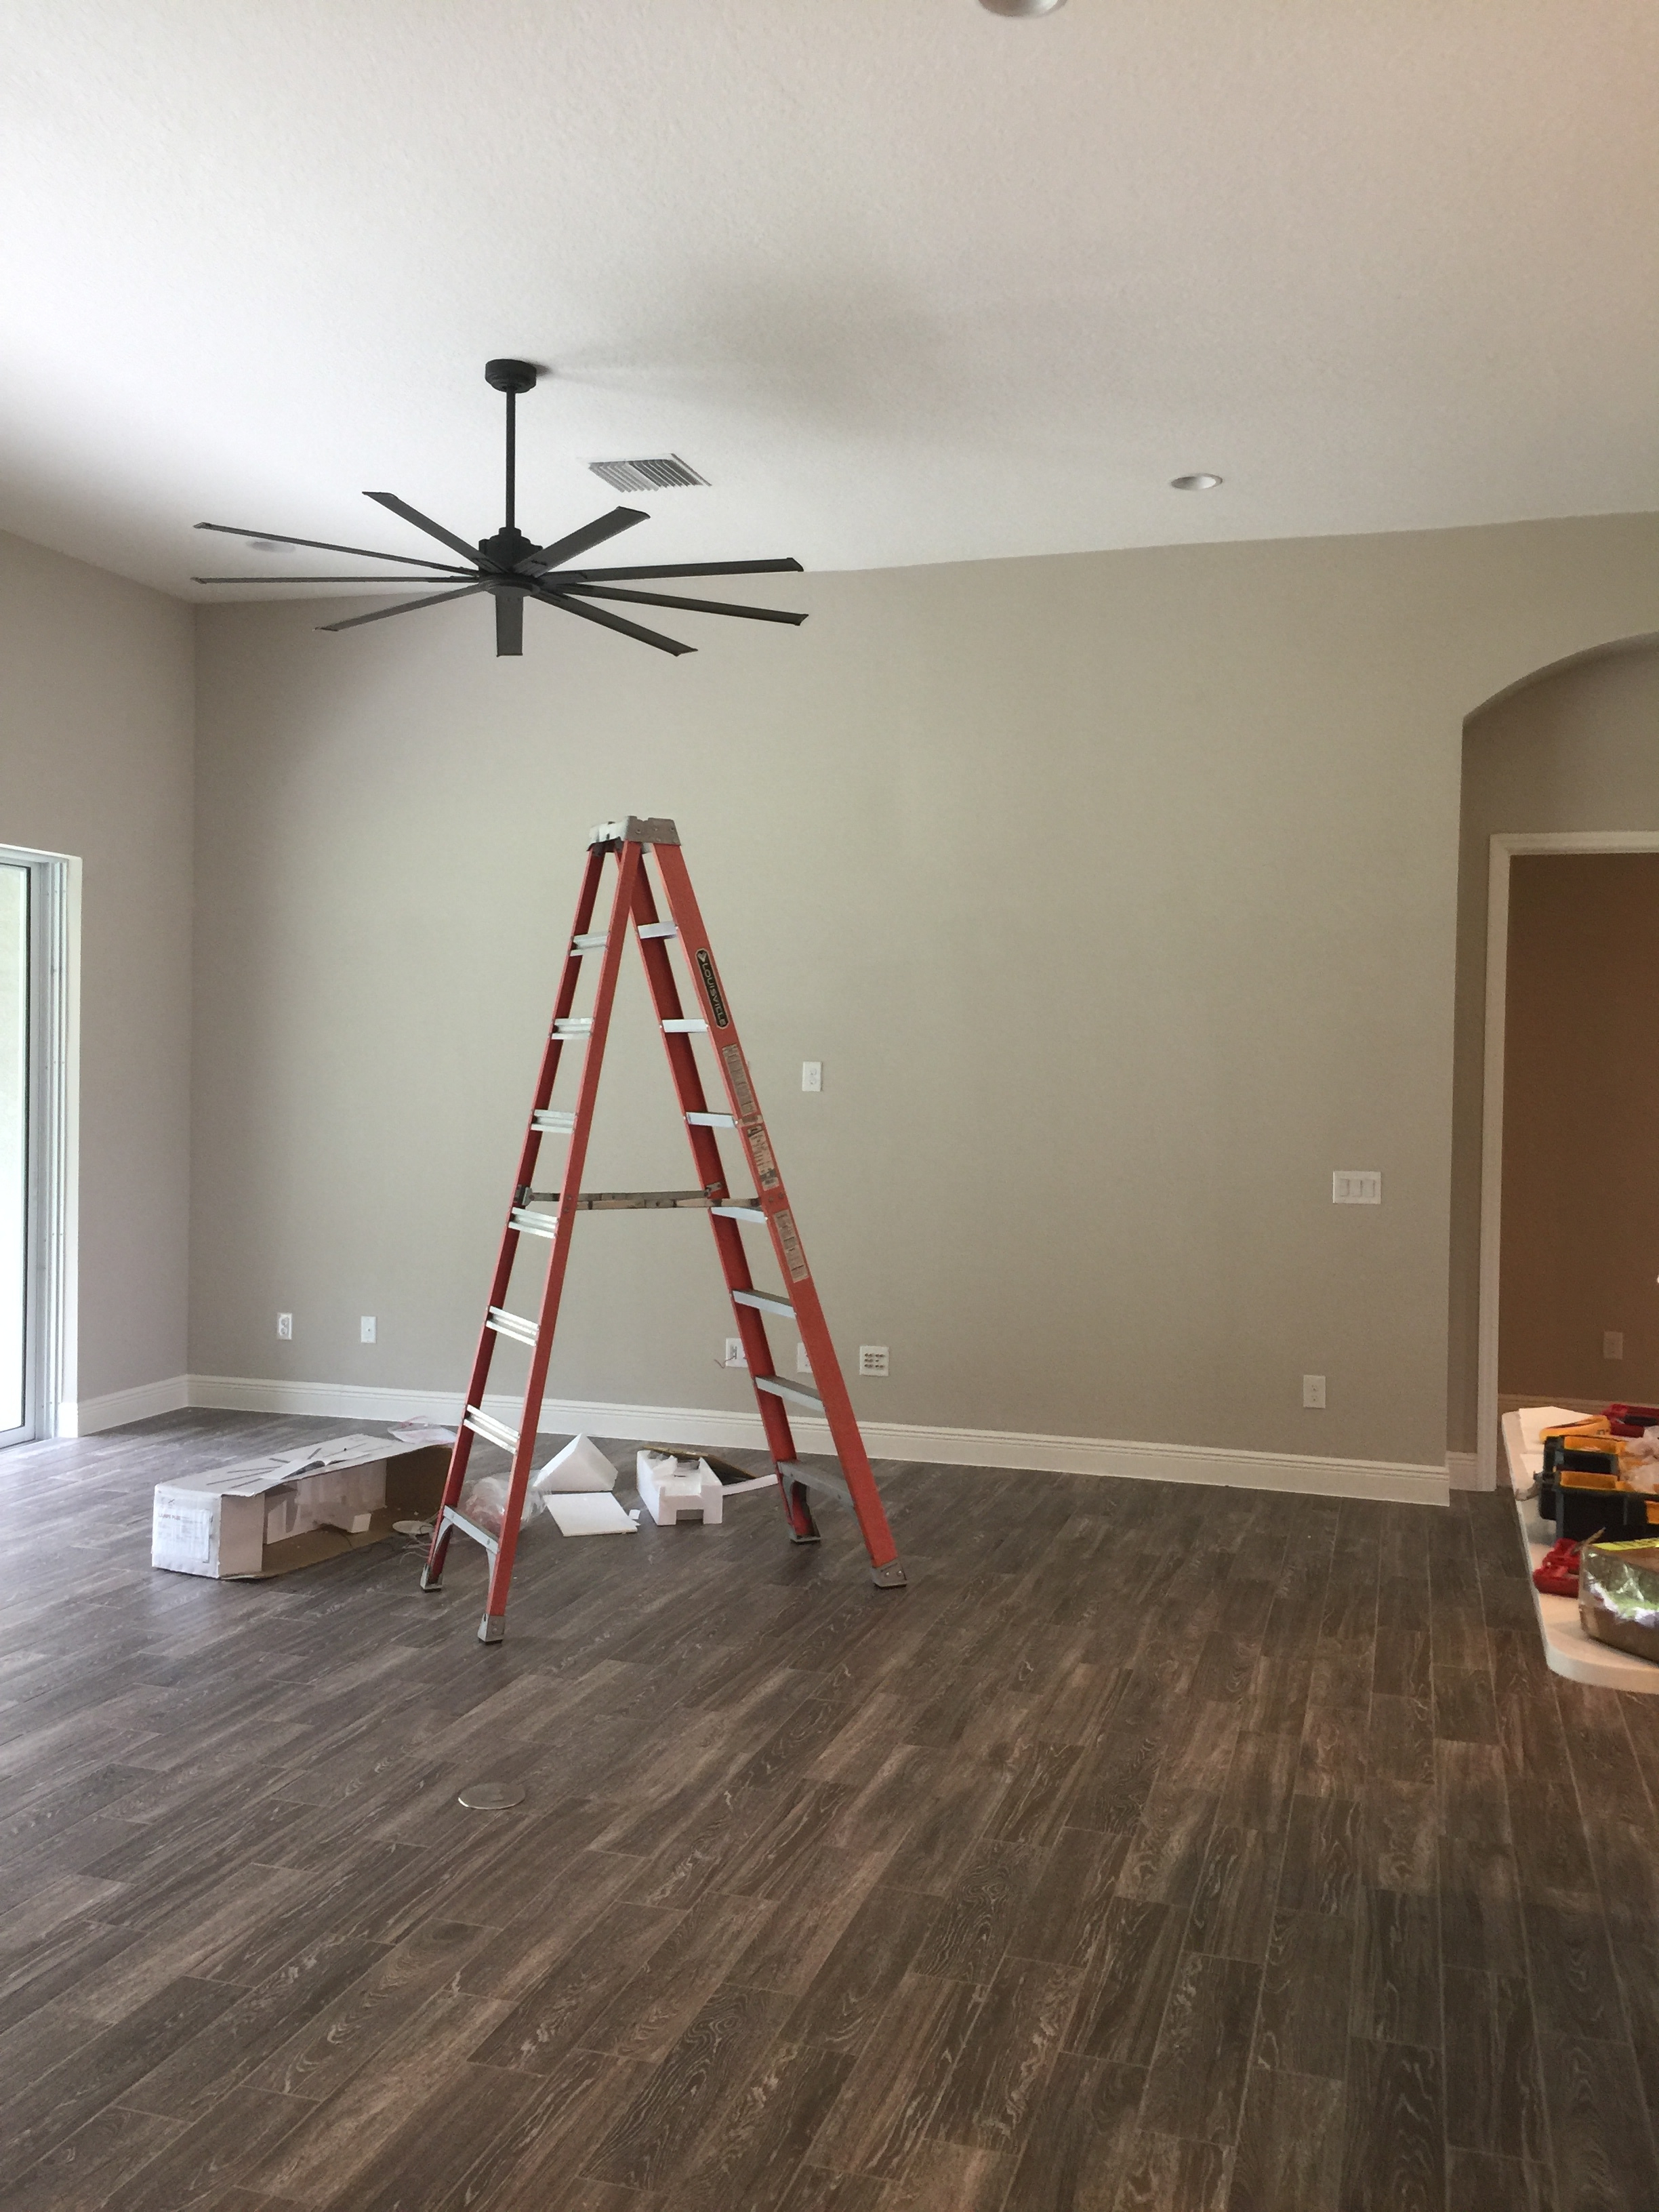
If you remember our last family room, we actually had a chandelier. Which I loved. But a chandelier would not work in our new house because of the layout of our floor plan. The “grand room” which encompasses the family room, the breakfast nook, and the kitchen, has a total of 4 fixtures all in one space. 4 chandeliers would just be TOO much. So luckily for my hubby, I opted to put a fan in the family room, leaving just a chandelier in the breakfast nook and 2 matching pendants in the kitchen.
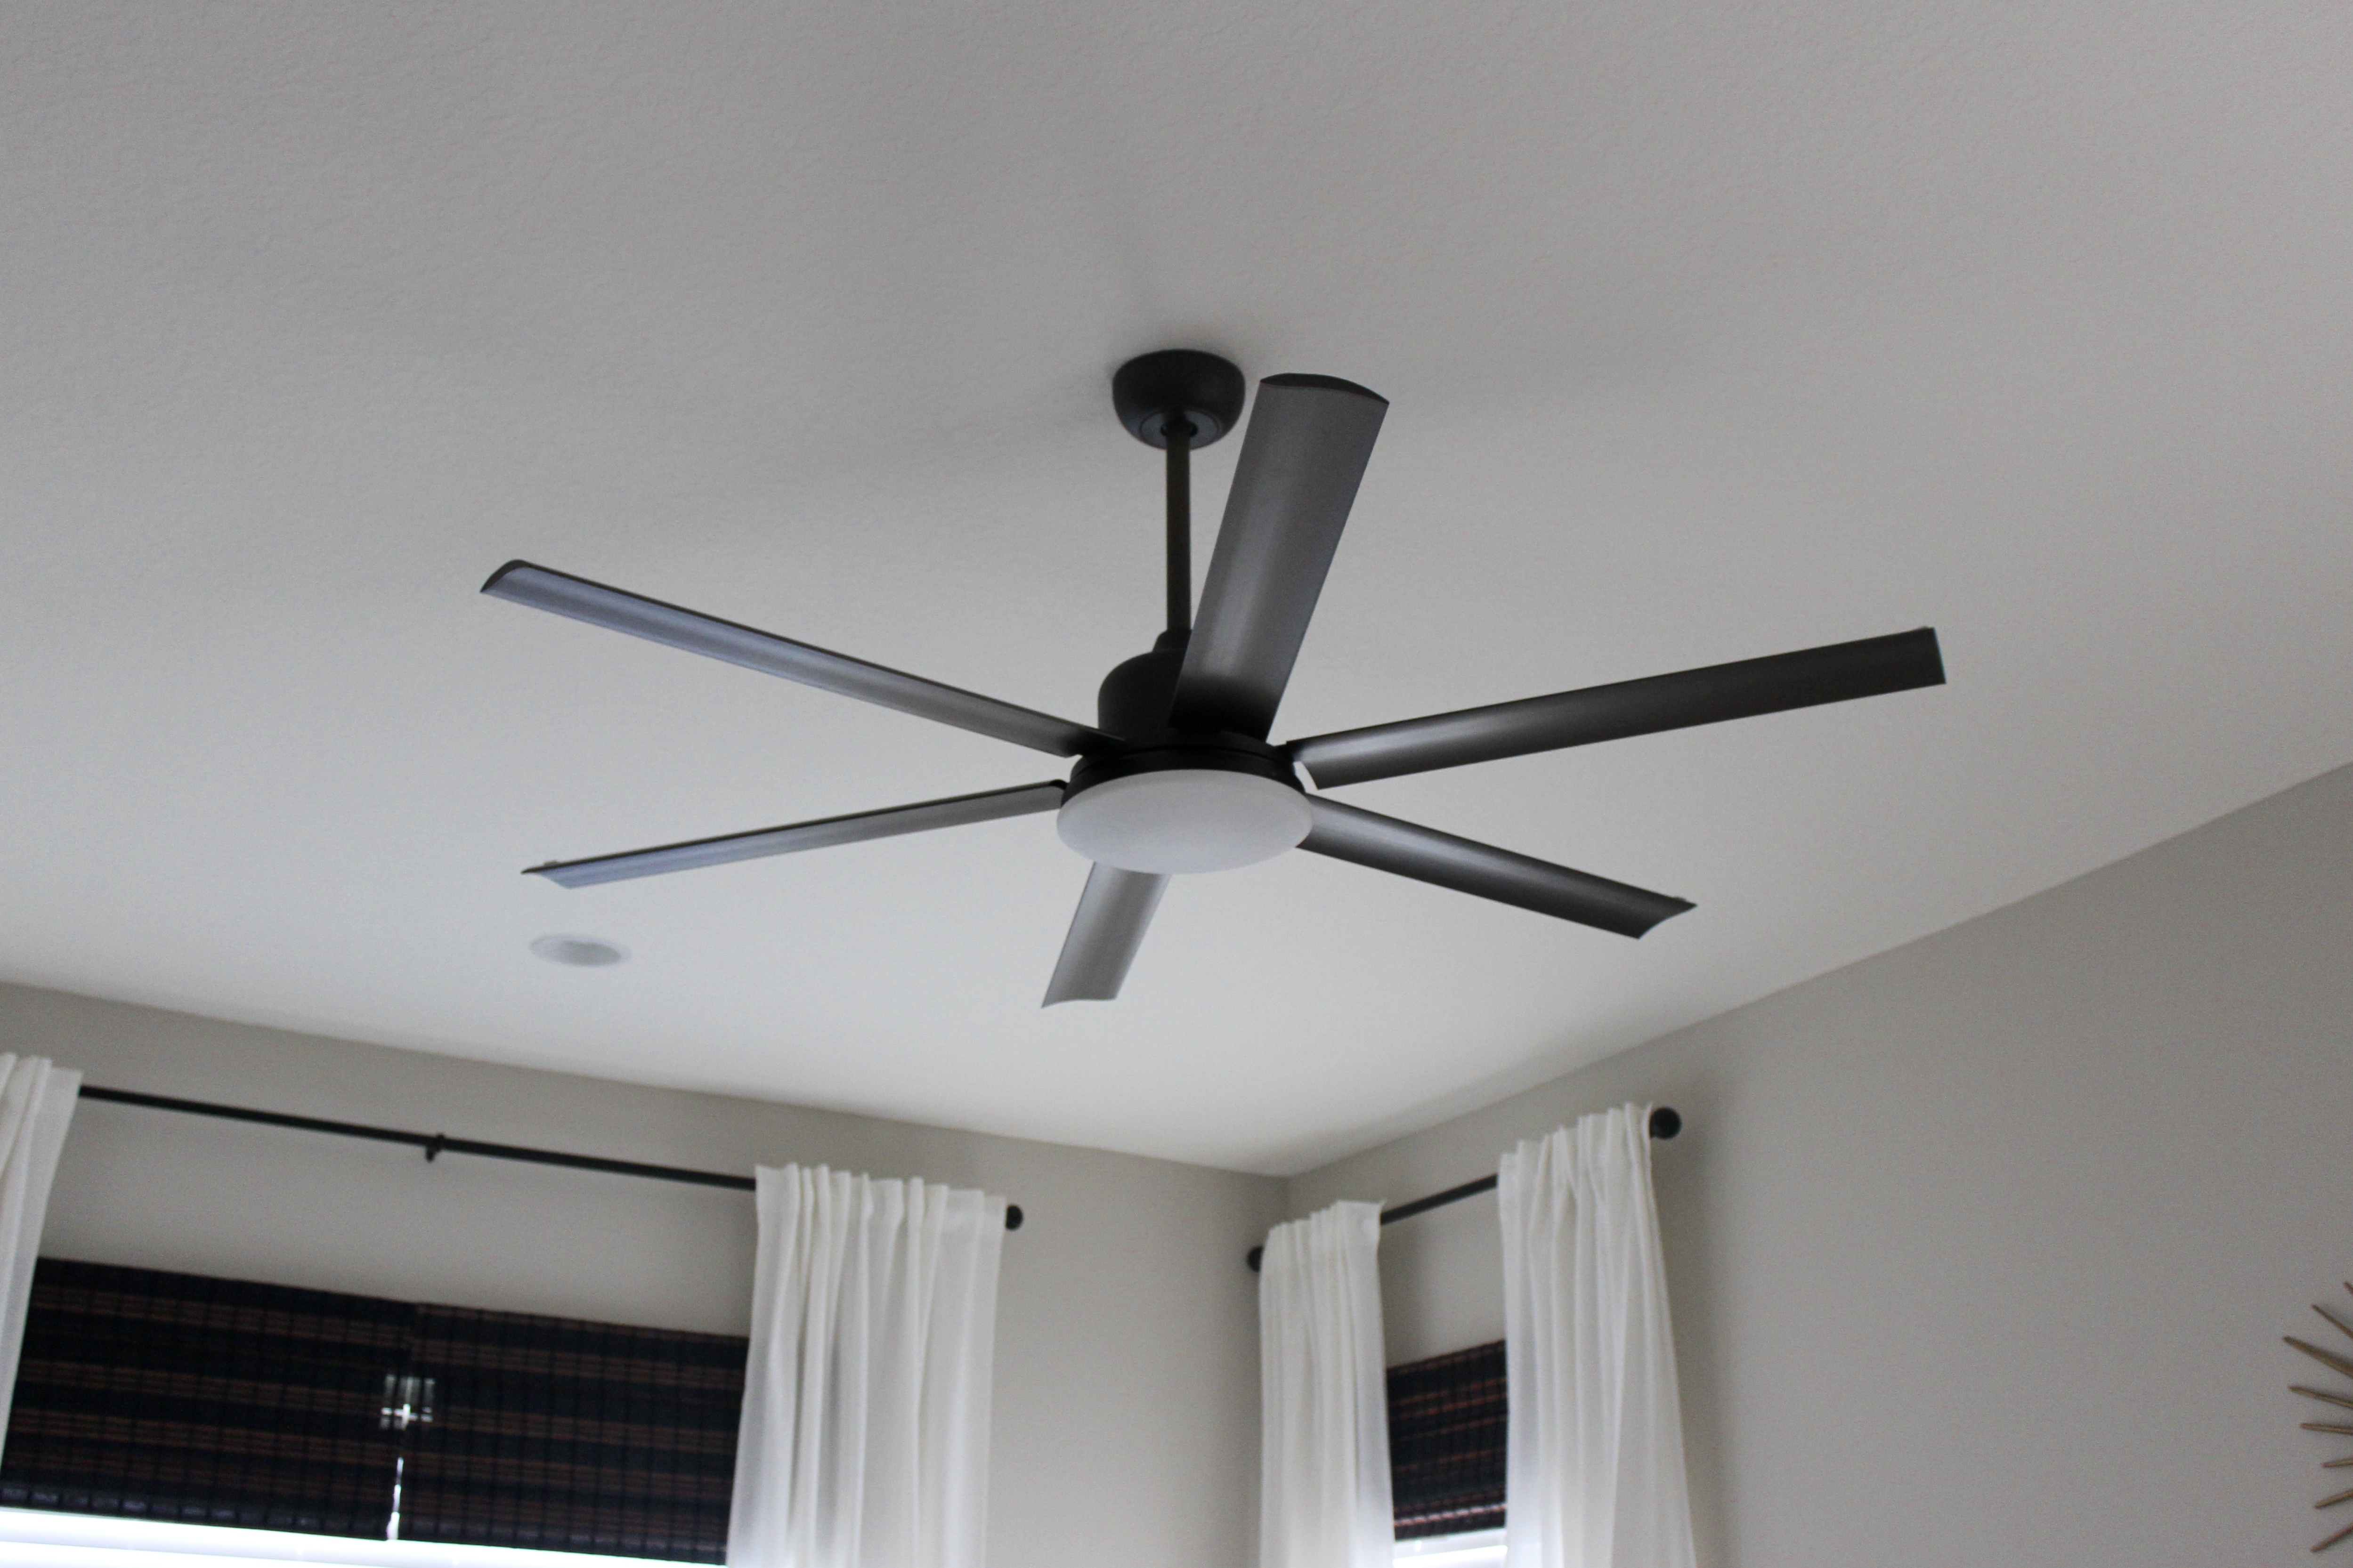
I put a very similar fan in our bedroom, except this one has a light and is 60″ as opposed to 72″. You can shop it here. This one also puts out an incredible amount of air so it’s glorious to have on while sleeping at night. Hubby DOUBLY lucked out with having a fan in the living room AND the bedroom! Although if it were up to me, I would much prefer a chandelier in the bedroom, but it’s just not practical considering how much we actually use the fan in here. So I have learned to live with the fact that will never happen. Believe it or not, sometimes practical and functional actually wins out over pretty around here, ha!
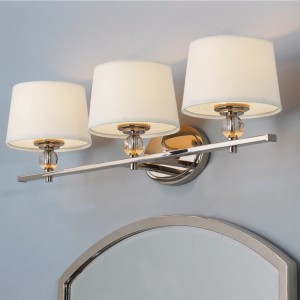
As for the bathrooms, these were the builder grade lights that I switched out.
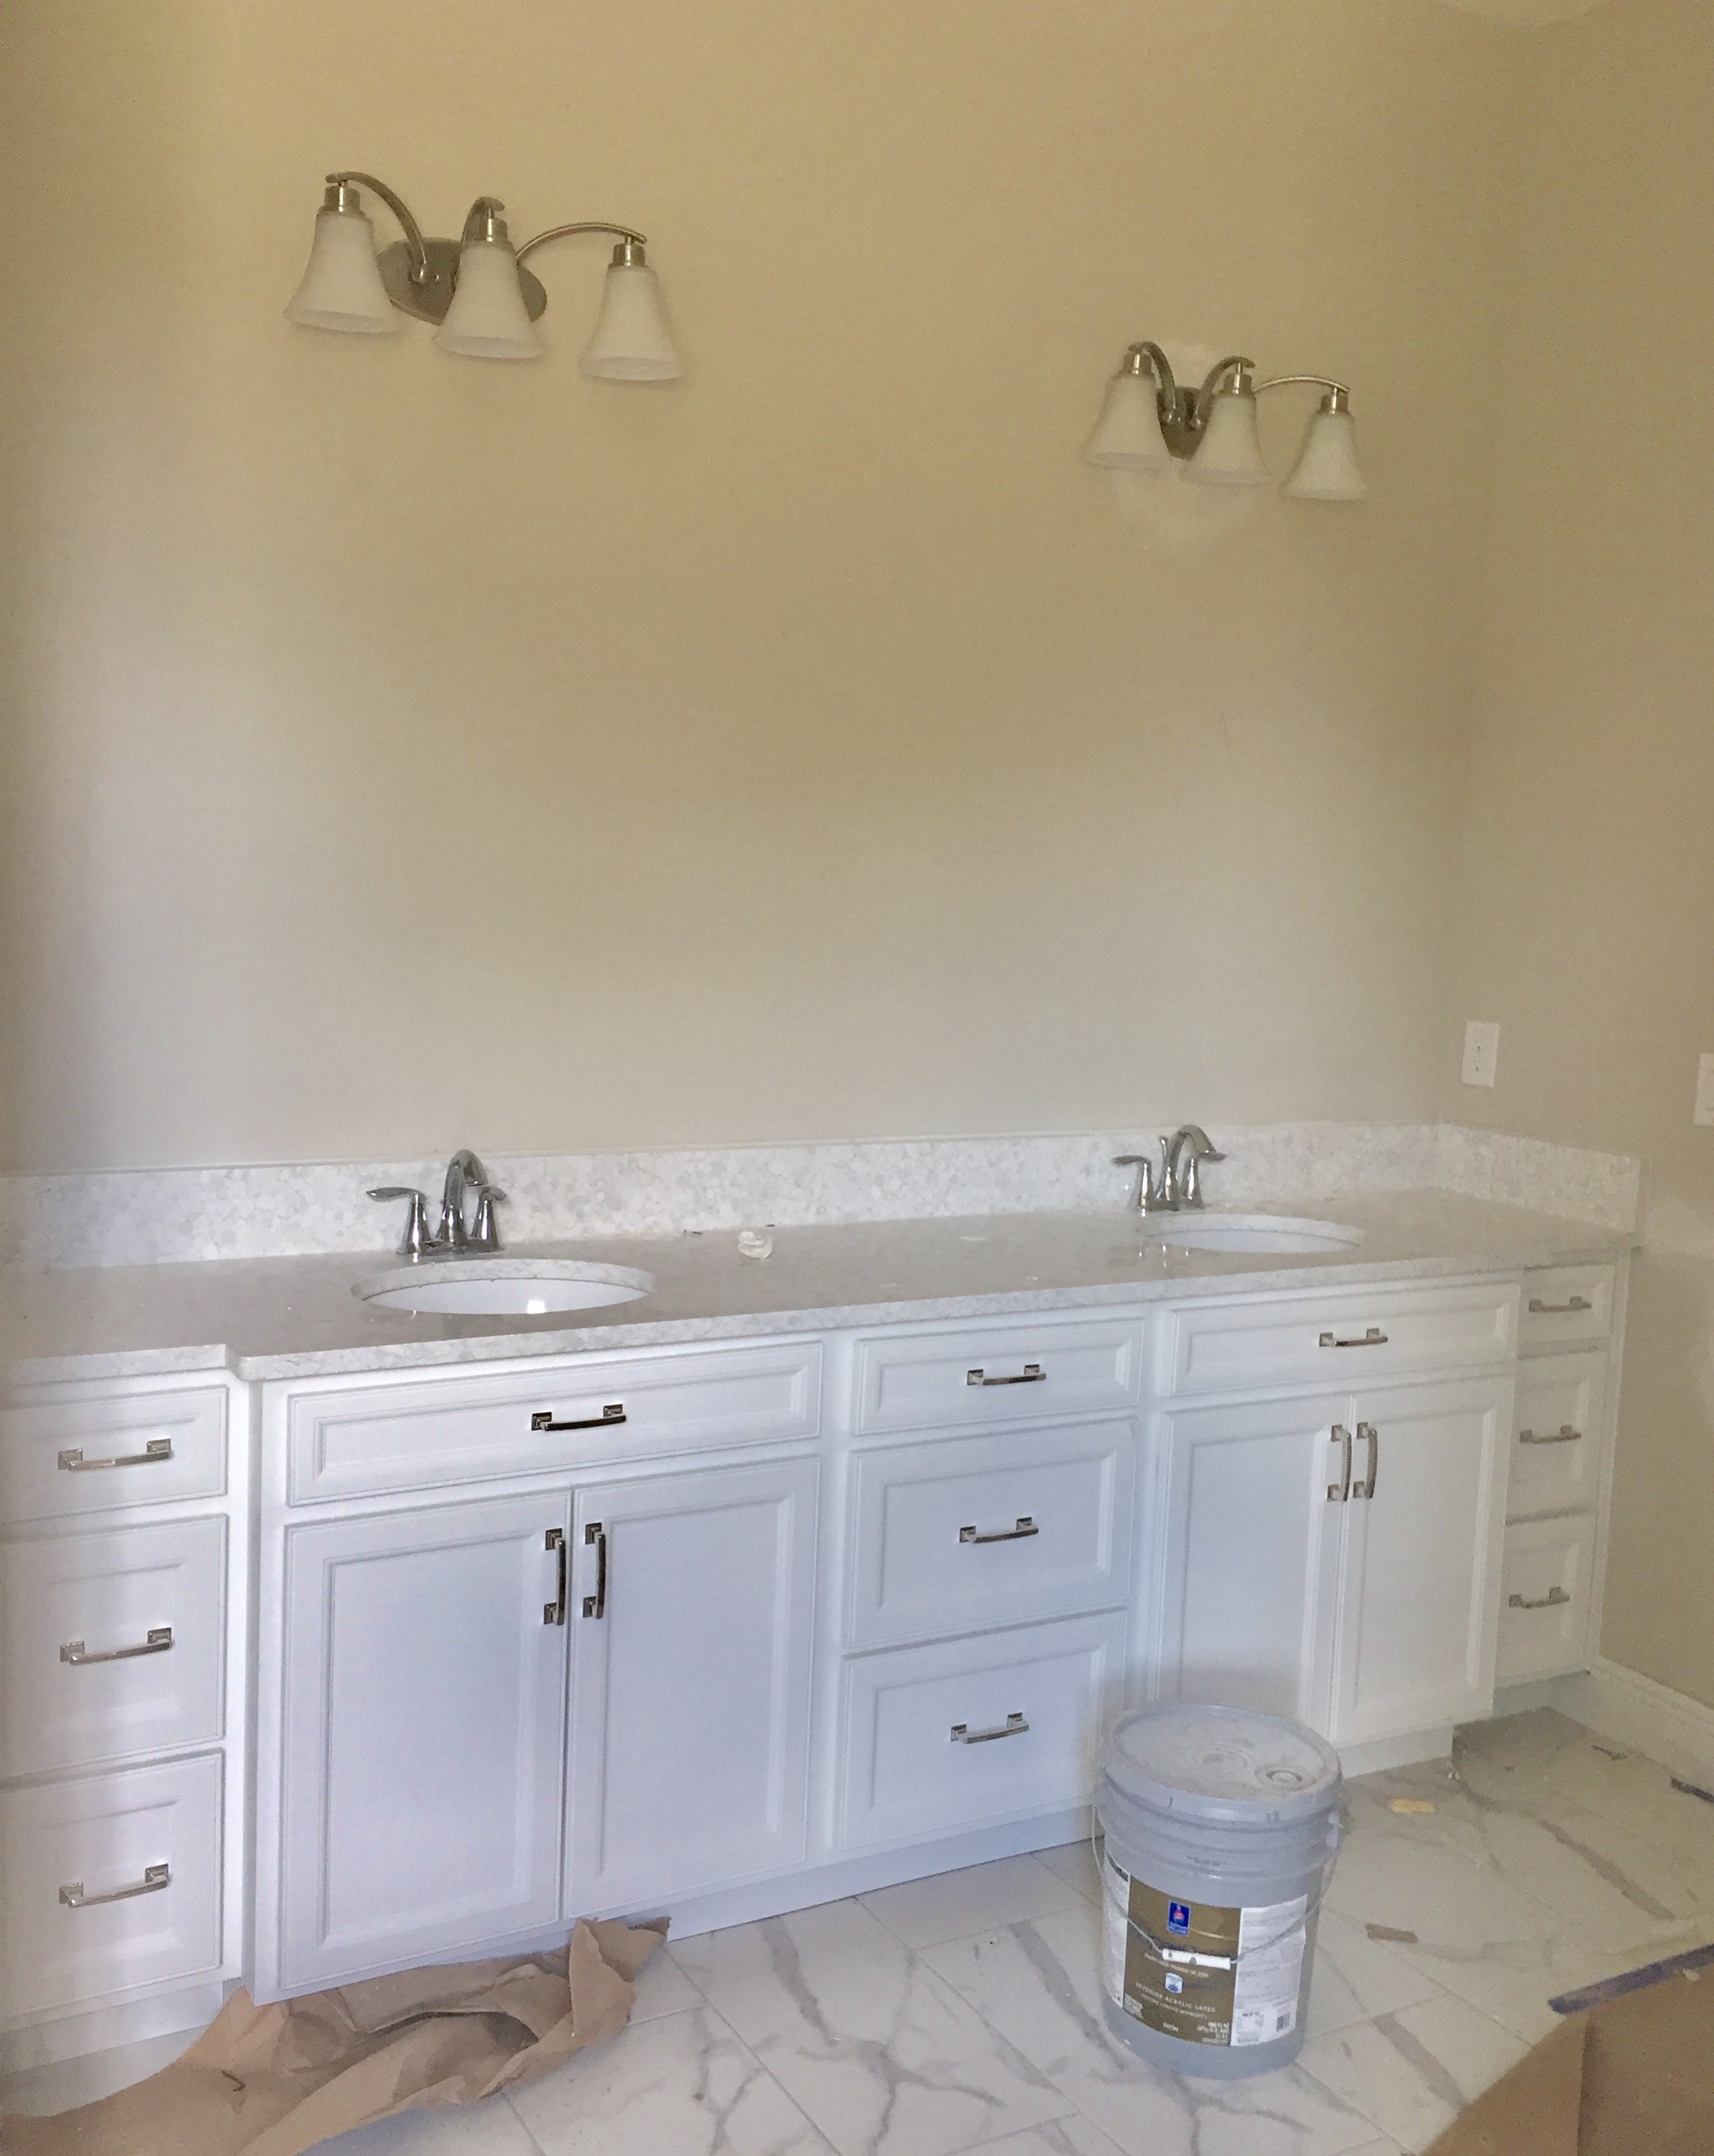
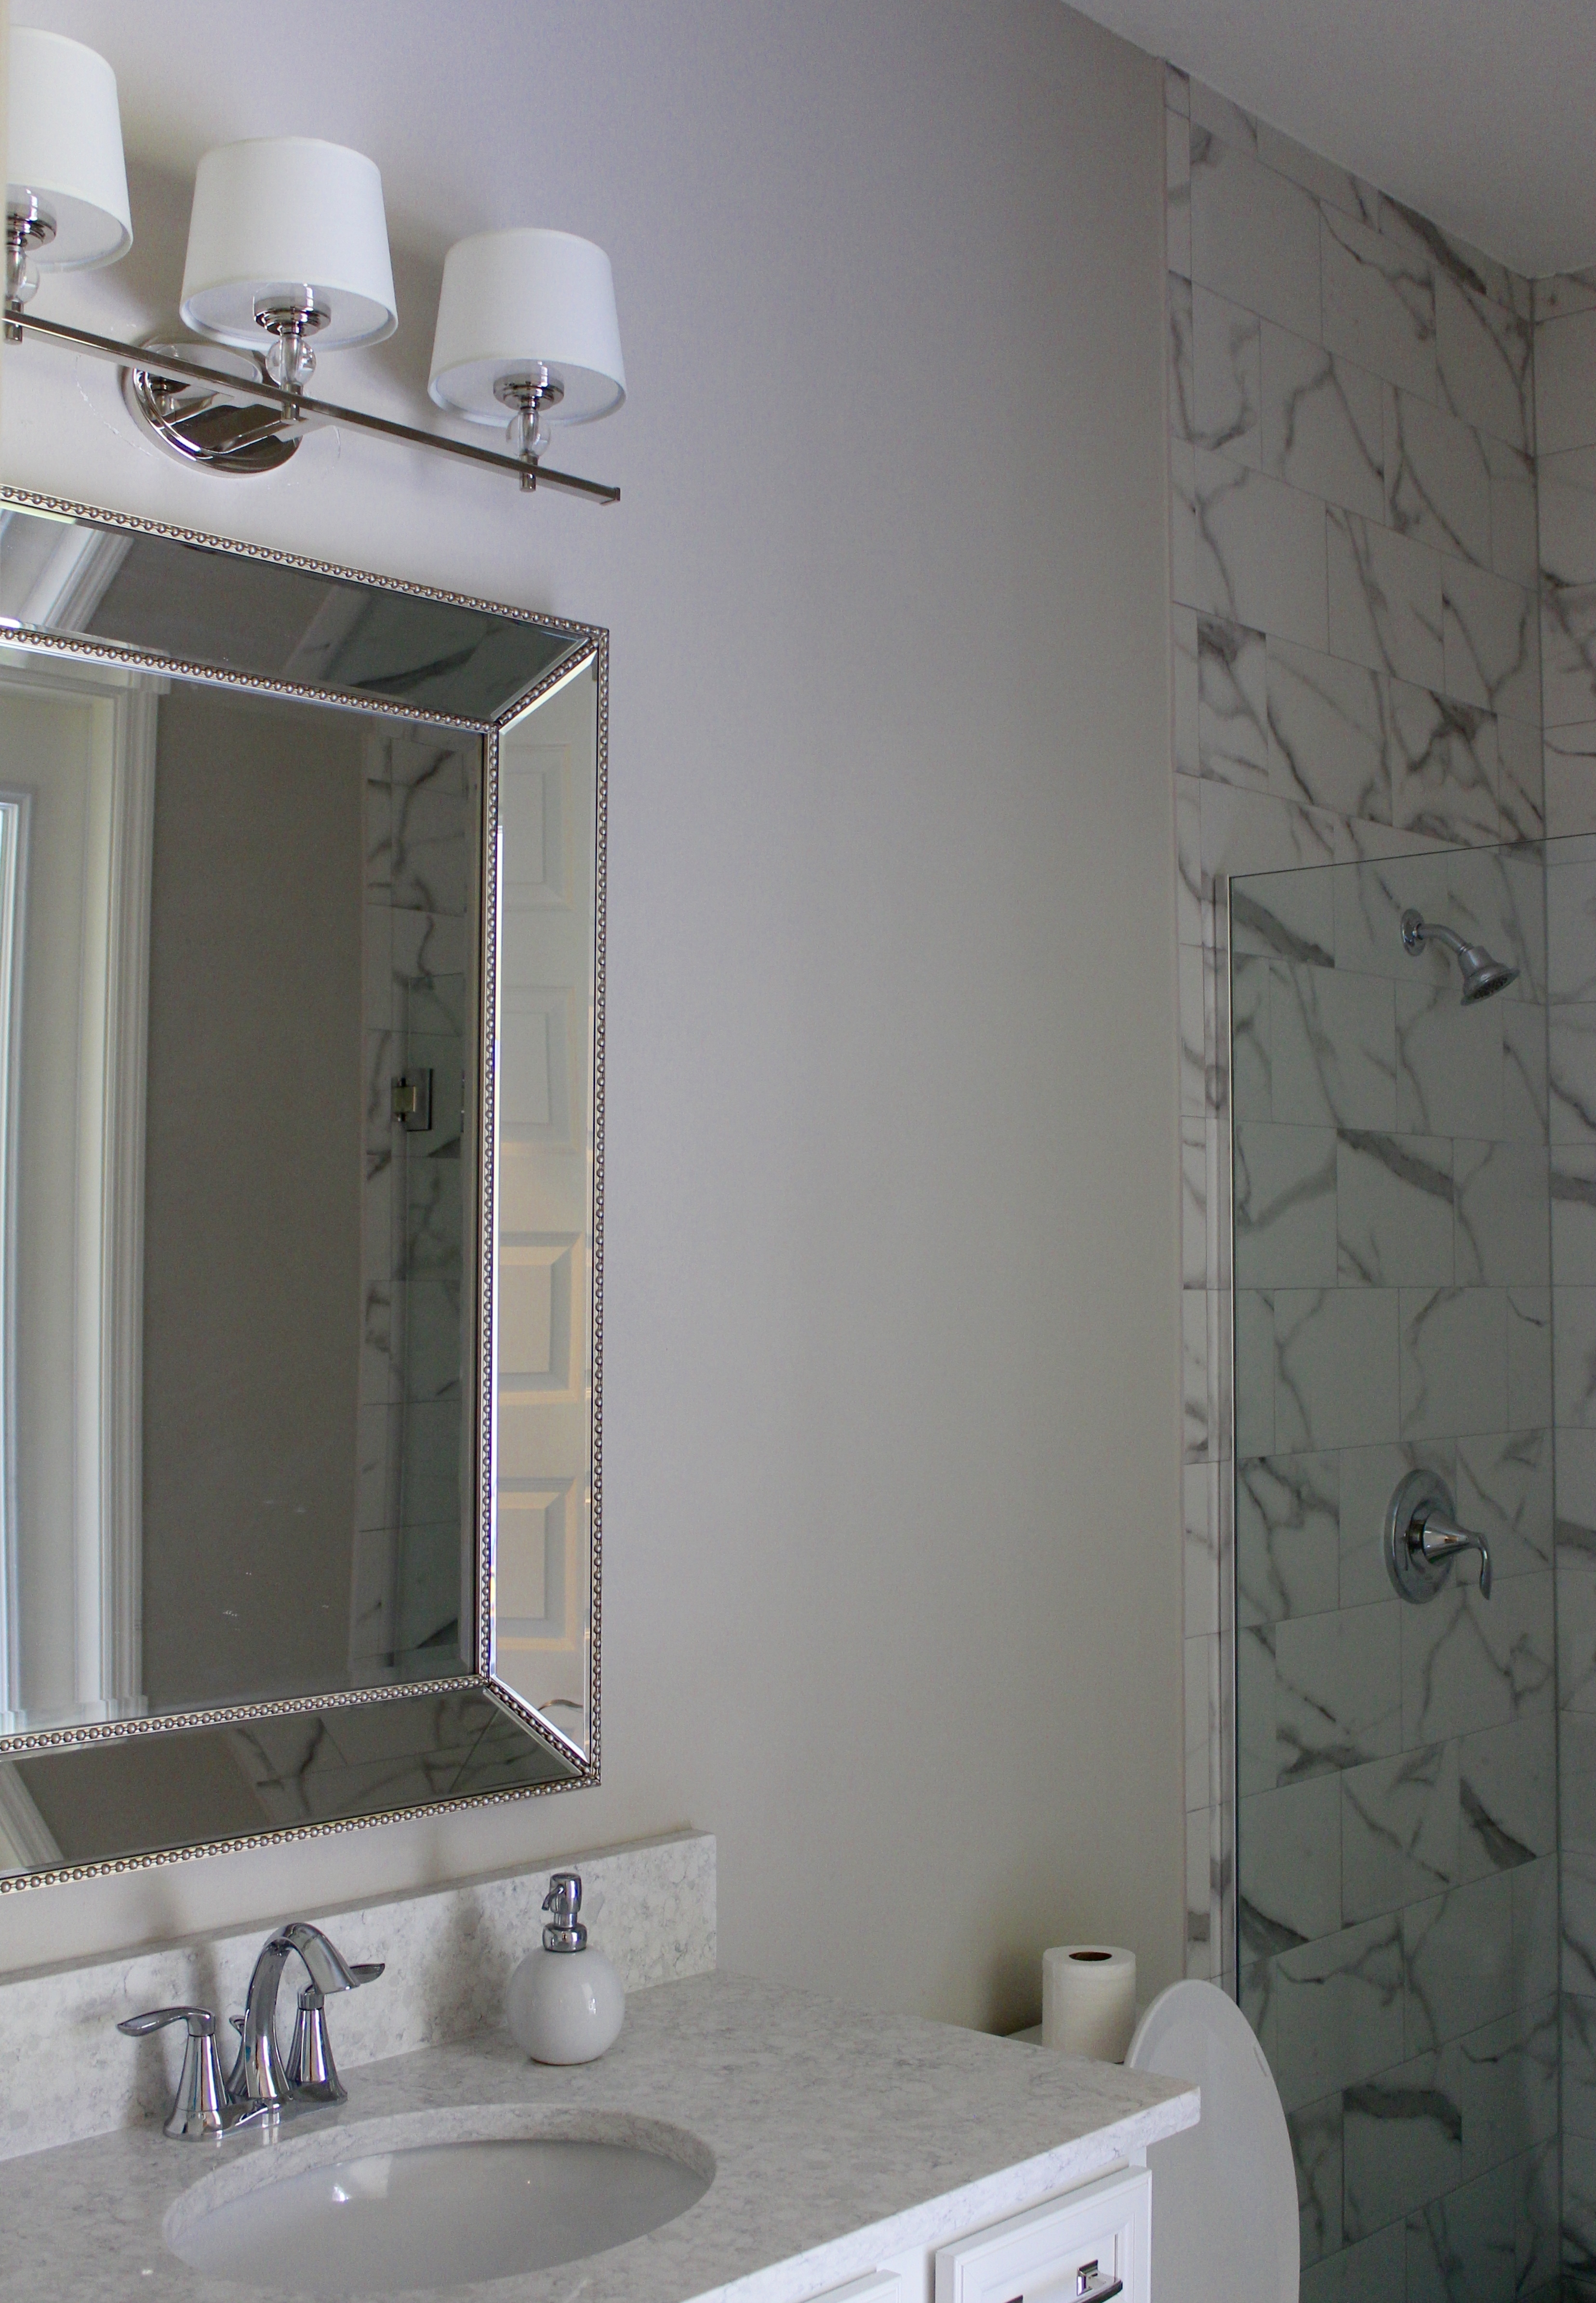
For these beauties:
Ryan’s office fixture came about because its a light I’ve seen before and always loved. I didn’t really have anywhere to put it so when it came time to choose a light for his office…bingo!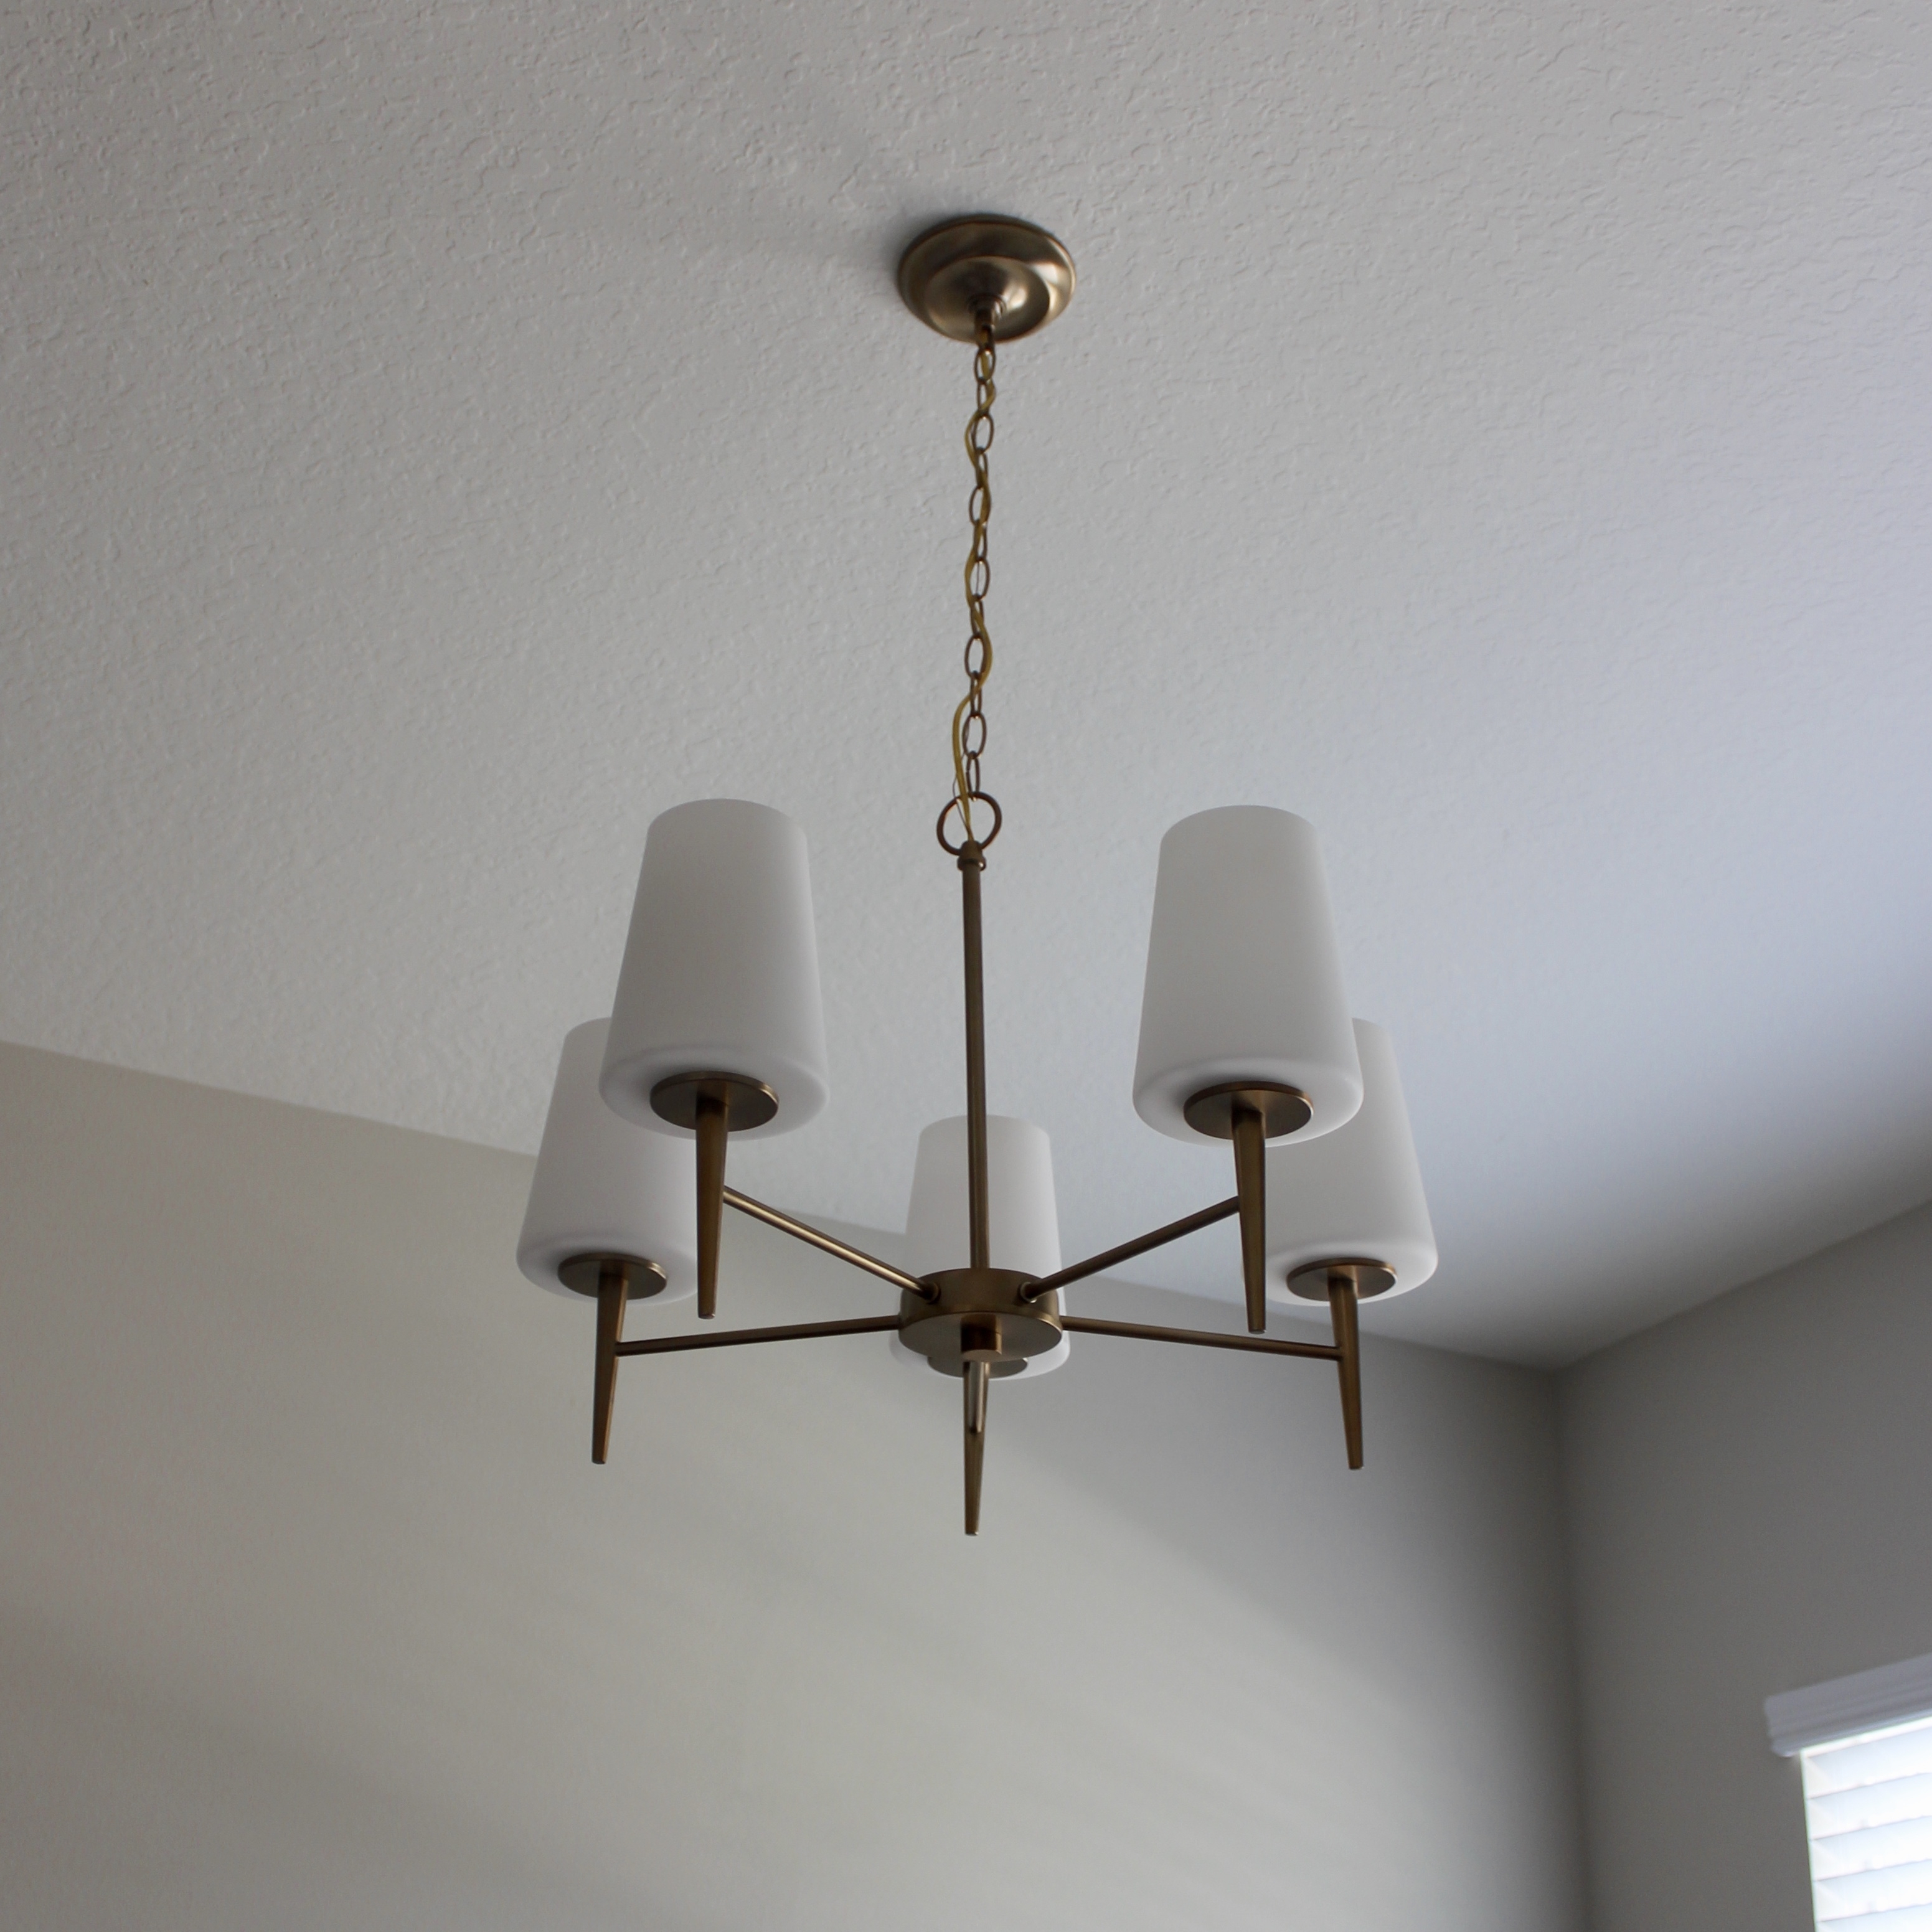
Nothing special going on otherwise in that space…yet.
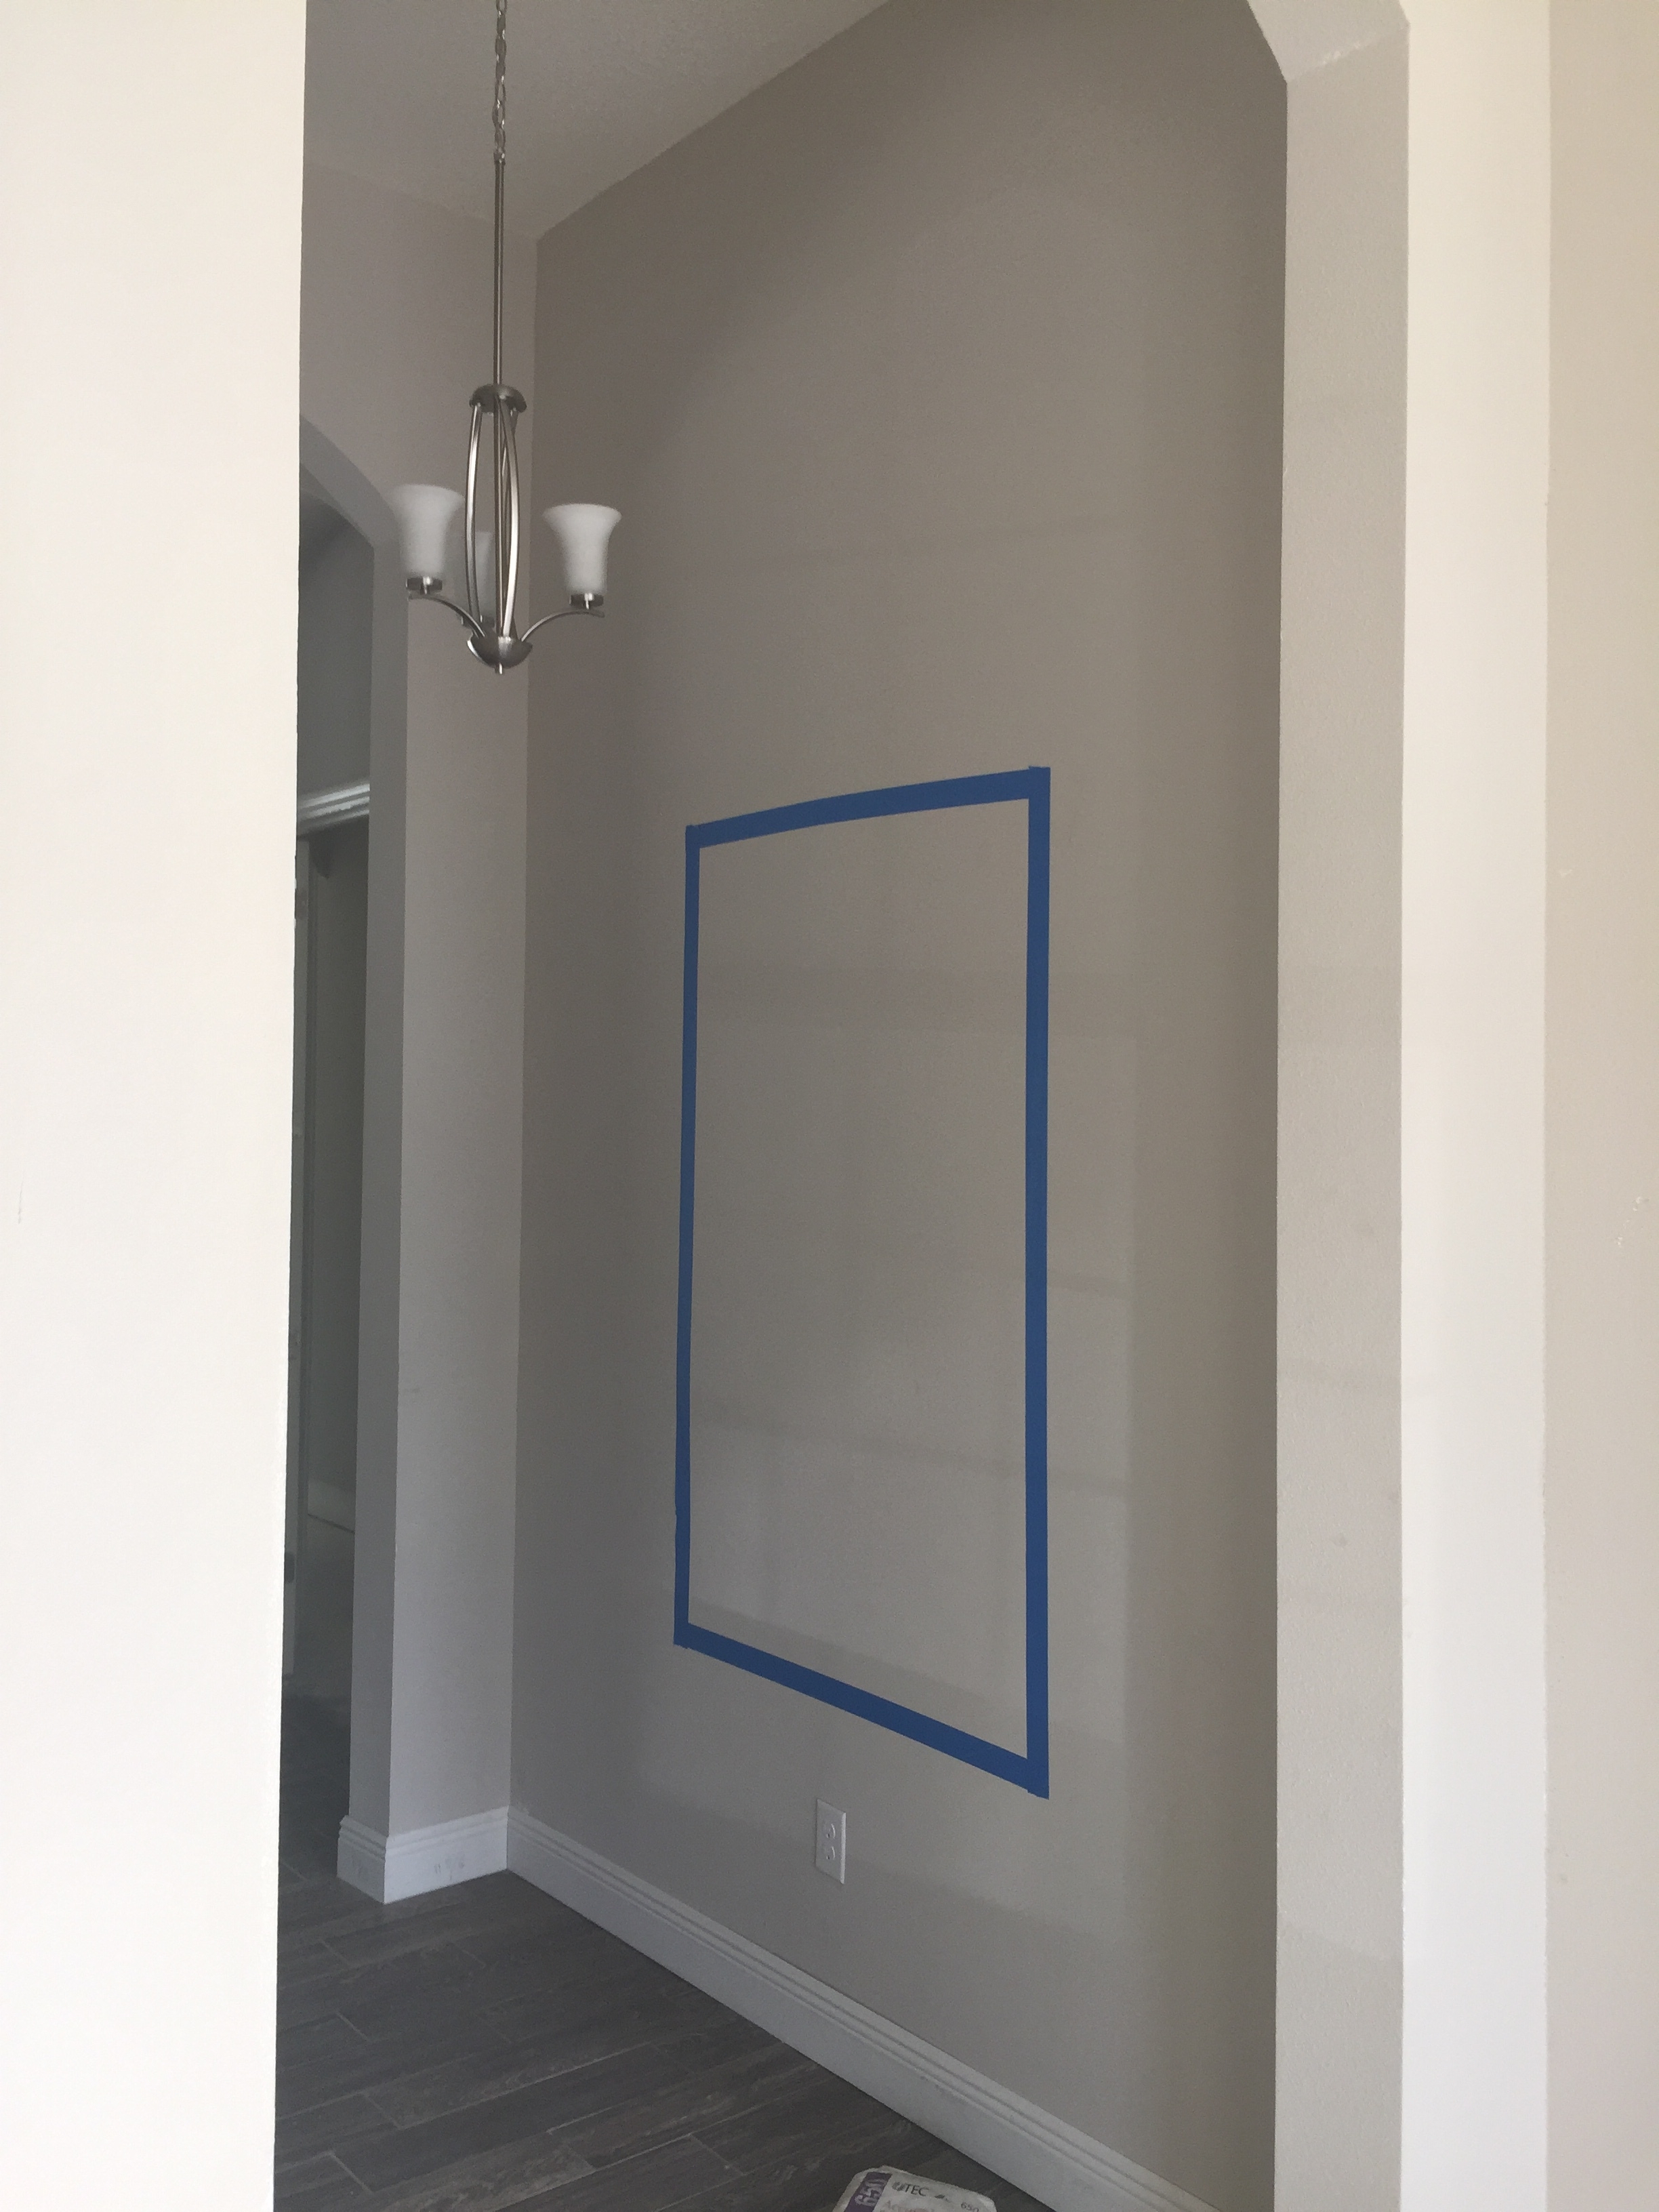
For the foyer, I had our electrician install sconce outlets on the wall flanking a piece of art I’ve had planned to go there for months. If I would have paid the builder to put these outlets in, I would have had to tell them the dimensions by my design appointment back in March. And I didn’t have the art picked out quite that early. So my electrician did these instead.
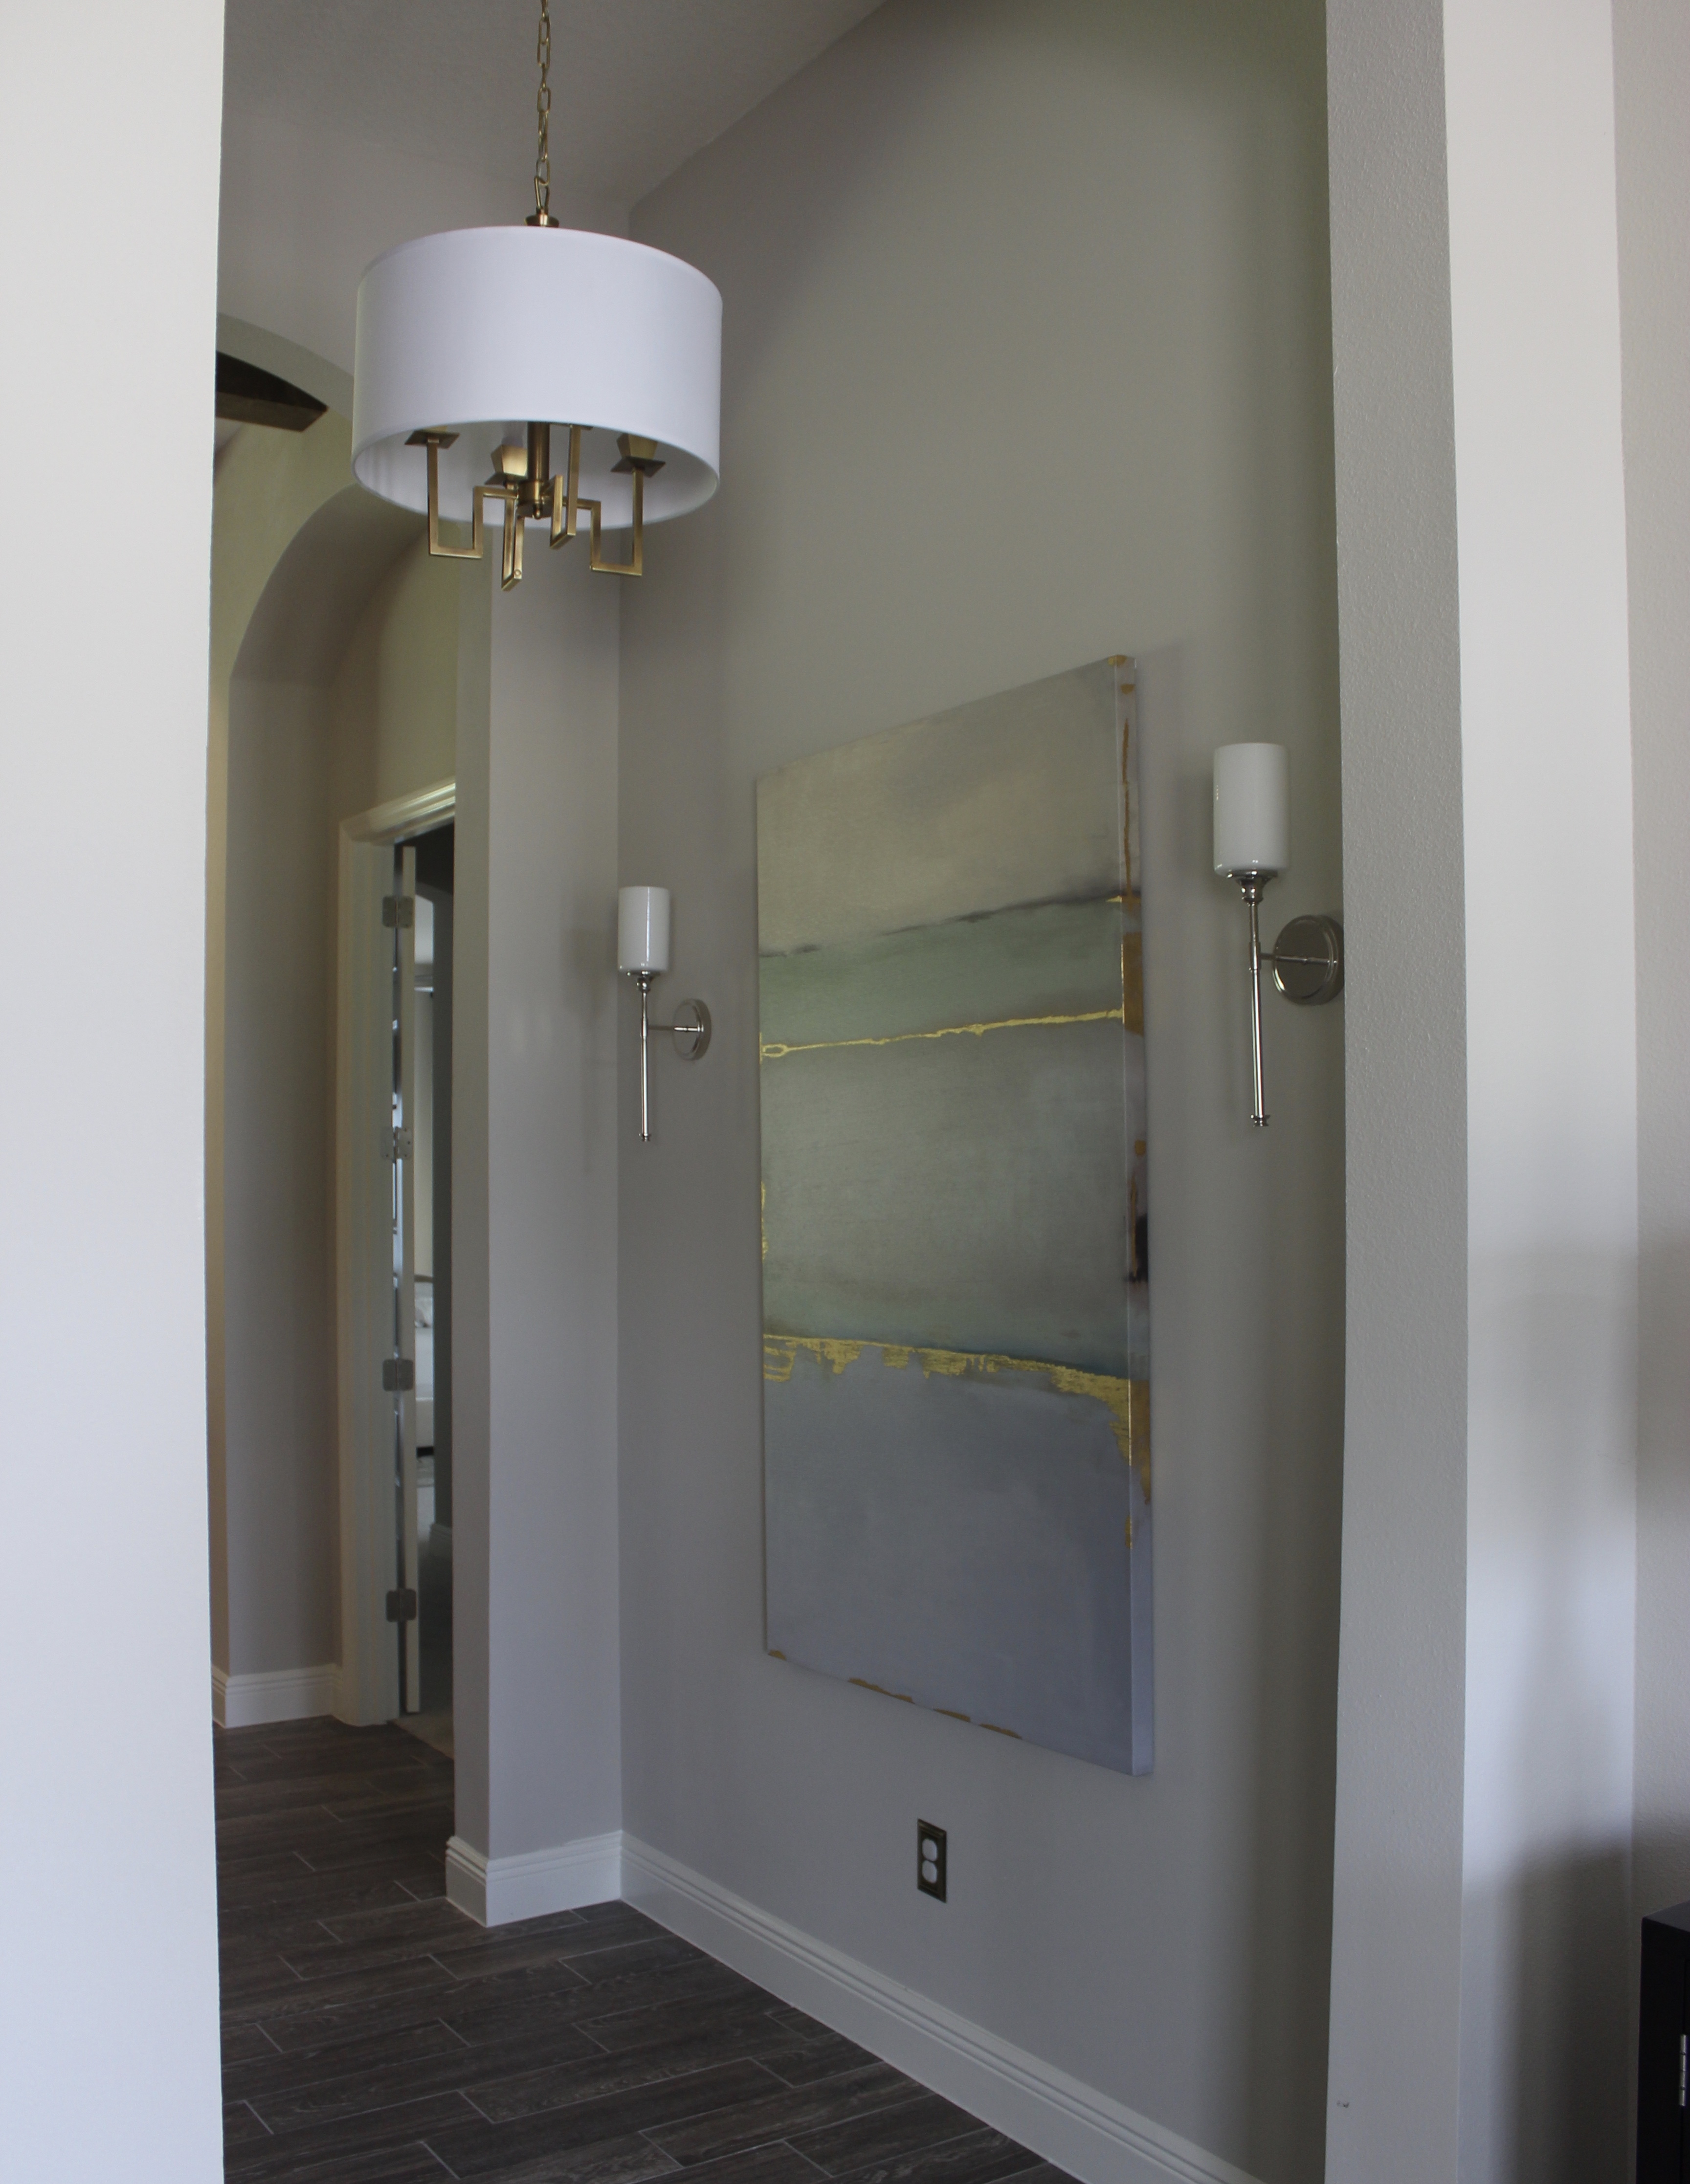
I came over to the house one day while it was still under construction and taped off the dimensions of the art I had ordered to go here so I could figure out the exact dimensions of the sconces. This was the foyer light before I switched it out.
And AFTER:
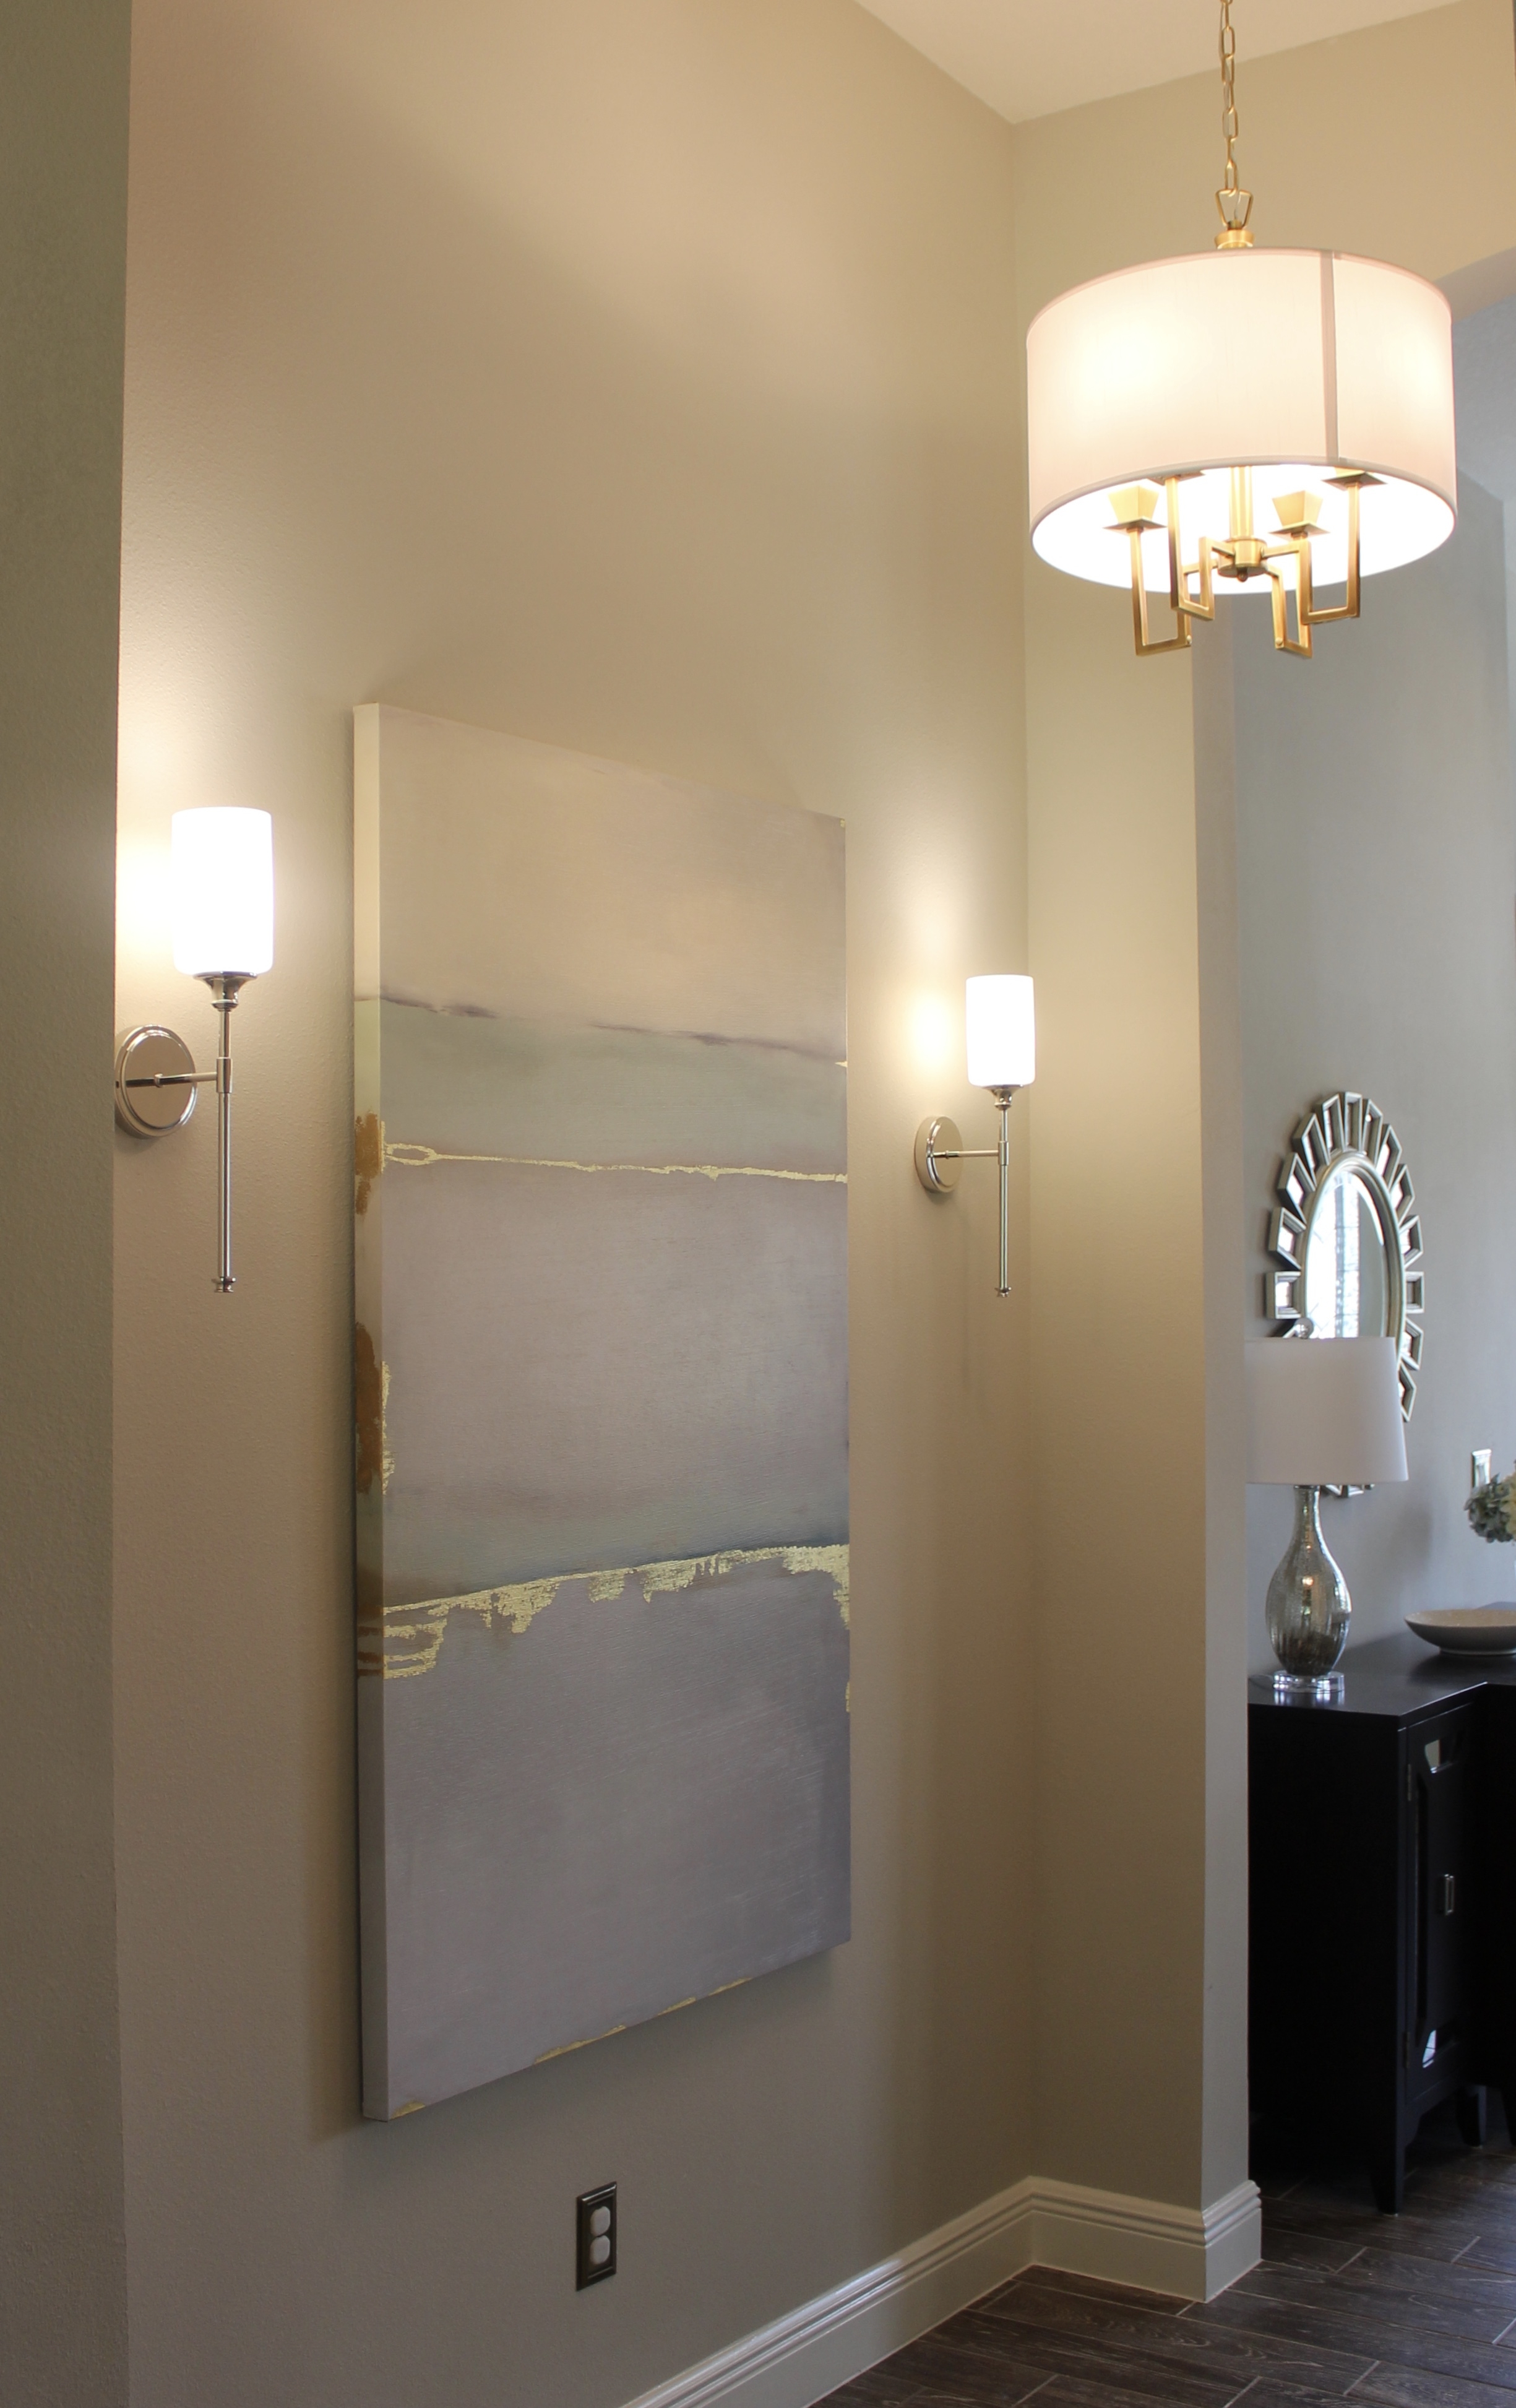
More on the foyer details to come 😉
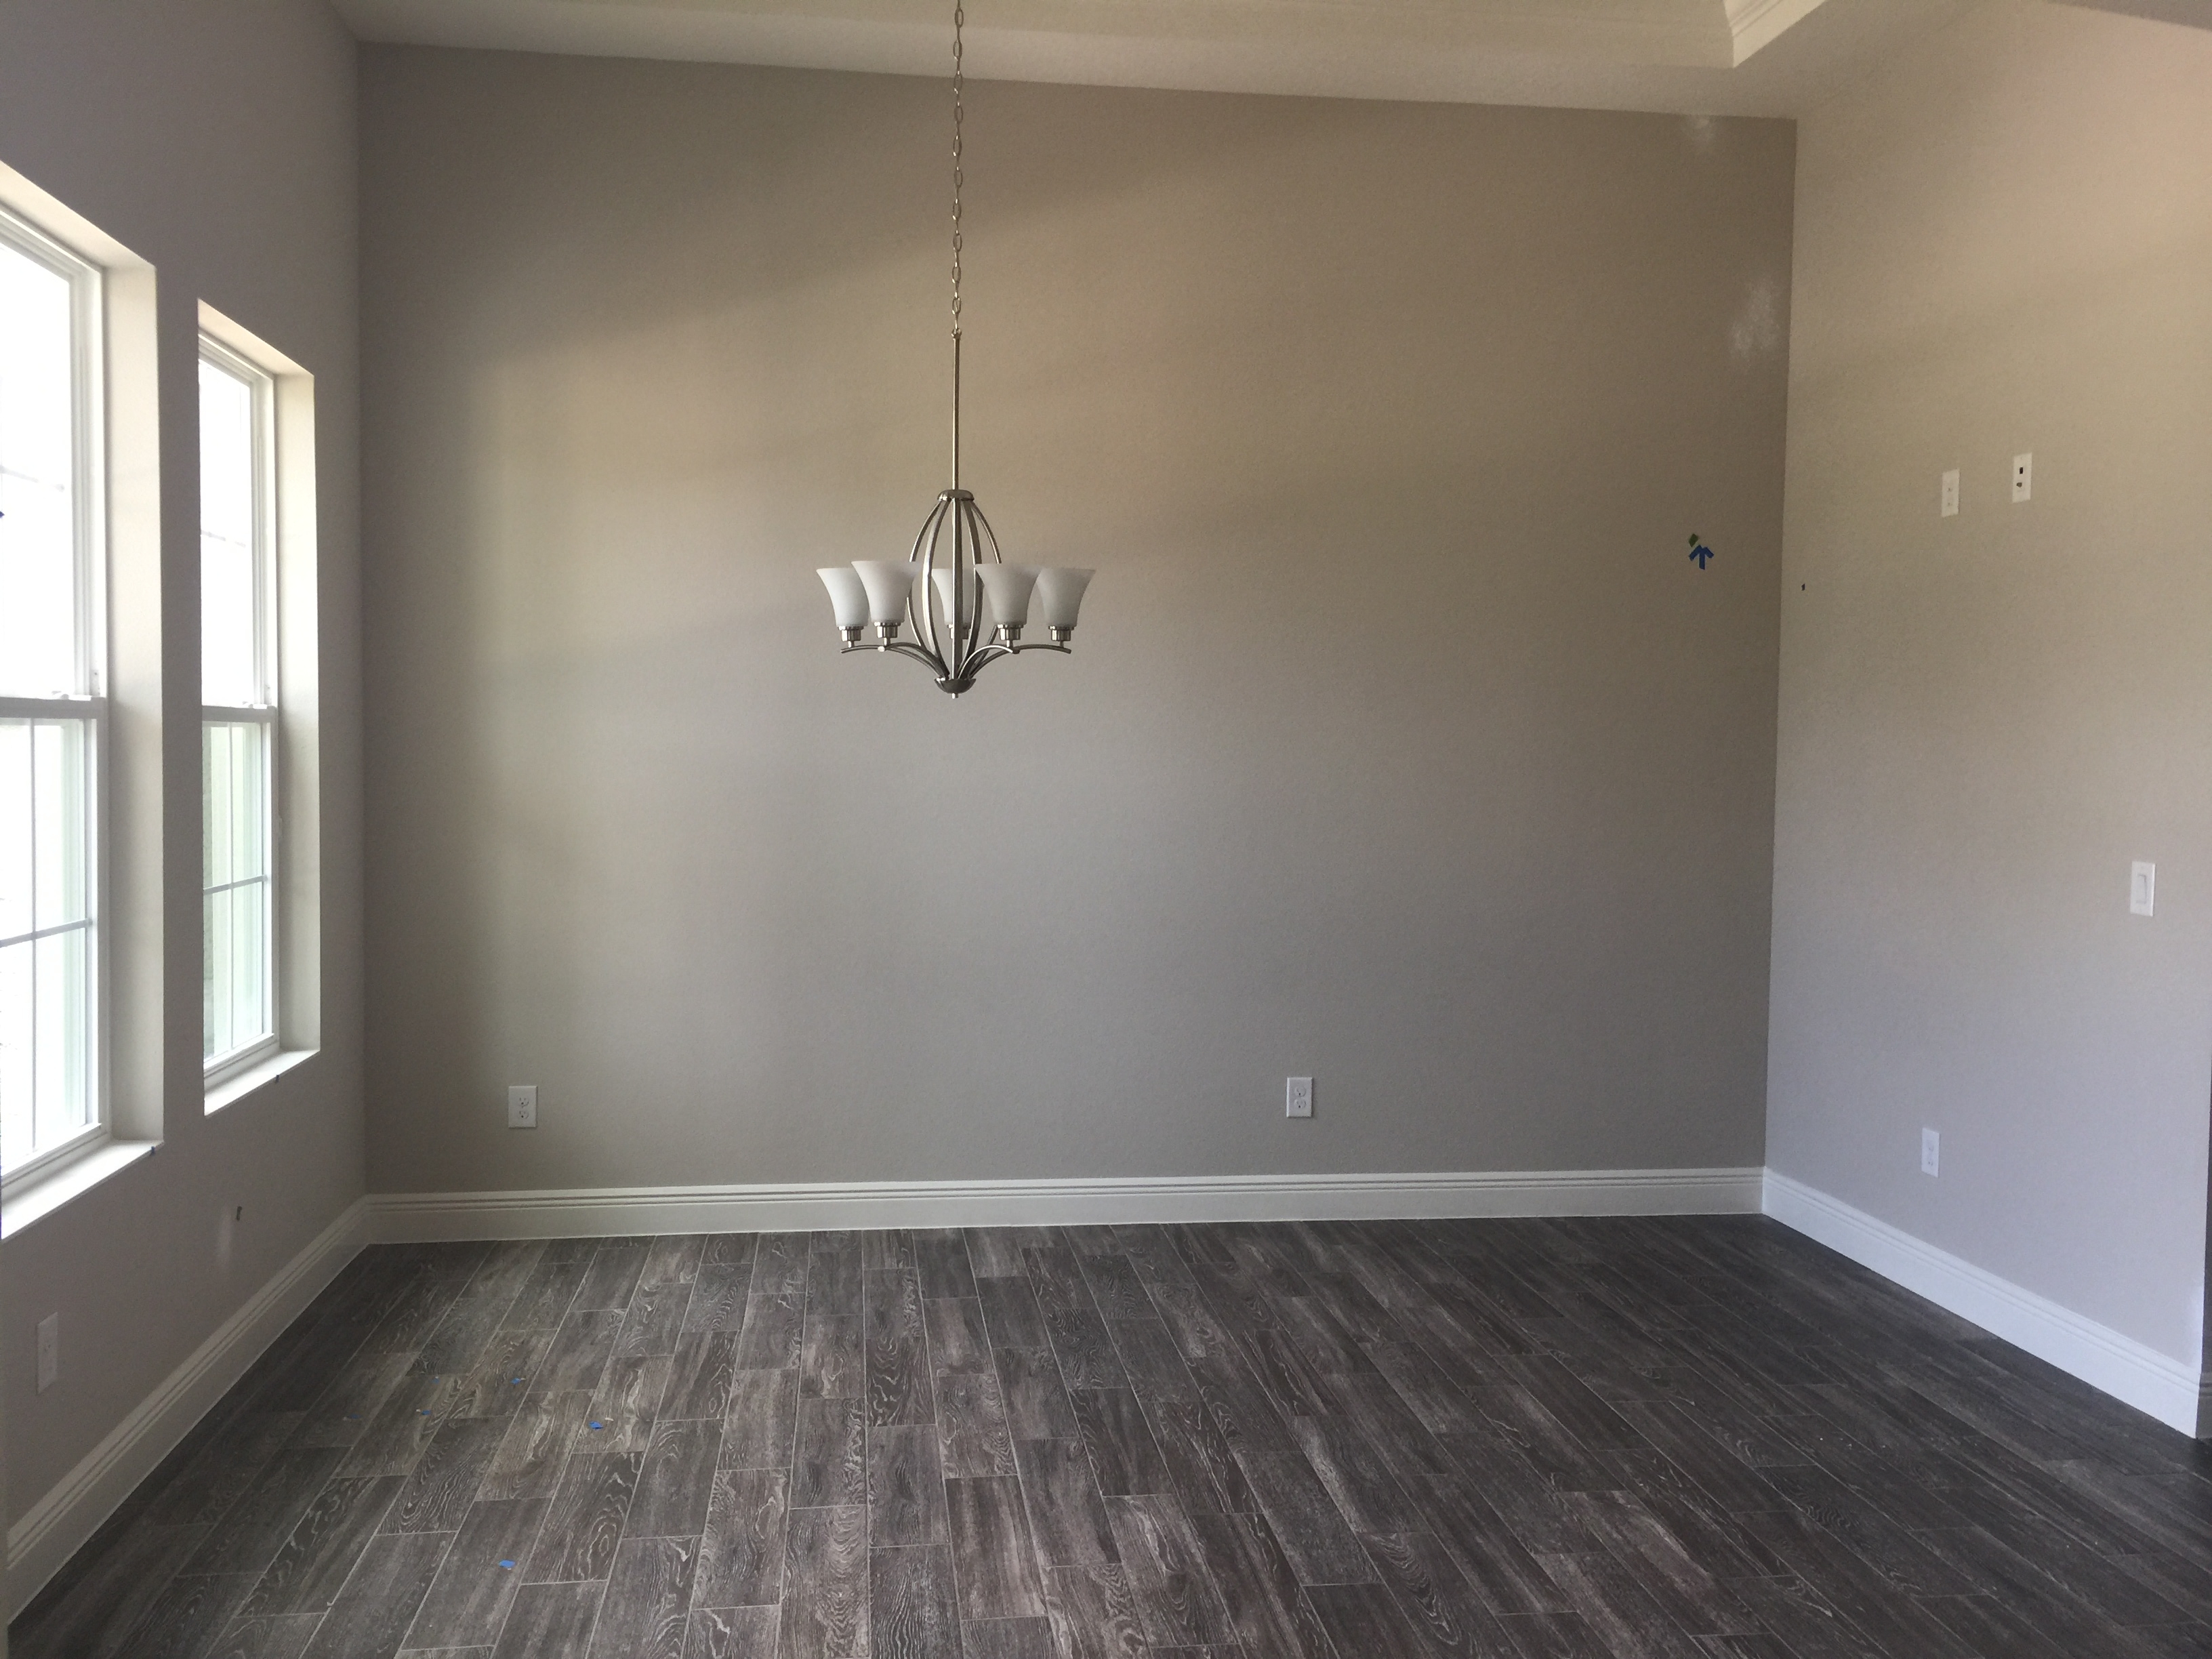
On to the dining room! Remember the picture in the beginning of this post of my beloved chandelier? Well I knew it was going to be hard to top that. And what could top one amazing chandelier? How about TWO amazing chandeliers?! Yes please! Our dining room table is so large that it either needs one huge, long light fixture or two fixtures. Anything else would look shrimpy in scale. Any time I’ve seen two matching fixtures over a dining table I just swoon, so being that I had the opportunity to choose how many fixtures I wanted, I took full advantage and went with 2.

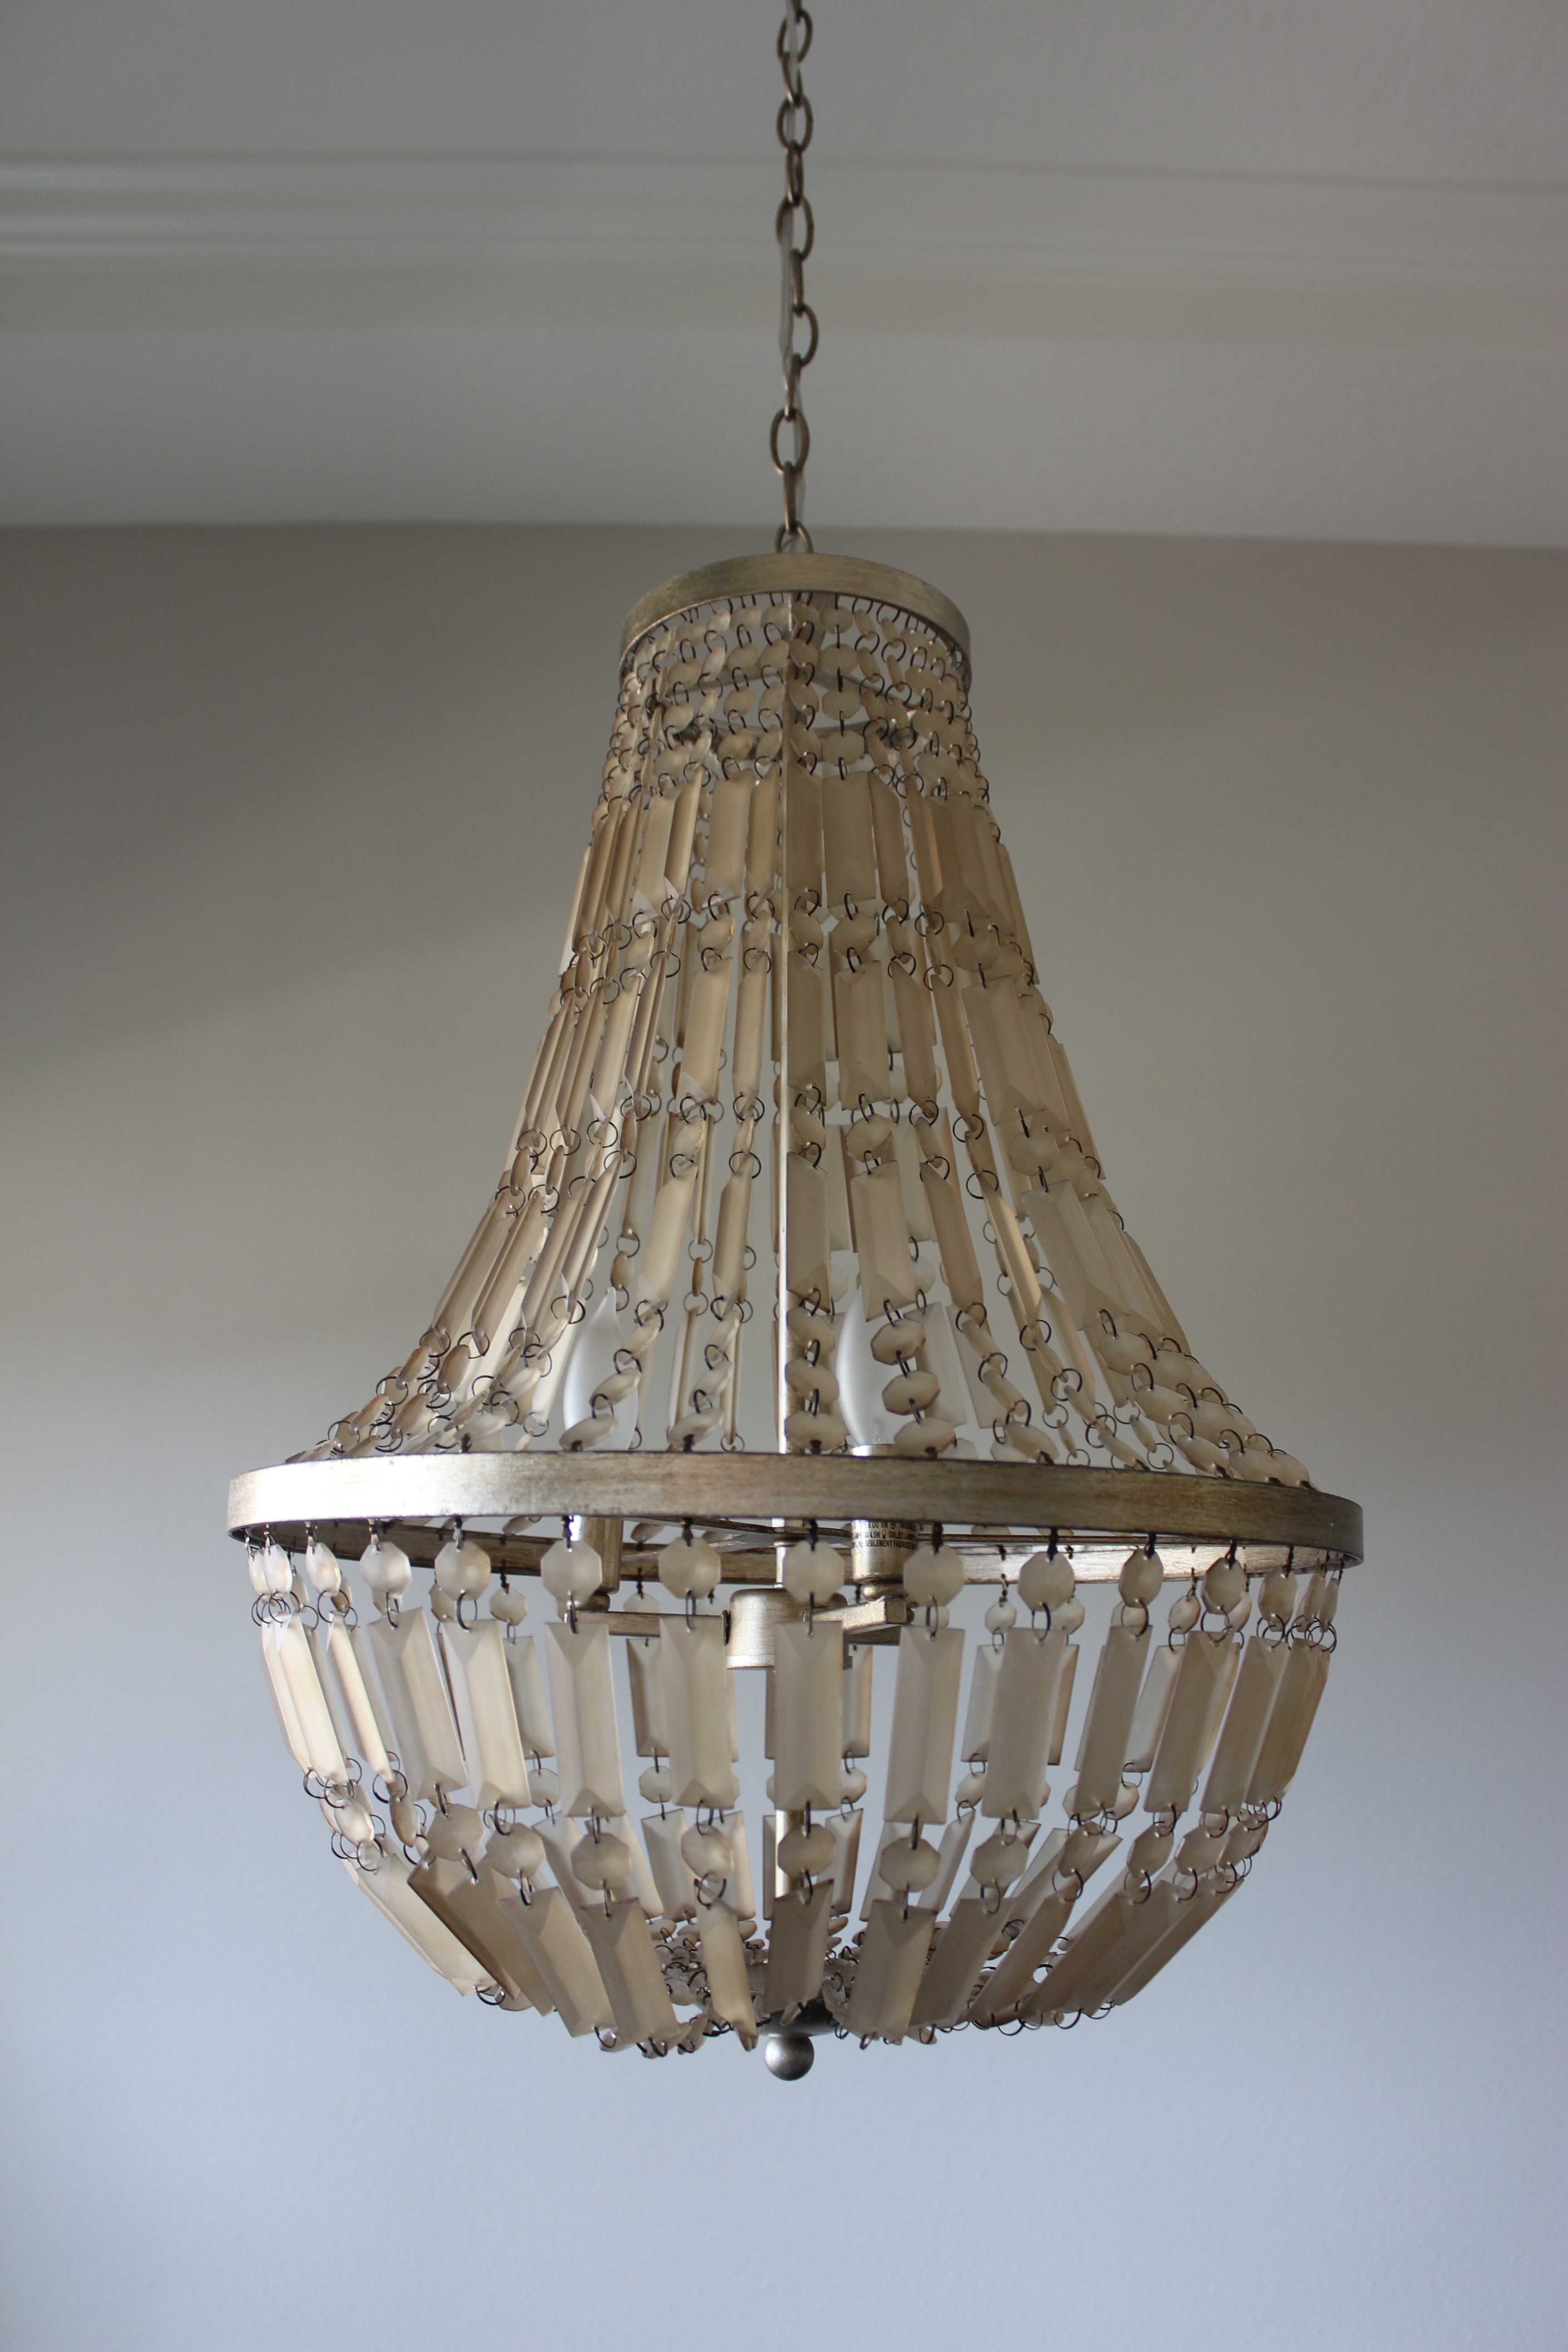
The hardest part about this was having to tell the builder the dimensions of where to put the holes for the fixtures in the ceiling way back in March. Luckily I had already picked out these beauties from pottery barn online so I knew the dimensions of them, as well as the dimensions of my table. So I sketched this up to help me determine where to put them:
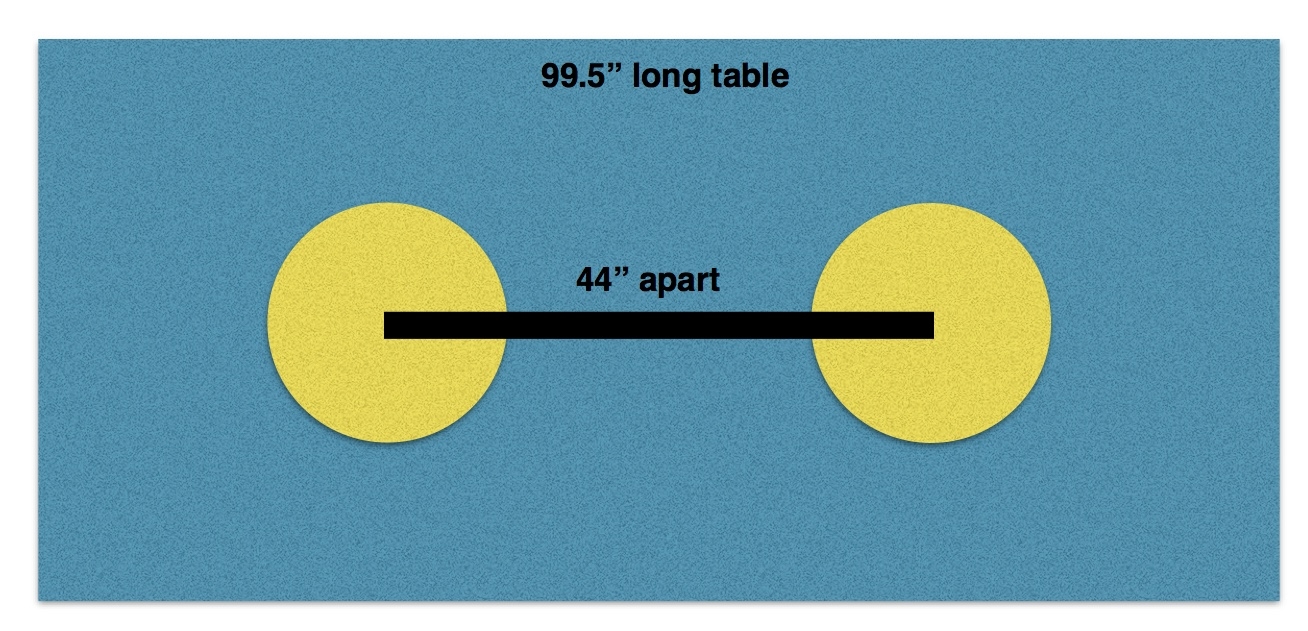
I’m not sure if the design lady thought I was crazy, or very well prepared.
Since only one “free” fixture comes in the dining room, they picked a side to hang it on and I switched it out after we moved in so now it looks like this!
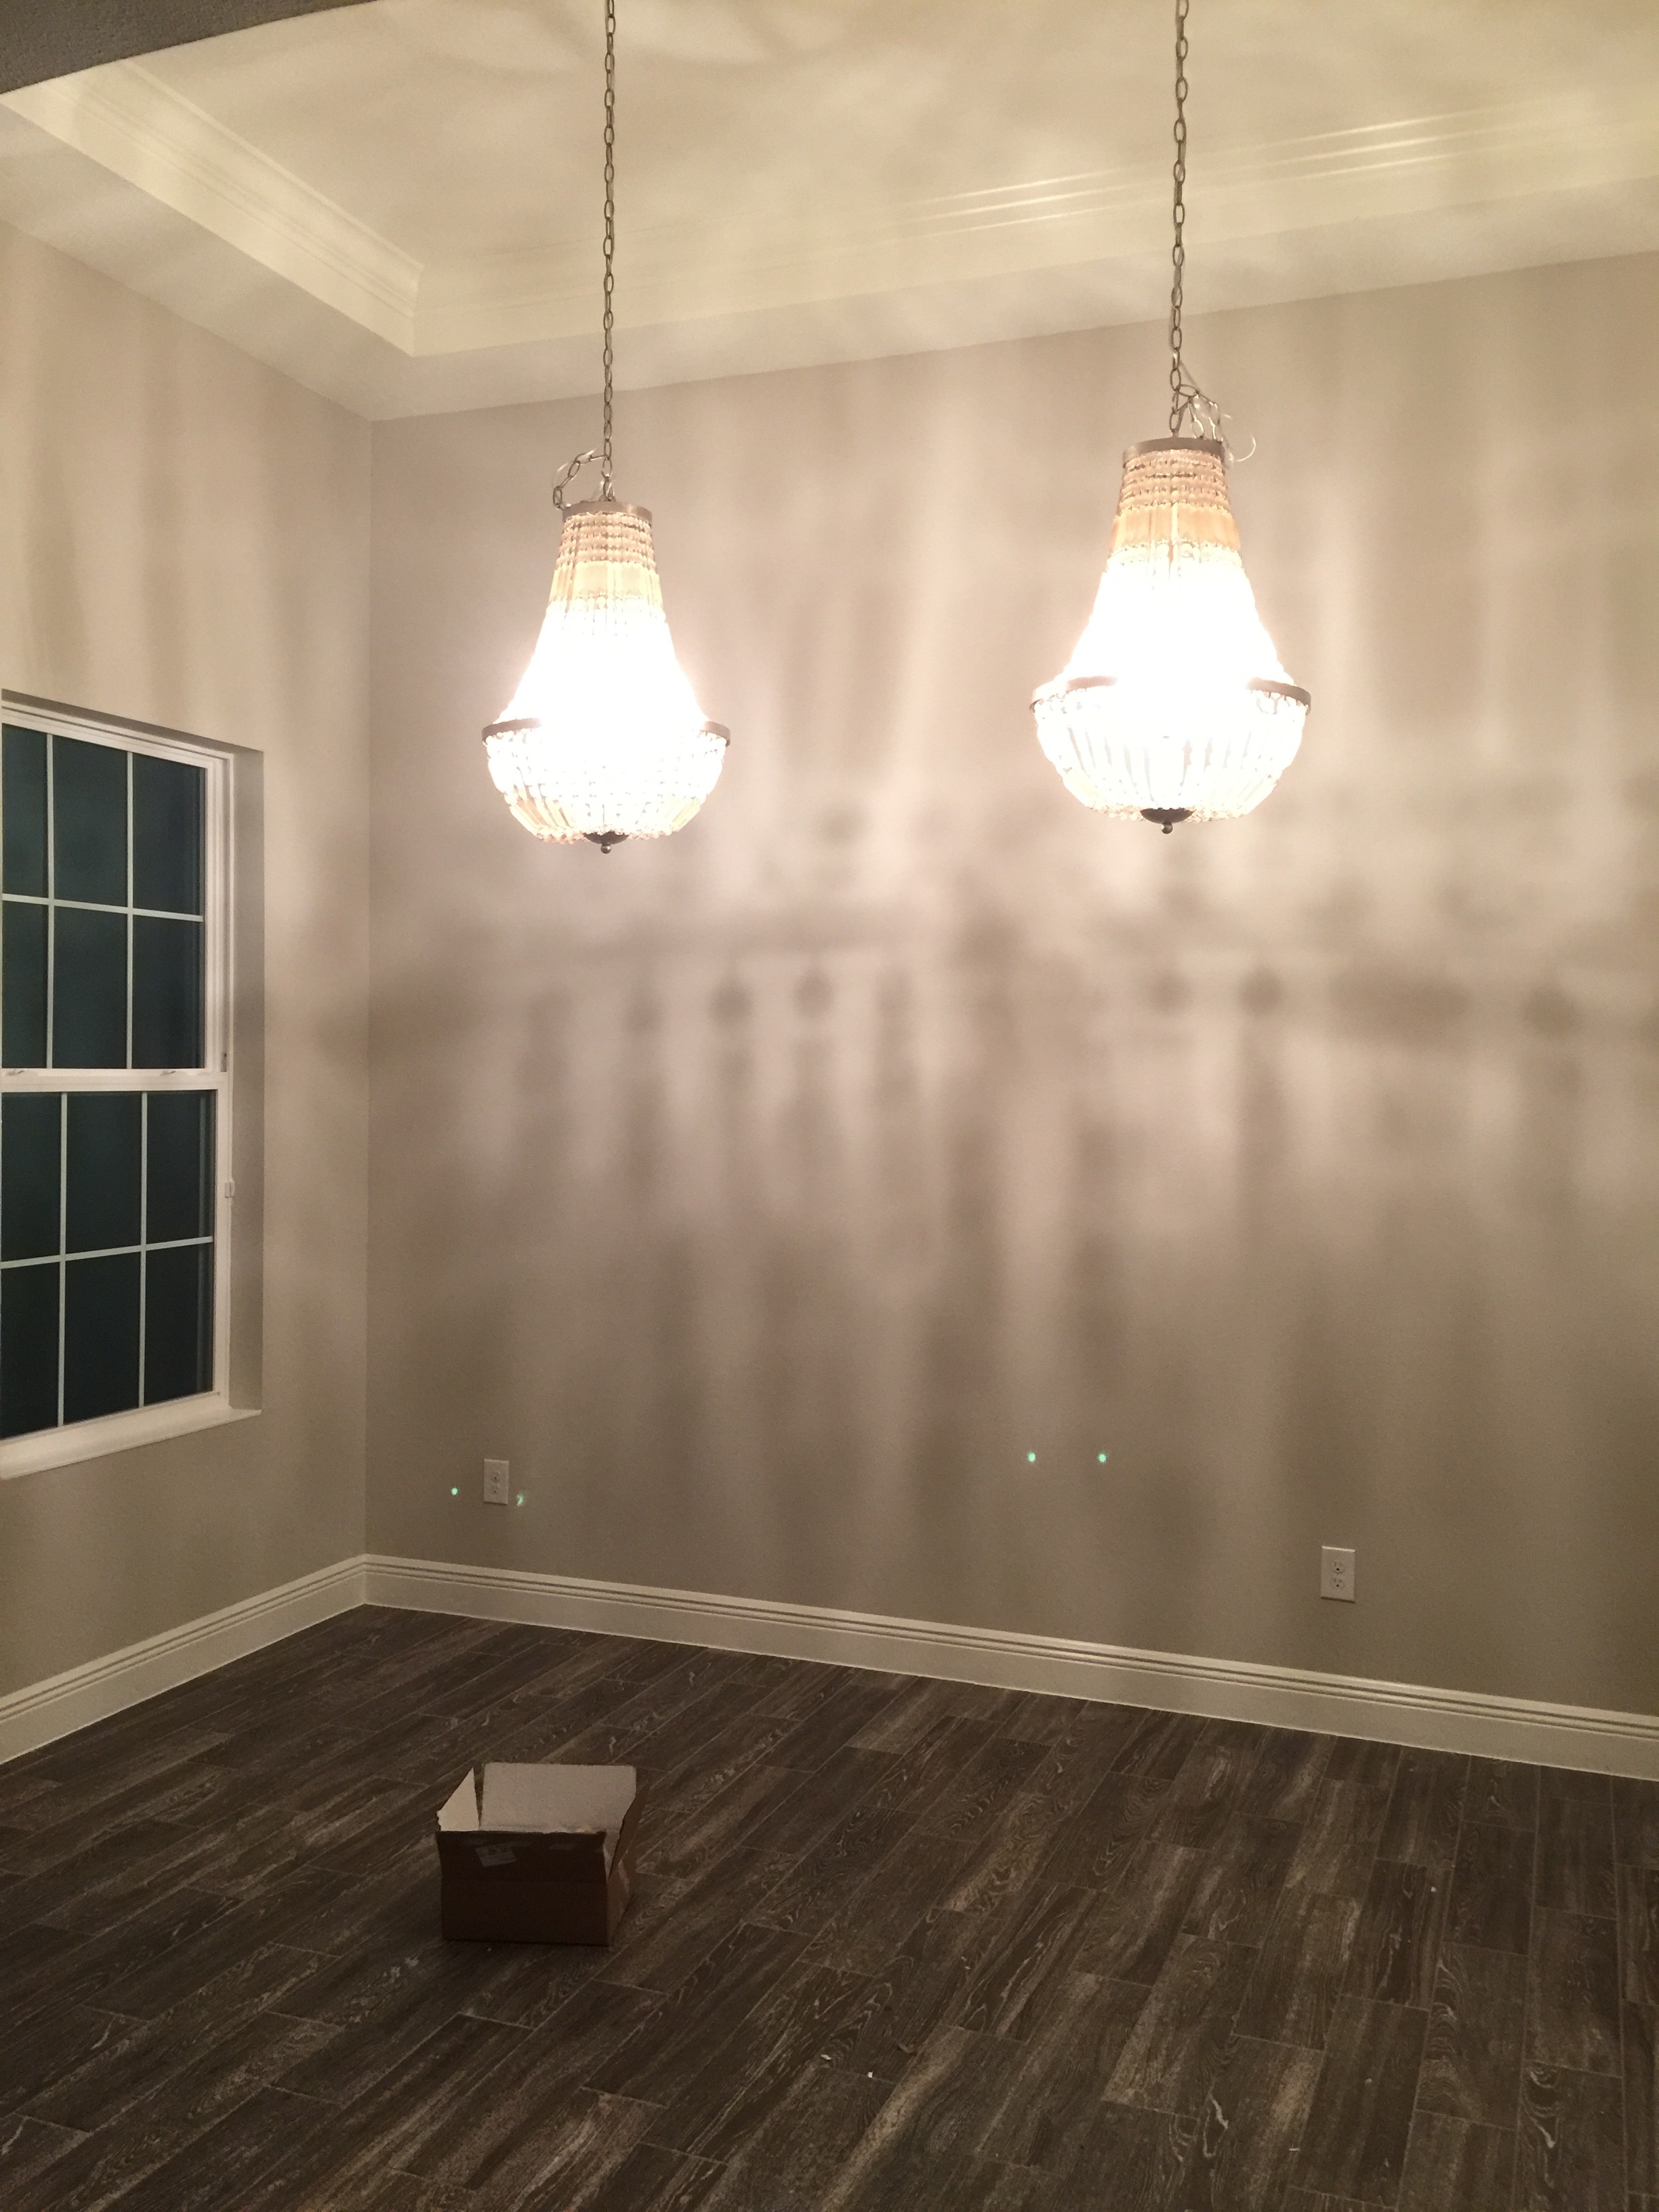
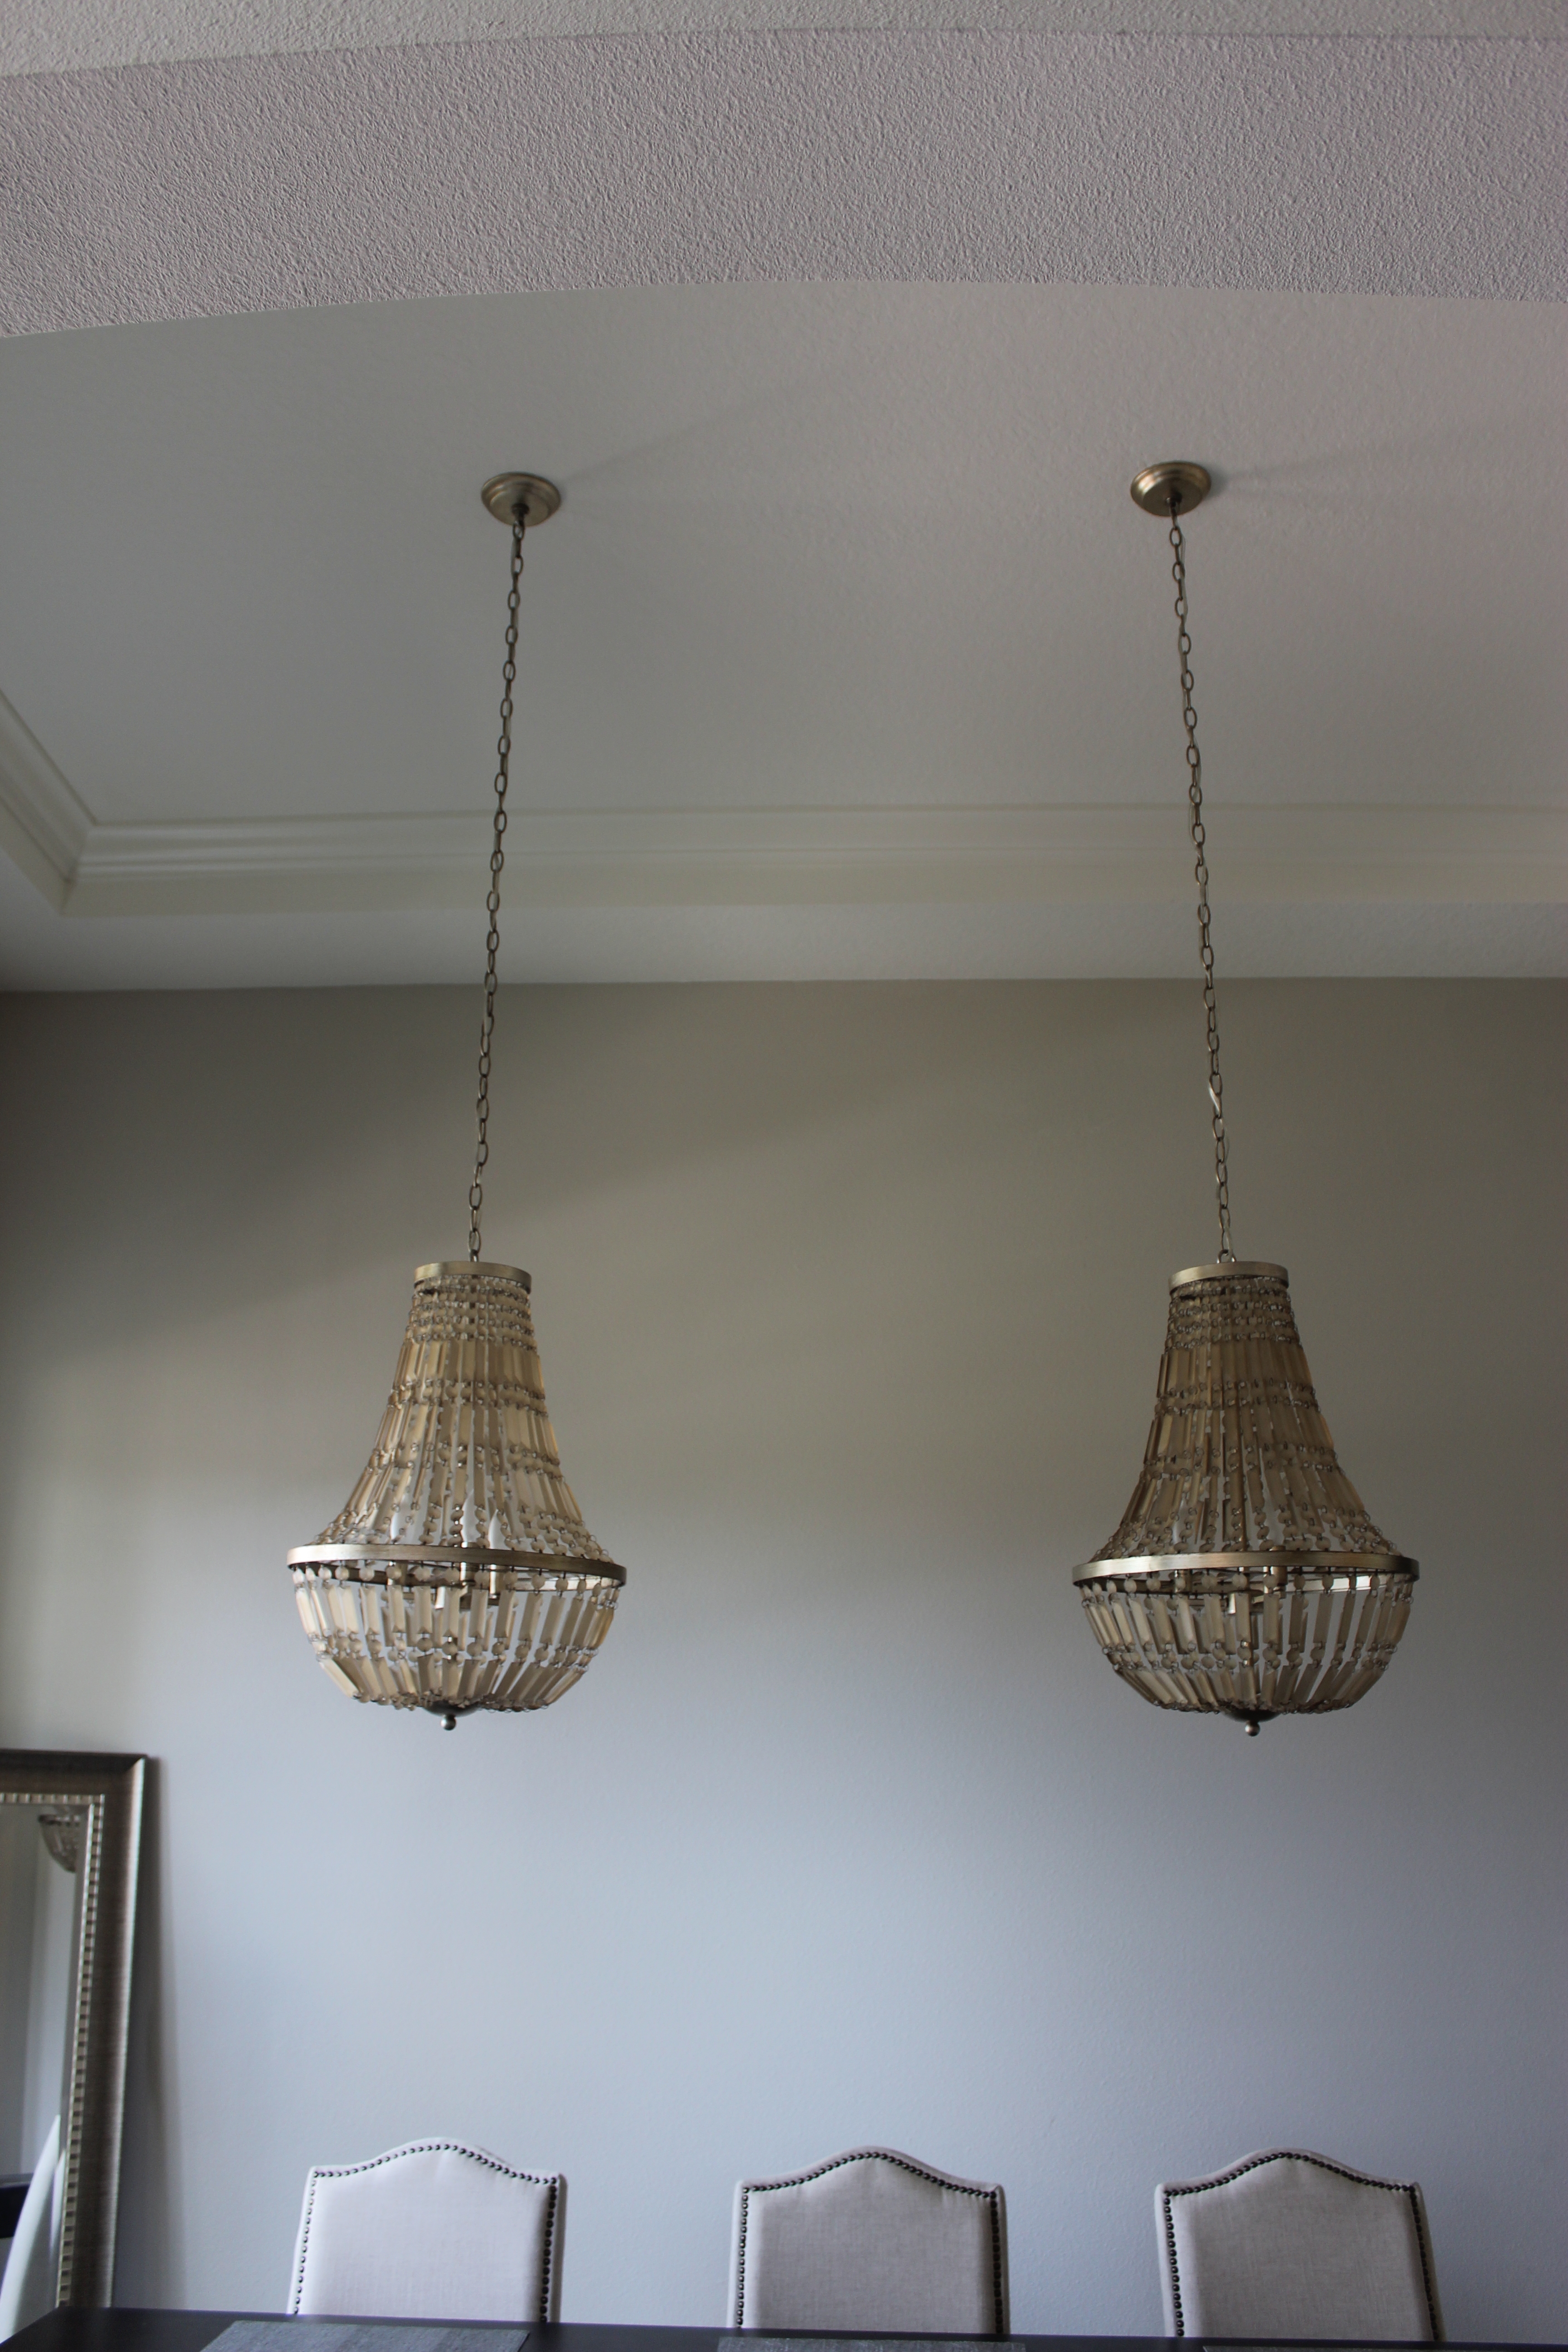

Much more to come on the progress of the dining room soon 😉
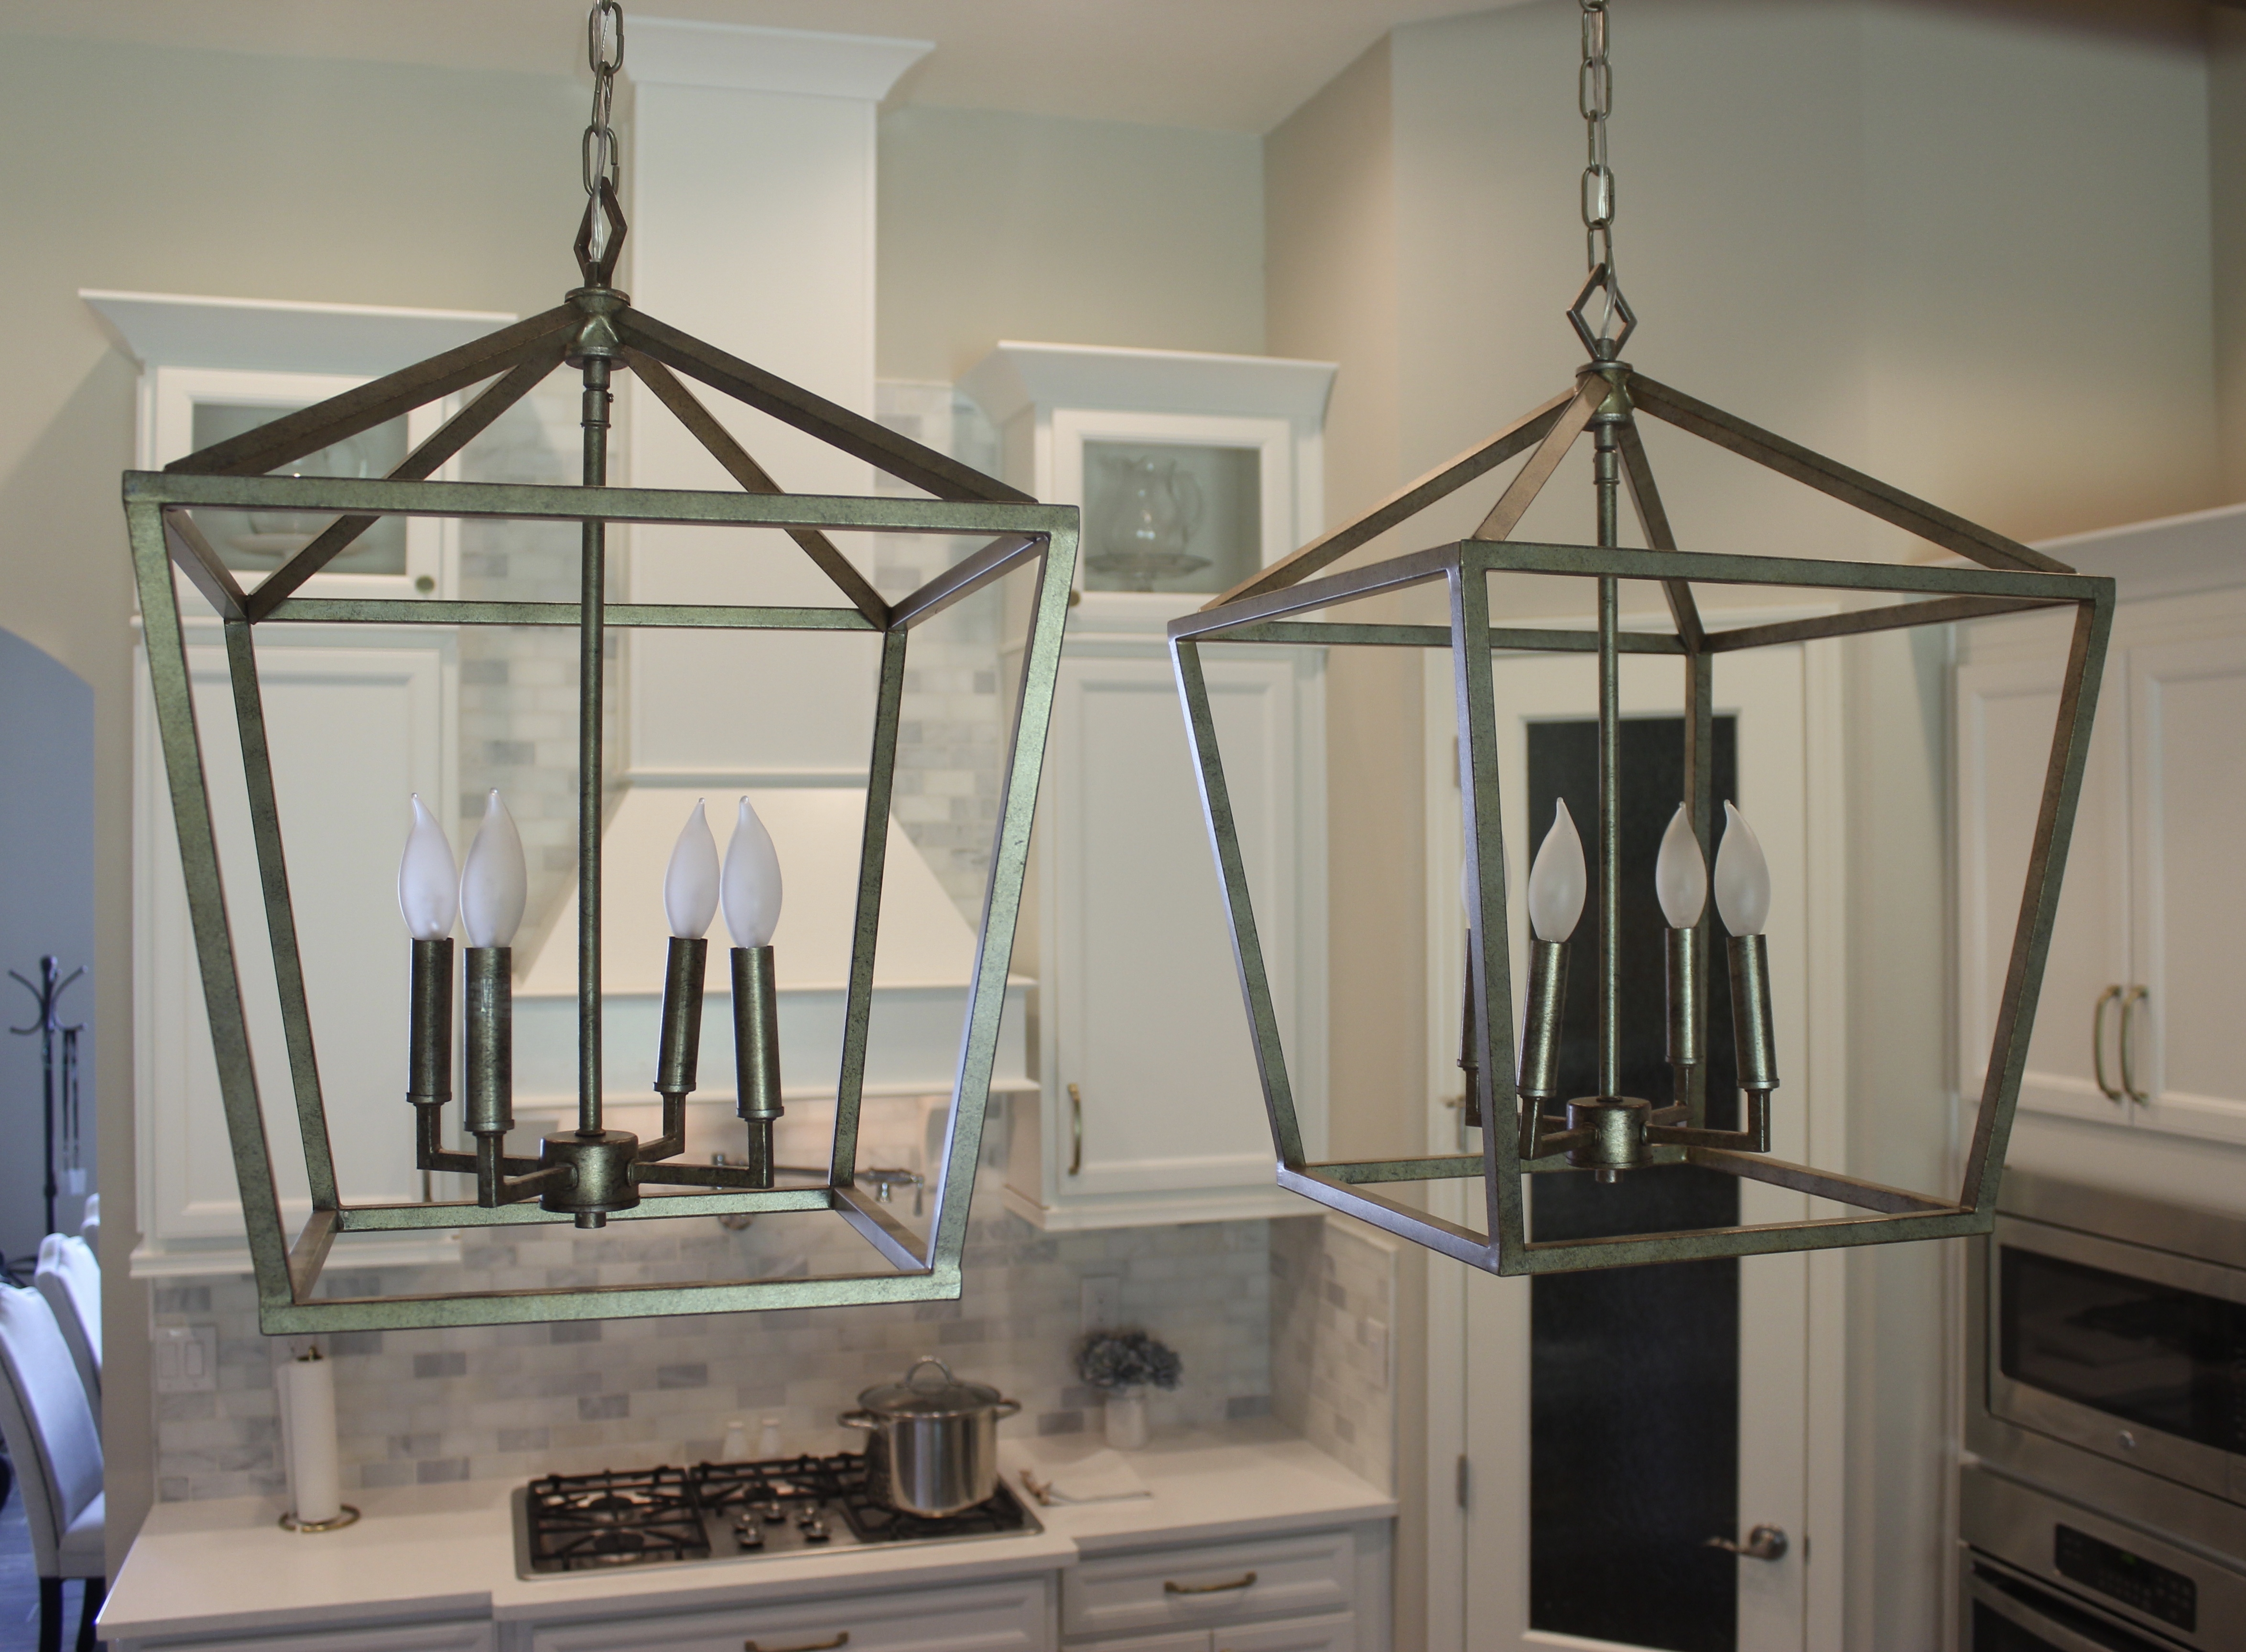
That brings us to the kitchen! In here I just had to determine how many pendants I wanted hanging above the island. Based on it’s size, it was pretty easy to decide upon 2. I didn’t draw any crazy diagrams and just had the builder center the two pendants on the island. Once again, I had my heart set on these darlana pendants for quite some time.
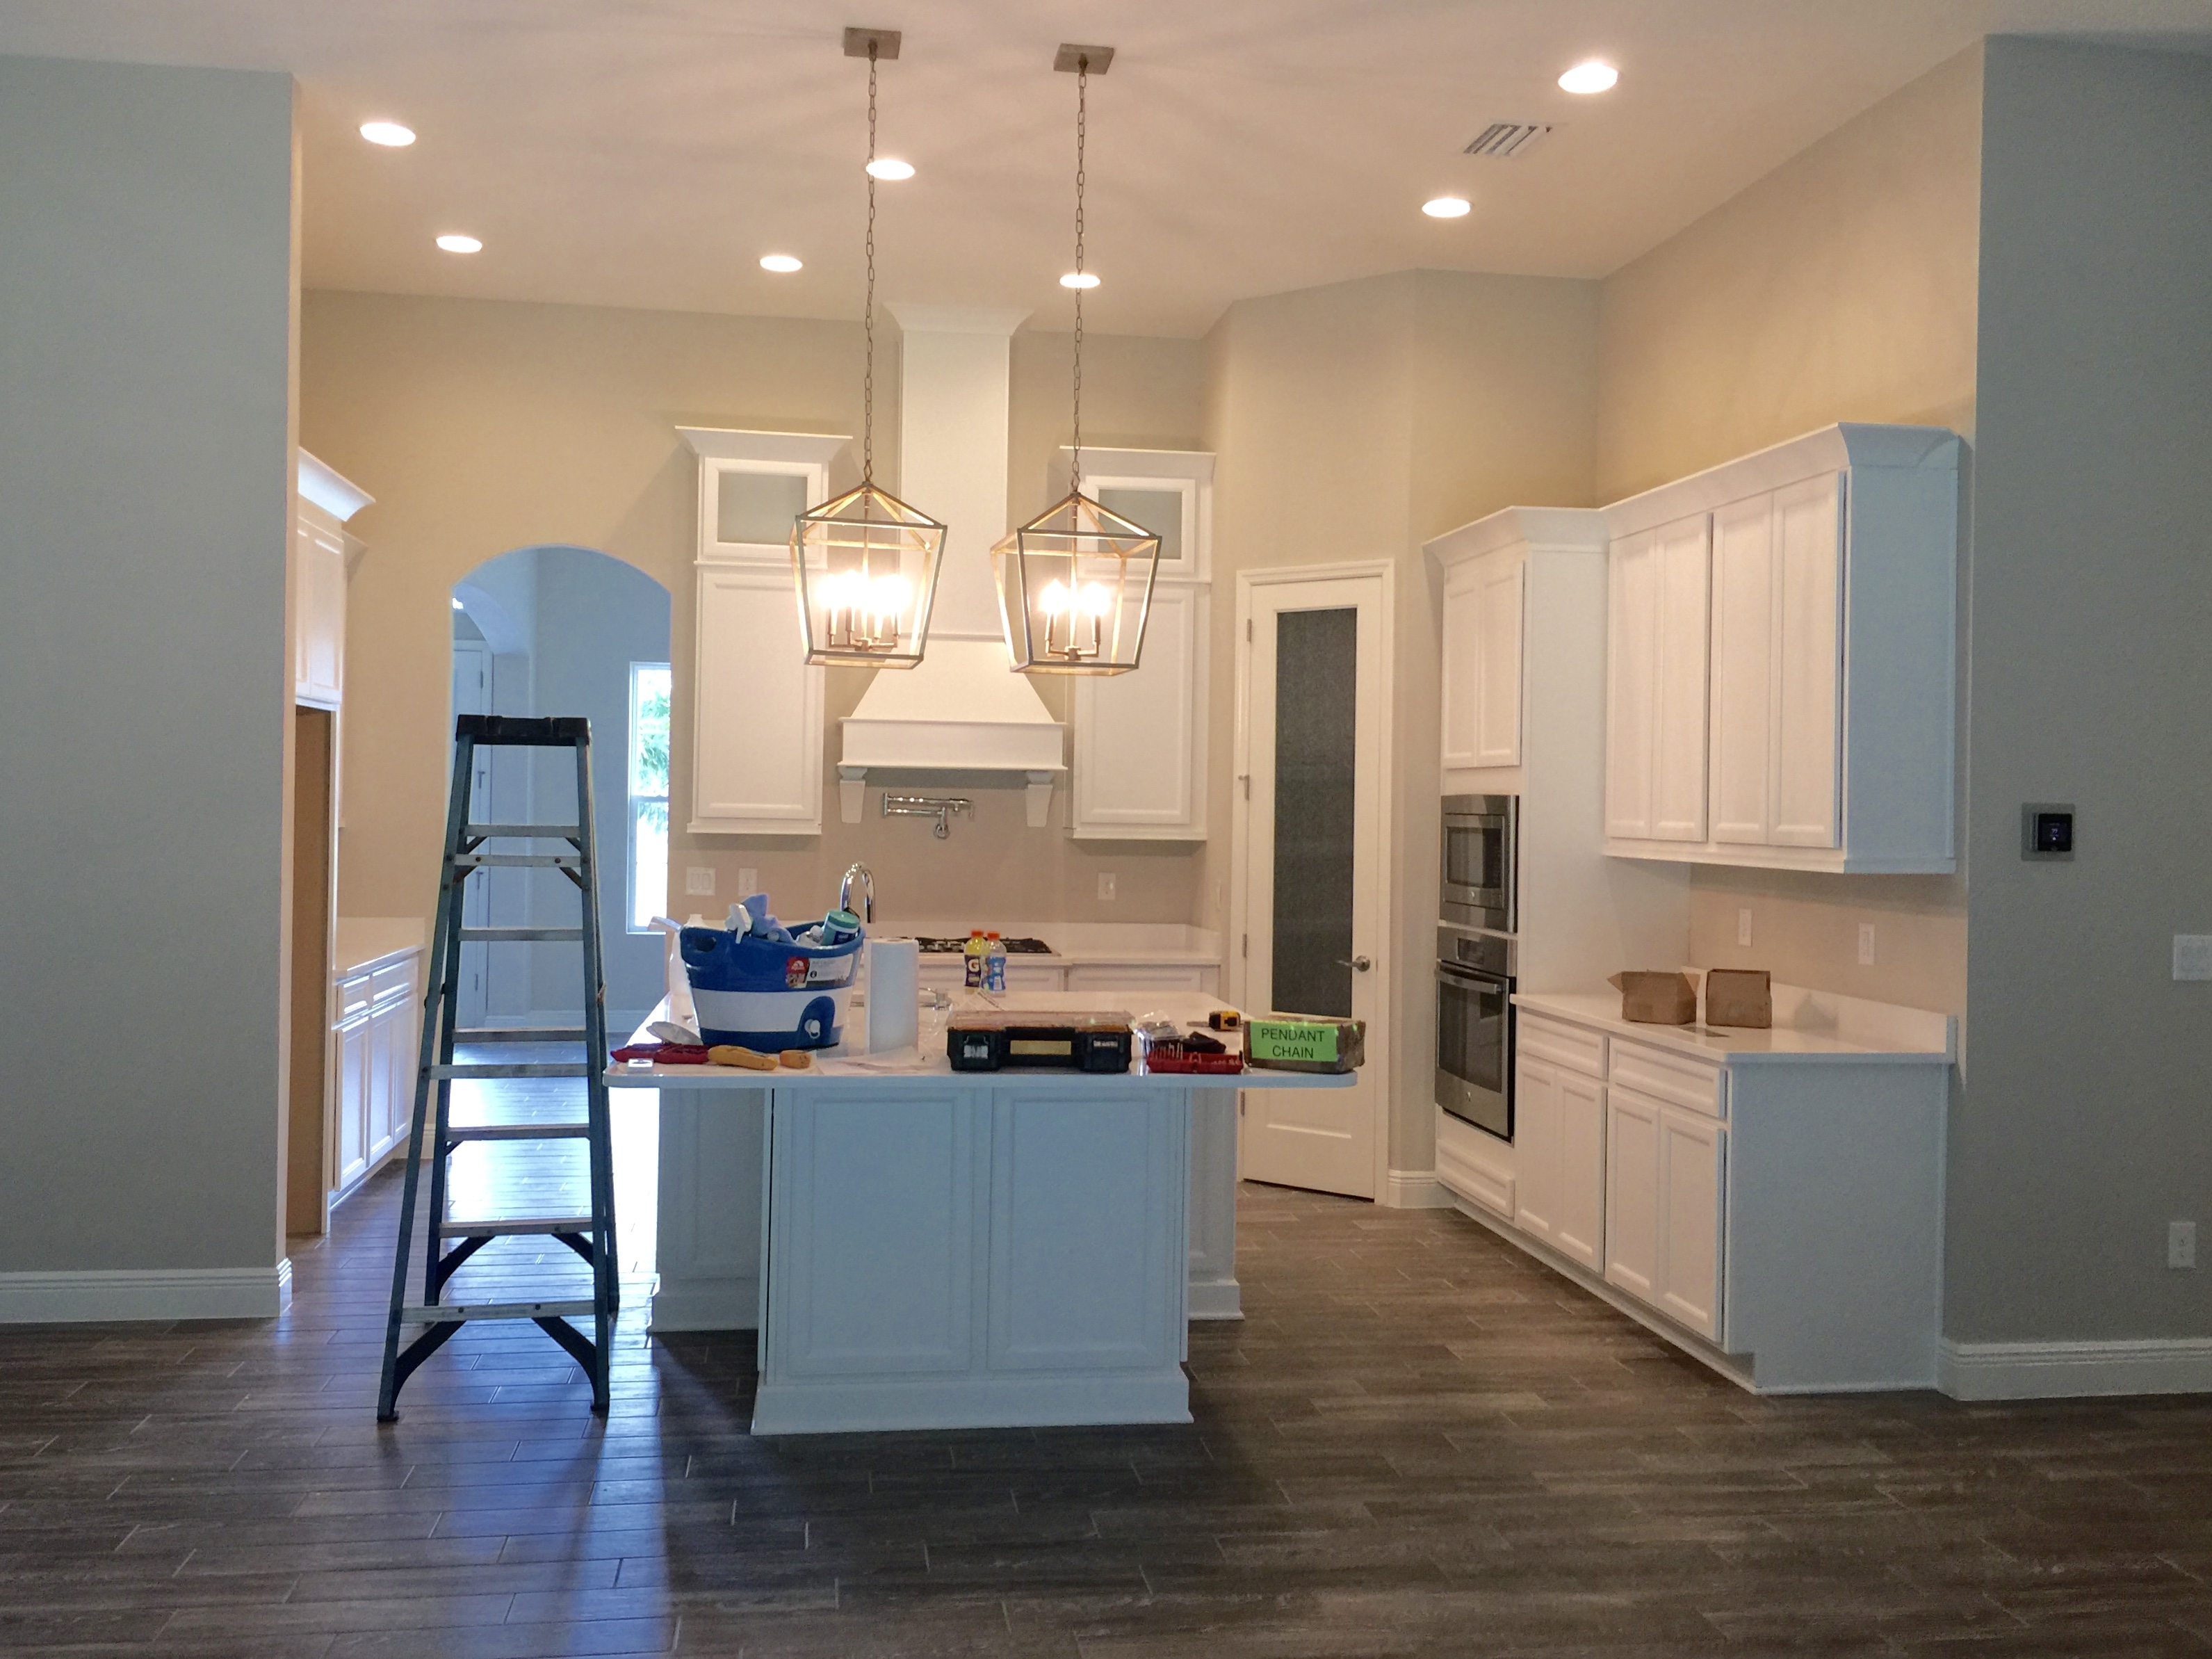
This is an iPhone picture taken the day we closed on the house when the electrician had just finished hanging them.
I don’t want to give away too much yet, but I promise there’s more to come on the kitchen progress!
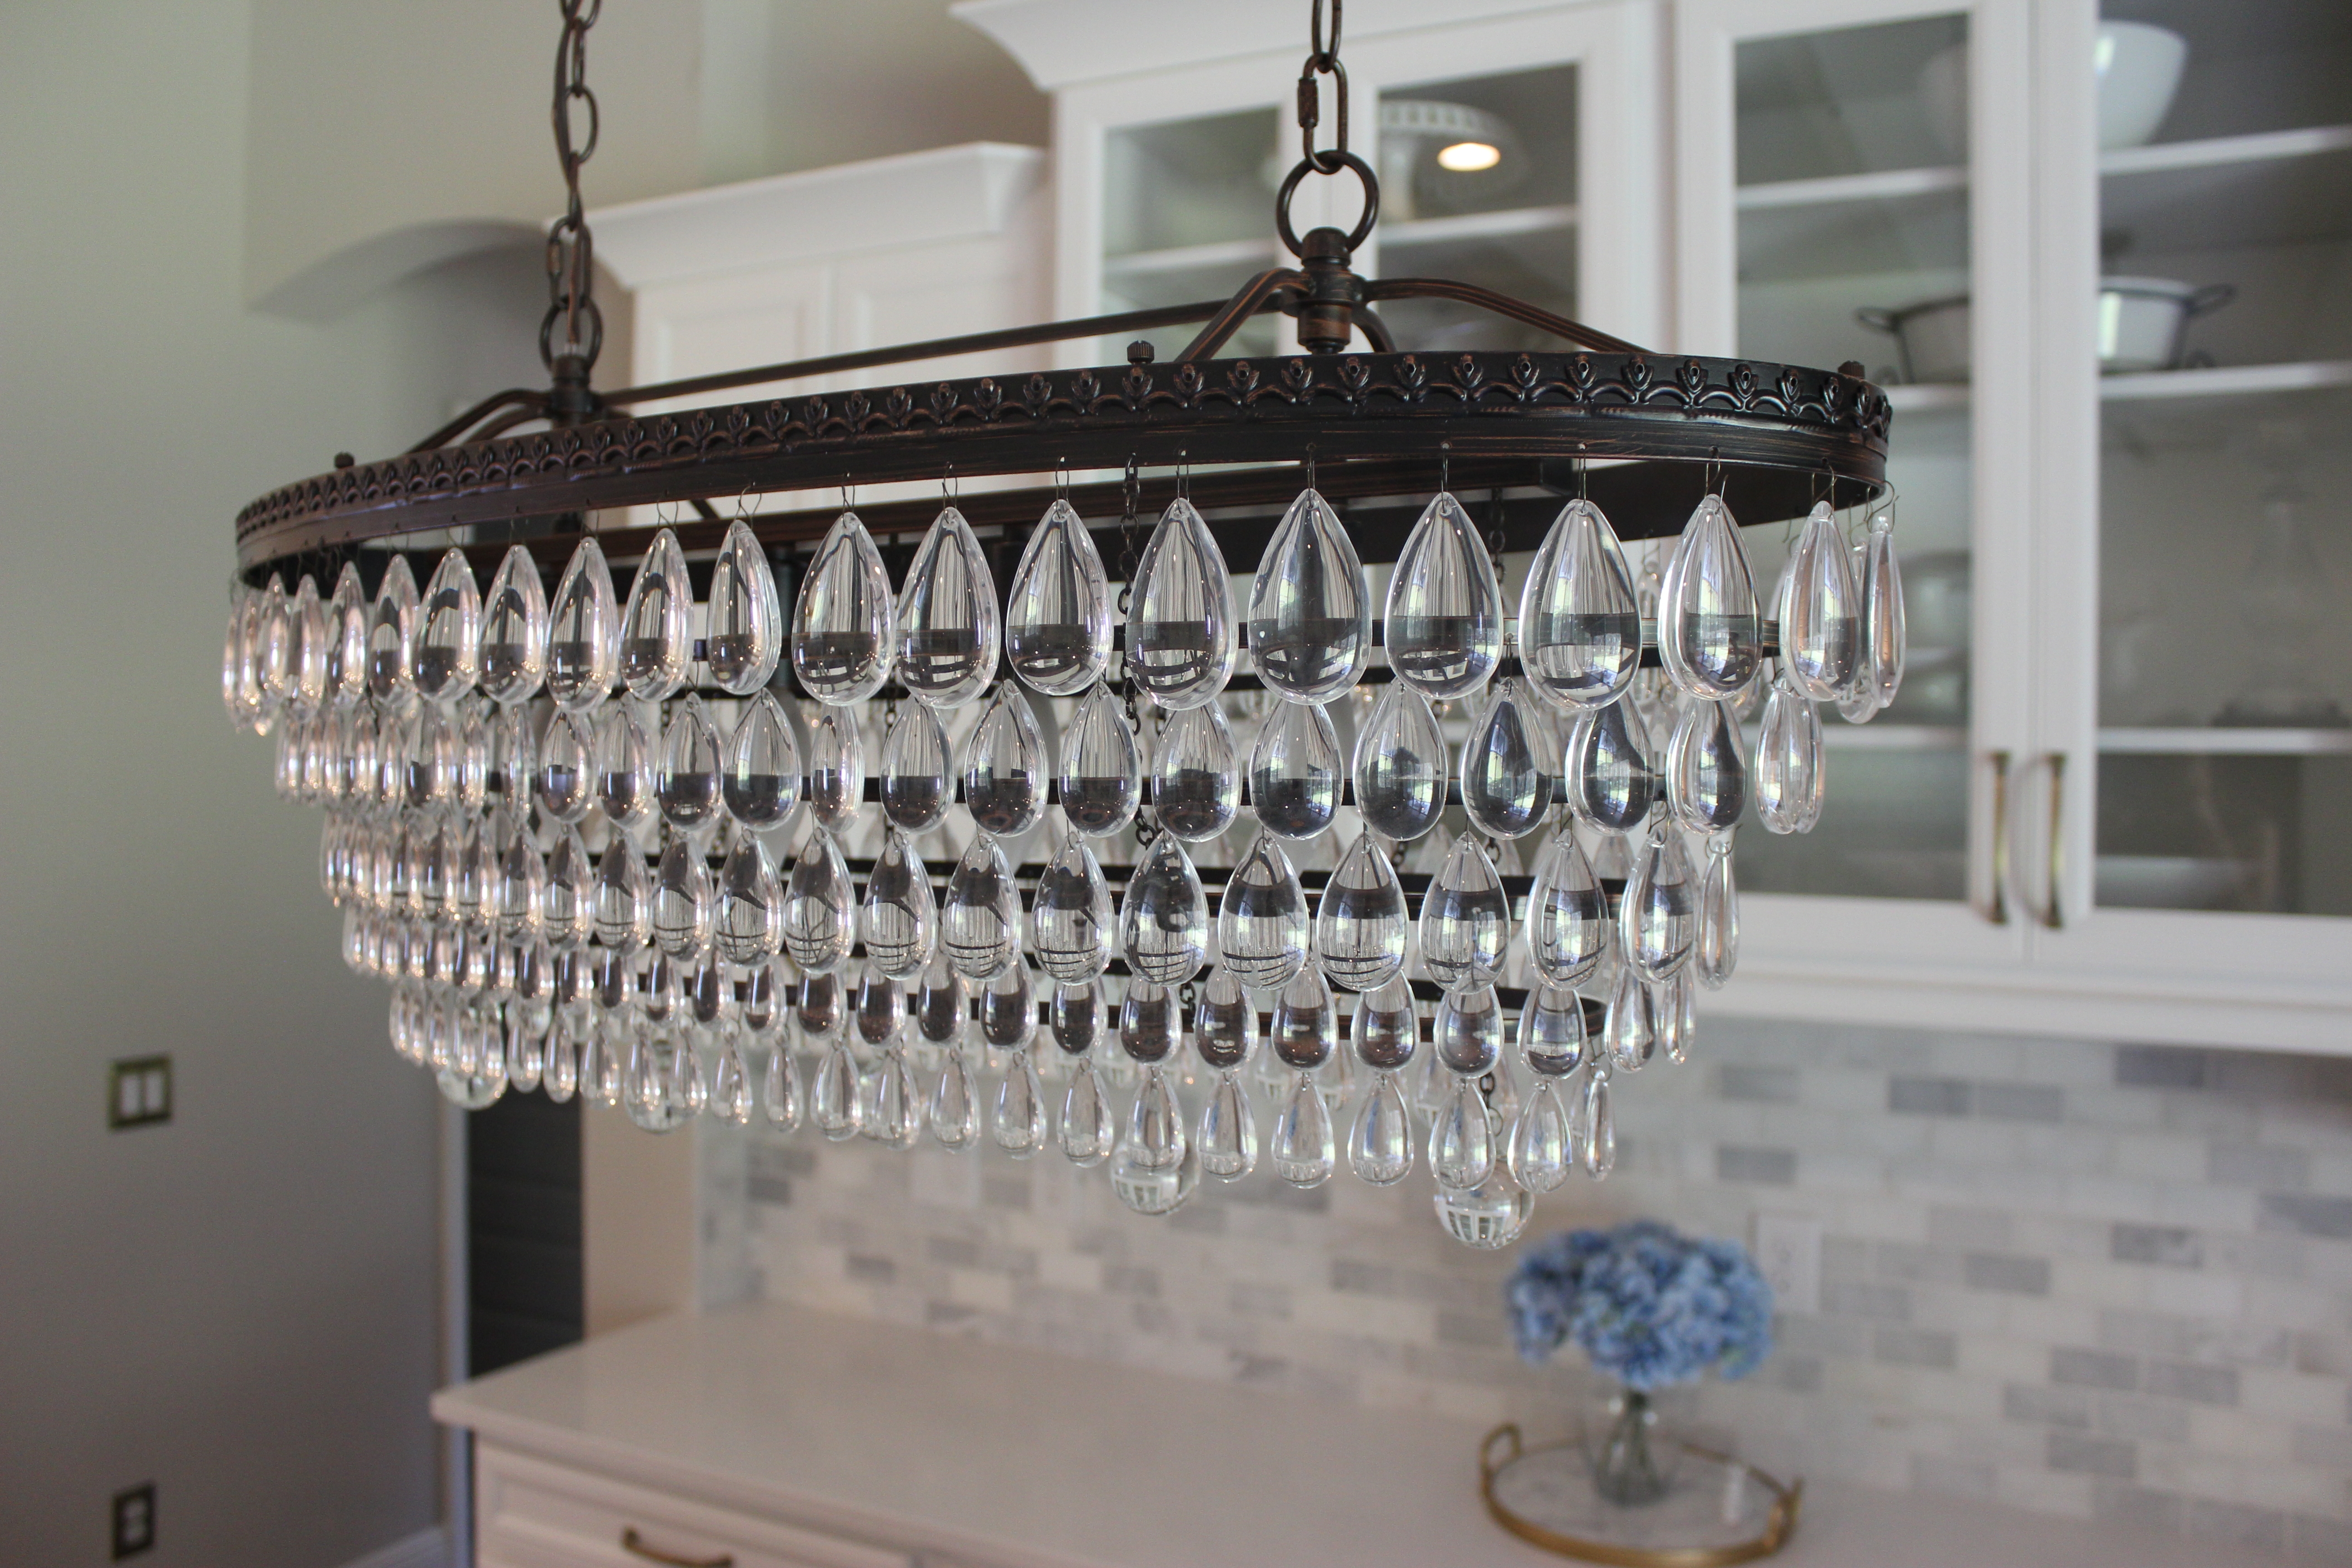
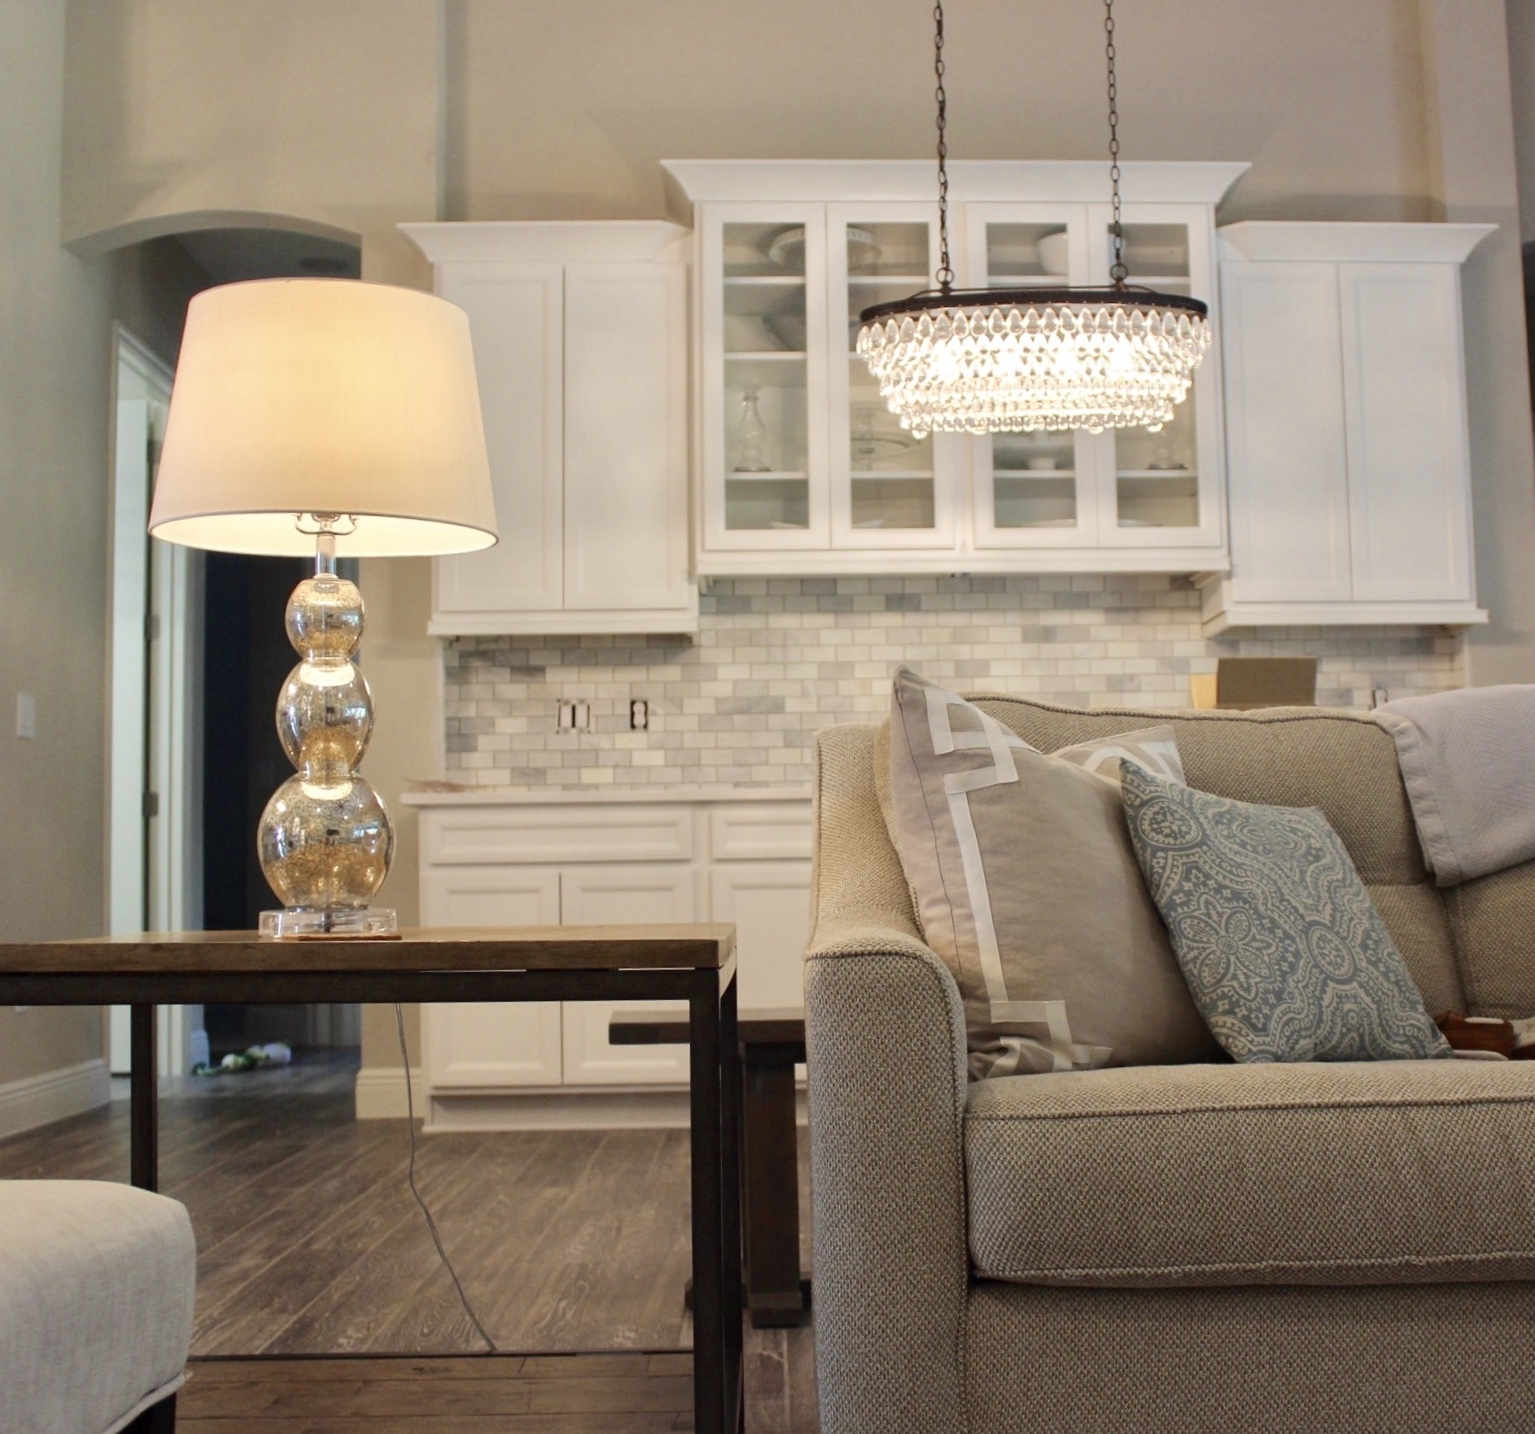
The breakfast nook is adjacent to the kitchen and this light fixture has a funny back story. In early 2015, I was on one of my typical Lowe’s trips and checked out the new light fixtures they had in store. I texted a photo of one to my mom that I particularly liked, and thought she would too. She immediately replied with “Buy that for me and I’ll pay you back! I’ll hang it in my living room!” So I bought it and gave it to her shortly thereafter. Months, and eventually years went by and she never actually hung it in her living room. I just don’t think she was in love with it. Fast forward to when I was trying to figure out what to hang in my new breakfast nook and I mentioned to my mom that I needed something bronze, and long to fit over my new rectangular table. She immediately suggested, “What about the one I have at home you bought me a long time ago that I never hung?” I thought it was genius. Literally exactly what I needed for this space. So back with me it came, haha!
And last, but certainly not least, my MUST HAVE TUB CHANDELIER. I’m sure you’ve seen it already, but here it is again in all of it’s glory.
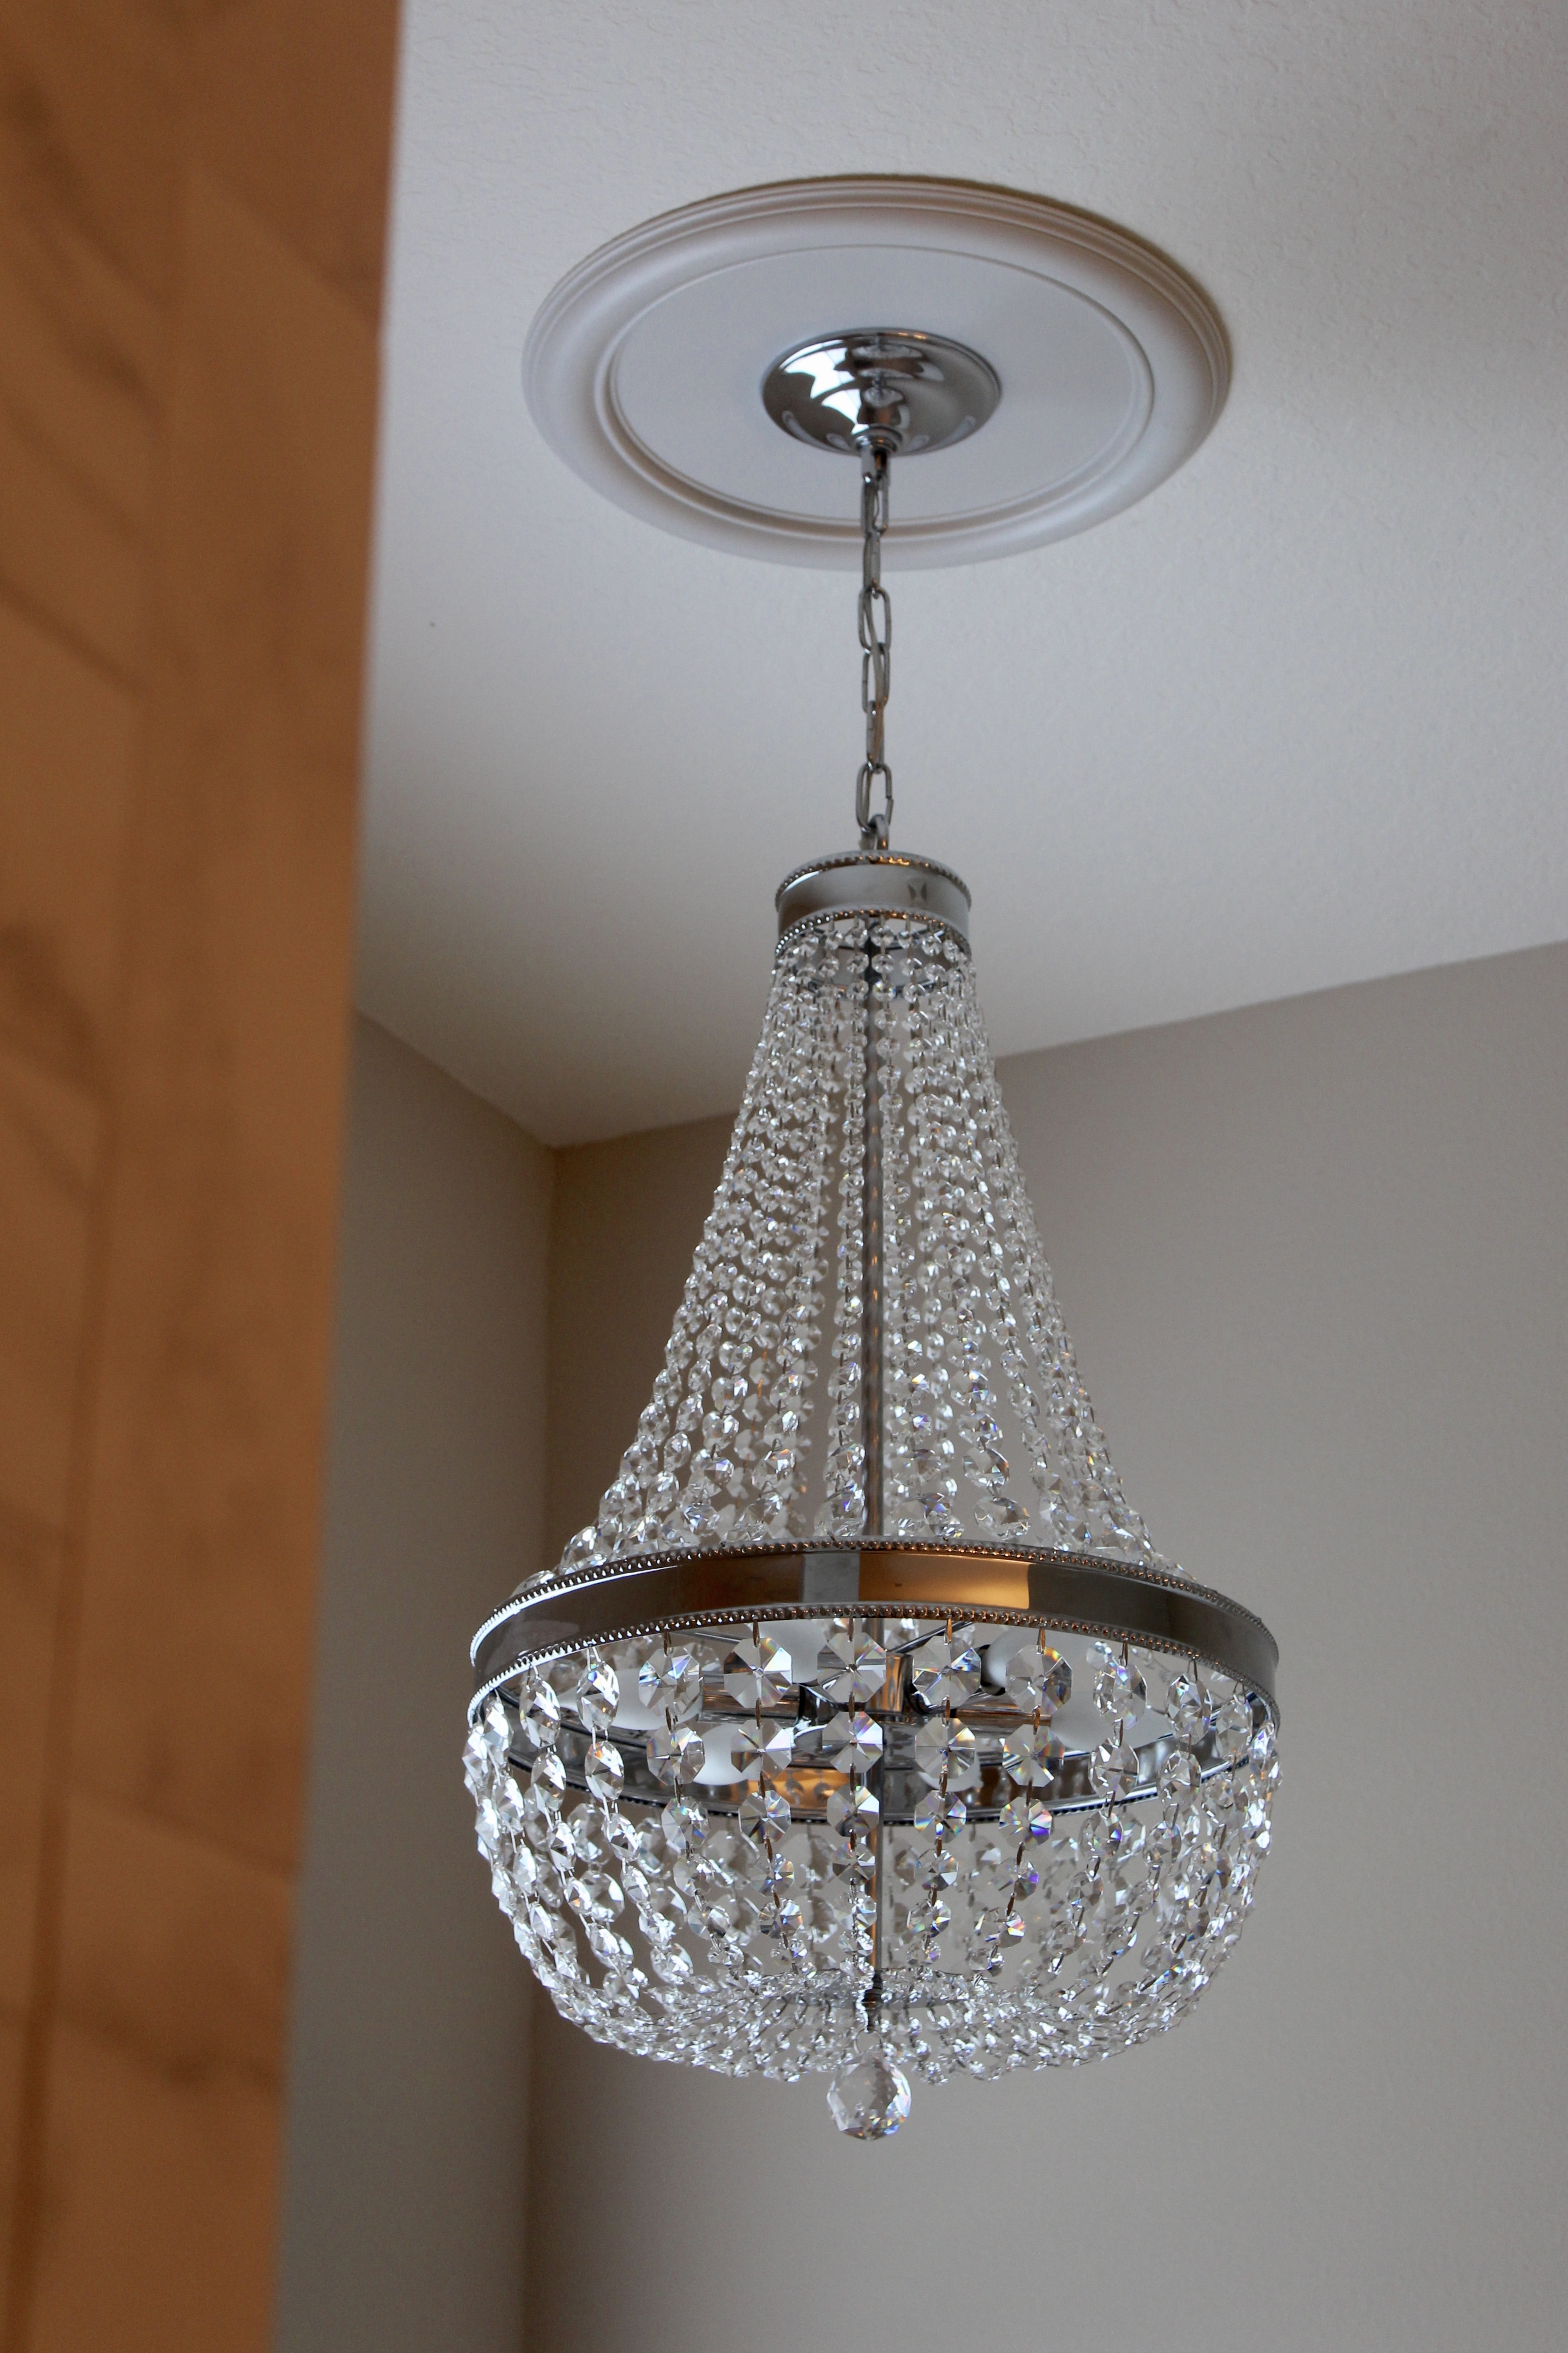
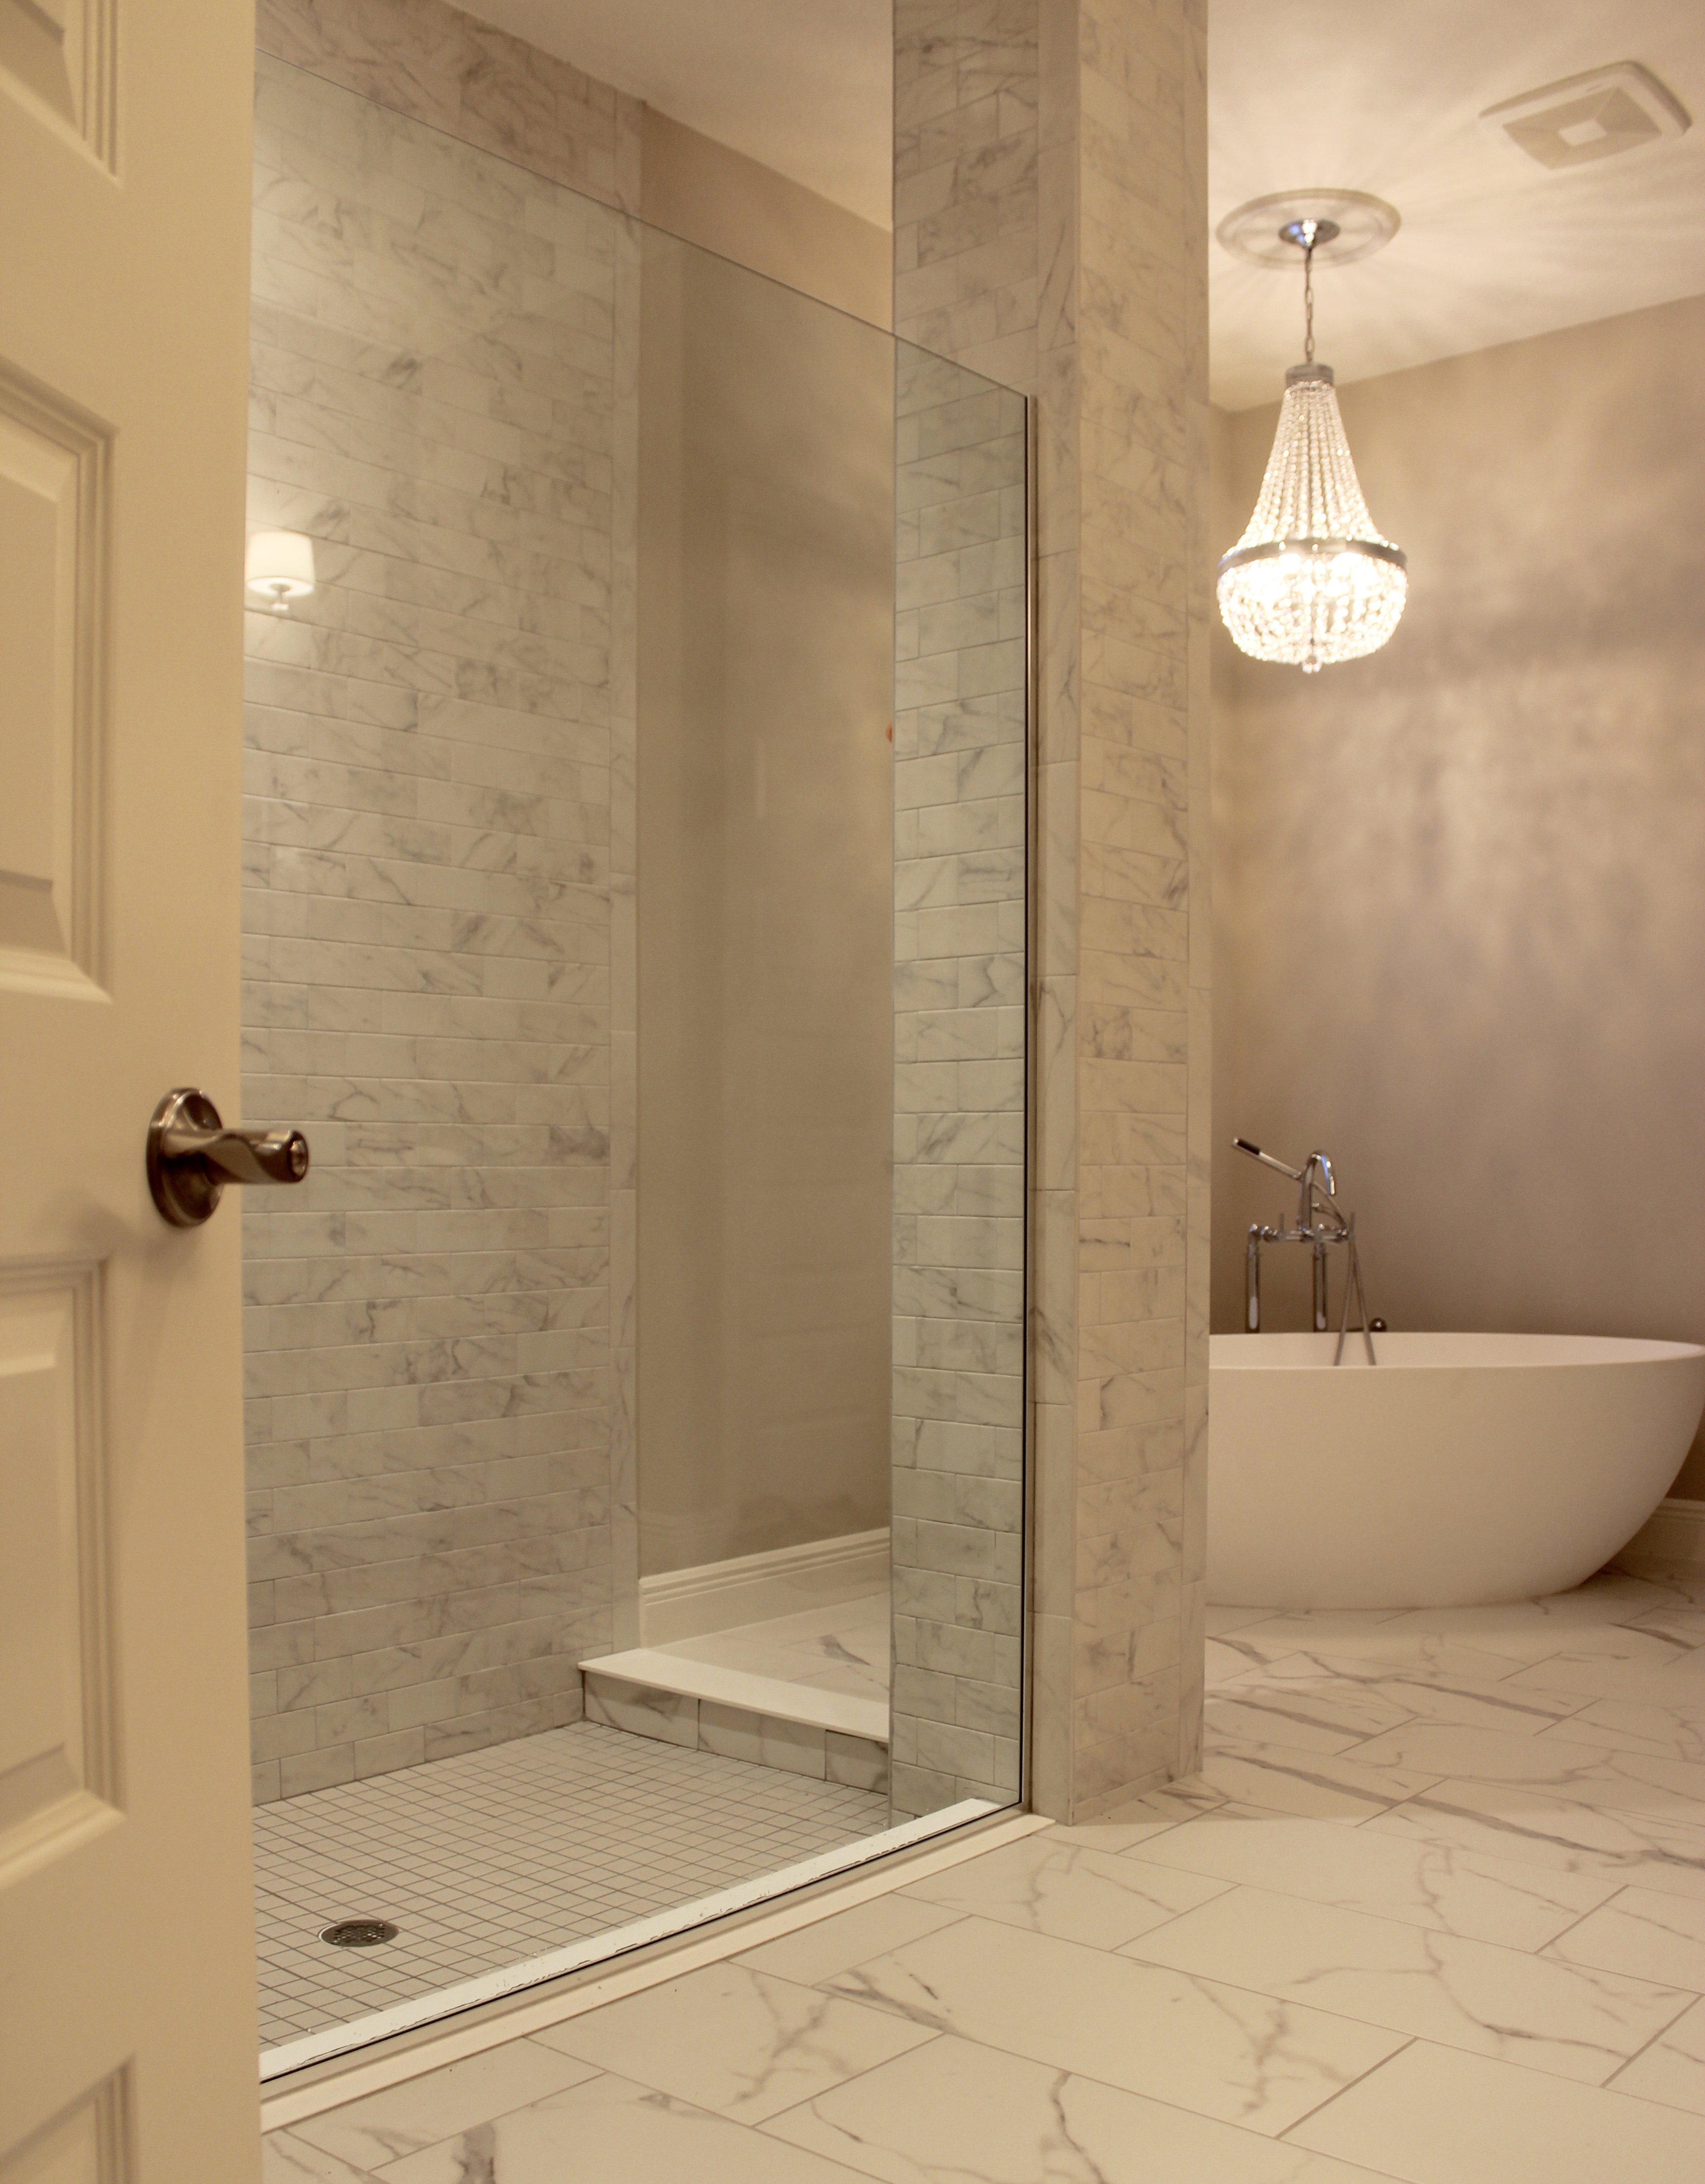
Technically it’s “illegal” to have a hanging light fixture over a water source like this. And for that reason, my builder wouldn’t even allow anything other than a can light here. So I took the can light, and had my electrician switch it out for a normal fixture and hang this beauty. Nobody’s going to report me, right? Thanks!
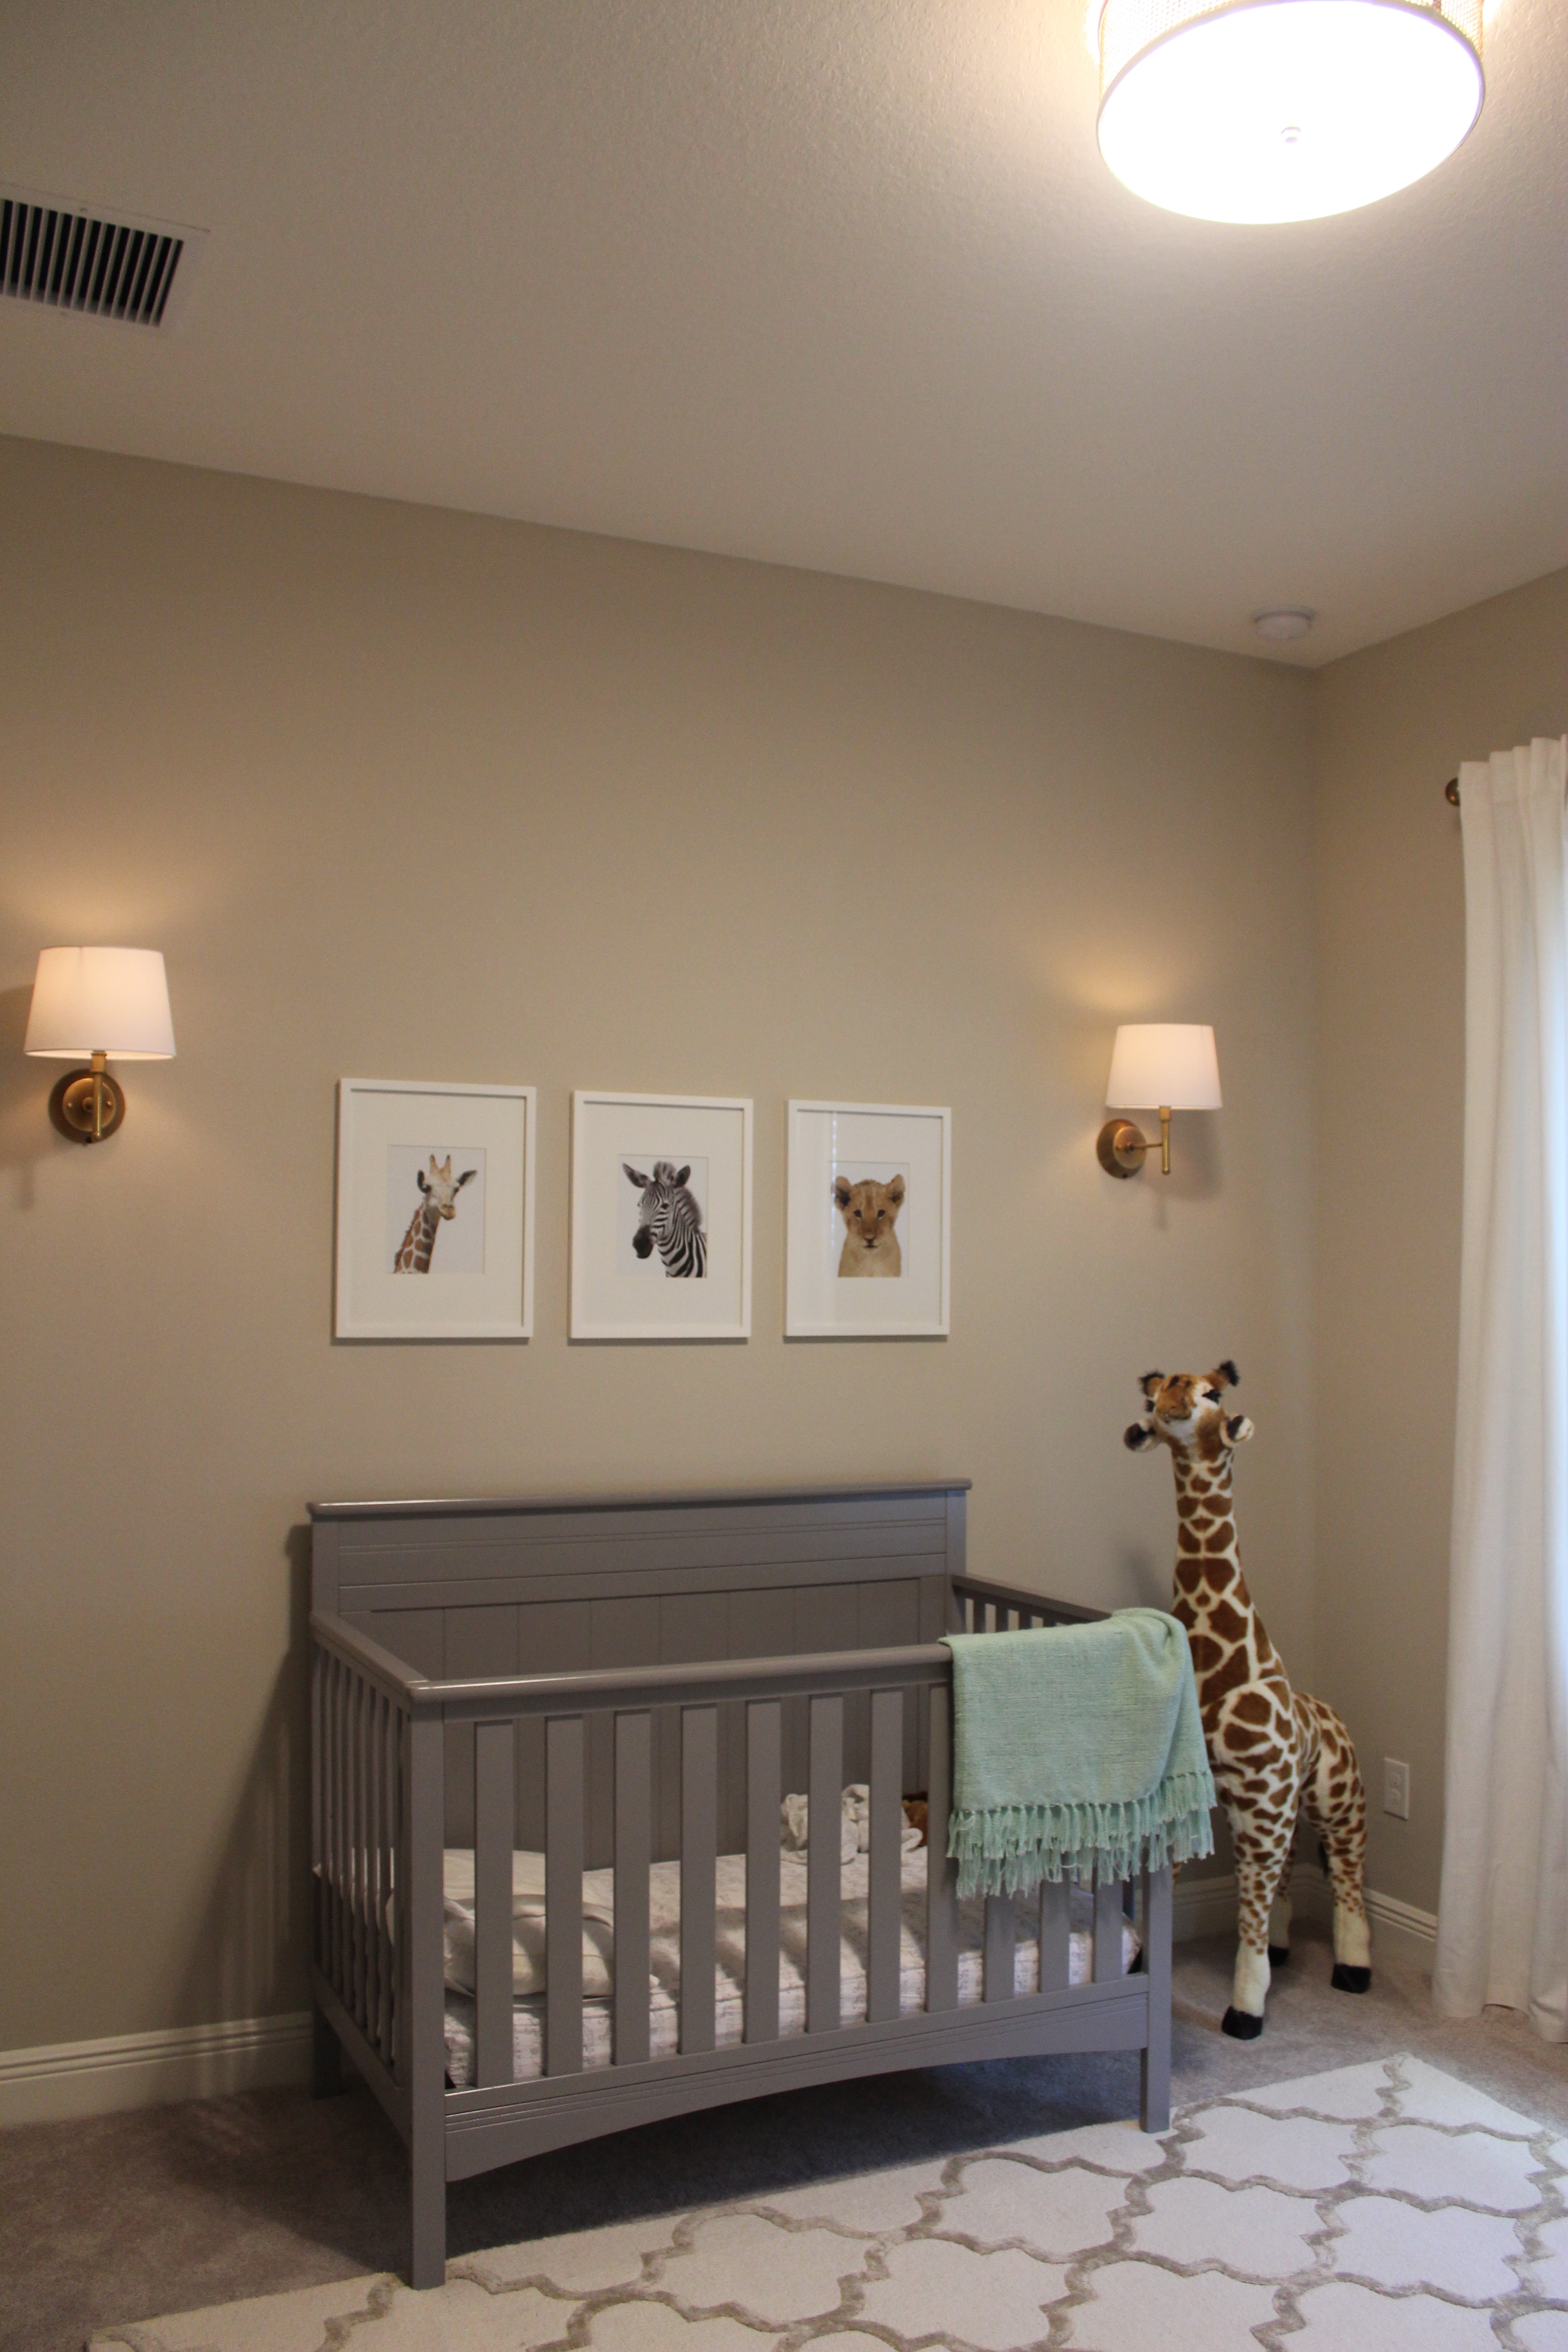
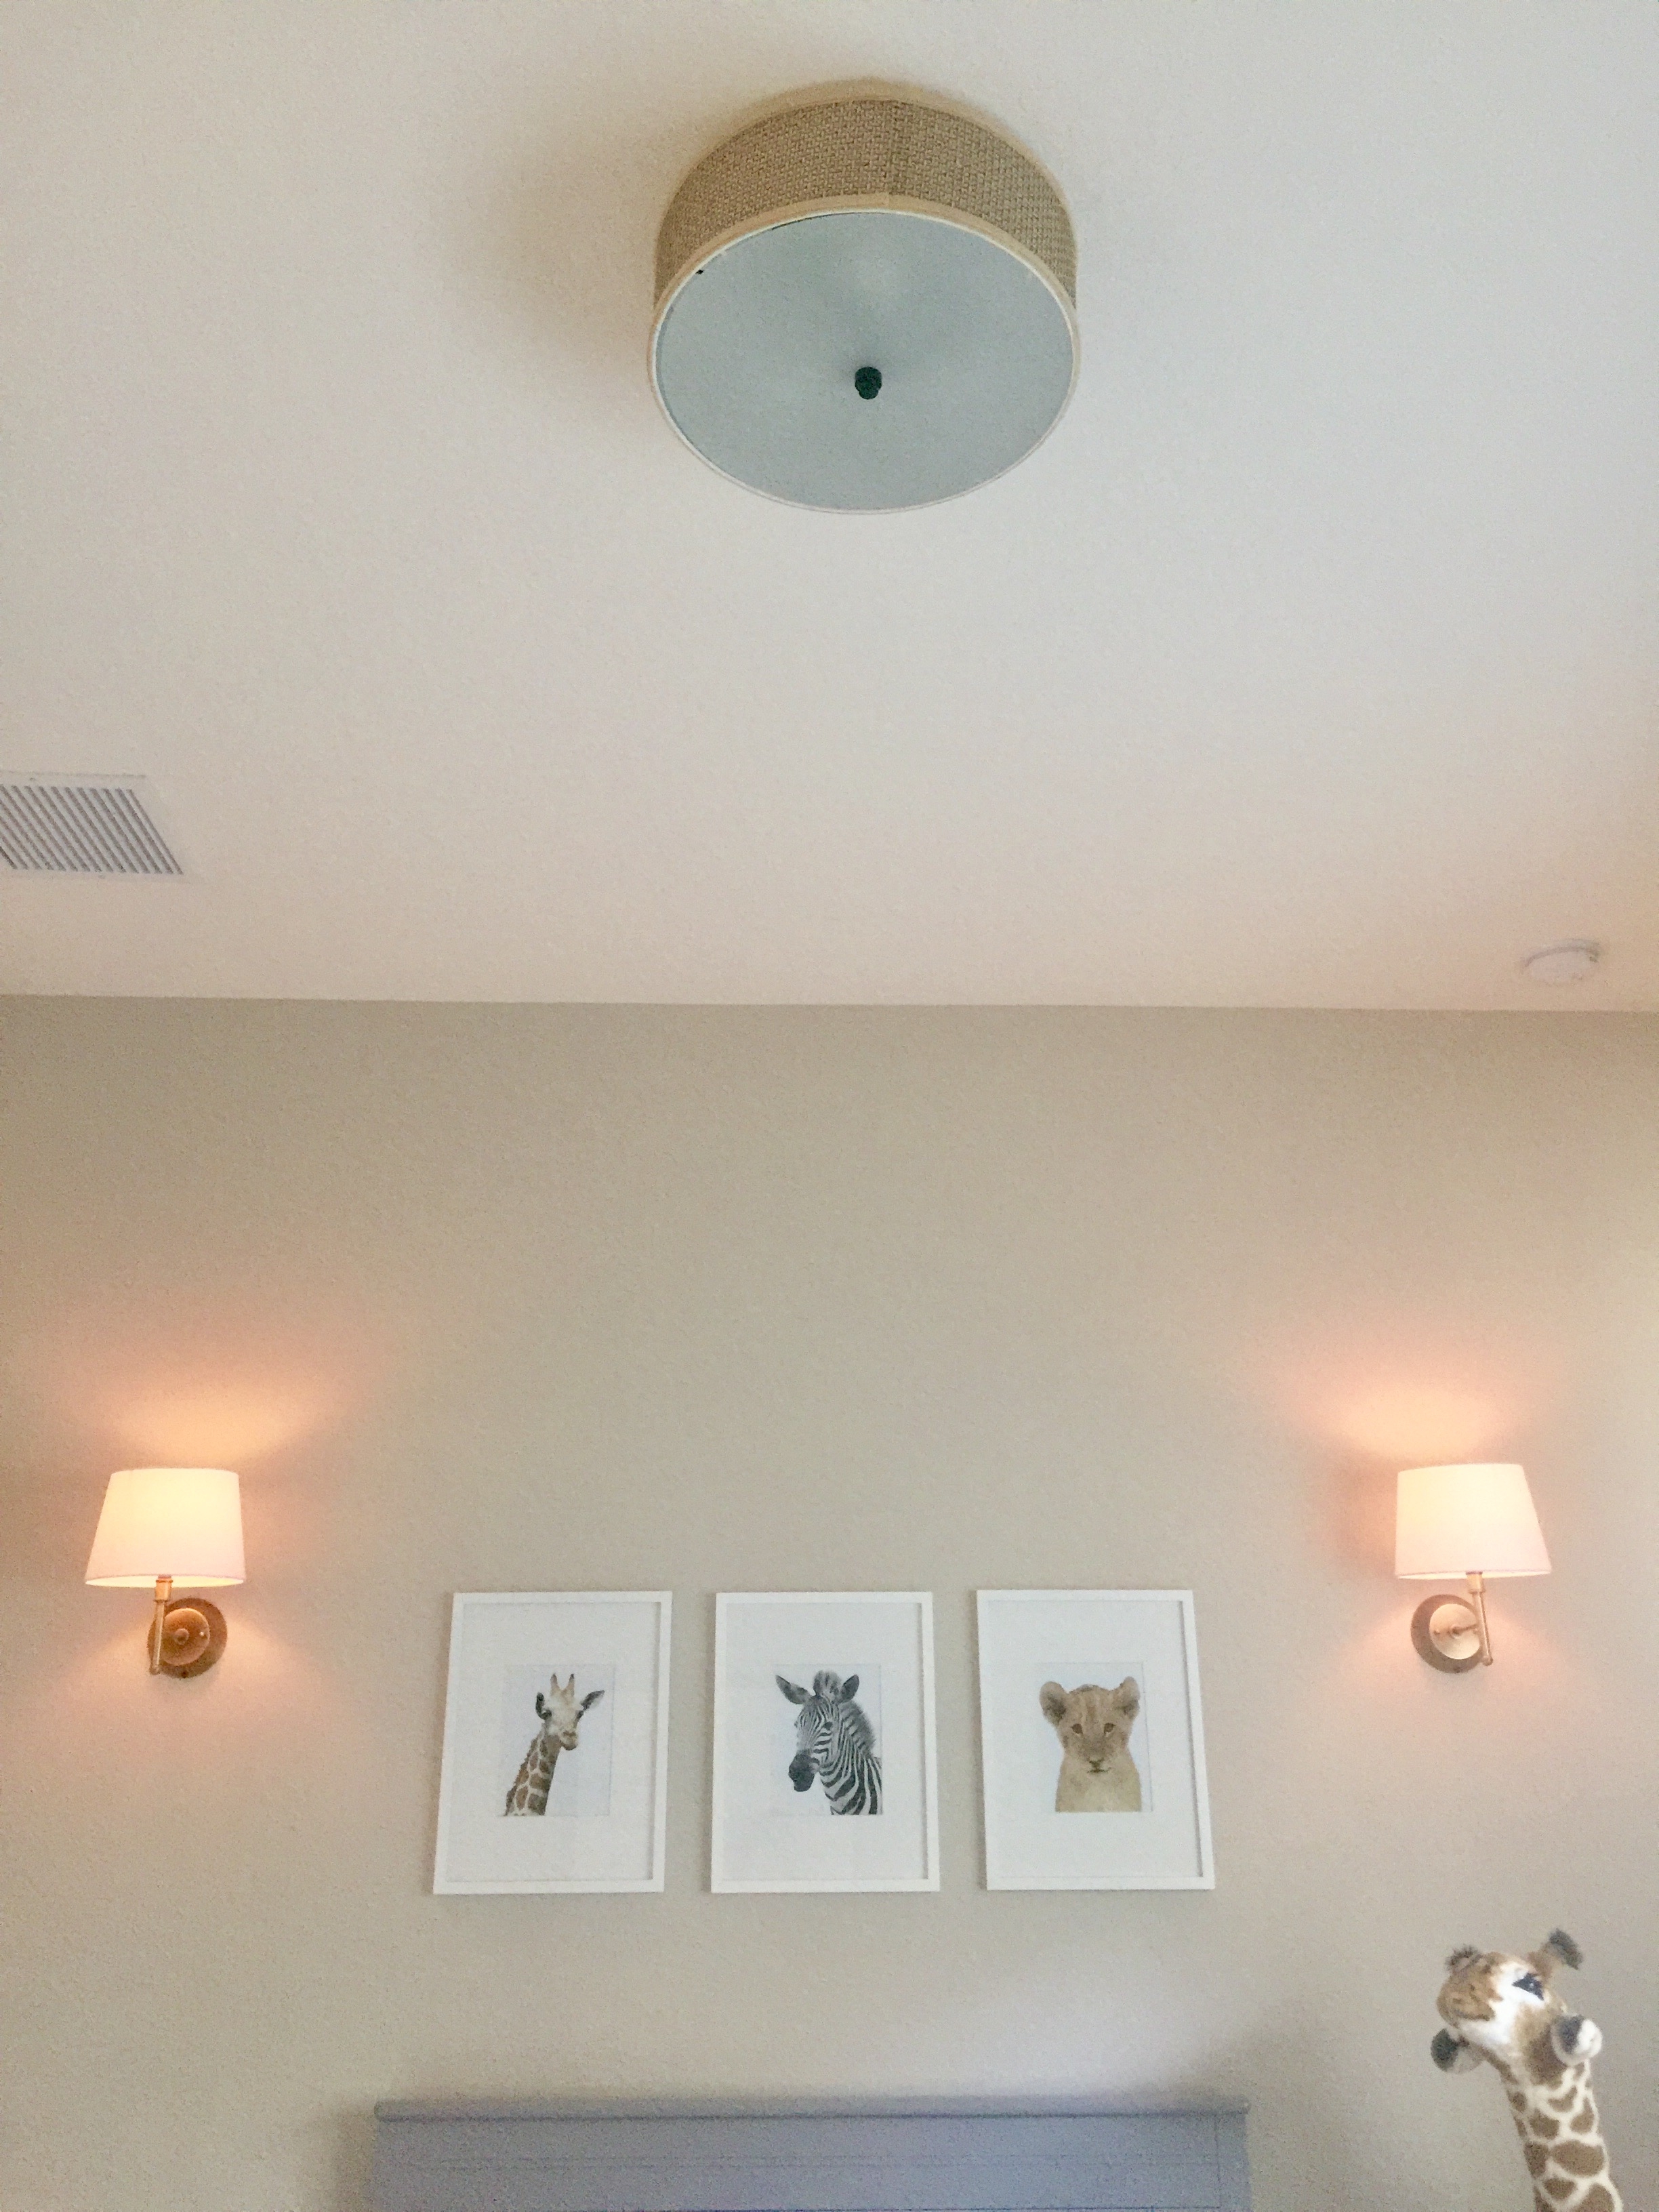
So those are all of the *new* fixtures I bought for this house. I actually did bring 2 lights from our old house, and those were from the nursery only. So the matching sconces (similar here) and overhead flush mount are exactly how they used to be in our old home:
And as far as lighting in spaces I haven’t mentioned in today’s post – they will come in the future. That includes the guest room, the laundry room, and maybe my closet 😉 I just haven’t finished planning those spaces yet, so no need to rush on the light fixtures!
So what do you think? Comment below and let me know your thoughts, I love hearing from you guys!
*Affiliate links were used in this post*

![Laundry Room [Reveal]](https://www.frillsanddrills.com/wp-content/uploads/2015/08/IMG_2005.jpg)
All gorgeous!!
Thanks girl! I really appreciate it!
I thoroughly enjoy your blog and the building and decorating processes you share. It is inspirational!
Thank you so much Patricia! This seriously means so much to me and is exactly why I continue to do my best to share it. Thank you thank you thank you for following my little journey.
Thanks for sharing! We have our appointment scheduled next Tuesday at the design studio. Would that be the time to let them know where we plan on putting certain light fixtures and to center the wiring for the build?
How exciting Nick! What floor plan are you building? I definitely would give them any and all dimensions that you can at the design center. However, I was able to tweak one or two during the actual build process once I saw them in place. Good luck!
Congrats on your new bundle of joy! I’m actually purchasing a home from Taylor Morrison and not WestBay. All went well and I was able to discuss the placements of lighting. I’m uber excited that I was able to get my gourmet kitchen and wood-tile flooring! Question, how tall are your ceilings to be able to install the massive ceiling fan in your great room? I’m looking at the Essence Big Ass Fan but, it needs a minimum of 12ft ceilings and mine will be just a little over 10ft.
That’s great! I’m glad you were able to get all the lighting and things you wanted. My ceilings are 12′ in the grand room. I think the fan would still work in a ceiling just over 10 but it wouldn’t need that long of a down rod, or one at all.