Hubby’s Closet Makeover
If you remember my list from last week of projects I wanted to complete this year, the first thing on the list was redoing my husband’s closet. Not because I was looking forward to it, but because it’s something that had to be done before I can even attempt to start working on the nursery. And if that’s not enough motivation? I don’t know what is.
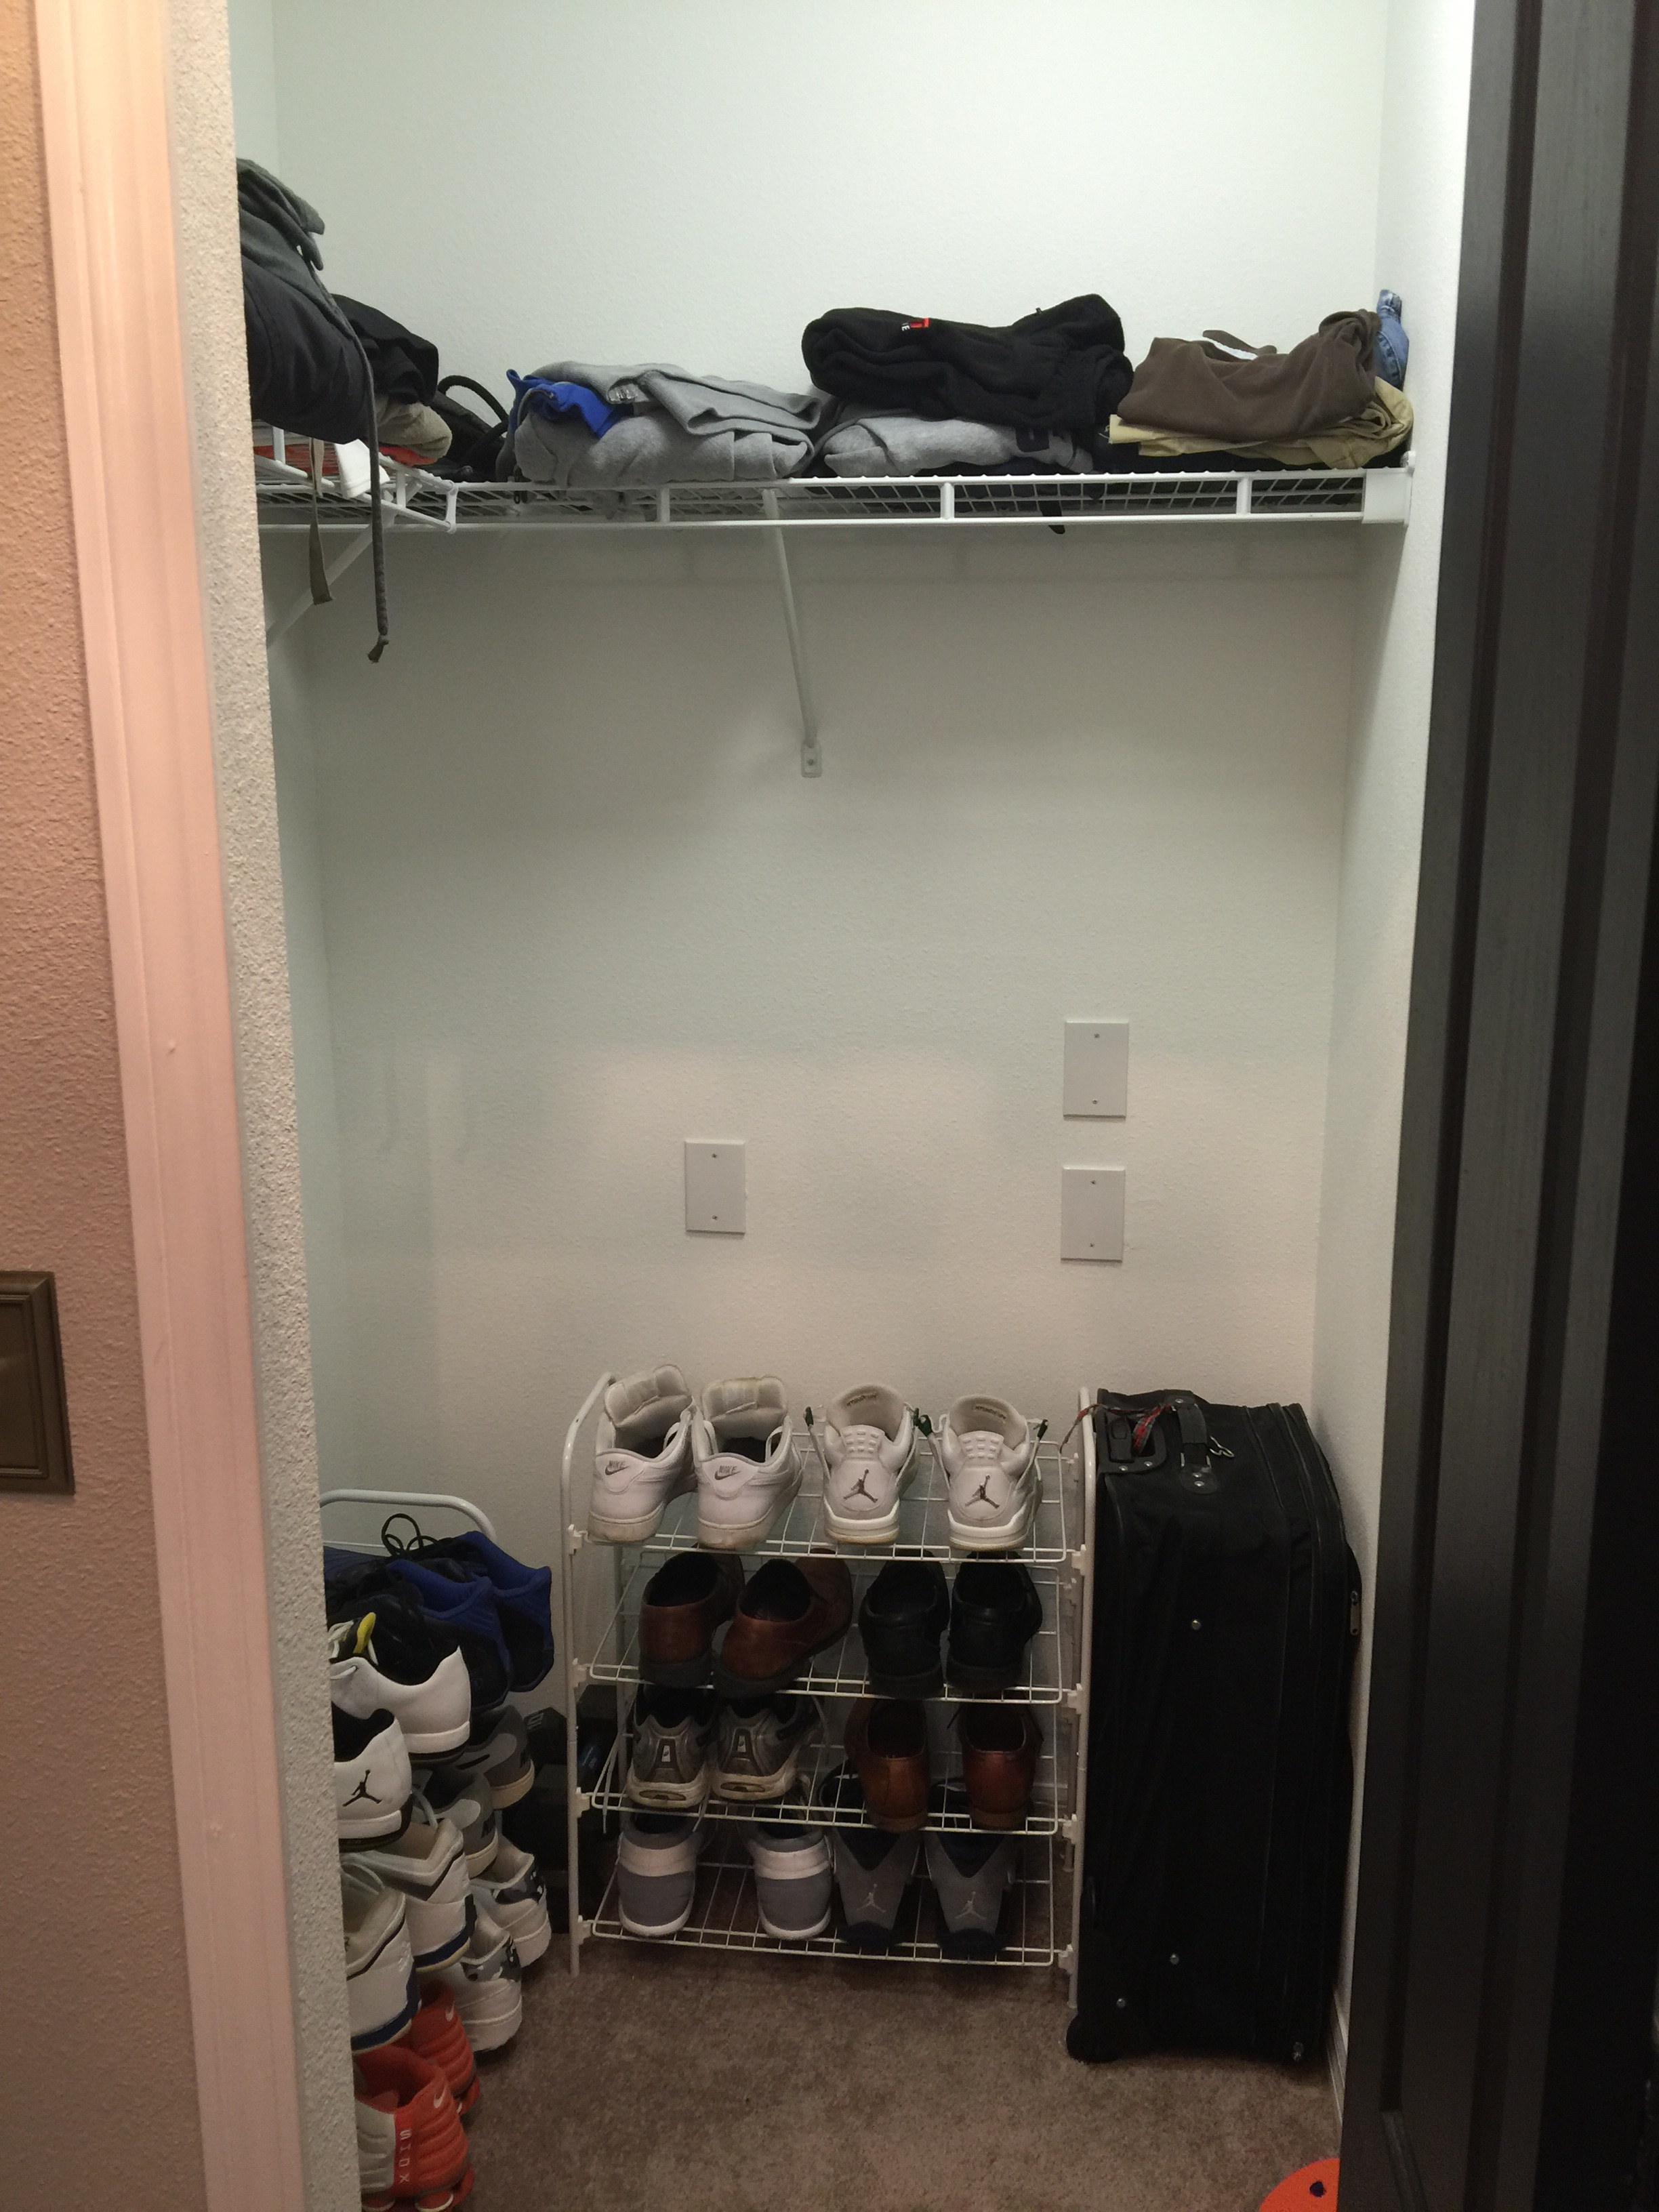
Here’s a before picture.
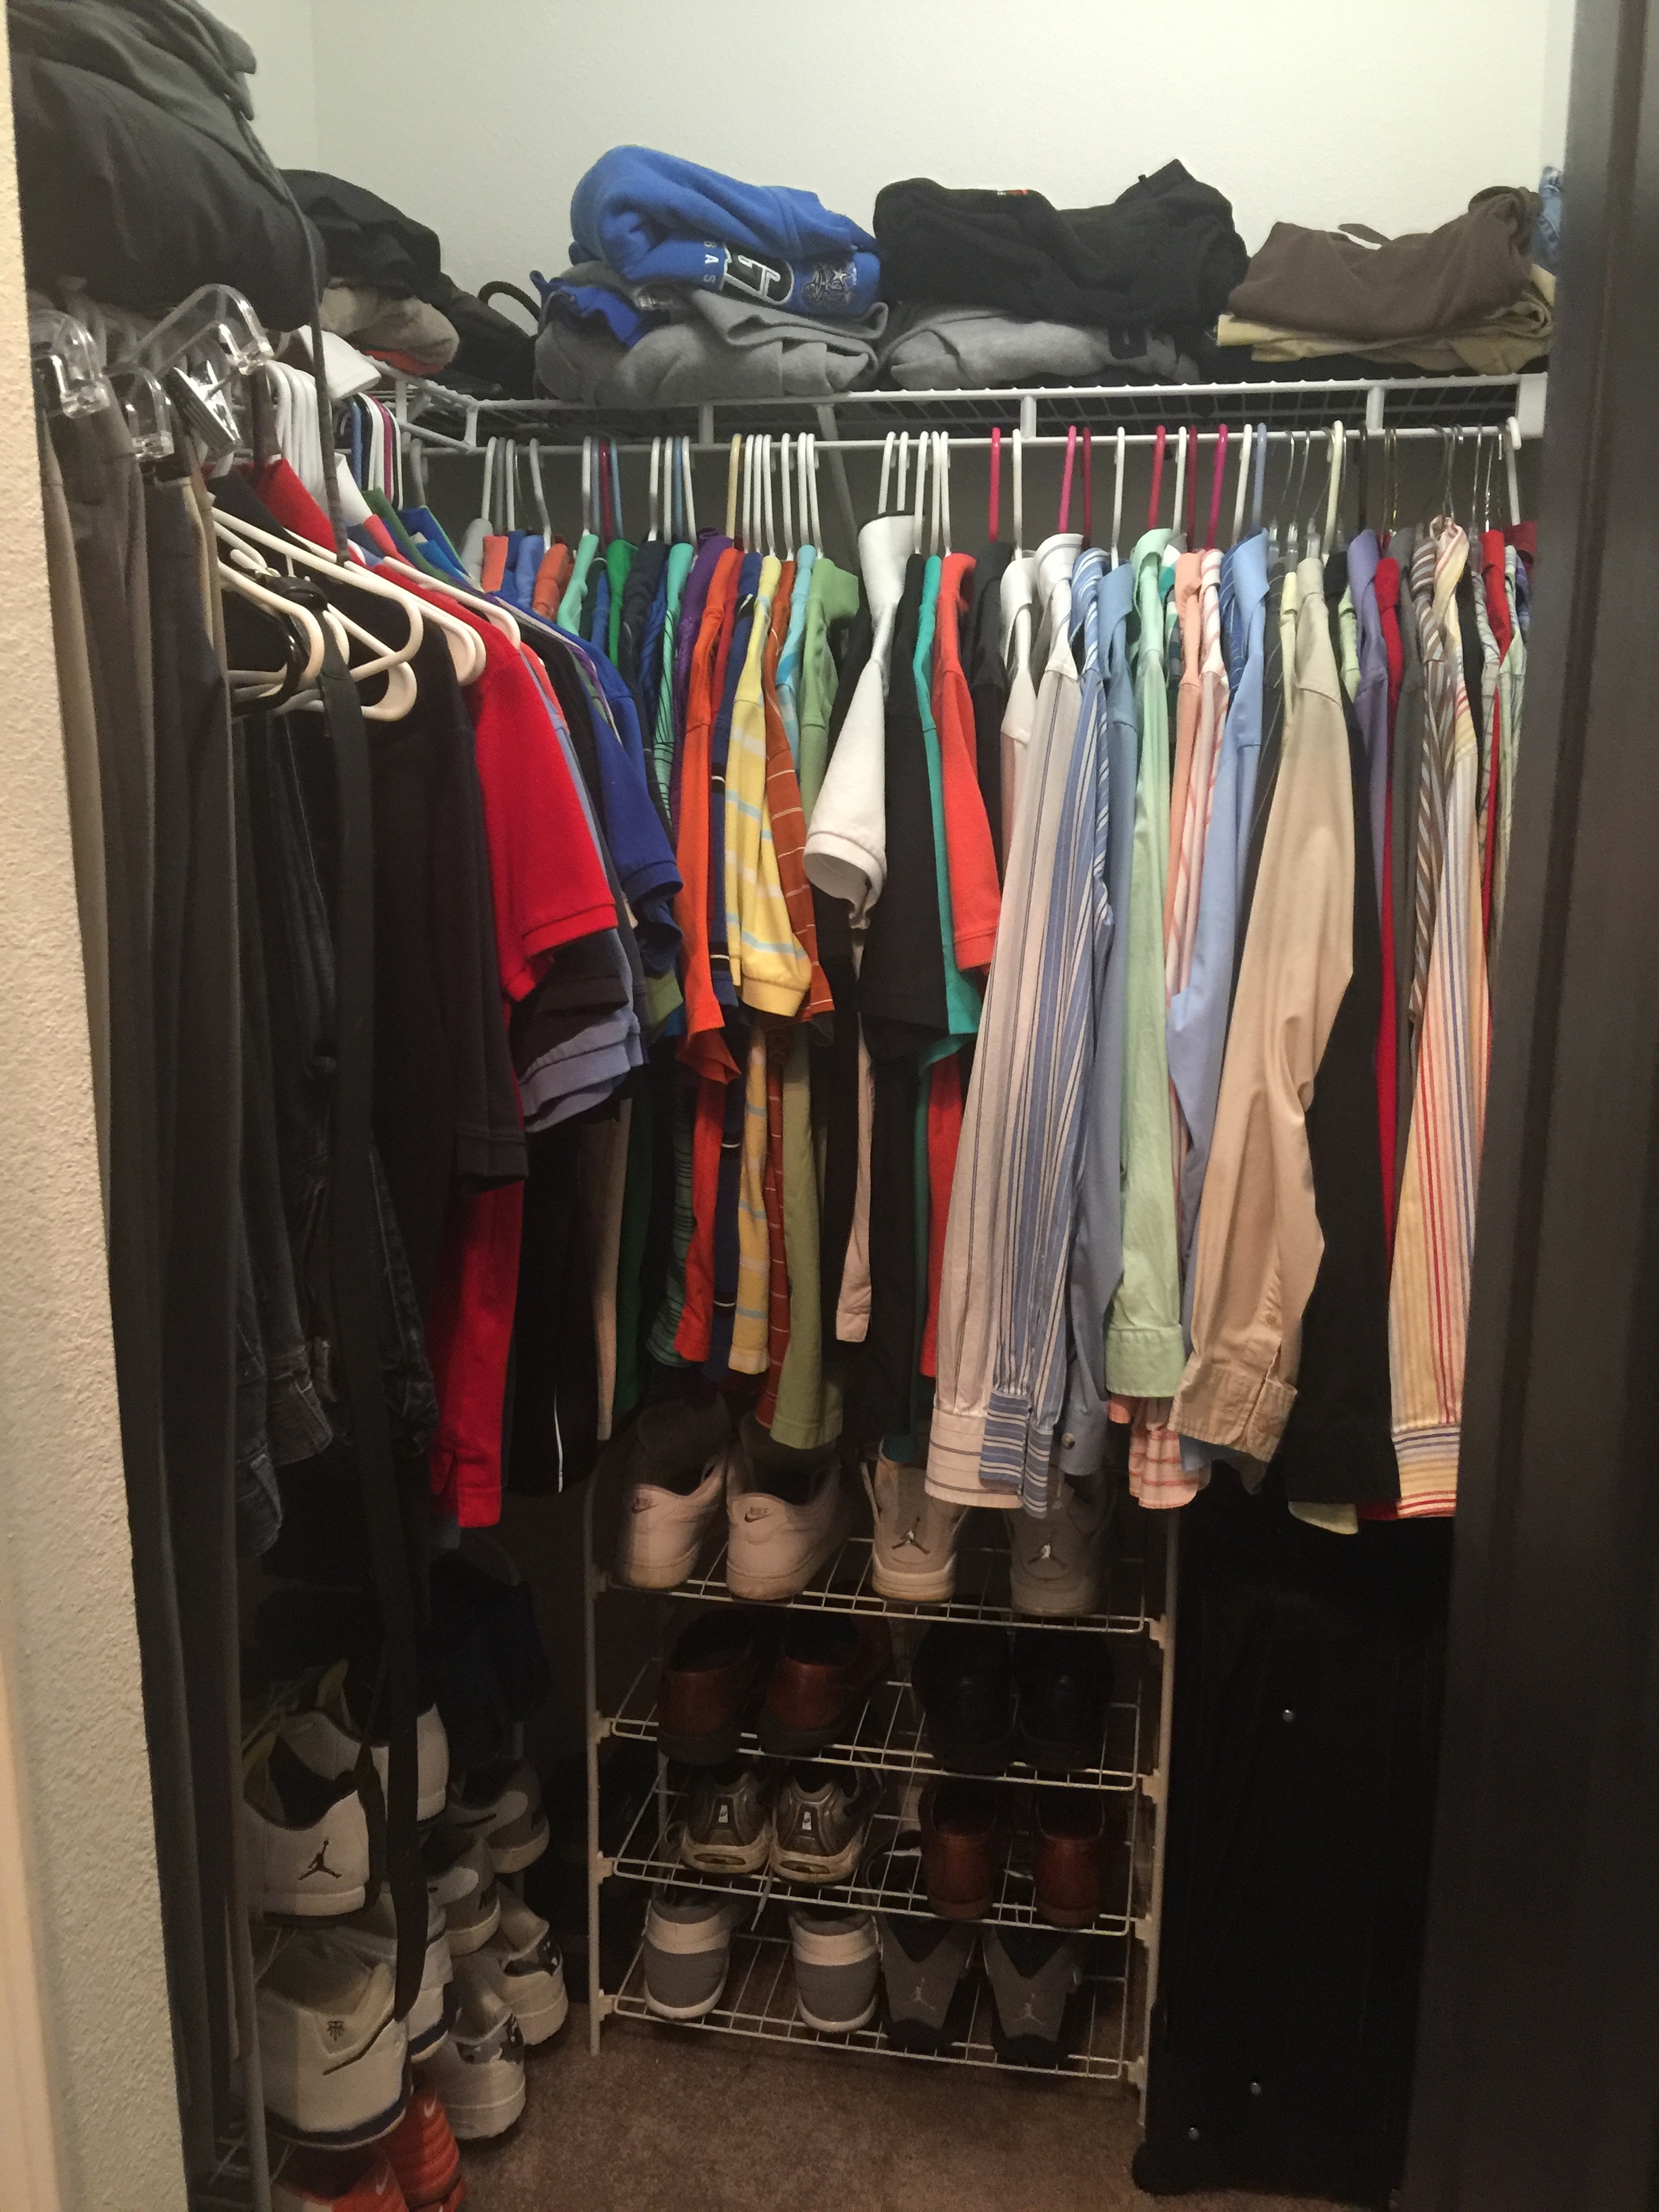
And here’s the reason this project had to get done before I can start on the nursery. Ryan’s closet in our master bedroom wasn’t big enough to hold all of his clothes, so for the last several years he’s been using the closet in the soon to be nursery. Yes, he has 2 full closets. What a diva.
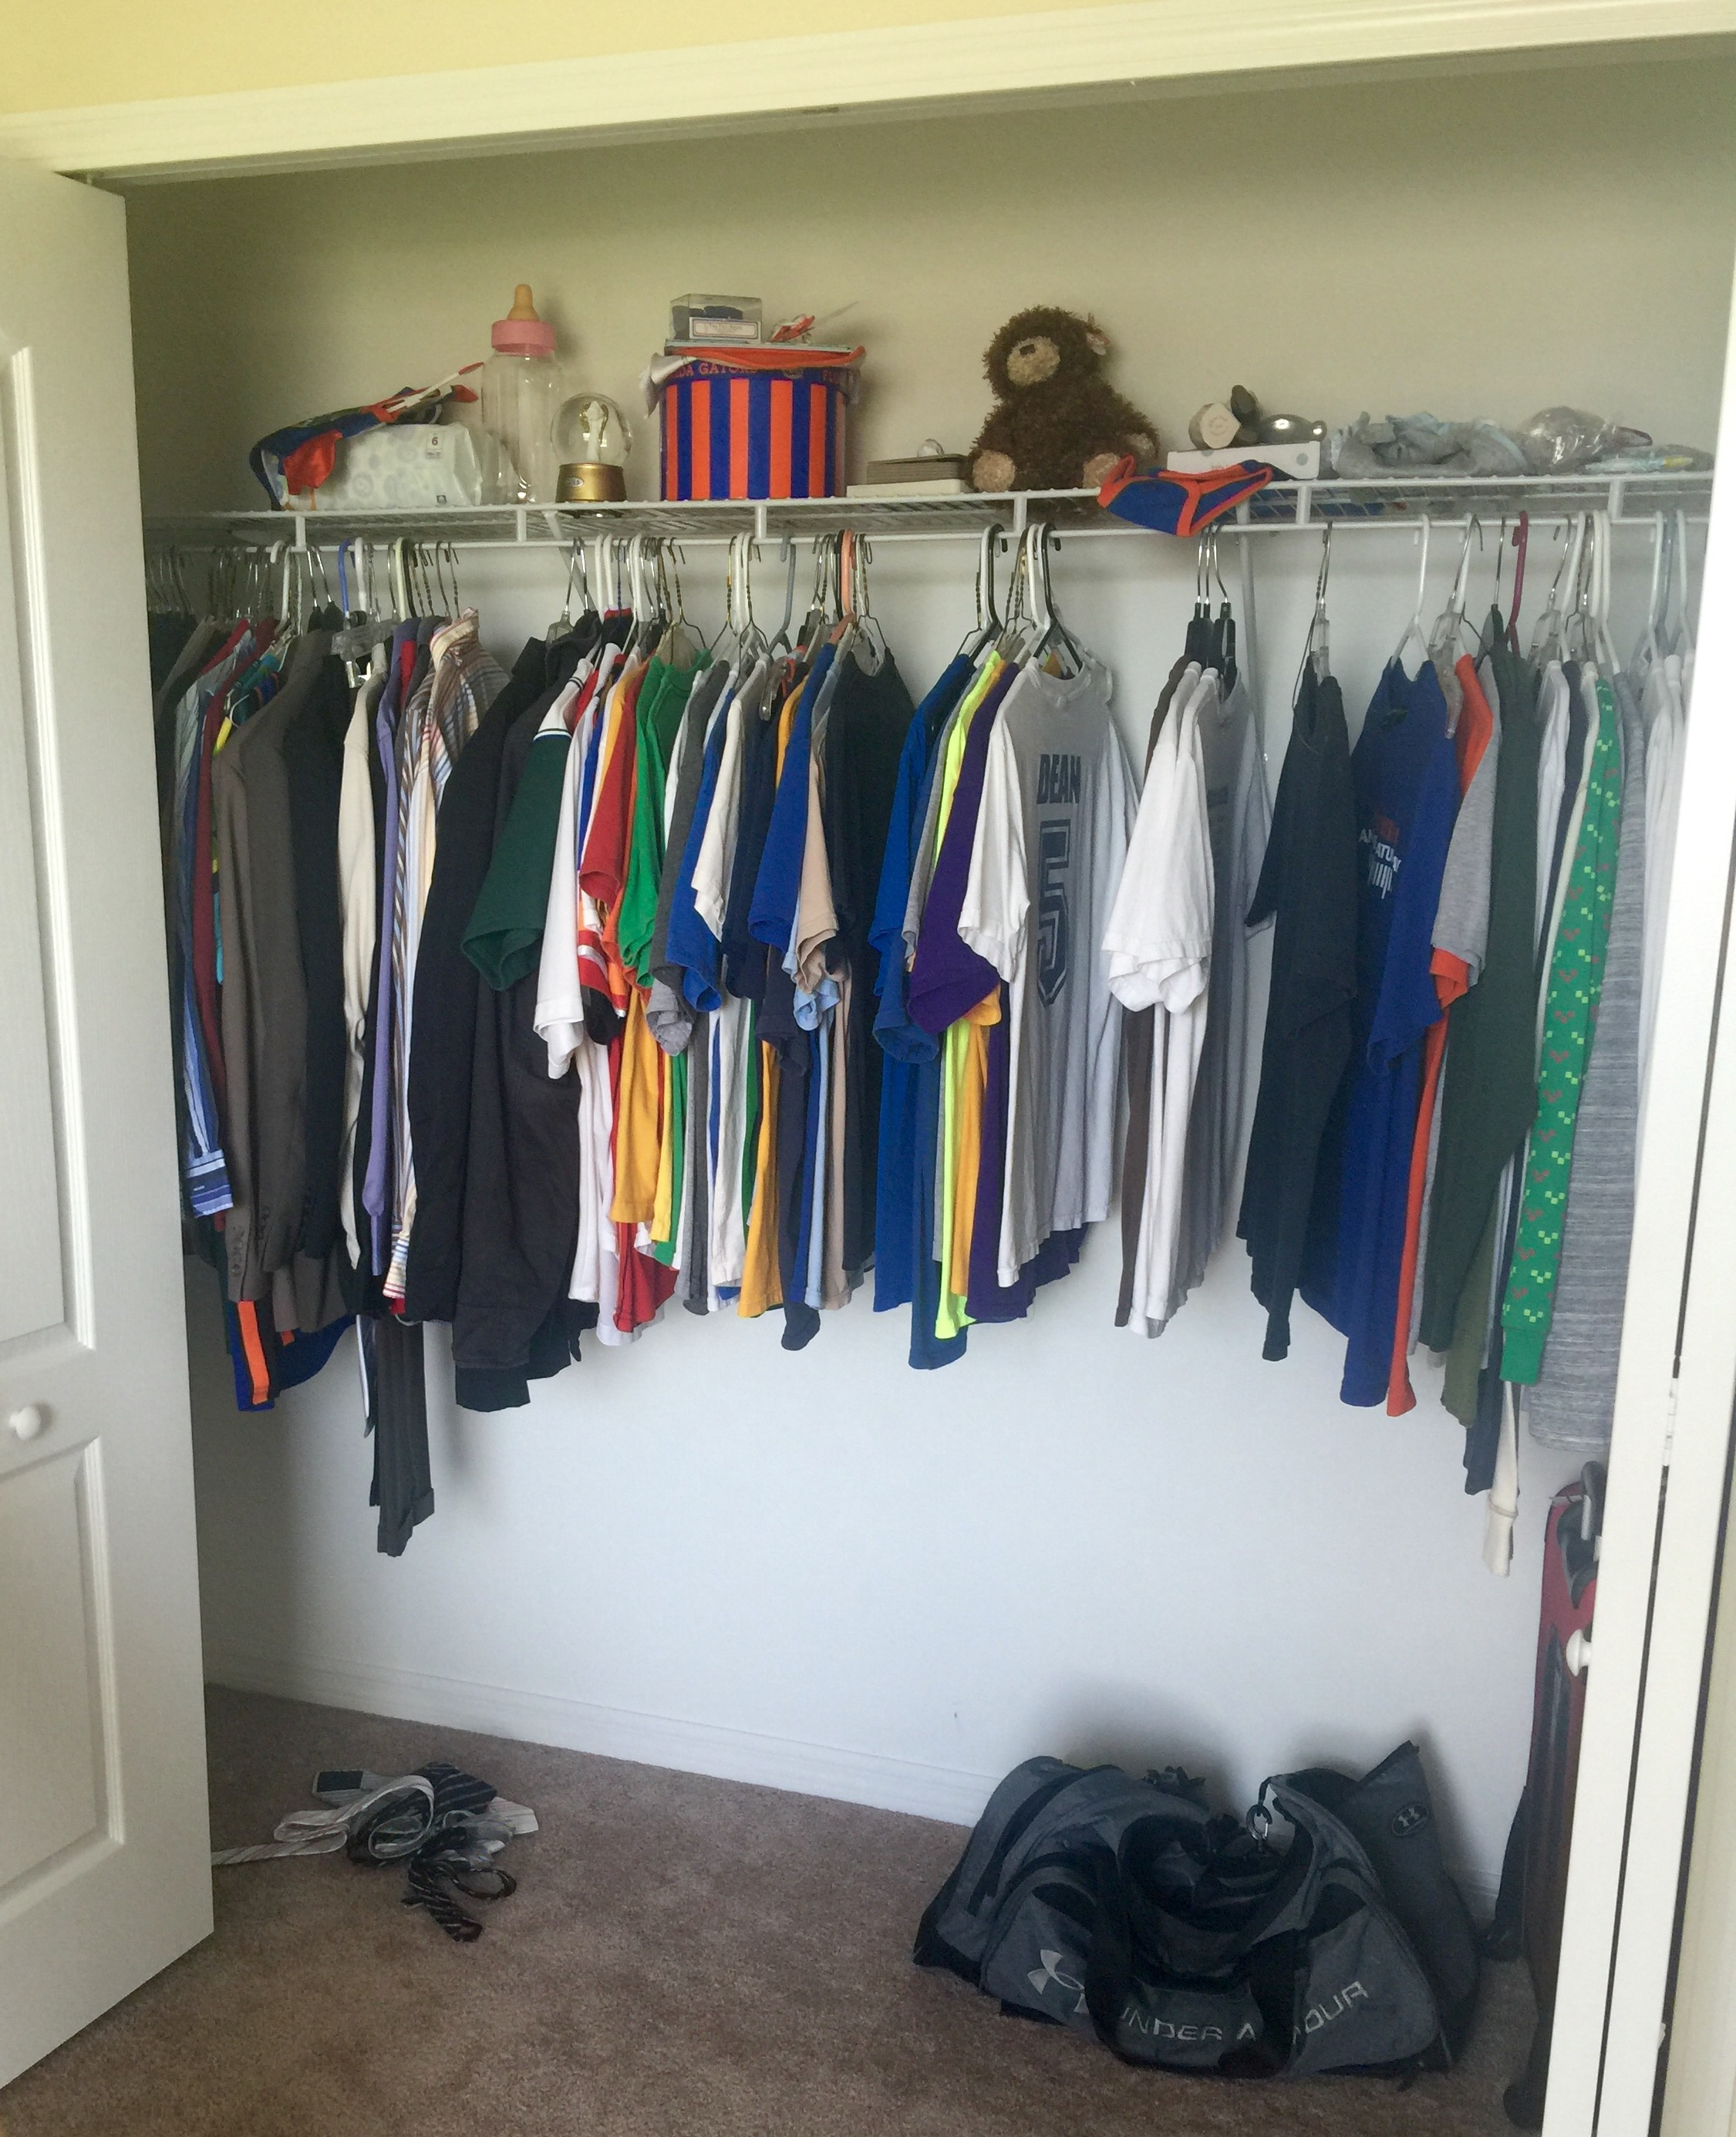
One for his work clothes and one for his casual clothes. Not to mention a dresser full of clothes in our bedroom. So the goal for this project was to get both closets of clothes to fit into his master bedroom closet. Because, well, the baby needs a closet. Even though my husband doesn’t understand that part.
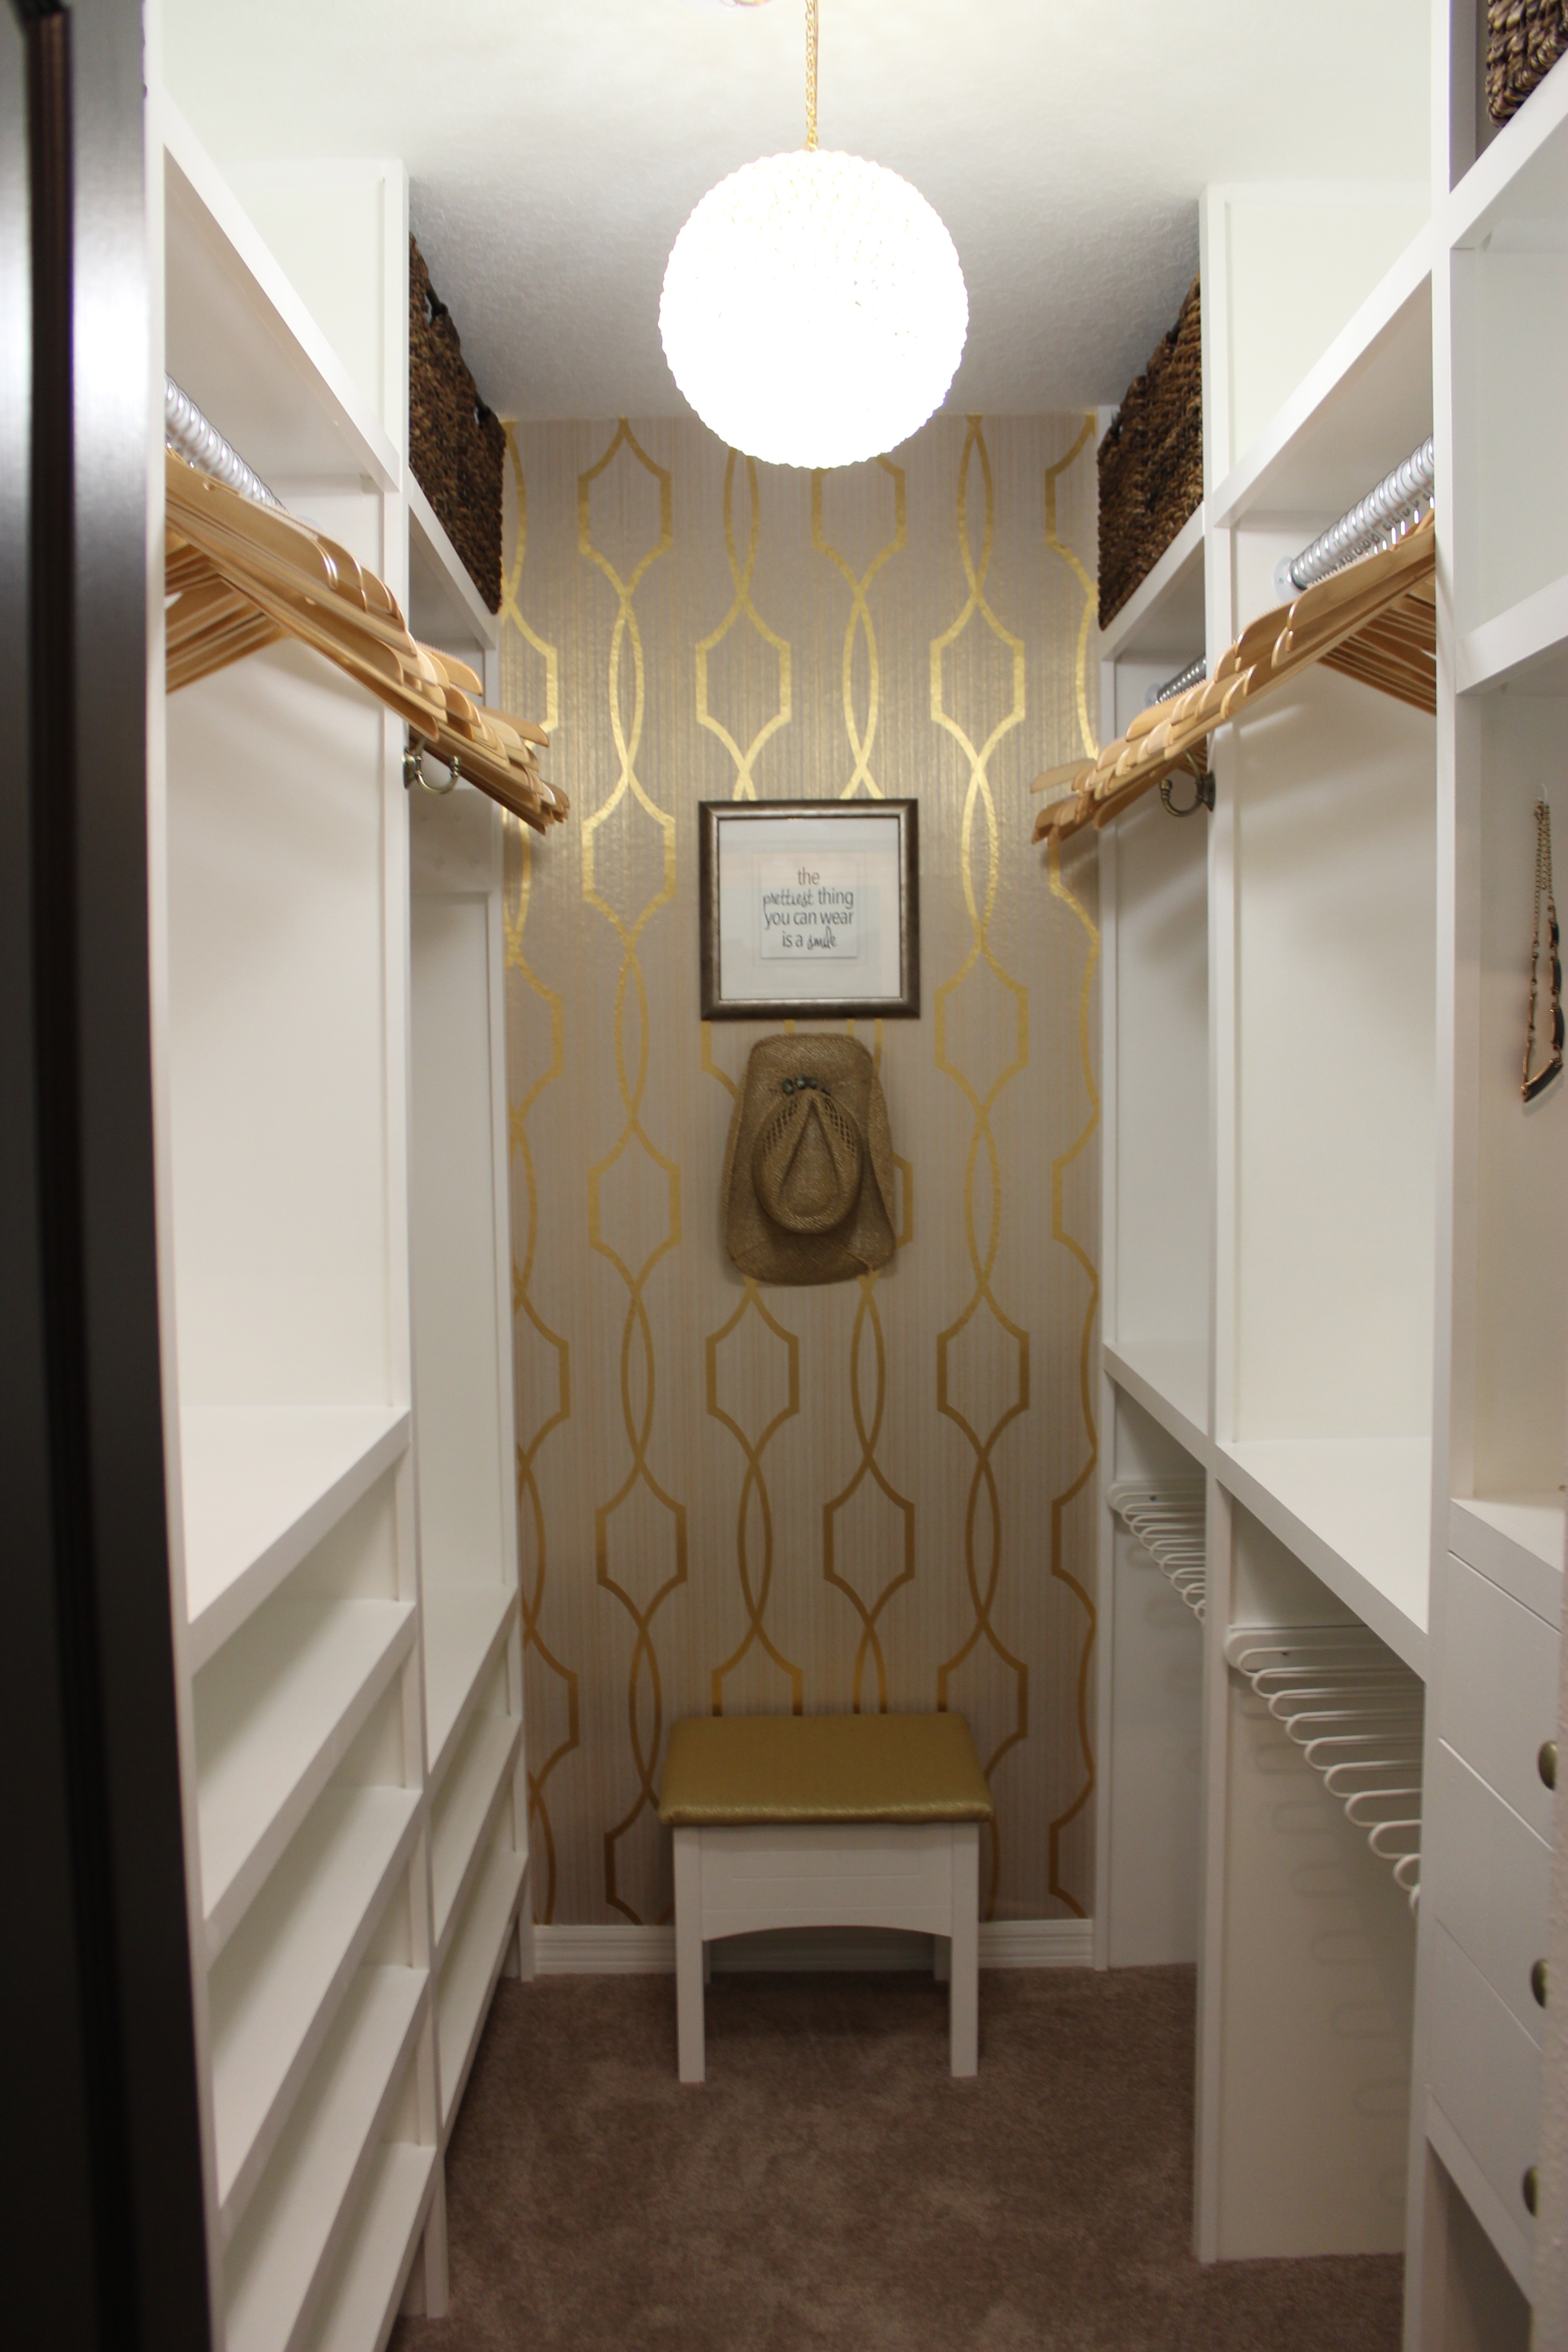
And I didn’t want have time to spend 4 months making his closet into a glam fest like mine. Just something quick, easy & functional.
Basically I wanted his current closet, that has one single hanging row all the way across, to be double hung everywhere. This was my sketch using the PAX frames from IKEA:
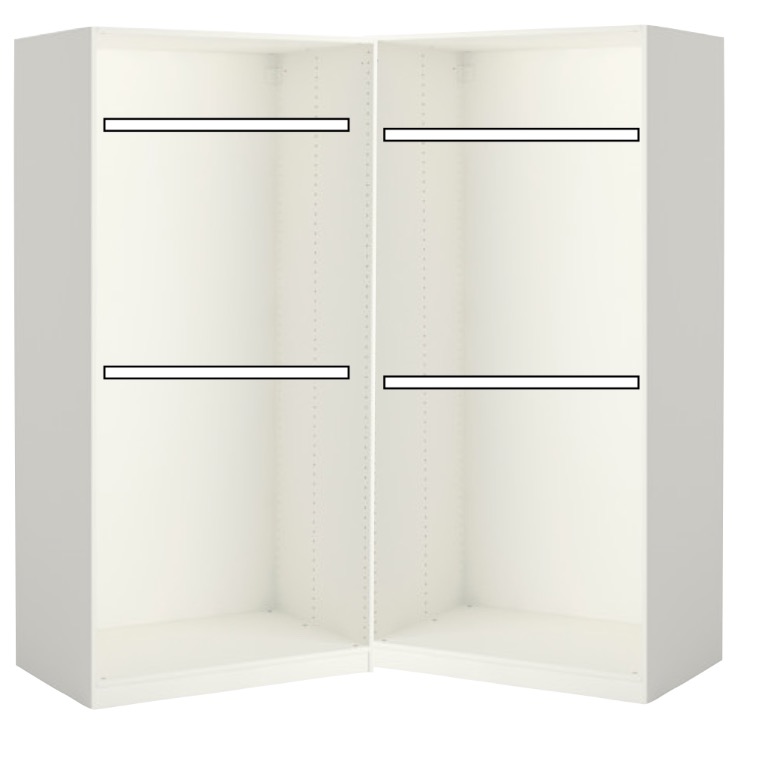
And this is drawn to scale. They didn’t fit exactly perfect, but I figured it was close enough and would provide the most amount of storage, and maximize the space as much as possible.
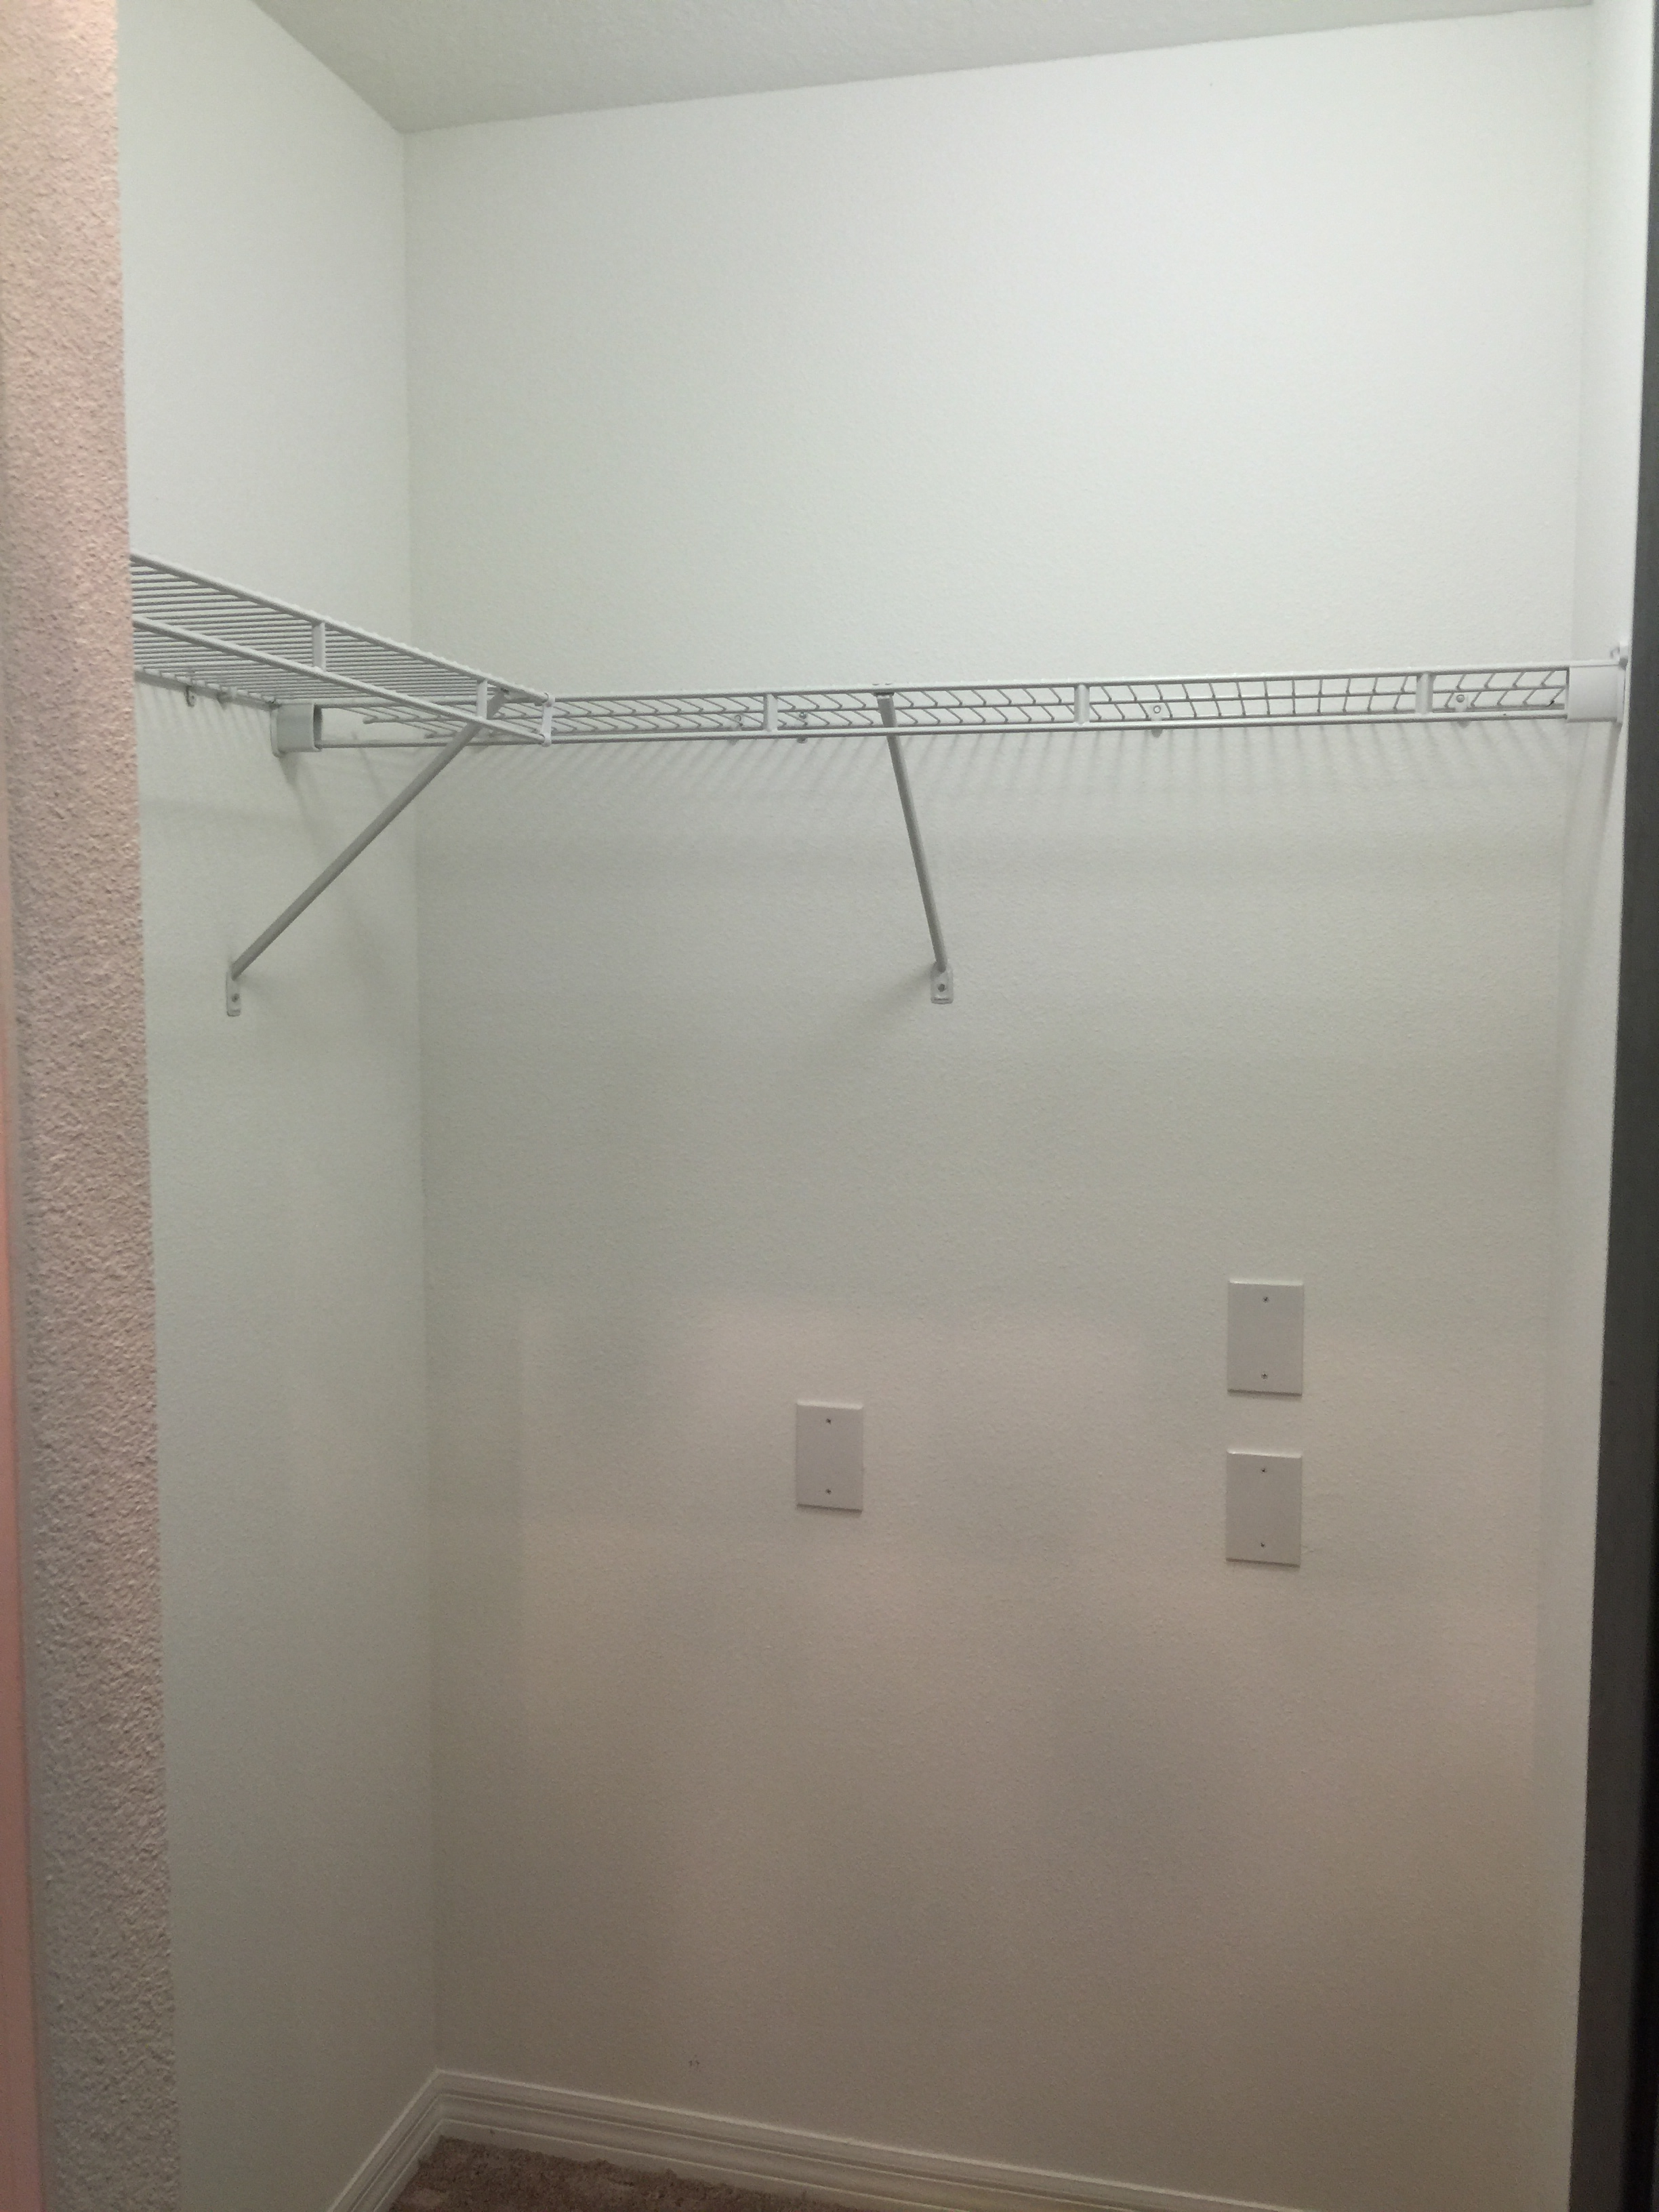
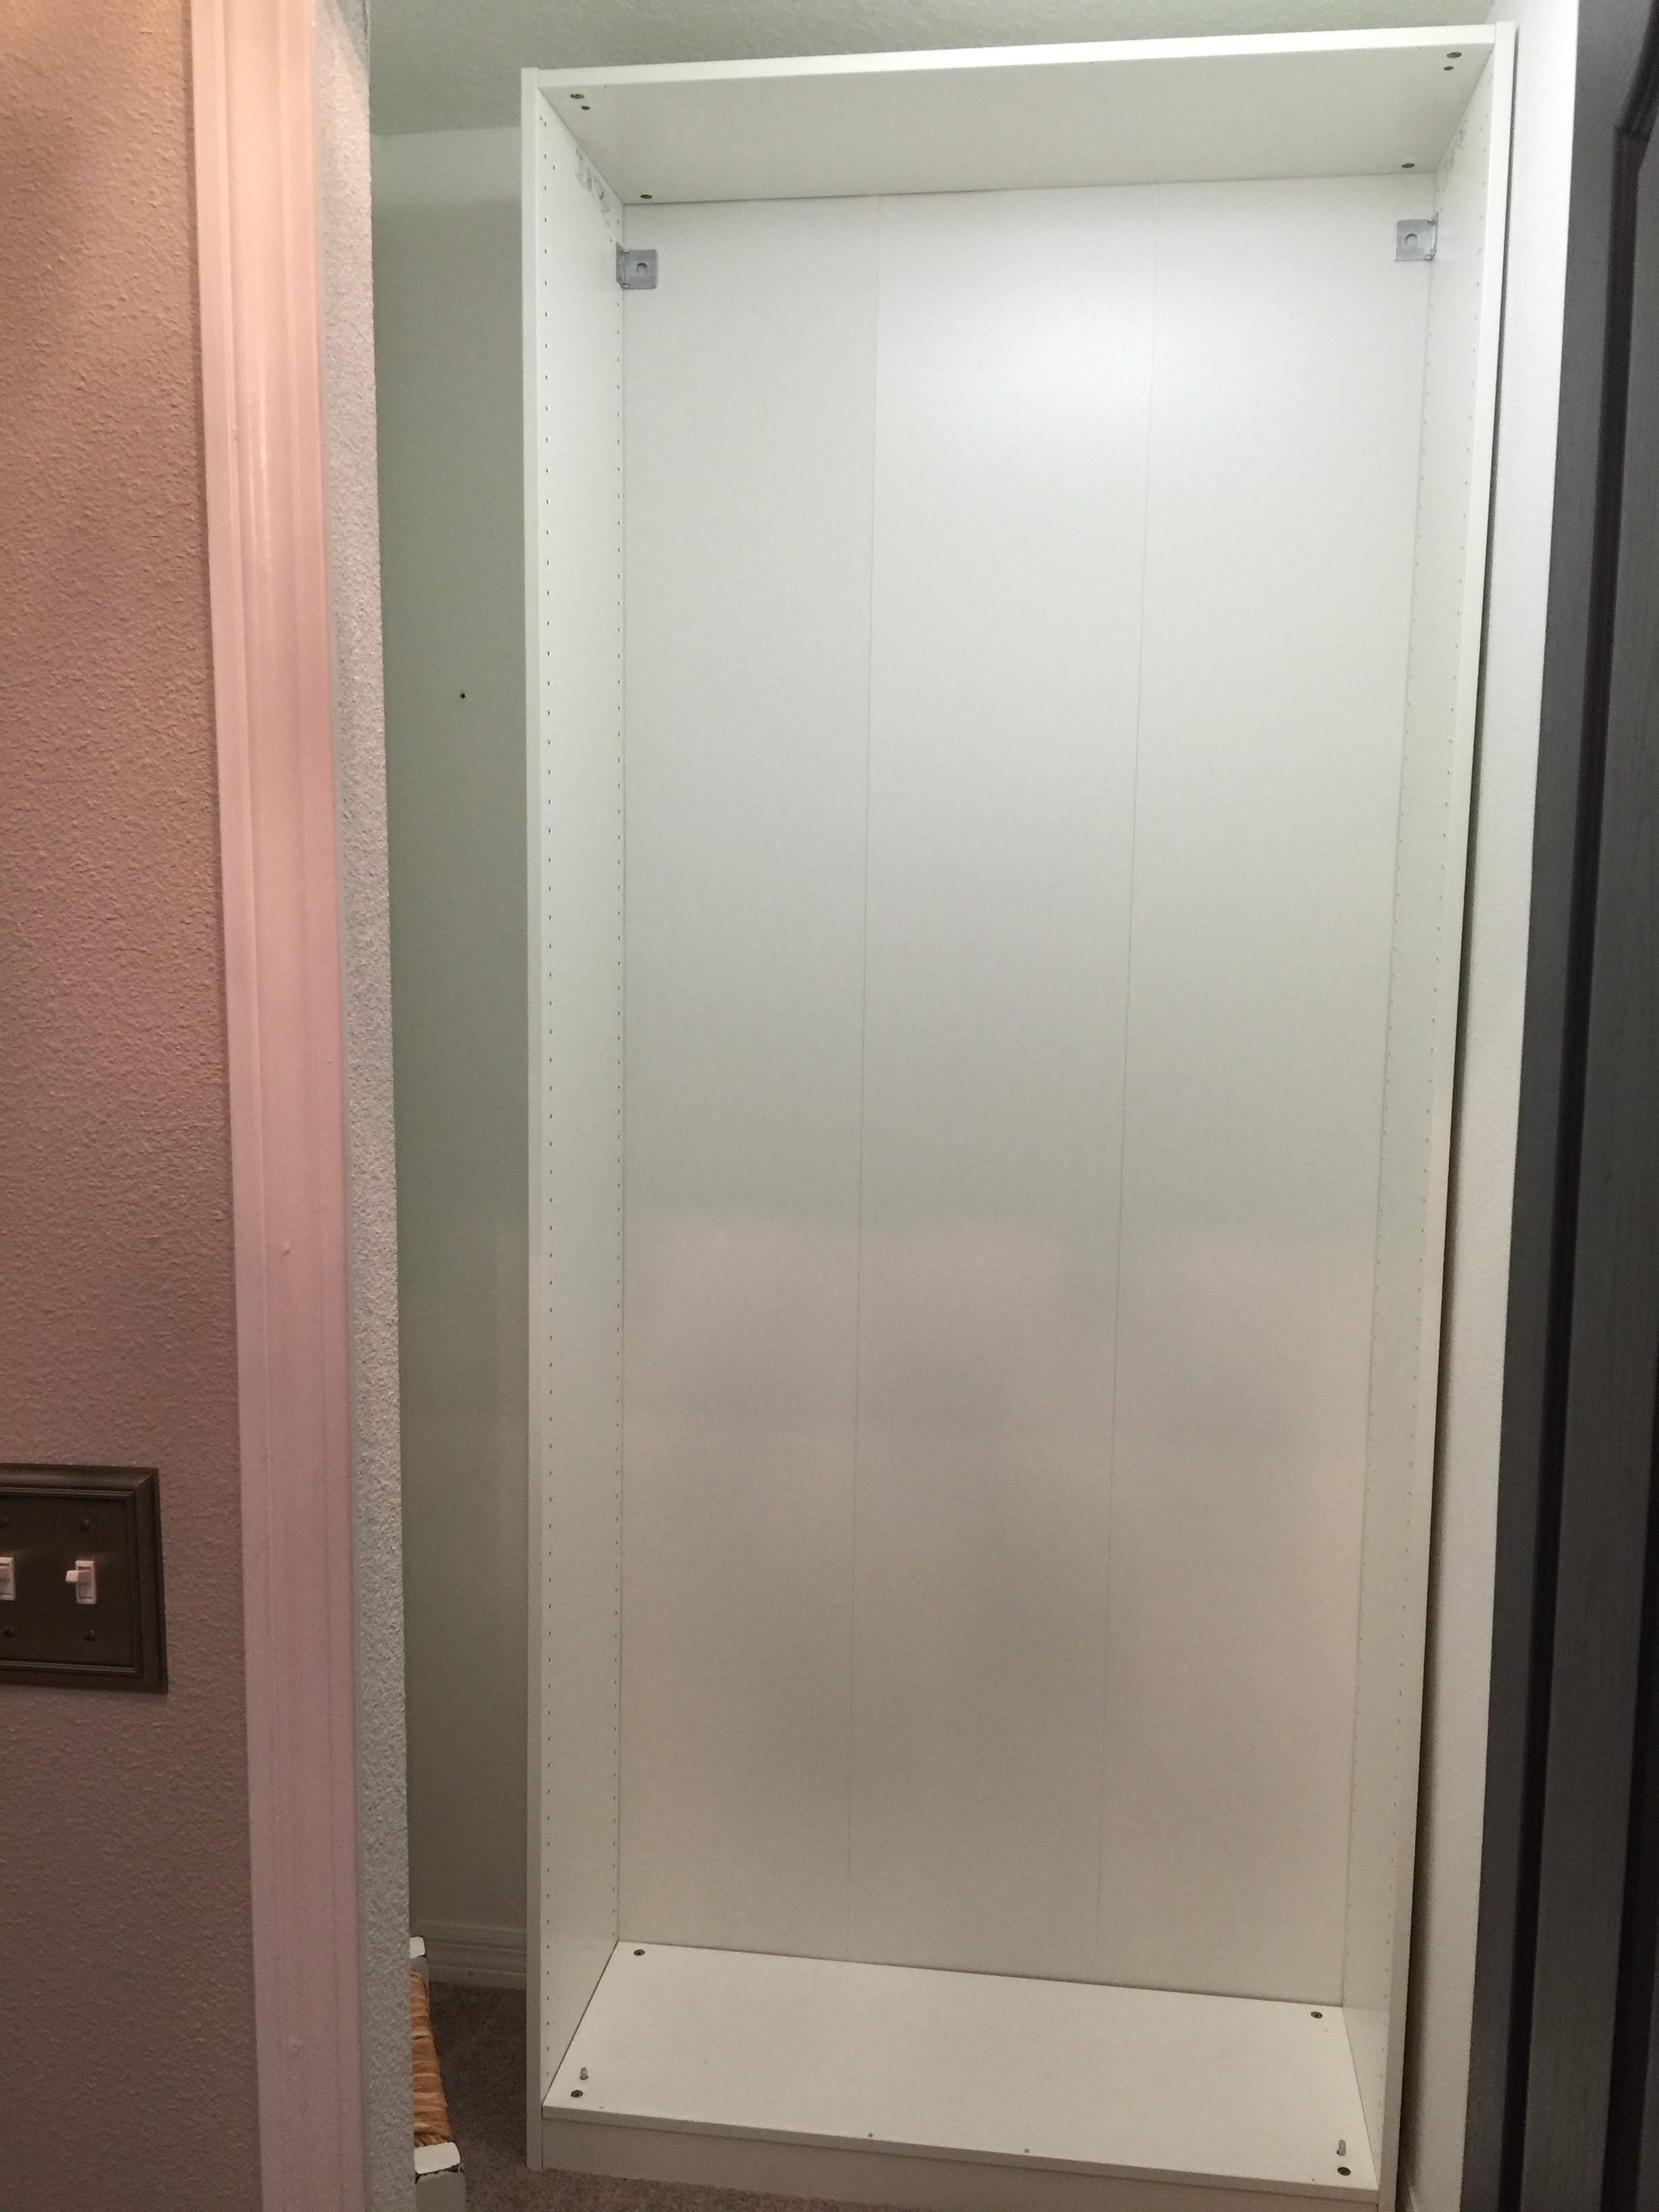
So I started by removing everything in his master closet.
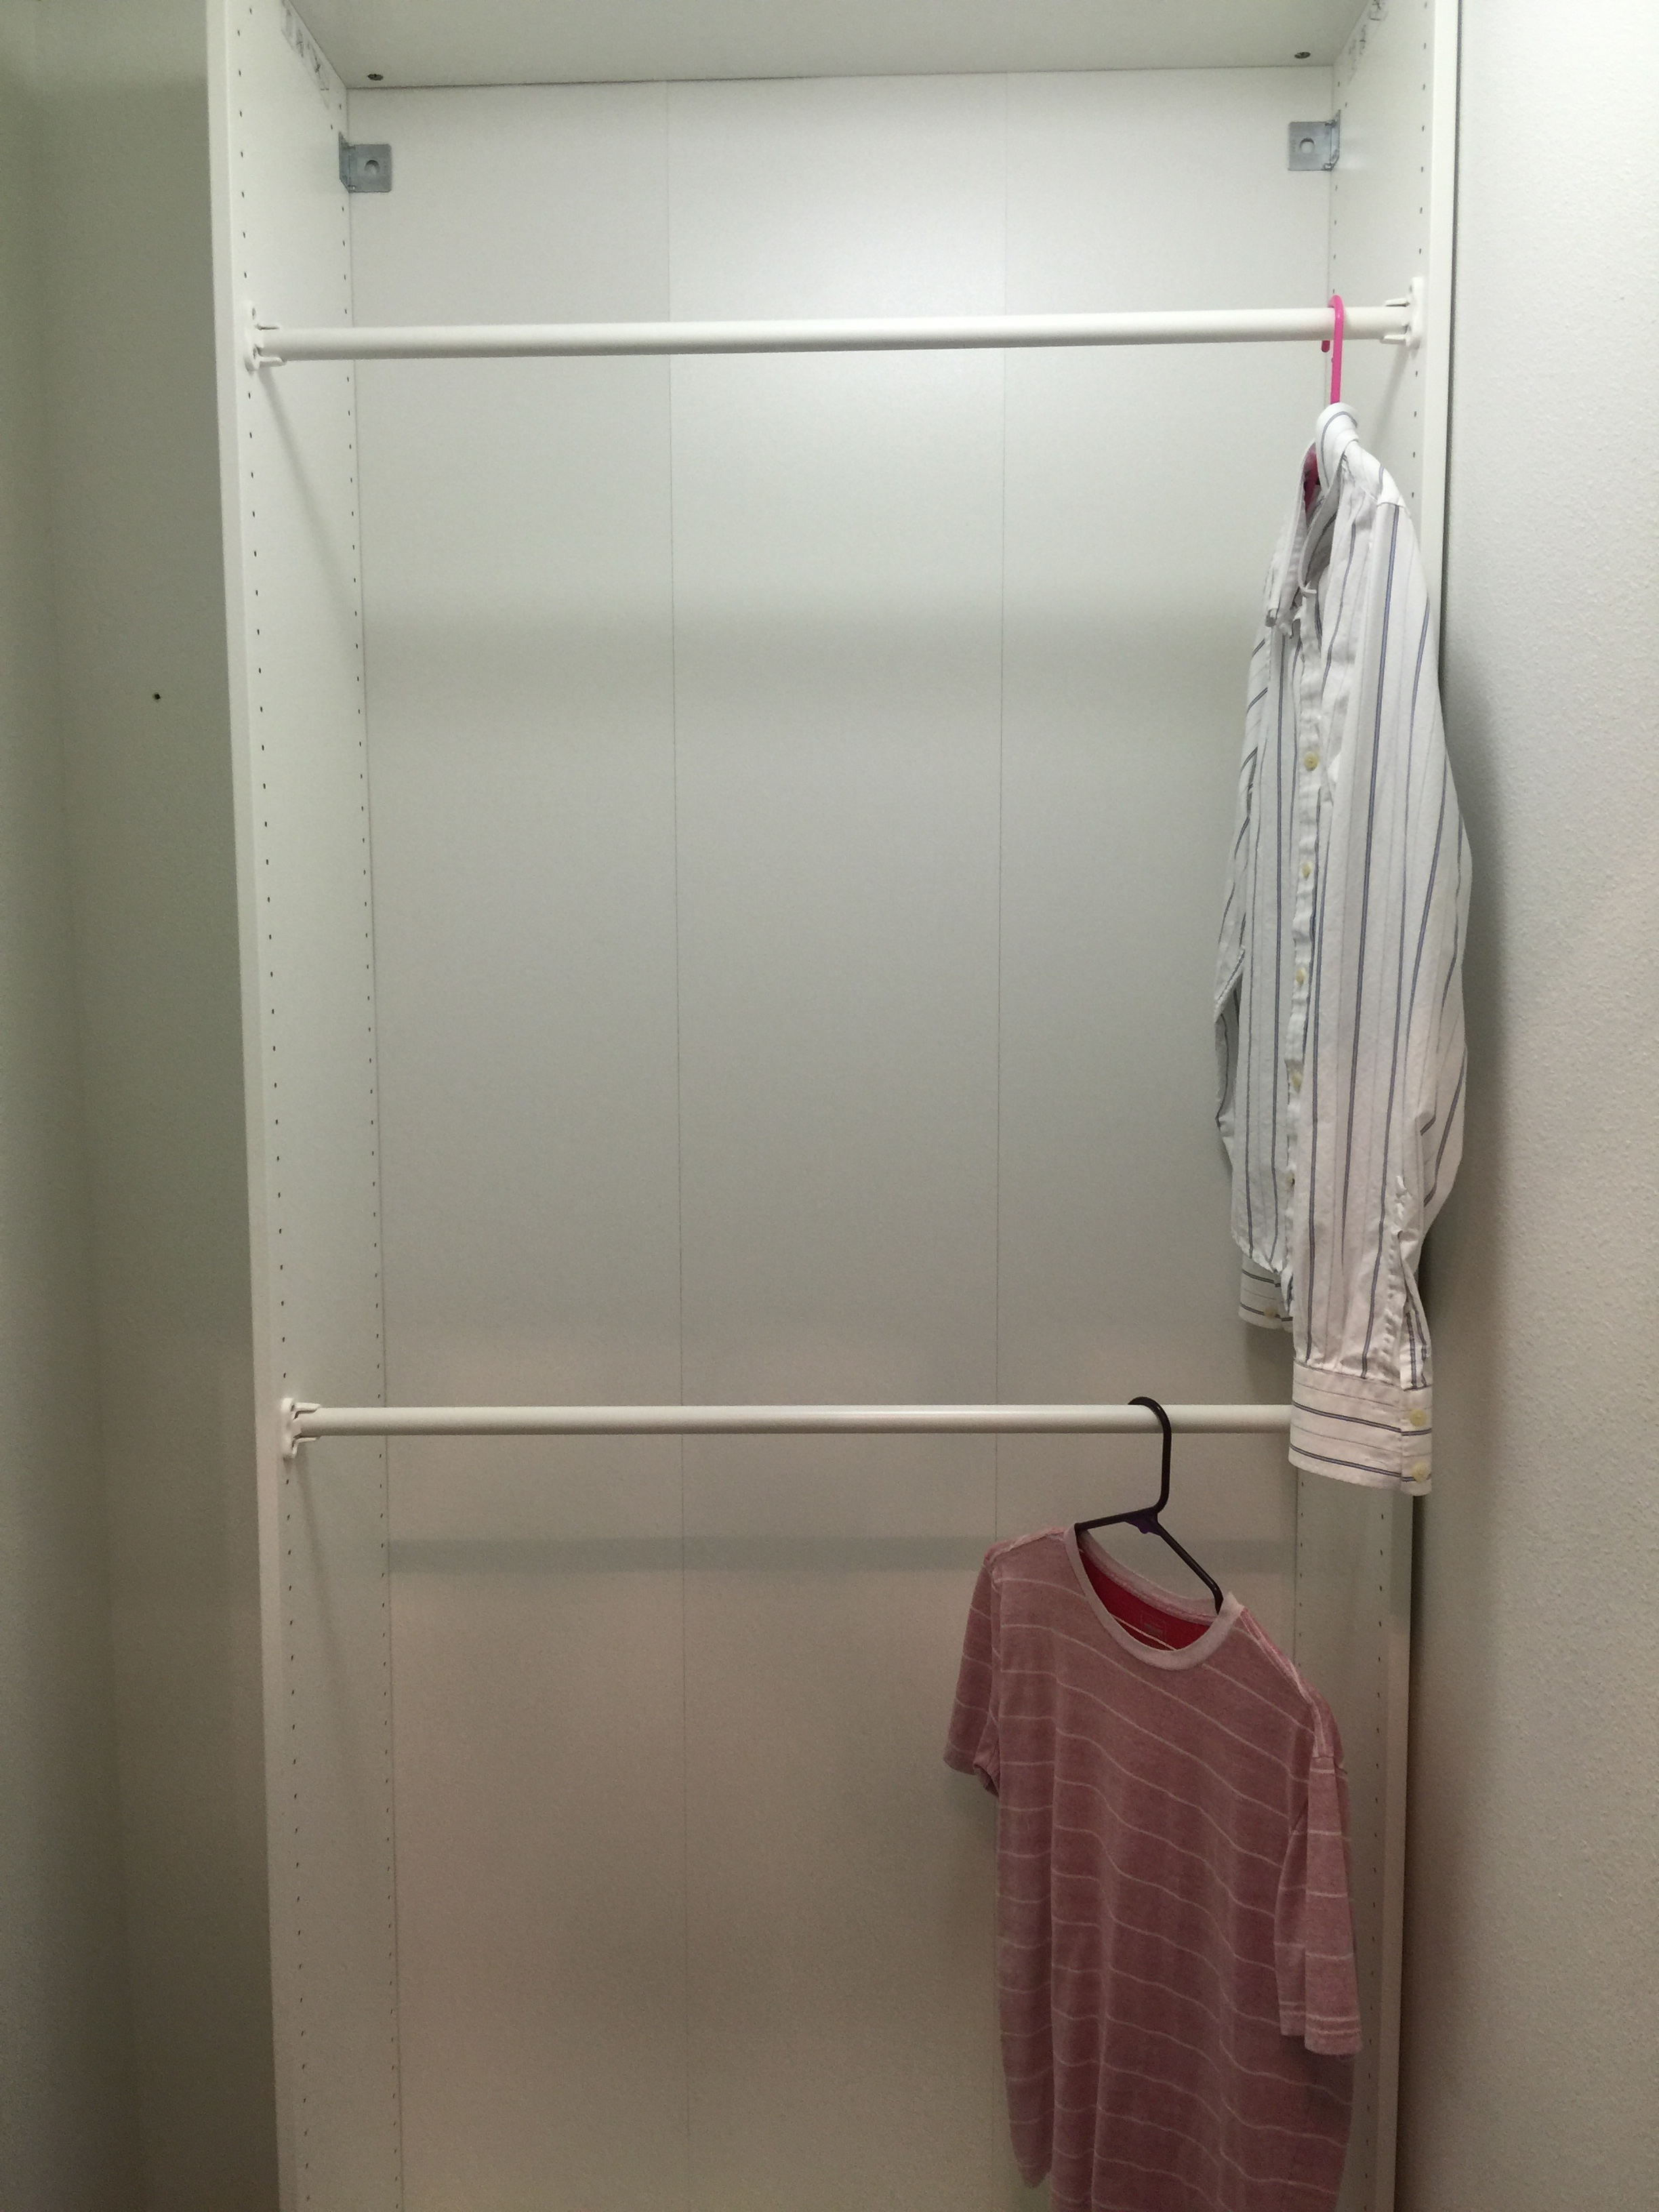
And put together my first IKEA PAX frame. Getting it in the closet was pretty tricky. I actually had to build most of it IN the closet because it wouldn’t fit after already built. And yes, I learned that the hard way.
I used a couple of his shirts as measuring guides for where to hang the bars (purchased separately).
After getting the first frame built in the closet I realized there was no way I was going to be able to build and fit another frame in there. So I quickly came up with Plan B which was to install my own shelf and bar directly to the walls. I bought this white laminate shelf and these brackets from Lowe’s and cut the shelf to the size of the closet using my mitre saw.
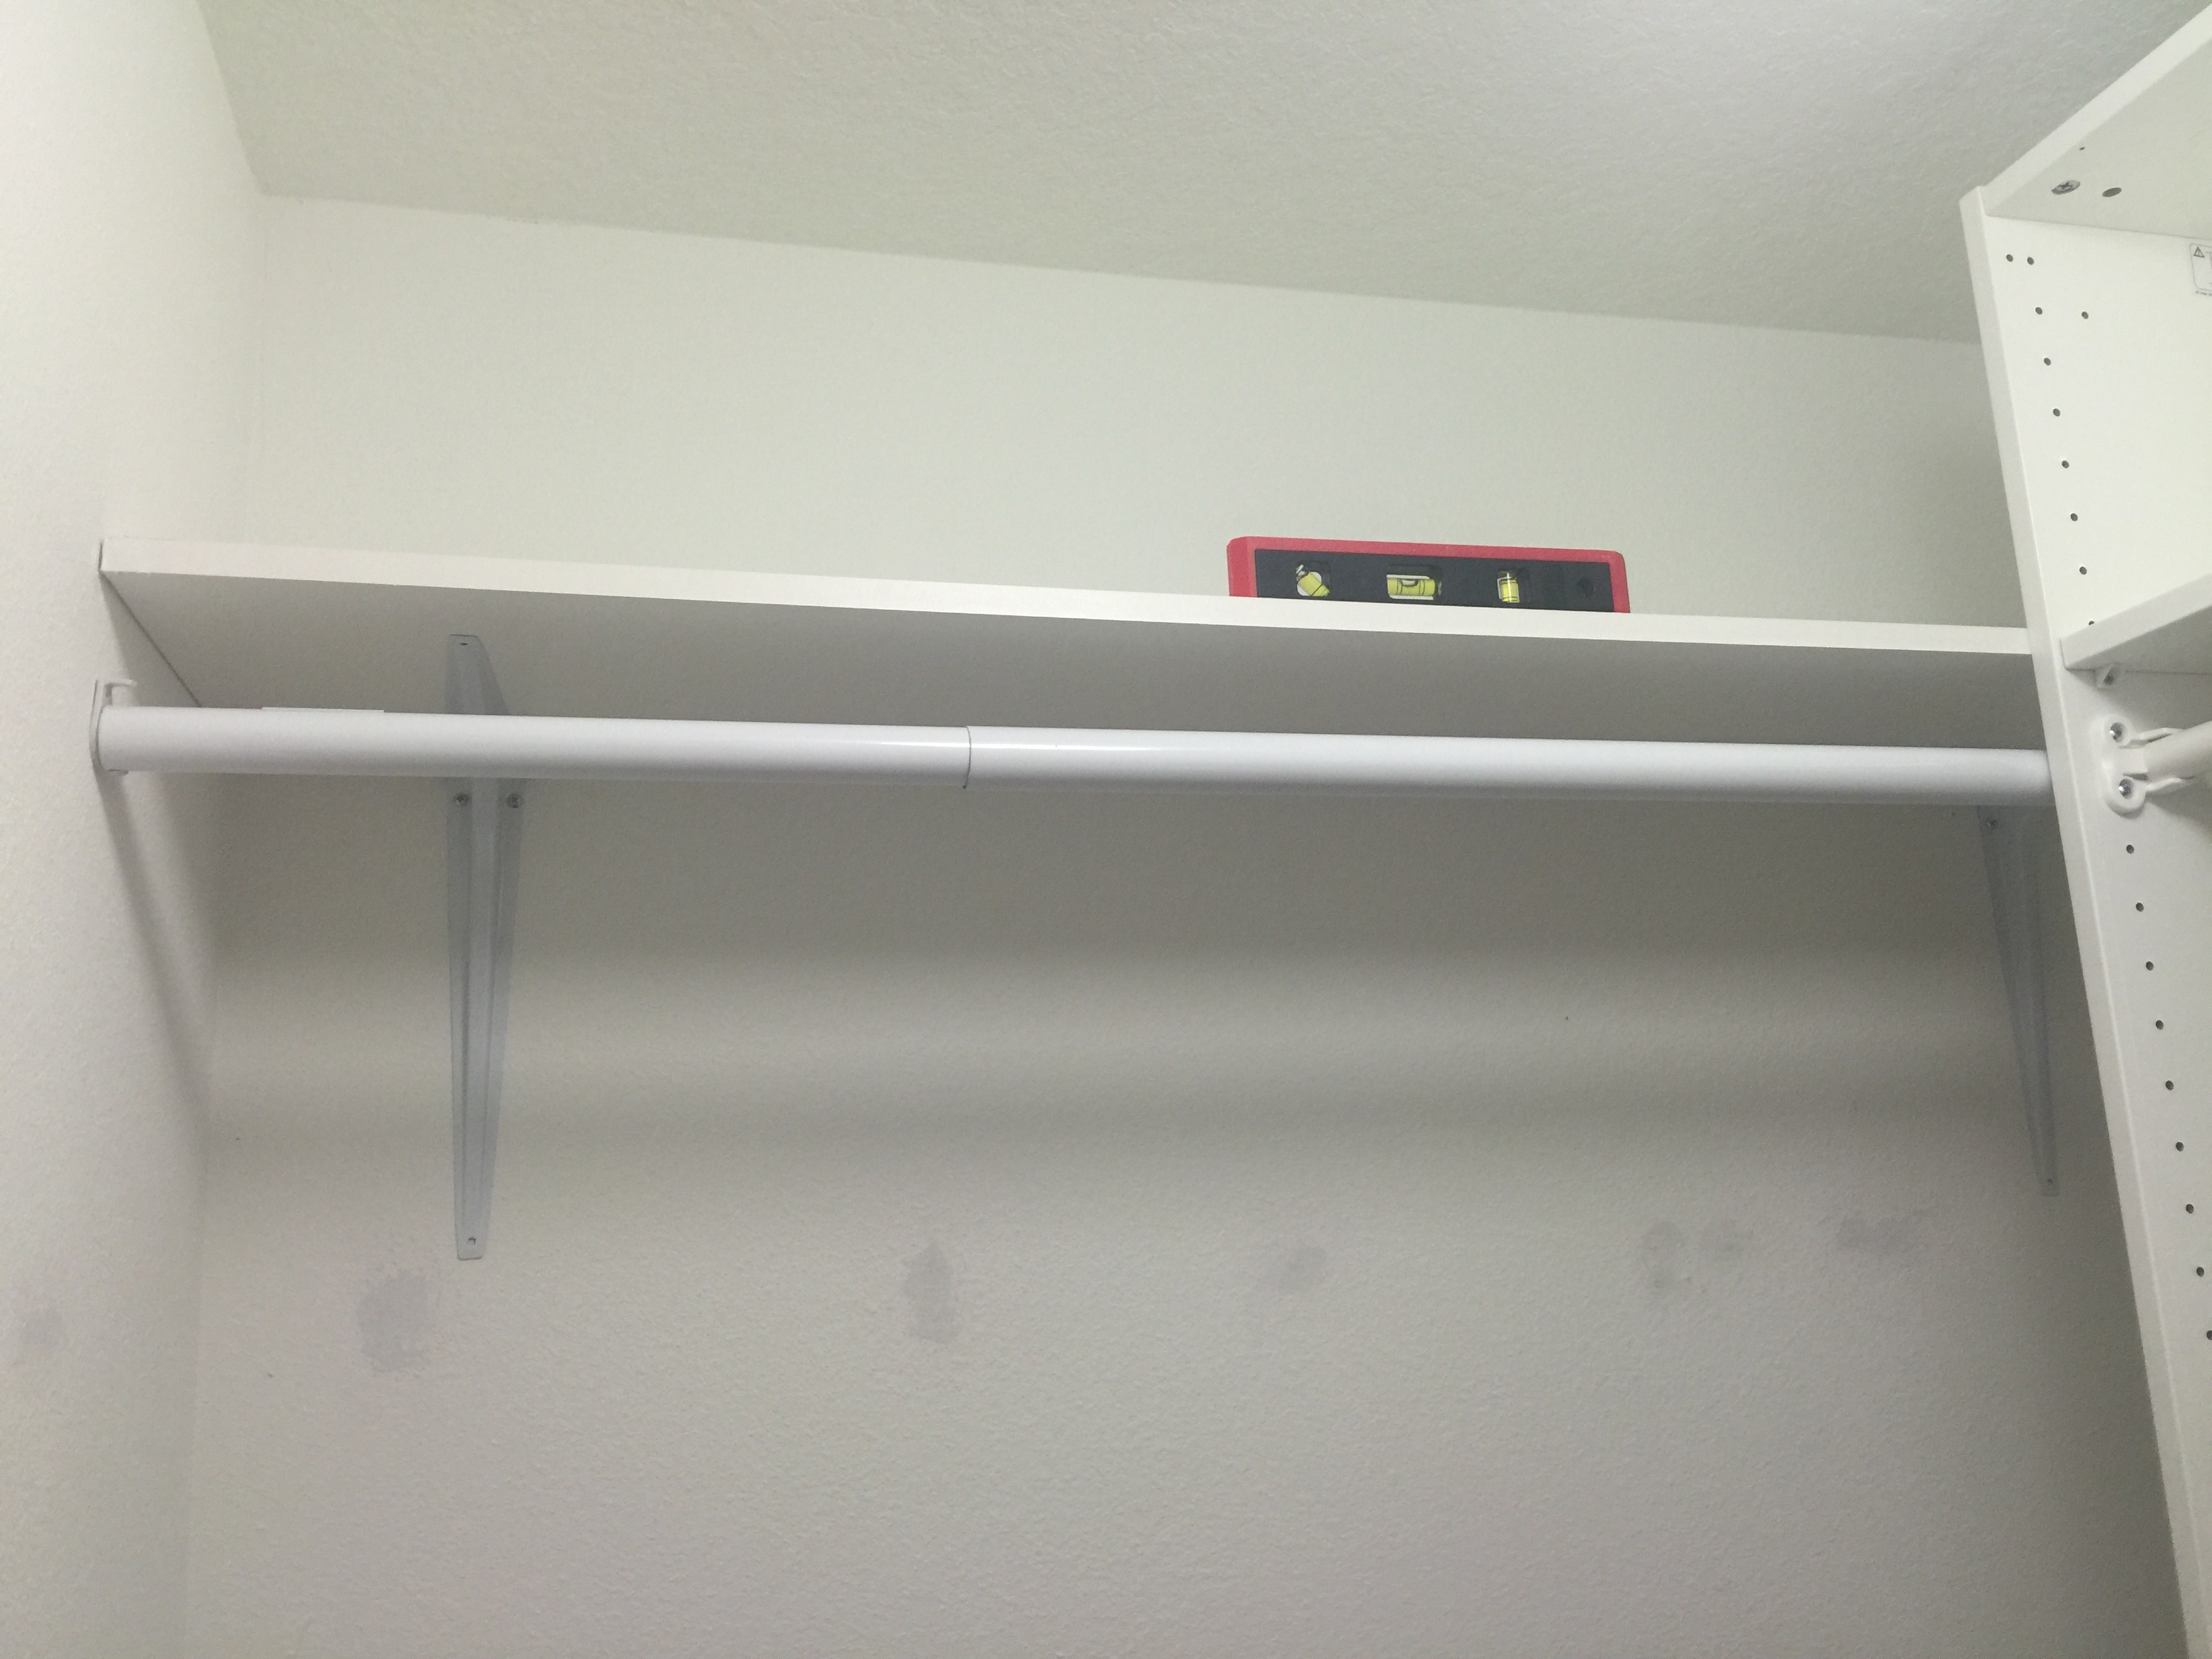
I hung this extendable closet rod below the shelf, that I bought from Lowe’s also.
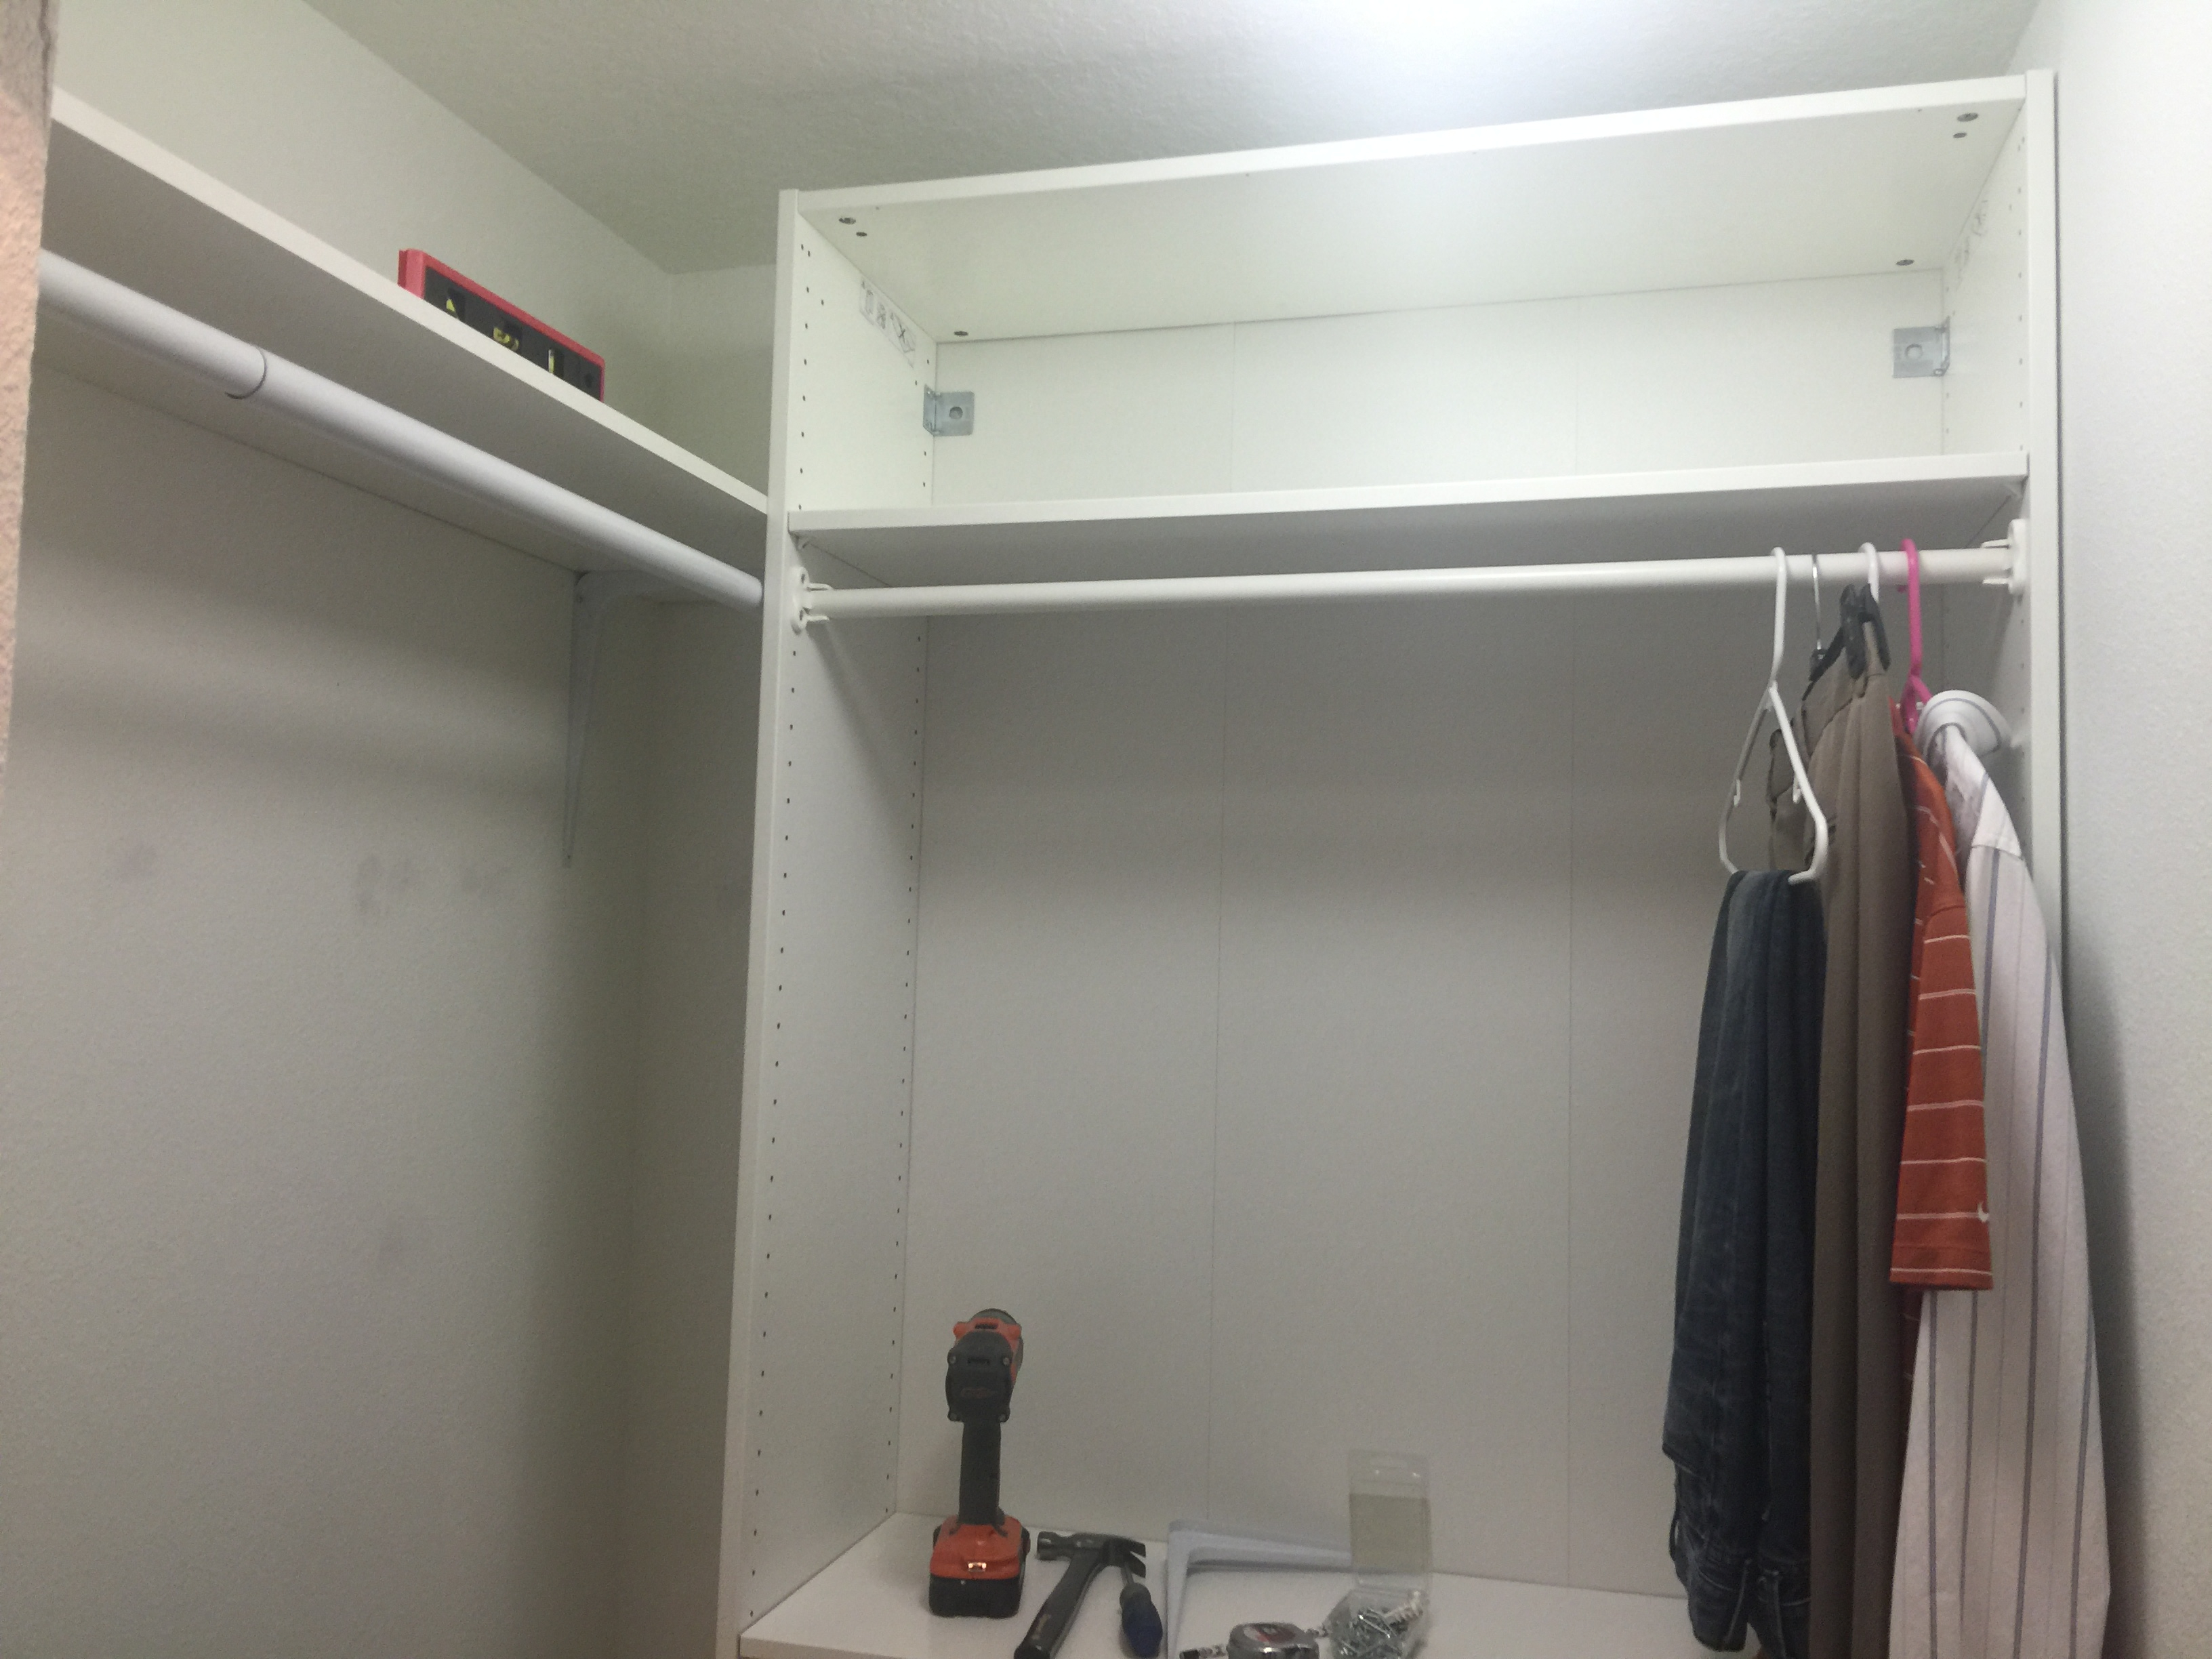
I decided to only go with one shelf and bar on the left side of the closet, contrary to my original plan, because I knew I was going to use this side for him to hang pants. And if there were two shelves and rods, the pants wouldn’t exactly fit. I would use the extra space at the bottom for him to put his shoes.

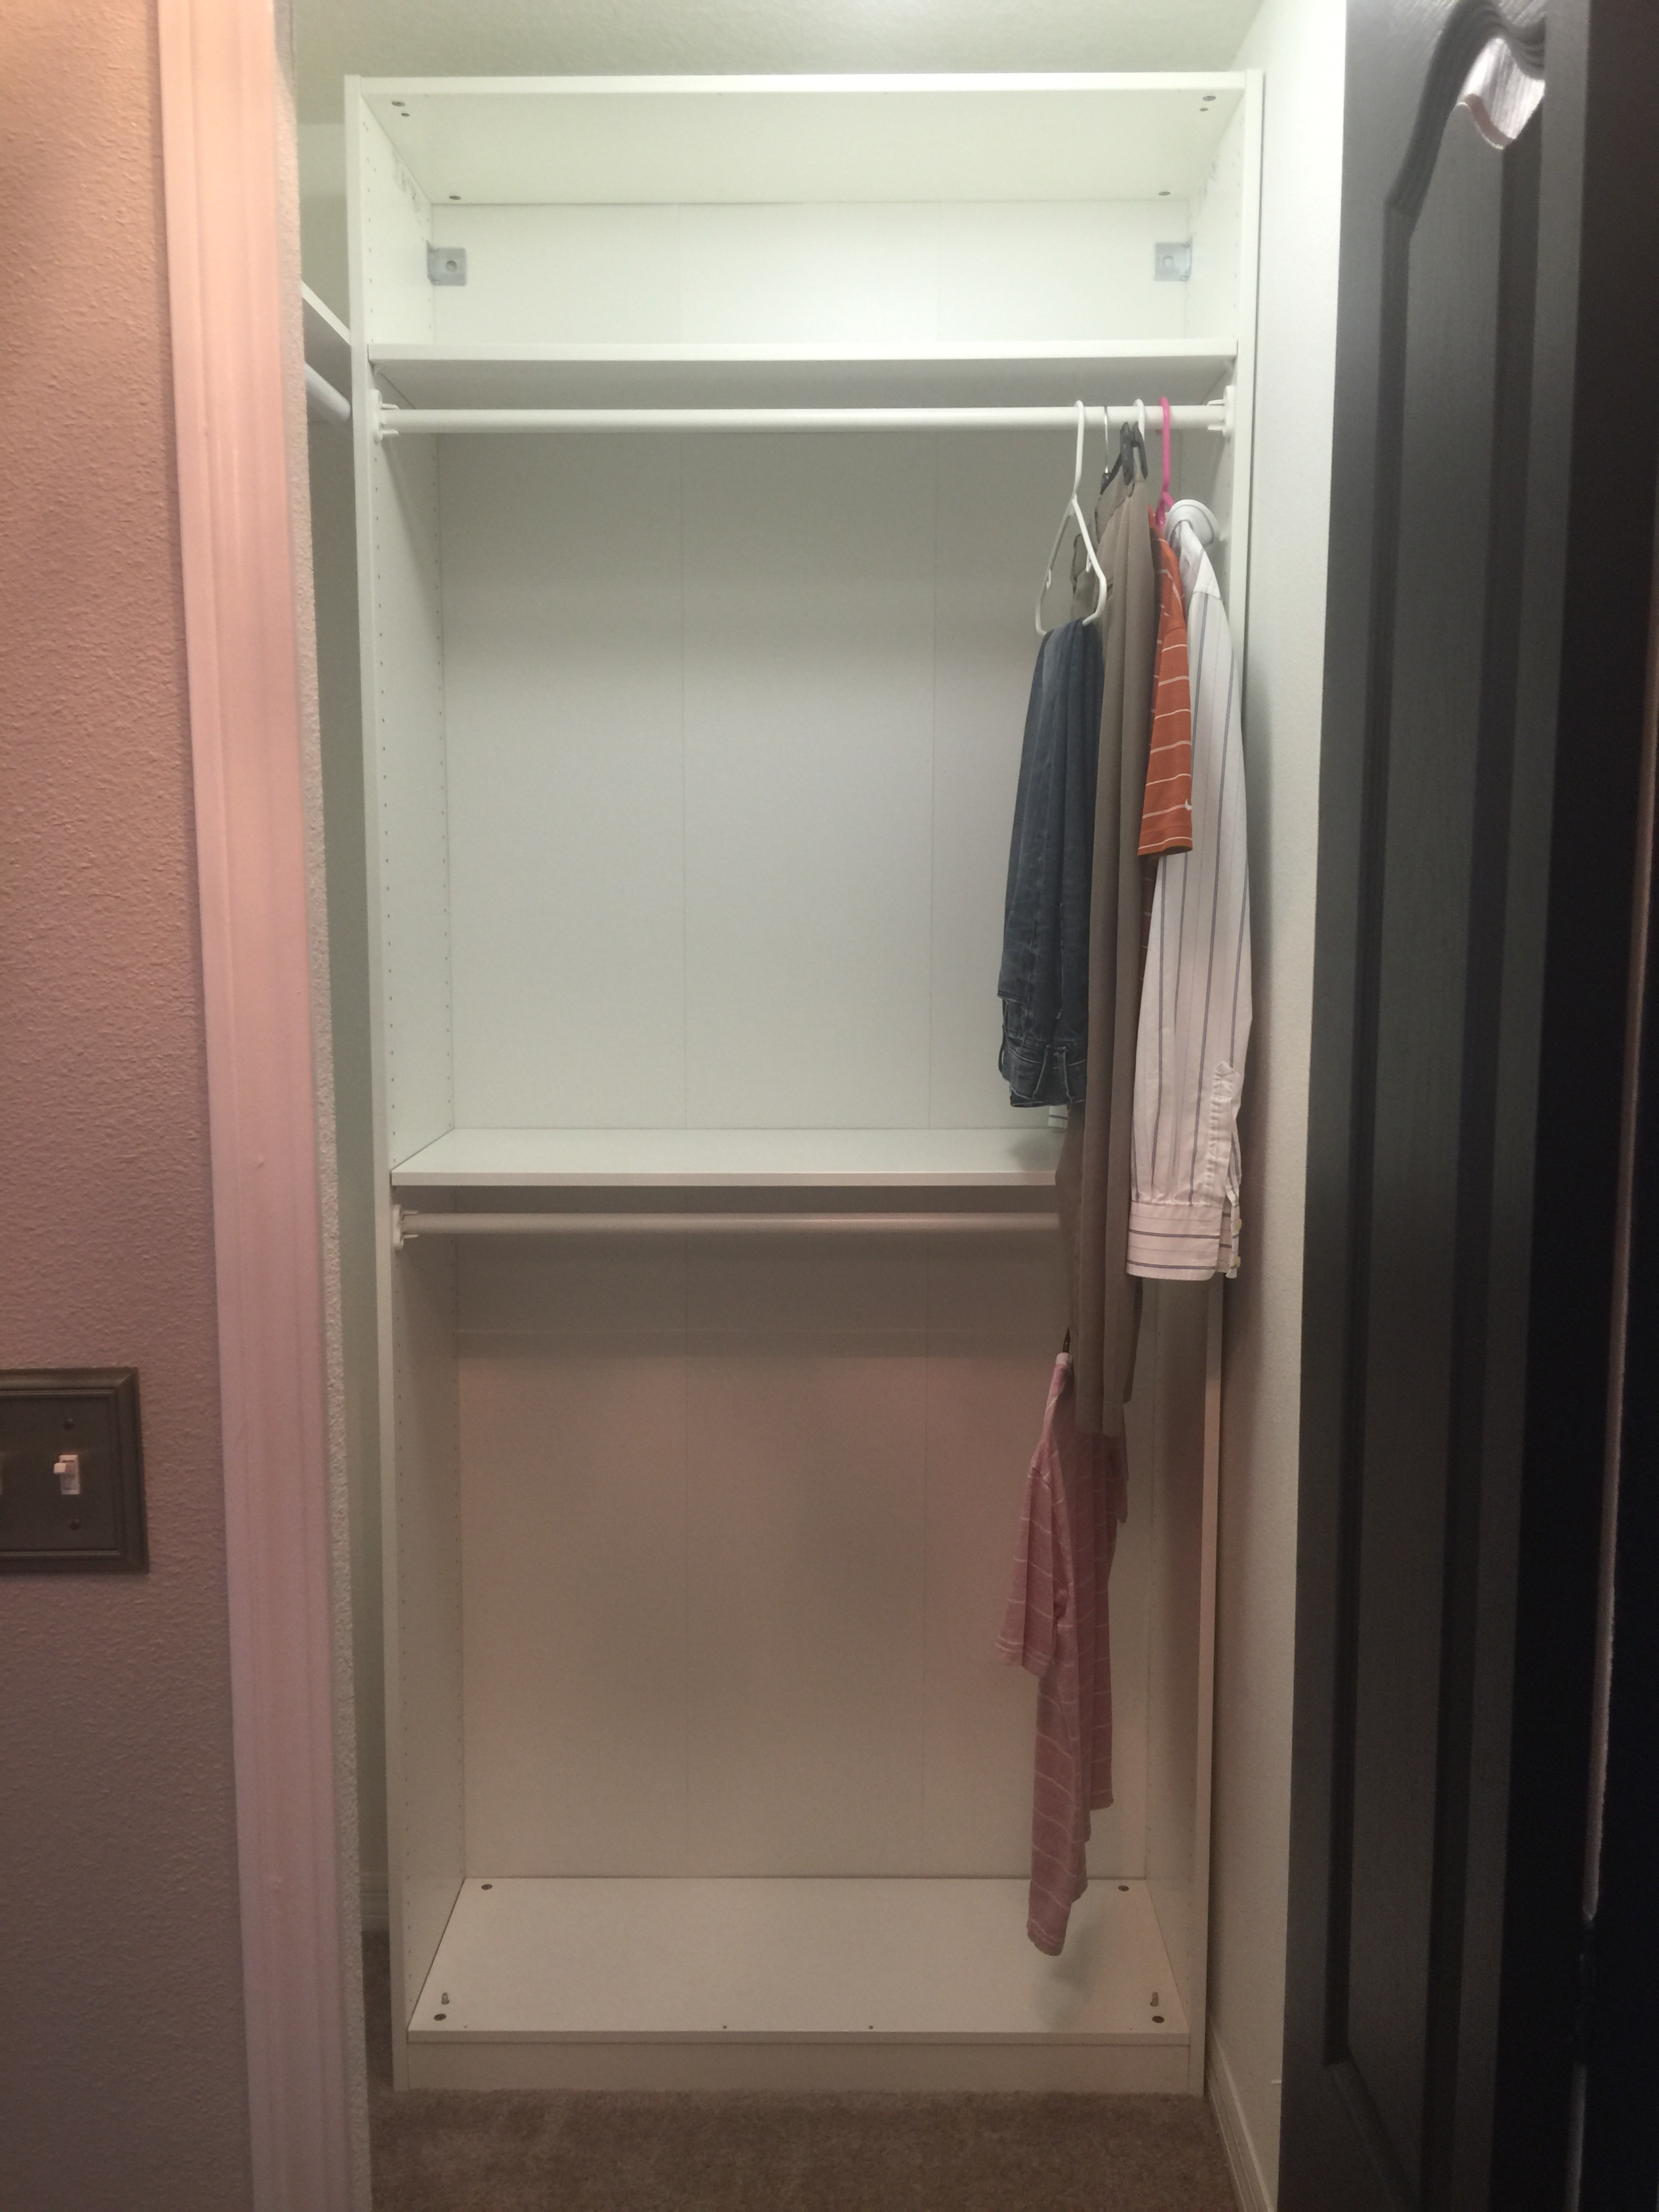
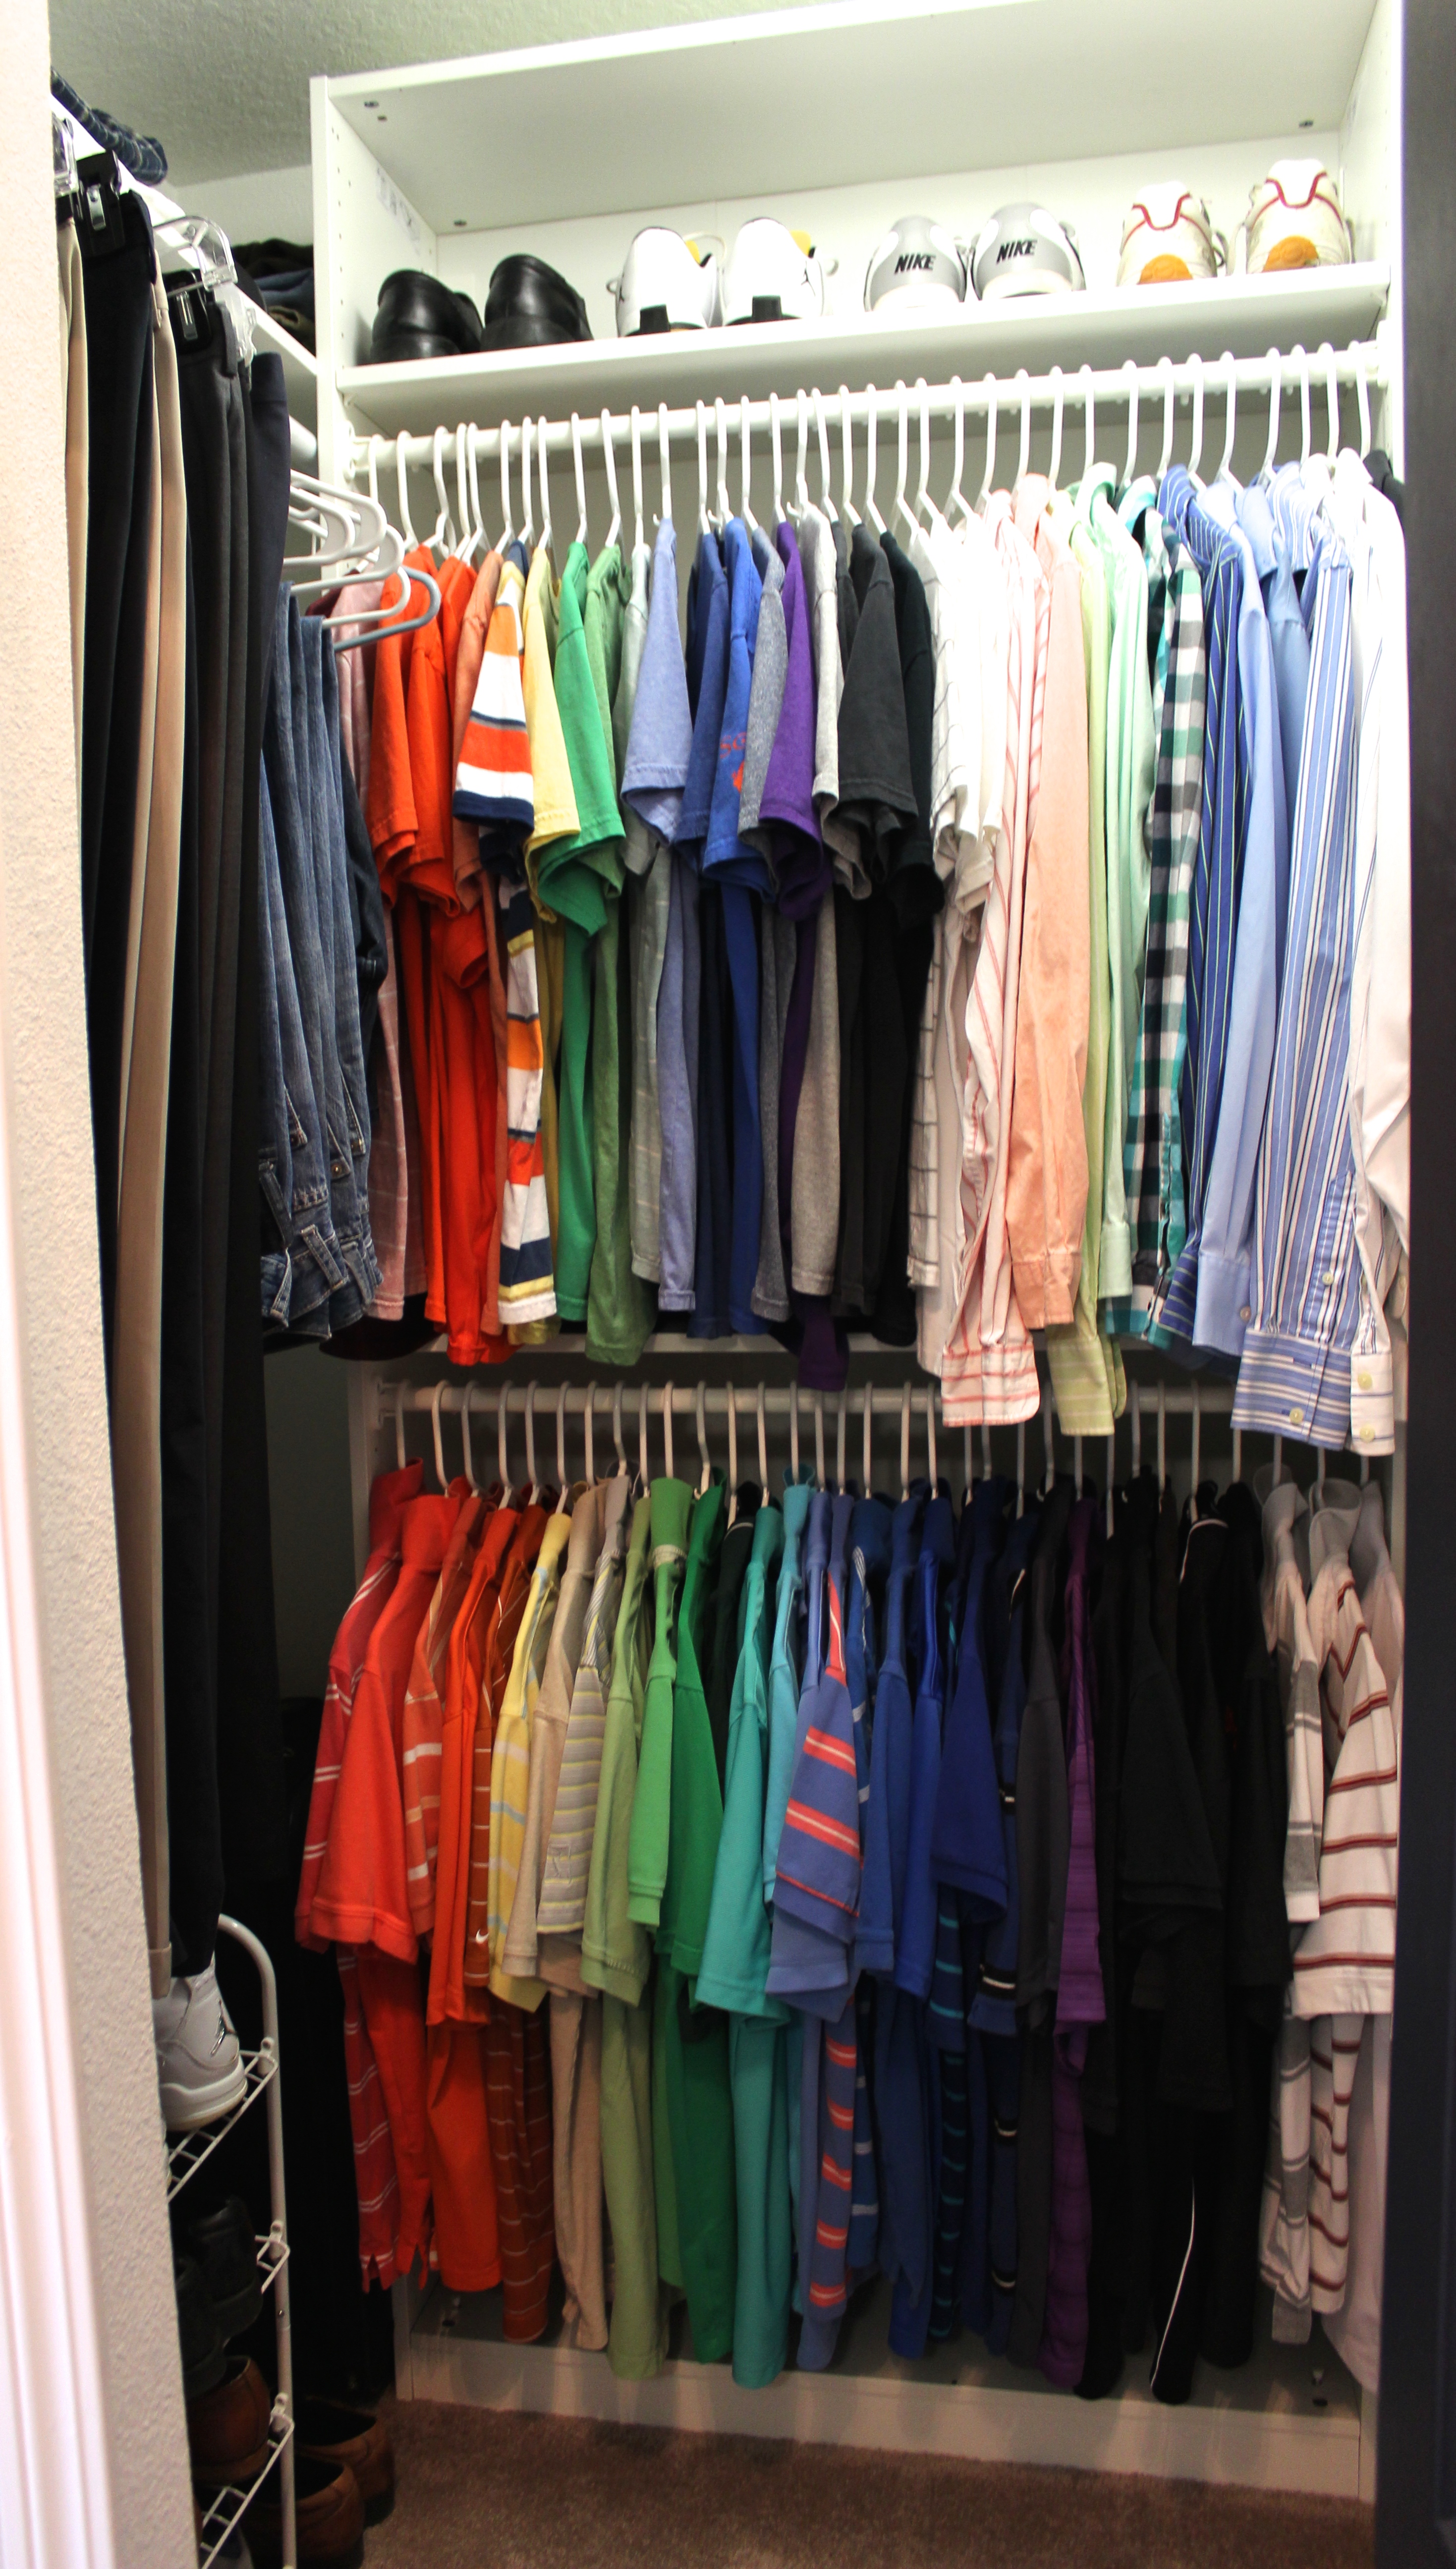
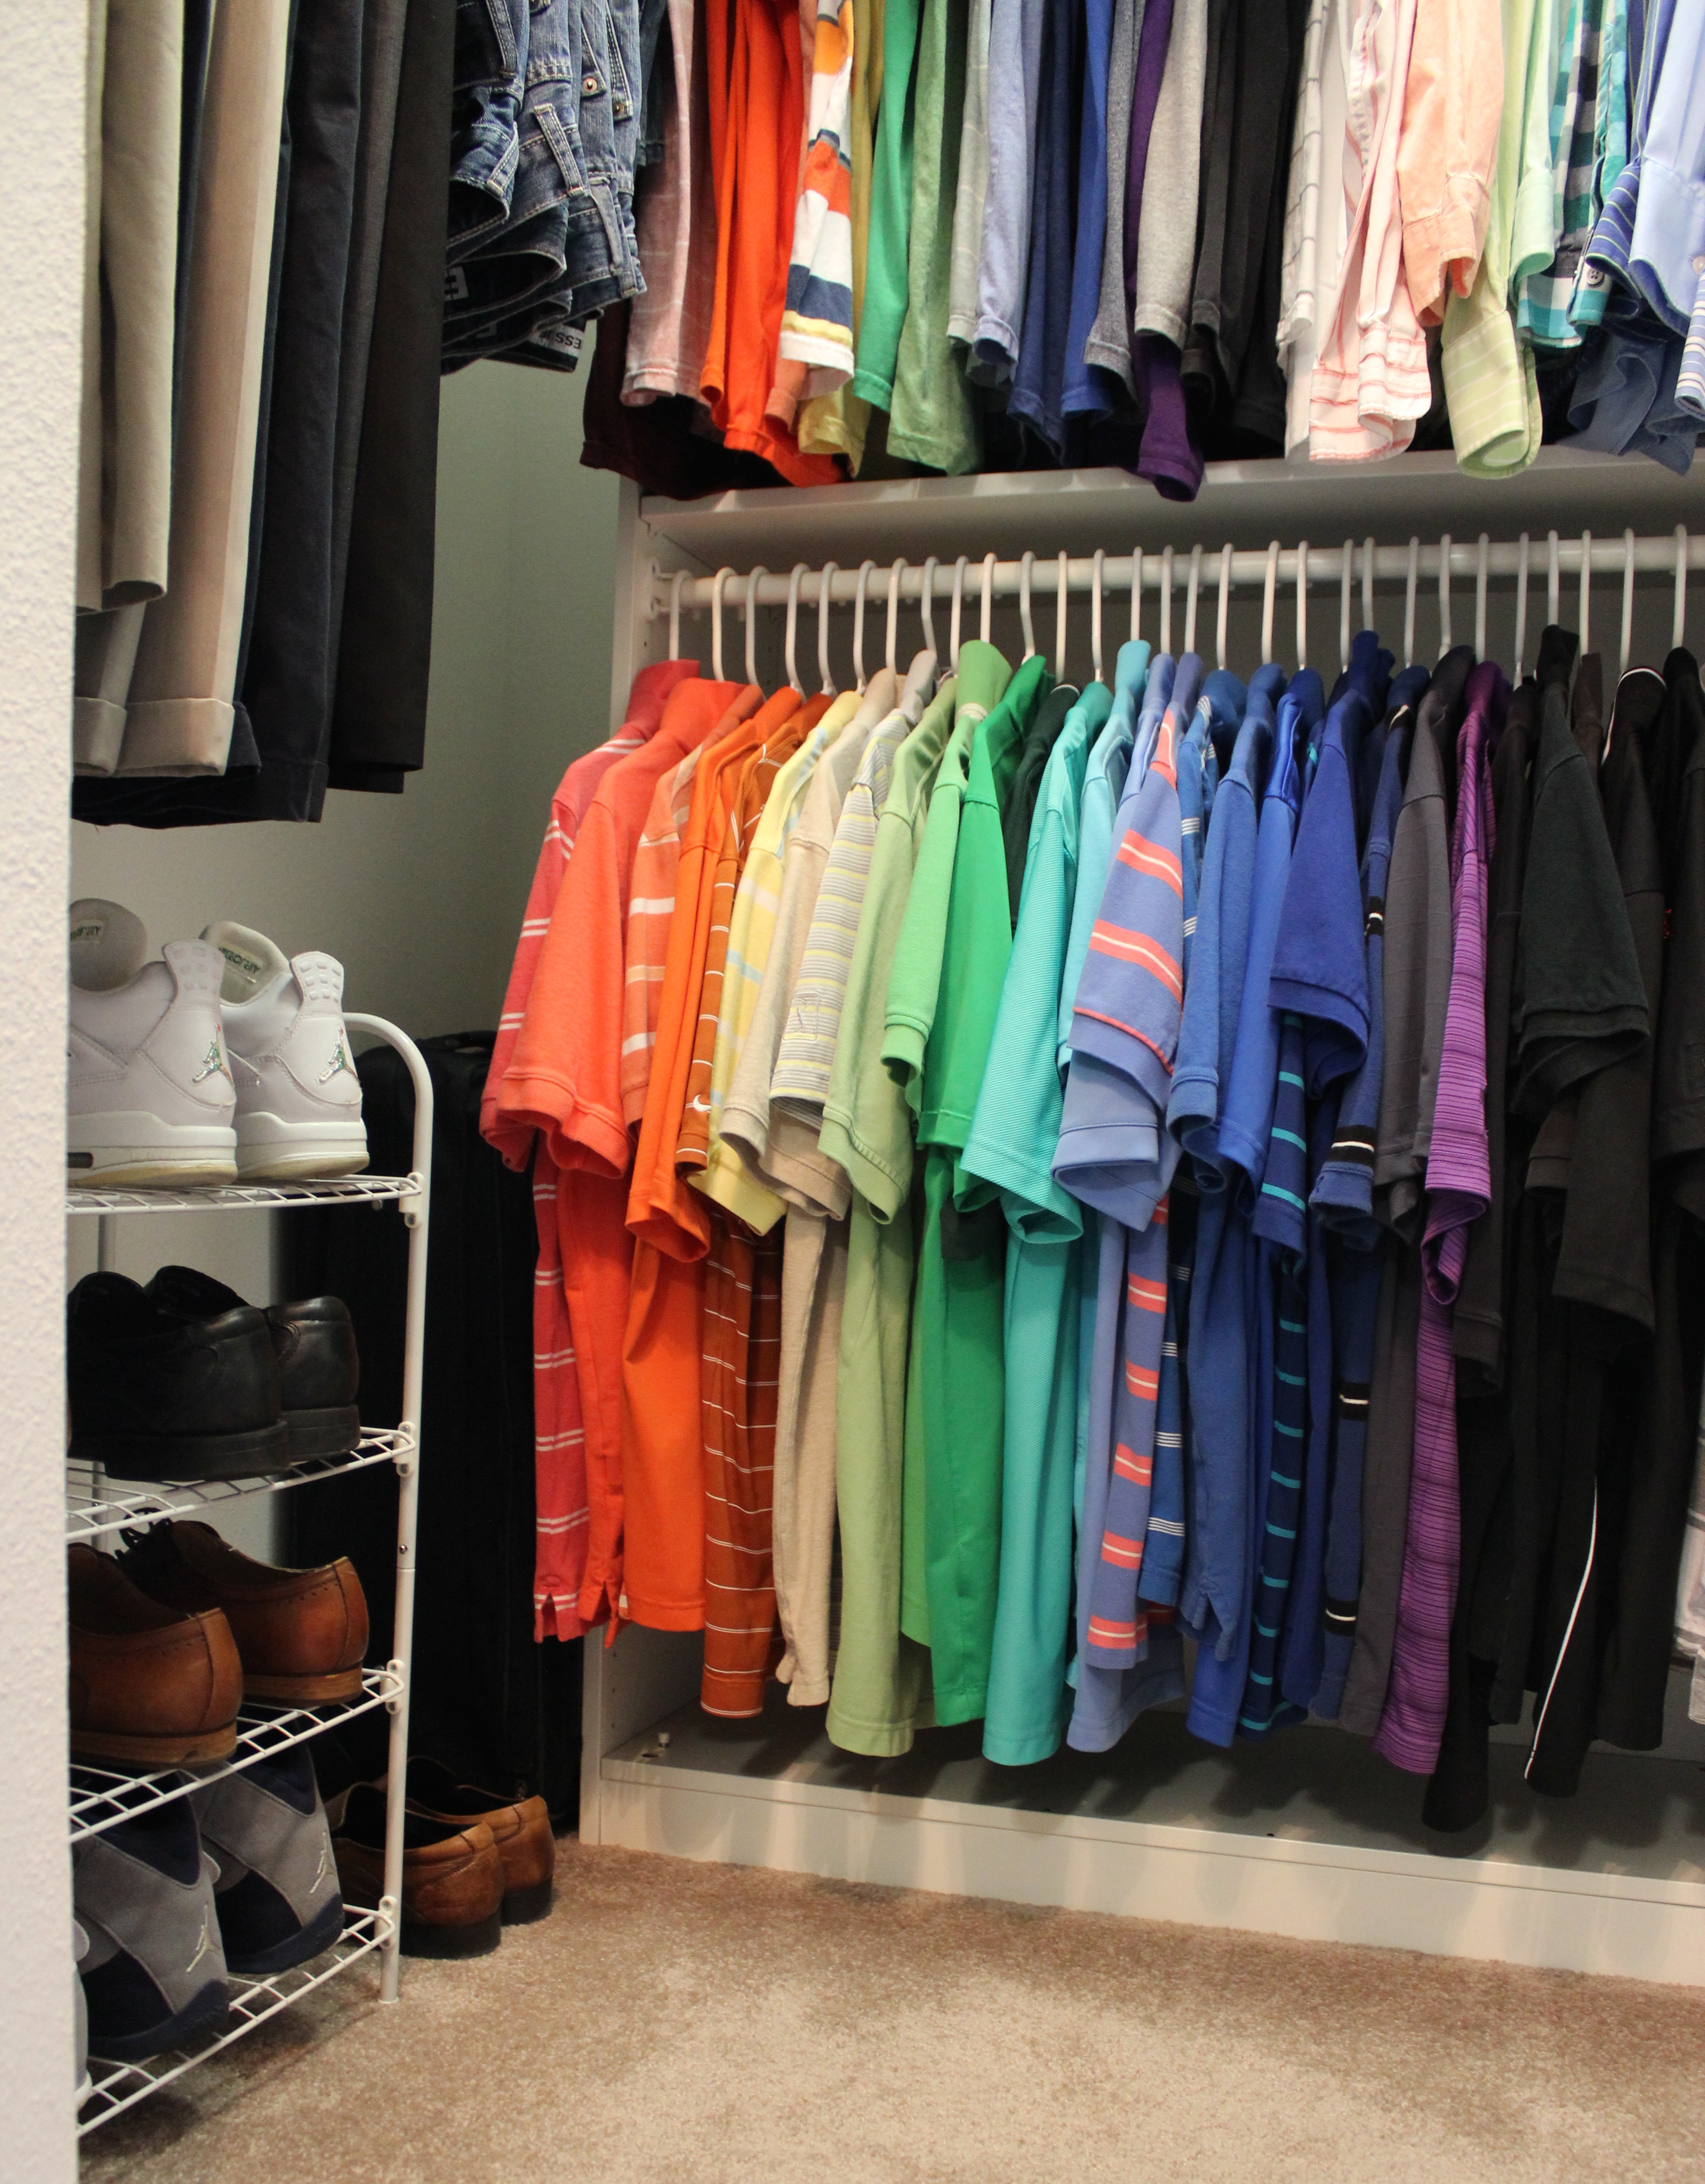
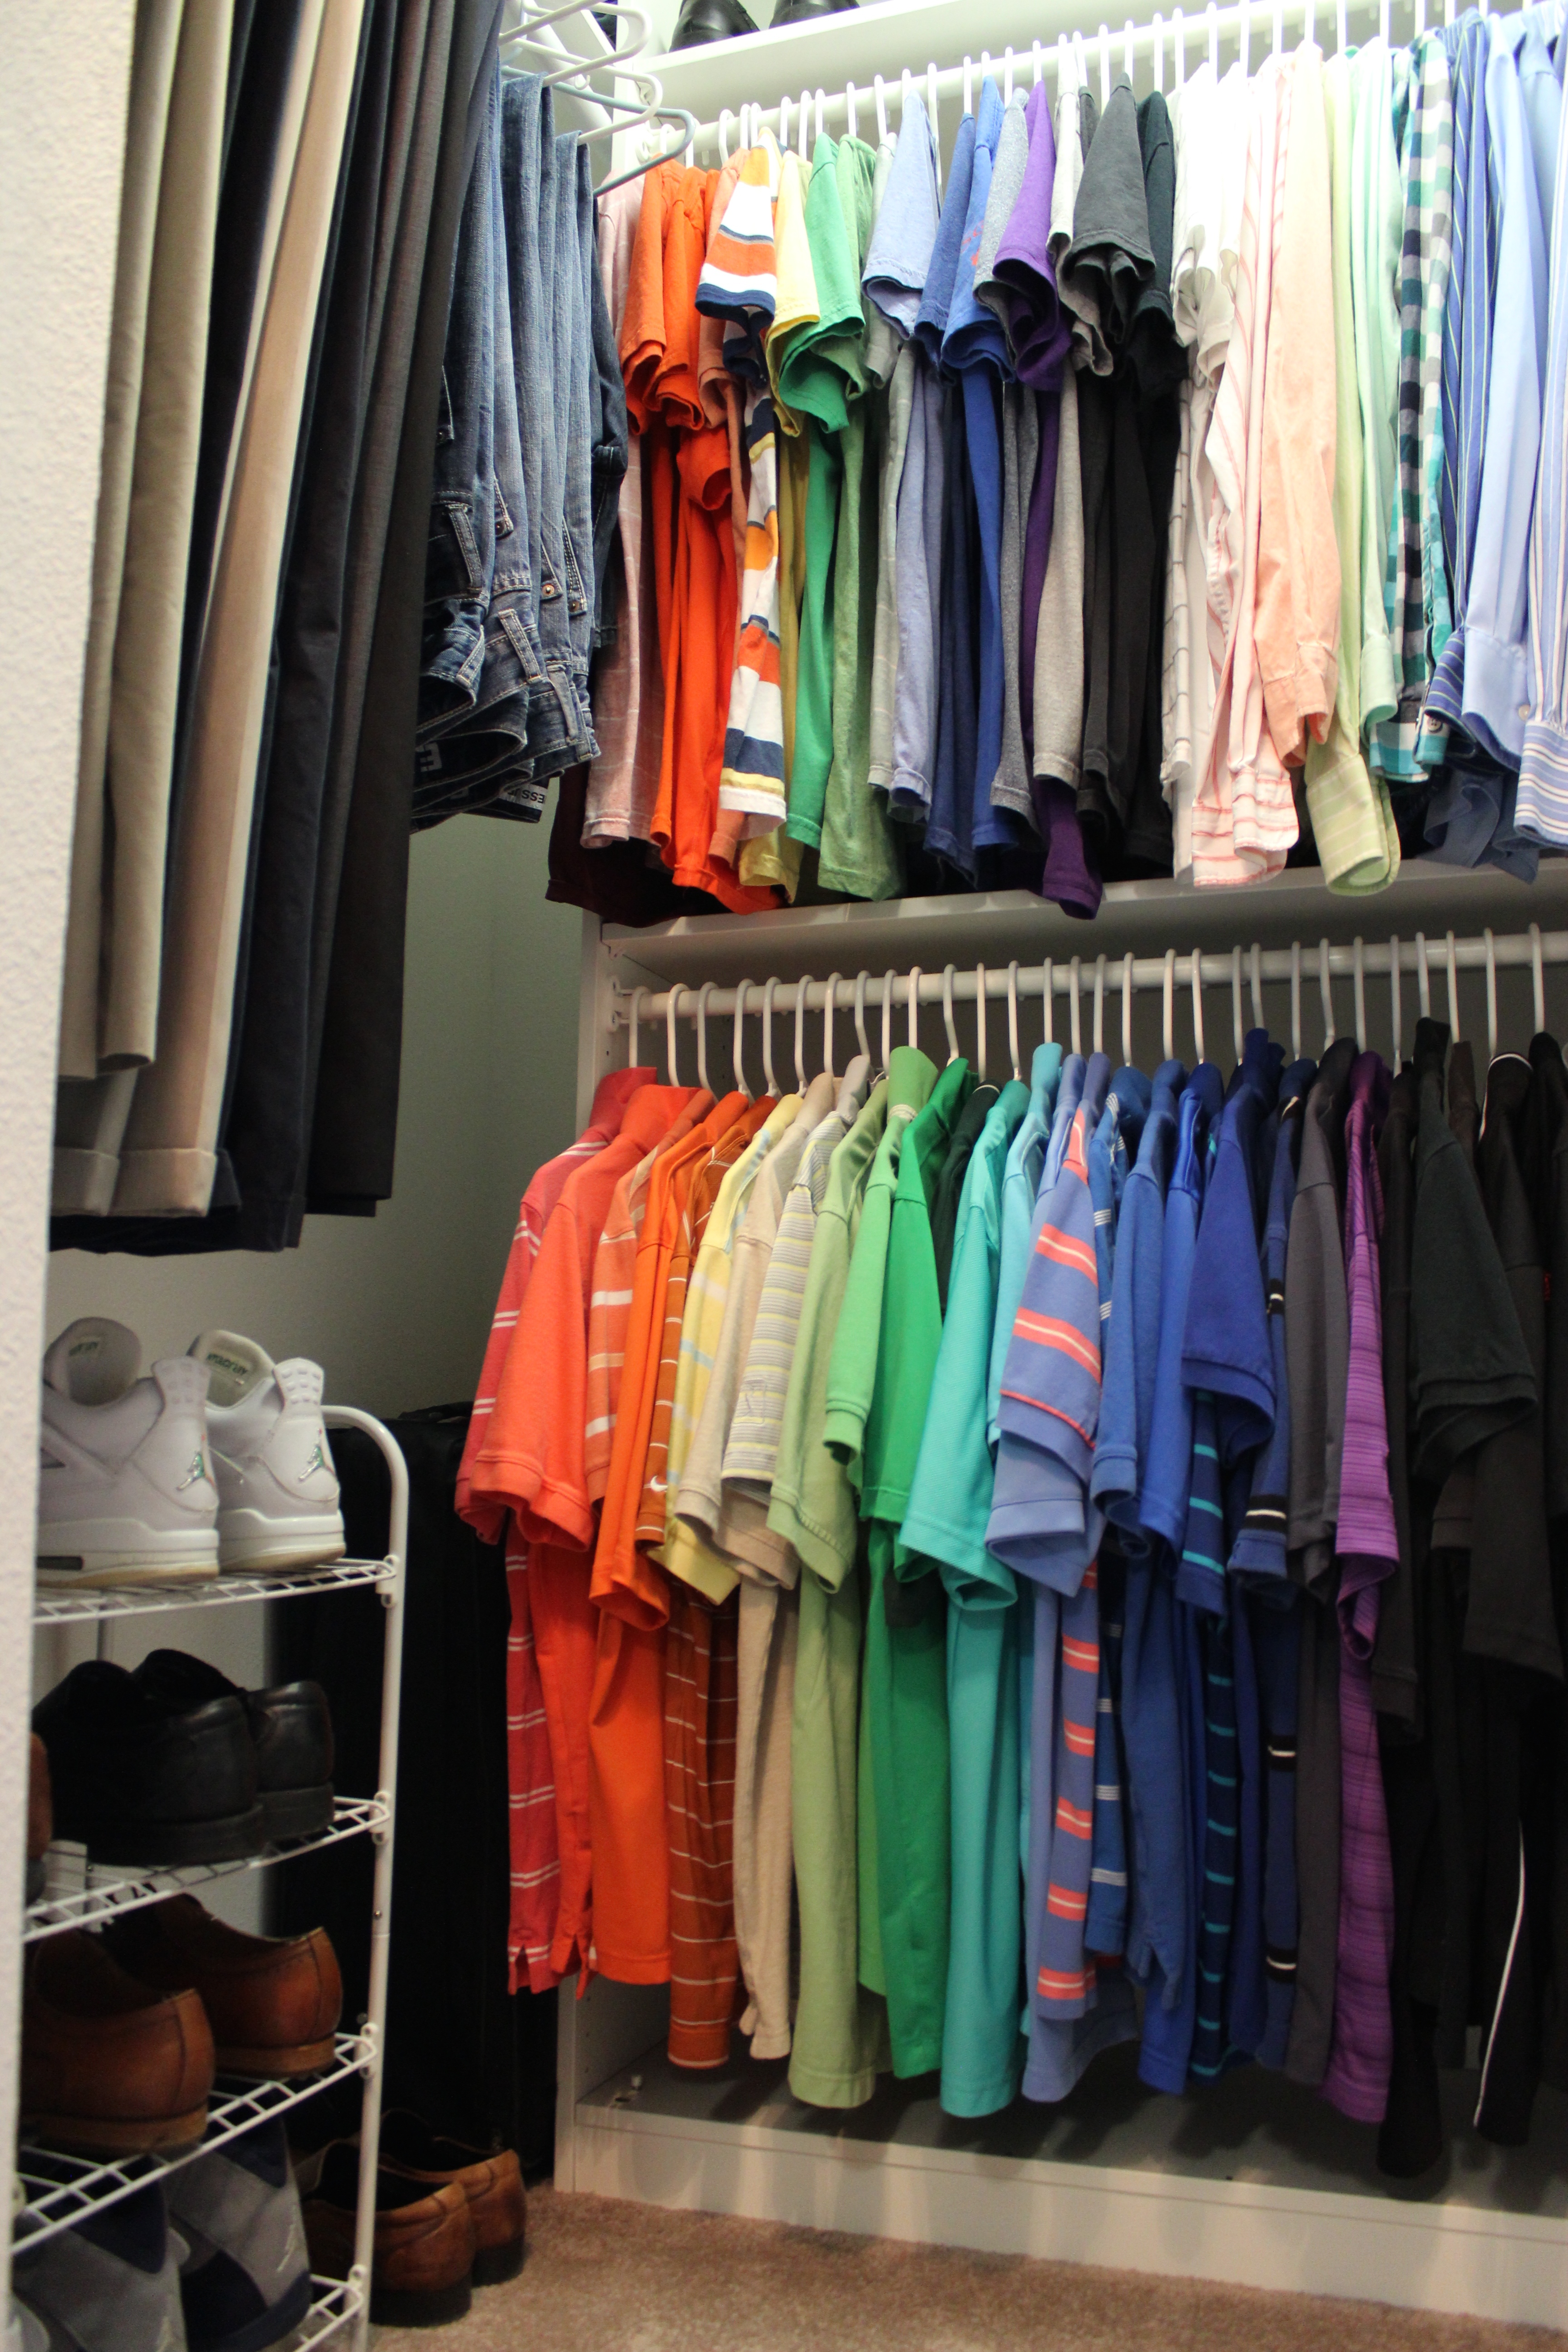
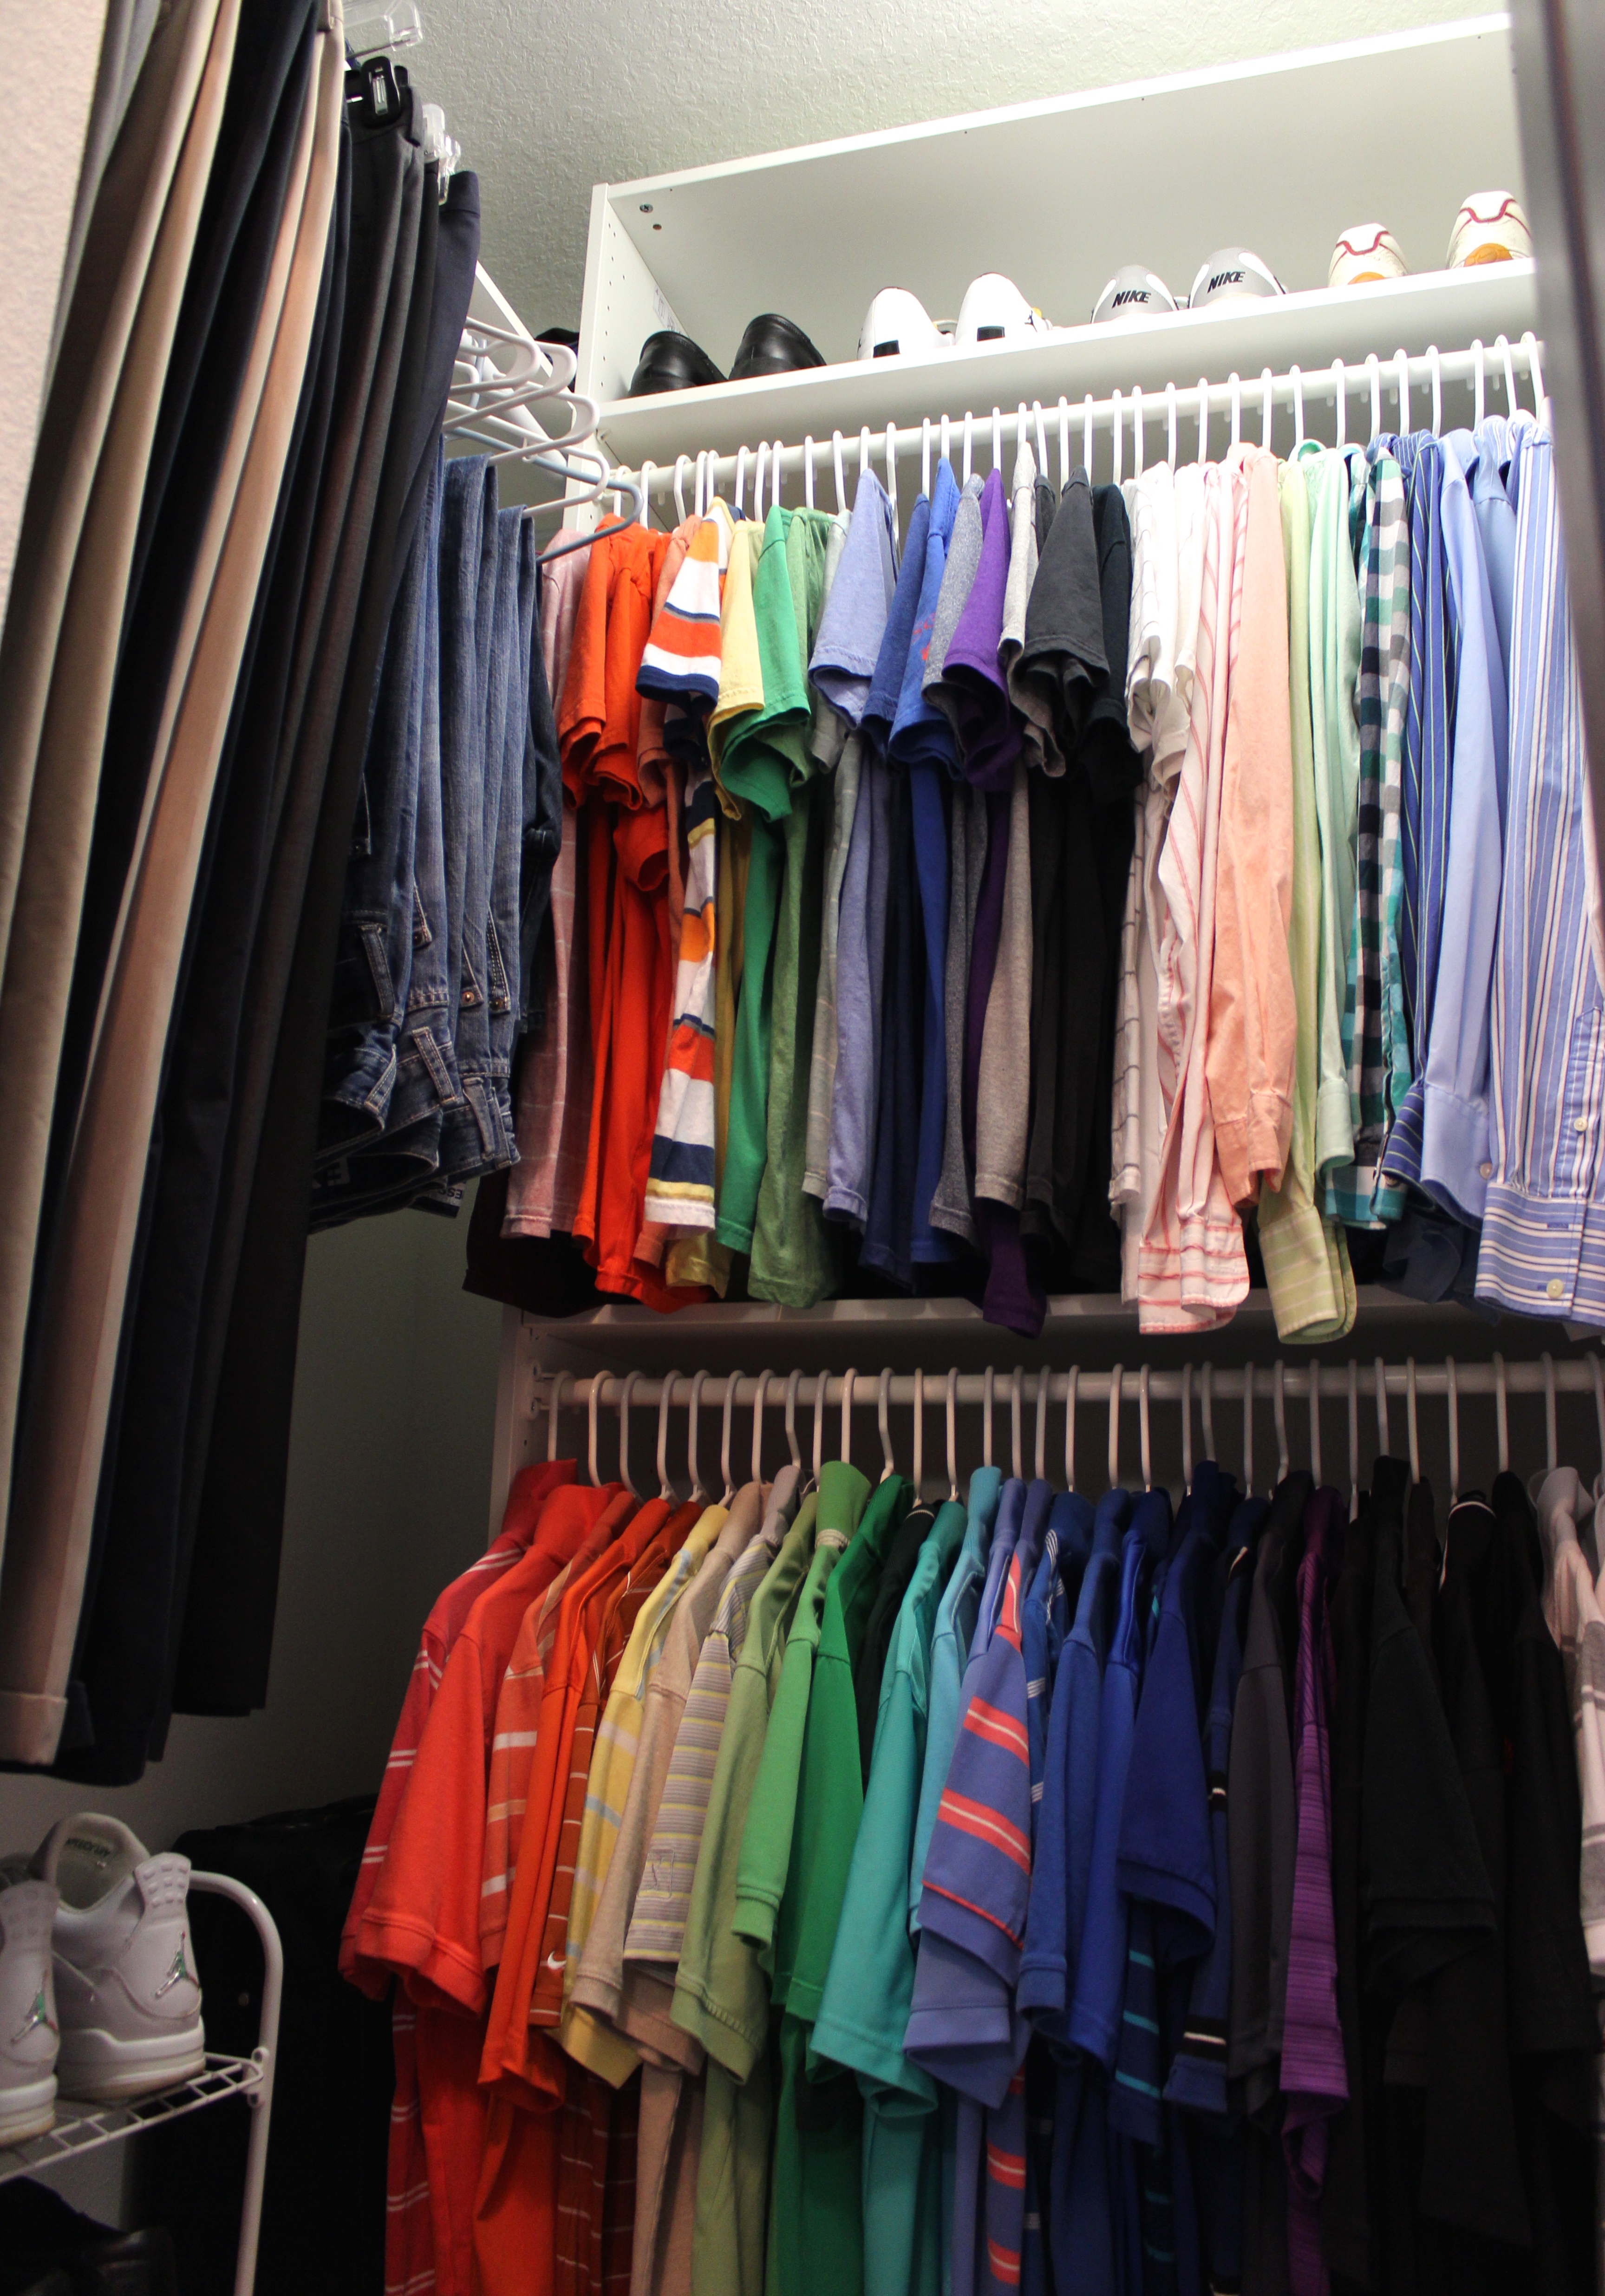
And here is the finished product! Super simple project that only took a weekend. The hardest part was getting him to purge all the clothes he doesn’t wear and making everything fit into just this one closet!


The before:
And after!
Comment and let me know what you think, I love hearing from you guys!

![Closet Reno [Part 1]](https://www.frillsanddrills.com/wp-content/uploads/2015/02/closetreno21.jpg)
Great job as usual! Looks very organized & glad you got it all to fit in one closet…lol!
You’re hubby should be very happy with his new space! Very efficient. Can’t wait to see the nursery closet!
Simple and efficient – great job! I need to do something similar for my hubs…where did you get the shoe rack? He has a similar one with rungs and the shoes are constantly falling all over the place so they end up just piled on the floor…
You are so so good, Linds! I ditched plastic hangers for slim felt ones which made a huge different on space too, if you ever need to shrink the extent of his clothing again 😉
Thanks love! Really?? I always thought felt hangers were “sticky”! As in the clothes always stick to them and I like them to just slide right off when I want to grab them haha!