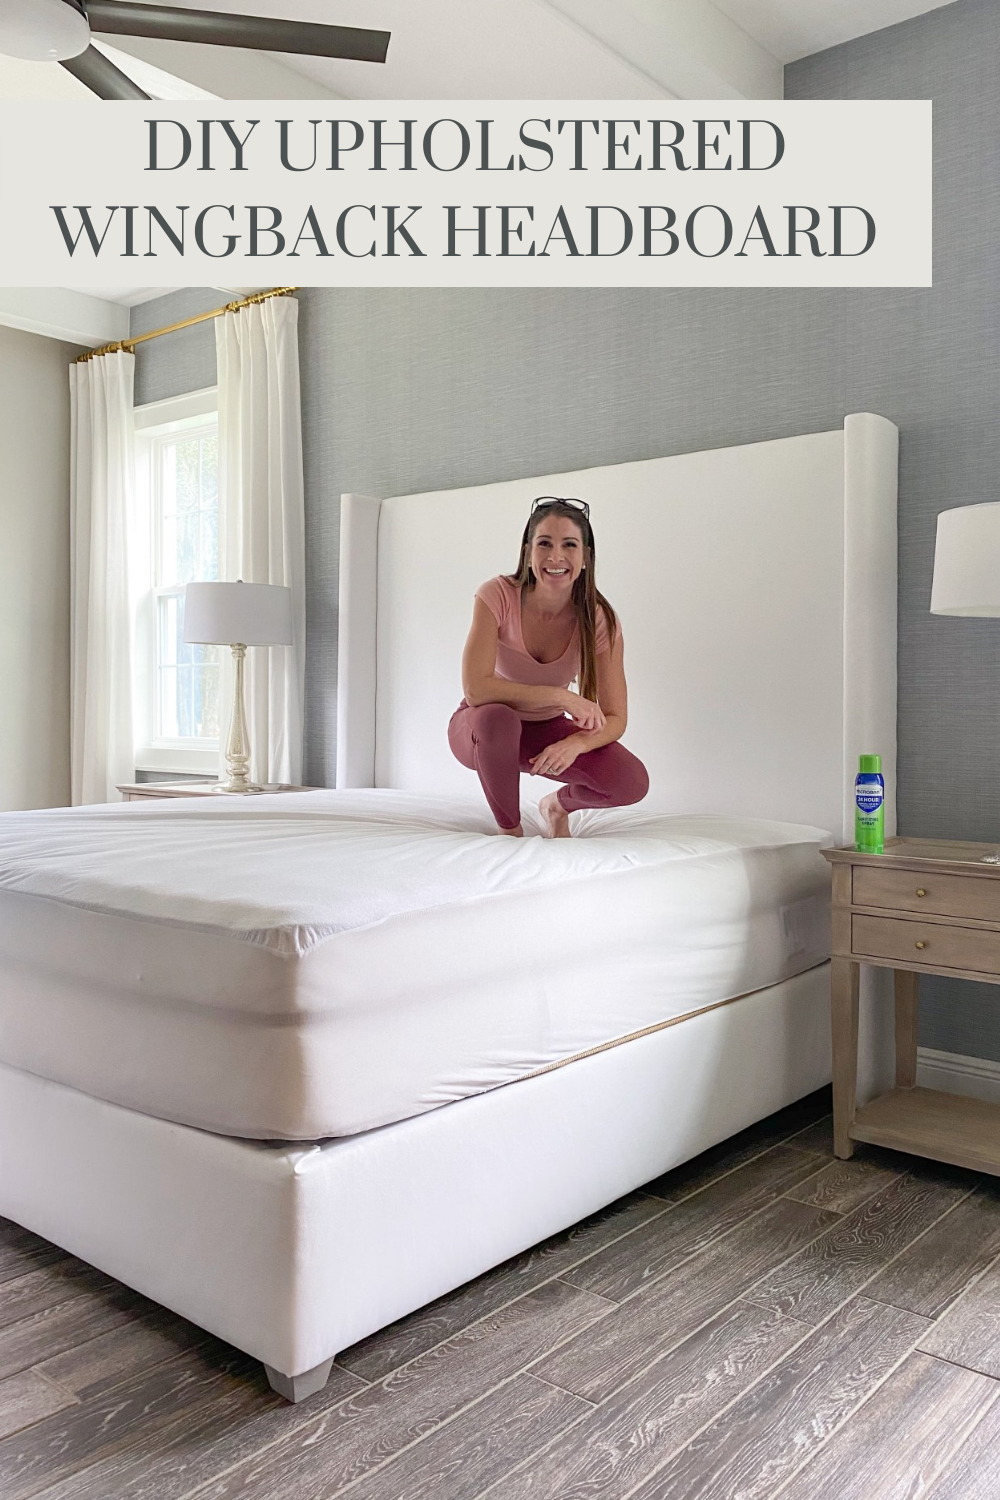
DIY Upholstered Wingback Bed
I had always envisioned the perfect headboard – something tall and substantial so I didn’t have to hang anything above the bed – but I could never find exactly what I was looking for. So, what did I decide to do? MAKE ONE! This DIY Upholstered Wingback Bed completes my bedroom in the most perfect way.
If you want the complete step-by-step tutorial for this project, you can watch my Wingbed highlight HERE.
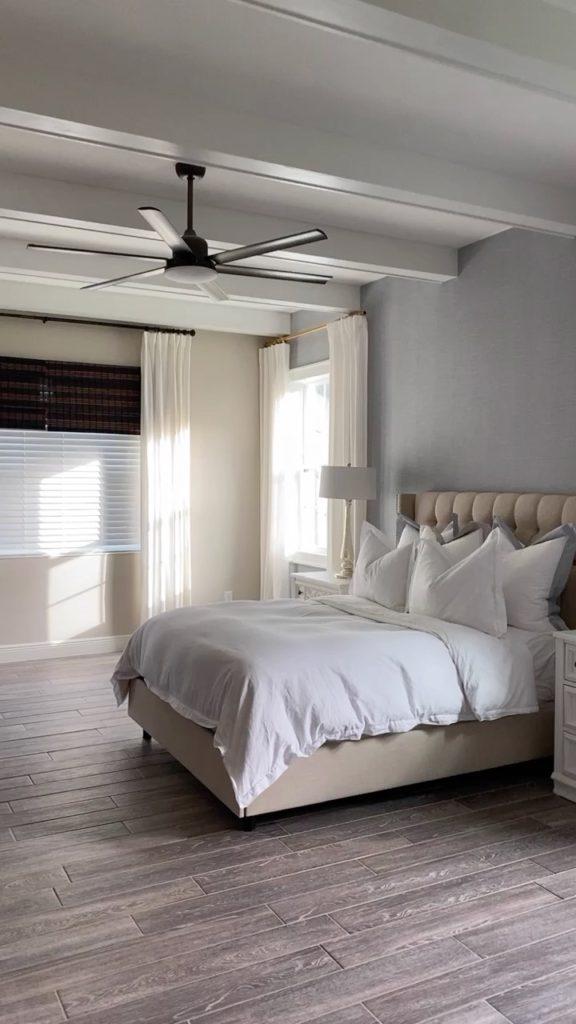
See my previous bed in the photo below.
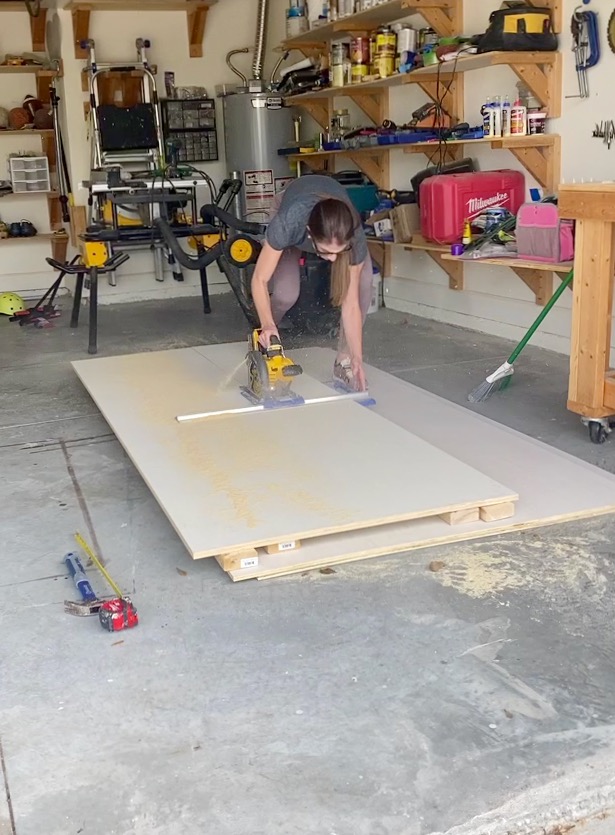
Step 1: Create the Headboard Base
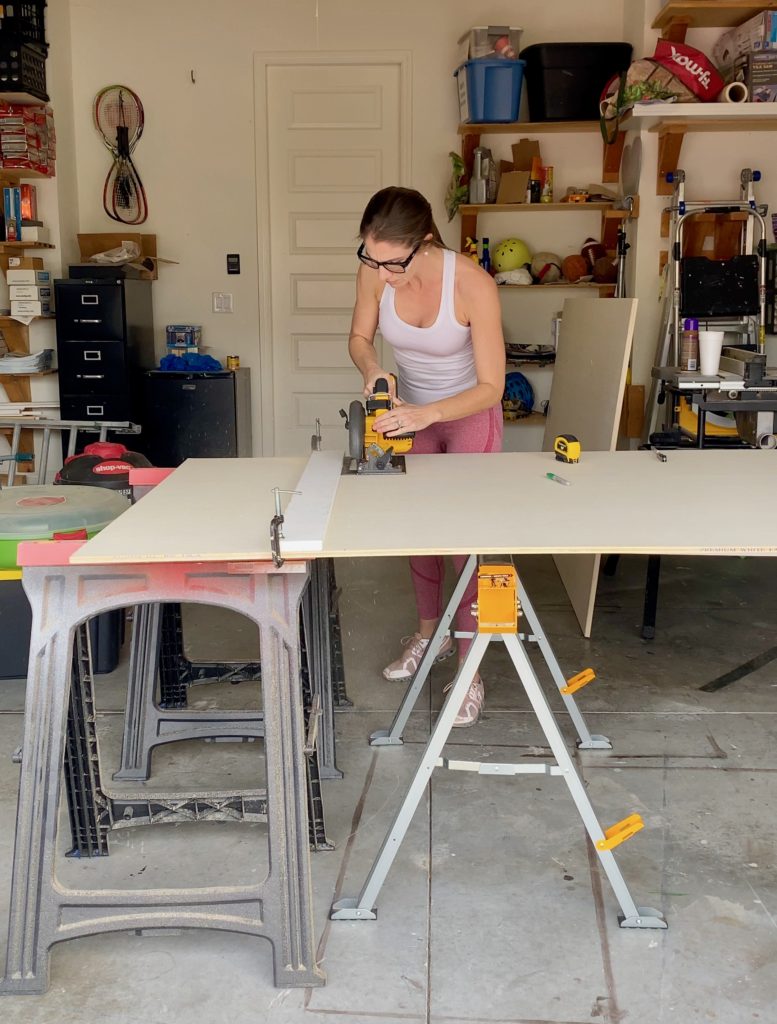
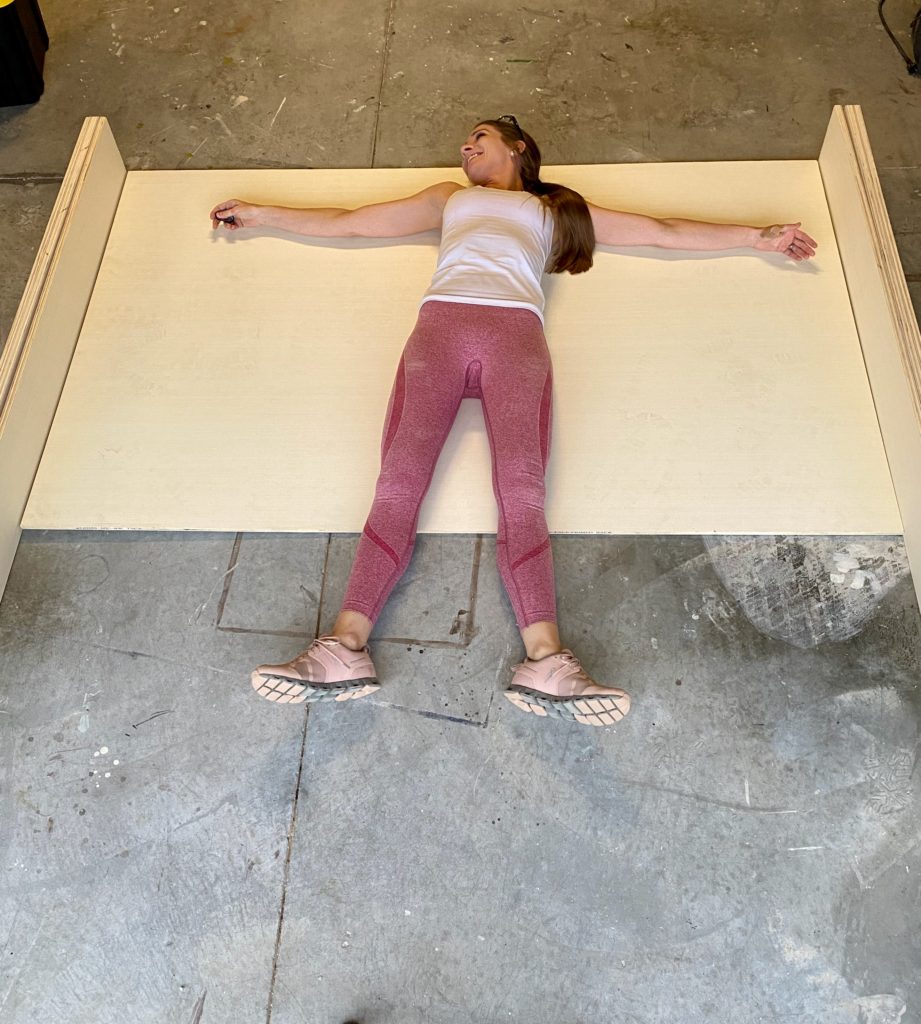
First, I used my circular saw to cut the plywood into a king-size headboard.
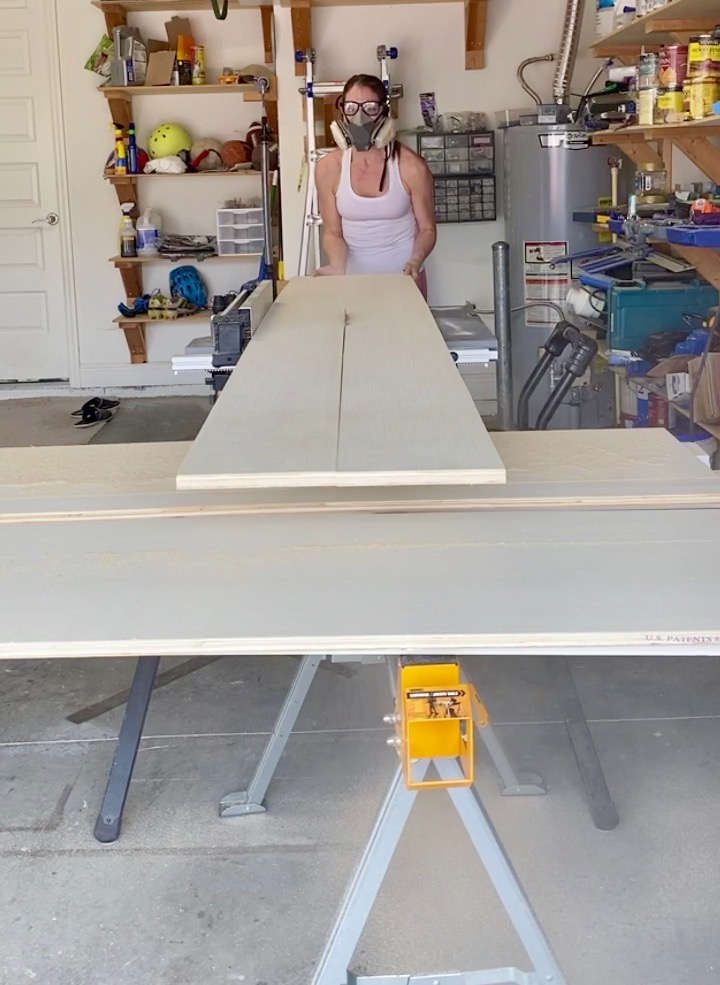
Next, I used my table saw to cut the wings for the wingback headboard. I made the wings three boards thick (see the shape of the headboard below). They are 81.5″ tall and 74″ wide.
Step 2: Add the Batting and Fabric
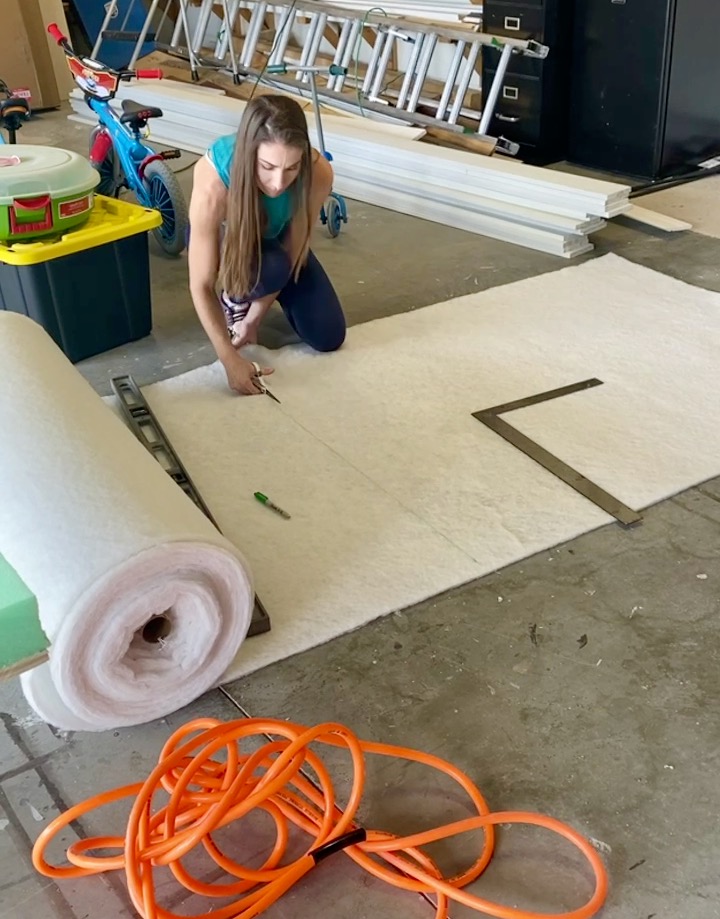
To start, I cut the batting with my scissors and below you can see how I attached it.
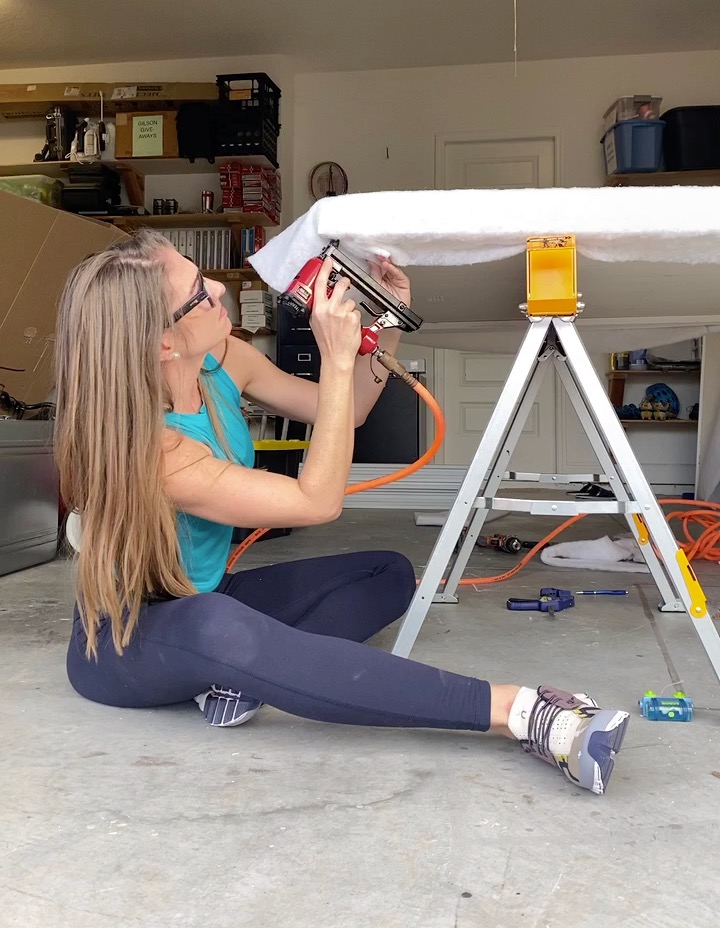
This pneumatic stapler is so awesome! I used it to staple the batting to the bed. Cutting off excess fabric significantly helps during this process and I made sure to double wrap the wings since there is no foam.
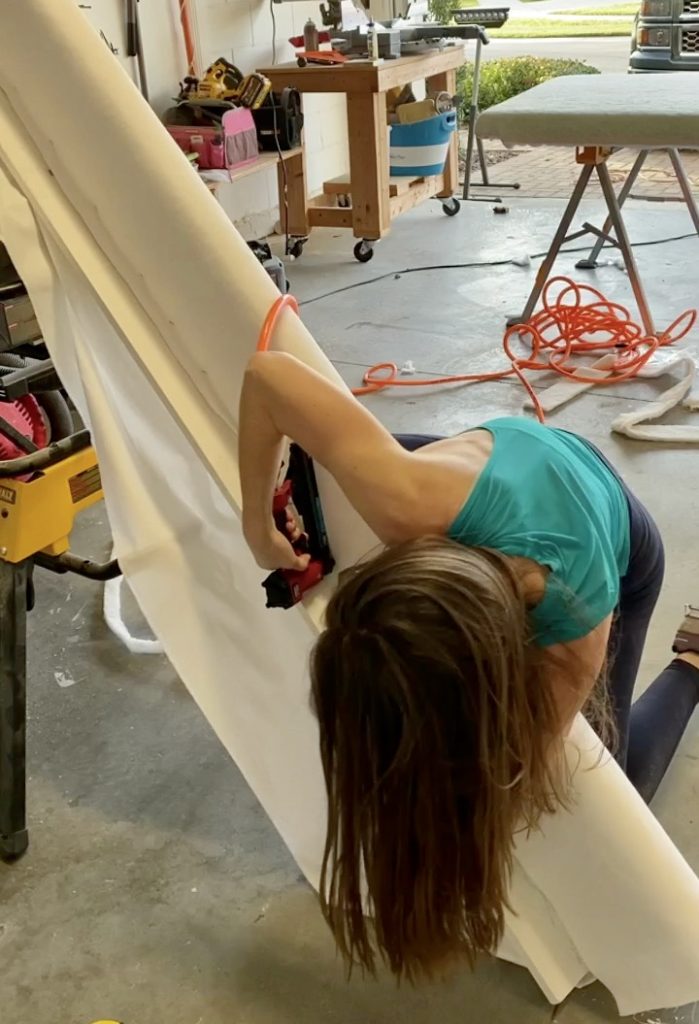
Next, I ironed this white fabric from Ballard designs, wrapped it, and stapled it.
Step 3: Attach the Wings
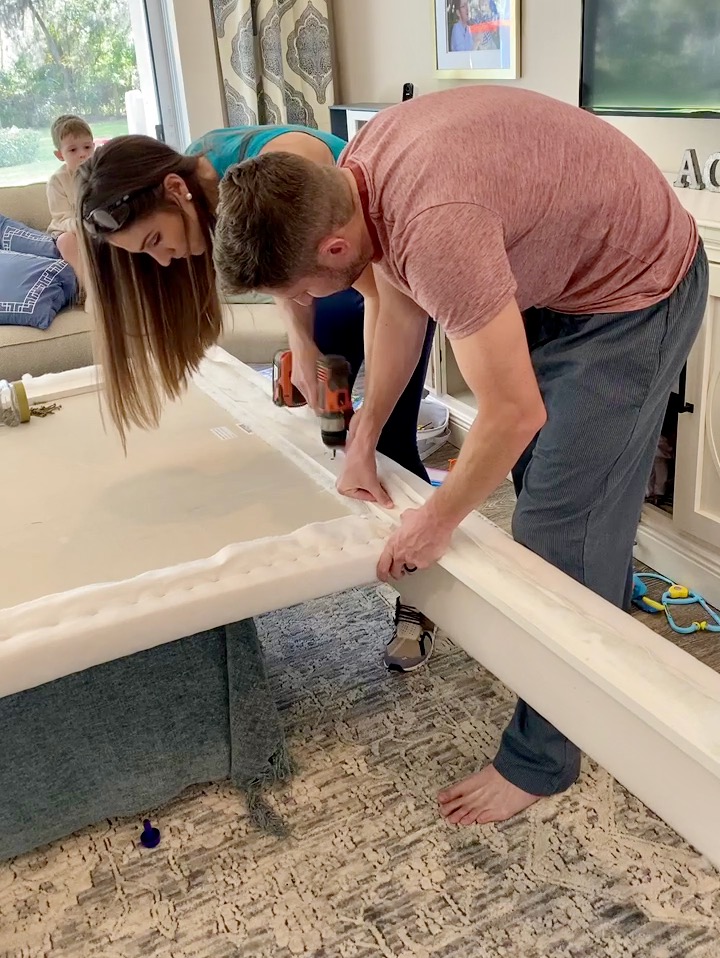
I utilized my favorite drill and unfortunately had to ask for help to attach the wings. Below is the final headboard!
Step 4: Create the Bed Frame

To create the box, I cut these 4×8 sheets of plywood with my circular saw and a guide for it.
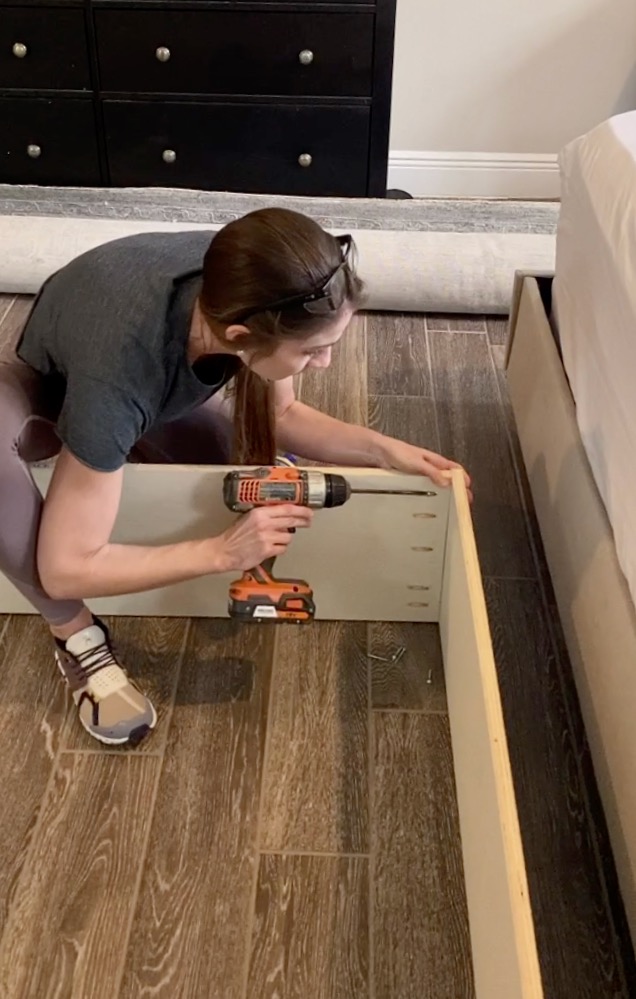
Everything was attached with pocket holes and glue.
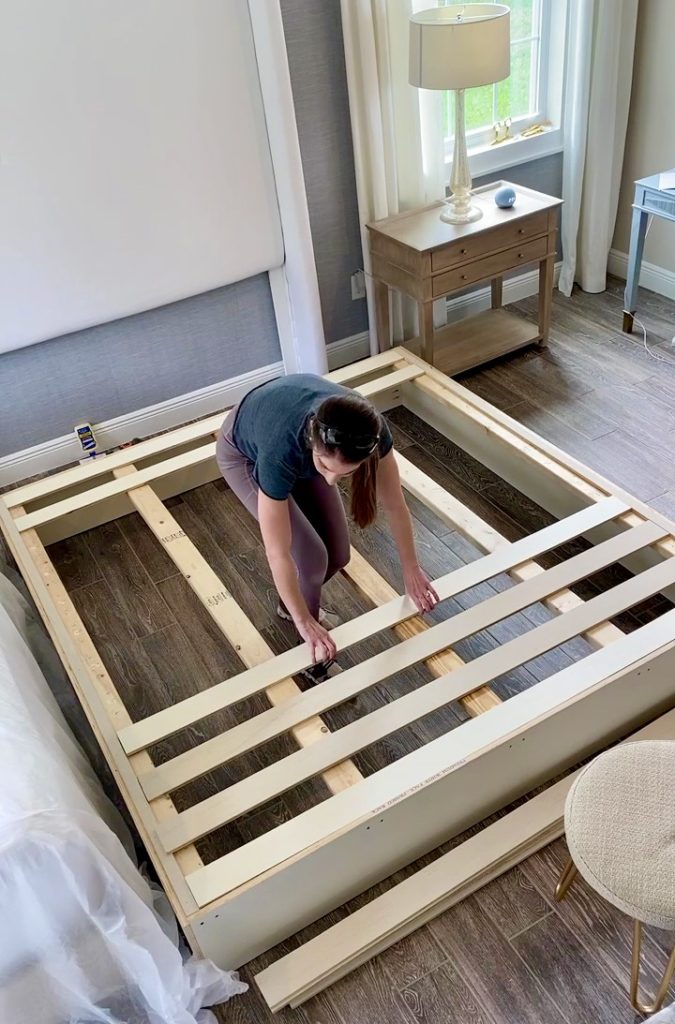
Furthermore, I used my table saw to make the bed supports. Then, I attached them.
Step 5: Add Legs to Lift the Bed
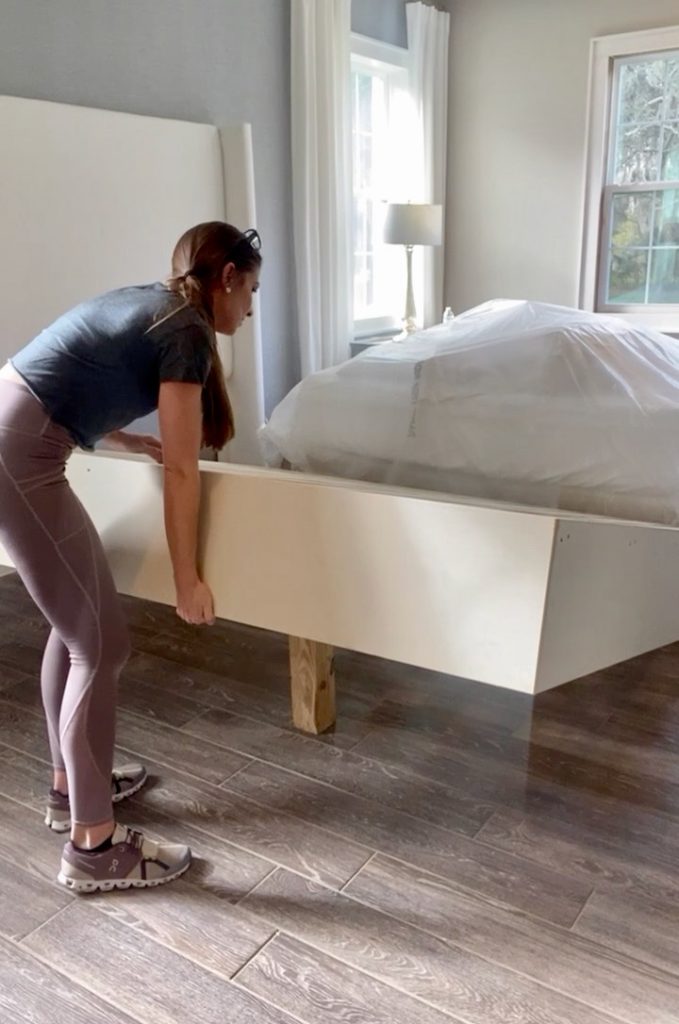
First, I tested where the legs needed to be placed before making them all.
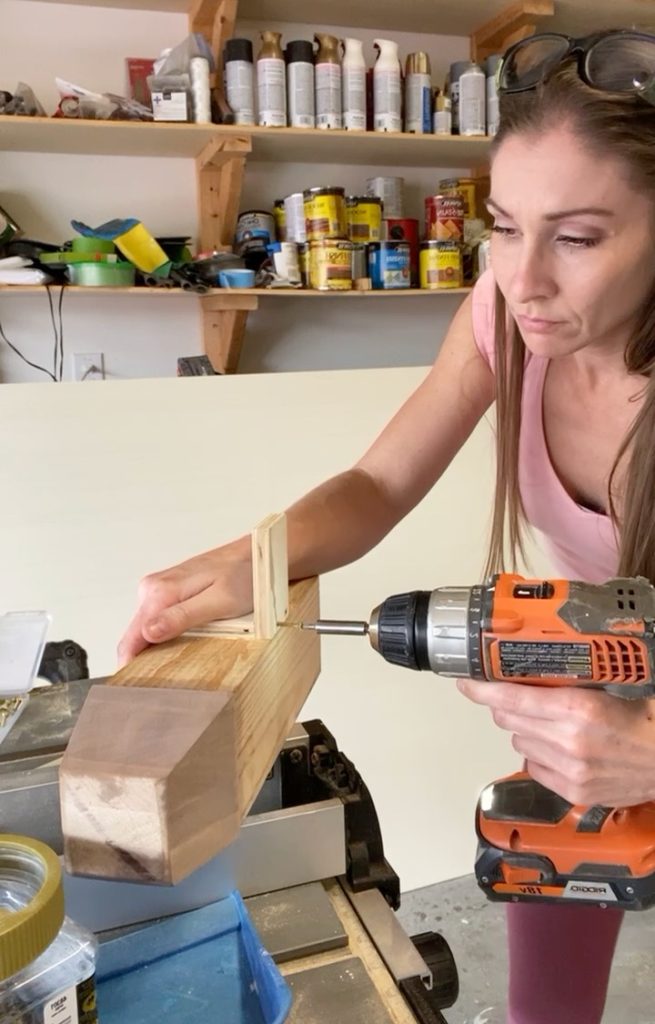
The legs are 4×4 and I added and satined the feet onto them.
Step 6: Batting and Fabric

I did the same process to add the batting and fabric onto the base of the bed as I did with the headboard.
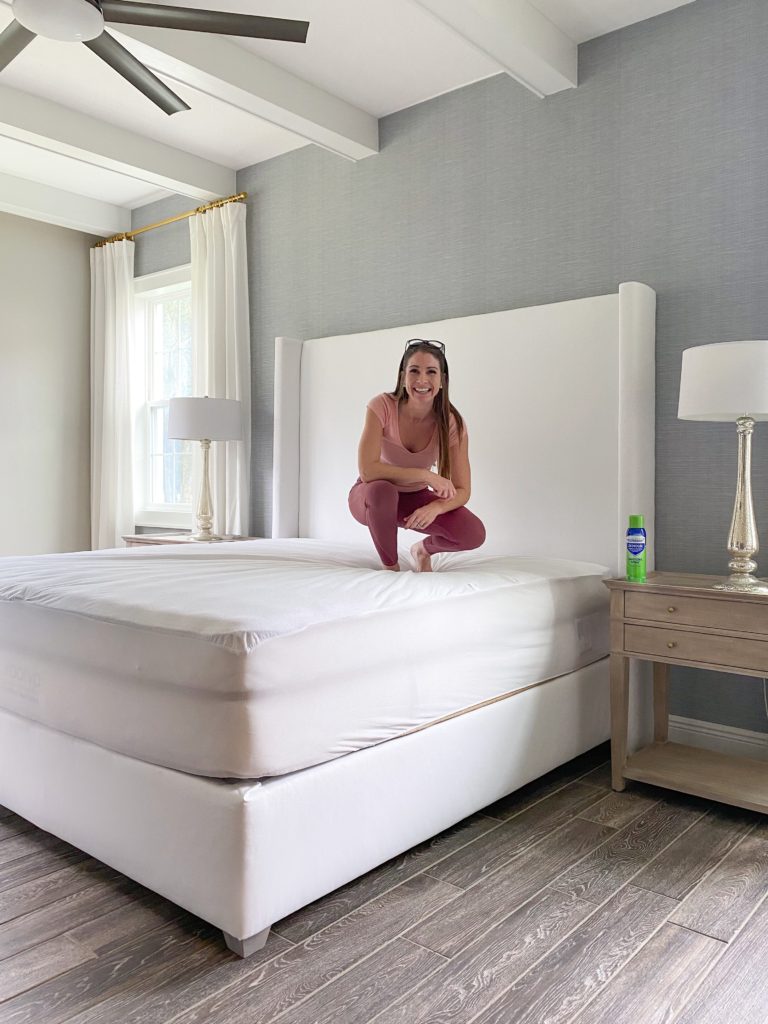
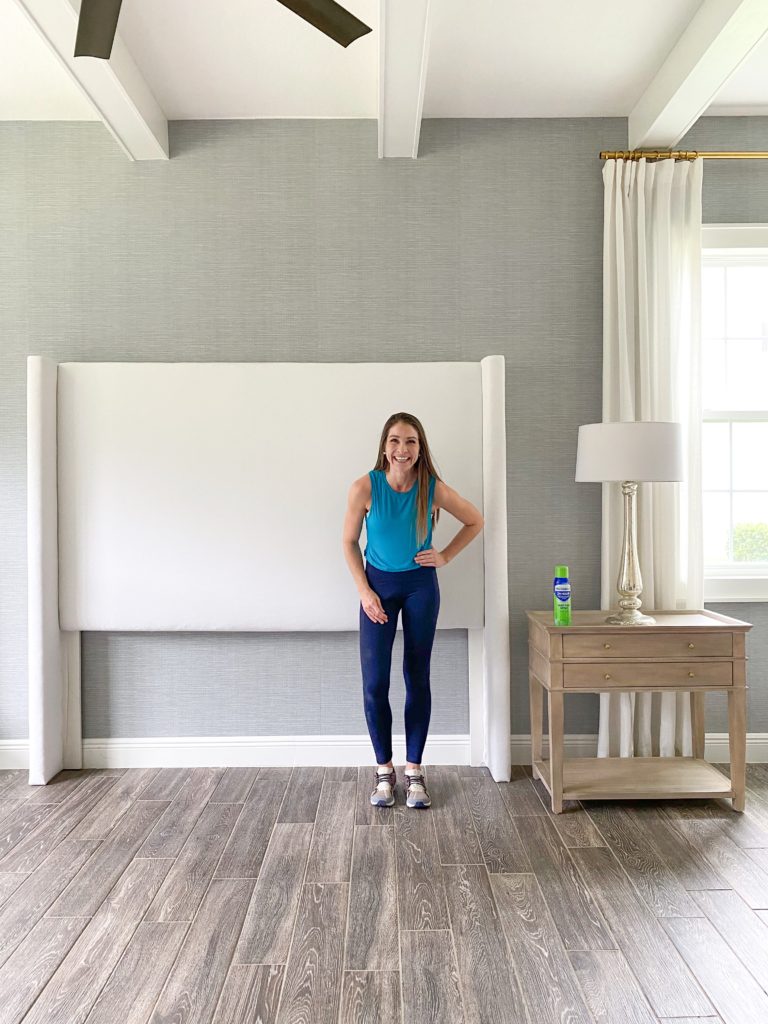
The Final DIY Upholstered Wingback Bed


As impressive as everything you do.
Love it!!