Easy DIY Toy Box
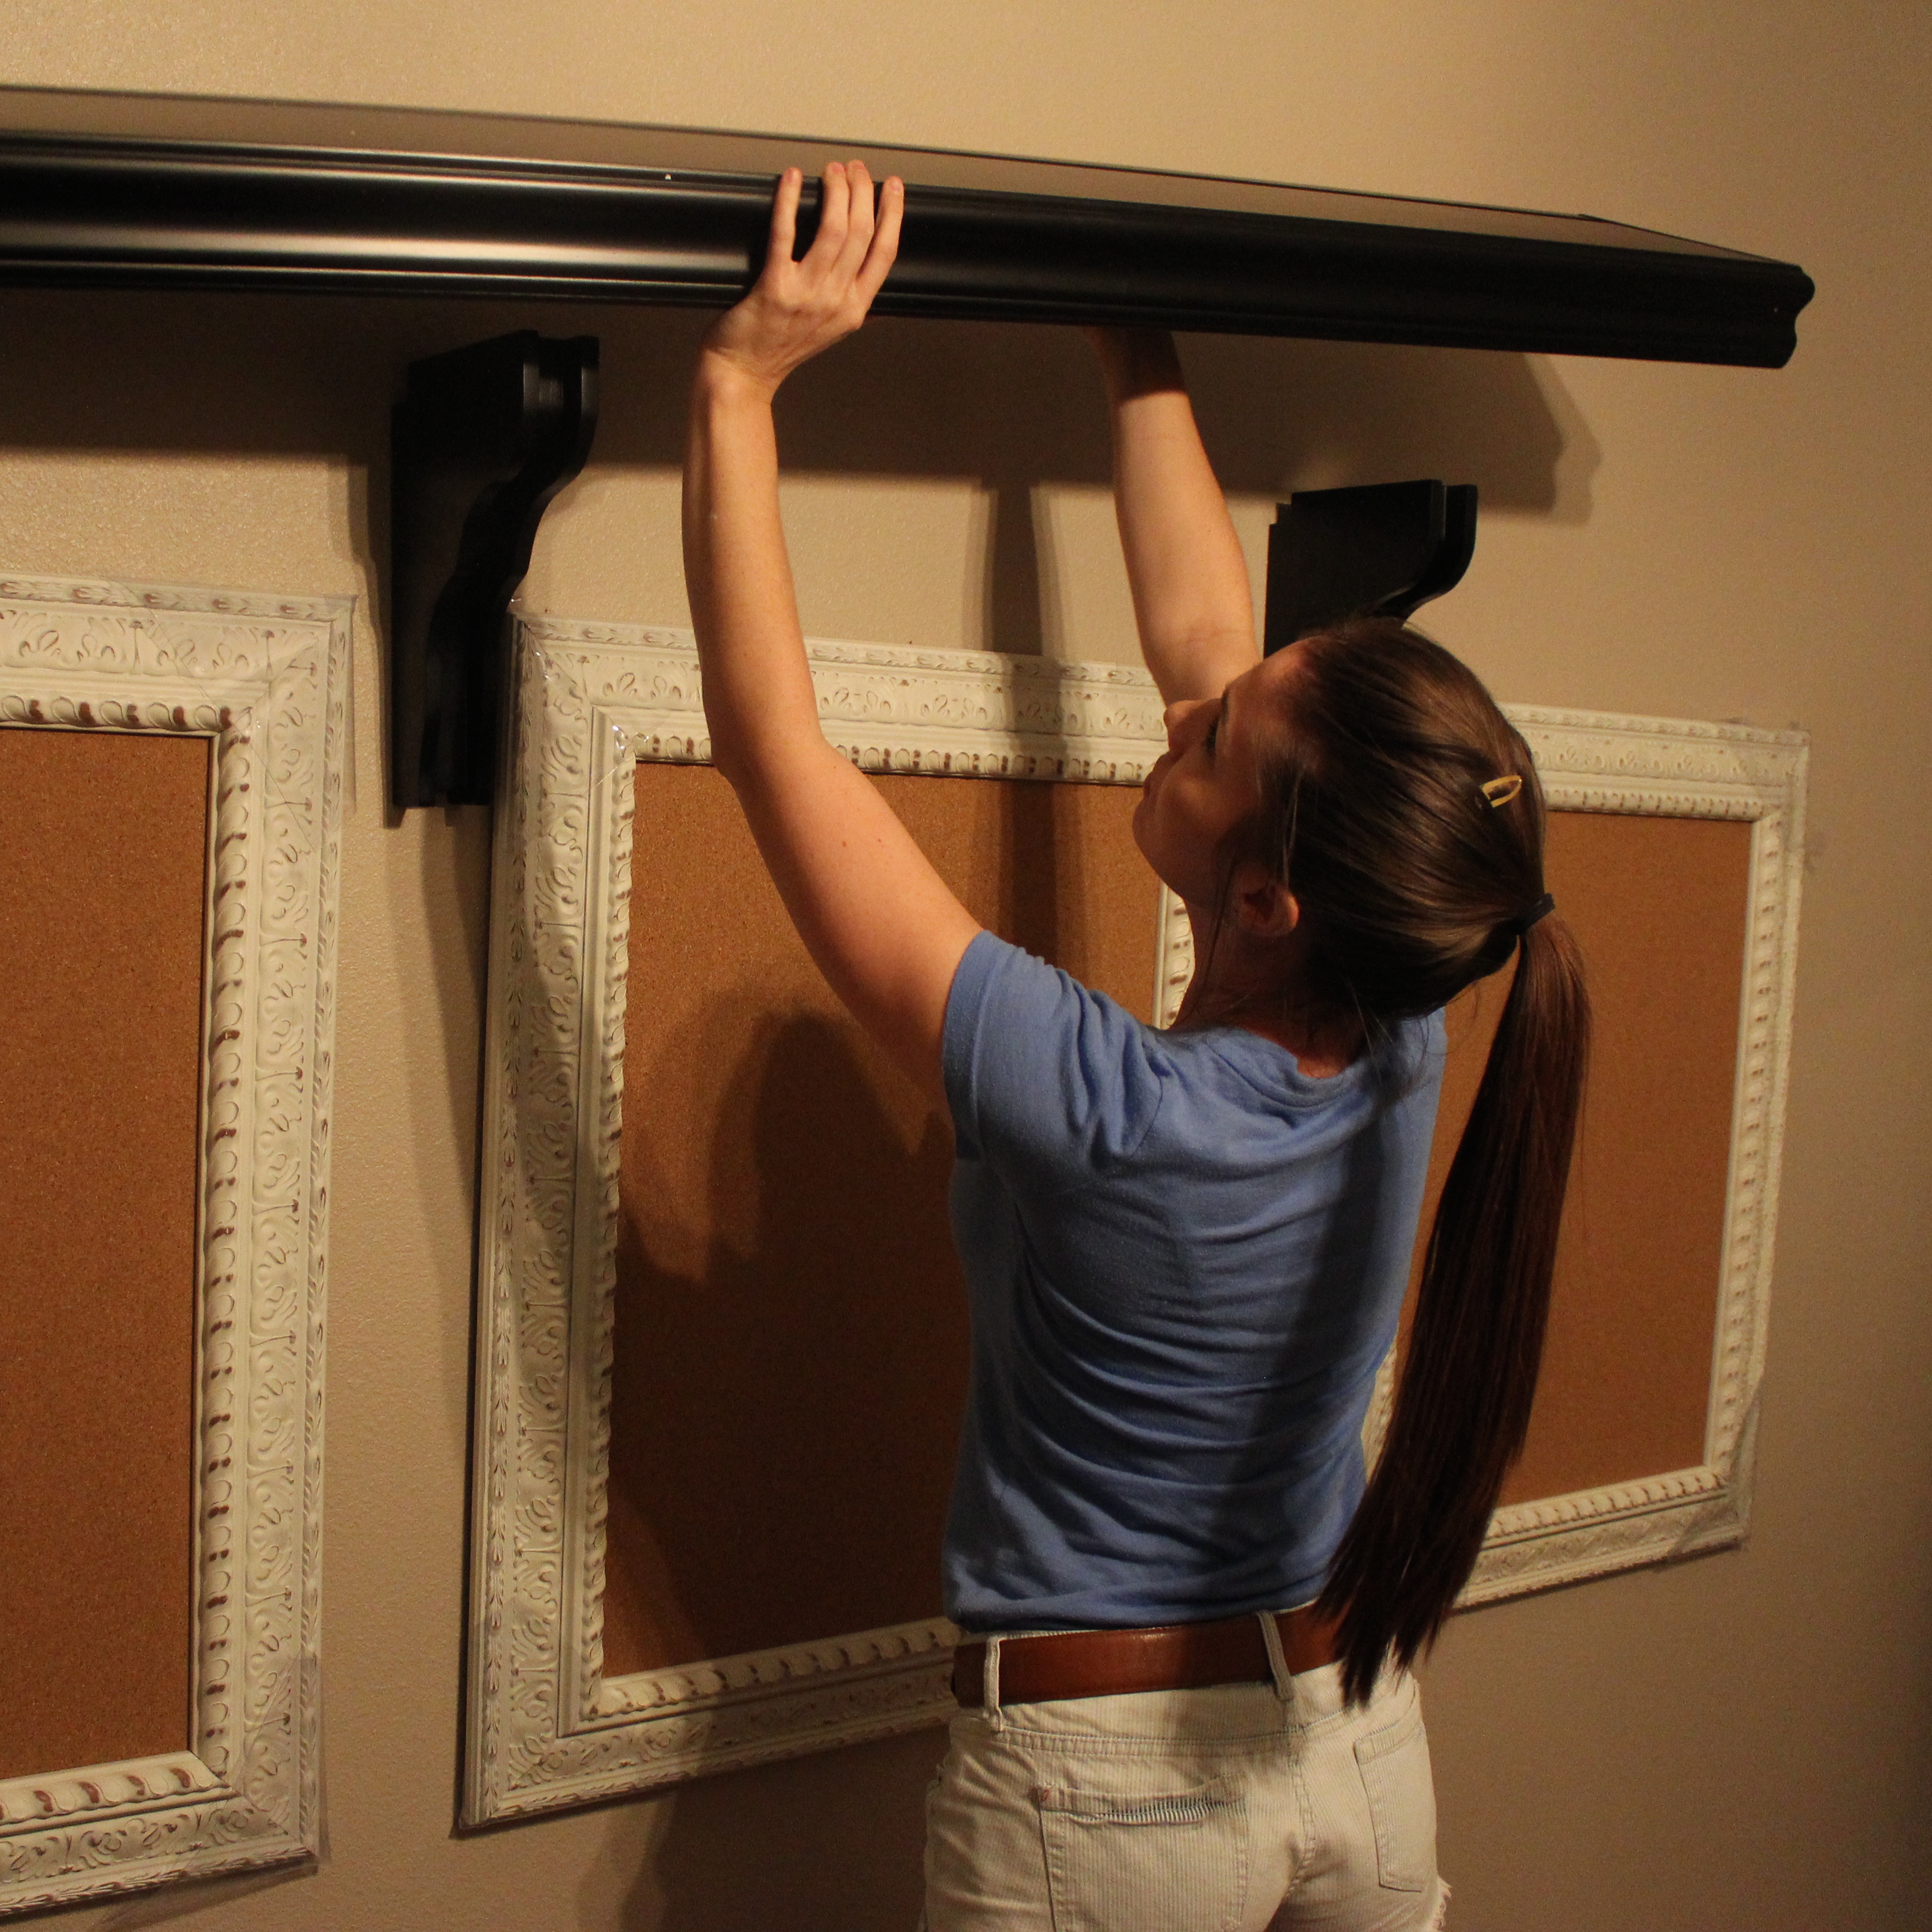
Last week I shared the DIY Floating Shelves in Aiden’s new room, and today I’m sharing a toy box I built to go under them! That awkward nook space in his room is now seriously my favorite! I can’t wait to show you the finished look of it.
I knew a toy box would be the most practical thing to go in the bottom of that nook, and the perfect place to store (read: dump & hide) all of his toys. I wanted something super easy to build since I’d never done it before, but didn’t find any plans on my go-to plan site Shanty-2-chic. So I can honestly say that for the first time, I made these plans up myself! So here we go.

Toy Box Materials:
Six 1x6x8 common boards, one 2x3x8, four 1x3x8 pine boards, and one quarter sheet of quarter inch plywood. Handle of your choice and these gas struts for a slow/close open lid. Screws and nails!
I used 1×6 common board for the entire frame of the box and attached it to four 2x3s that I used as “posts” in the inside corners of the box. The dimensions of the board were determined based on the exact opening of that nook so it would fit snug in there. It came out to be 47.5″ wide by 21″ deep by 22″ tall.
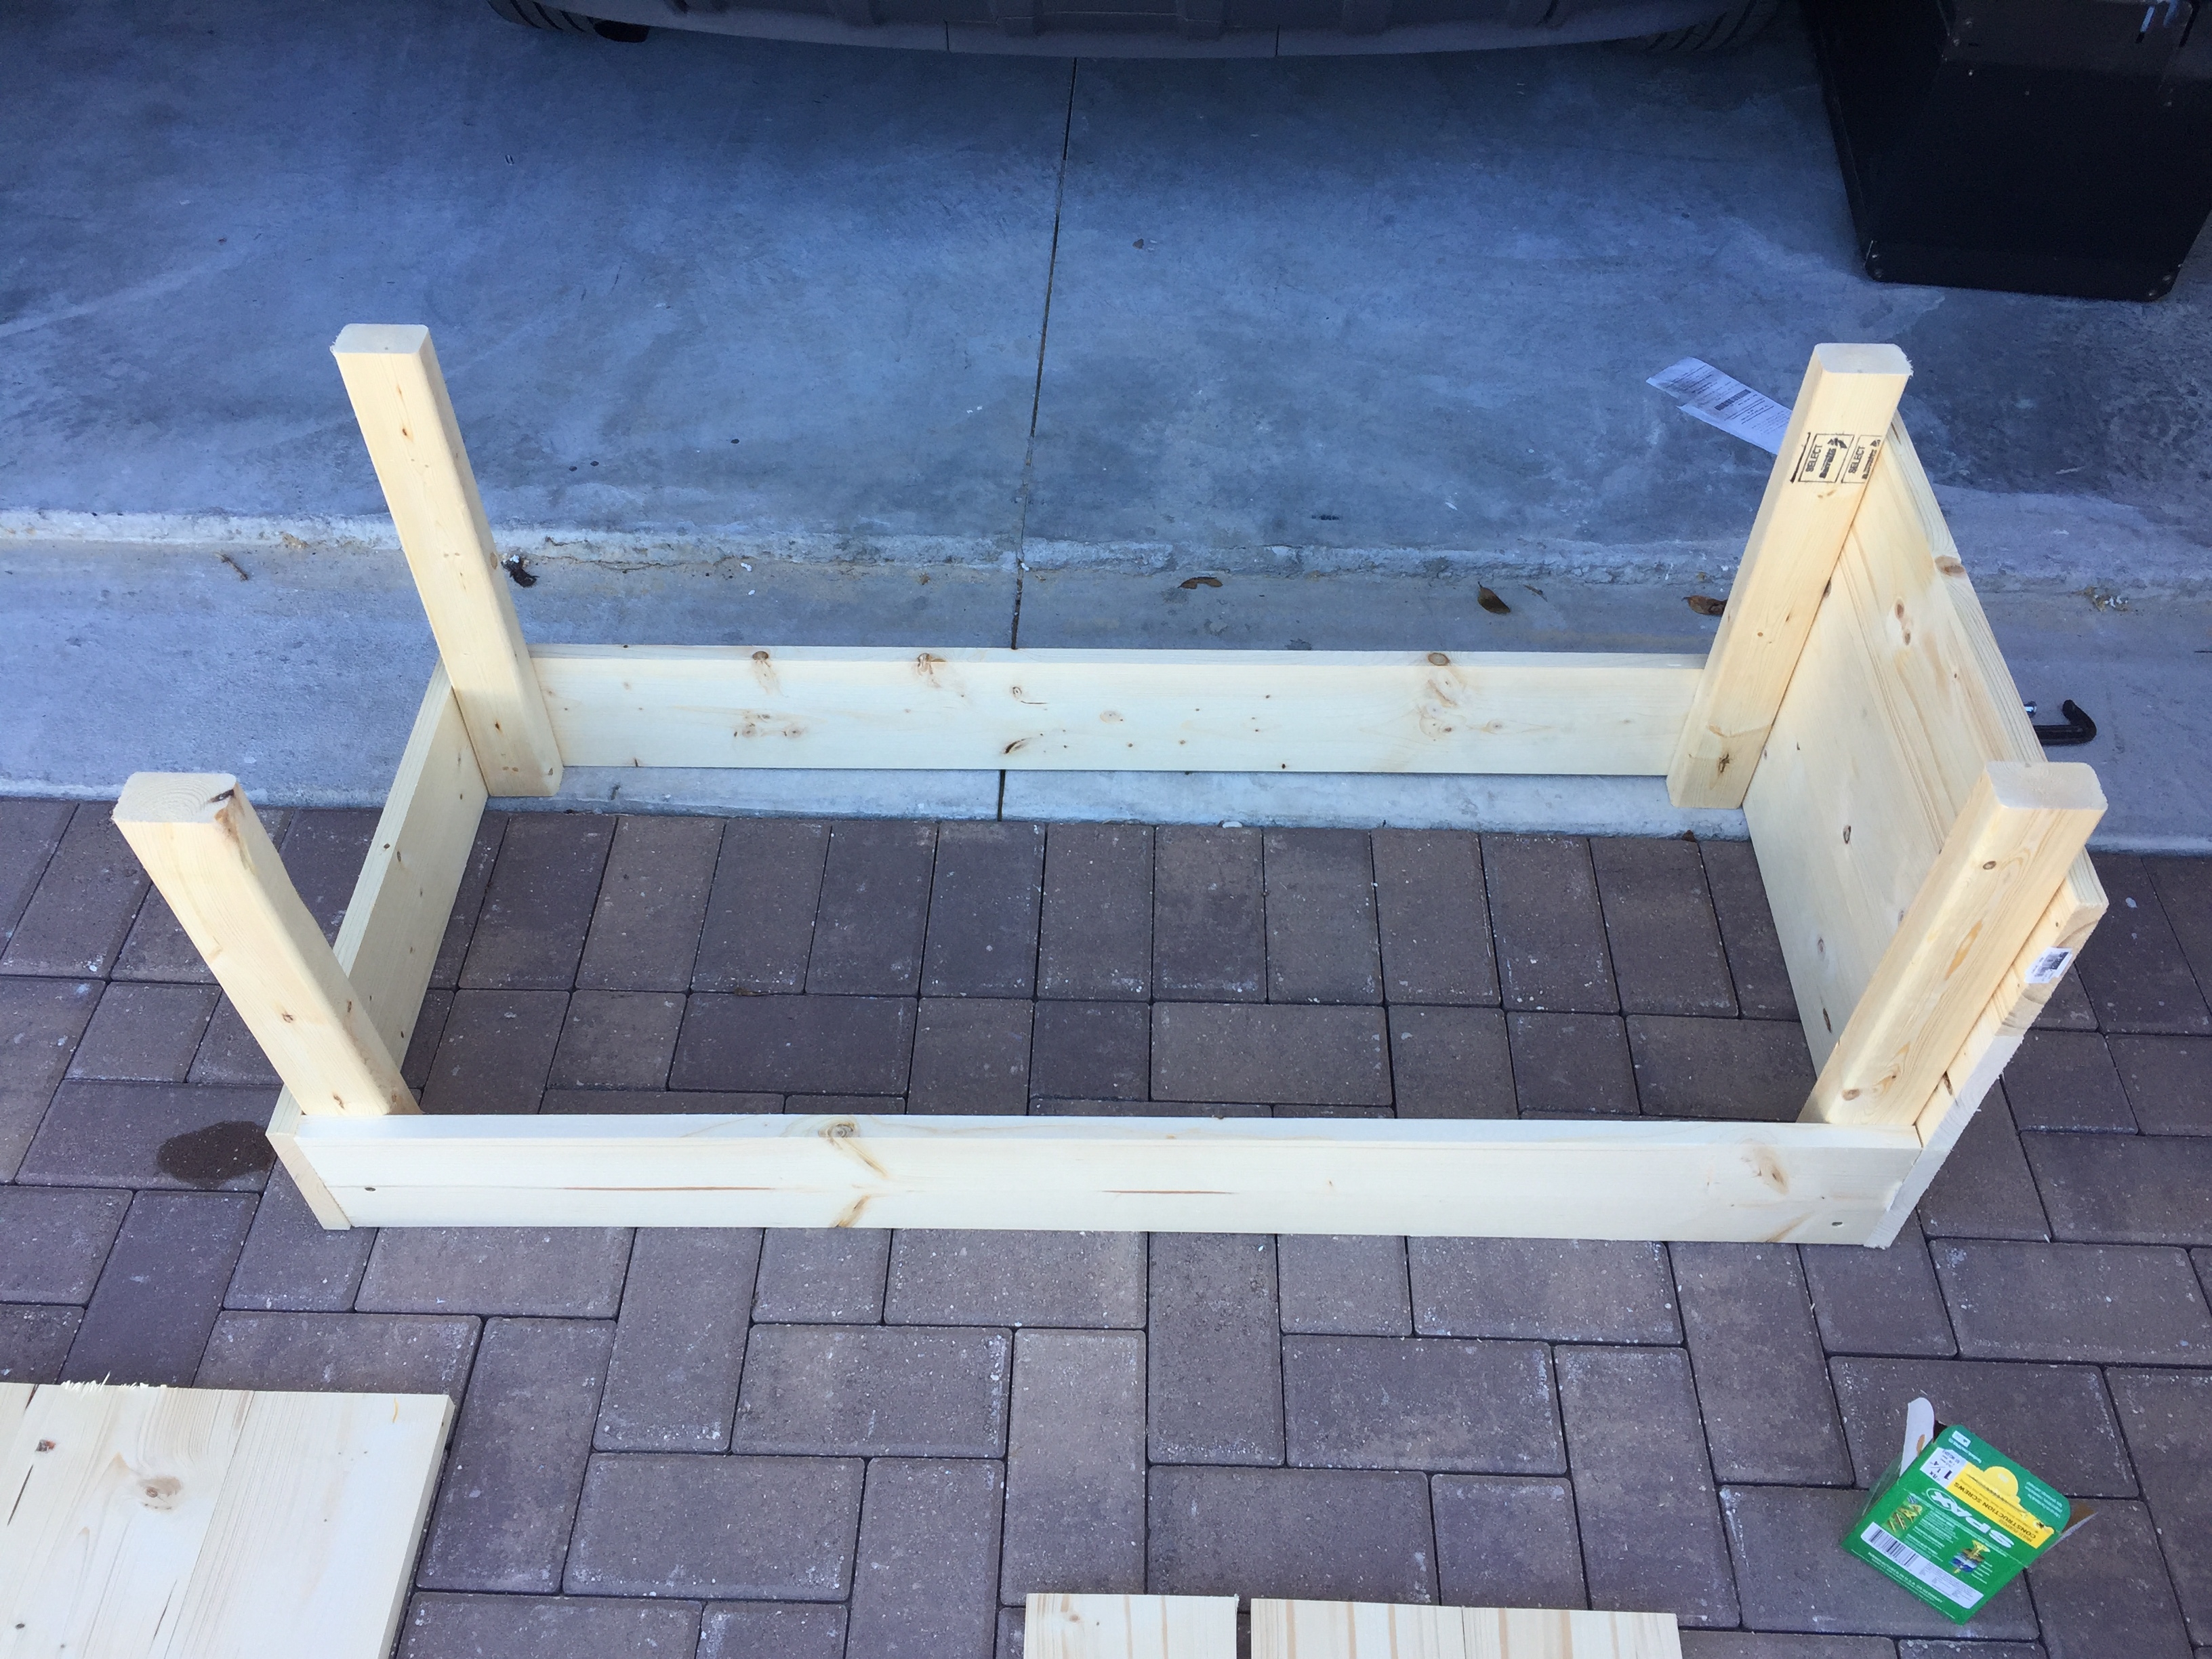
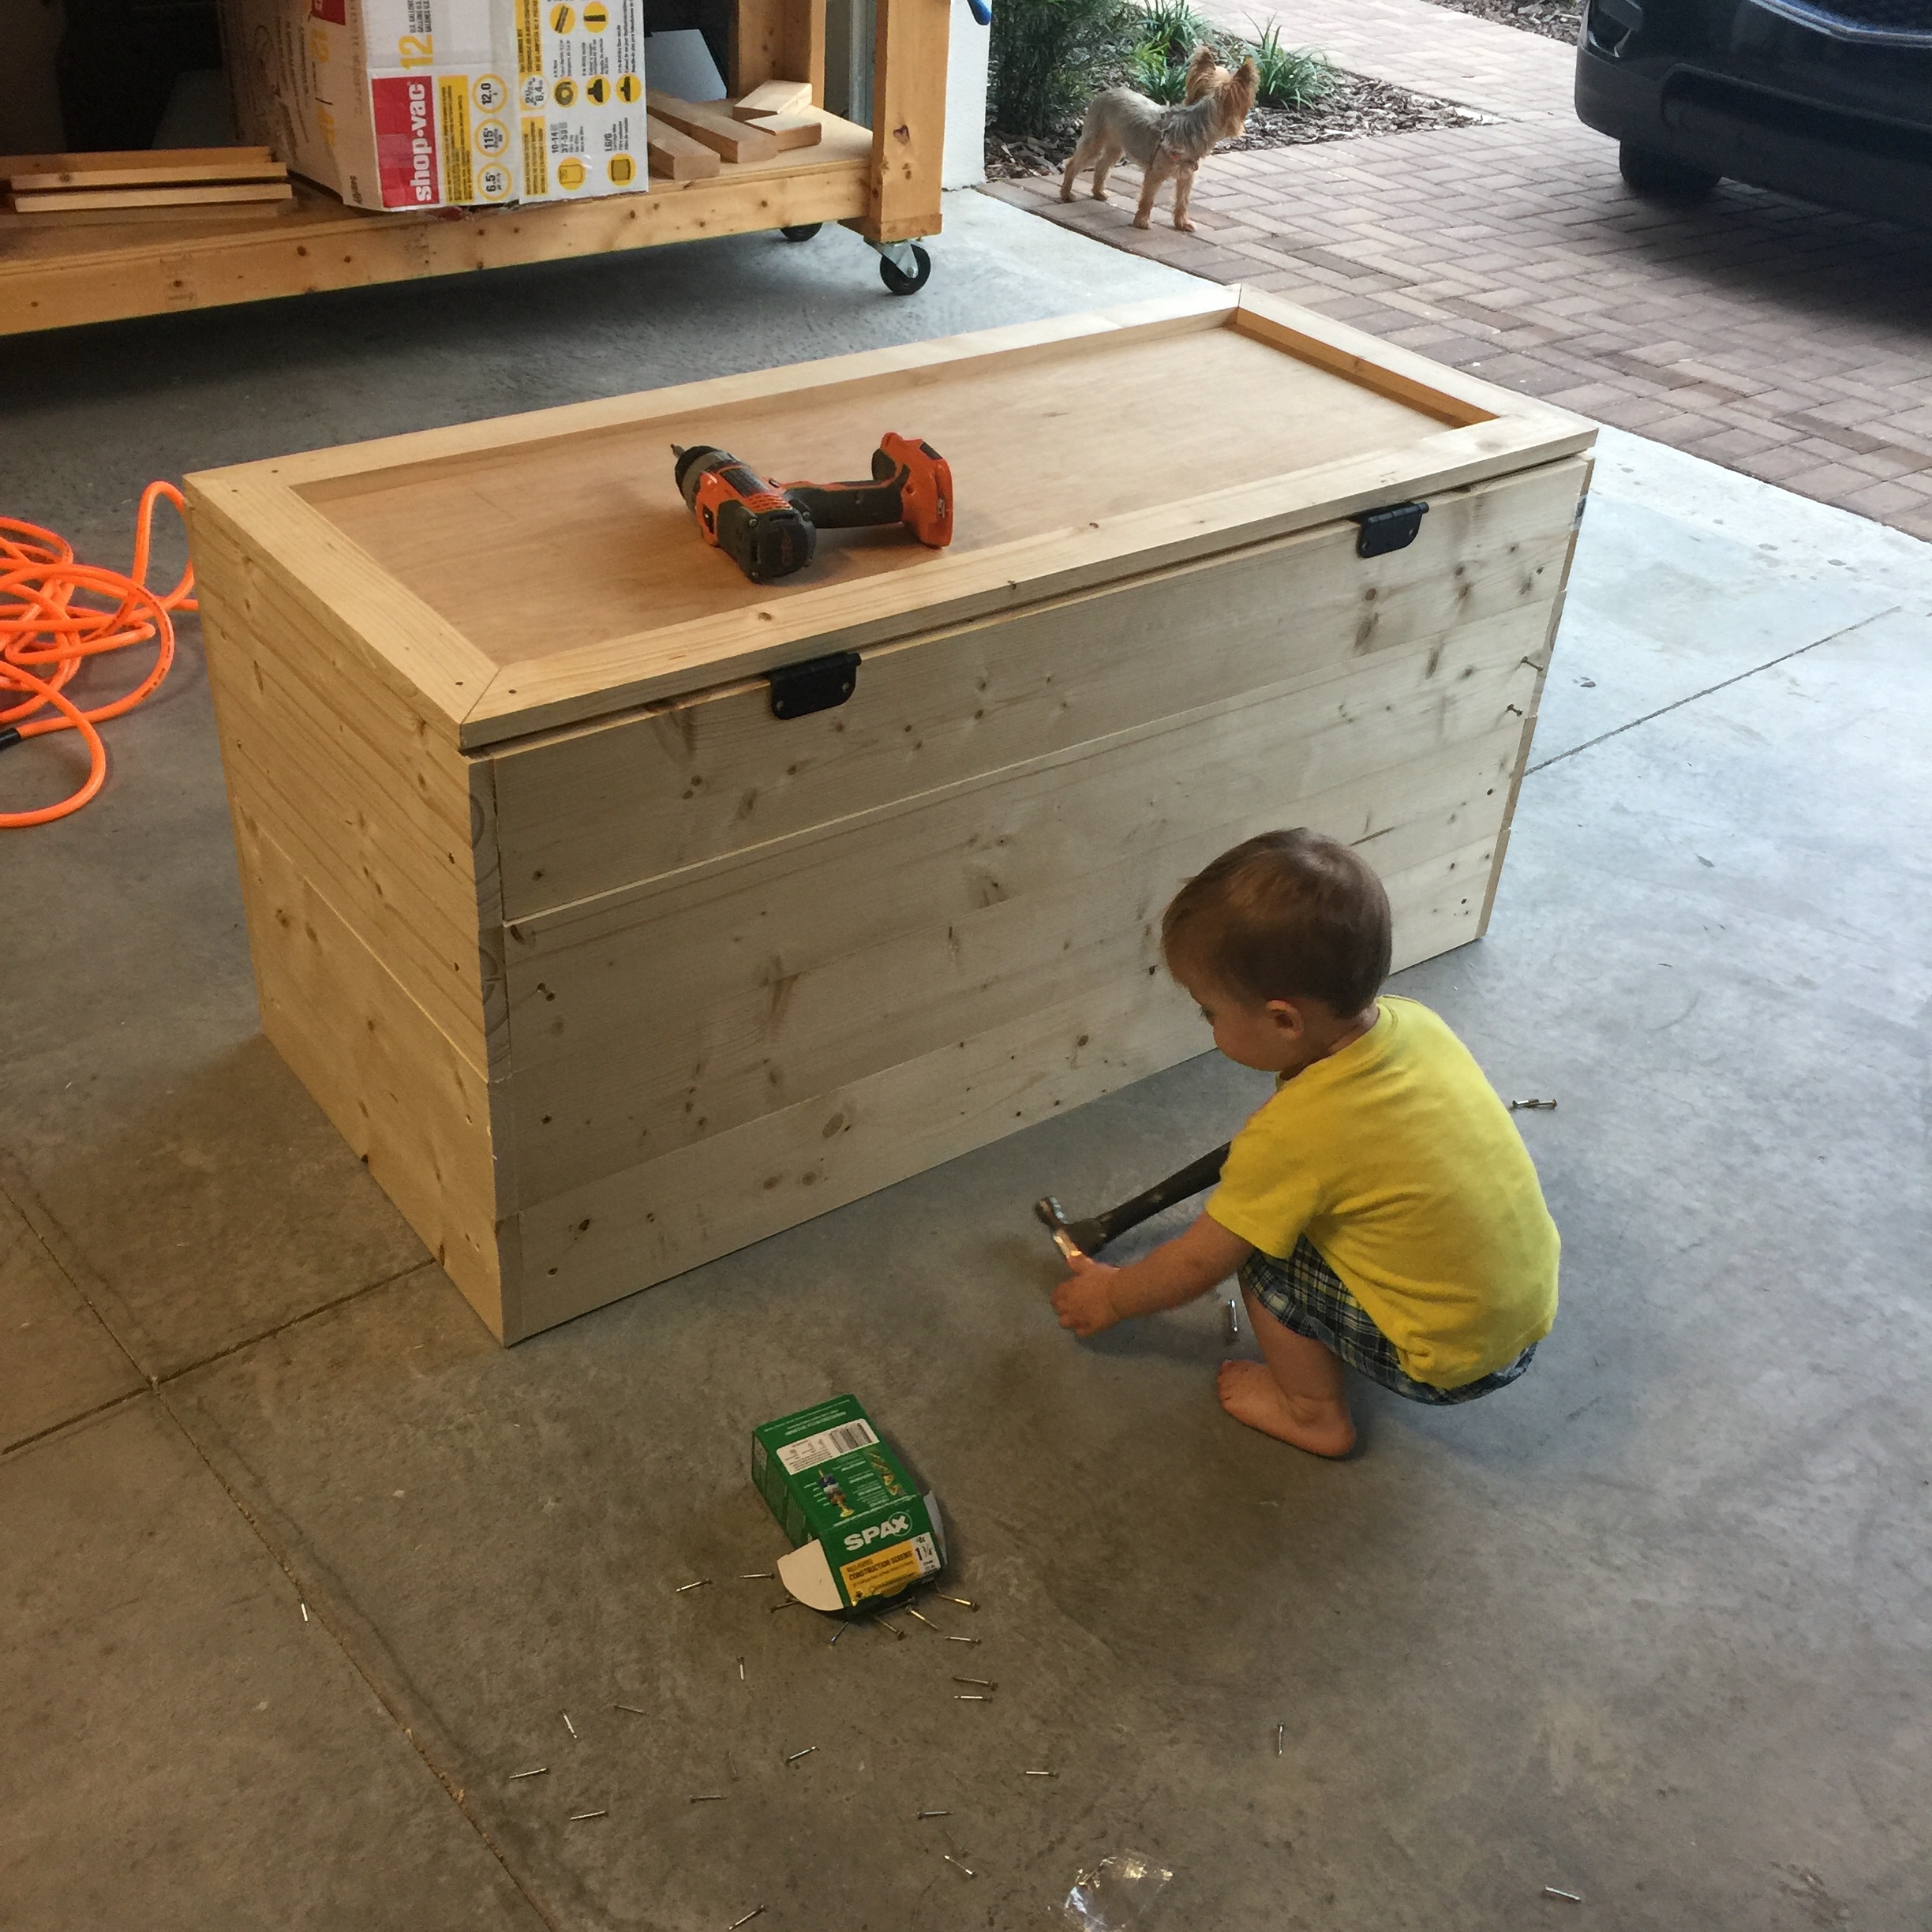
I used 1 1/4″ spax screws and just screwed the boards right into the 2×3’s creating the box. I drilled straight into the front because I was going to cover the front with trim that you’ll see below.
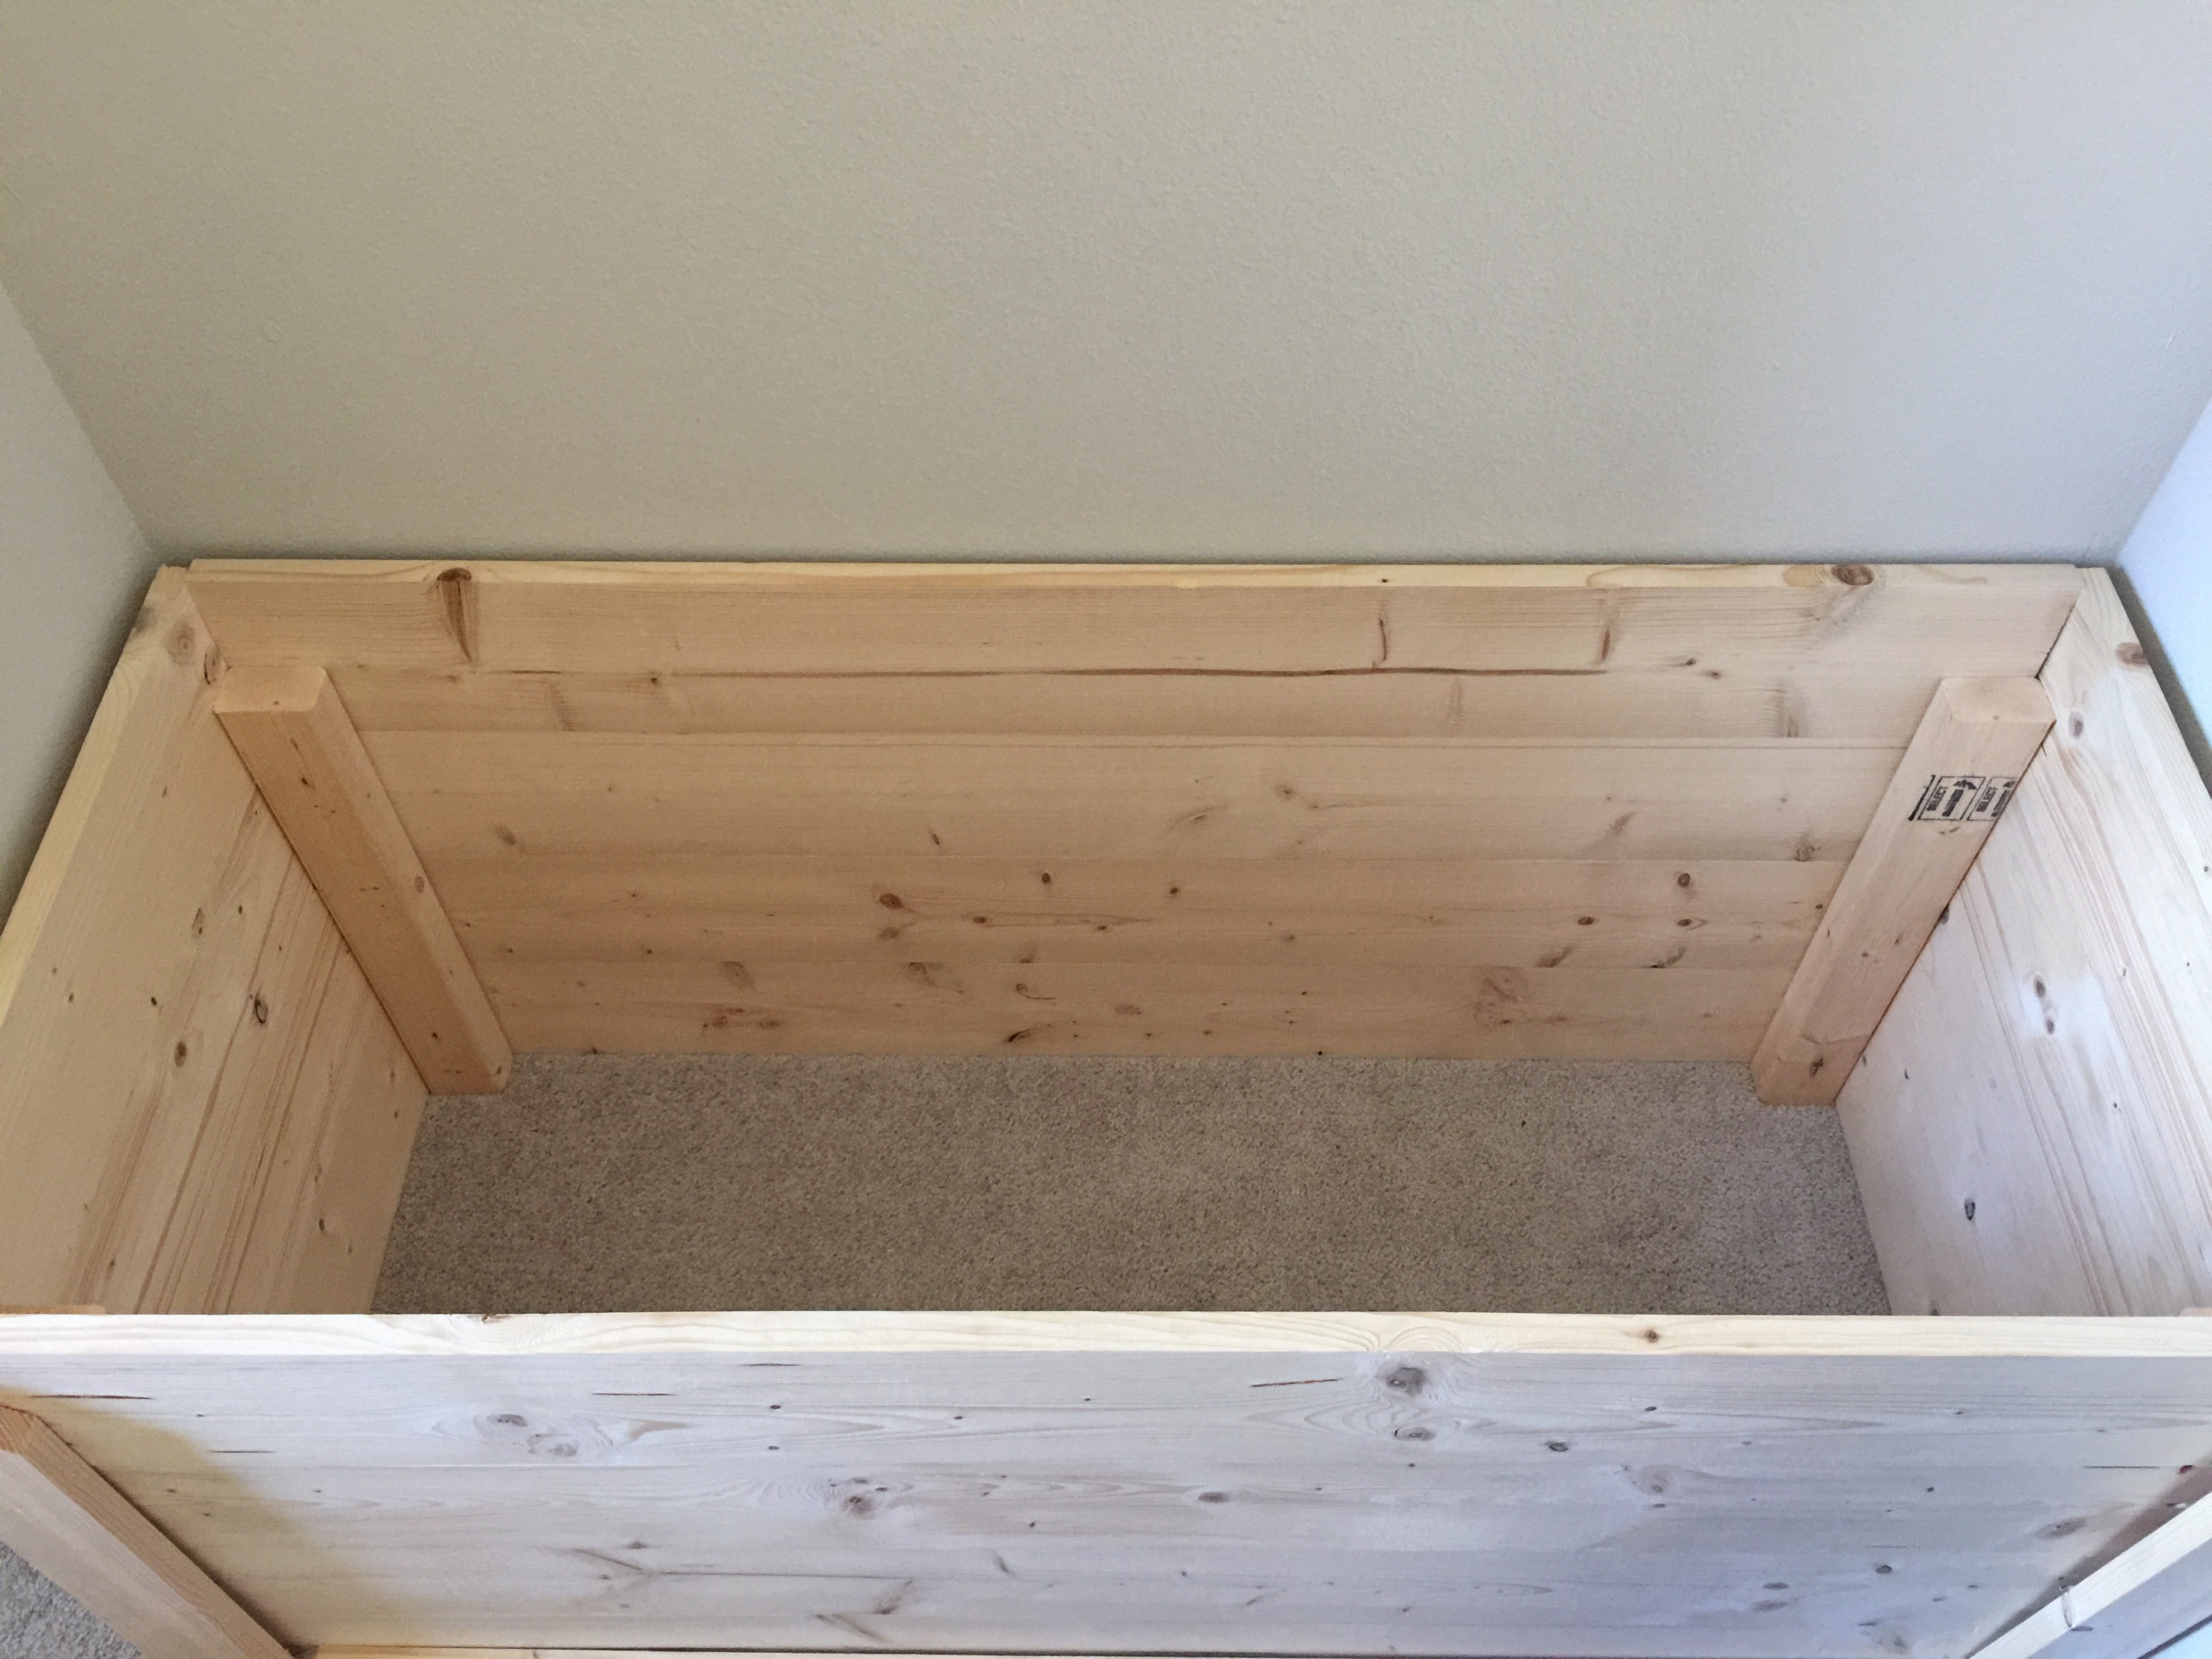
Here’s an inside look at the box. I was test fitting it in the nook. I didn’t create a bottom at all. It’s open to the carpet because a) I feel like it won’t be as noisy with toys hitting the bottom of wood and b) I’m lazy. But mostly option b. That was literally it for the box itself. Very simple, nothing fancy.

Here’s the front trim pieces that I cut and nailed on to give it a more finished look. I used 1×3 pine boards and cut the angles at a 45. I nailed them from the front using 1 1/4″ brad nails.

I used a piece of quarter inch plywood and the same 1×3 pine boards for trim to make the lid. I nailed the plywood to the trim pieces from the under side of the lid using 3/4″ nails.

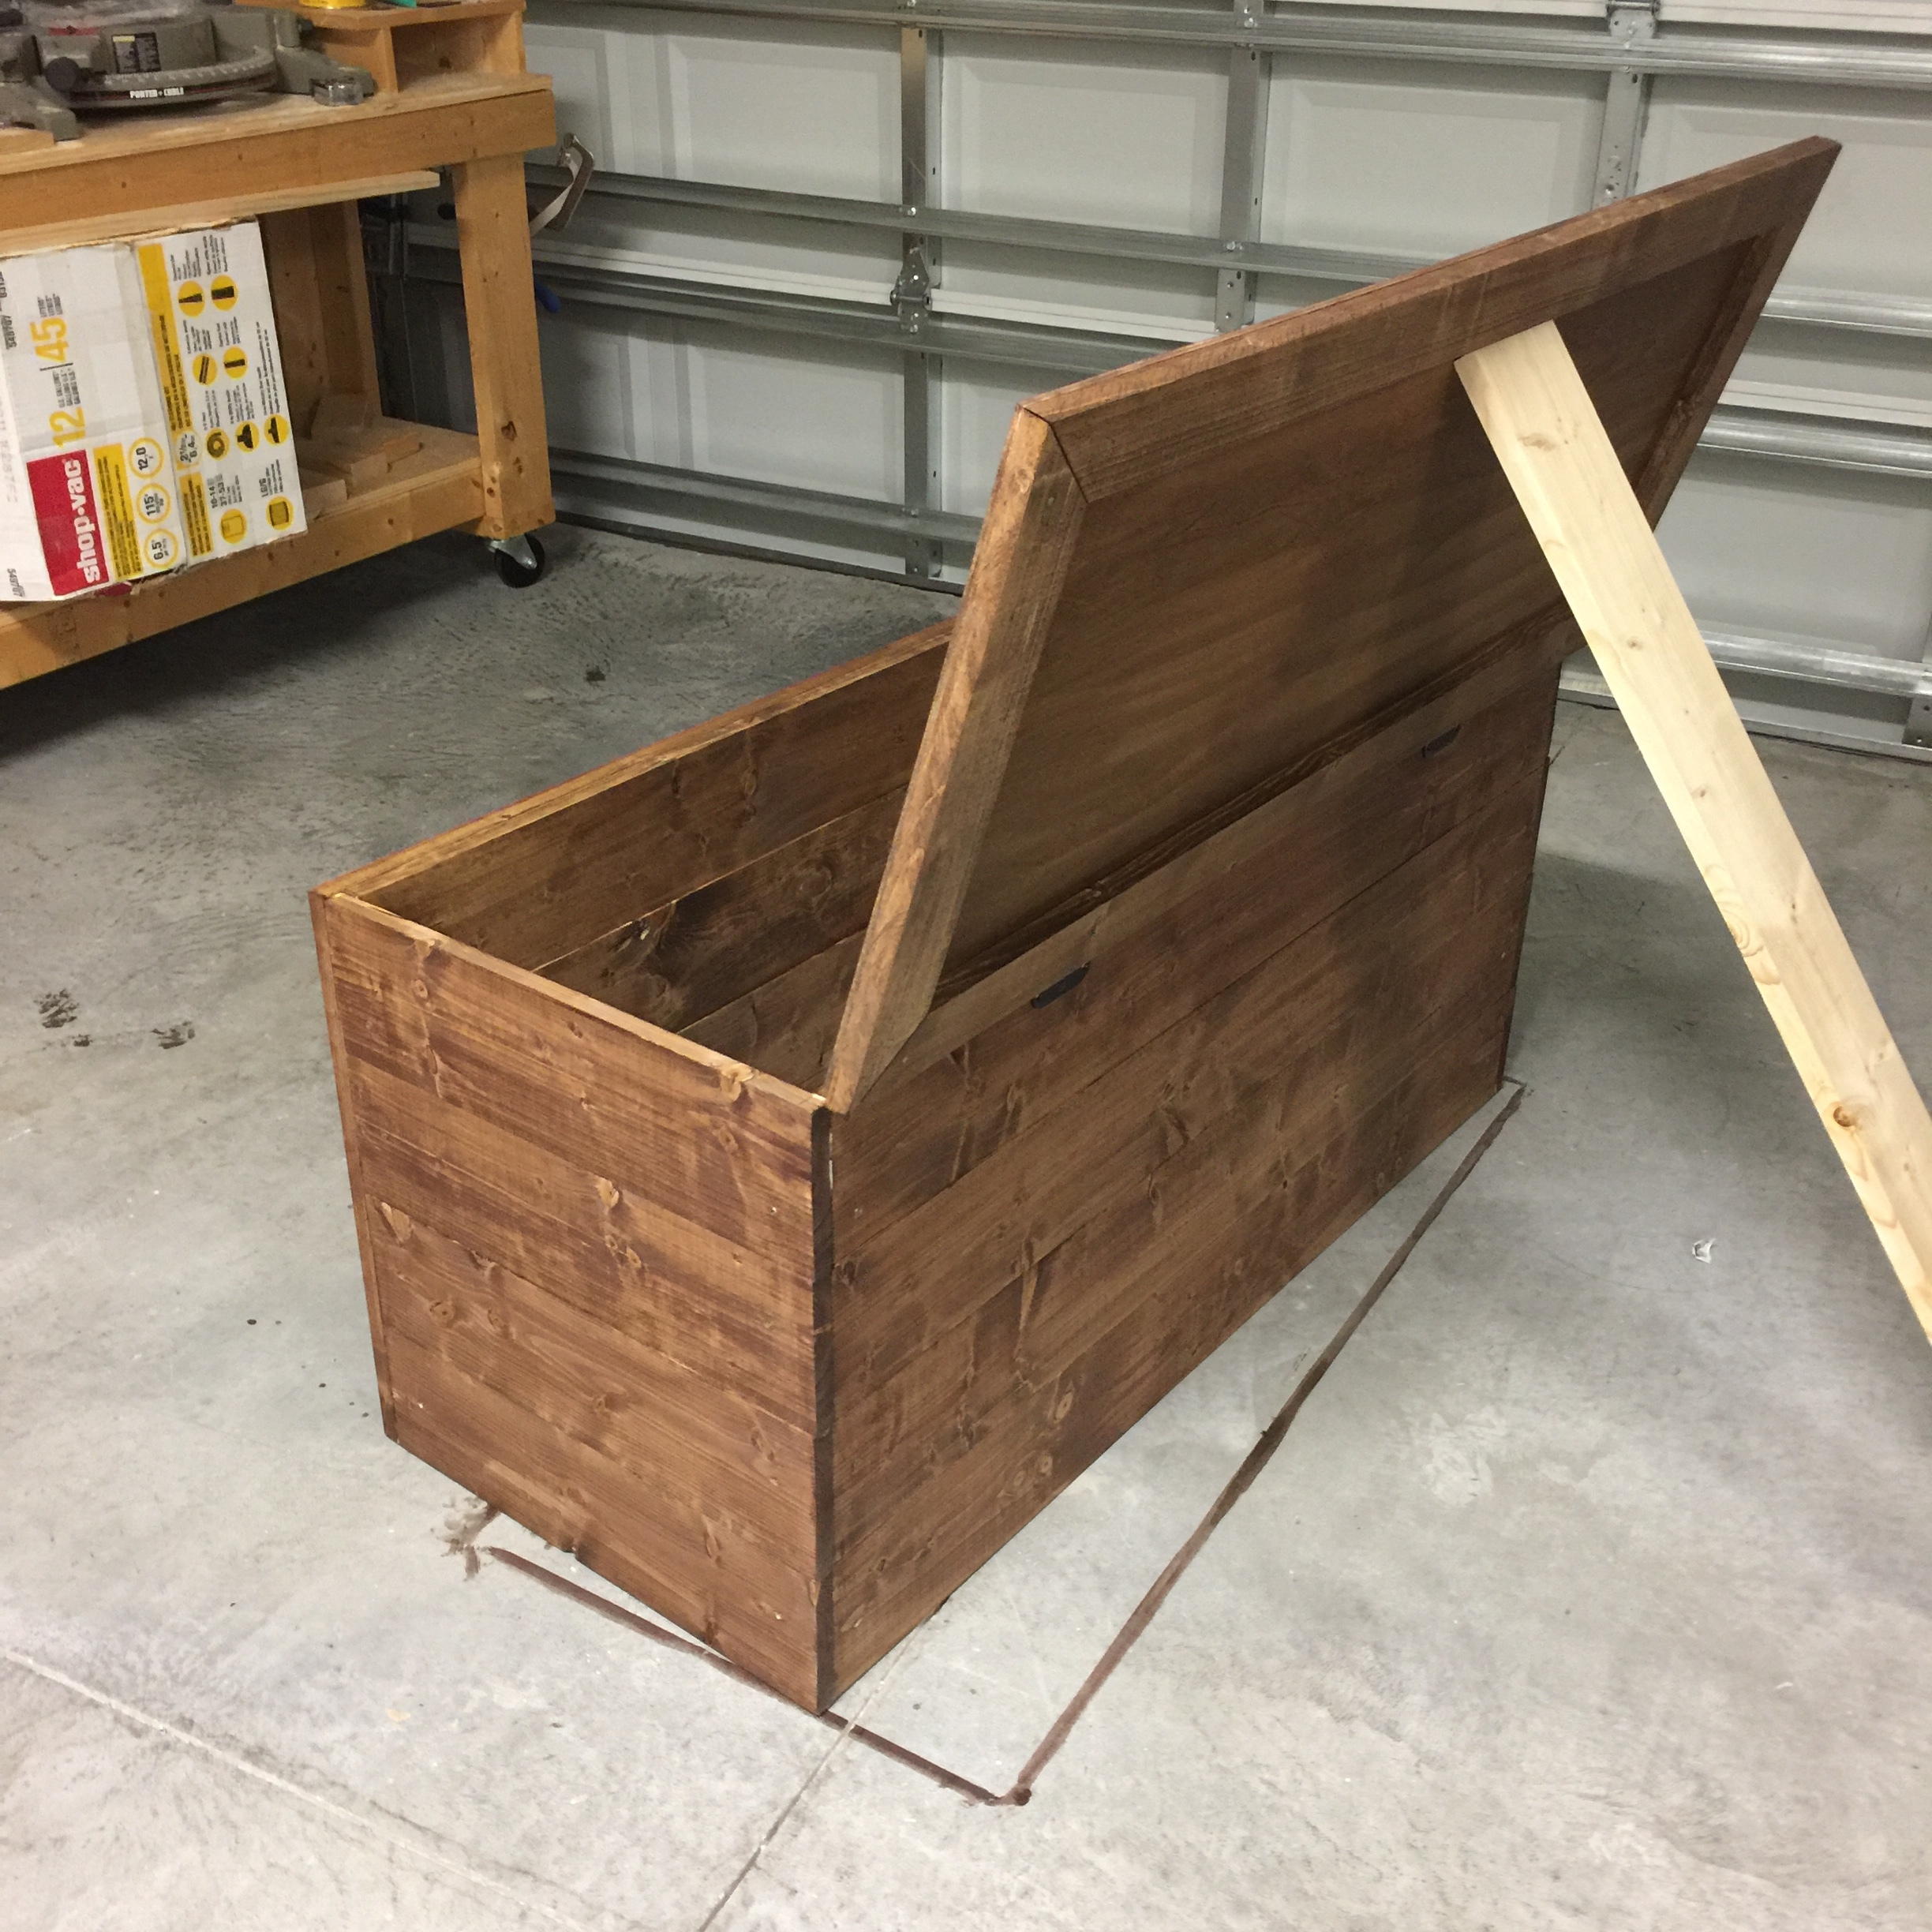
Here’s the finished lid. I wanted it to be as light weight as possible so Aiden could lift it easily.

I bought regular hinges from Lowe’s and attached the lid to the box with them. Aiden helped 🙂 And ta-da! That’s all!

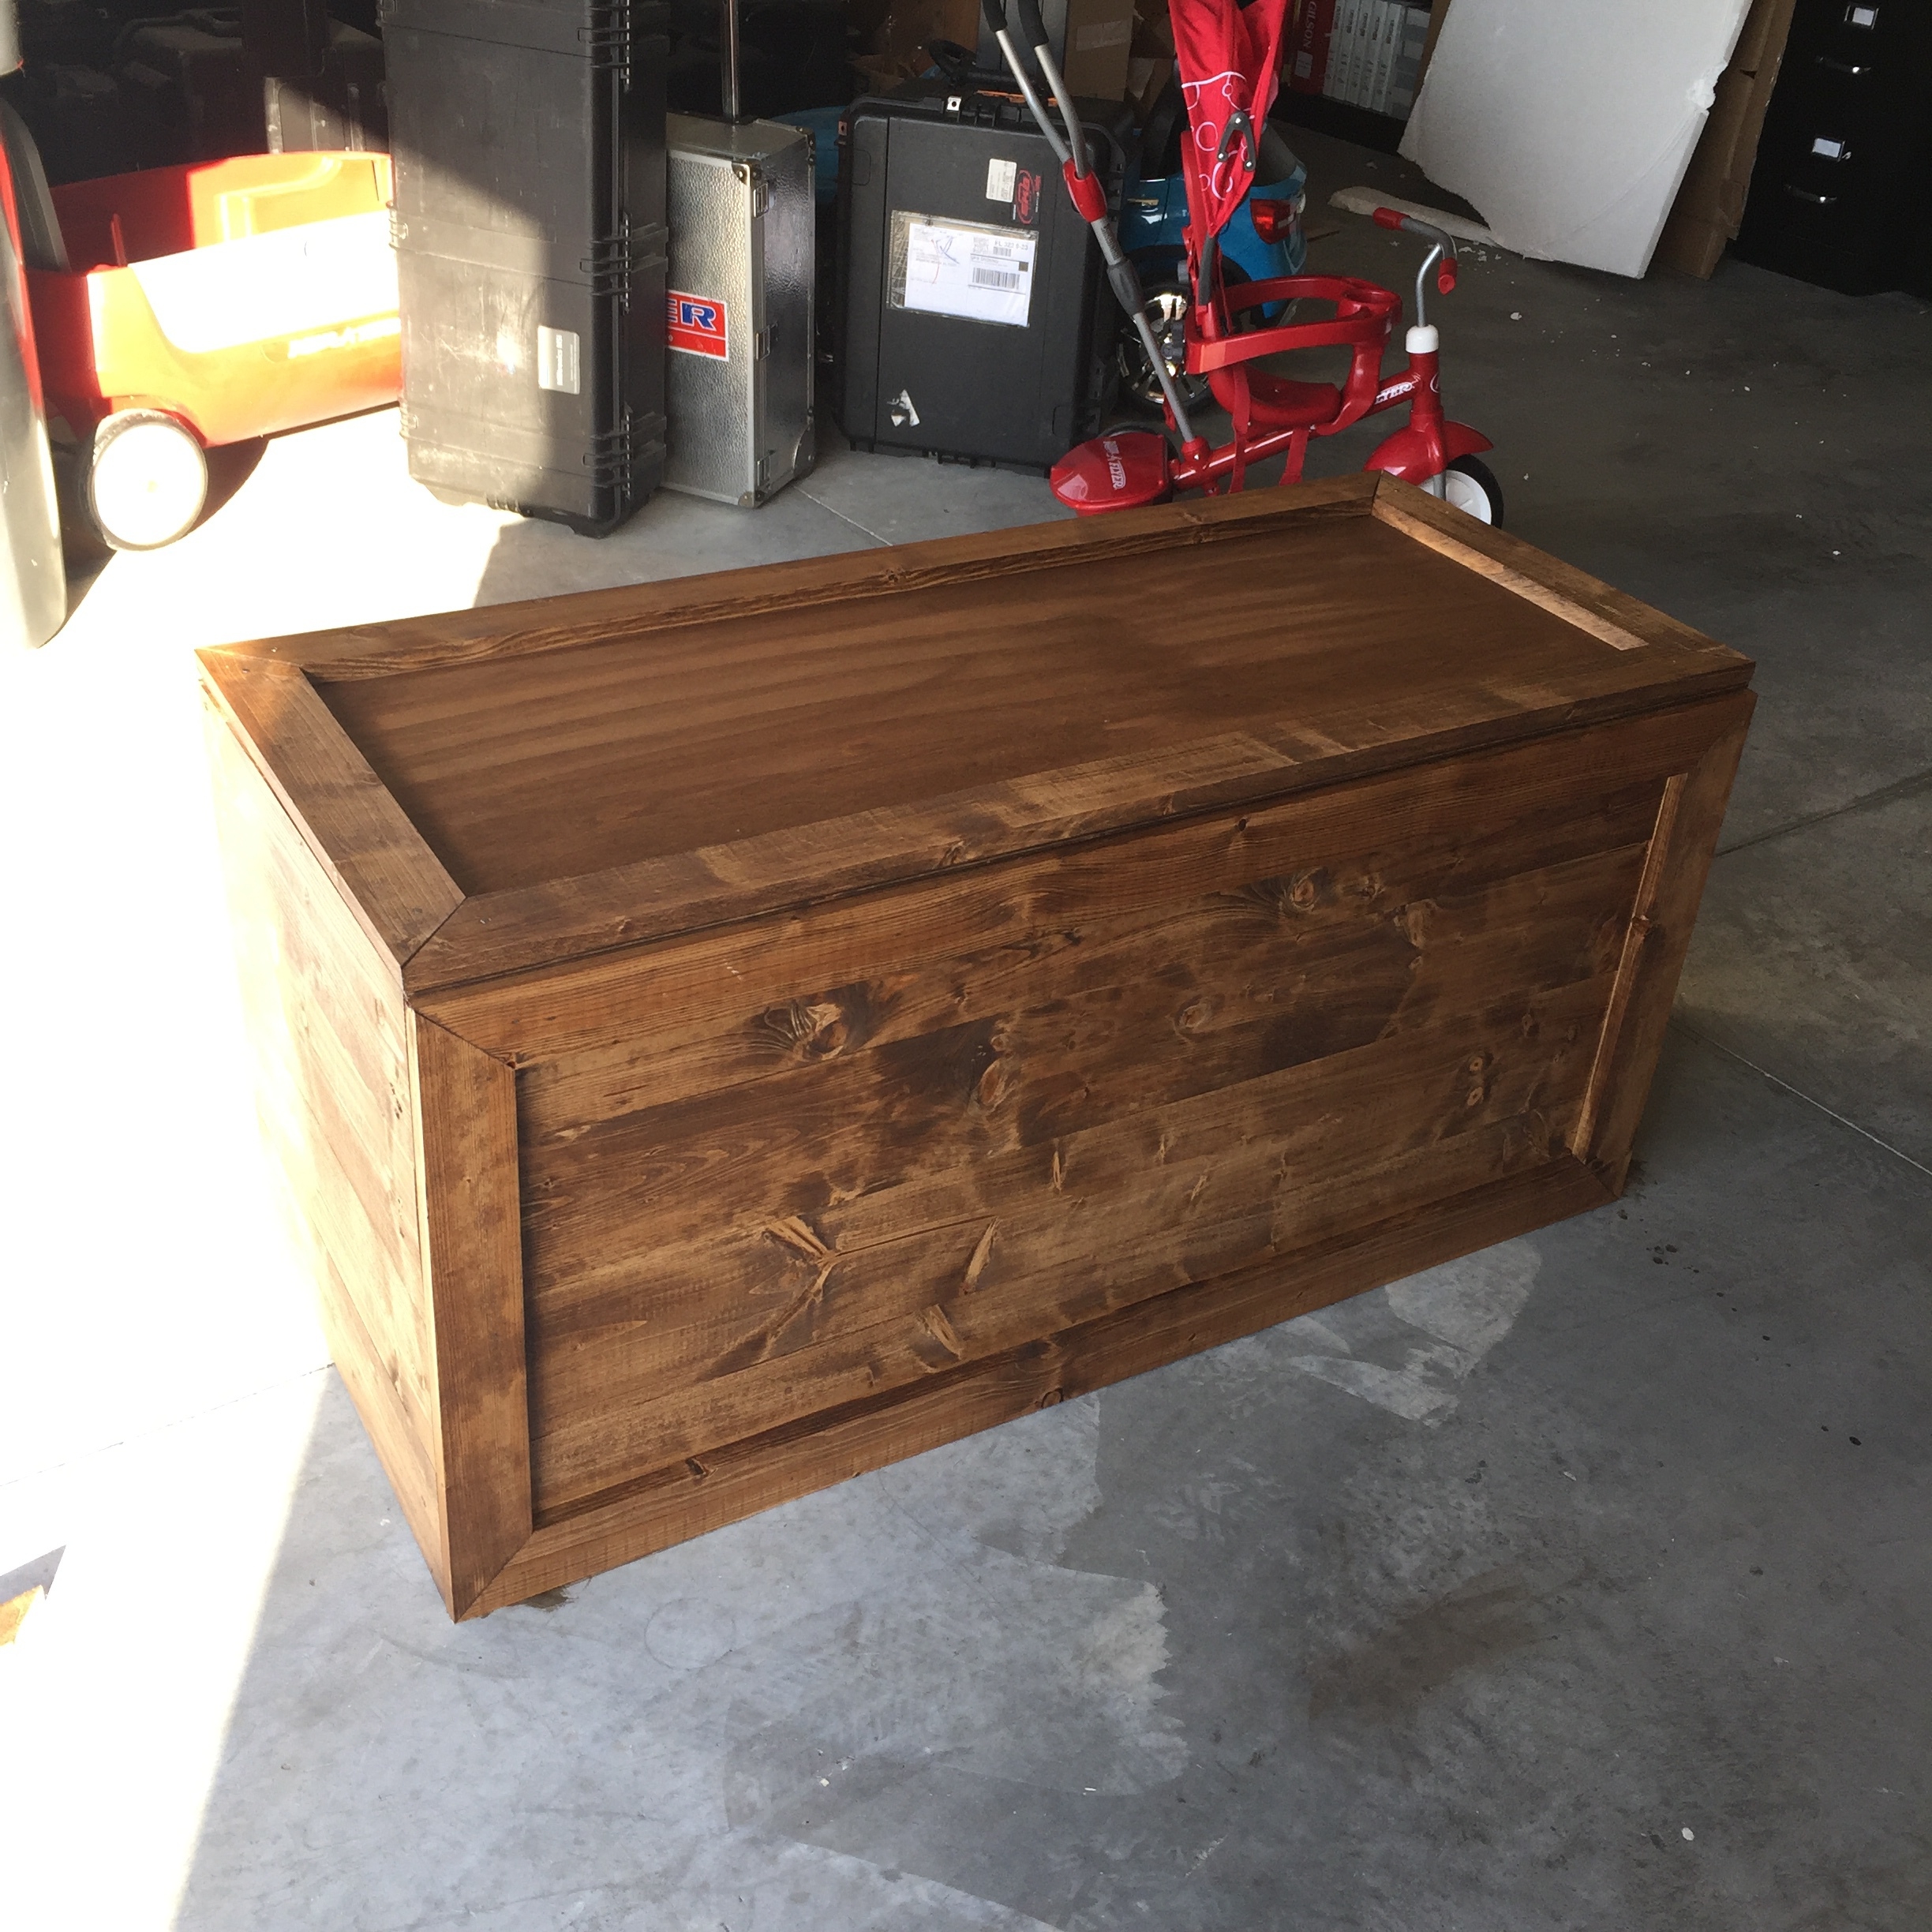
I stained the entire thing in Minwax Special Walnut (to match his DIY Bed and Floating Shelves) and that was it! Seriously super easy.

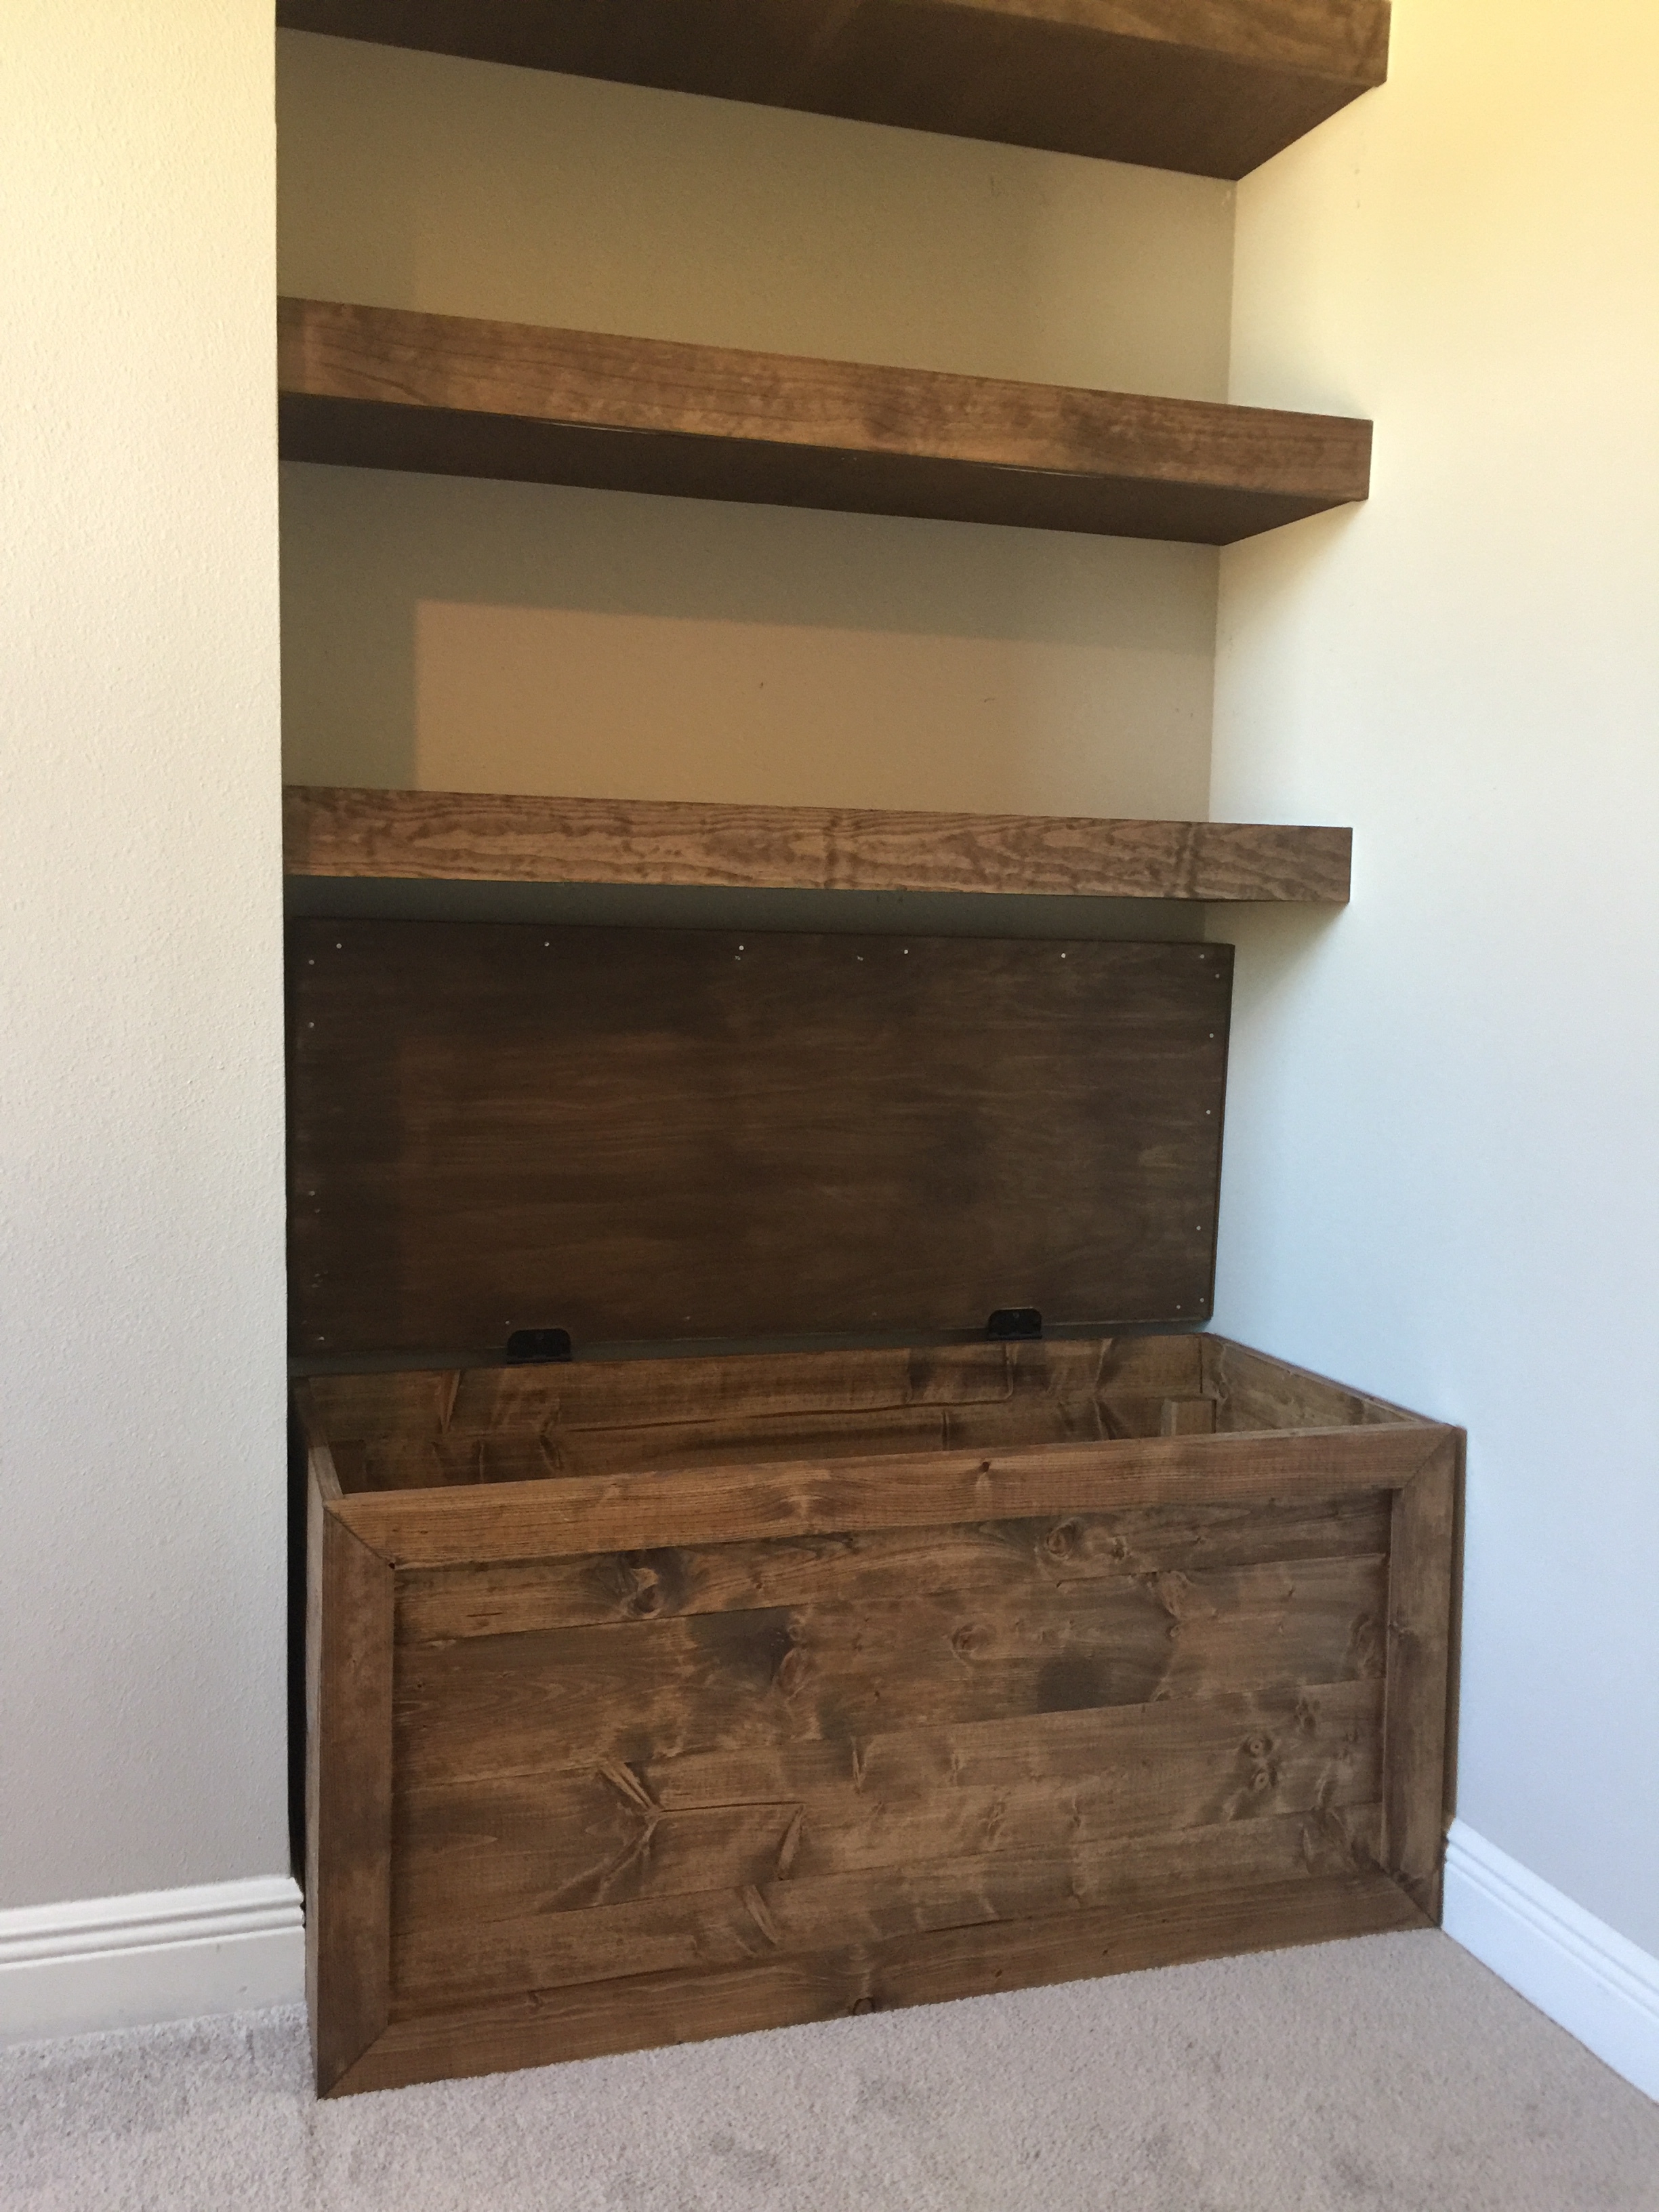
Here’s the toy box in it’s new home with the new shelves!


I made sure there was just enough clearance for the lid before the first shelf.

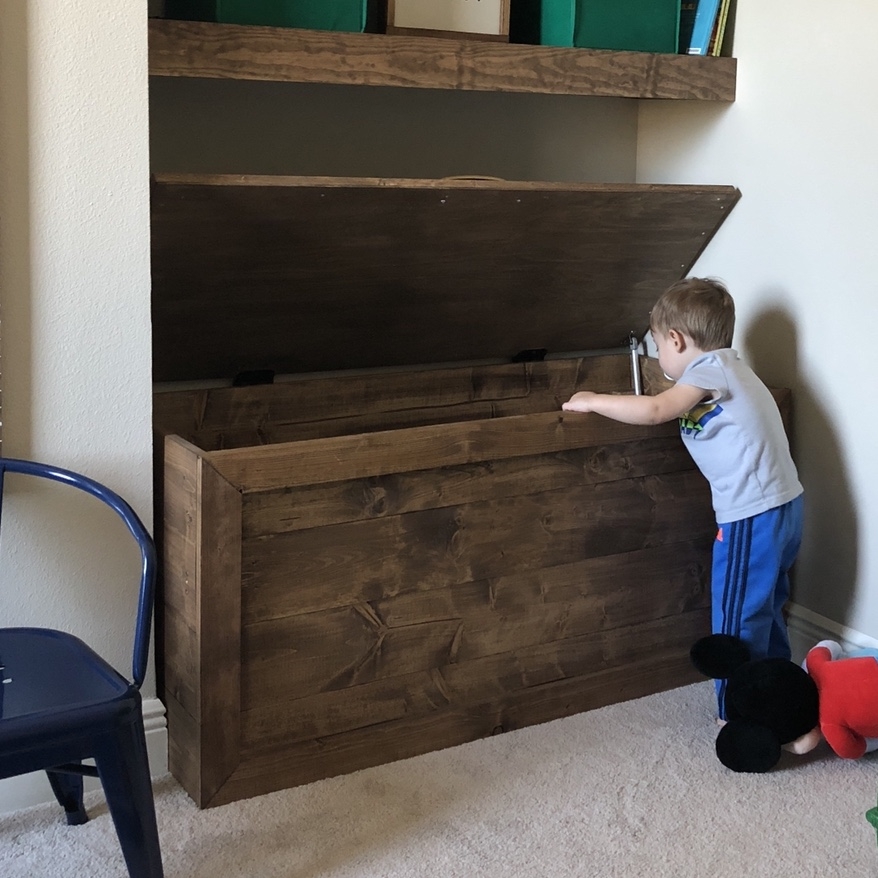
I added a handle to the top and slow close/open springs inside.

The slow close/open springs were by far the hardest part of this entire build. Getting them in the right position is tricky and therefore I put at least a dozen holes or more in the side of the toy box trying to get it right. Ya win some, ya lose some.

Here’s how the toy box lid is held open by the springs.
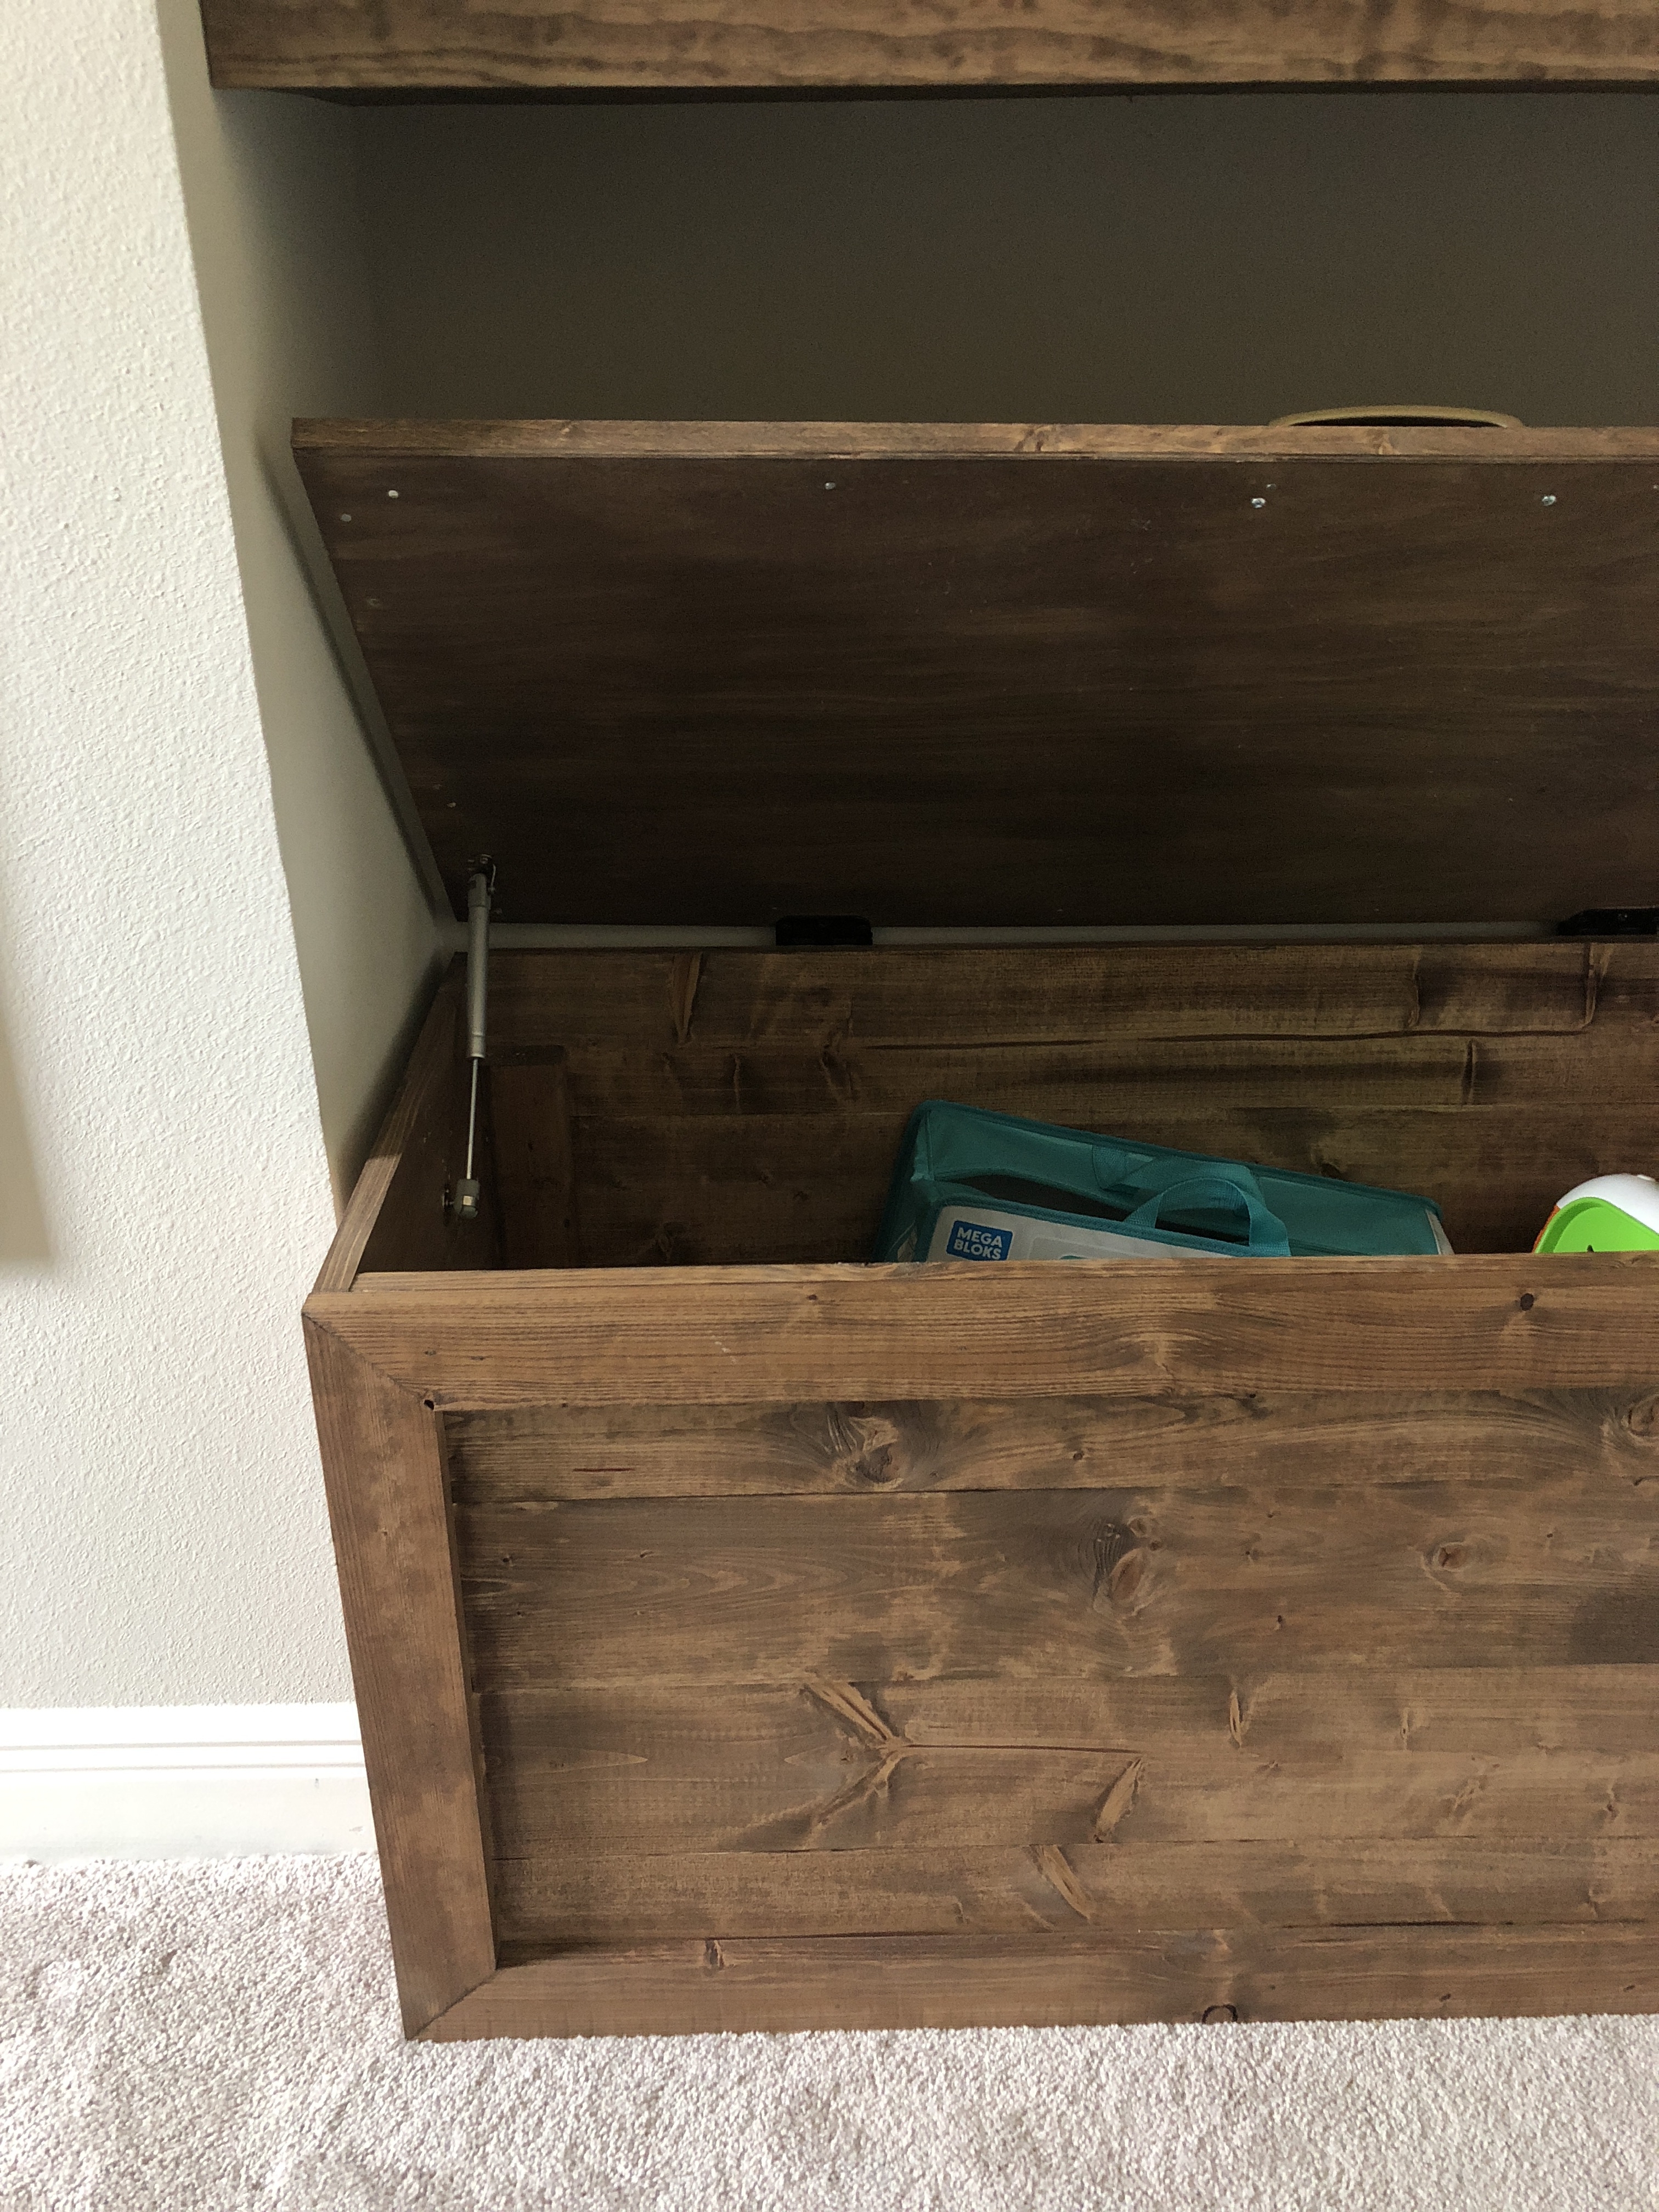
Another look at the inside all finished.

And here it is loaded up already! What do you think of my DIY Toy Box? Comment below and let me know your thoughts. I love hearing from you guys!