DIY Pottery Barn Breakfast Table
Believe it or not, almost every piece of furniture from our old house came with us and fit perfectly in our new house. Actually, I even sold a few things that wouldn’t fit in our new house, since it’s actually smaller than our old one. But there are two “new” pieces I got for the new house. Both of which I built myself! One was the DIY Sideboard/TV stand that I posted about a couple weeks ago. The other piece is our new breakfast table that I’m excited to share with you today!
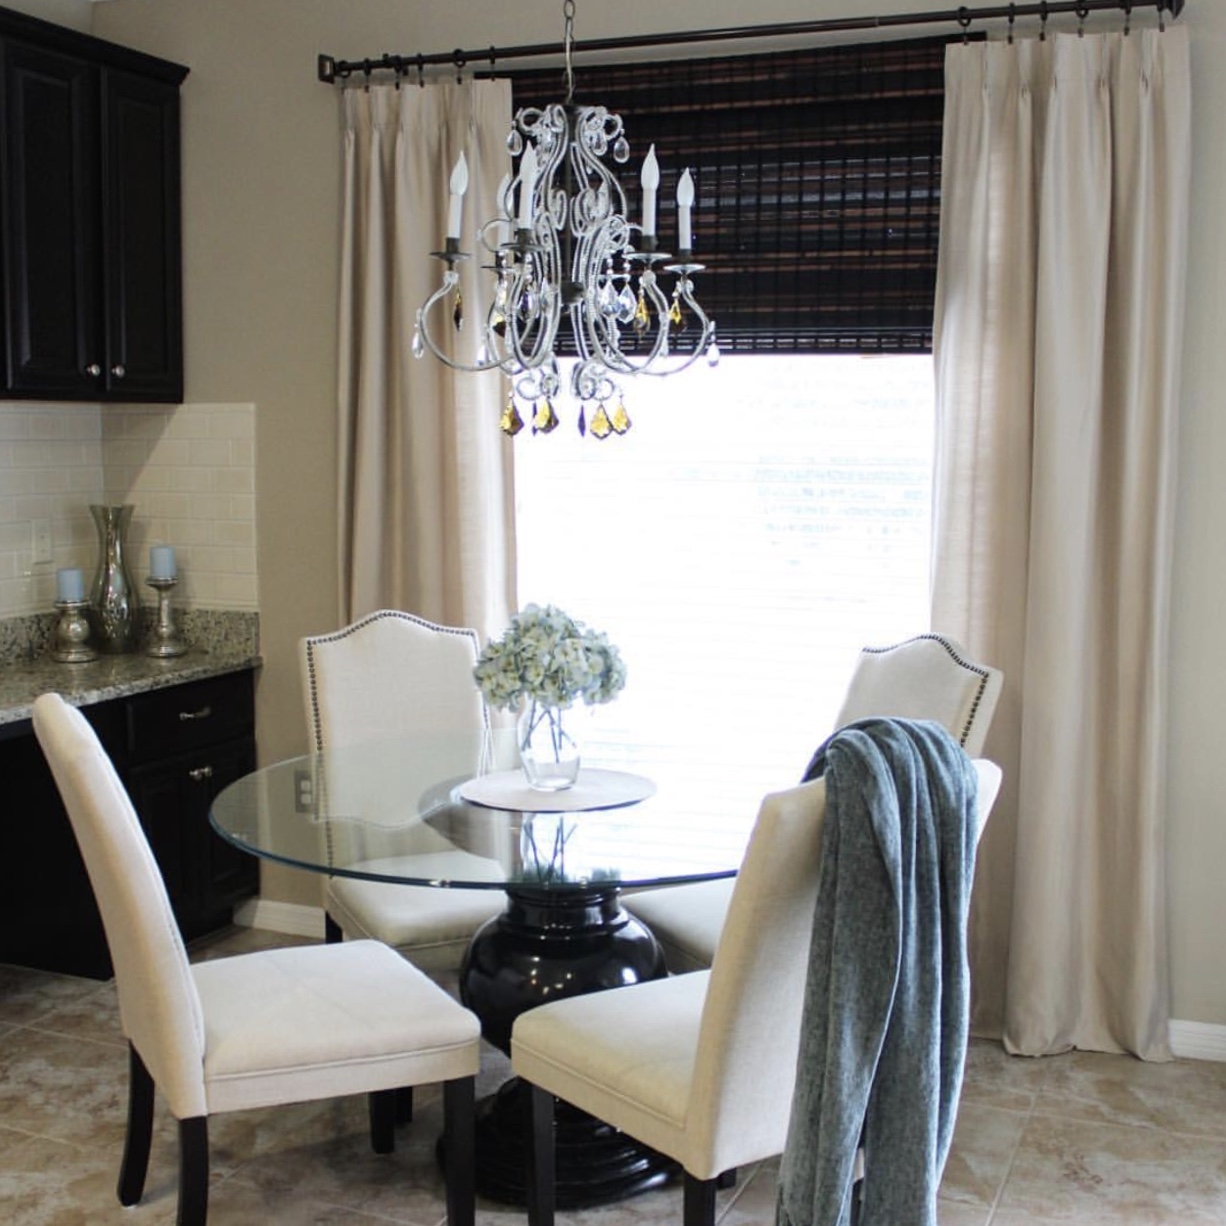
Remember the breakfast table at our old house seen above? It was a 54″ round, glass table on a pedestal. I absolutely adore this table, and still do. The problem is that it’s round. And our new breakfast area would not accommodate a round table. It really really needed to be rectangular. And pretty narrow, at that. So I emailed the buyers of our home and asked if they would like to buy the table and they happily did.
Here is a snapshot of our new floor plan that I’ve shown before. I edited a furniture layout on top of it as the house was being built to determine how I was going to arrange everything.
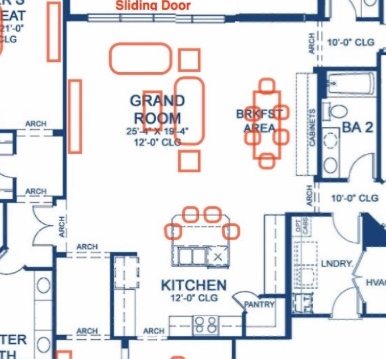
You can clearly see how narrow of a space the breakfast area is, and that a round table would not have worked. But it gave me the perfect opportunity to do something I’ve always wanted to do for our family, and that’s build us our own table! You’ve seen posts in the past where I’ve built furniture, and I’ve even built tables for several clients and friends over the last couple years, but never for US!
As you may know, most of the furniture I build is by using tutorials from the amazing Shanty-2-chic sisters. They have dozens of great tutorials on their site that are perfect for beginner builders or non-professionals like myself! I frequently browse their site and one day came across a tutorial for this amazing knock off of a Pottery Barn table.
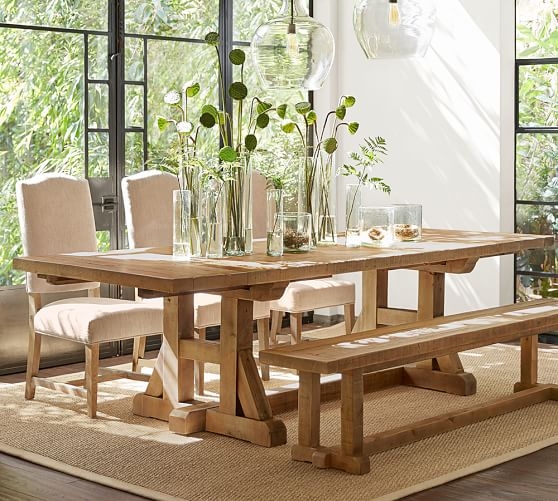
This is the picture from the actual Pottery Barn website. Where the table is listed at $2,199!!
And here is the picture of the one the shanty sisters built and shared the plans for:
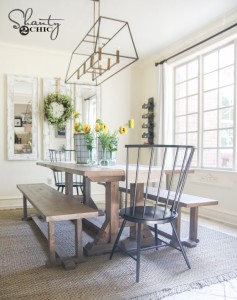
They are identical, right?? And you can get the wood to build this table yourself for right at $100. Absolutely incredible! I didn’t take pictures of every step of the build process, because the shanty website does a phenomenal job of that where you can follow along, but I did take a few. This is not meant to be a detailed tutorial, because Shanty’s is much better than any I could put together!
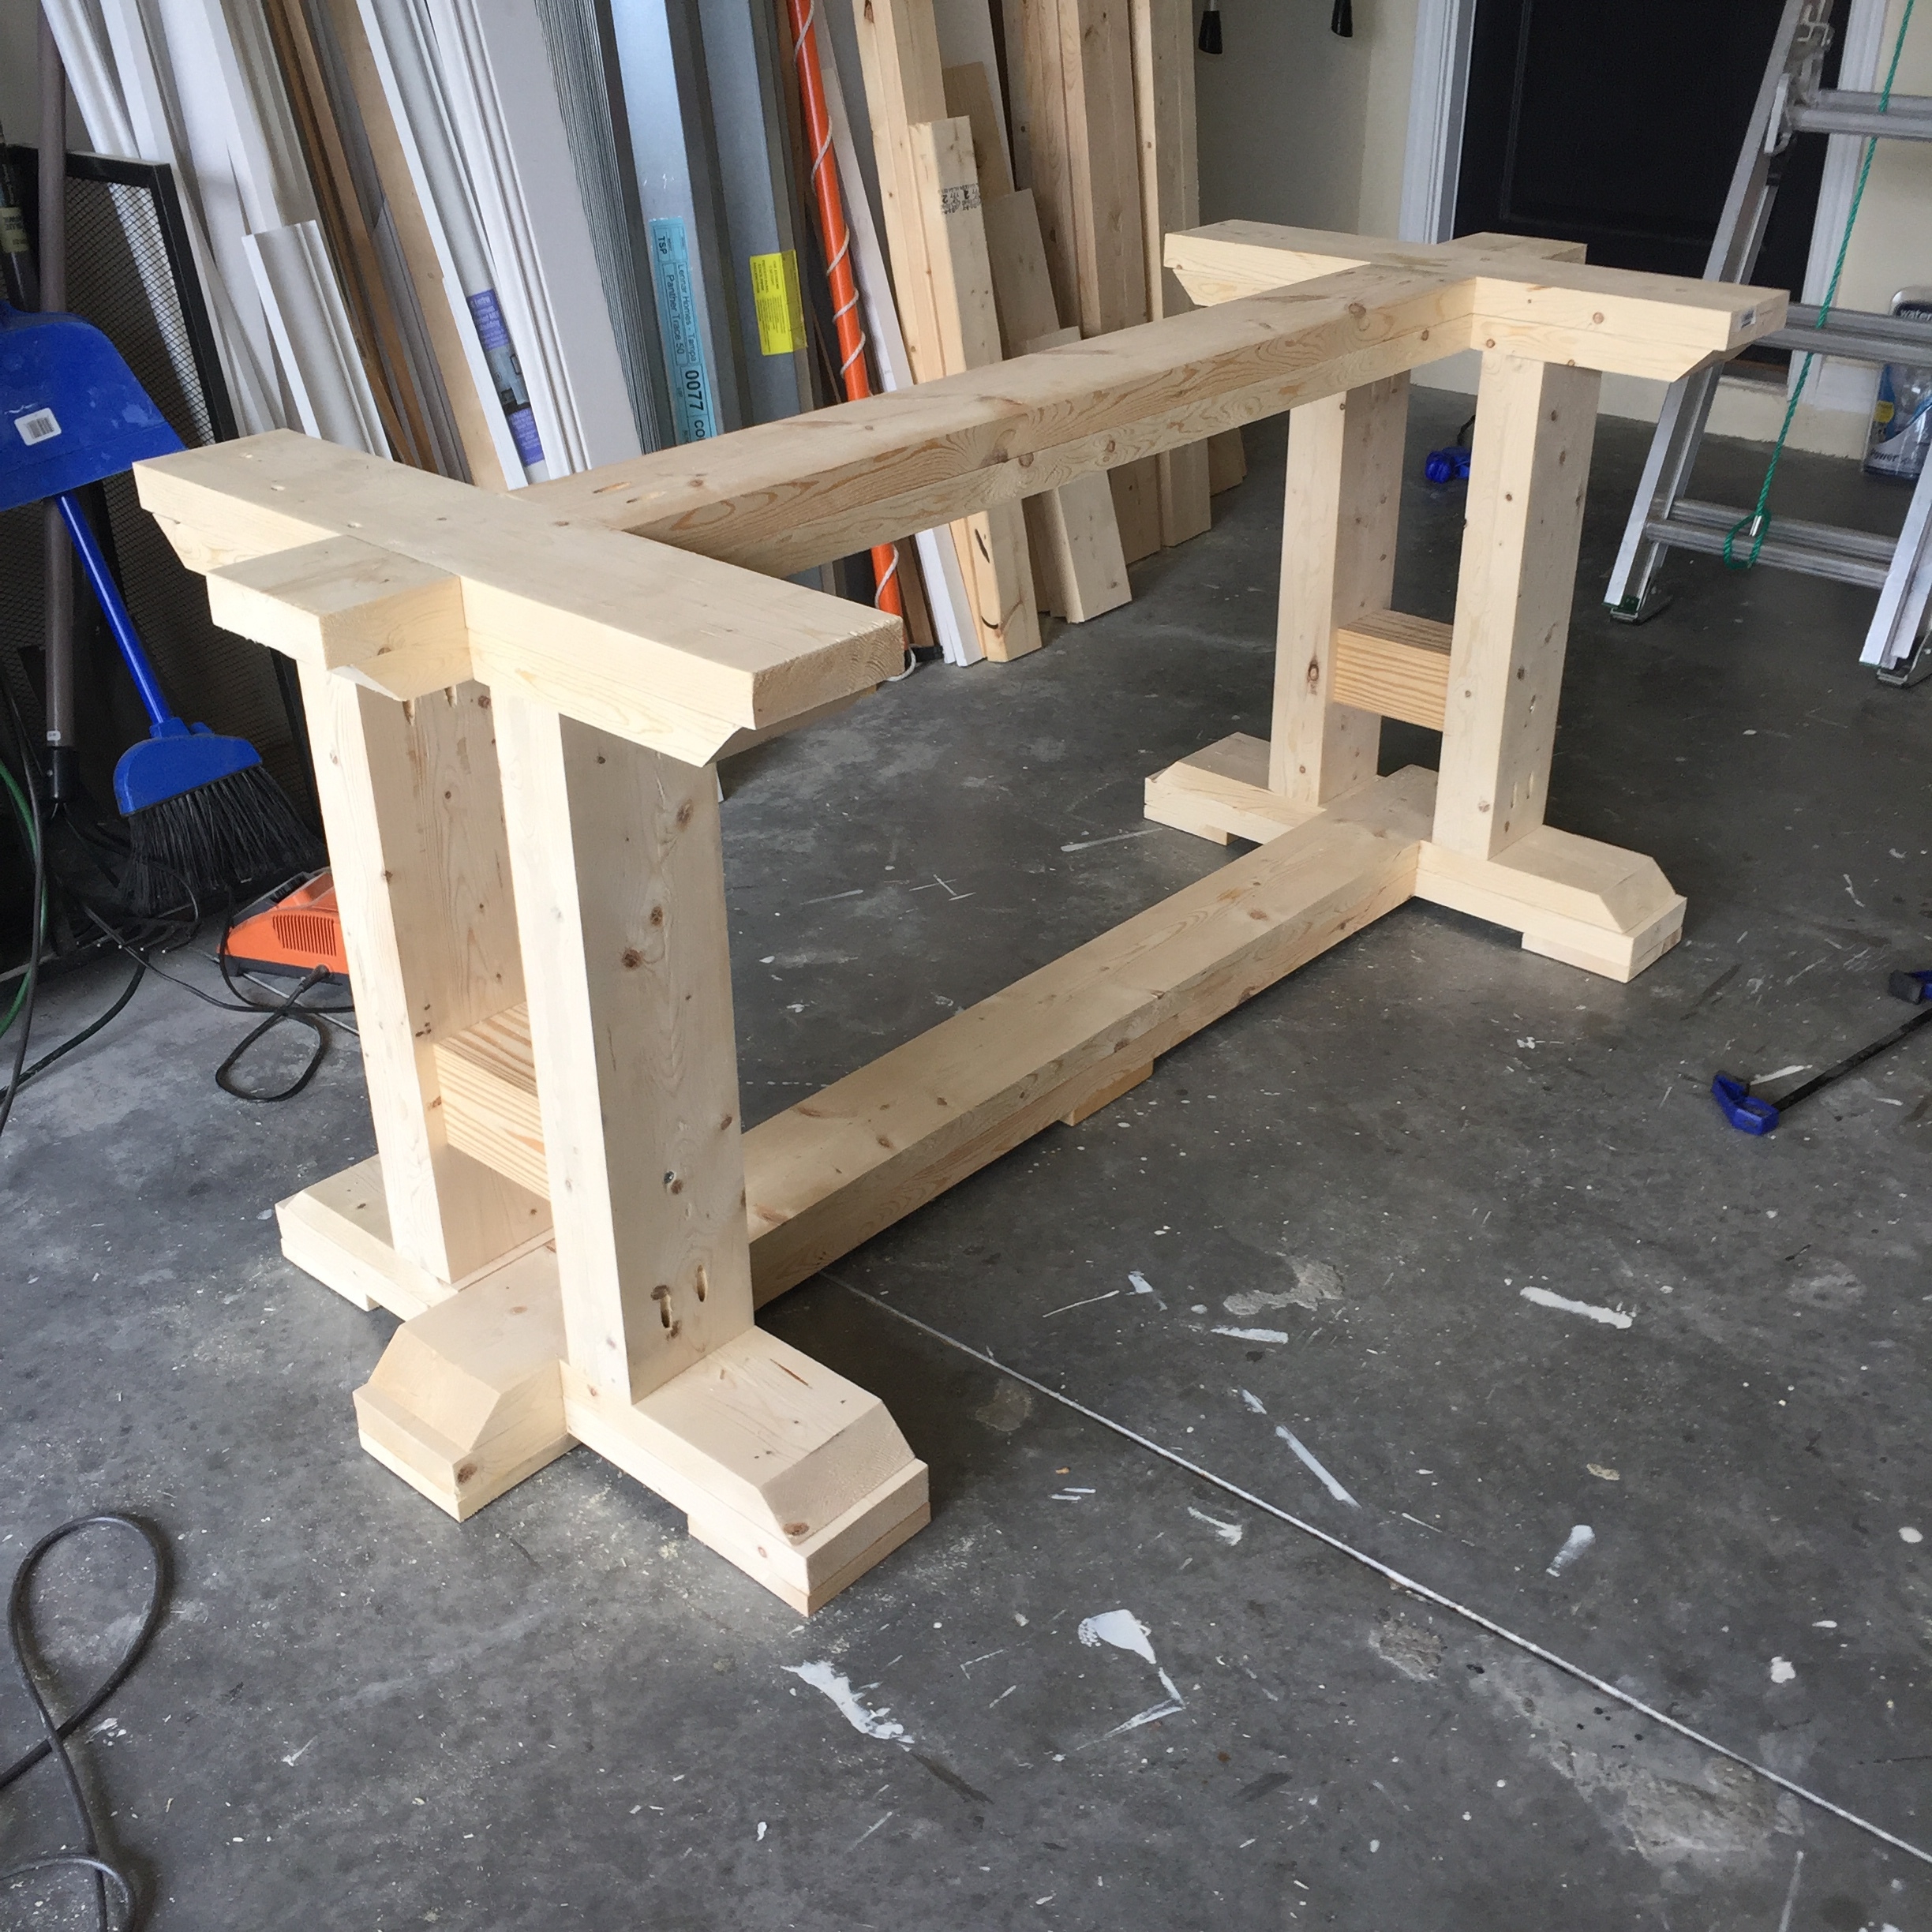
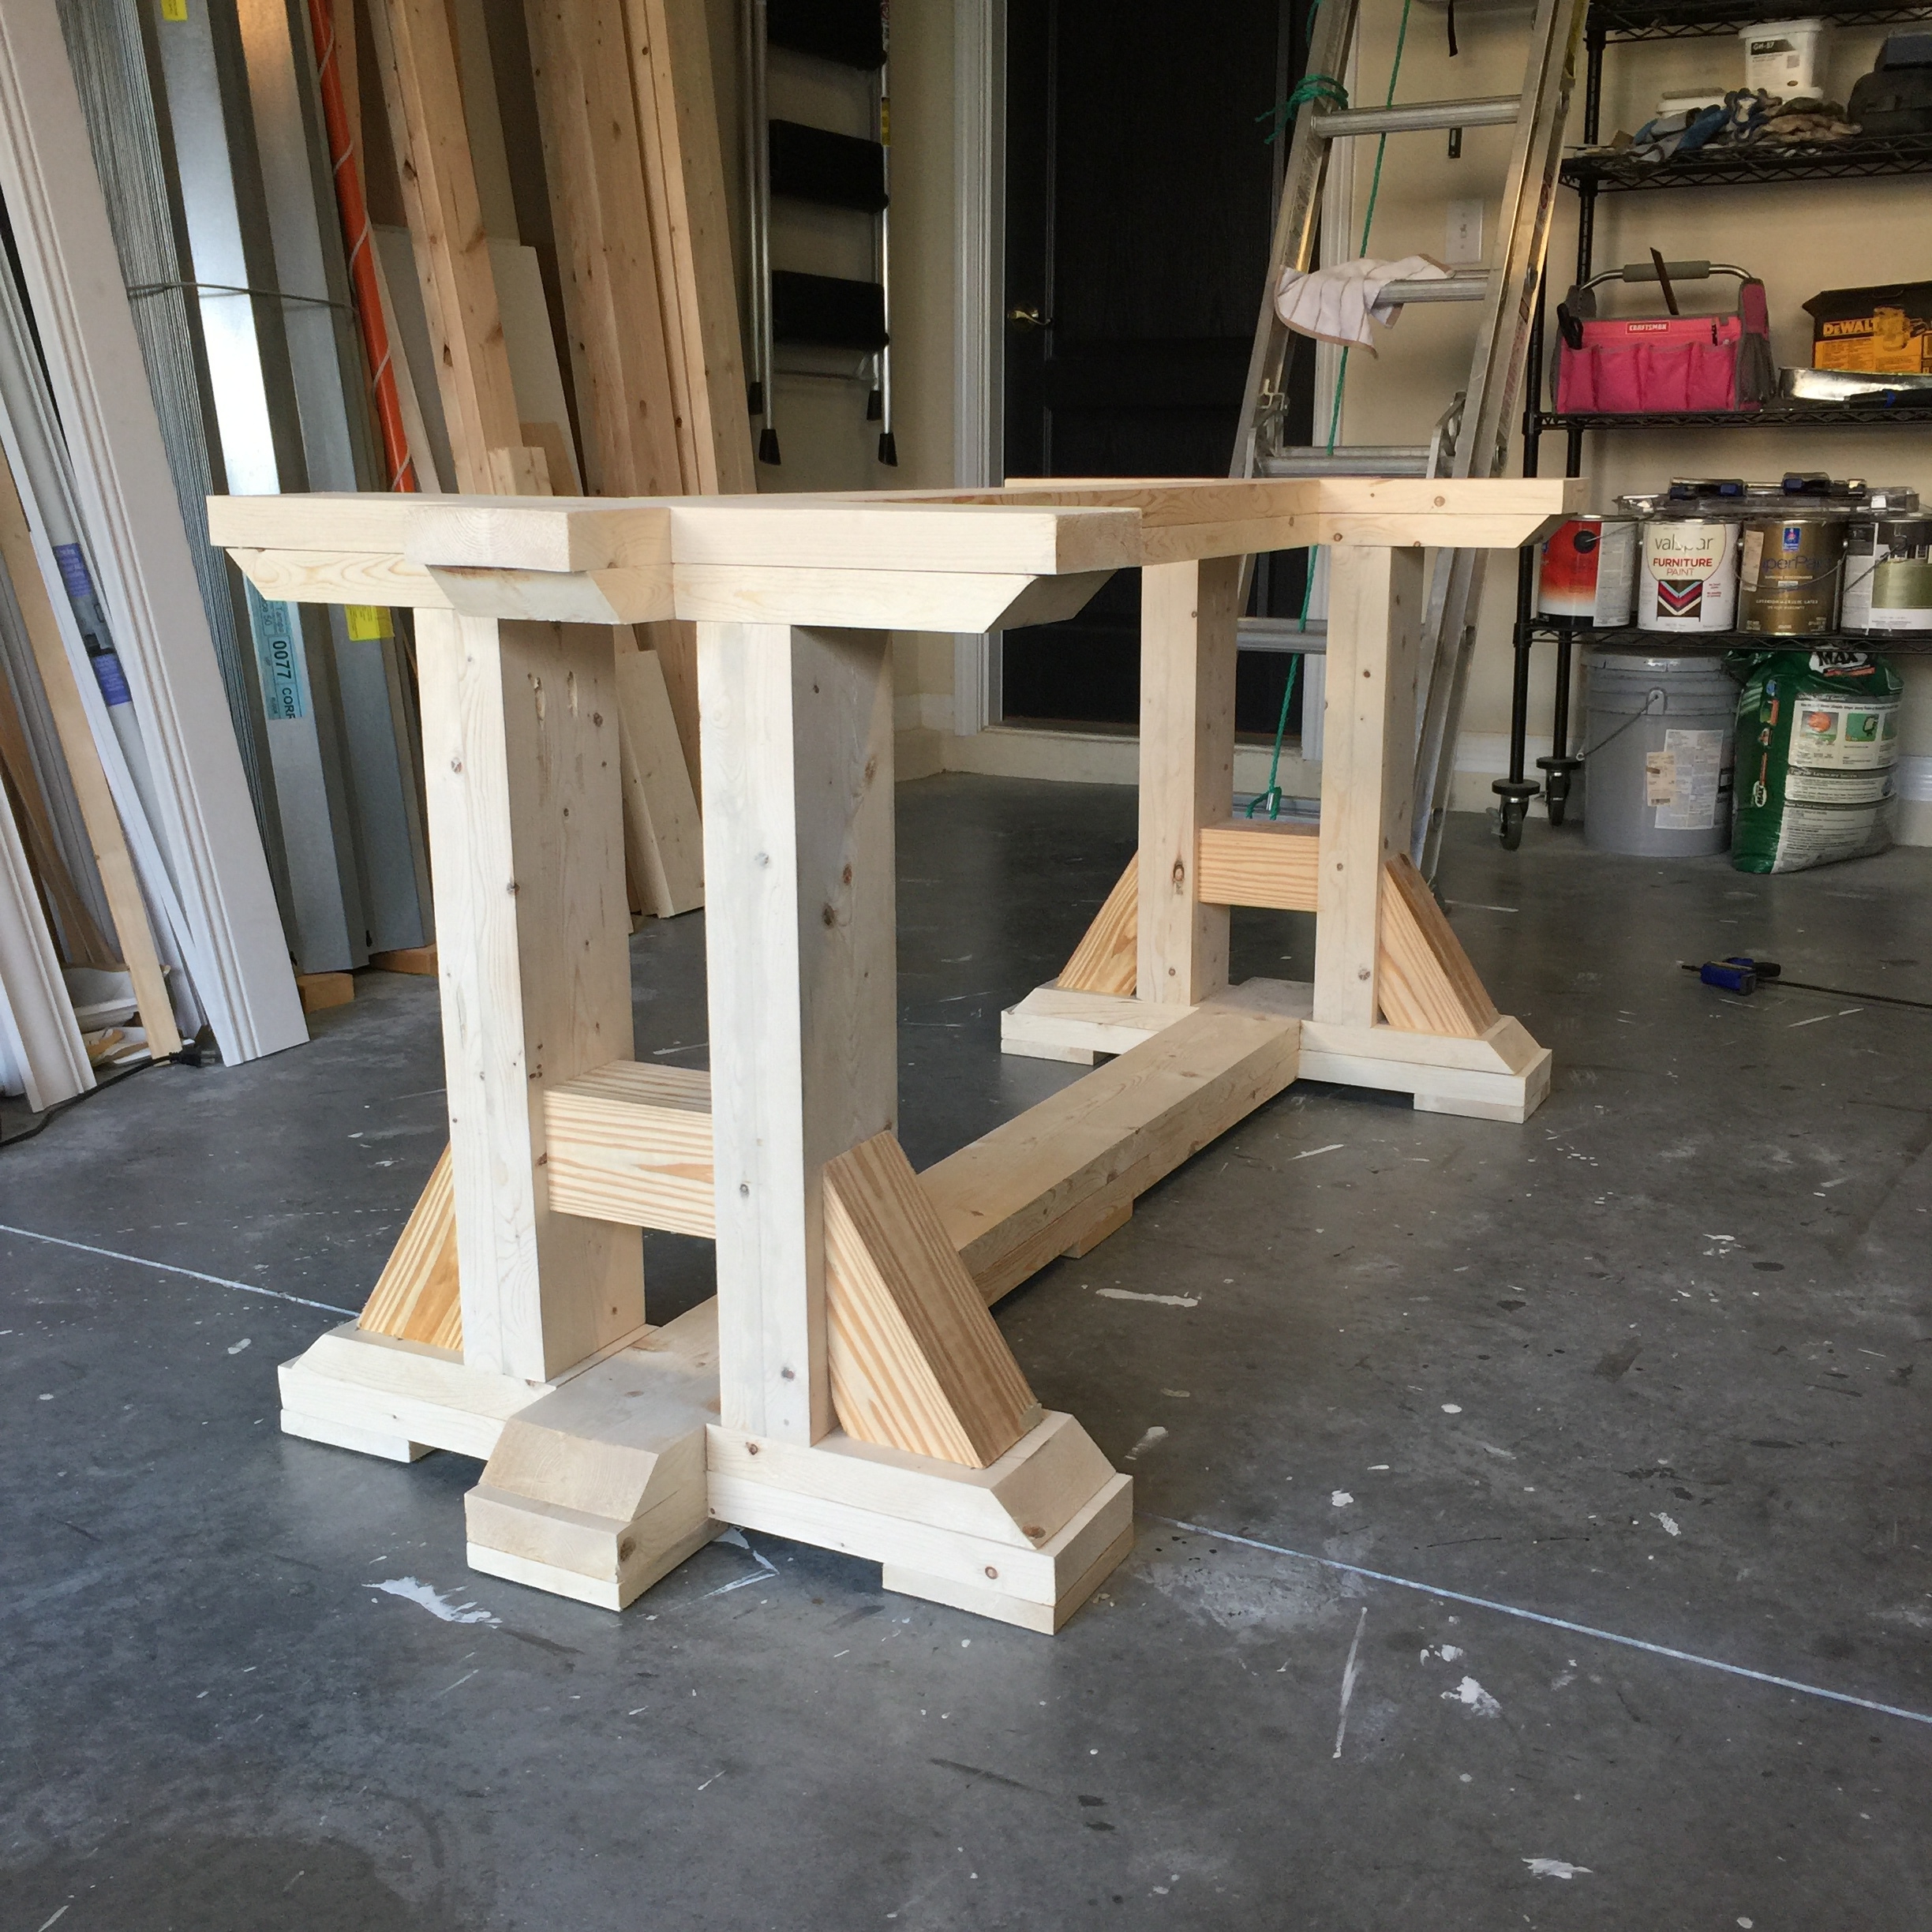
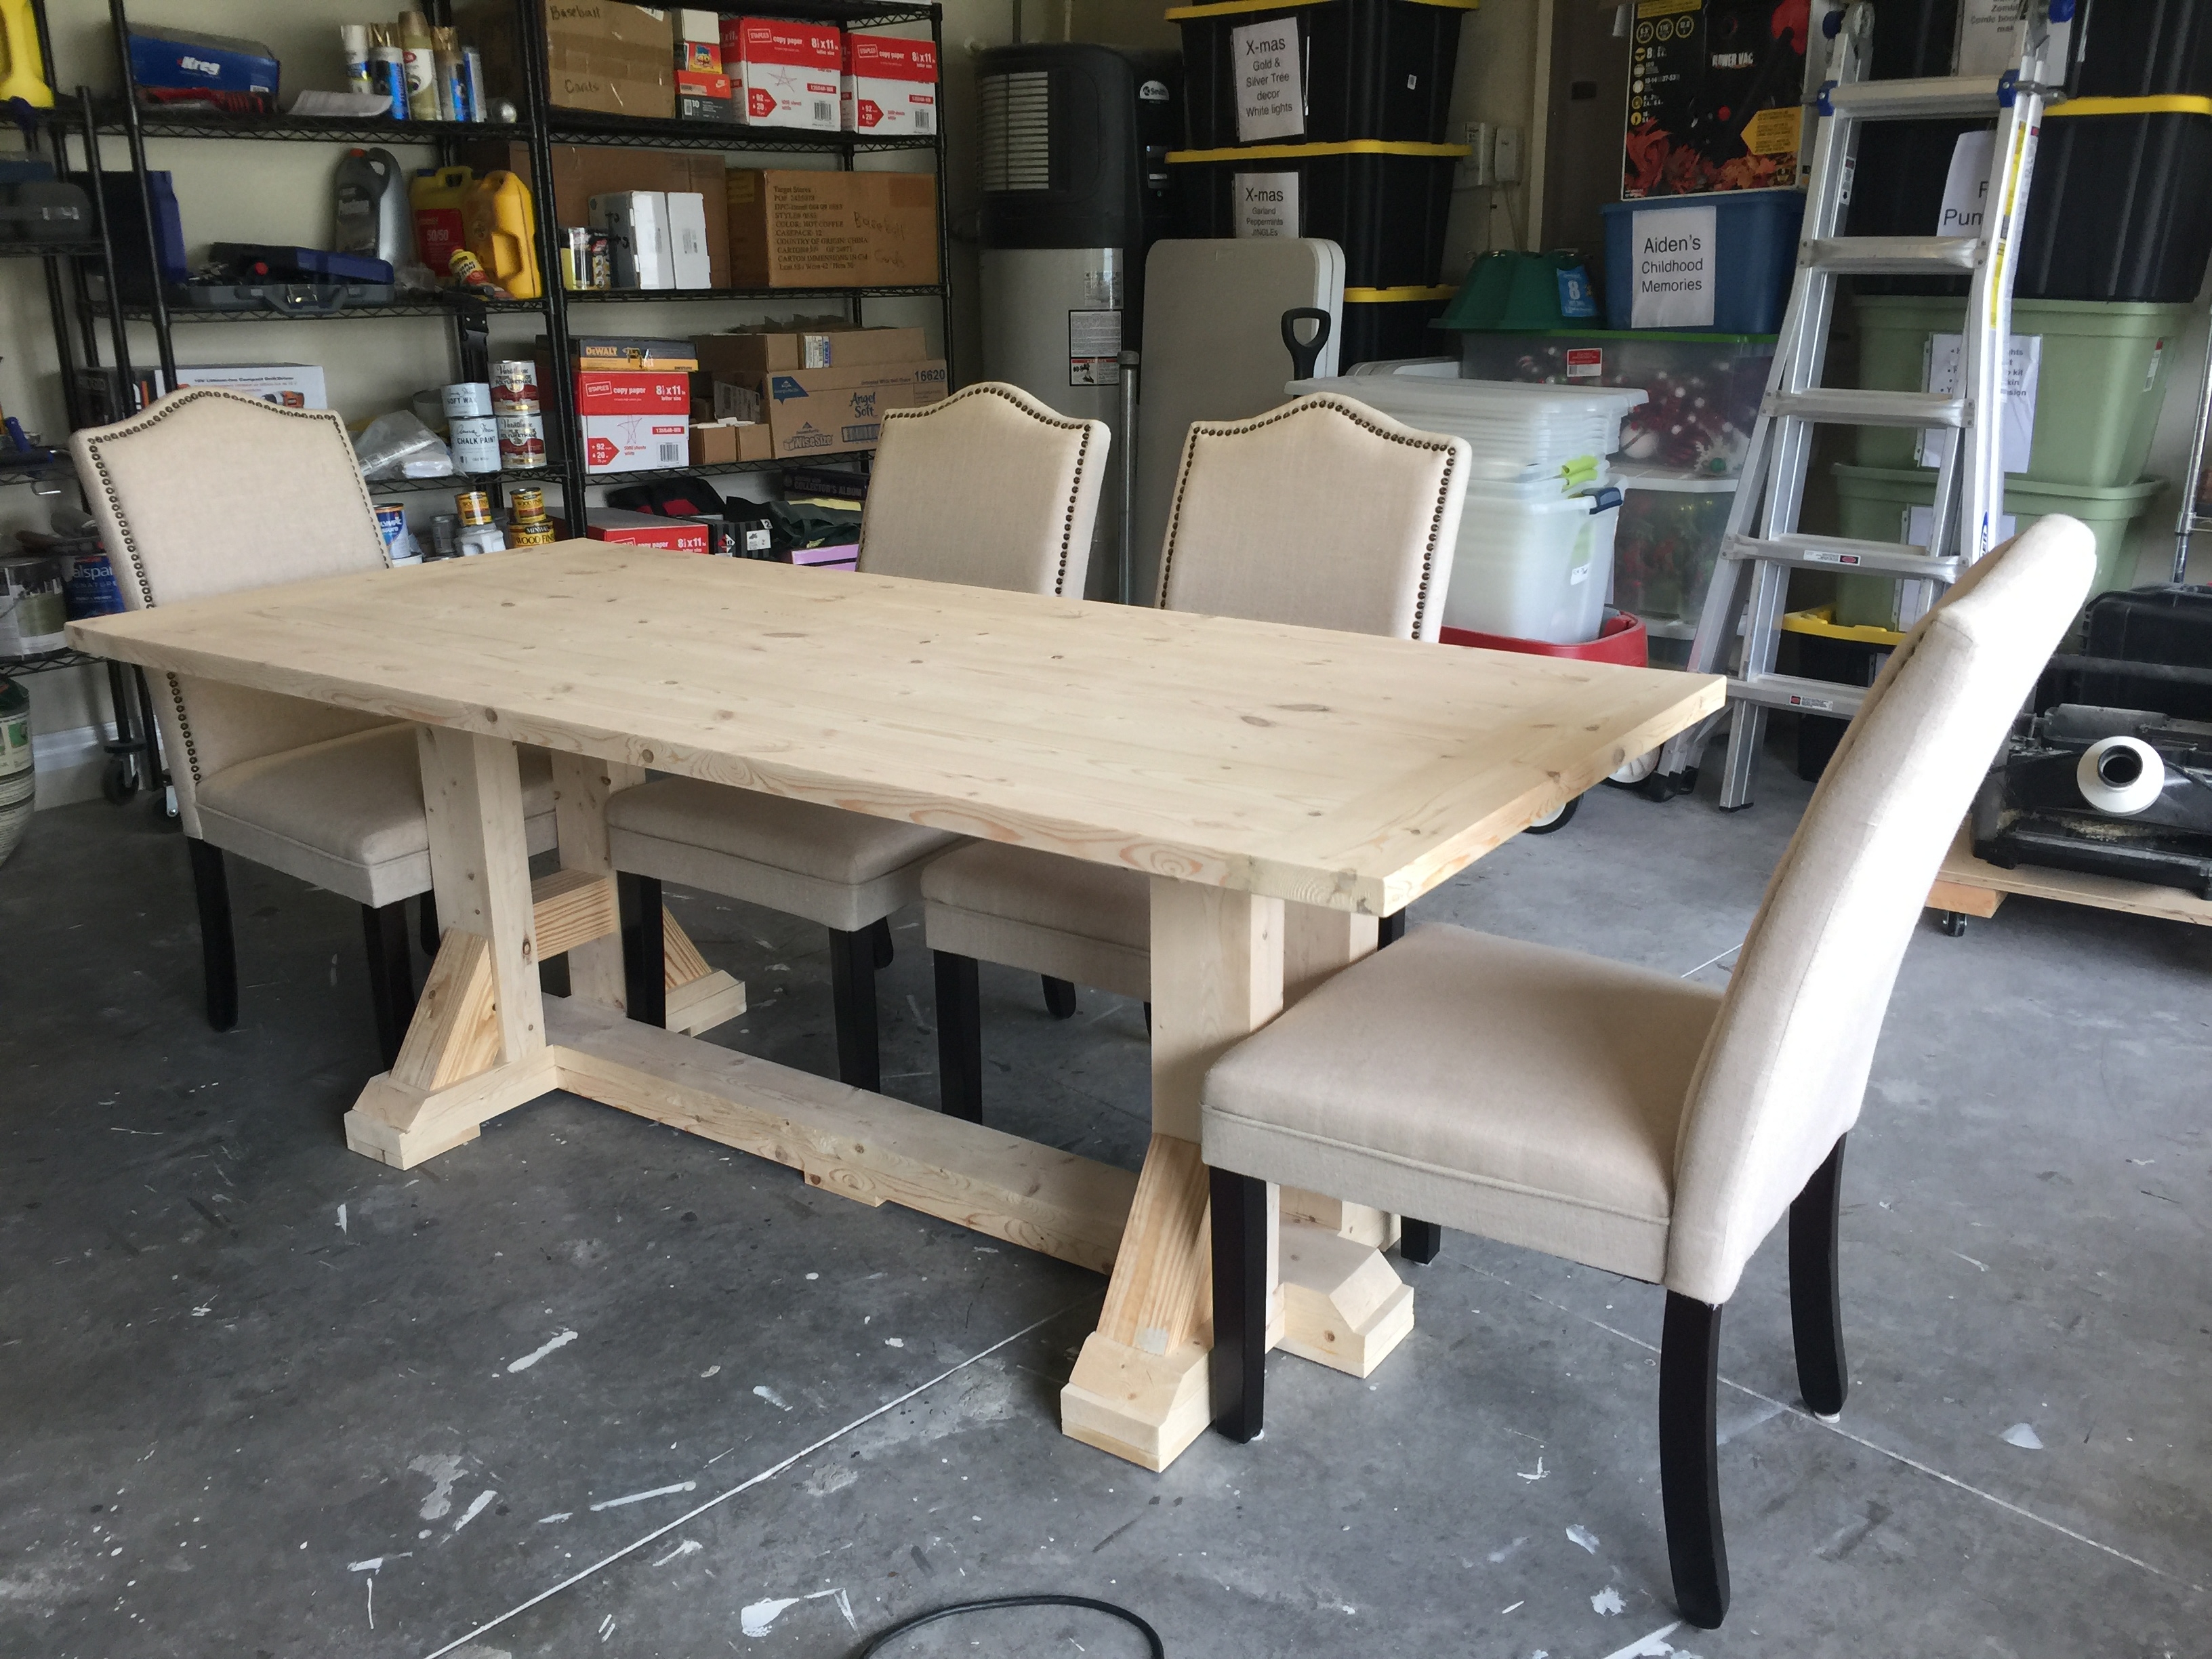
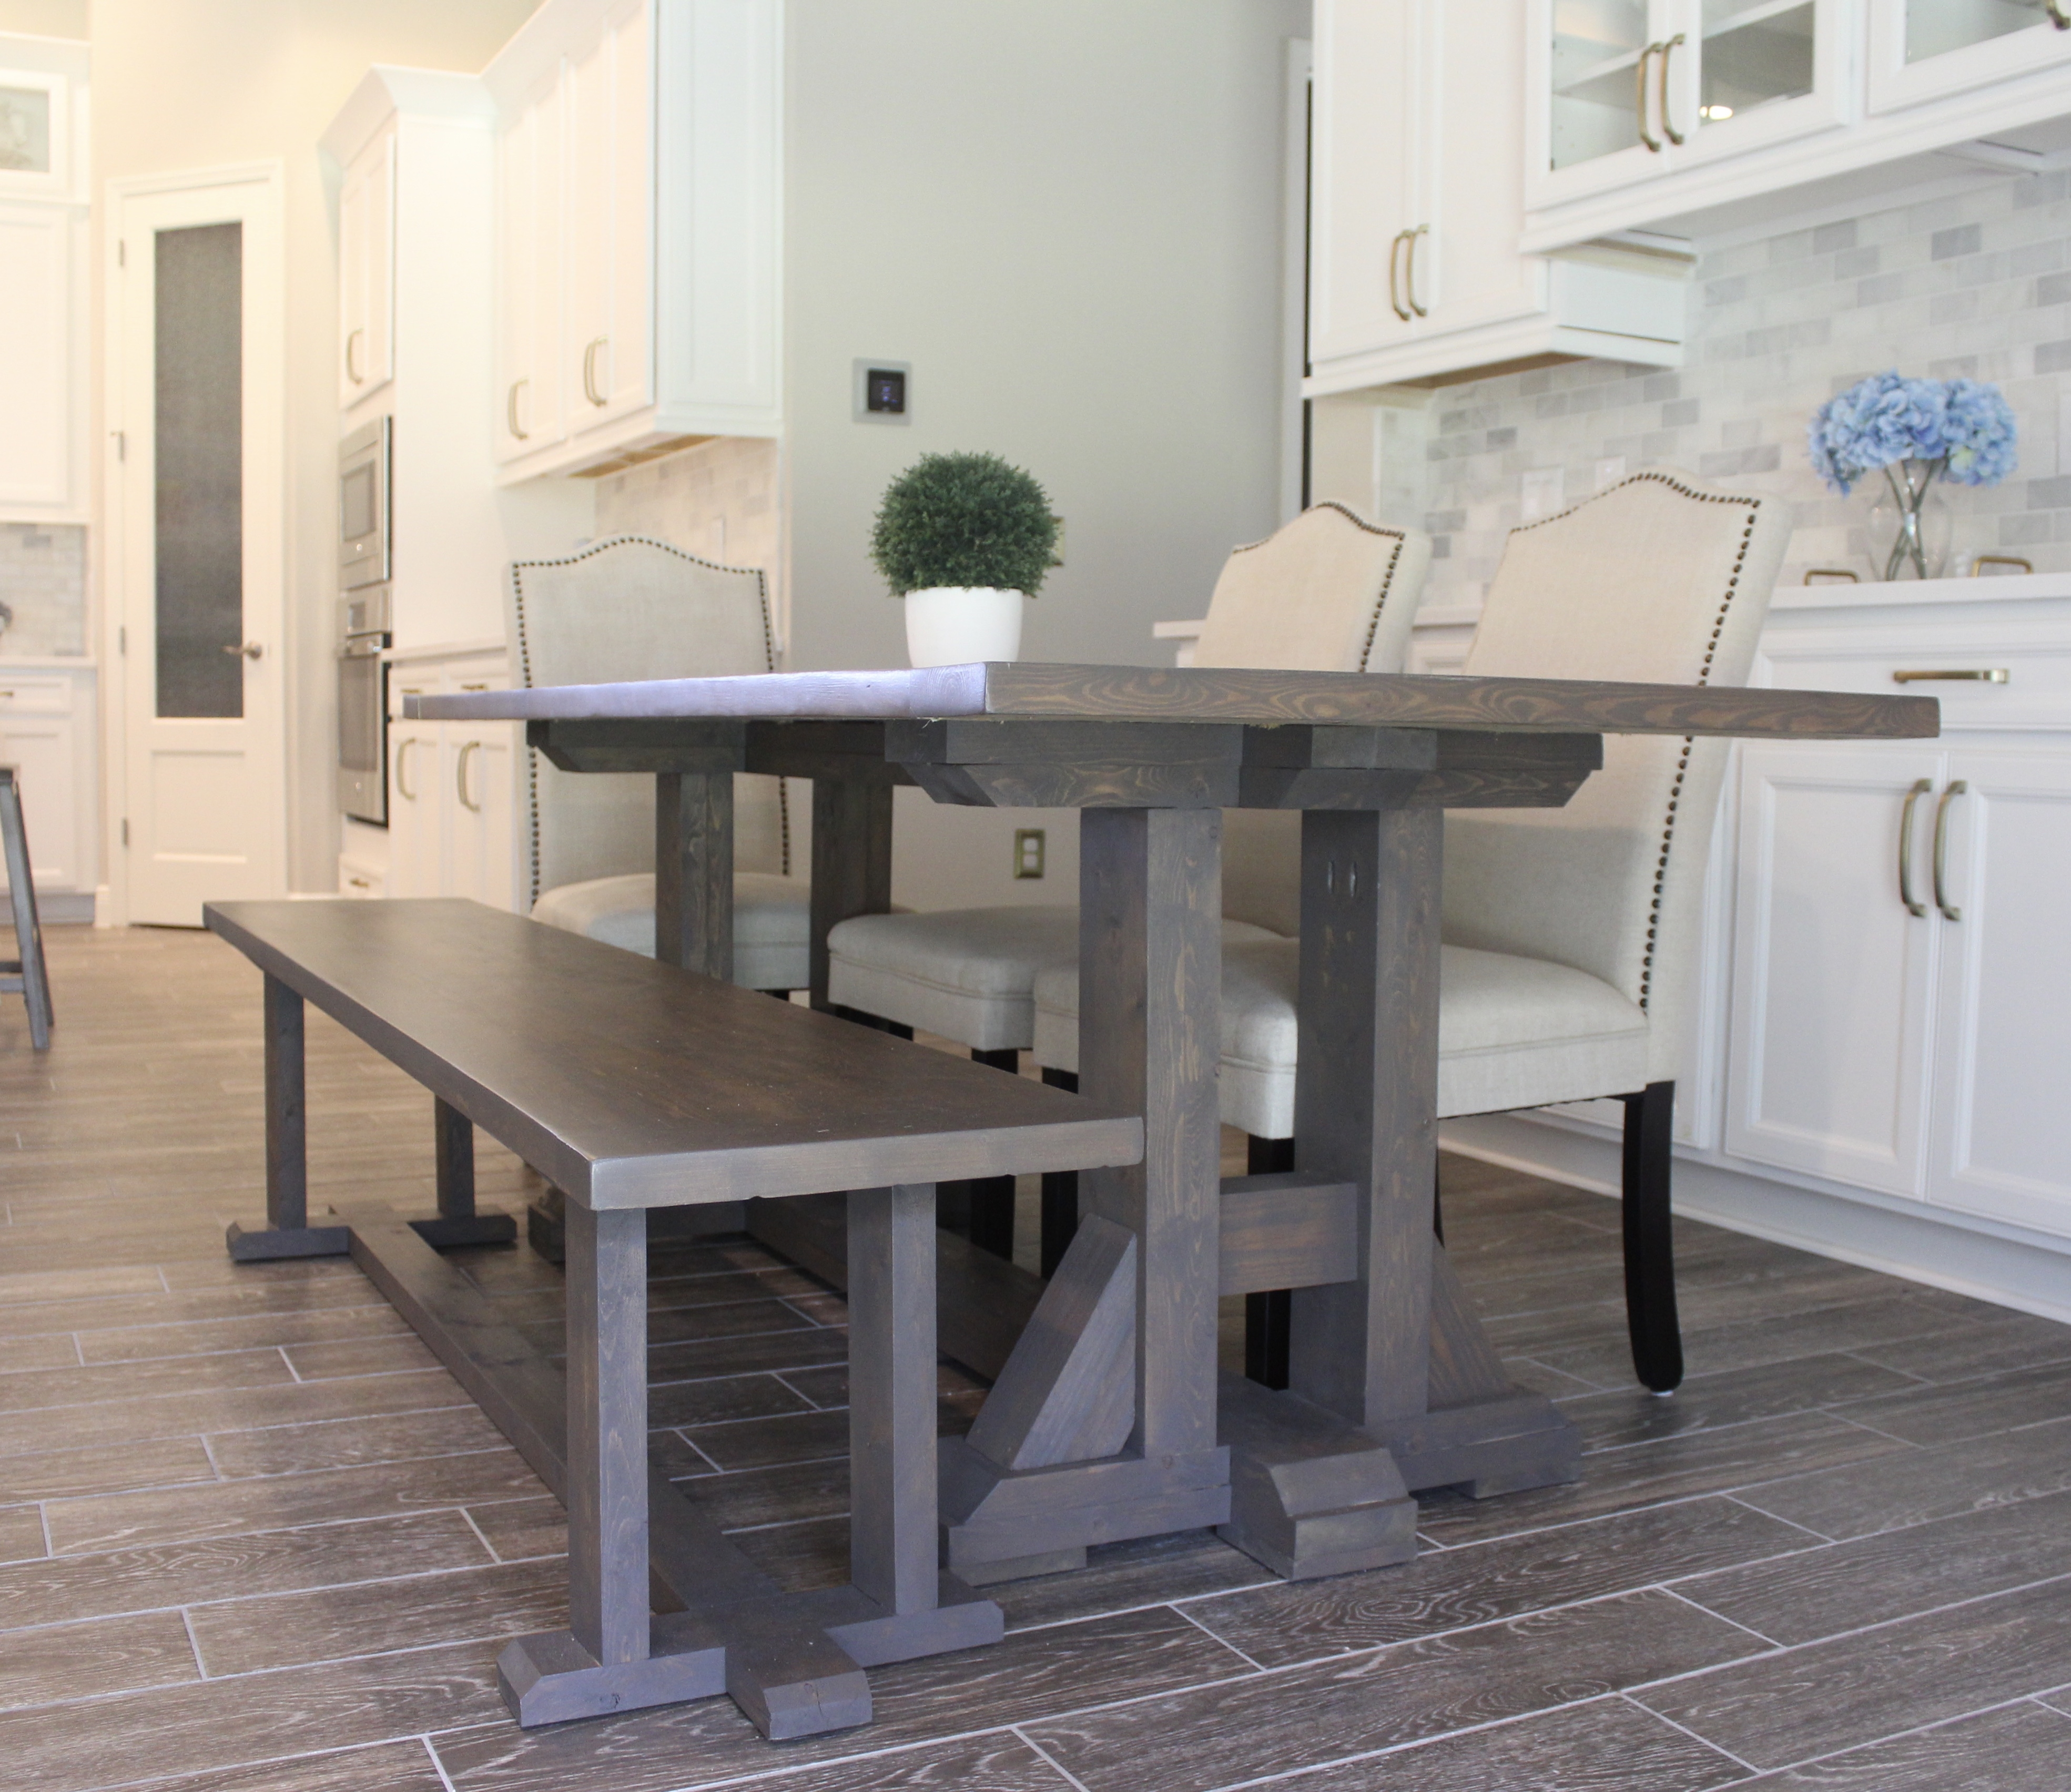
The first picture I must’ve took is after I assembled the base. This entire base was built using 2×6 framing lumber with one piece of 4×4. I absolutely love the look of the chunky legs, which is two 2×6’s laminated together.
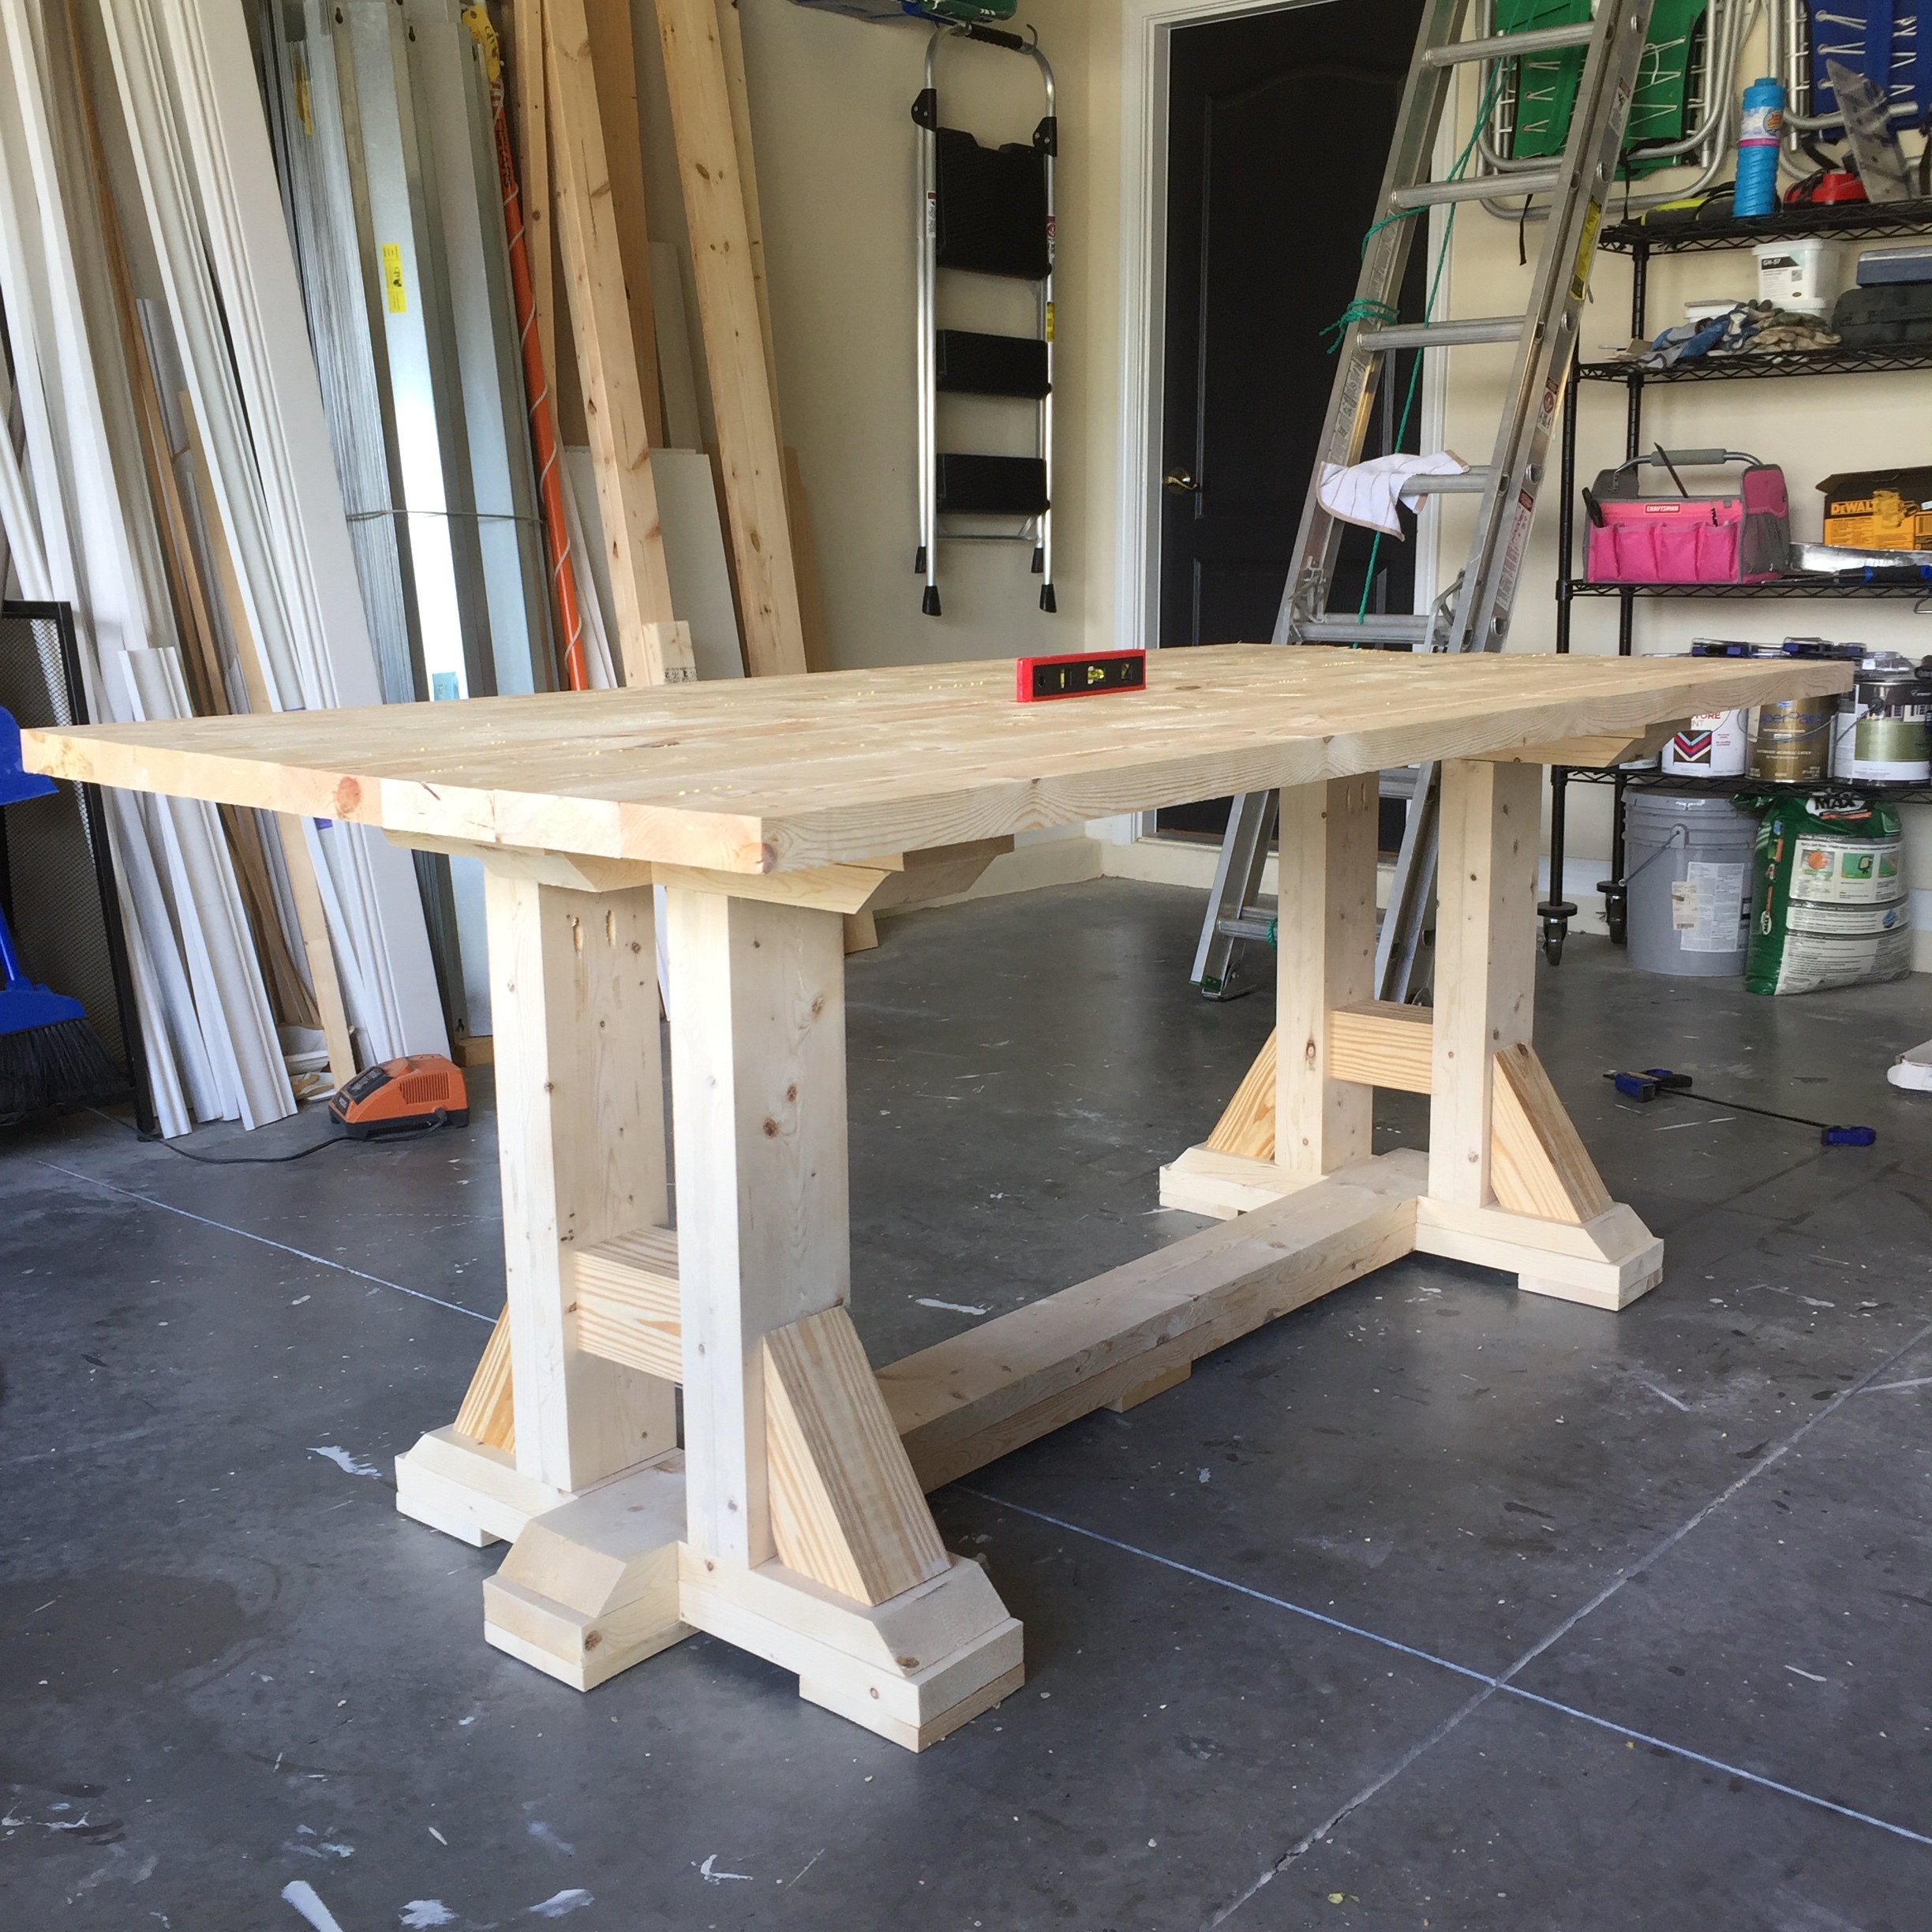
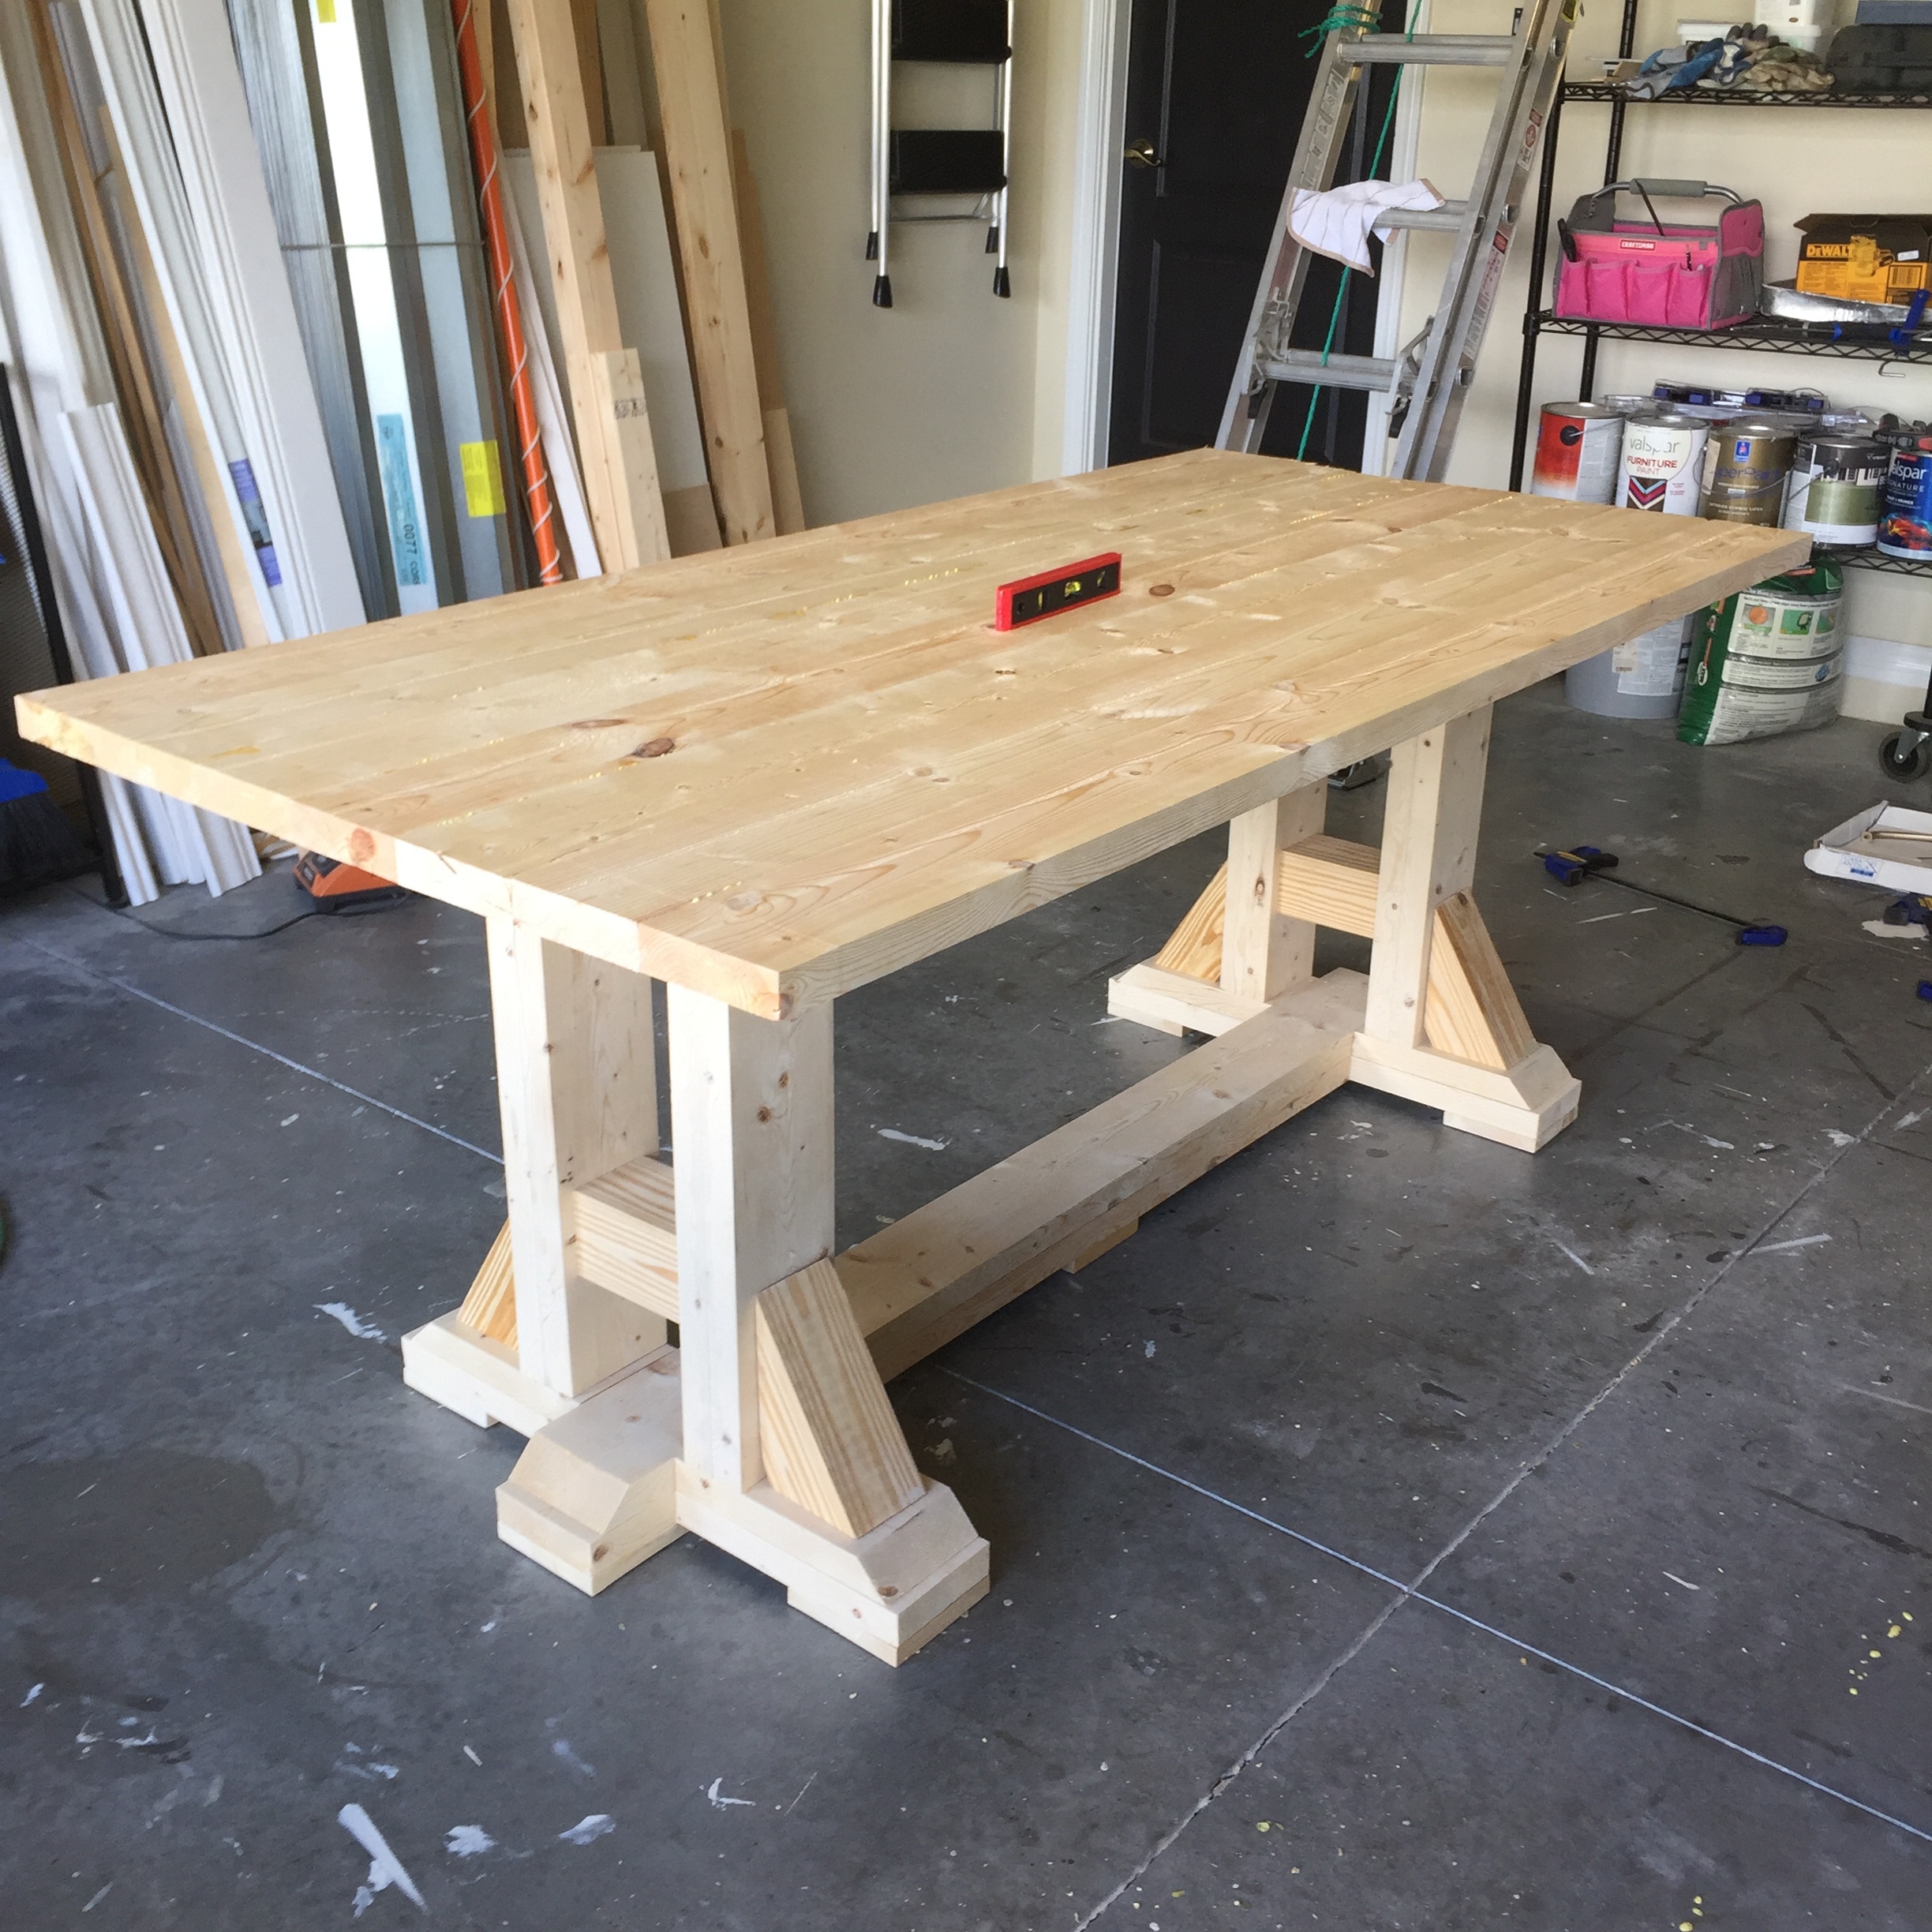
Then I made the top using all 2×6 framing lumber as well. I attached the table top boards together with my kreg jig.
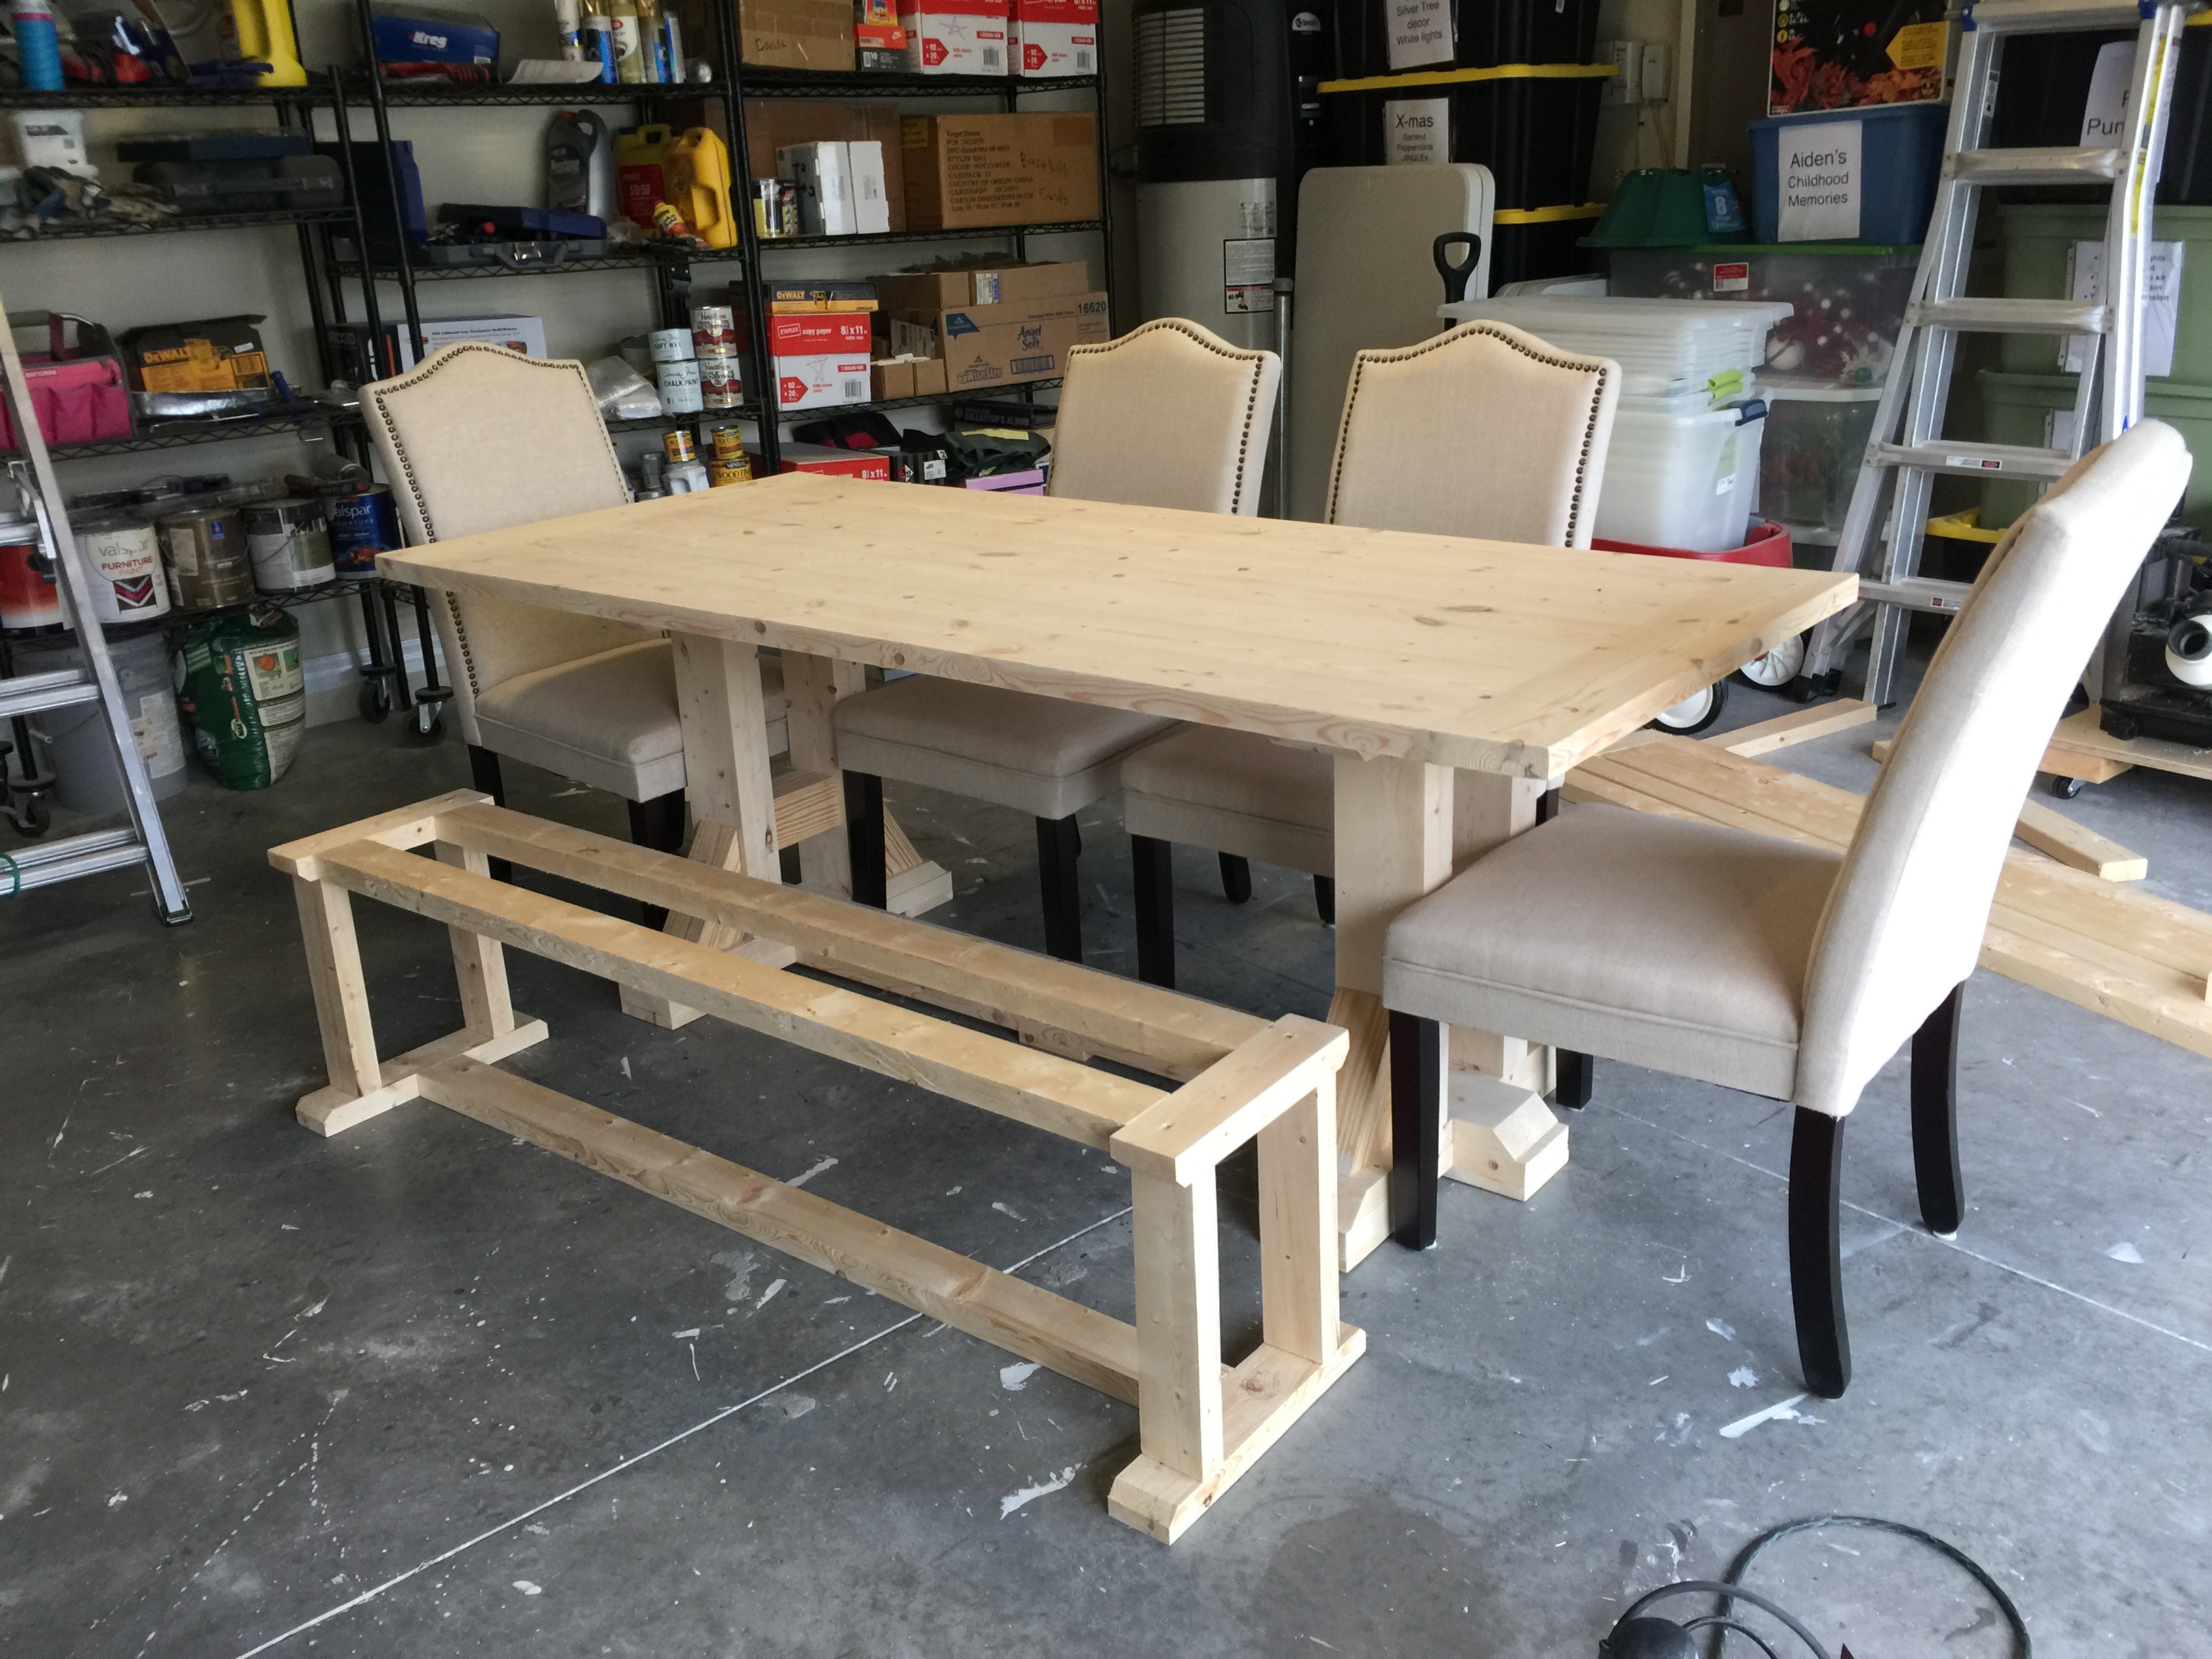
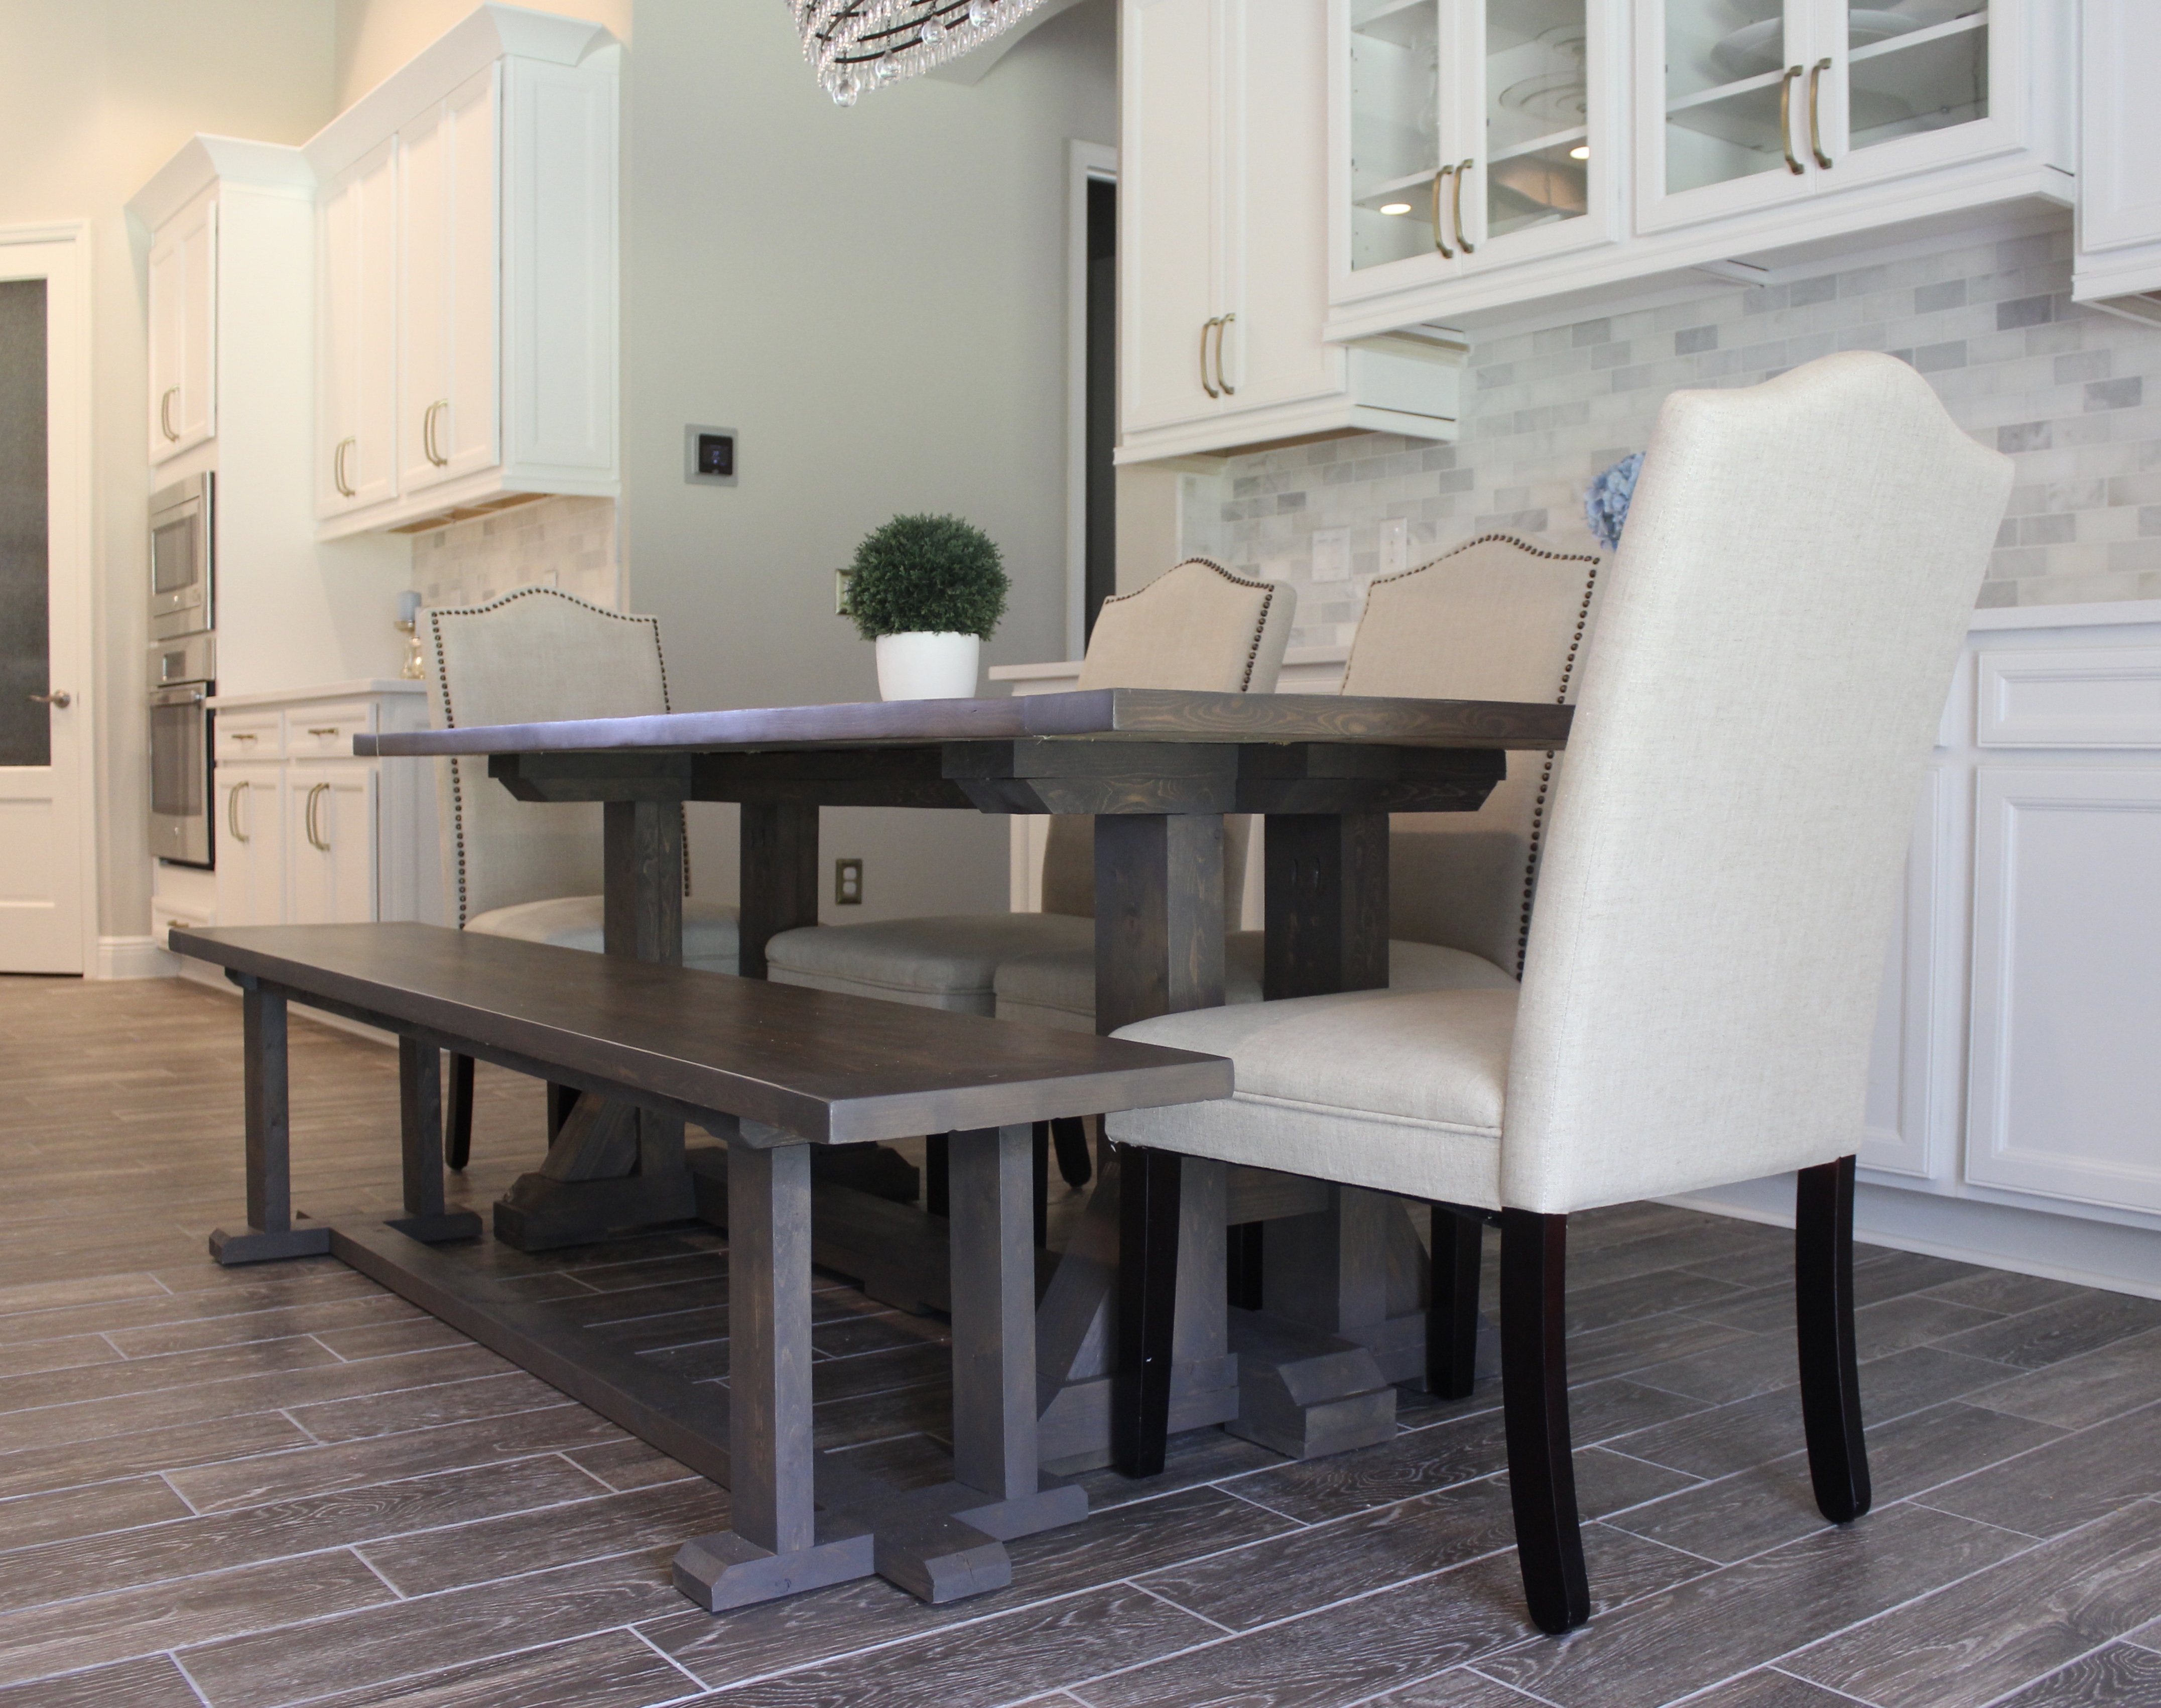
This table will easily accommodate 6 people, so I wanted to use my 4 chairs from the old table (hello money saver!) and build a bench for the front side. I brought my chairs out in the garage to measure how long and wide I wanted the table. The table top length and width are the only two dimensions from the original plan that I altered. The shanty plan has a longer, wider table and like I mentioned before, my breakfast area is pretty narrow so I wanted a narrow table. This is the best part about building your own furniture!!
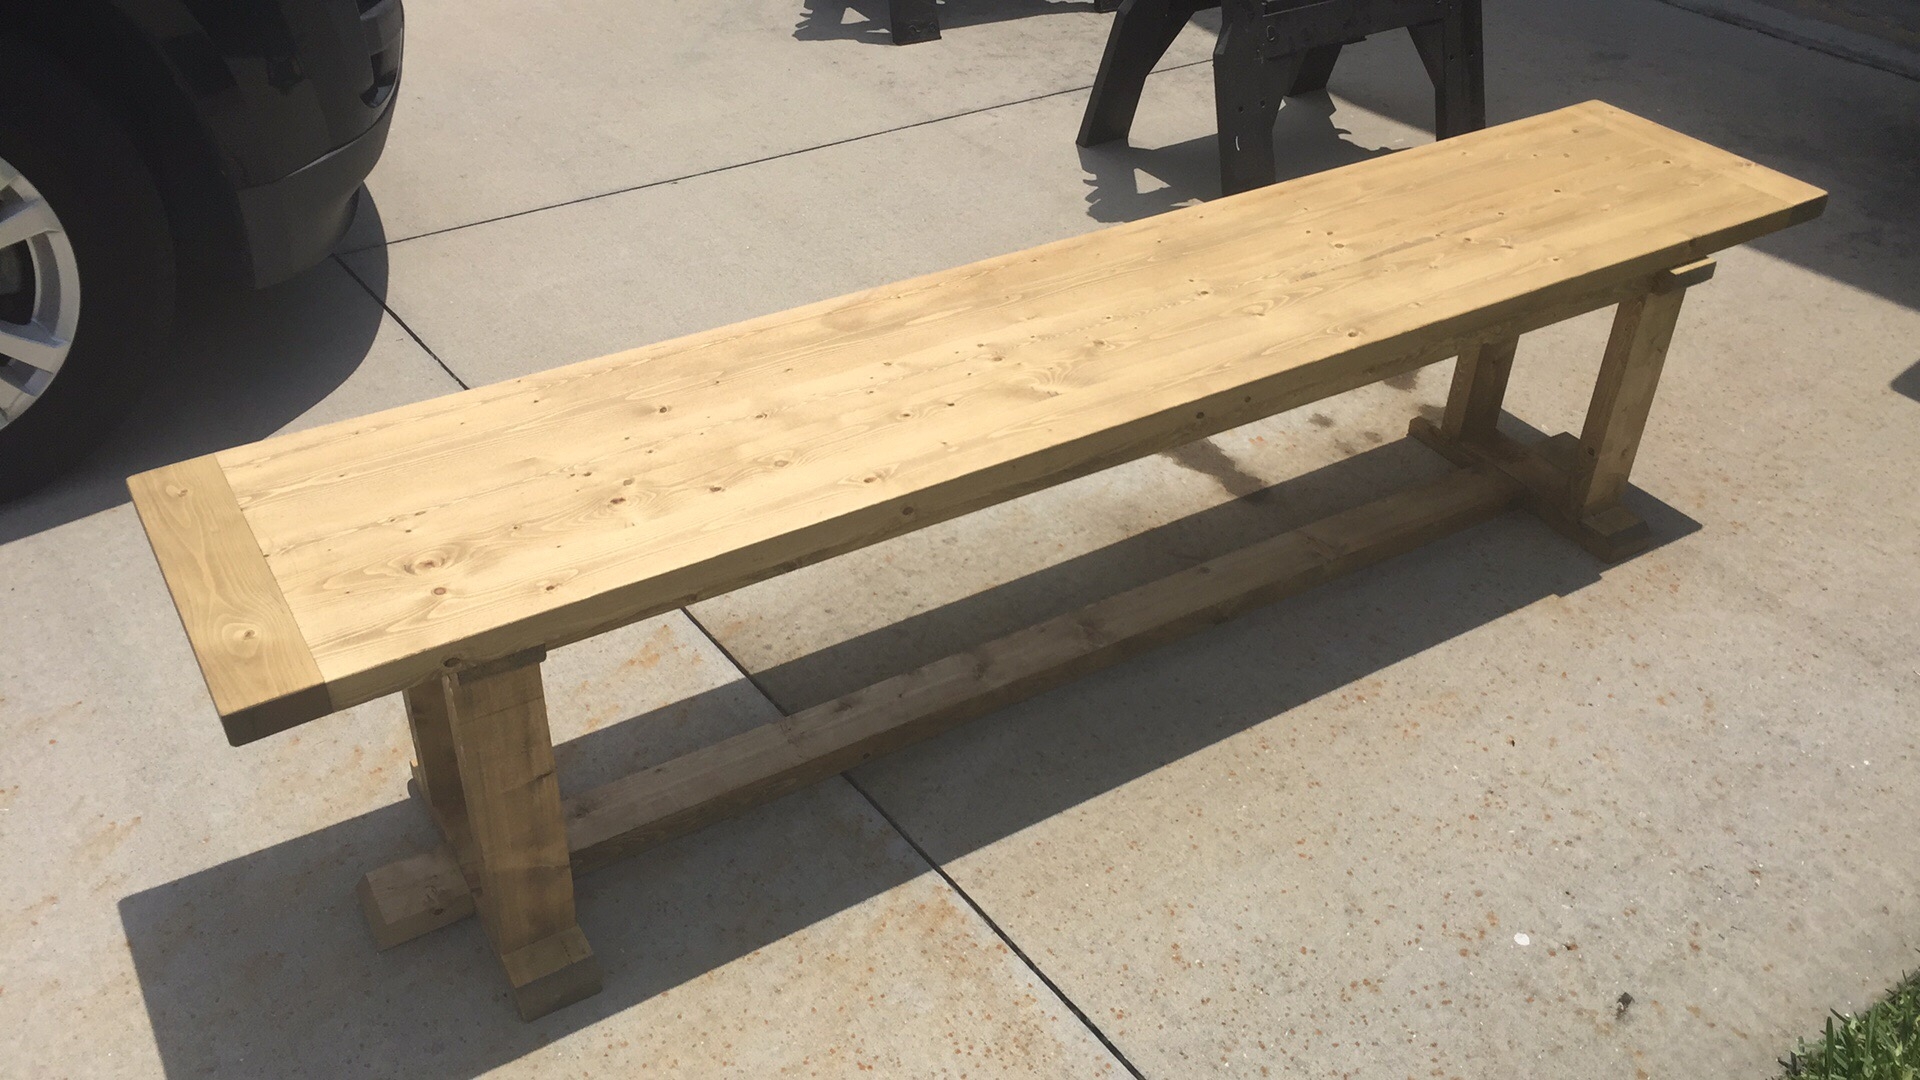
Here I am visualizing the bench along with the table and chairs. The bench is made entirely of 2×4’s which again is SUPER CHEAP.
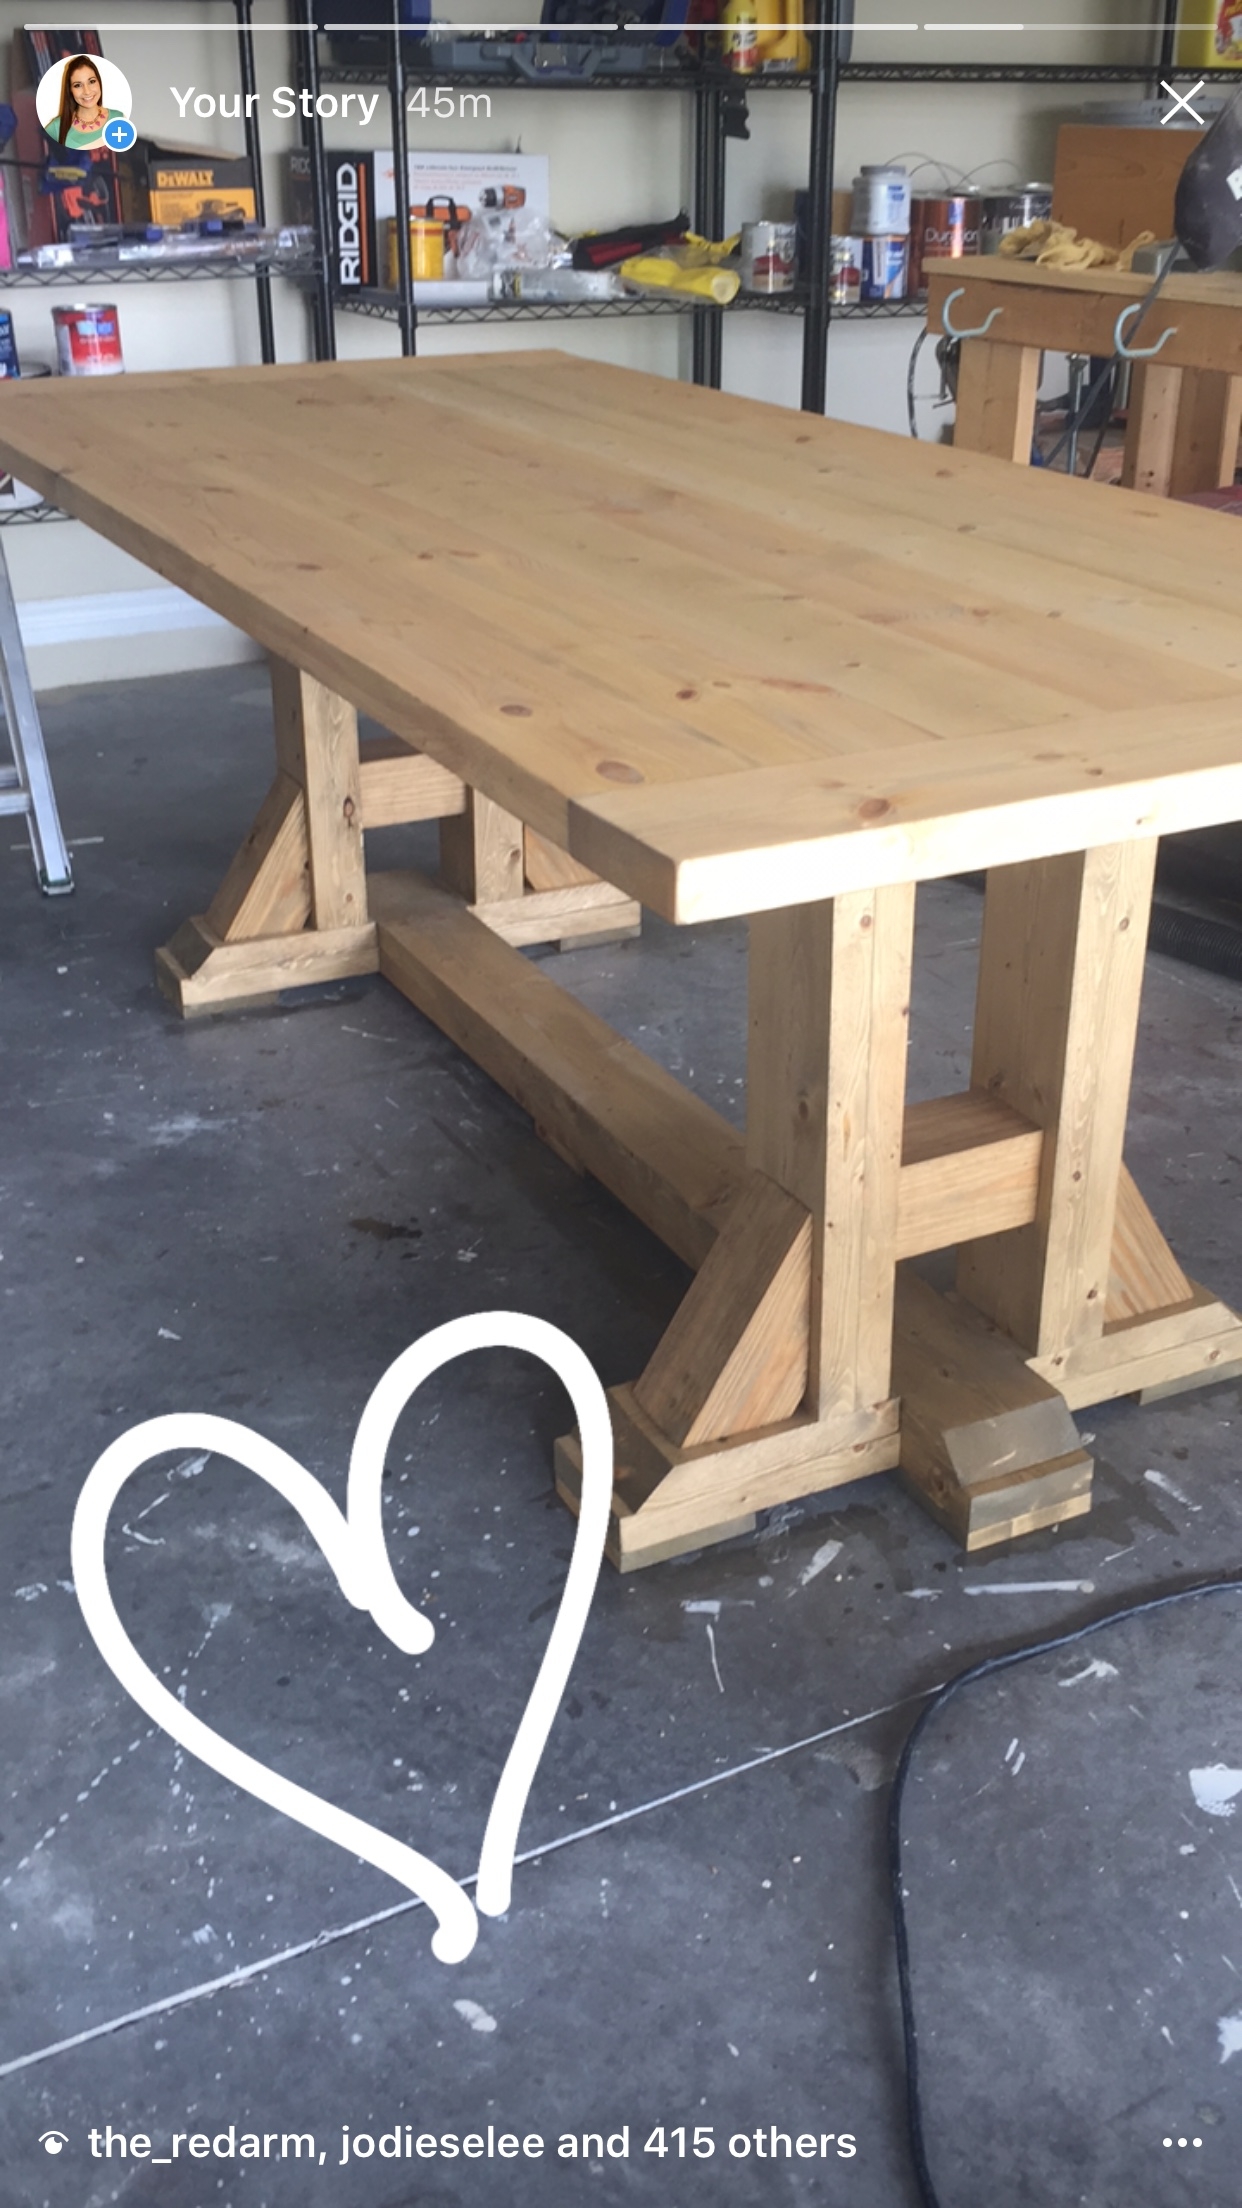
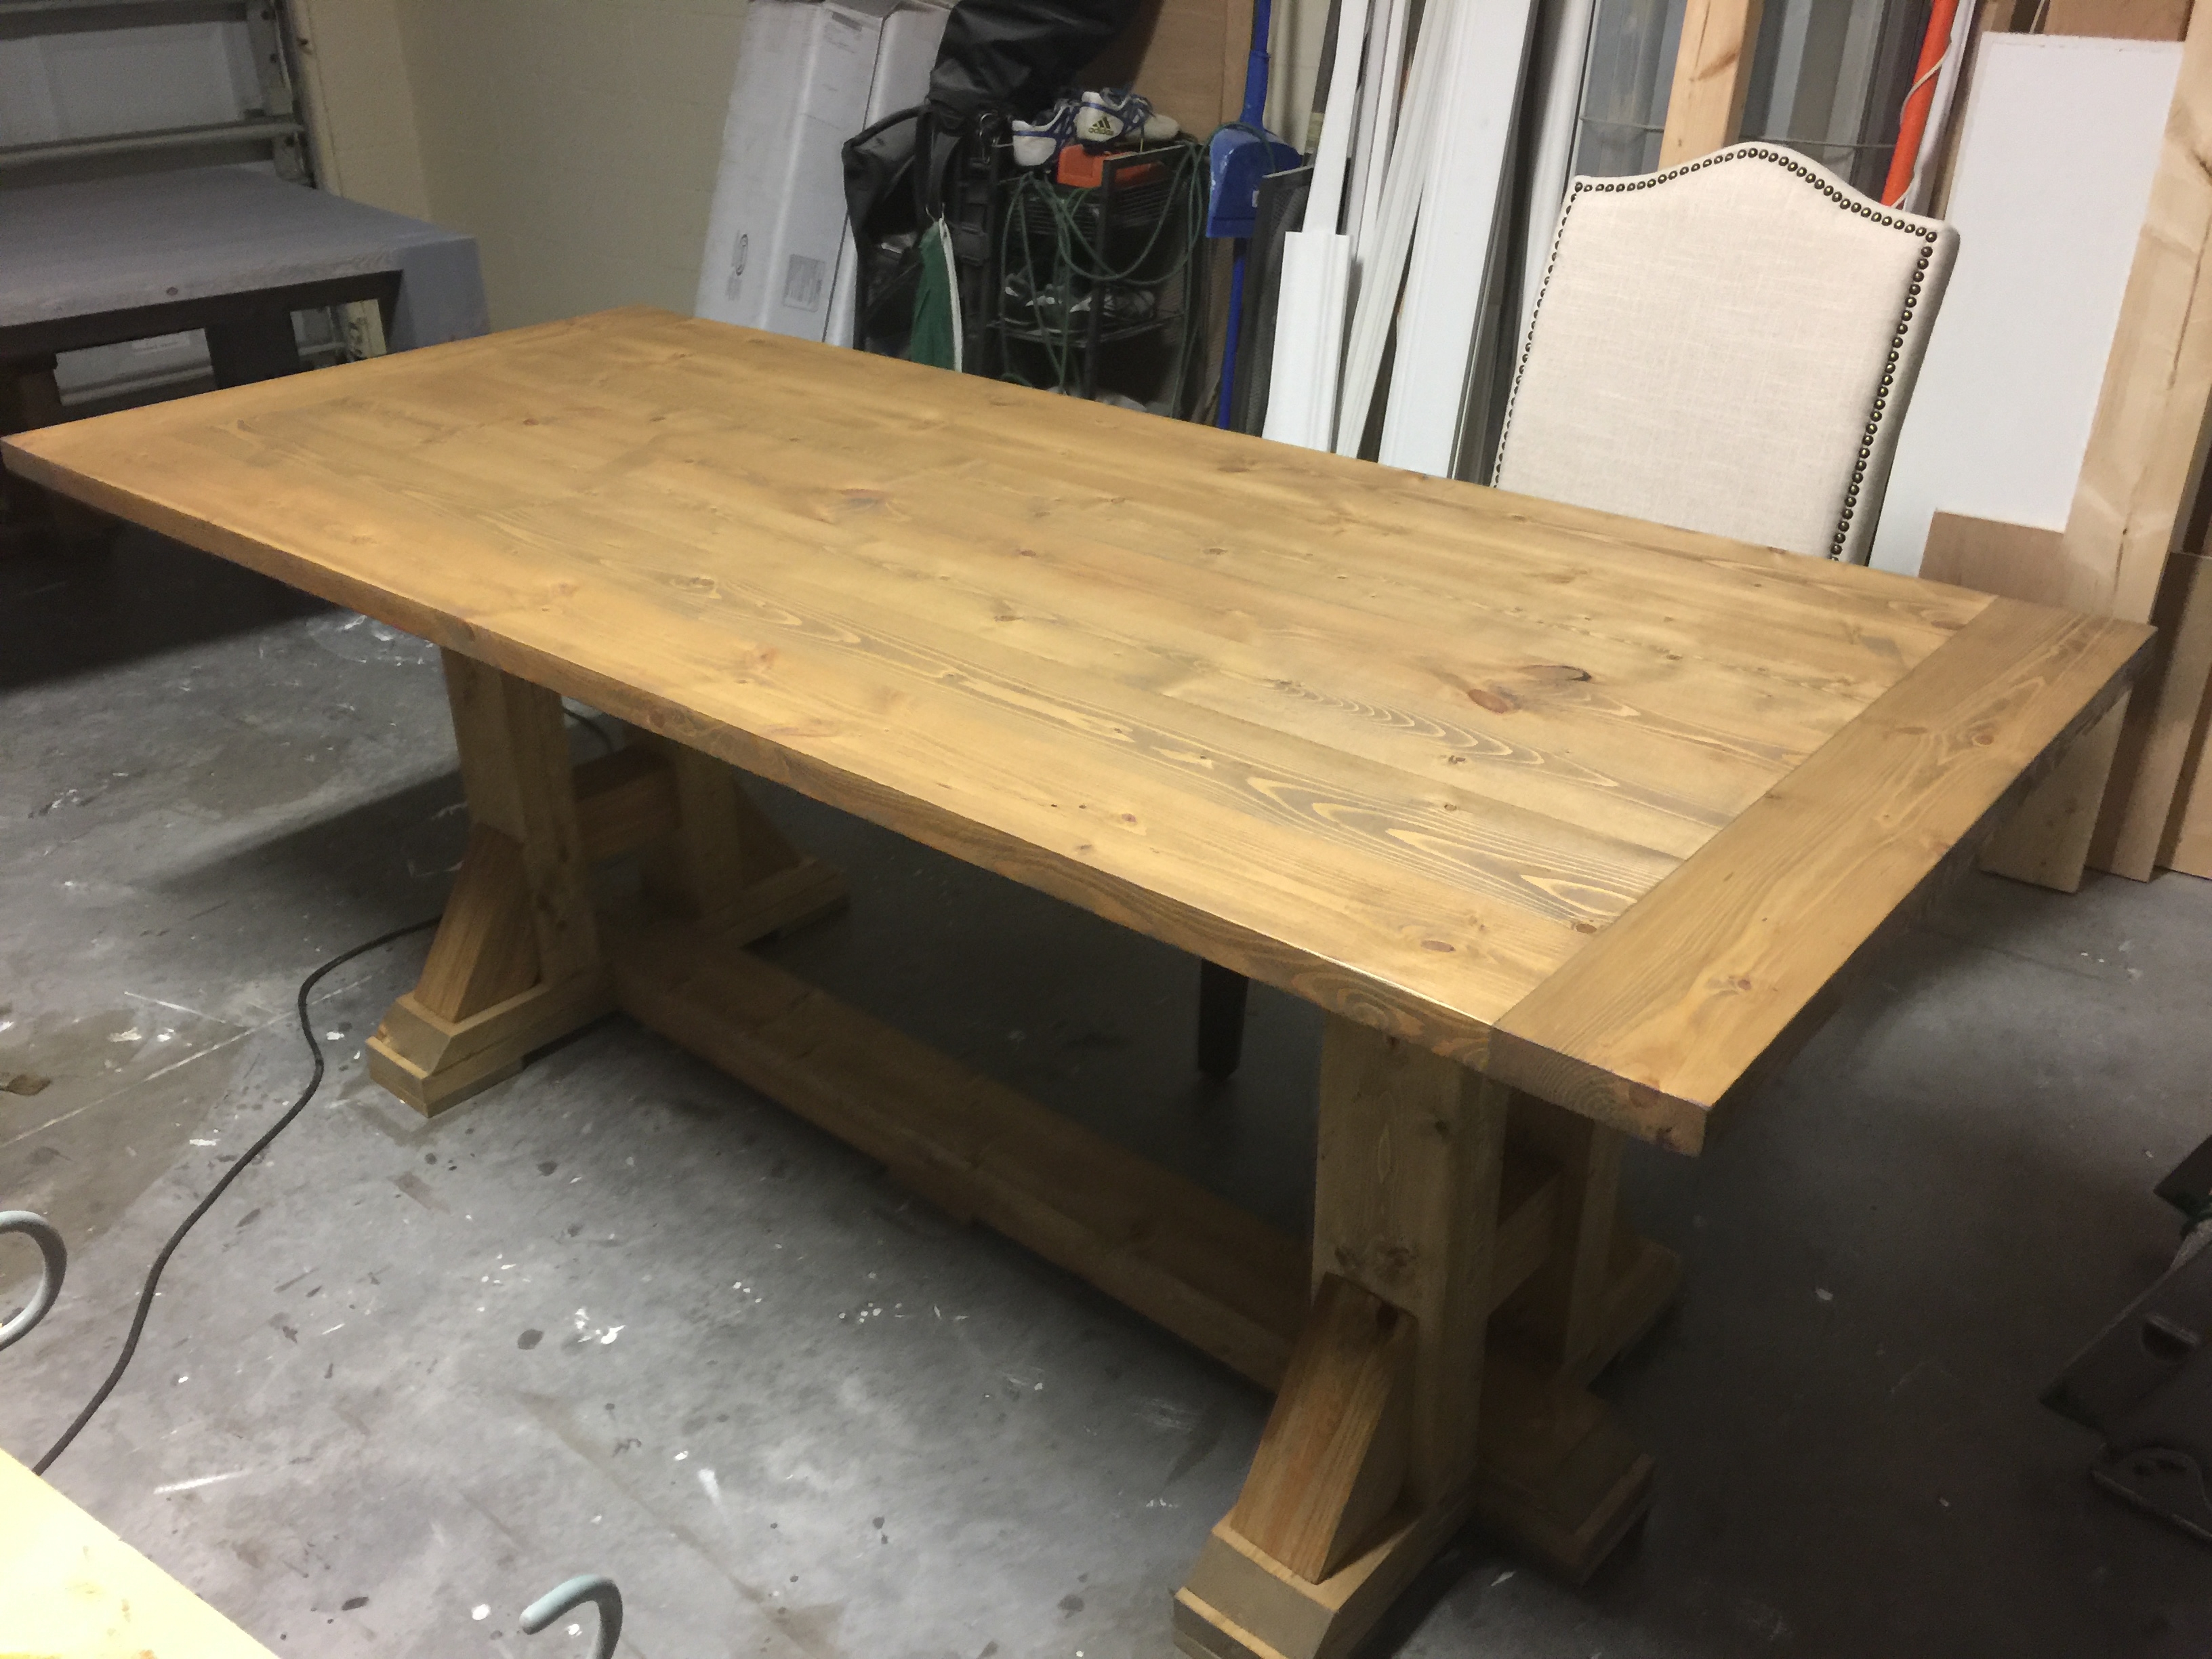
Once I had the bench assembled, I stained it using minwax weathered oak. I had sampled several stain colors and decided on this one. I wanted a somewhat lighter color to match my living room end tables. And I thought it would be a nice contrast on my new darker brown wood tile floors.
At first I thought I loved it. So I went ahead and stained the entire table. Then my husband walked out and I said “how do you like the table?” and he replied, “it’s nice but don’t you need to add the stain or whatever?” To which I immediately replied, “I already stained it.” But clearly he couldn’t even tell.
So at that point I decided to add a second coat of the same minwax weathered oak. And that’s when I started to dislike it. I felt like it was too yellow/golden/honey oak-ish. And I really worried about it looking right in our new home. And the hardest part was, we didn’t even live there yet. So it was hard to make that call. But I just wasn’t in love. And after all the hard work I had put in, you’re dang right I wanted to LOVE it.
I sat on it for a day. And I pondered. I knew there was NO WAY in you know what that I was going to RE SAND the entire thing down and stain it all over again. So I decided I was going to break a staining rule and stain right over top of it with yet another coat. But this time I was going to use my all time favorite stain – Varathane Briarsmoke. And the reason this is “against the rules” is because you technically should not mix stain brands. Minwax and Varathane are two different brands. But I was desperate.
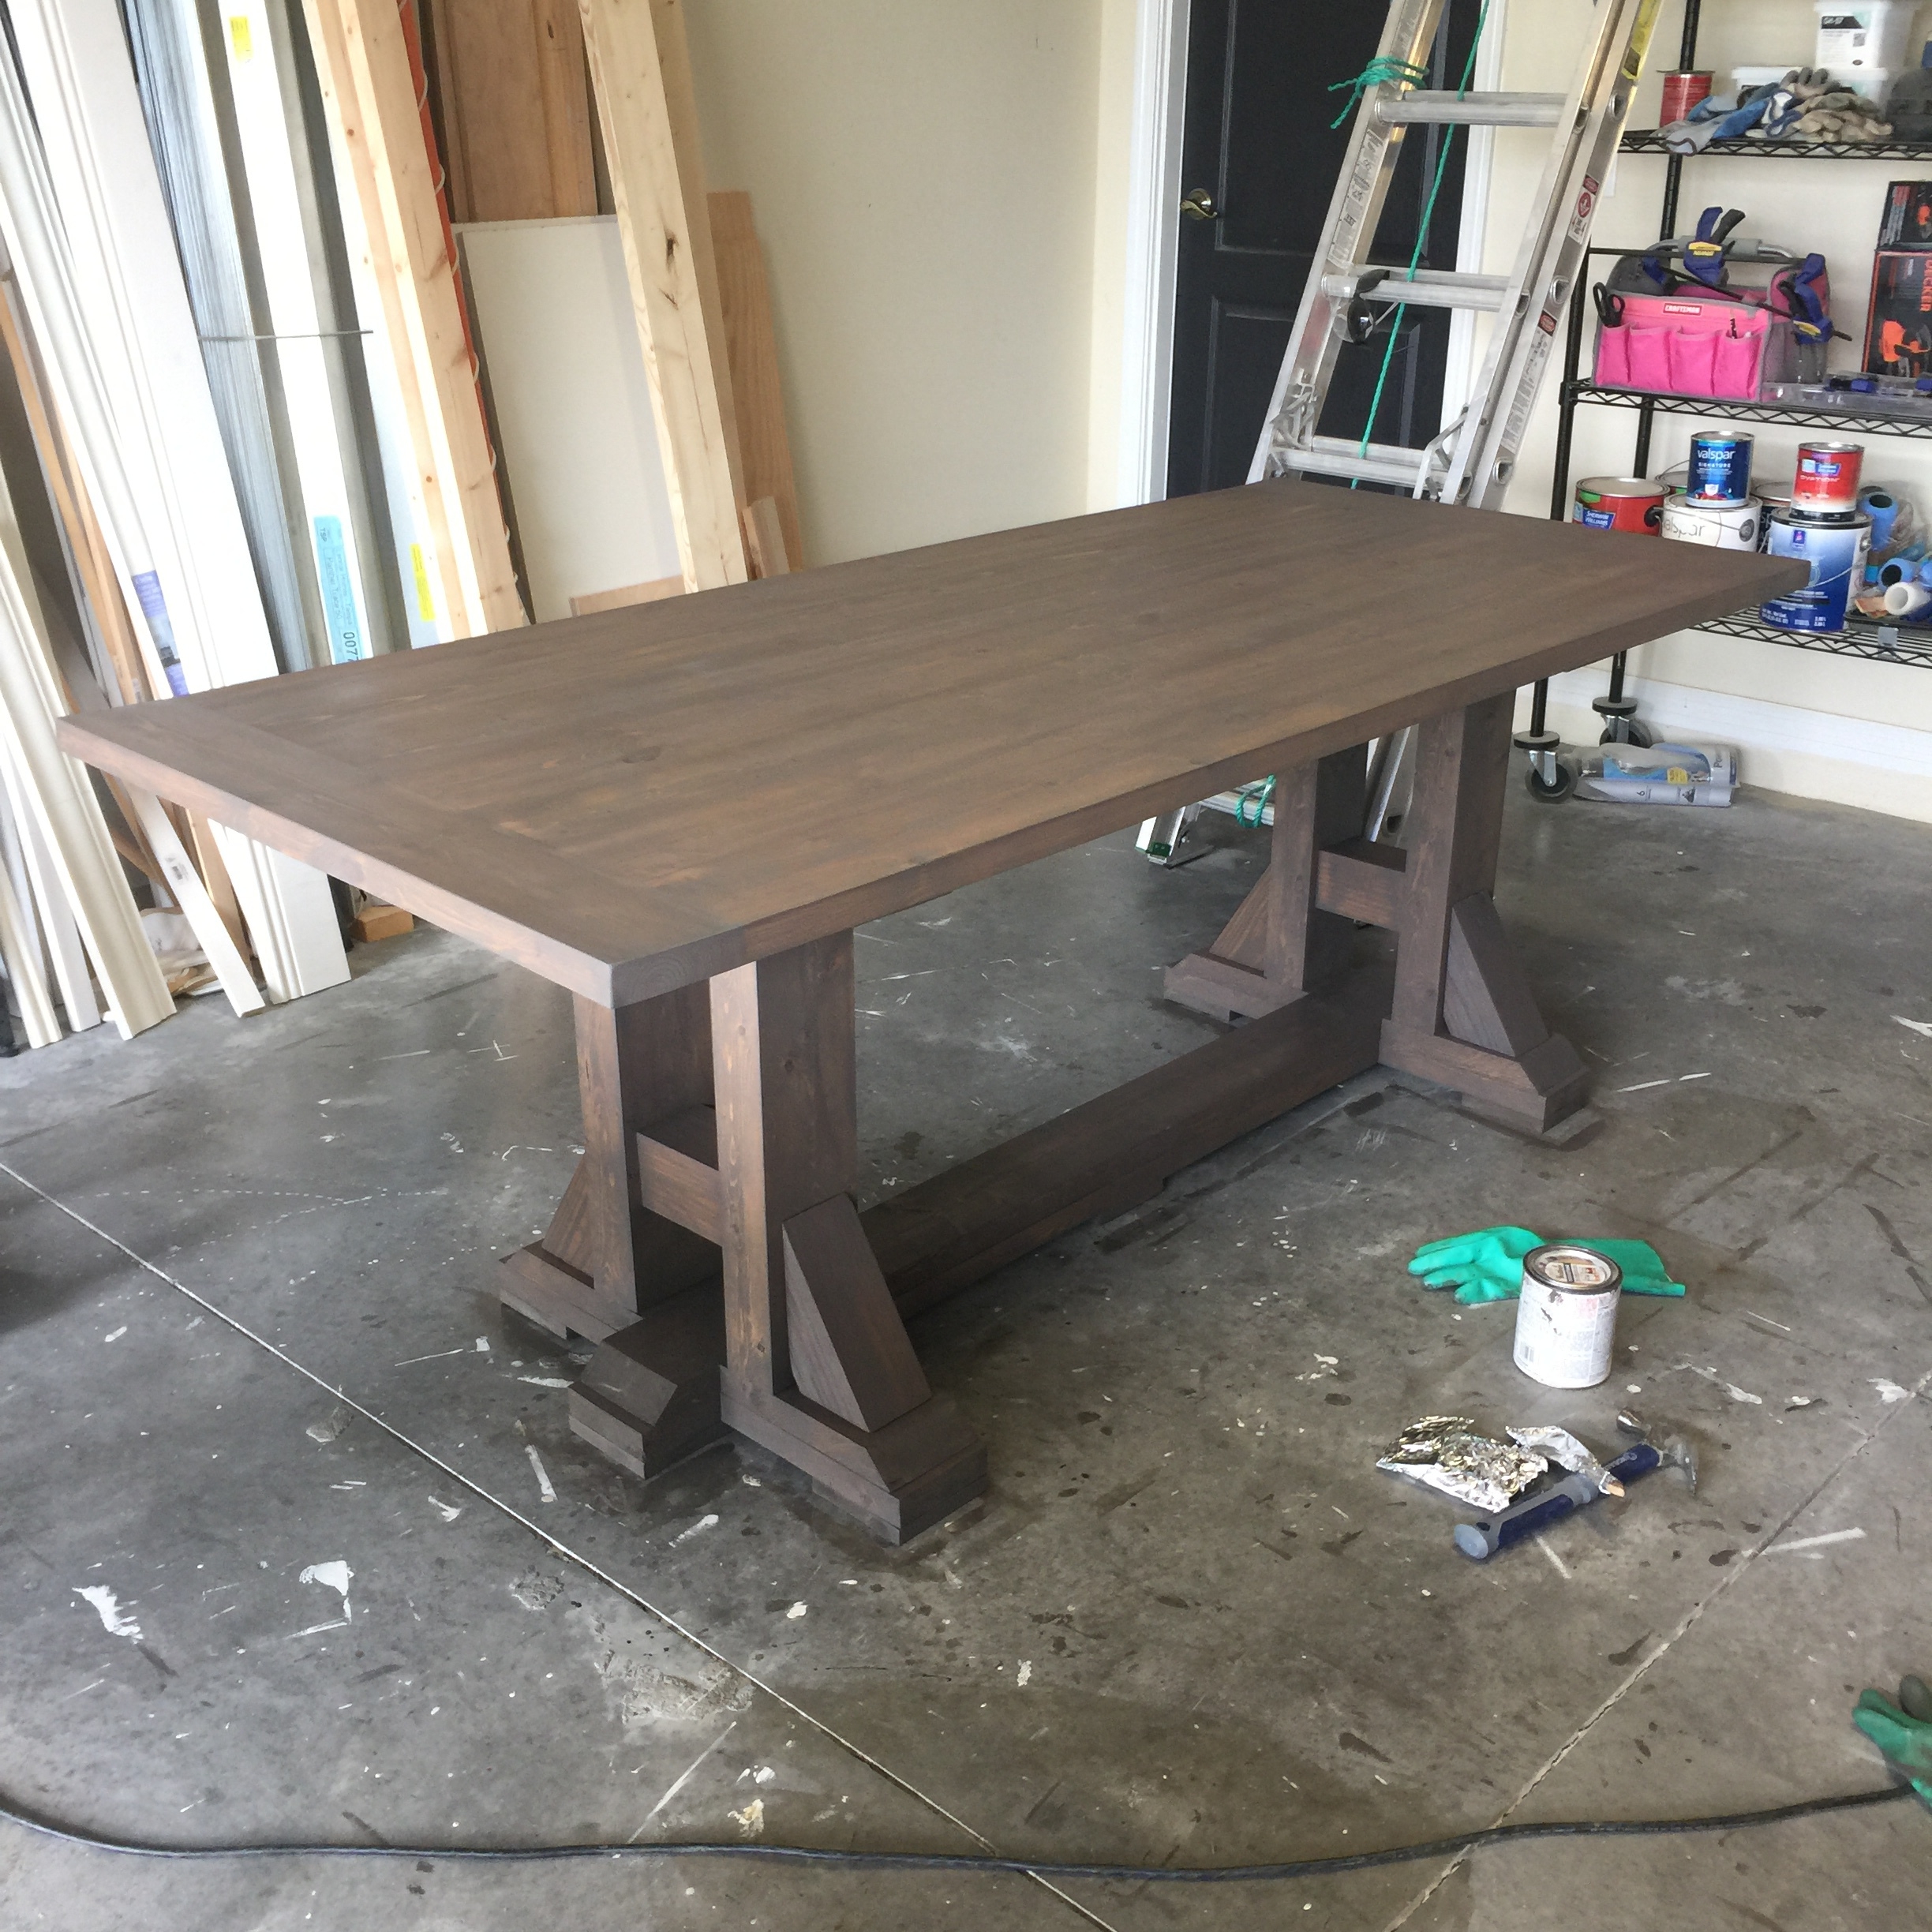
So here’s what it looked like after I stained on top of it with Briarsmoke. SO. MUCH. BETTER.
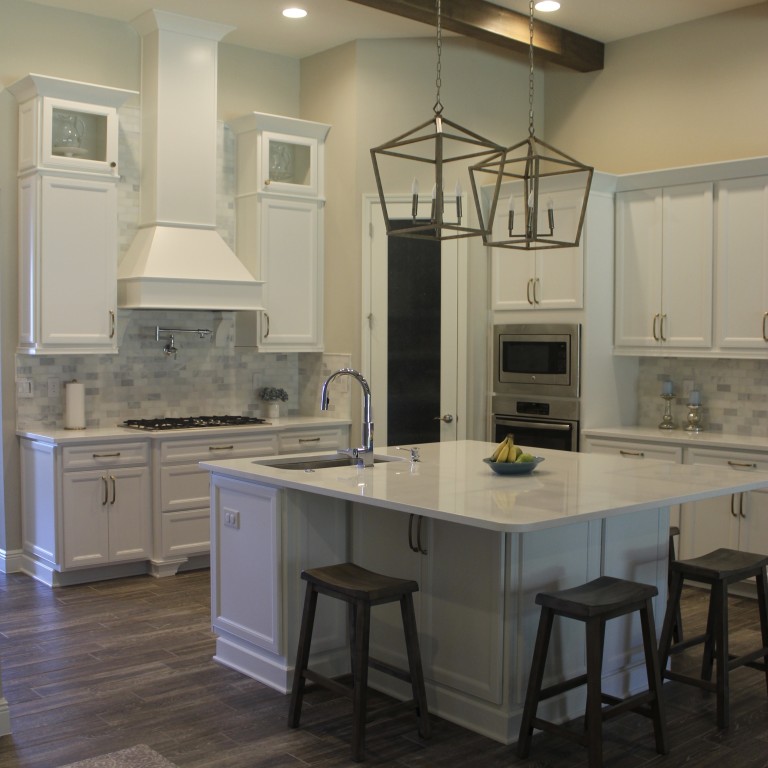
Here I am comparing it to the new barstools I bought to go in the kitchen right next to the breakfast area. I felt this dark brown was a much better match with my new house than the yellow/golden/honey color. It’s crazy how things work out. I had zero intentions of having a dark brown table in our new breakfast area and now I couldn’t imagine it any other way. I think it’s so perfect!
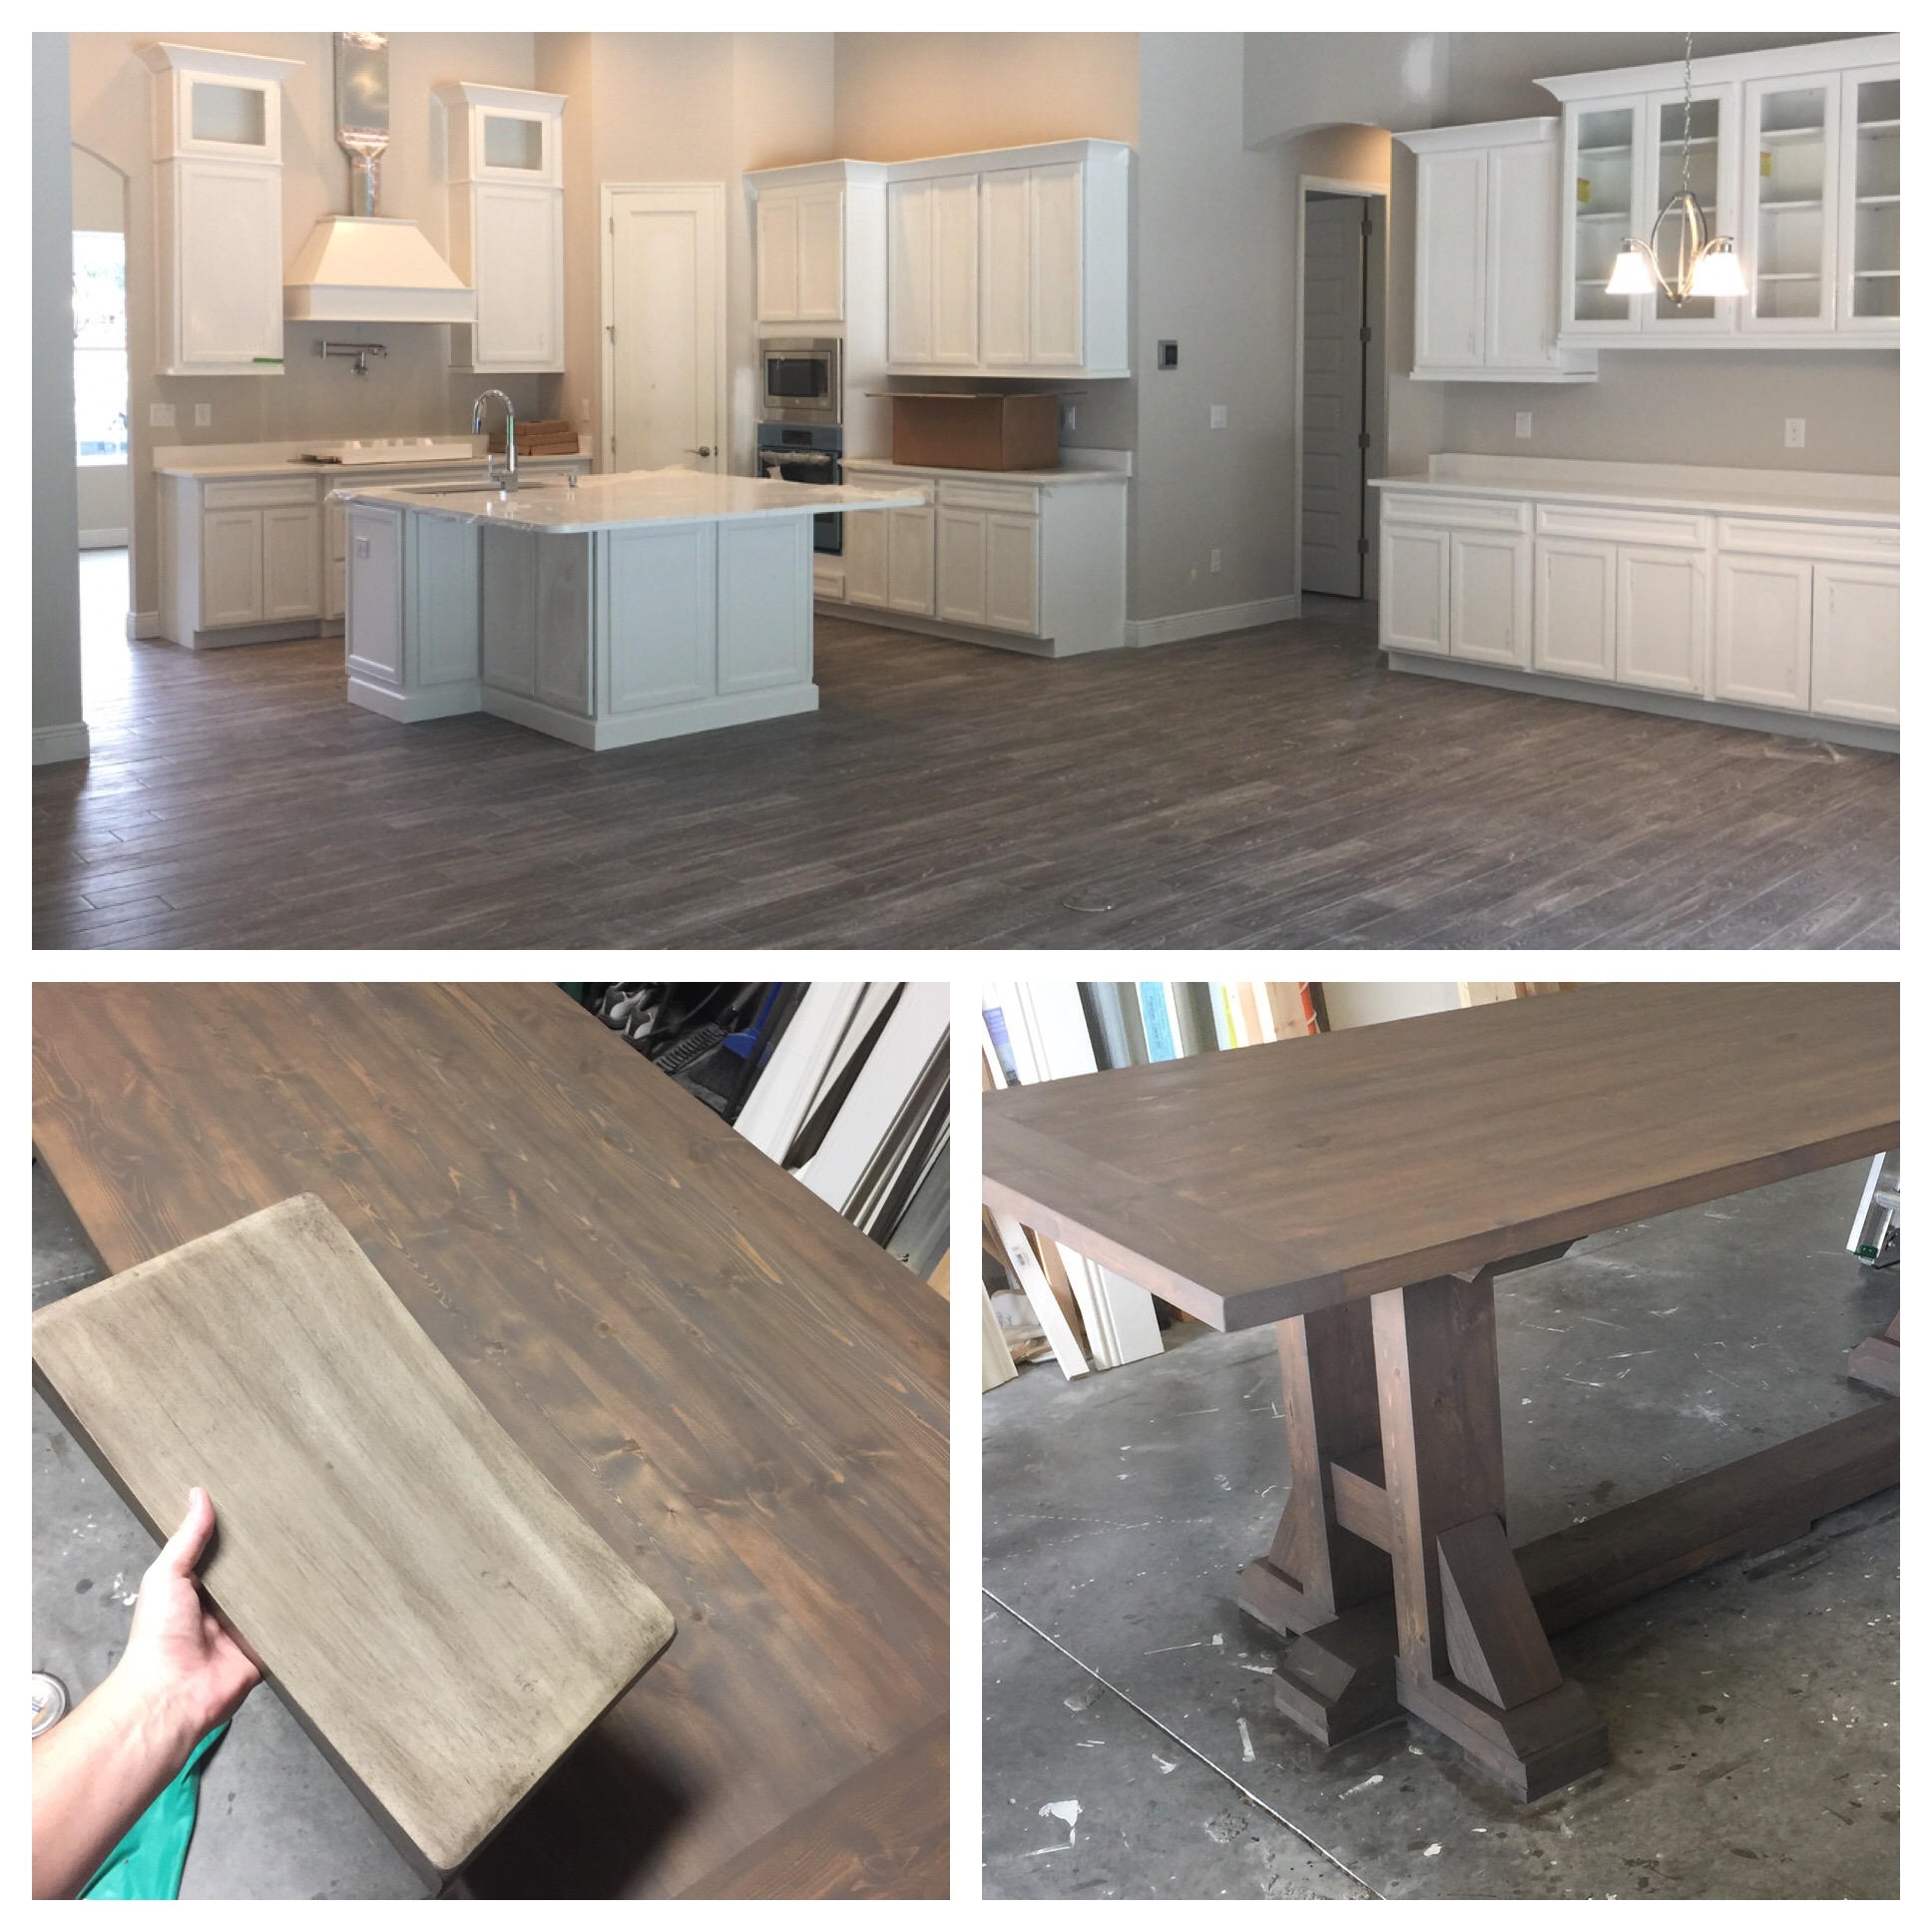
This was the best I could do as far as comparing the new stain color against our new house since we didn’t live there yet.
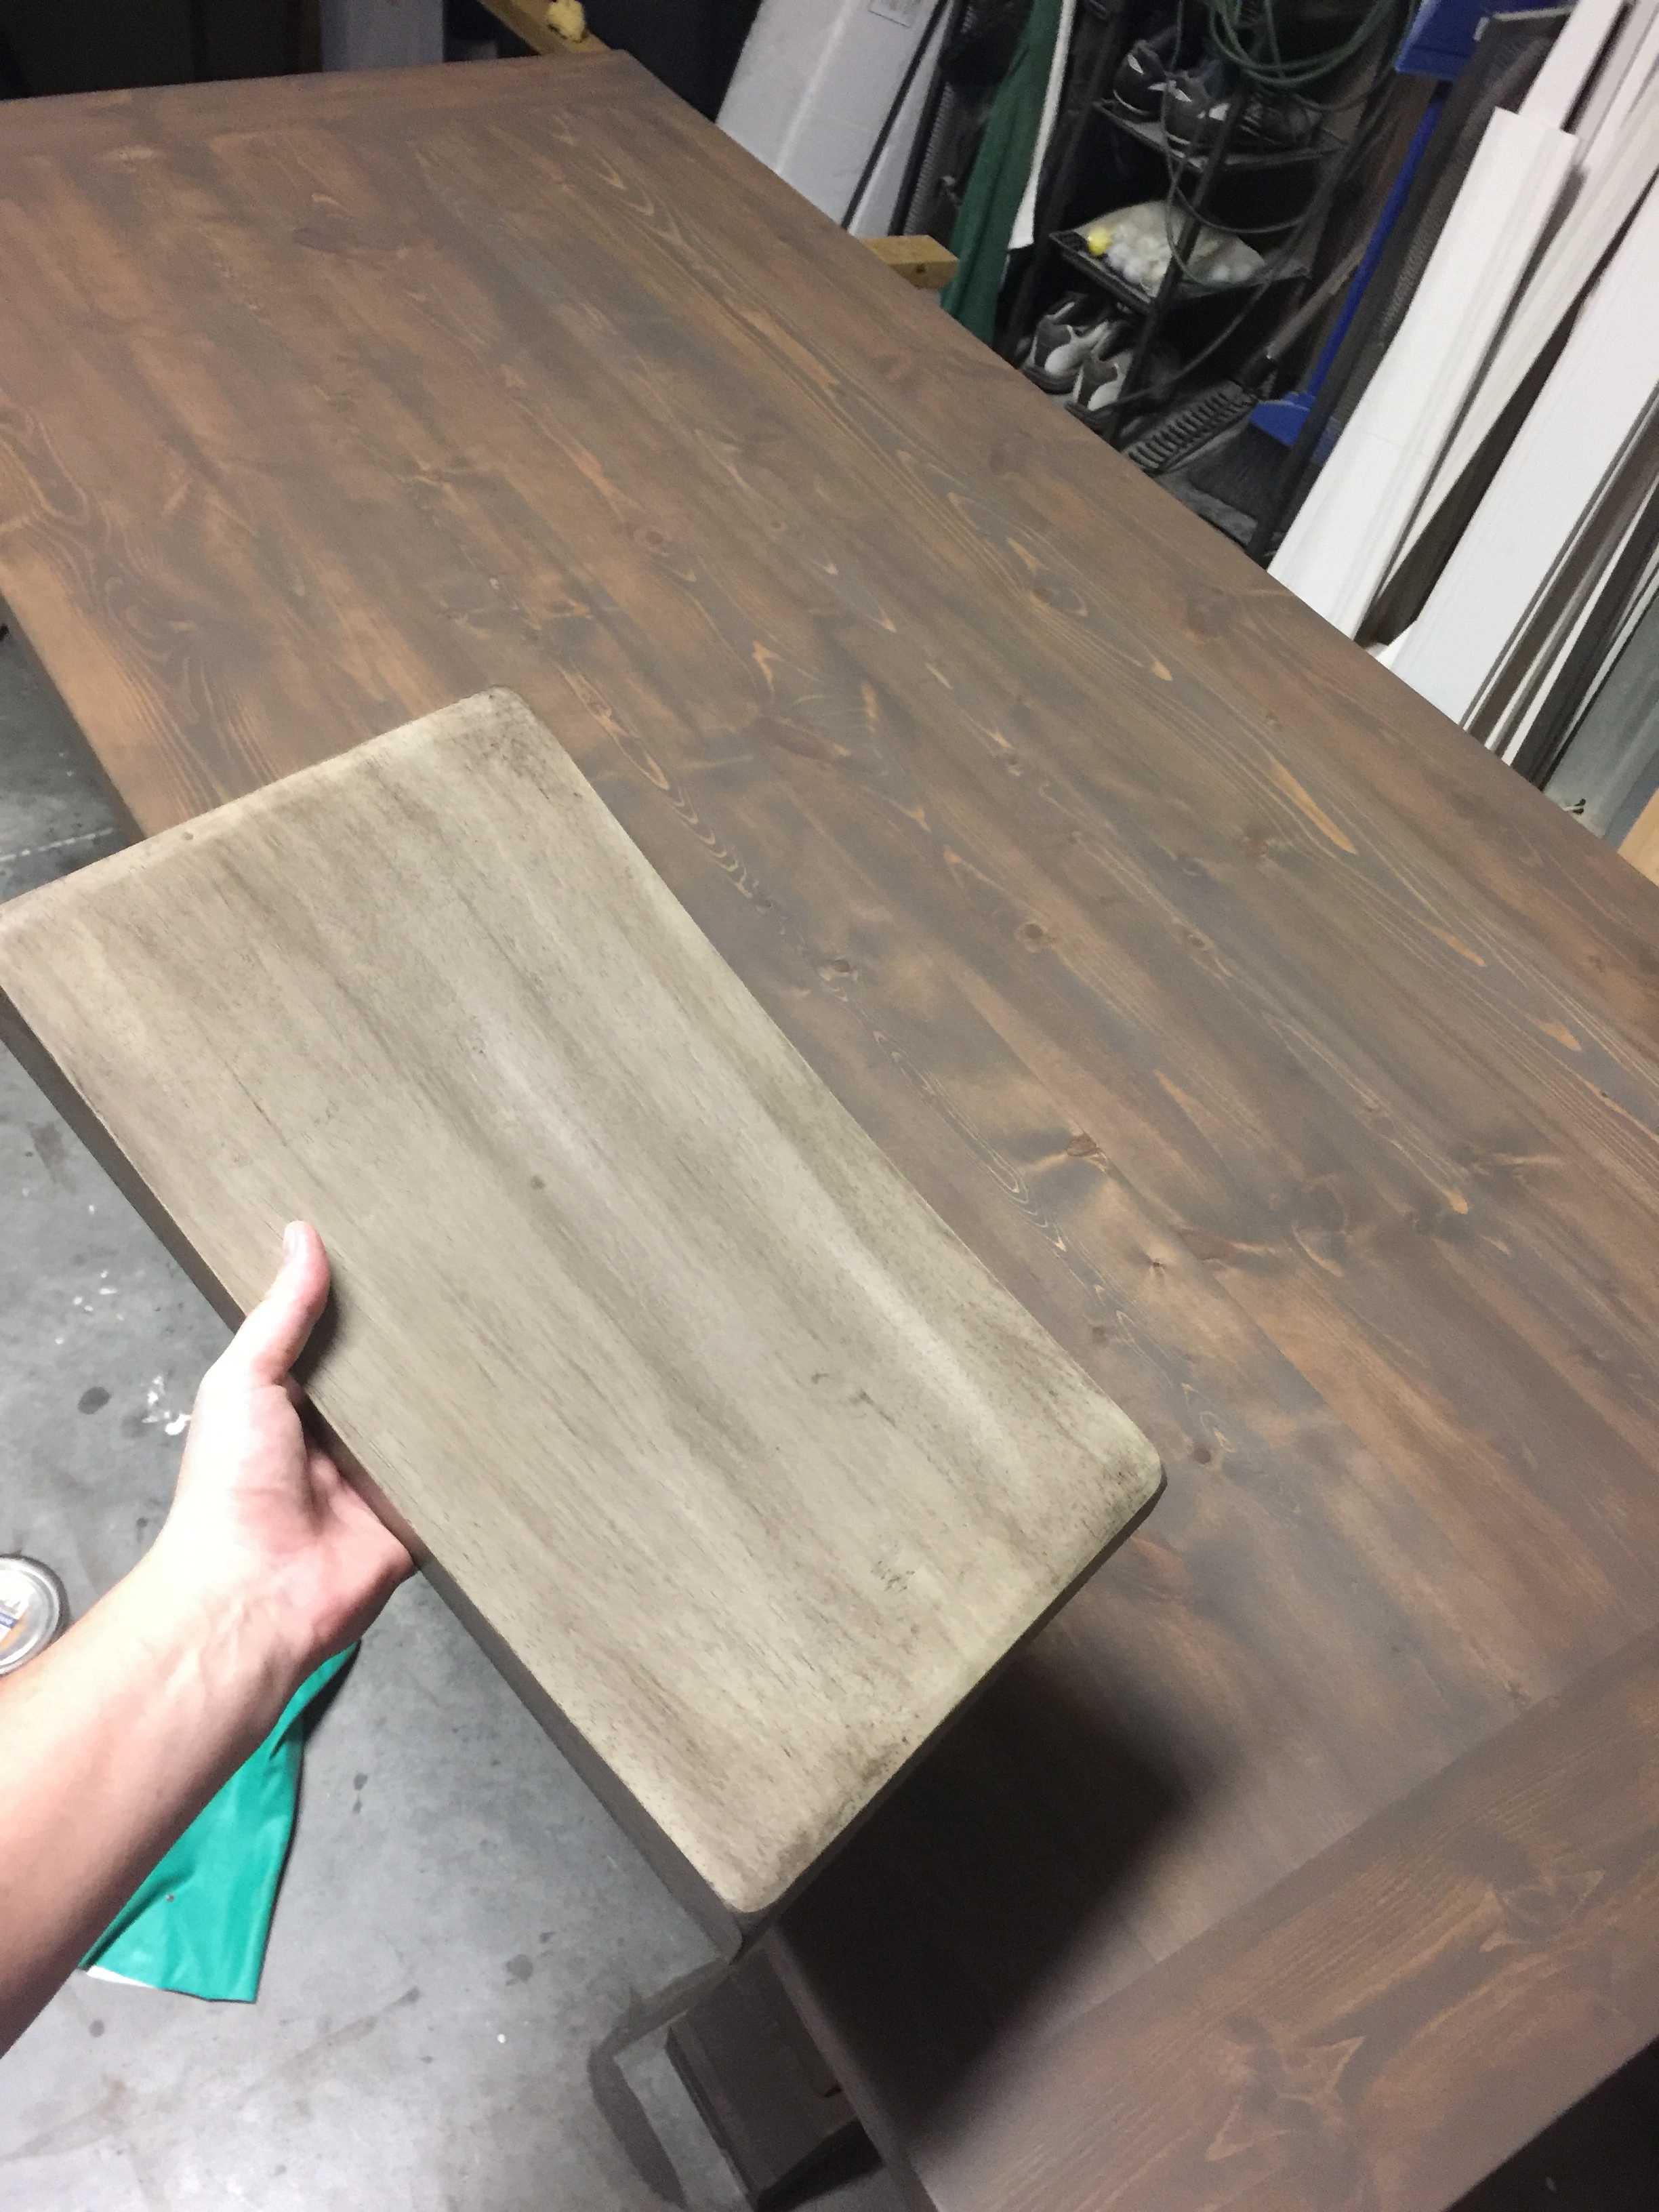
And here is the before and after of the different stain colors.

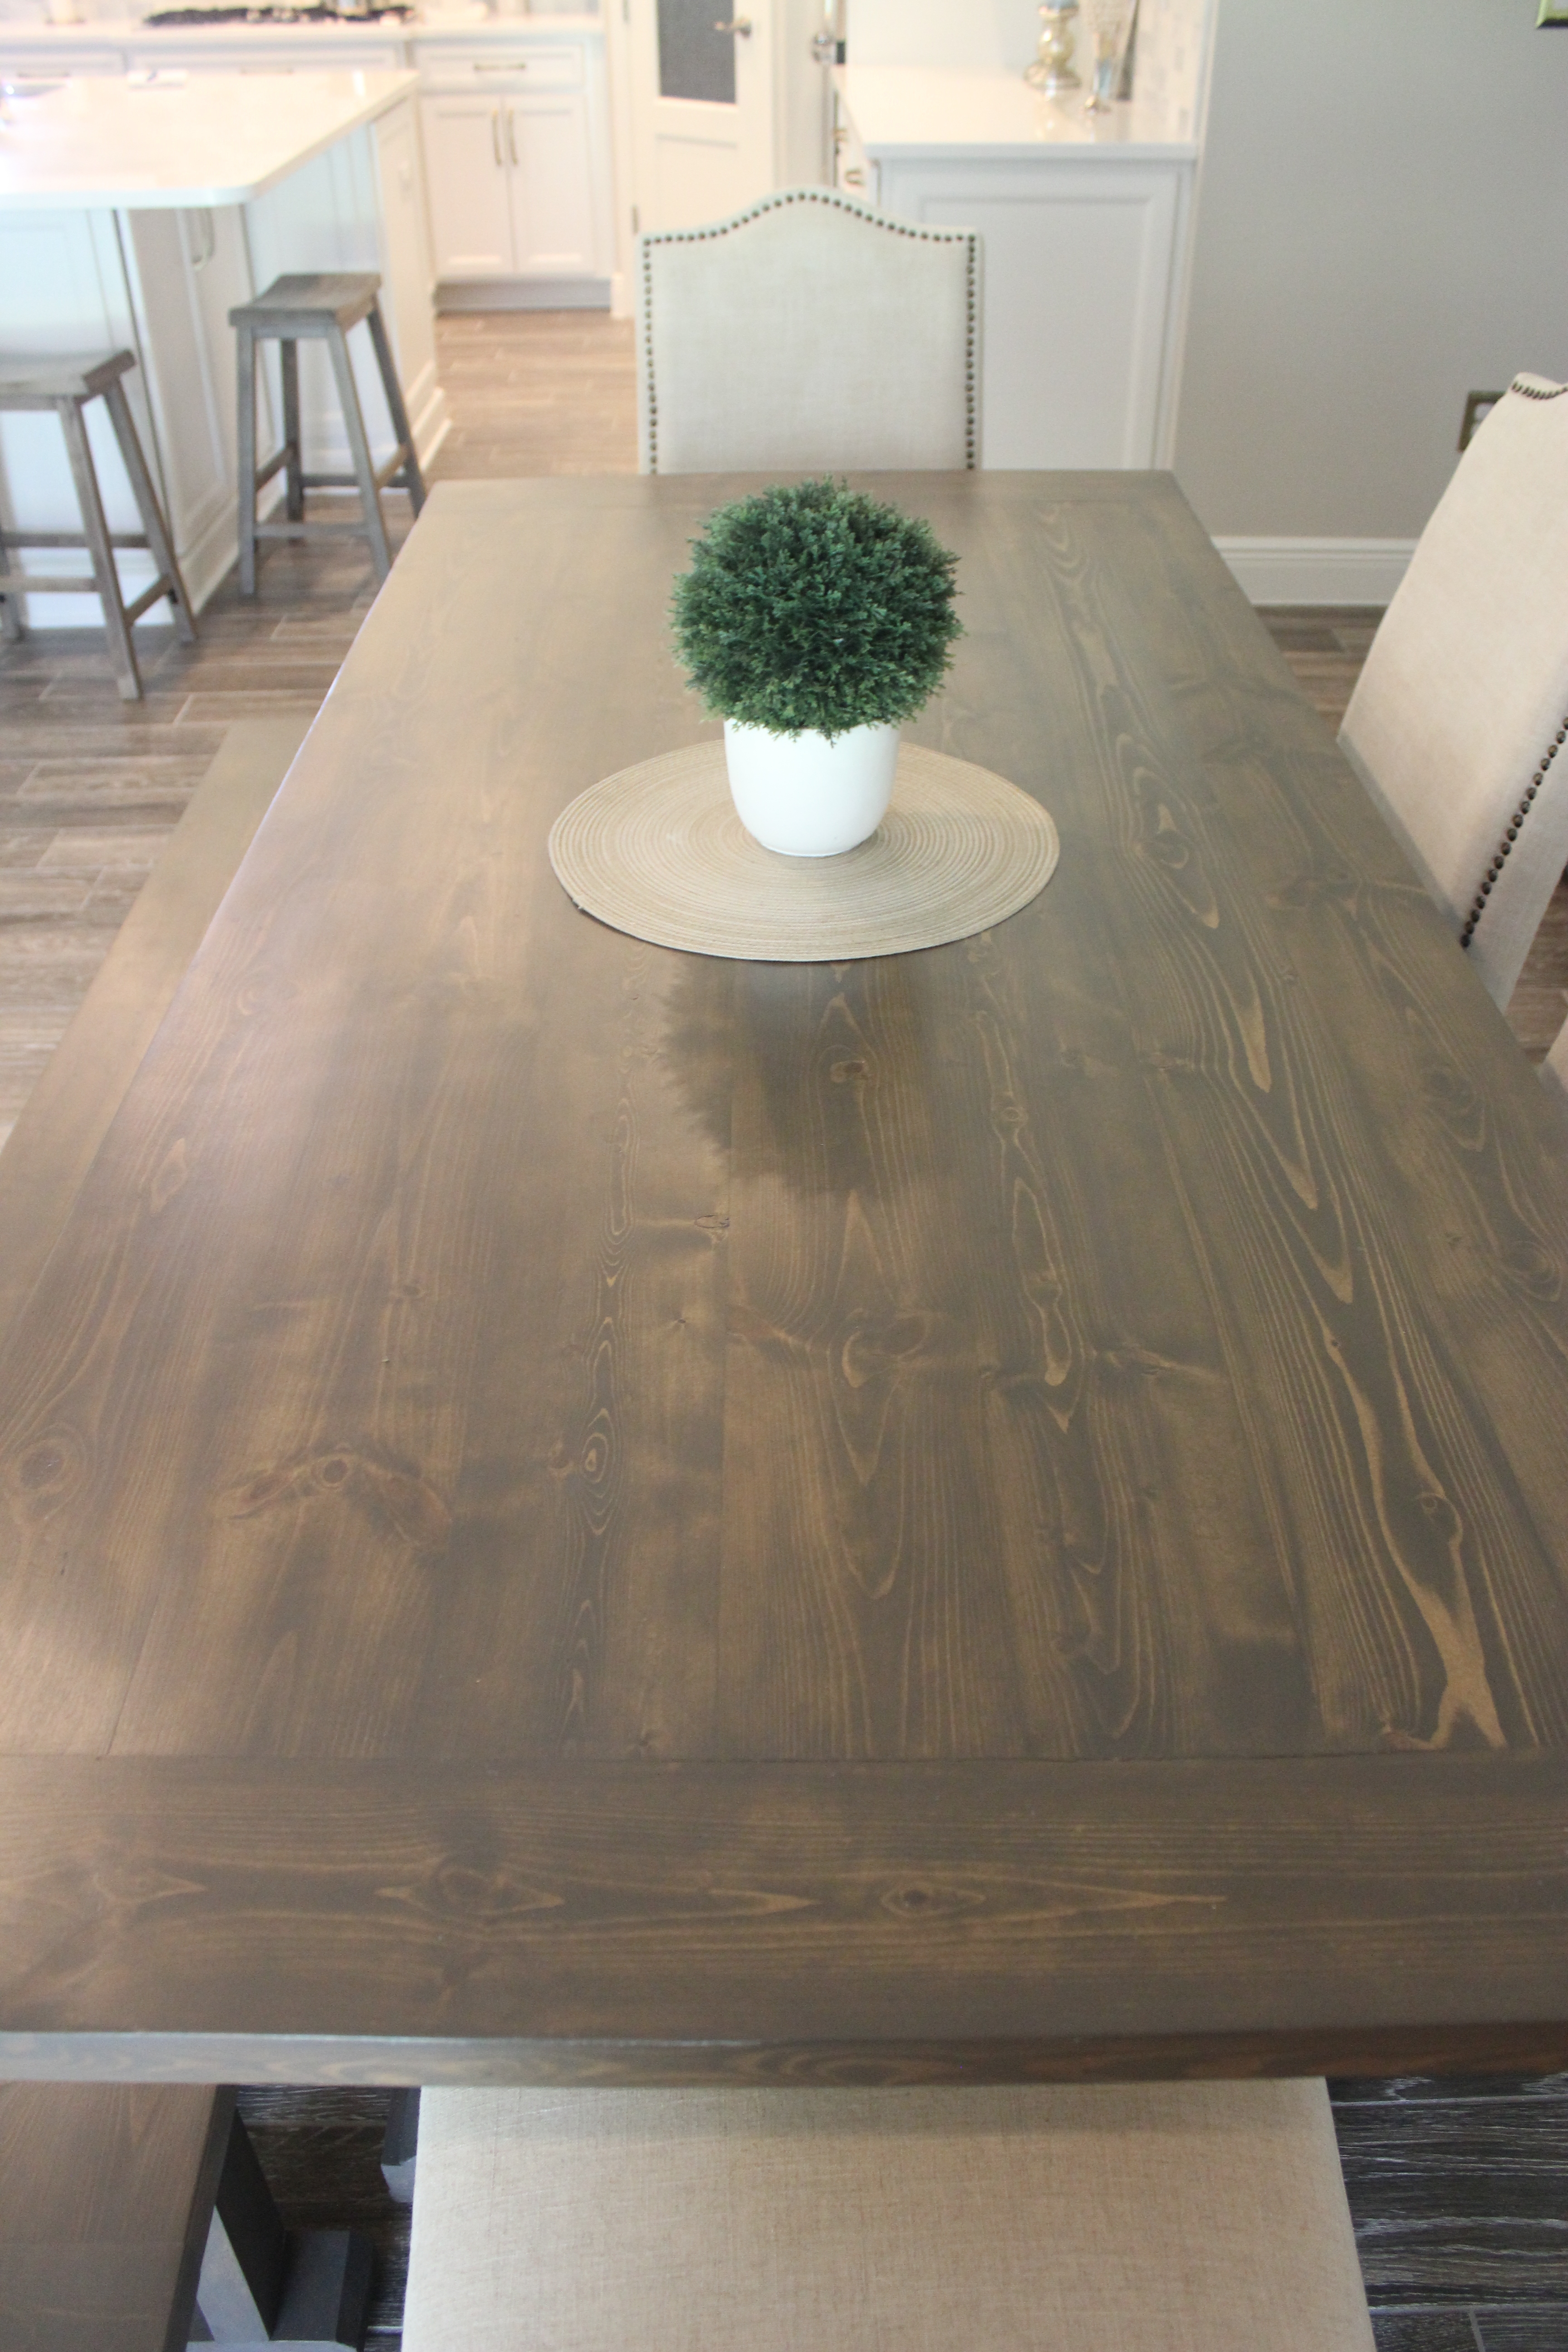
And here it is in it’s brand new home!!
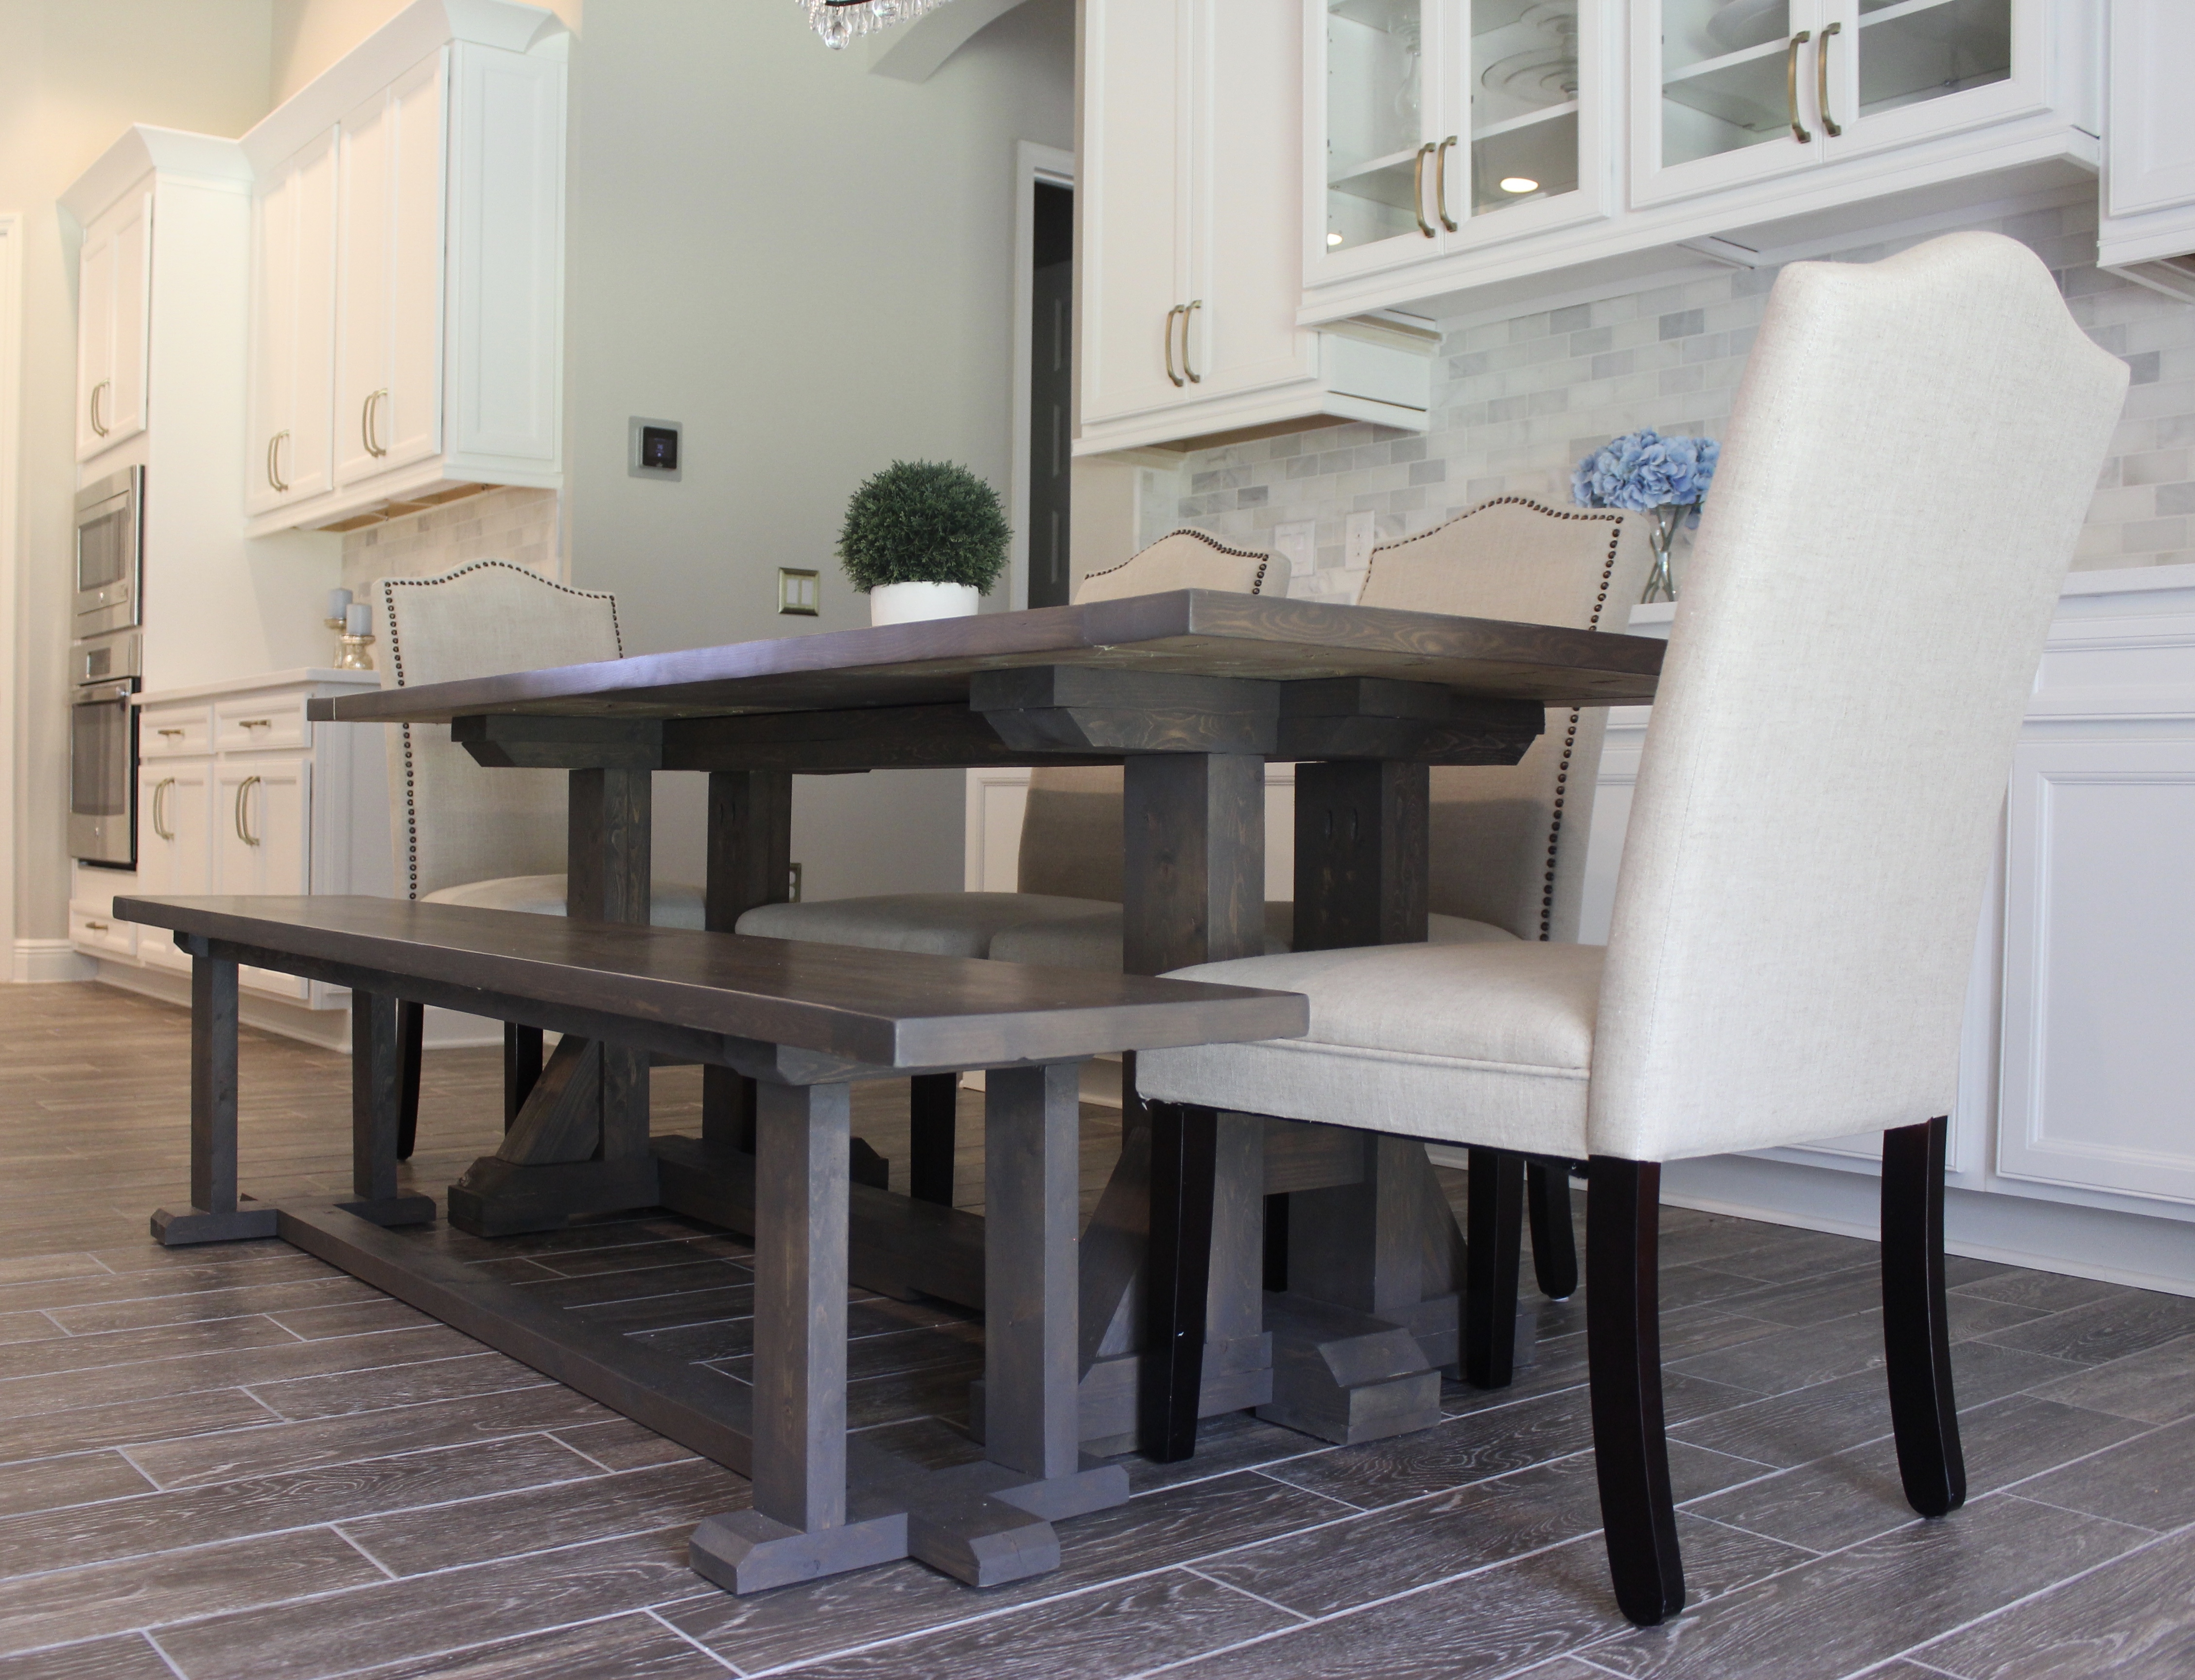
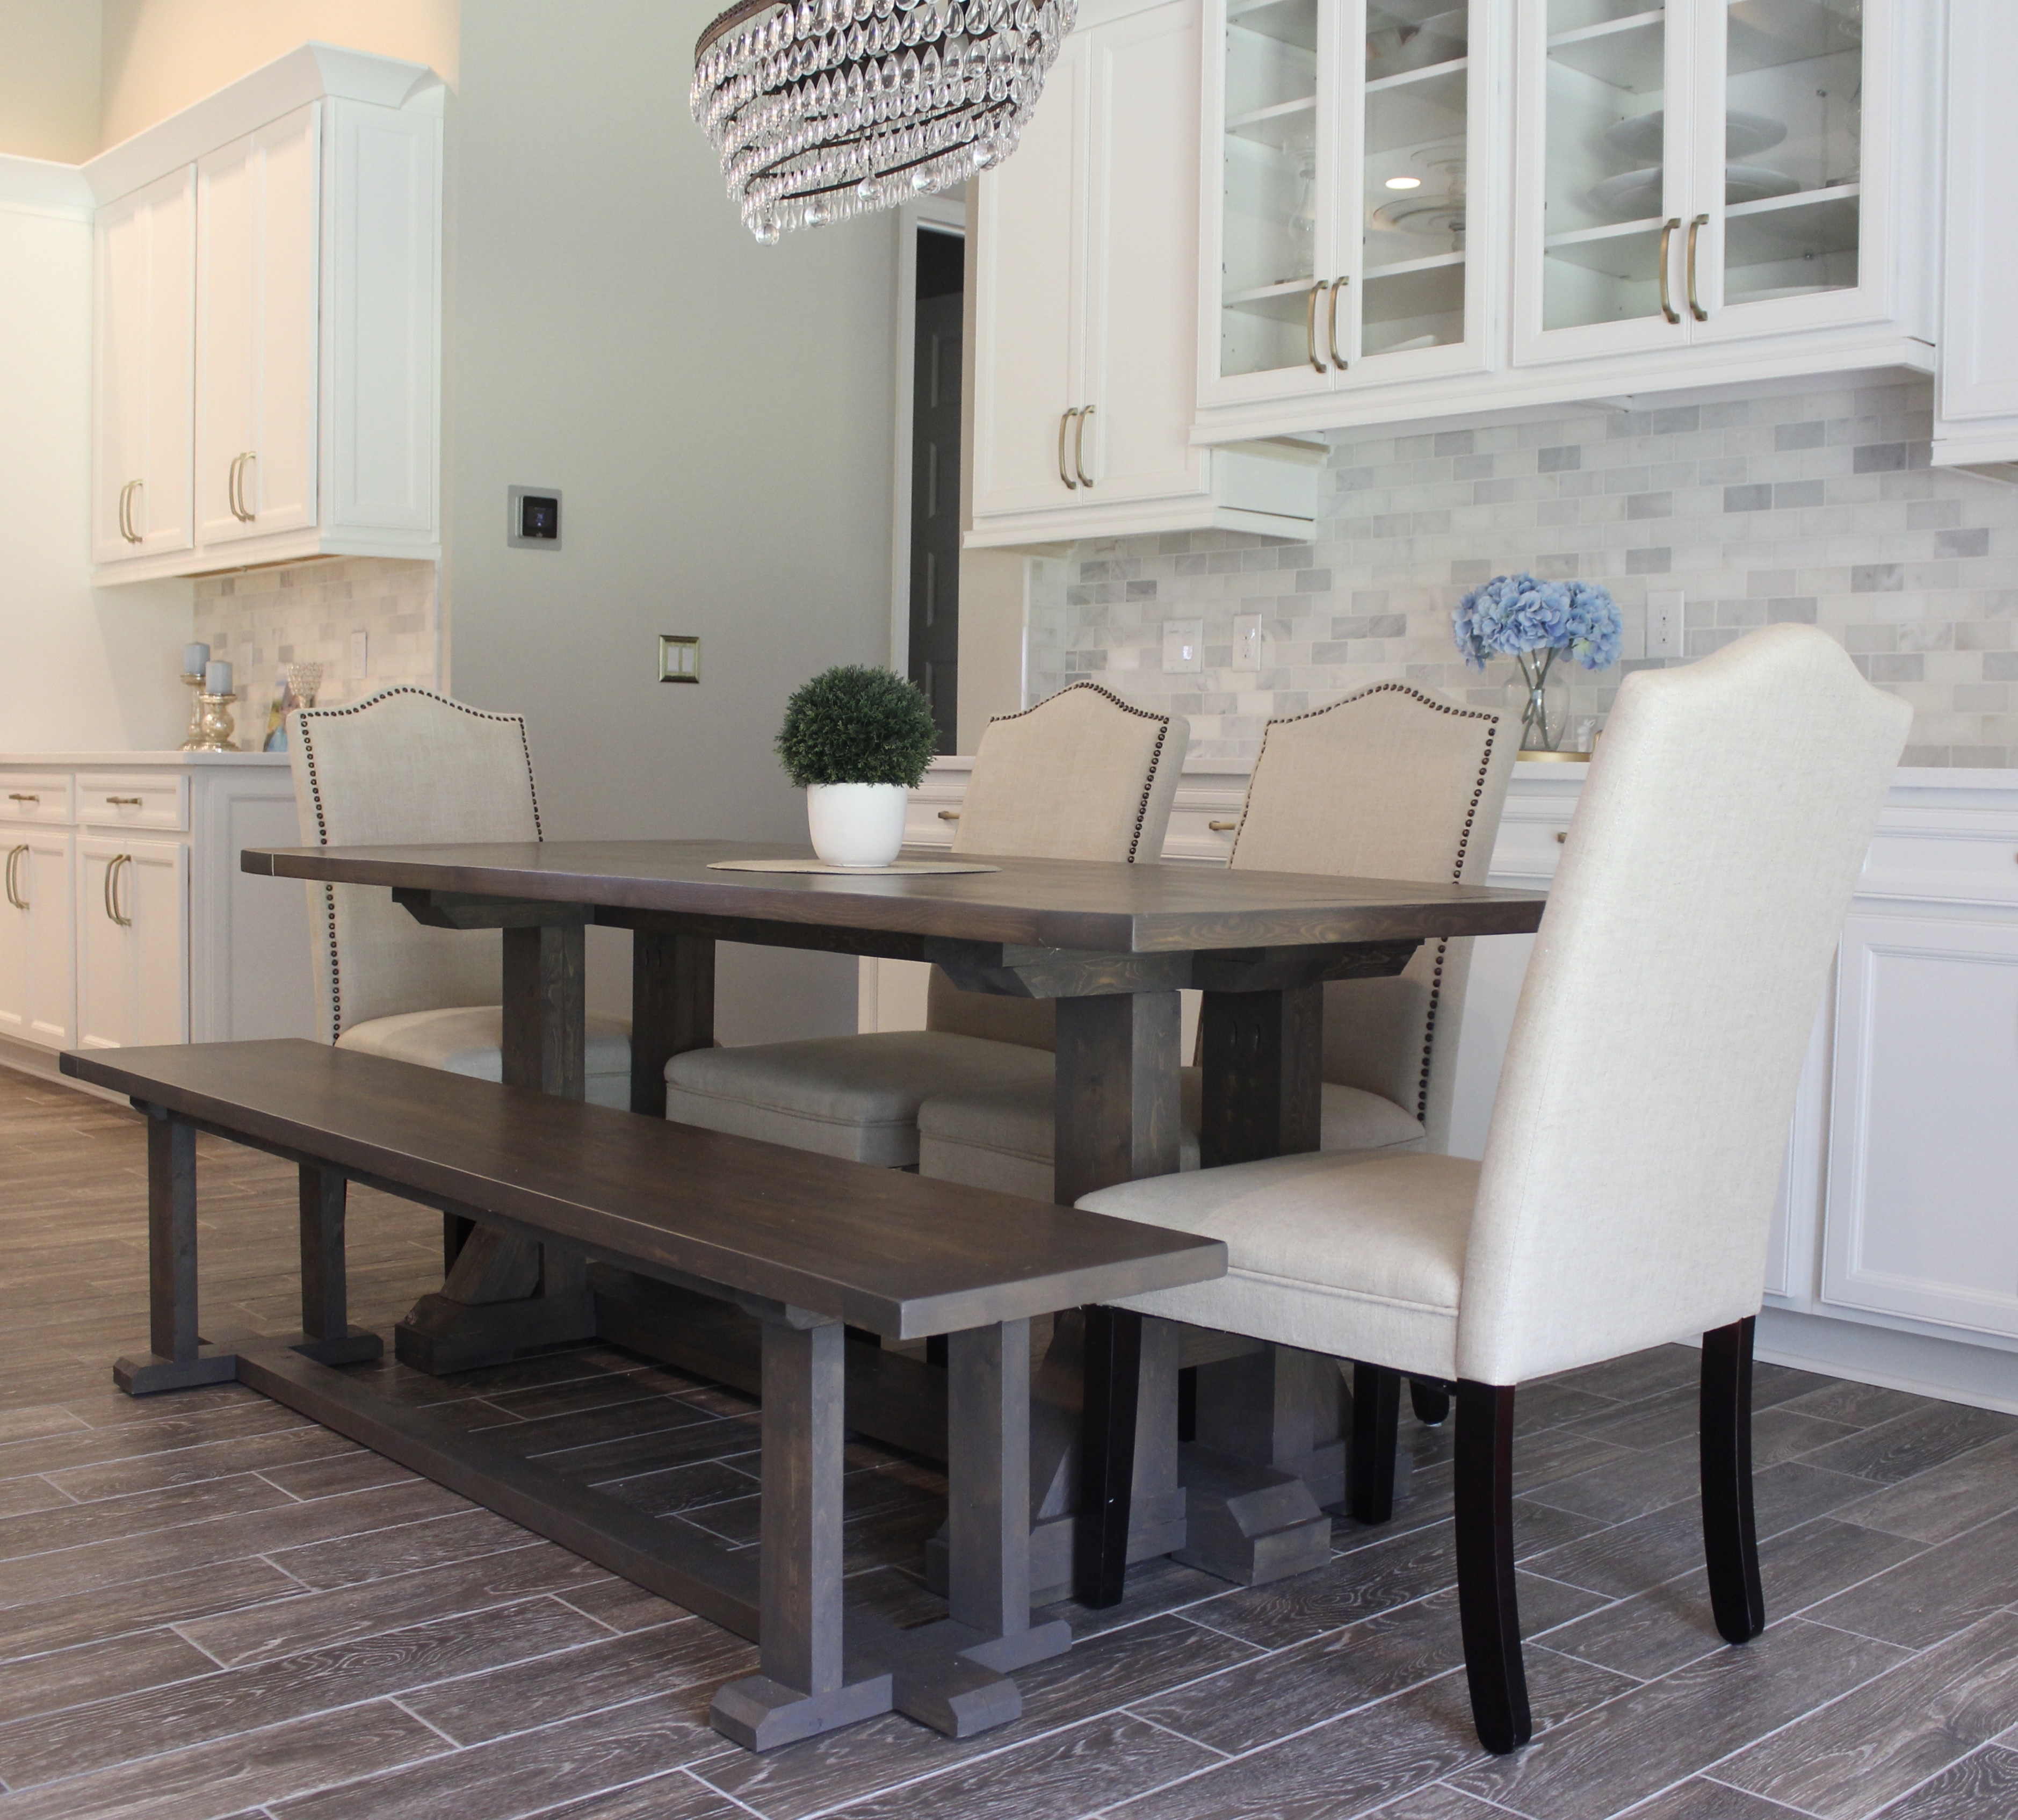
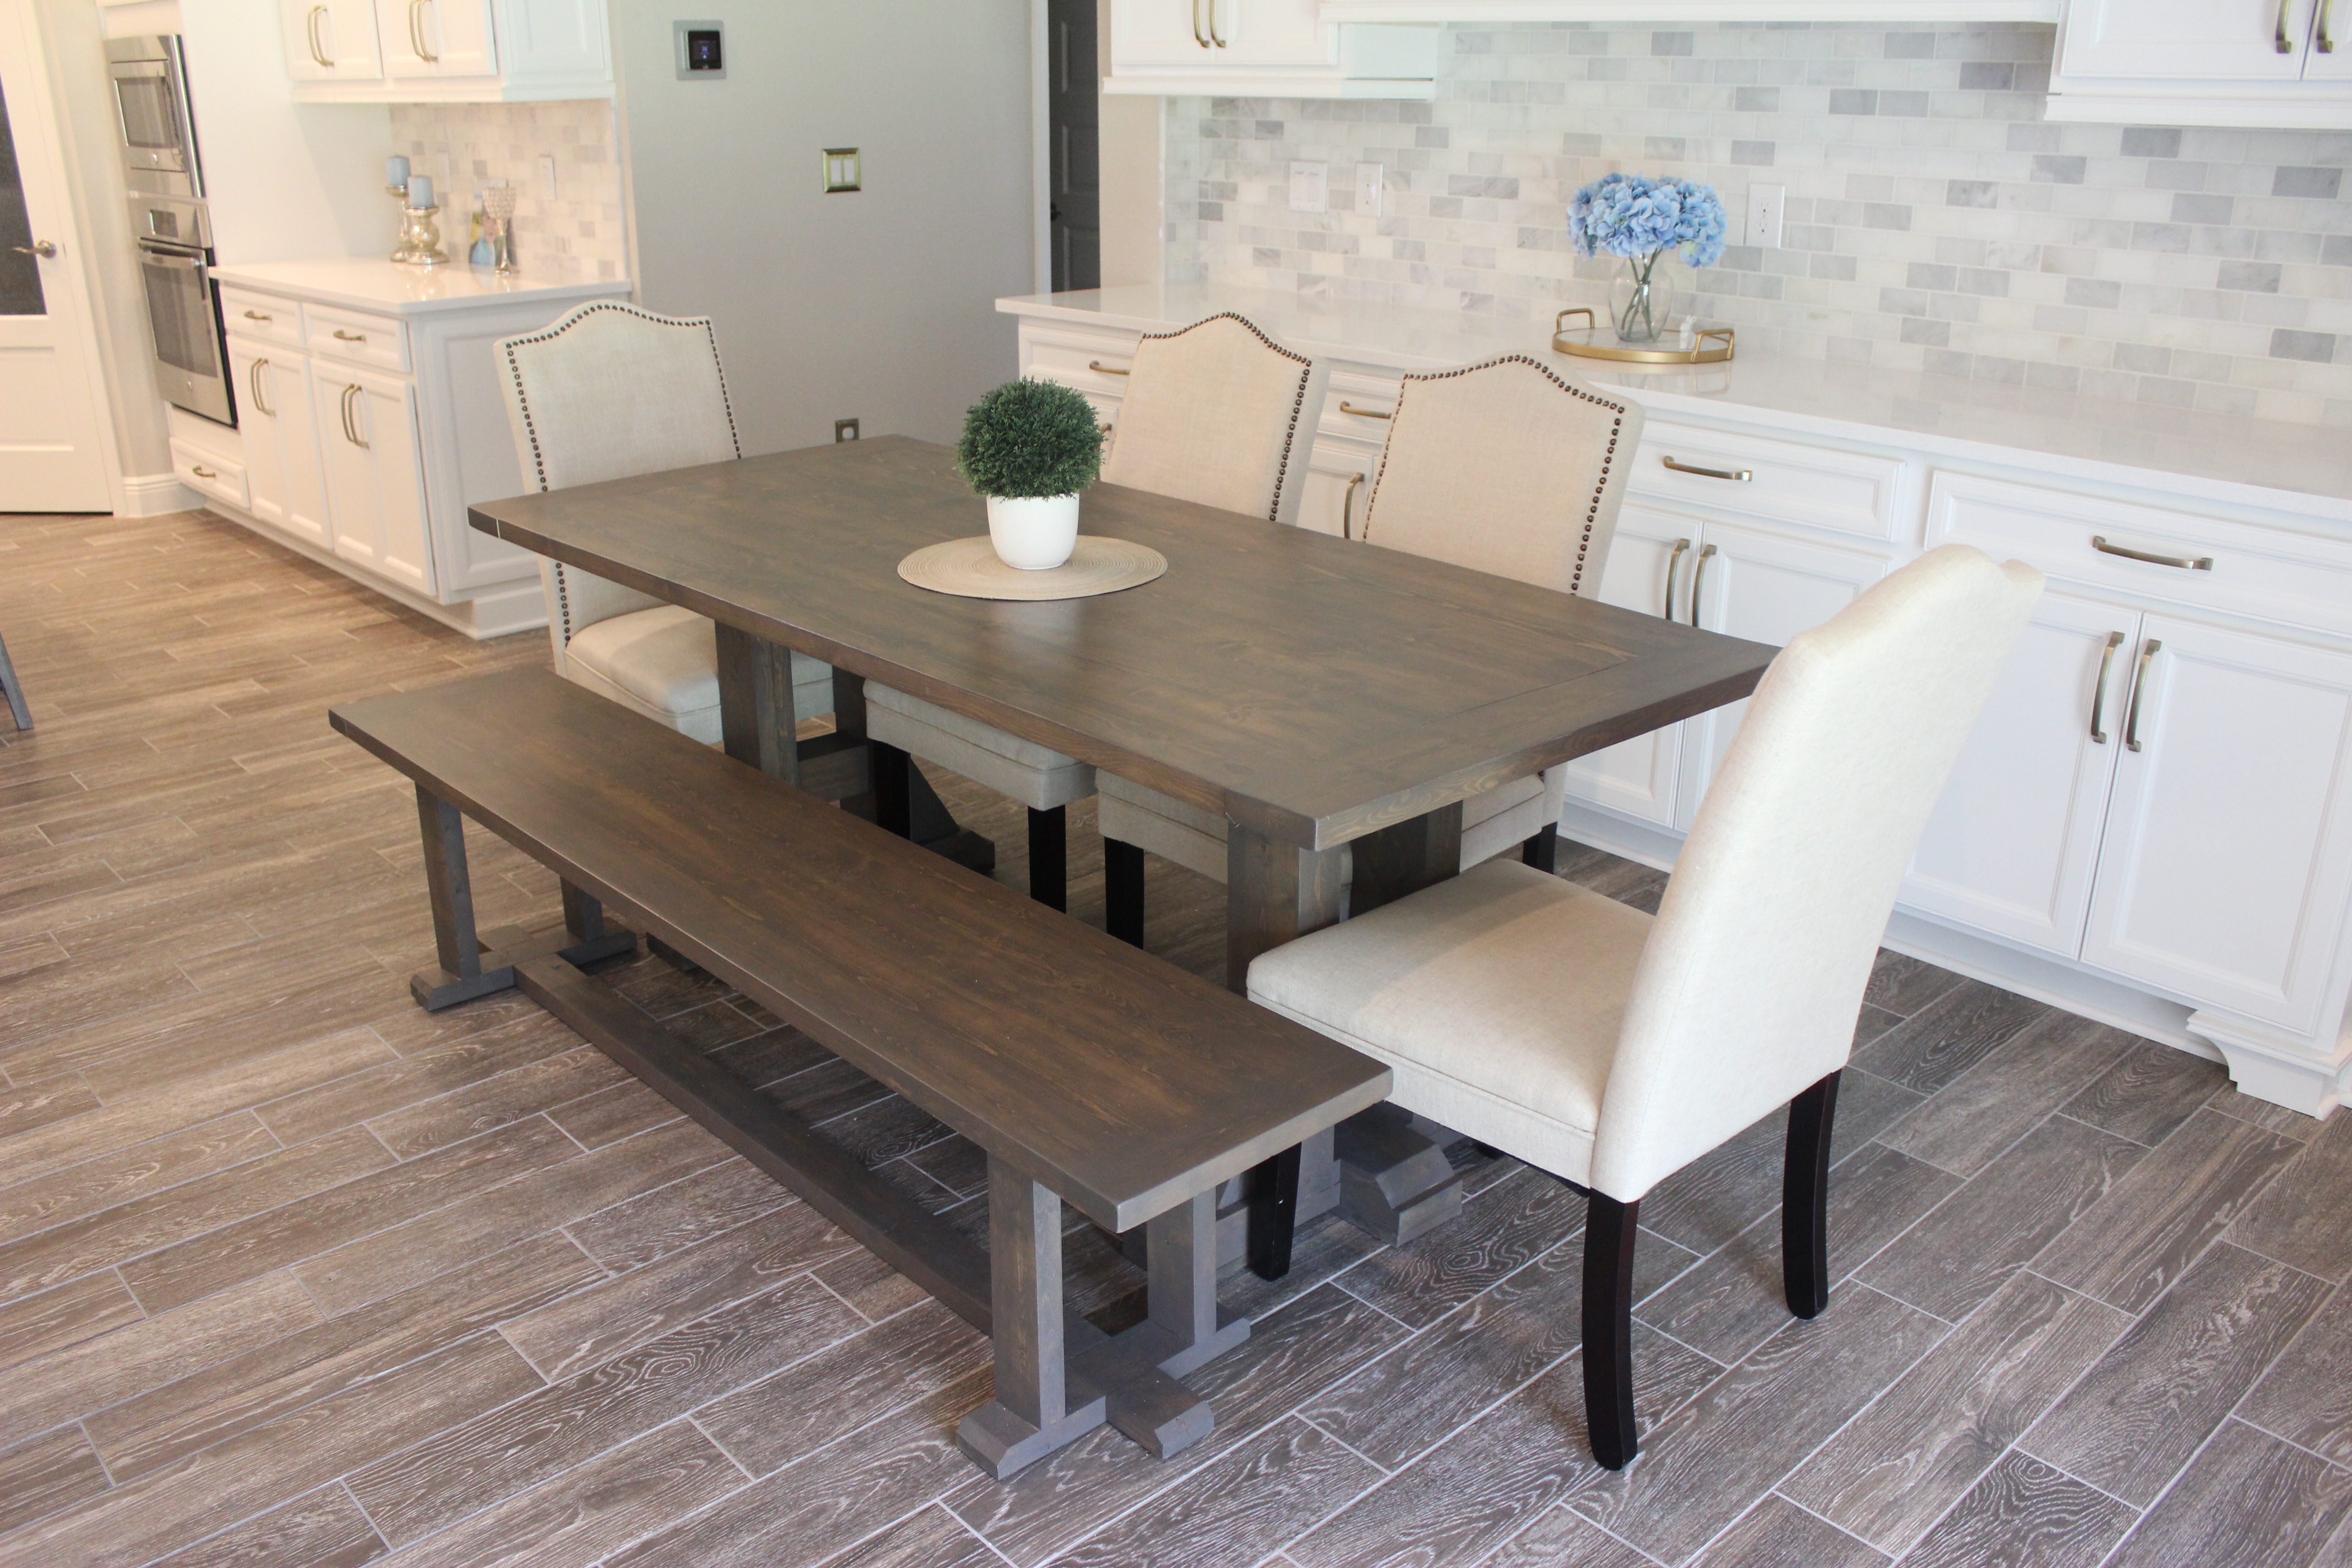
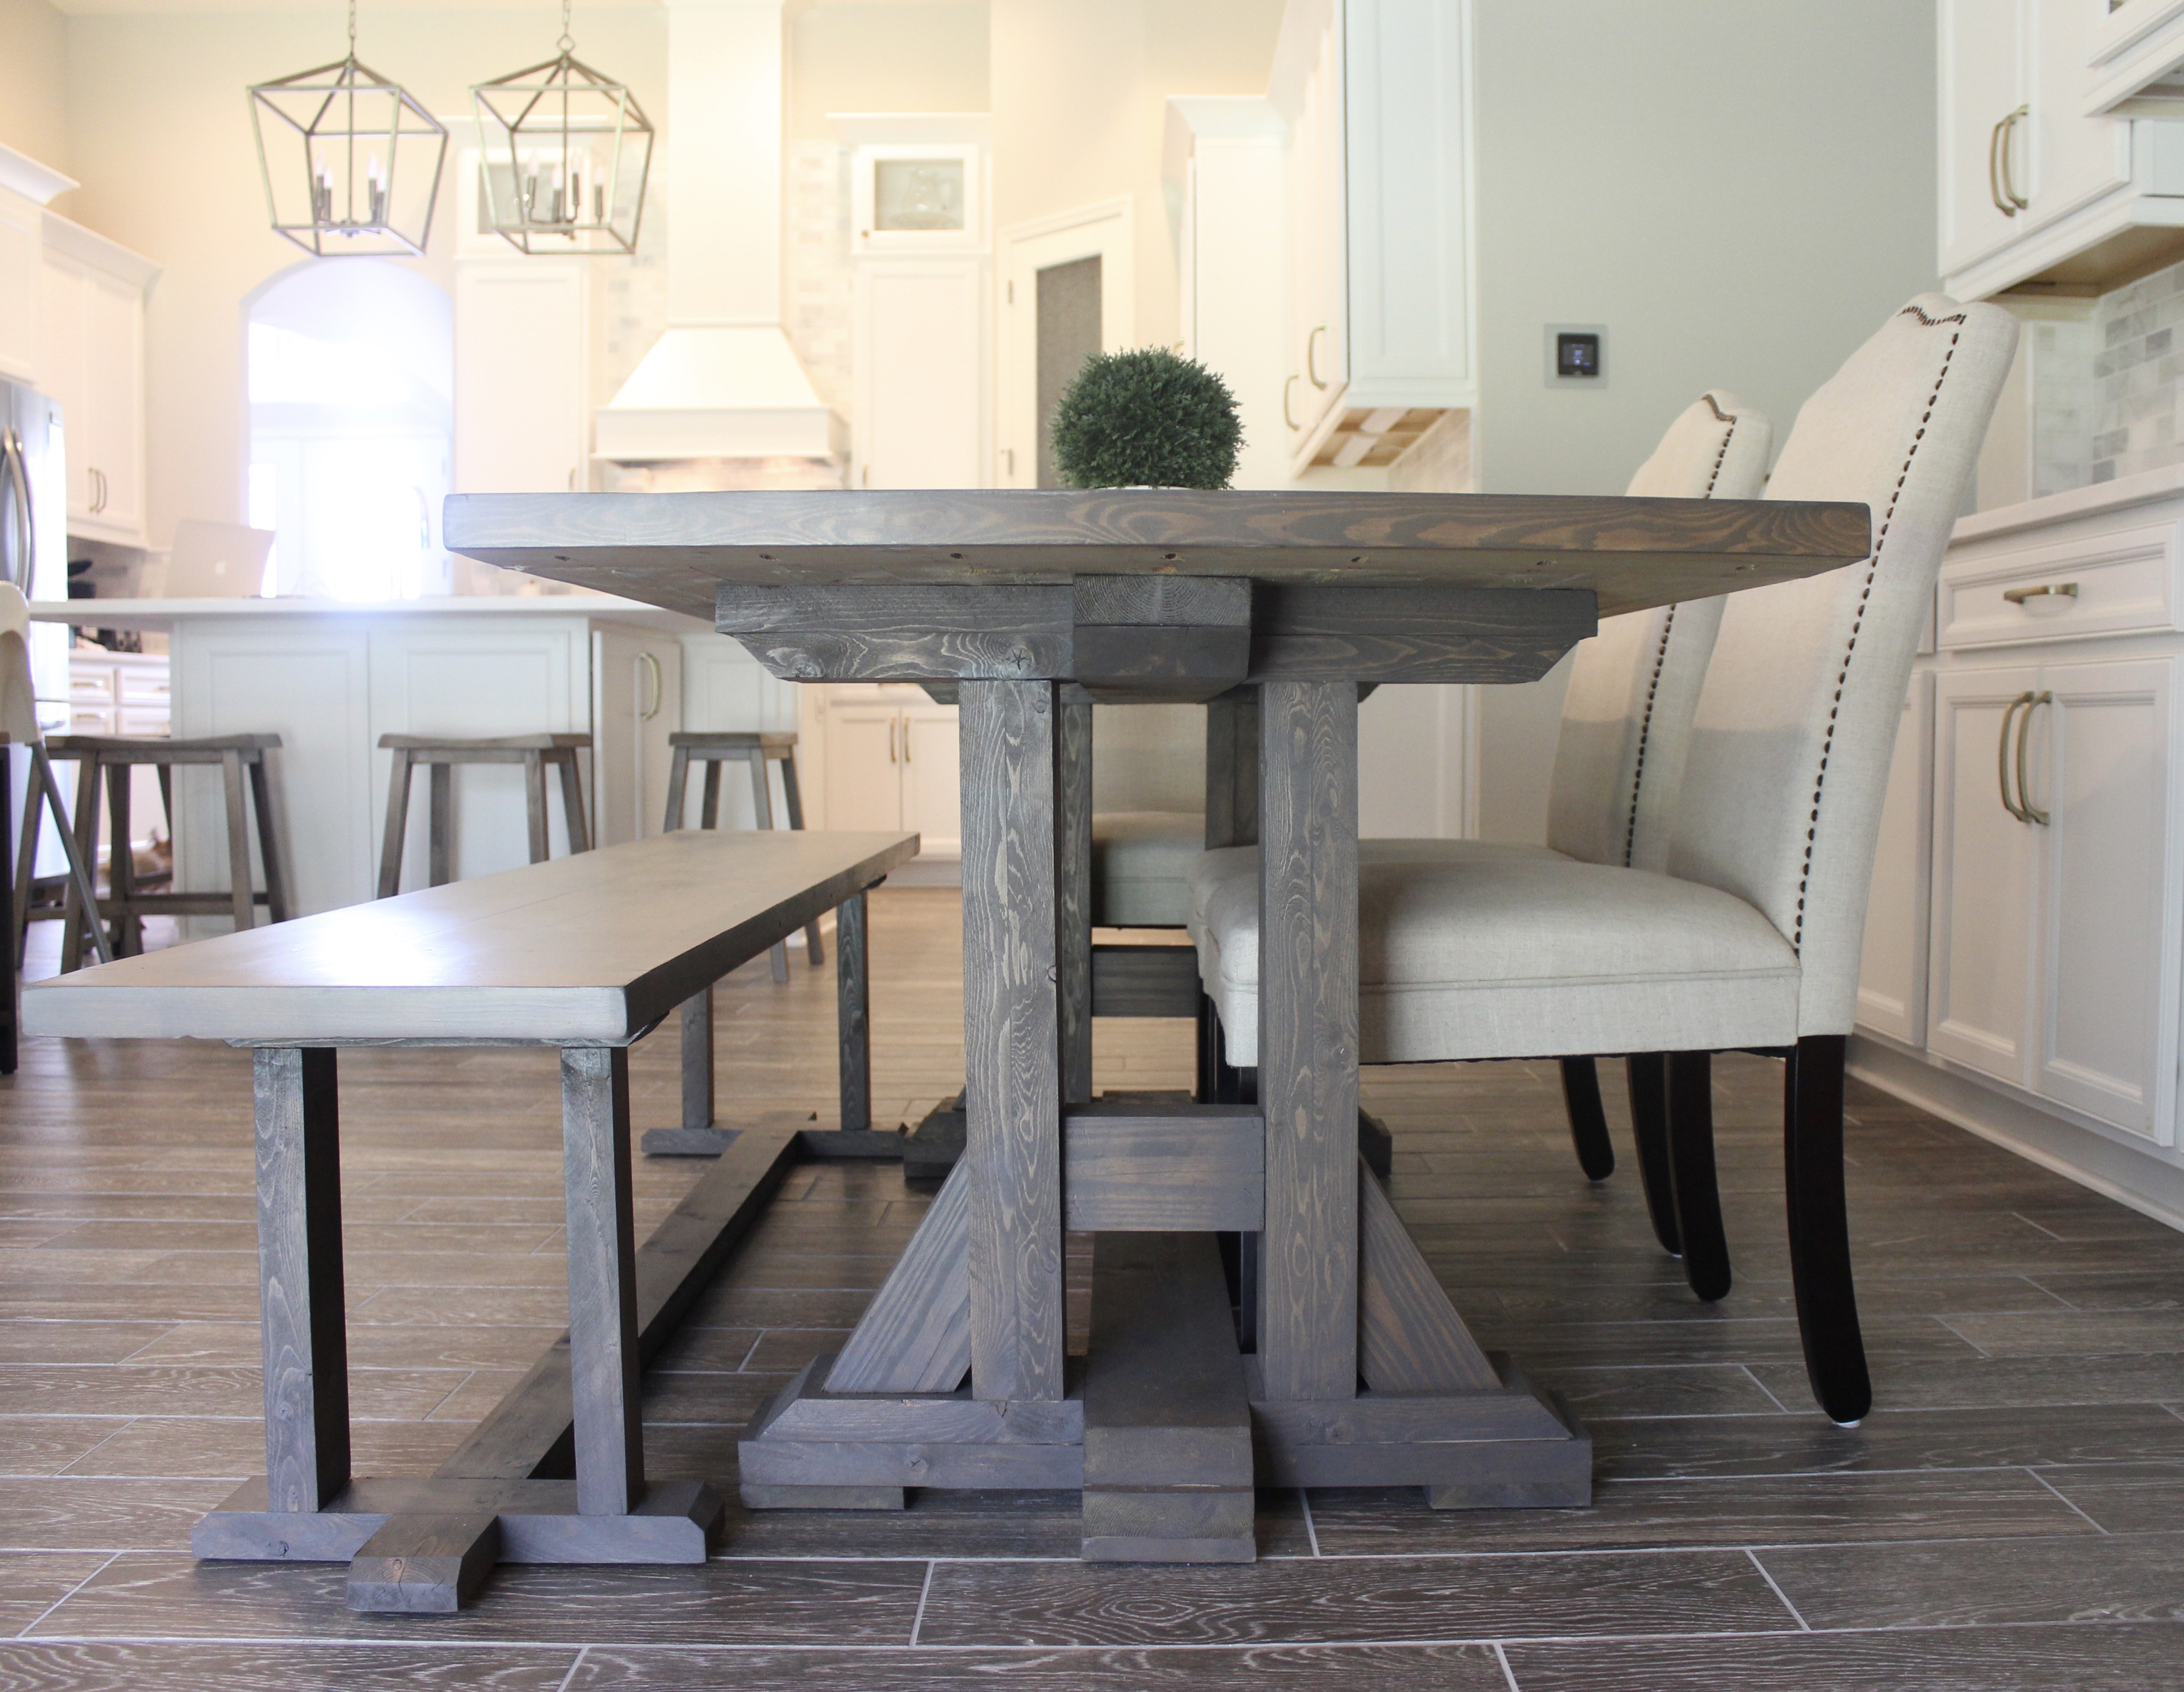
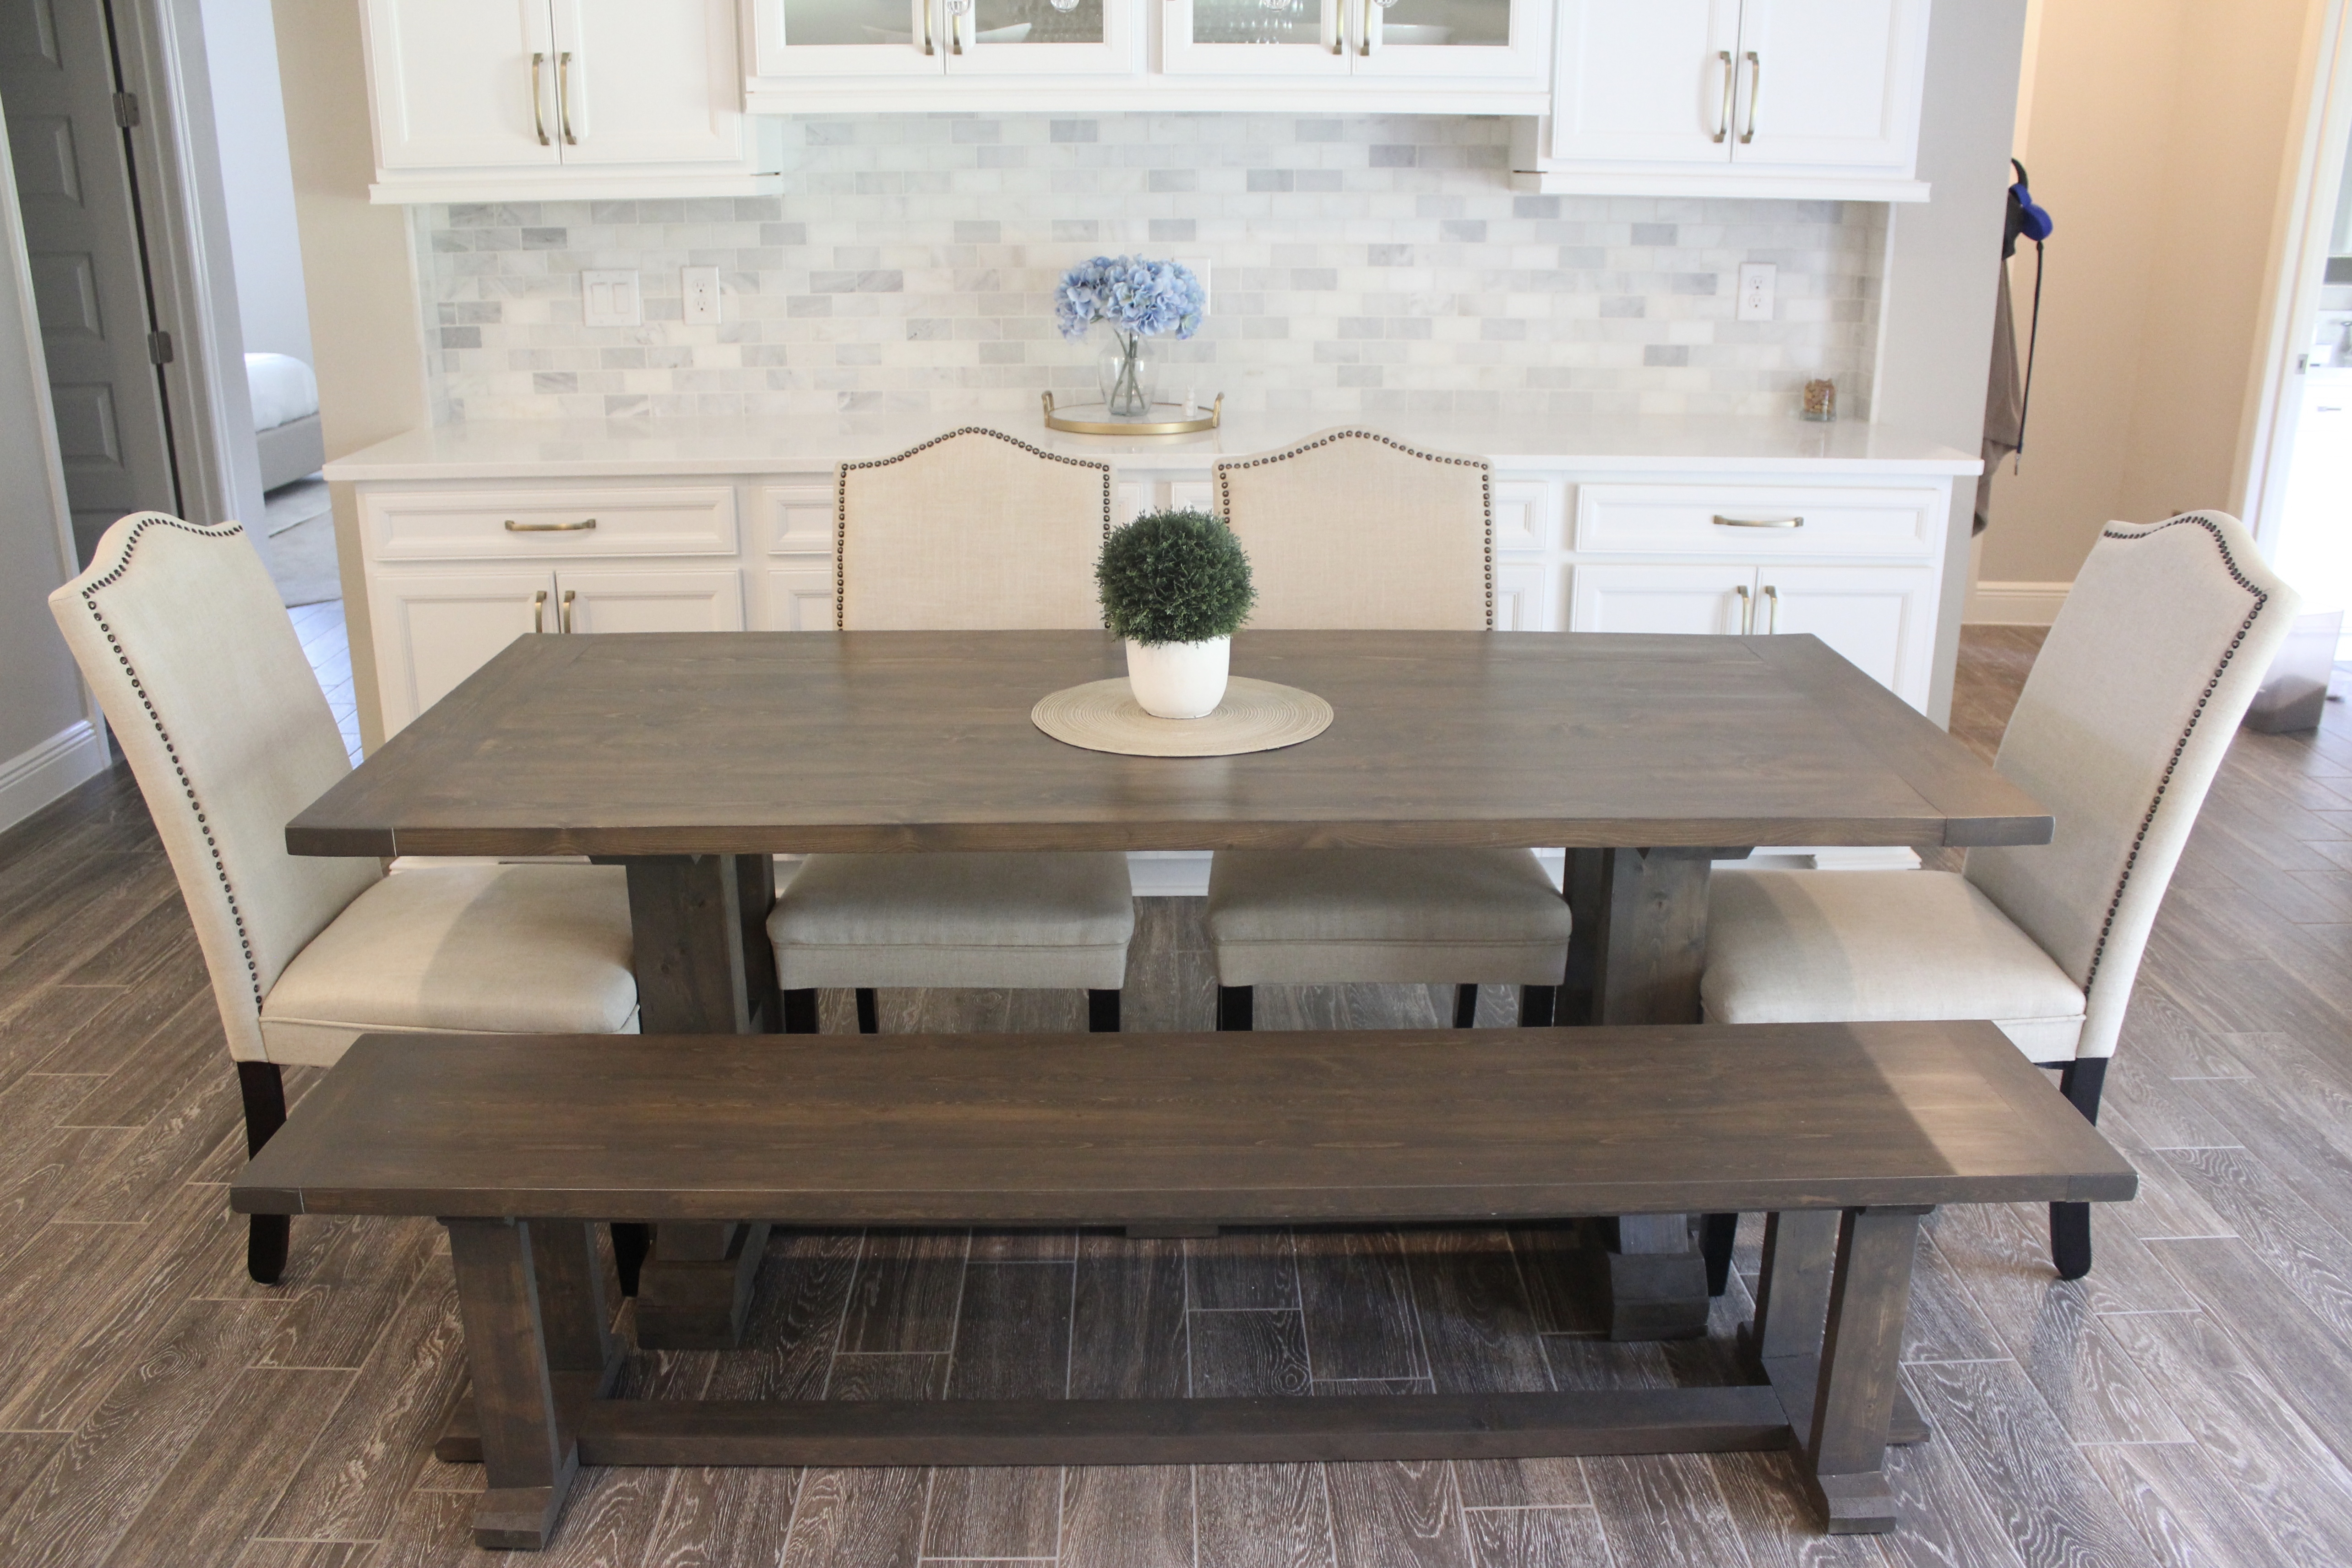
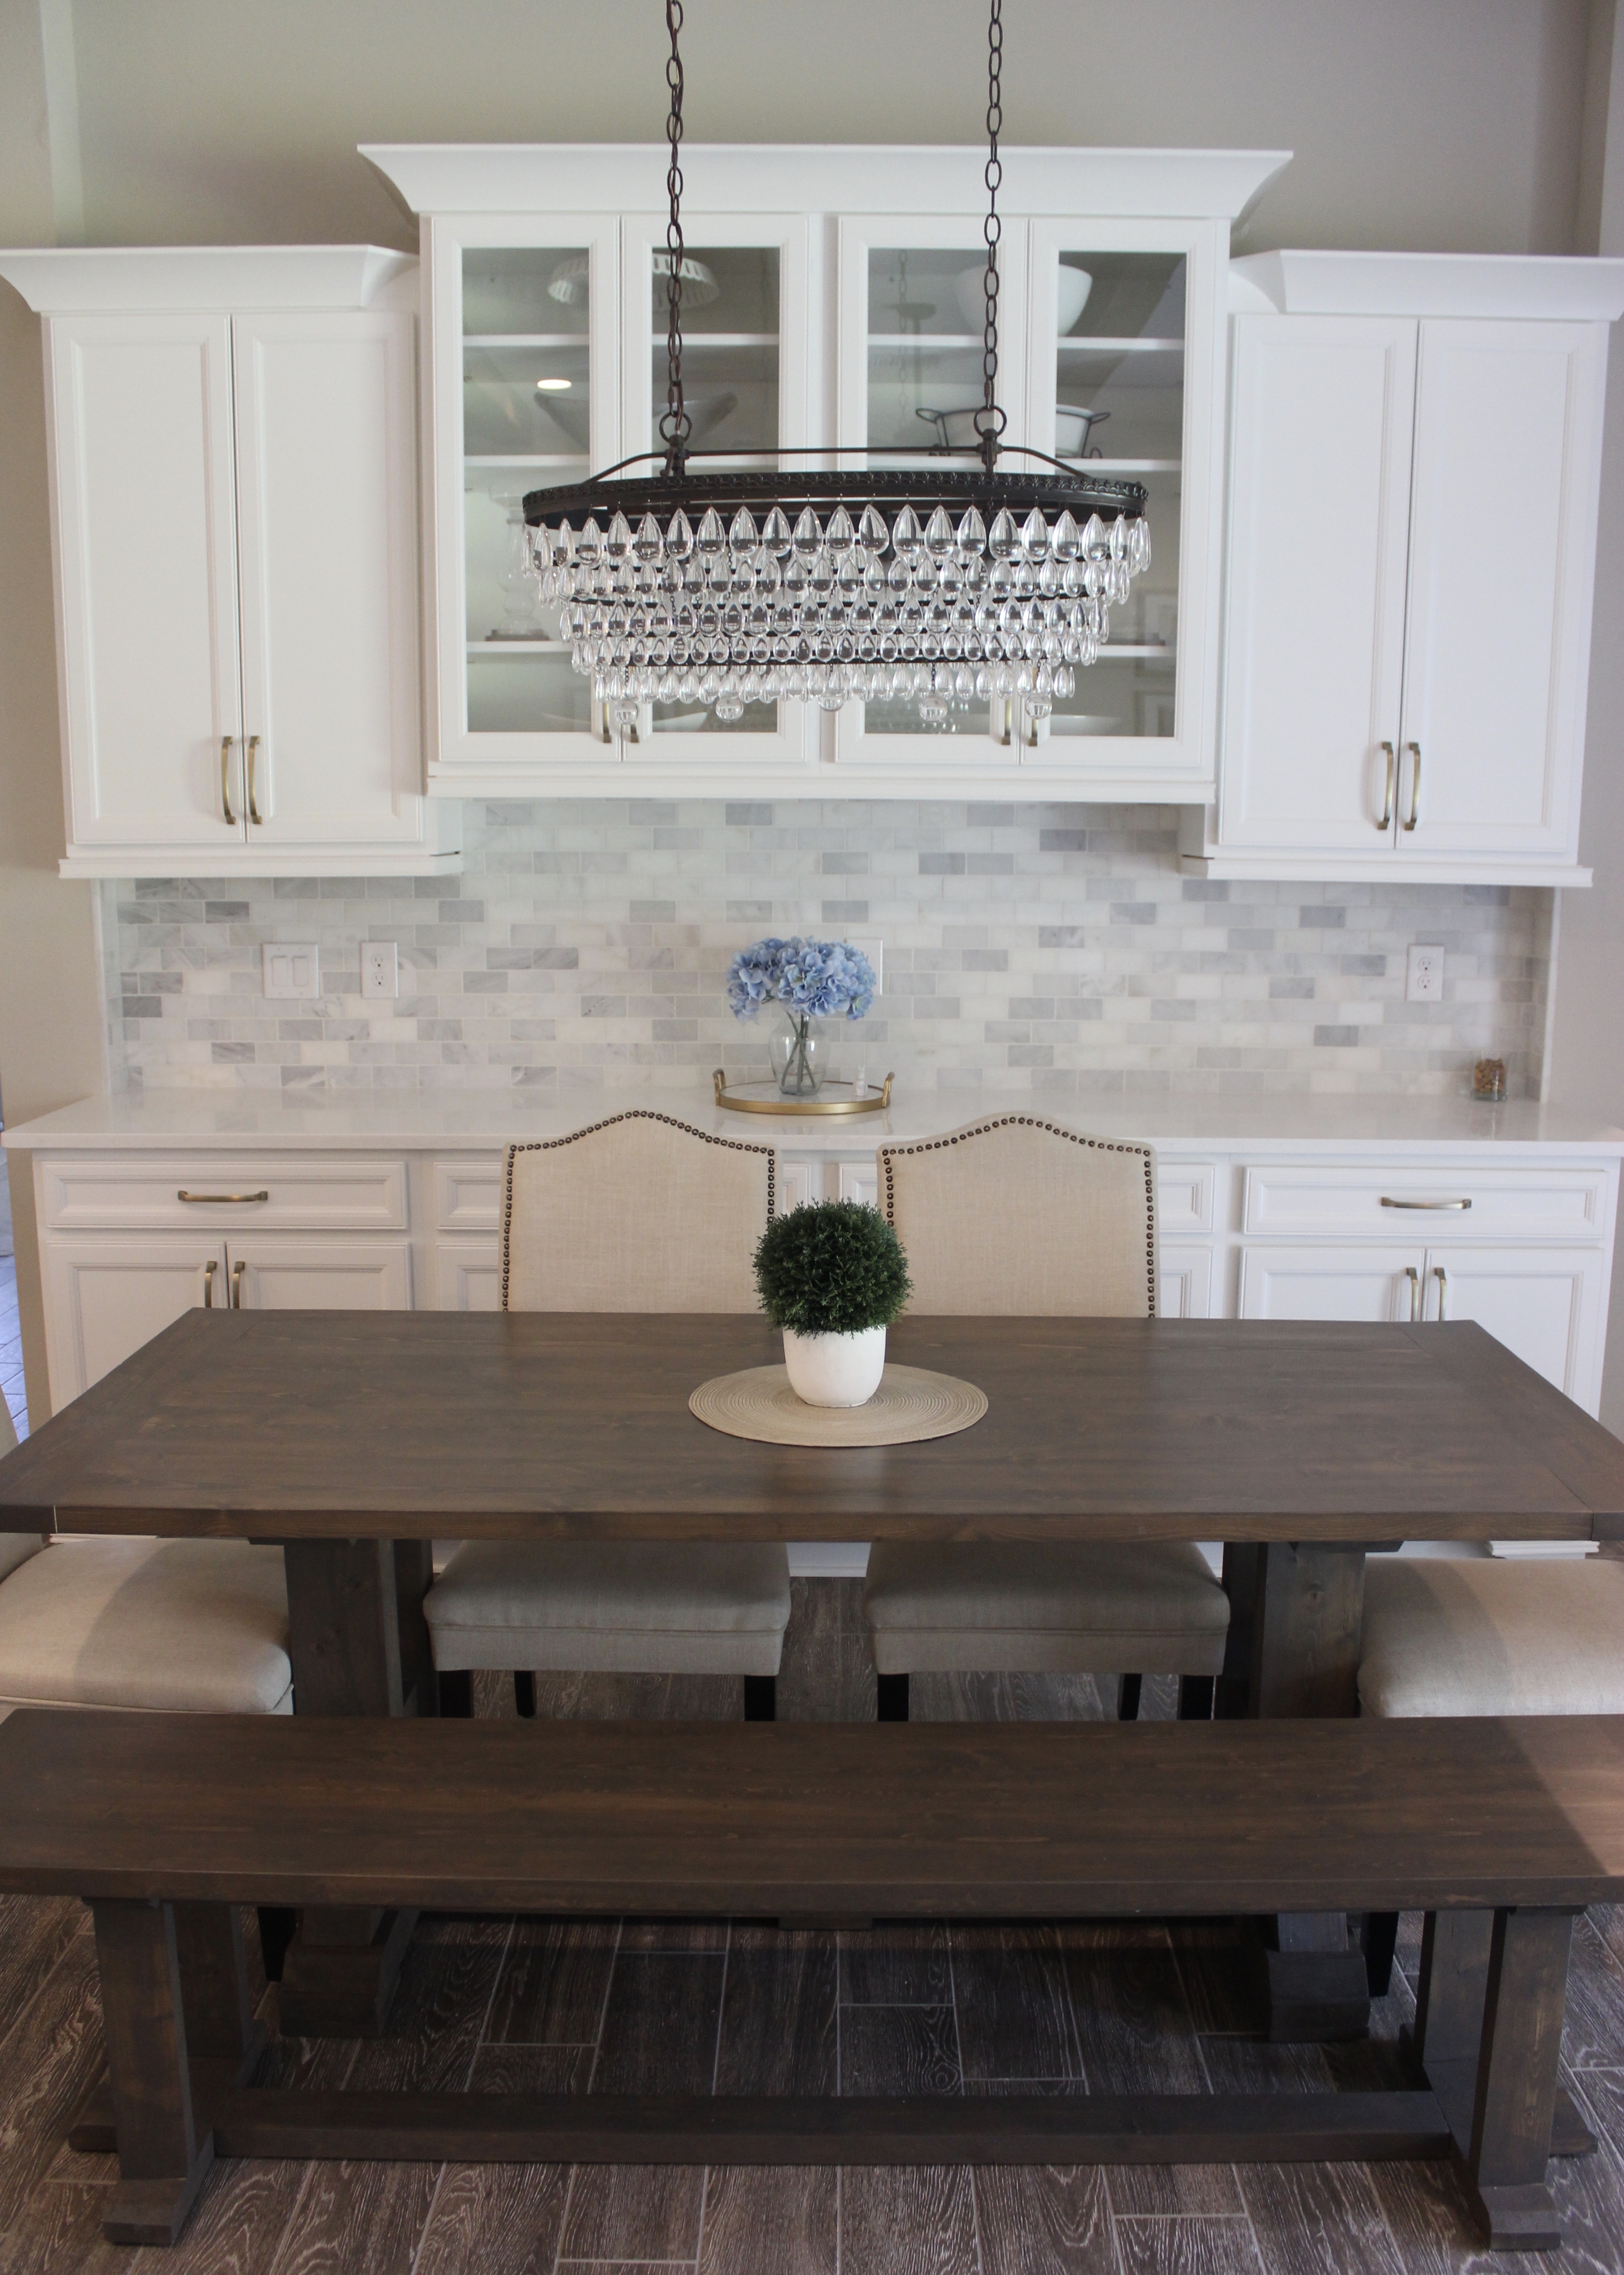
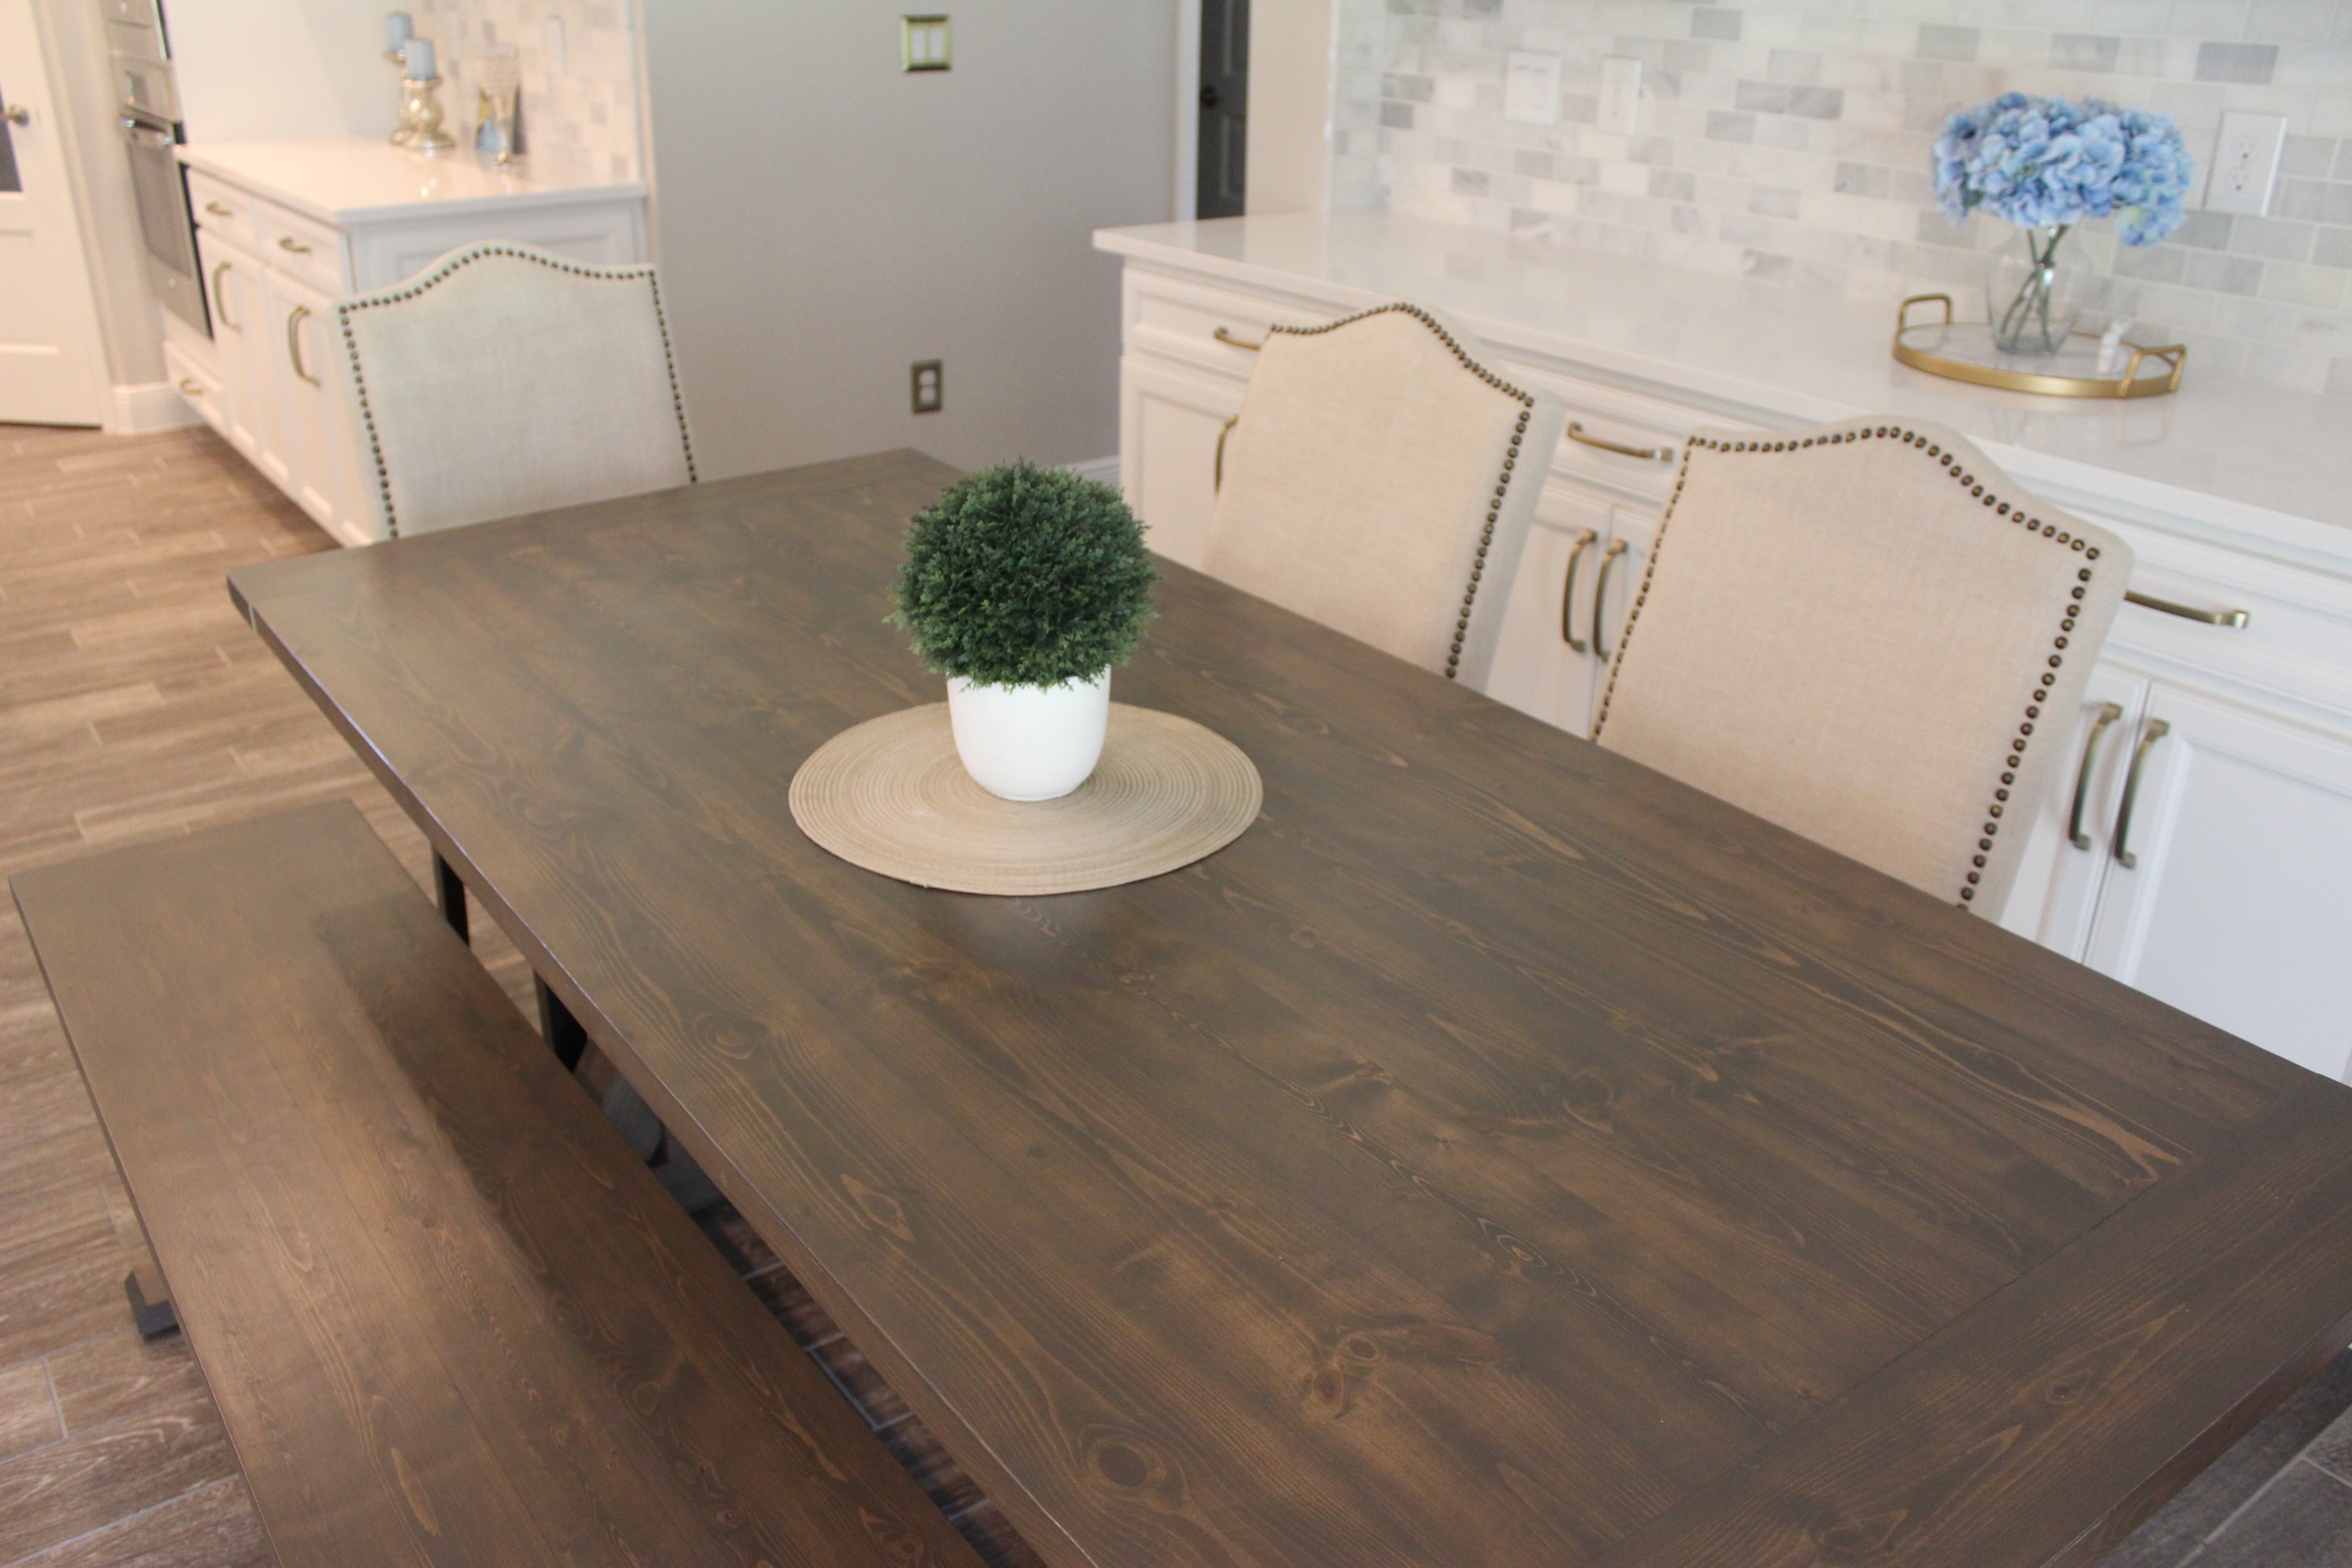
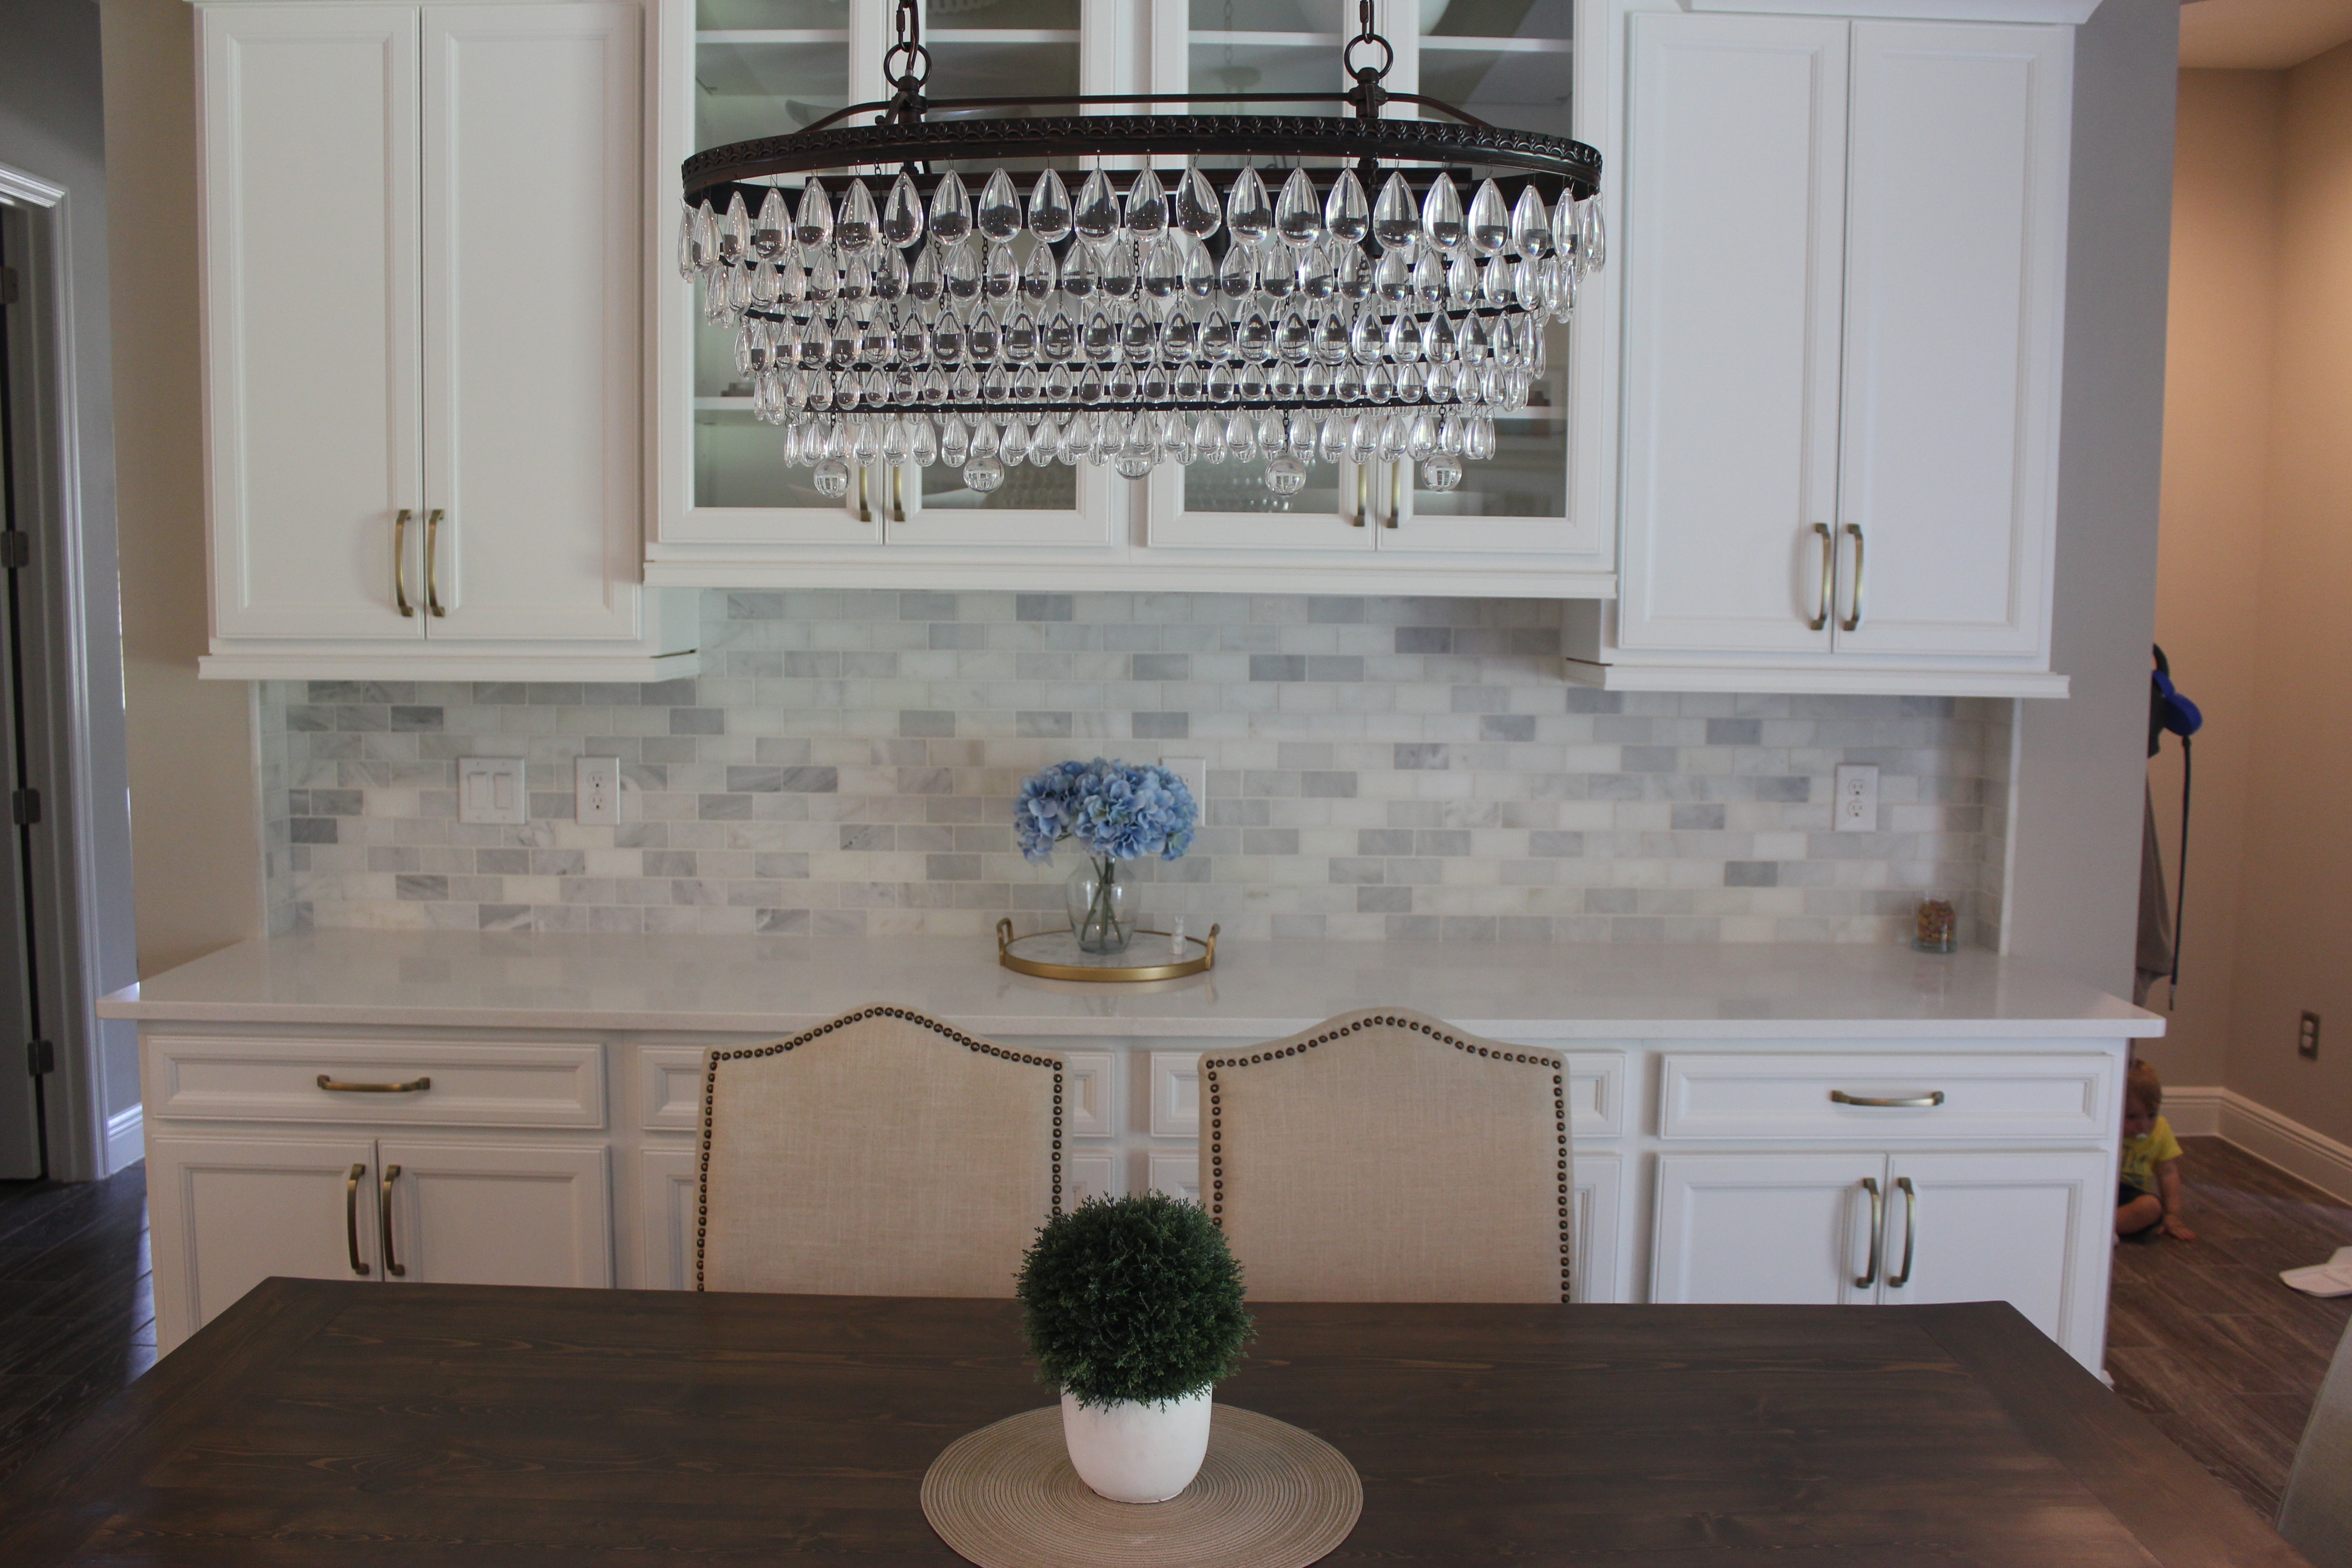
I love how you can still see the golden color in the grain!
What do you think about my new DIY Breakfast table and bench that together cost less than $140?? I think it fits perfectly in our new home and I’m so happy with the outcome. I can’t wait to make memories here with our boys!!

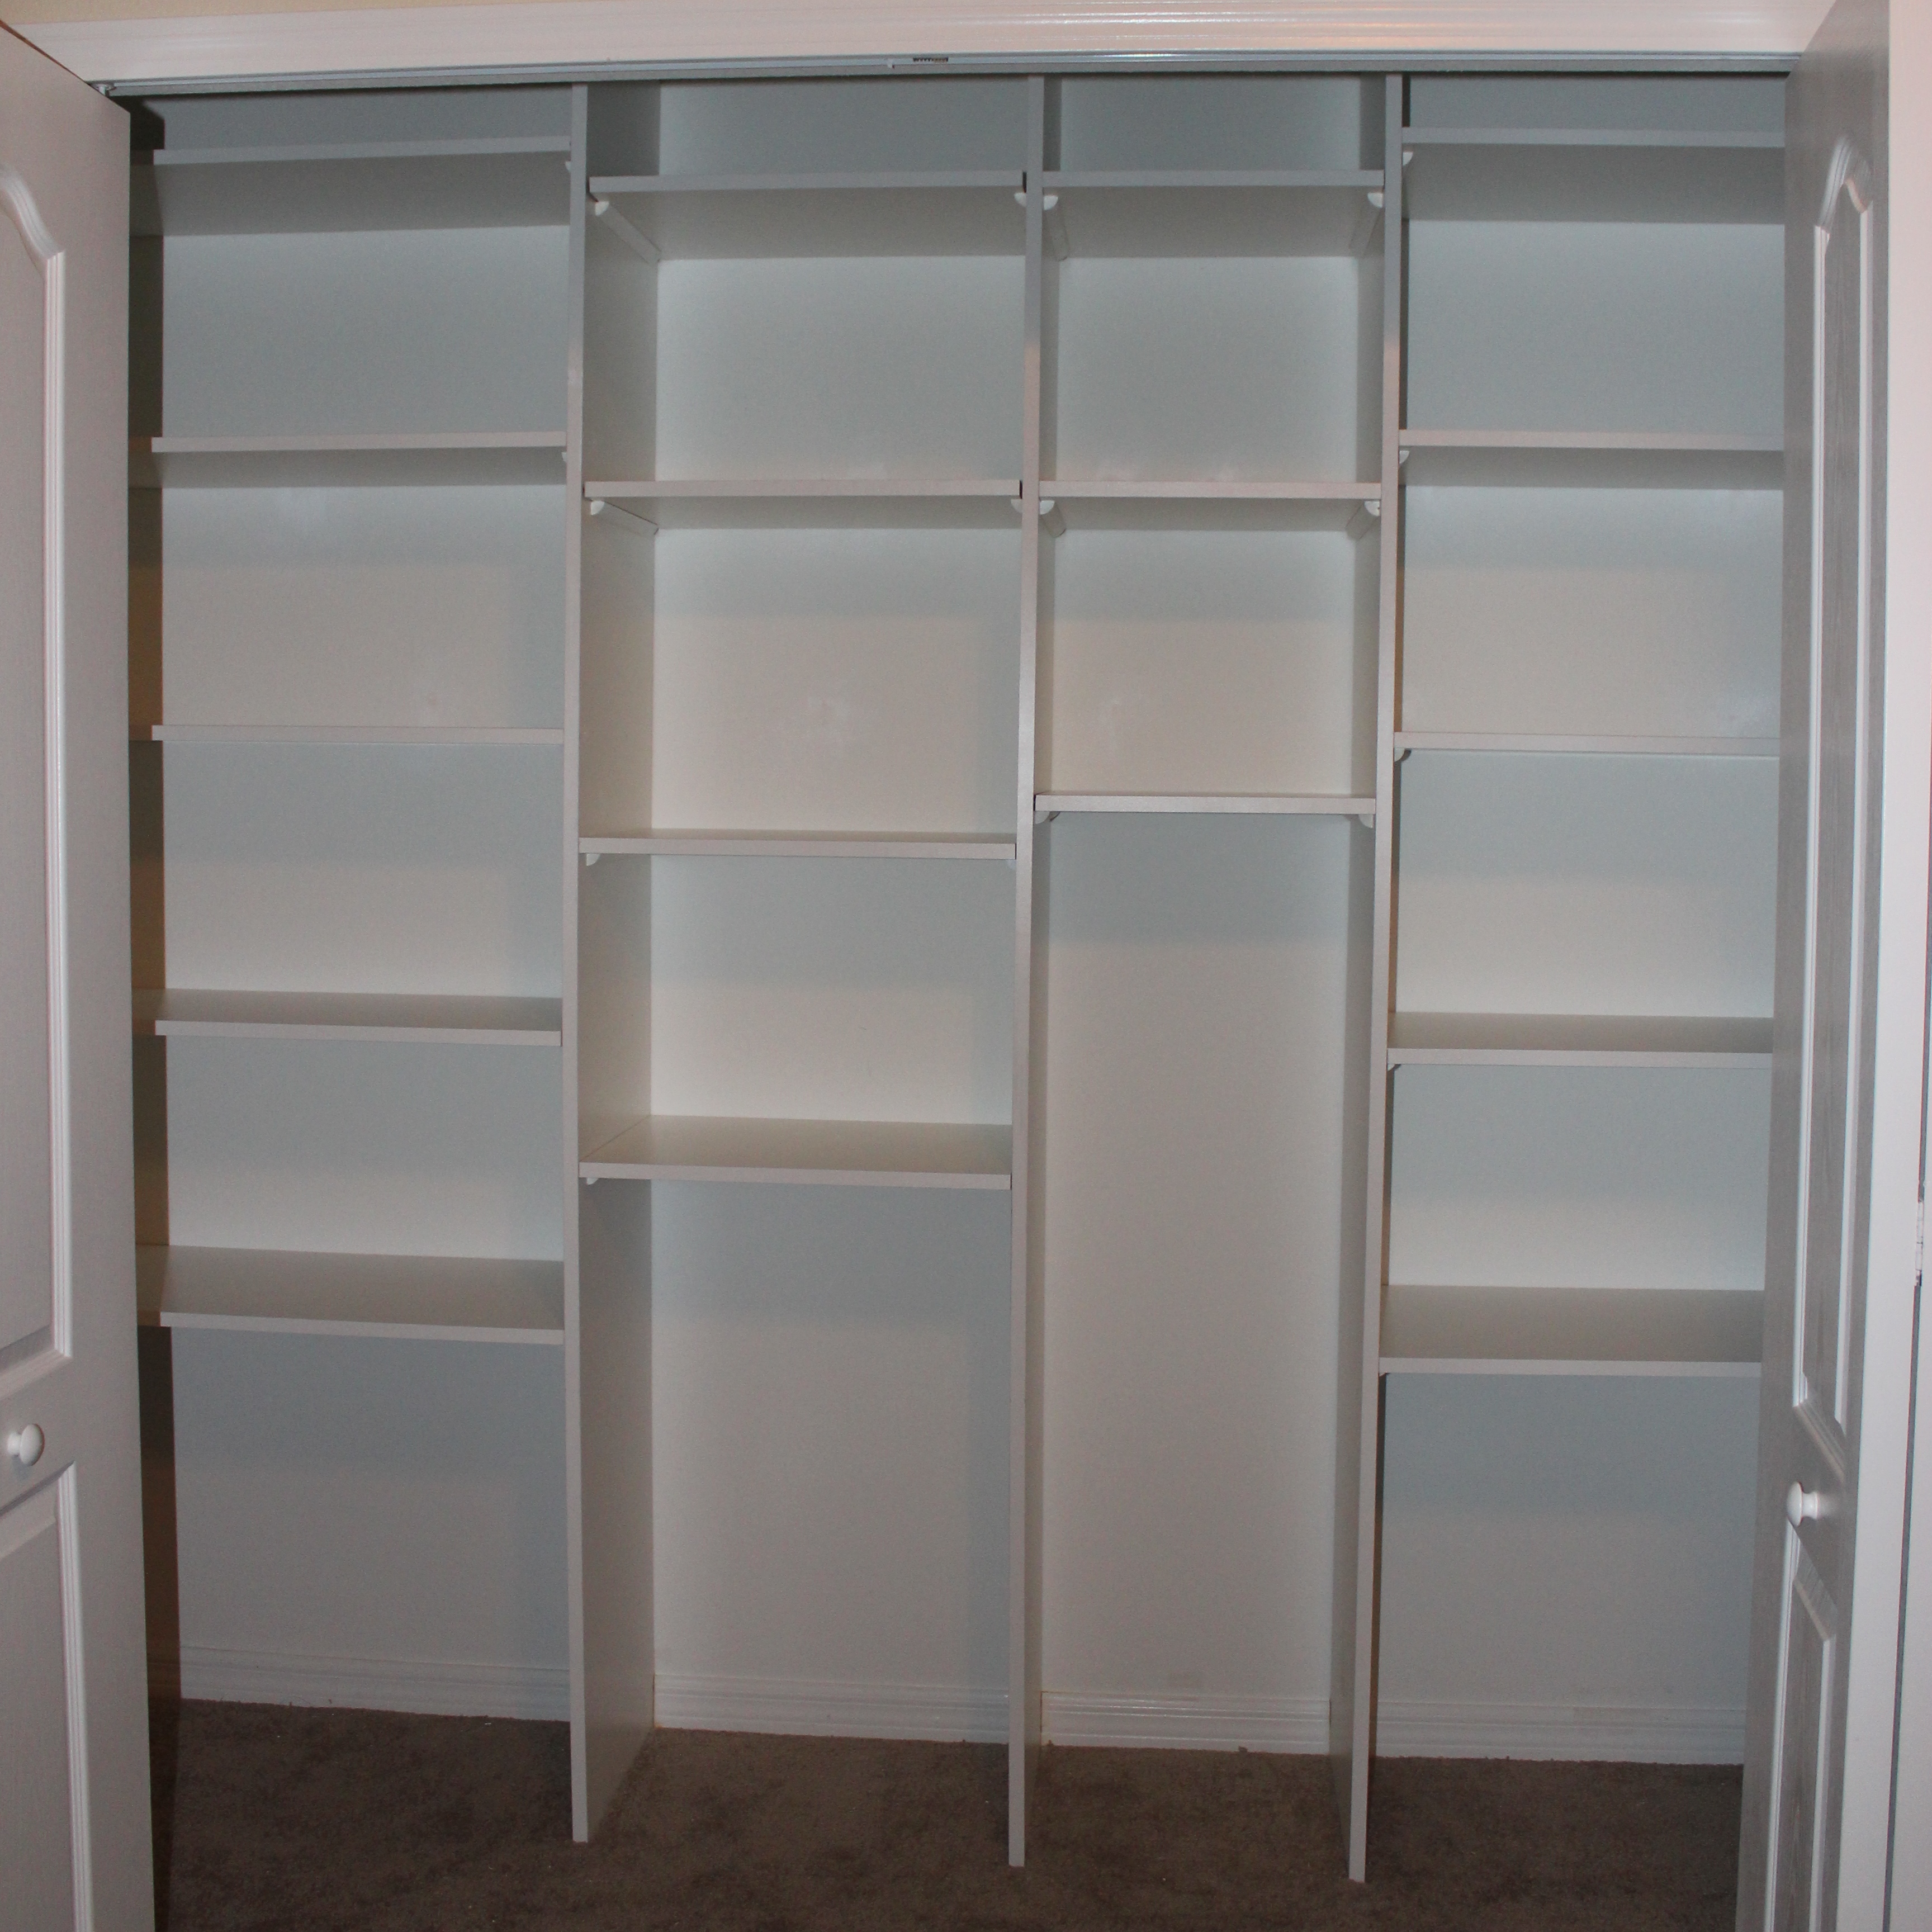
![Closet Reno [Part 1]](https://www.frillsanddrills.com/wp-content/uploads/2015/02/closetreno21.jpg)
![Closet Reno [Reveal]](https://www.frillsanddrills.com/wp-content/uploads/2015/03/IMG_0075.jpg)
Looks amazing with the second stain! Did you put a clear wax or something else on top of it? How do you protect it from stain/spills and how do you clean up after with it? (Ex what spray cleaner if any so you use). Thanks for the pics!
Thanks so much Nikki! I used a clear polyurethane on top of the stain to protect it. I usually just use water and a rag to clean it 🙂
Beautiful job!
Thank you Natalia! I really appreciate you stopping by!
YOU ARE VERY TALENTED, CONGRATS ON THE NEW BABY
Thank you So much Maria! I really appreciate the sweet words and for you stopping by!
I absolutely love your IG and vlog page! You are my friend in my head, lol!