Closet Reno [Part 2]
Welcome to Part 2 of my closet reno! If you haven’t already seen Part 1, where I explained how to make the frame of the closet, you can find it here. In Part 2 I’m showing you how I made the closet look “built in”, and made DIY closet drawers!
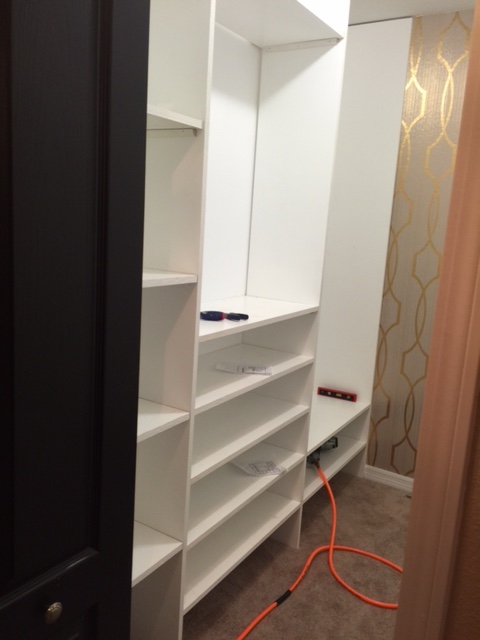
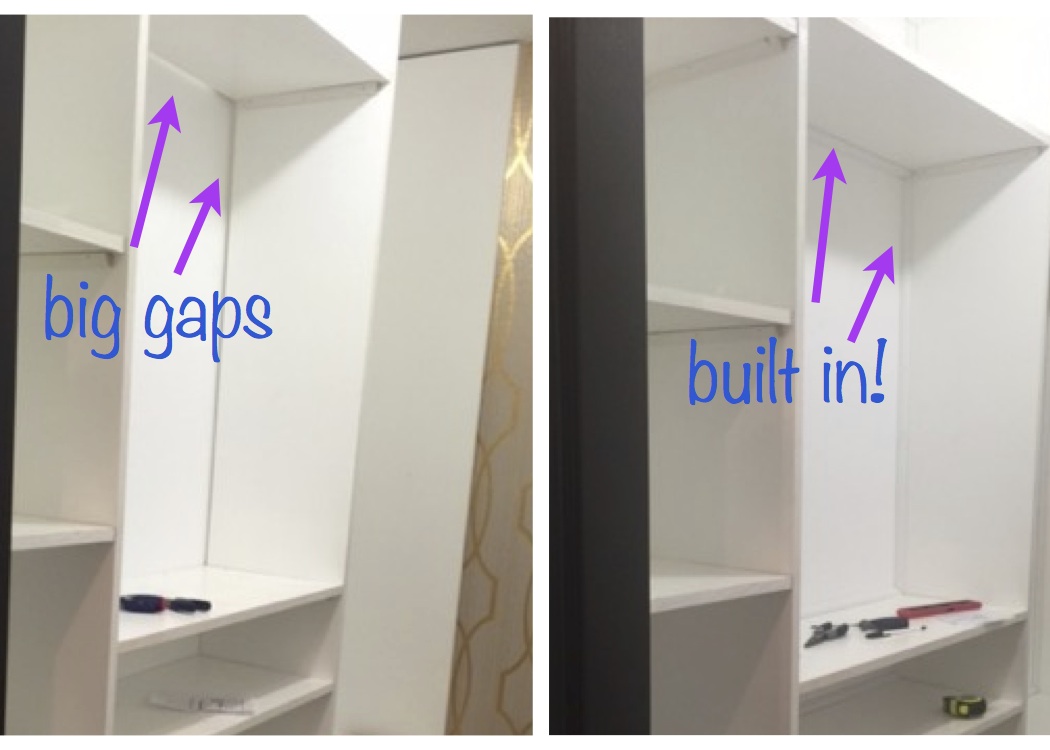
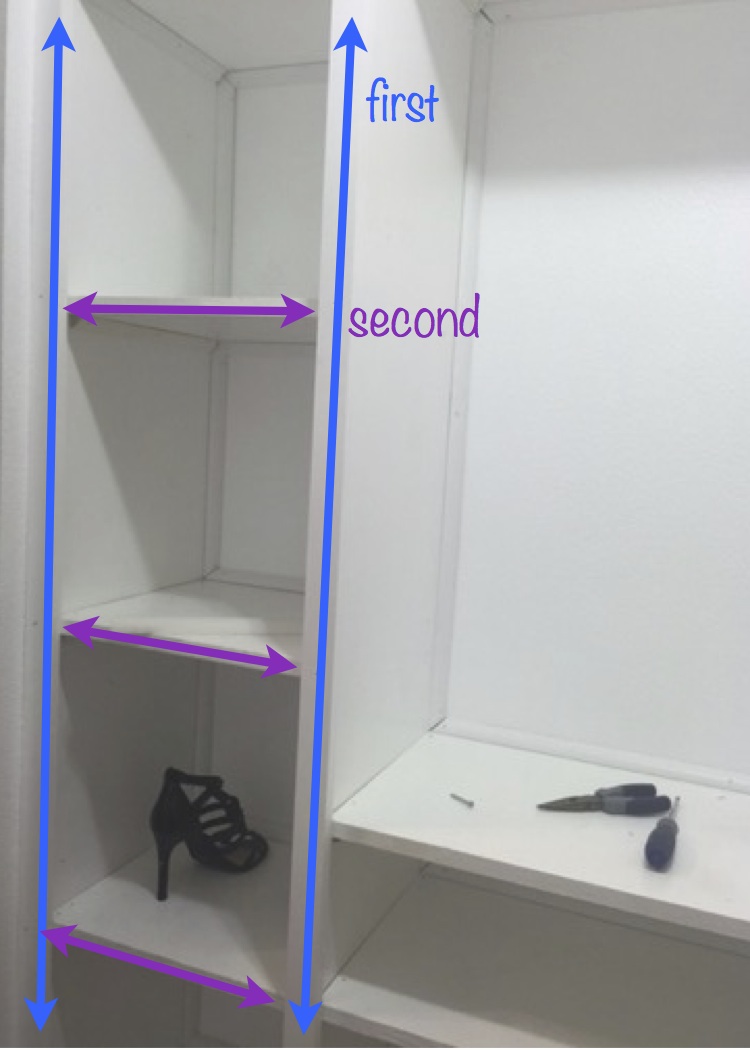
So here’s where we left off. All of the vertical wood boards and shelves had been installed. And it looked so close to being done. Except it wasn’t at all.
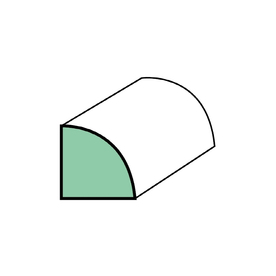
For the built in effect, I bought lots and lots of white quarter round from Lowe’s. I used the plastic, or PVC, quarter round for this part. It cuts really smooth and to me just looks clean. It cost me a little over $5 for each 8 foot piece and I used quite a bit. Again, it will depend on the design and measurements of your closet. I meant to keep track of how many I used but it seems I kept going back to the store to get more.
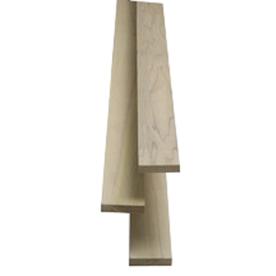
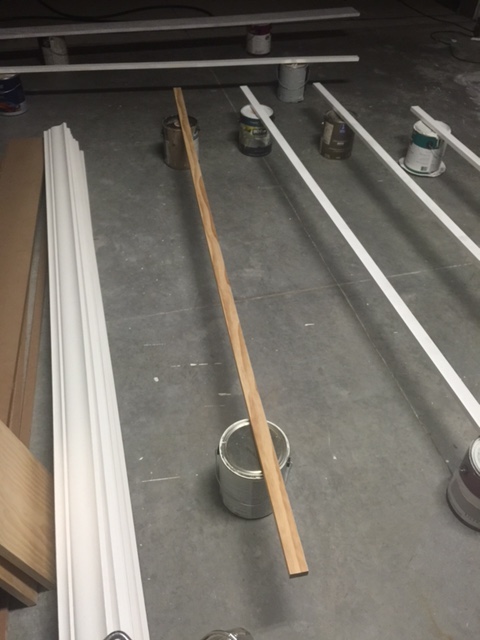
The other moulding I used to give the built in effect is this poplar board. I used 1x2x8 pieces of this to attach to the front of all the shelves to give it that chunky look. It really makes the shelving look nice and expensive without the expensive price tag in my opinion!
The poplar boards were not primed white so I gave them a couple coats of semi gloss white before installing them.
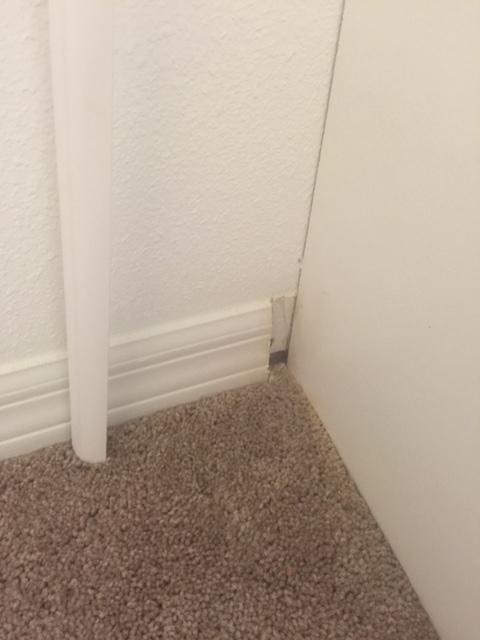
I’ll cut straight to the chase and show you exactly what I’m talking about. Here’s a picture that shows where I put the quarter round to cover the gaps between the vertical boards and the wall. I used 45 degree cuts on all the corners and basically made little box frames for each section.
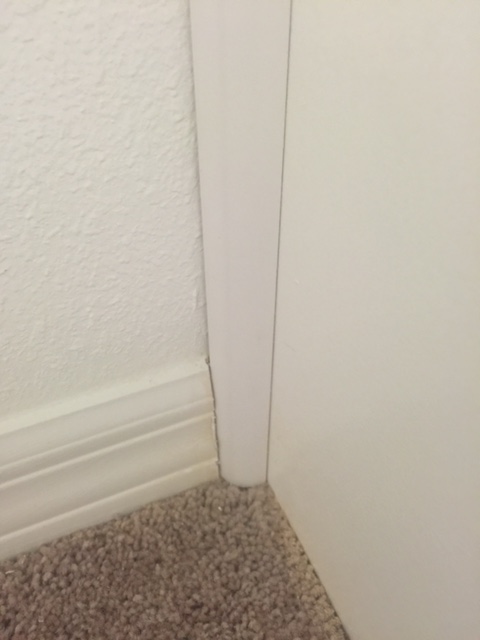
I went back and had to cut out another small section of baseboard out to fit the quarter round in. Doesn’t it make a huge difference? I love the way it looks.
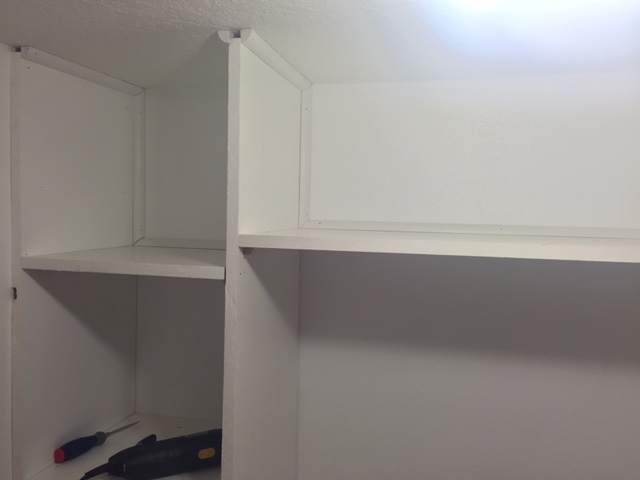
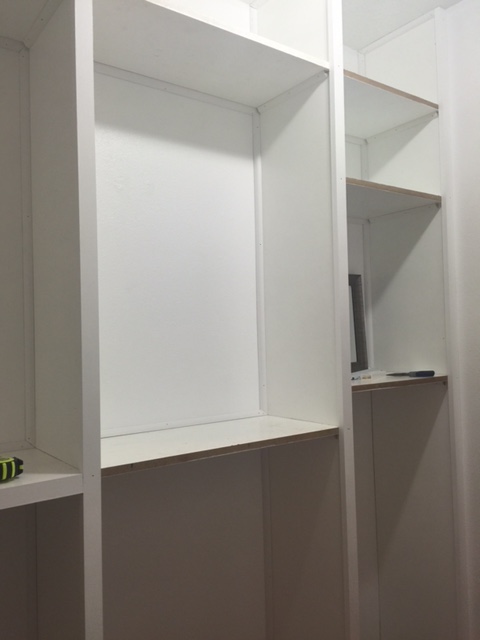
Here’s pictures of all the quarter round in BEFORE I put the 1×2 poplar boards on the fronts. Which would end up covering the gaps at the ceiling that you are seeing below.

Here’s where I started the poplar boards. It was very simple using the finishing nailer to nail them straight in the center of the vertical boards.
I nailed the poplar fronts to ALL of the vertical boards before I did it to any of the horizontal shelves. That way, I just went back and measured how big to cut each piece for the shelf fronts.
I used two sizes of finishing nails for this entire project, 1″ and 1.5″. The longer ones were used for nailing boards and moulding into walls, and the shorter ones for nailing boards to each other, and places where the nails could pop out the other side if they were too long.
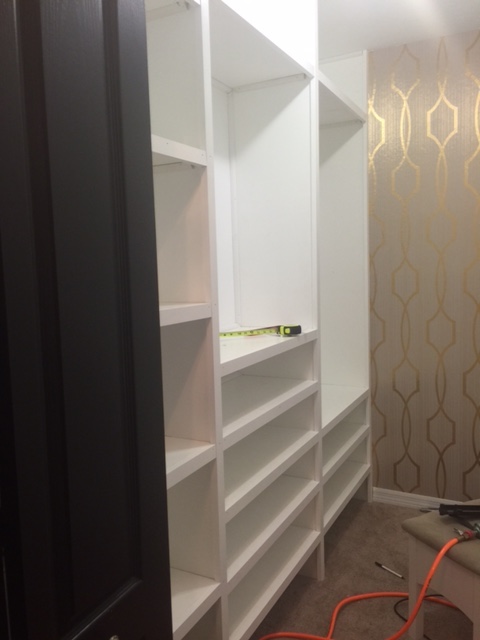
Here it is with both the quarter round and poplar fronts. All that’s left is caulk and touch up paint!
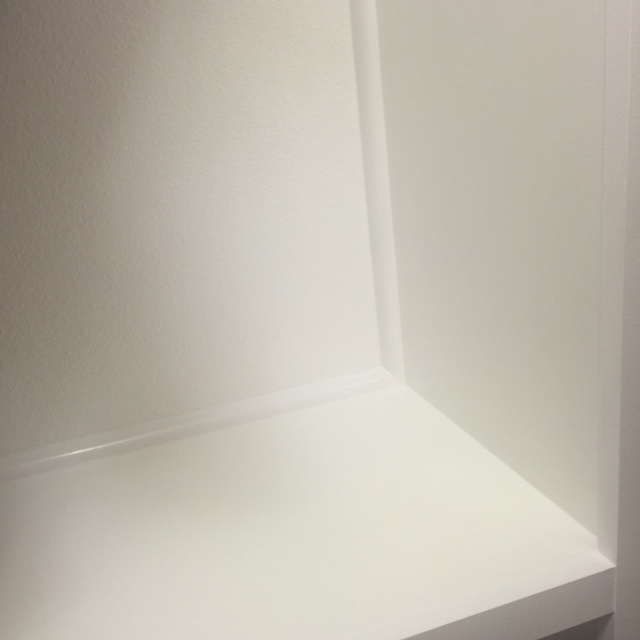
A close up detailed shots after the caulk and touch up paint for ya. It took a lot of time to add all the quarter round to each section of the closet but in the end it makes a huge difference!
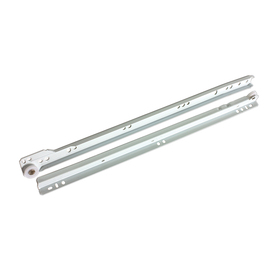
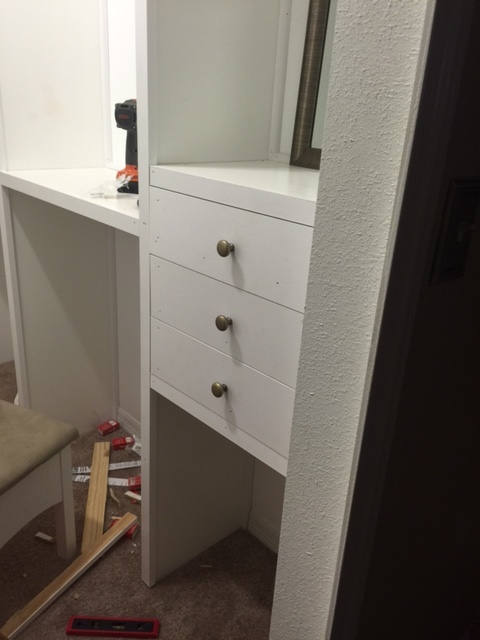
Now I’m going to show you how I made 3 DIY drawers for my closet. I wanted them to store jewelry, hose, or small items without it looking junky. I first bought these drawer slides from Lowe’s. I bought them in 14″ since that’s the depth of my closet.
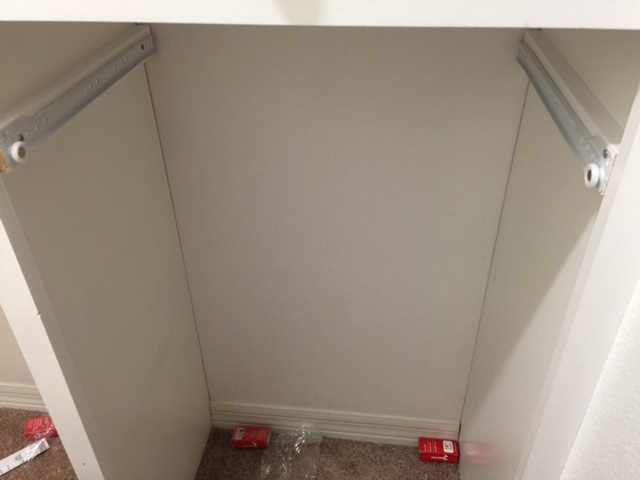
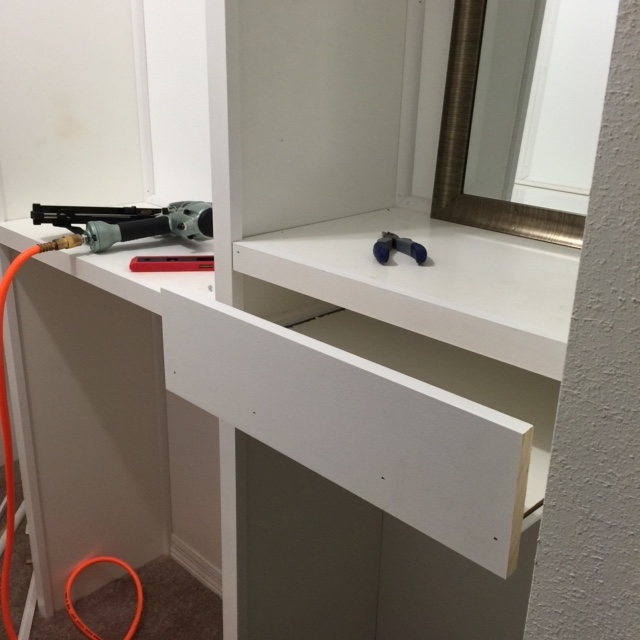
In order for the drawer to clear the poplar front, I had to nail in a couple 1x2s to the sides of the walls where the drawers were going. Otherwise the drawers would hit the poplar front when you tried to pull them open. I used leftovers of the poplar fronts there. In fact, these drawers were pretty much made with all leftover material!
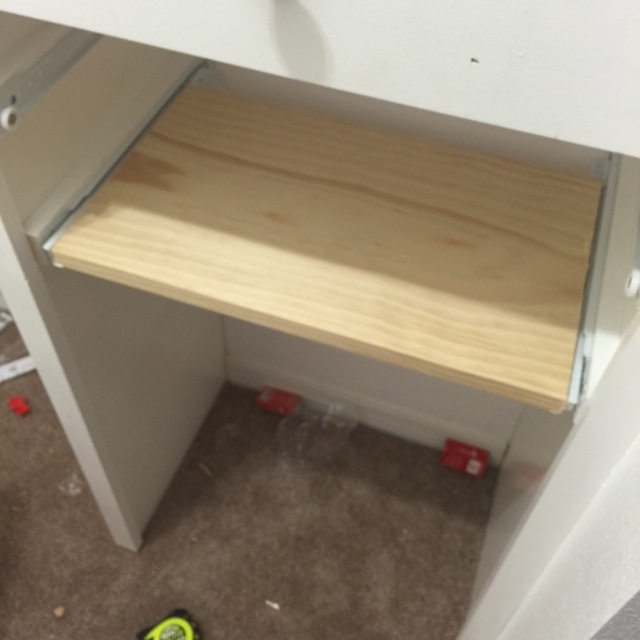
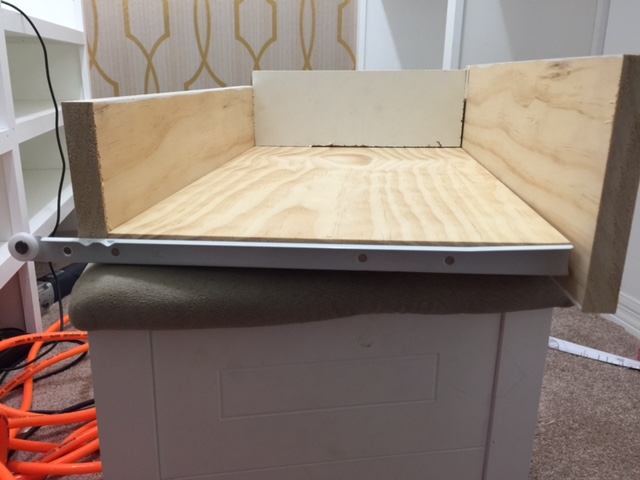
The next step was cutting a piece of wood that would be the bottom of the drawer. After the two drawer slides were installed, I measured the distance between and cut my piece of pine. Then just attached it in to the drawer slides with the screws they came with.
Then I made the front of the drawer. Everything was measure and cut as I go. I wanted to make sure the front lined up properly so I cut it the dimensions it needed to be in order to fill up the space. The bottom of front of the drawer were made using a sheet of pine I had in the garage. You could have also used leftover MDF here also.
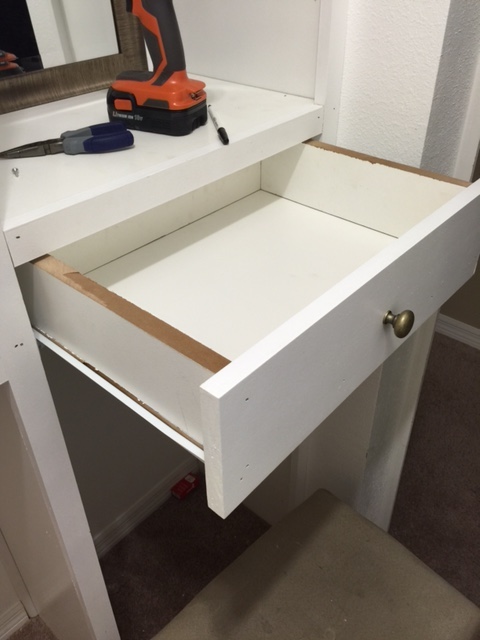
I actually used leftover MDF for the sides and backs of the drawers because I didn’t have enough pine. As you can see in the picture below, I measured, cut, and nailed in the back and sides. All with the finishing nailer.
And that’s it! I attached a cute gold knob I found at Lowe’s for a buck and a half to complete the drawer. (I also went back and painted the sides white!)
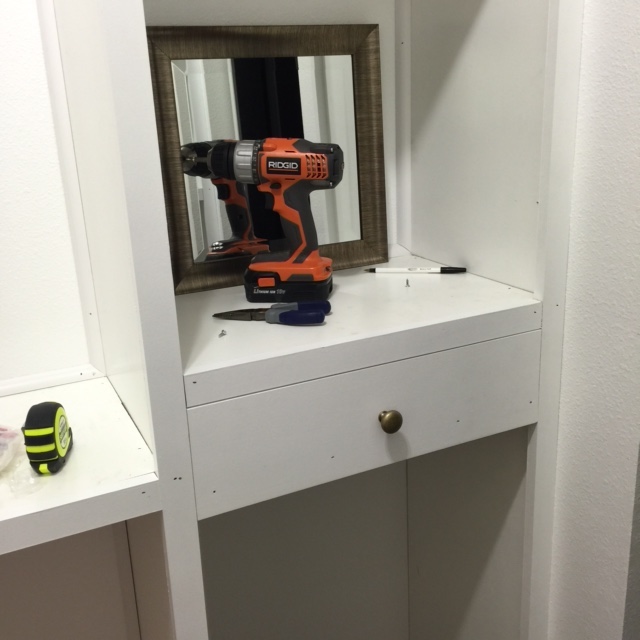
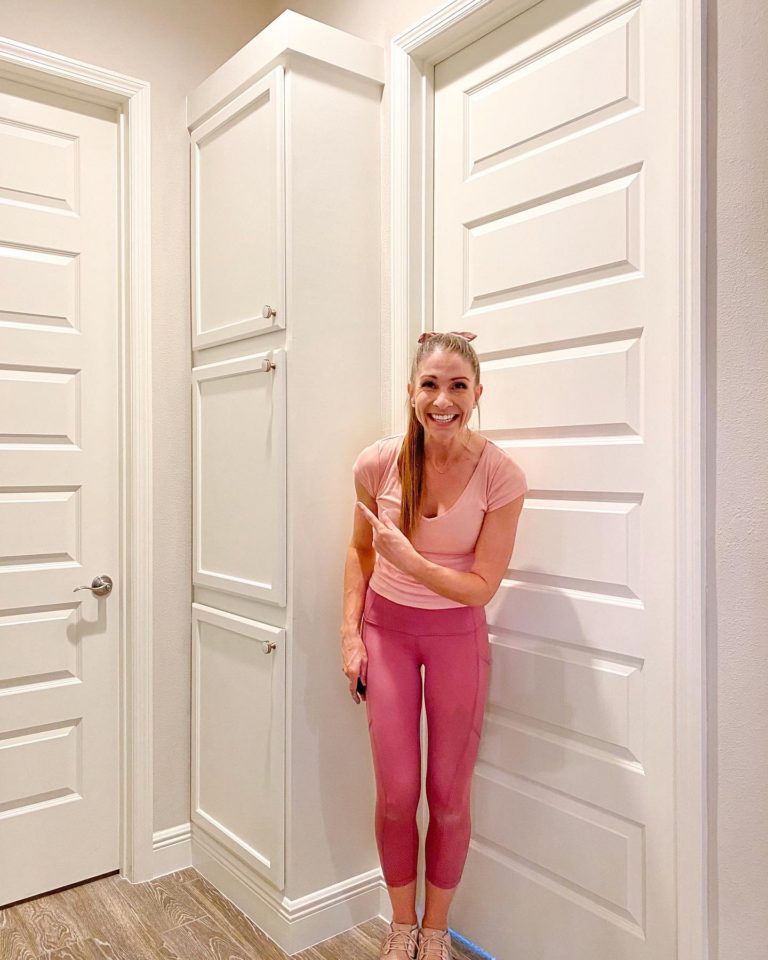
I repeated the same steps two more times to get 3 drawers. I added another piece of poplar board to the bottom to match it to the top and look symmetrical. I love symmetry you guys!!
I finished off the section underneath with more quarter round and completed the built in effect. Please comment and let me know if you have any questions or would like any more specific details. I would love to hear your feedback!
Coming up in the next Closet Reno post will be details about all the goodies! Hangers, decorations, chandler, etc! Stay tuned!
This looks great! Oh, and thanks for sharing your tips on making drawers. I also built my own closet system, but shyed away from the drawers because they looked so intimidating to make. I think I’ll try it now!
Thank you so much Iris! They seemed intimidating to me at first too, but I was surprised at how easy they were! Good luck!
Are those poplar pieces really 2″ or are they 1.5″?
Hi Nino,
They are actually 1.5″ Not sure why, but every piece of wood out there is never the measurements they say it is!!