Another Closet Makeover!
By now, most of you are wondering if I’ve run out of closets to makeover yet. And the answer is no. I still have 2 other bedroom closets and my pantry that haven’t been touched. So if closet organization isn’t your thing, I apologize in advance. Not really 😉
And if closet organization IS your thing and you want to catch up on previous closet renos I’ve done, check out:
So the closet I’m sharing today that I made over is in one of my spare bedrooms. It will one day be Aiden’s “big boy room” since it’s a little bigger than the nursery. And who knows, we may need the nursery to be, well, a nursery again. But for now, it’s an extra closet for me 😉
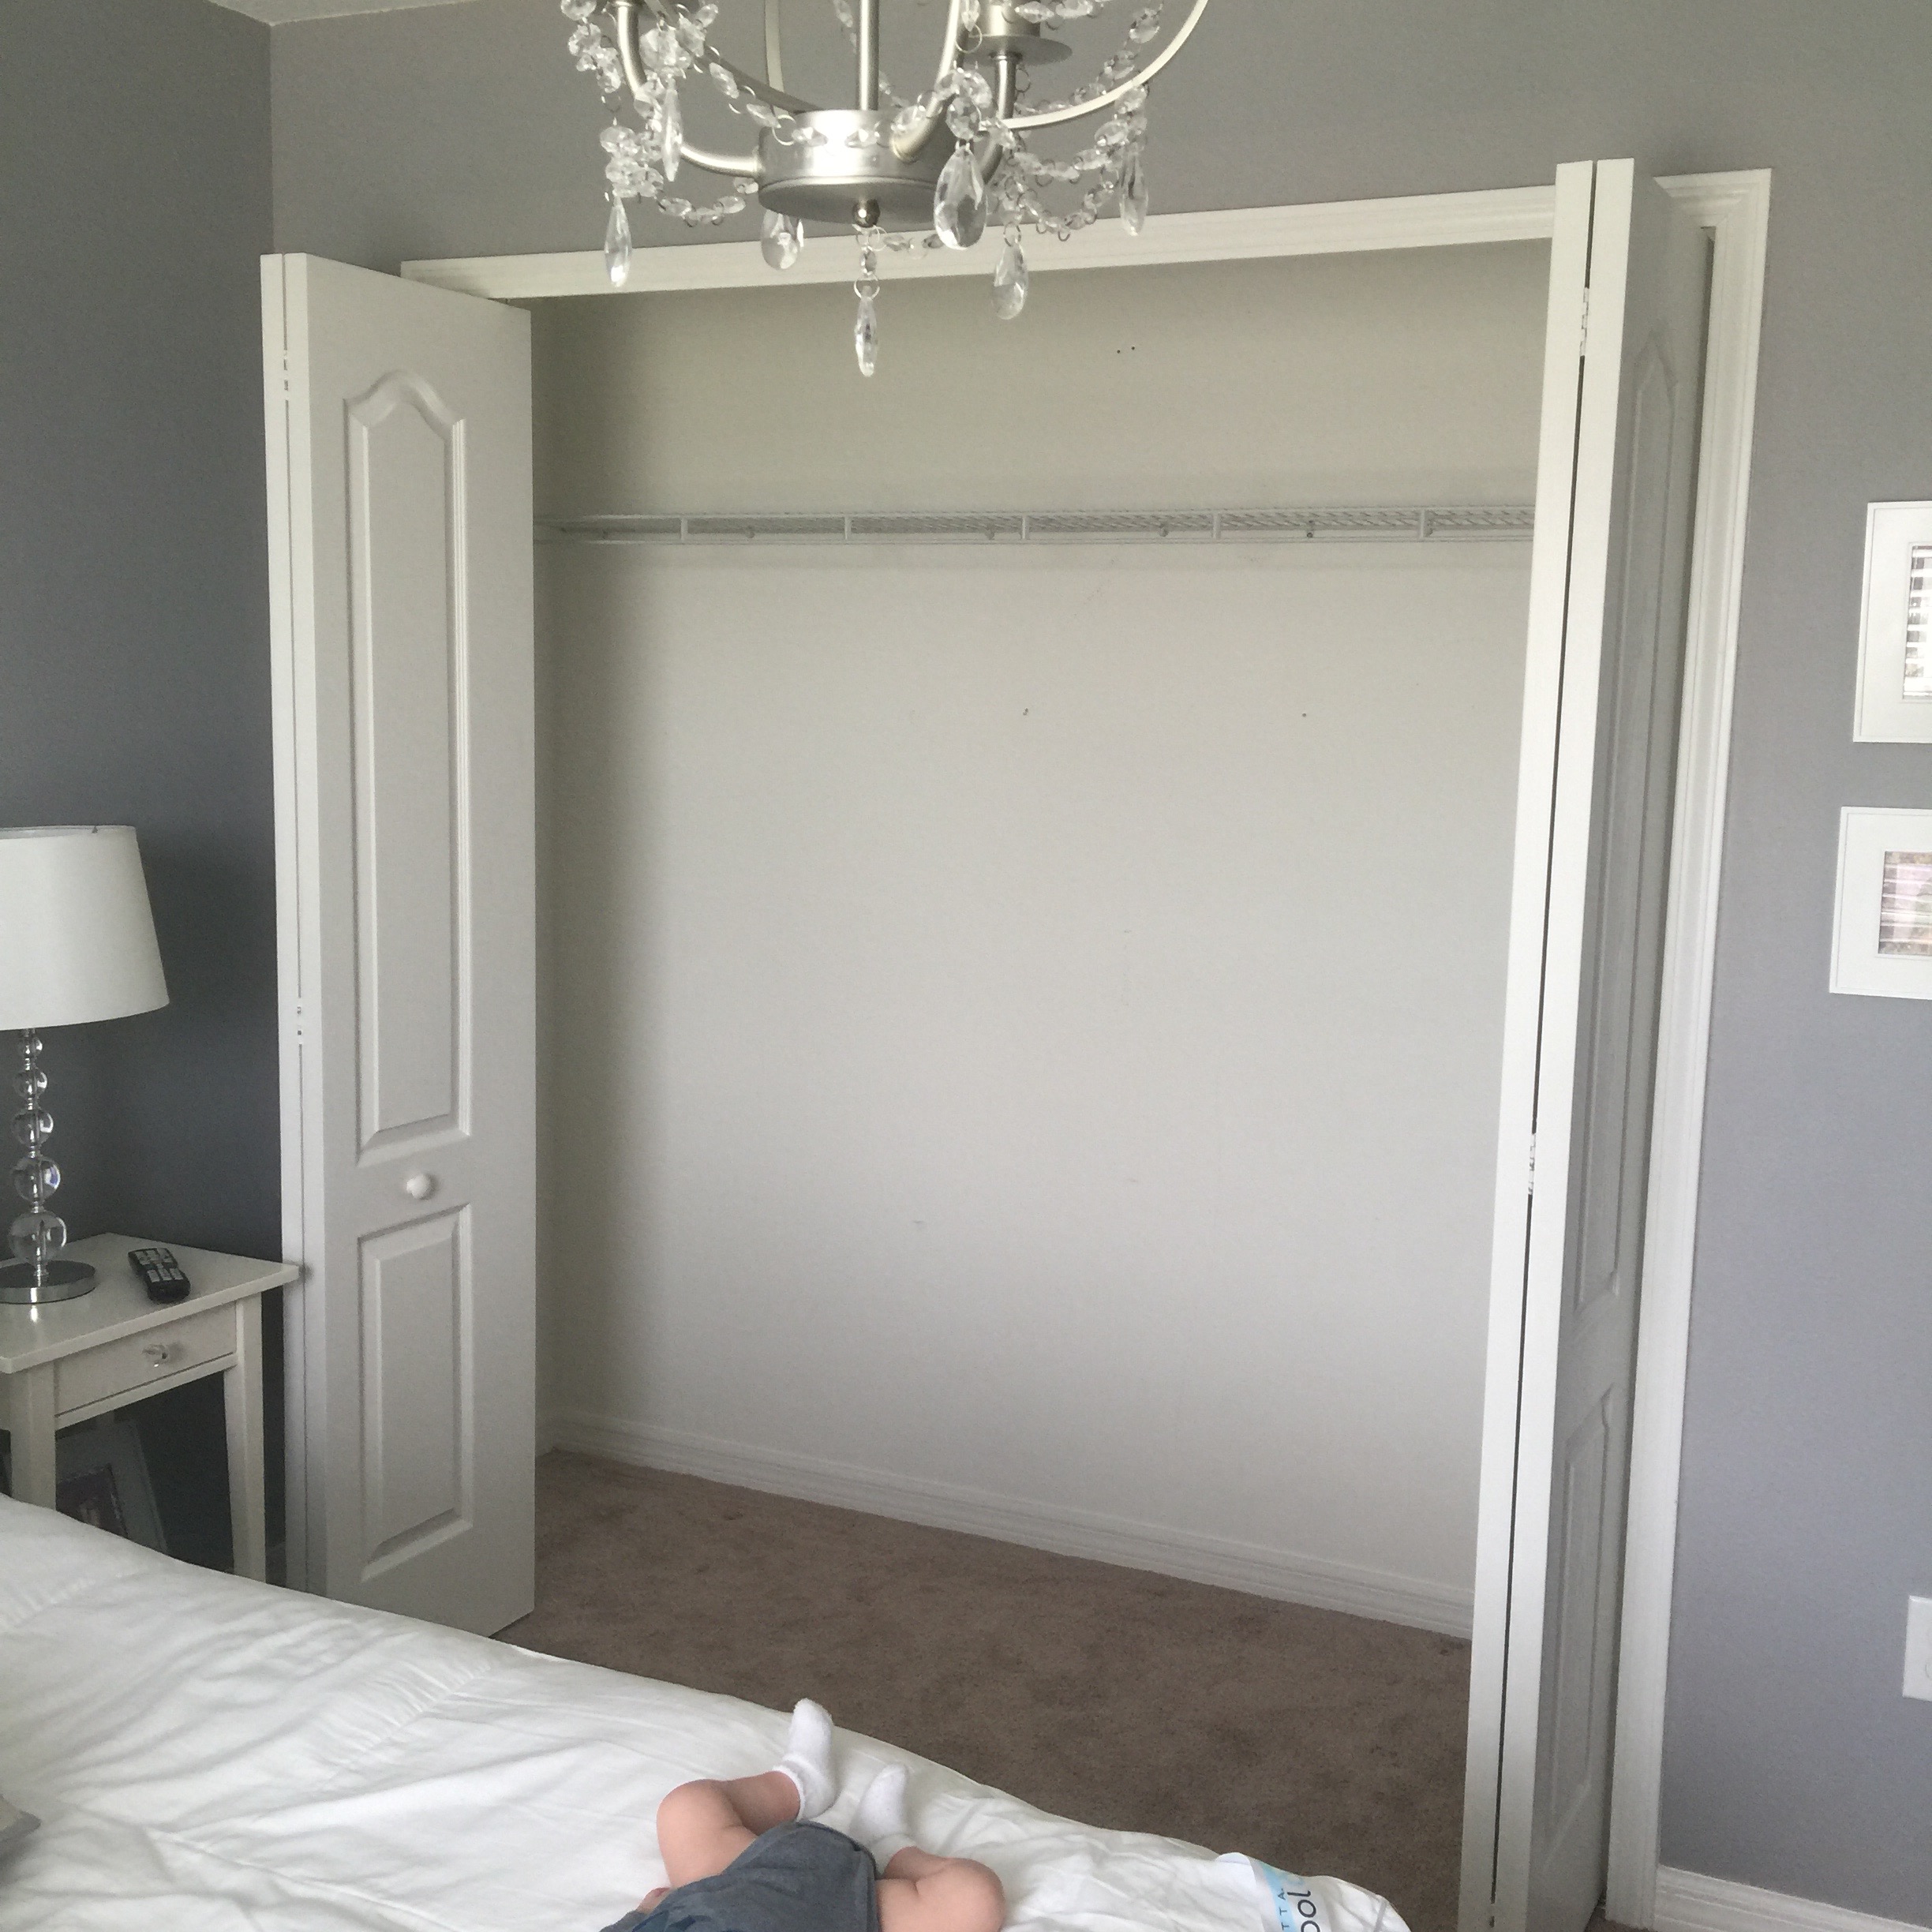
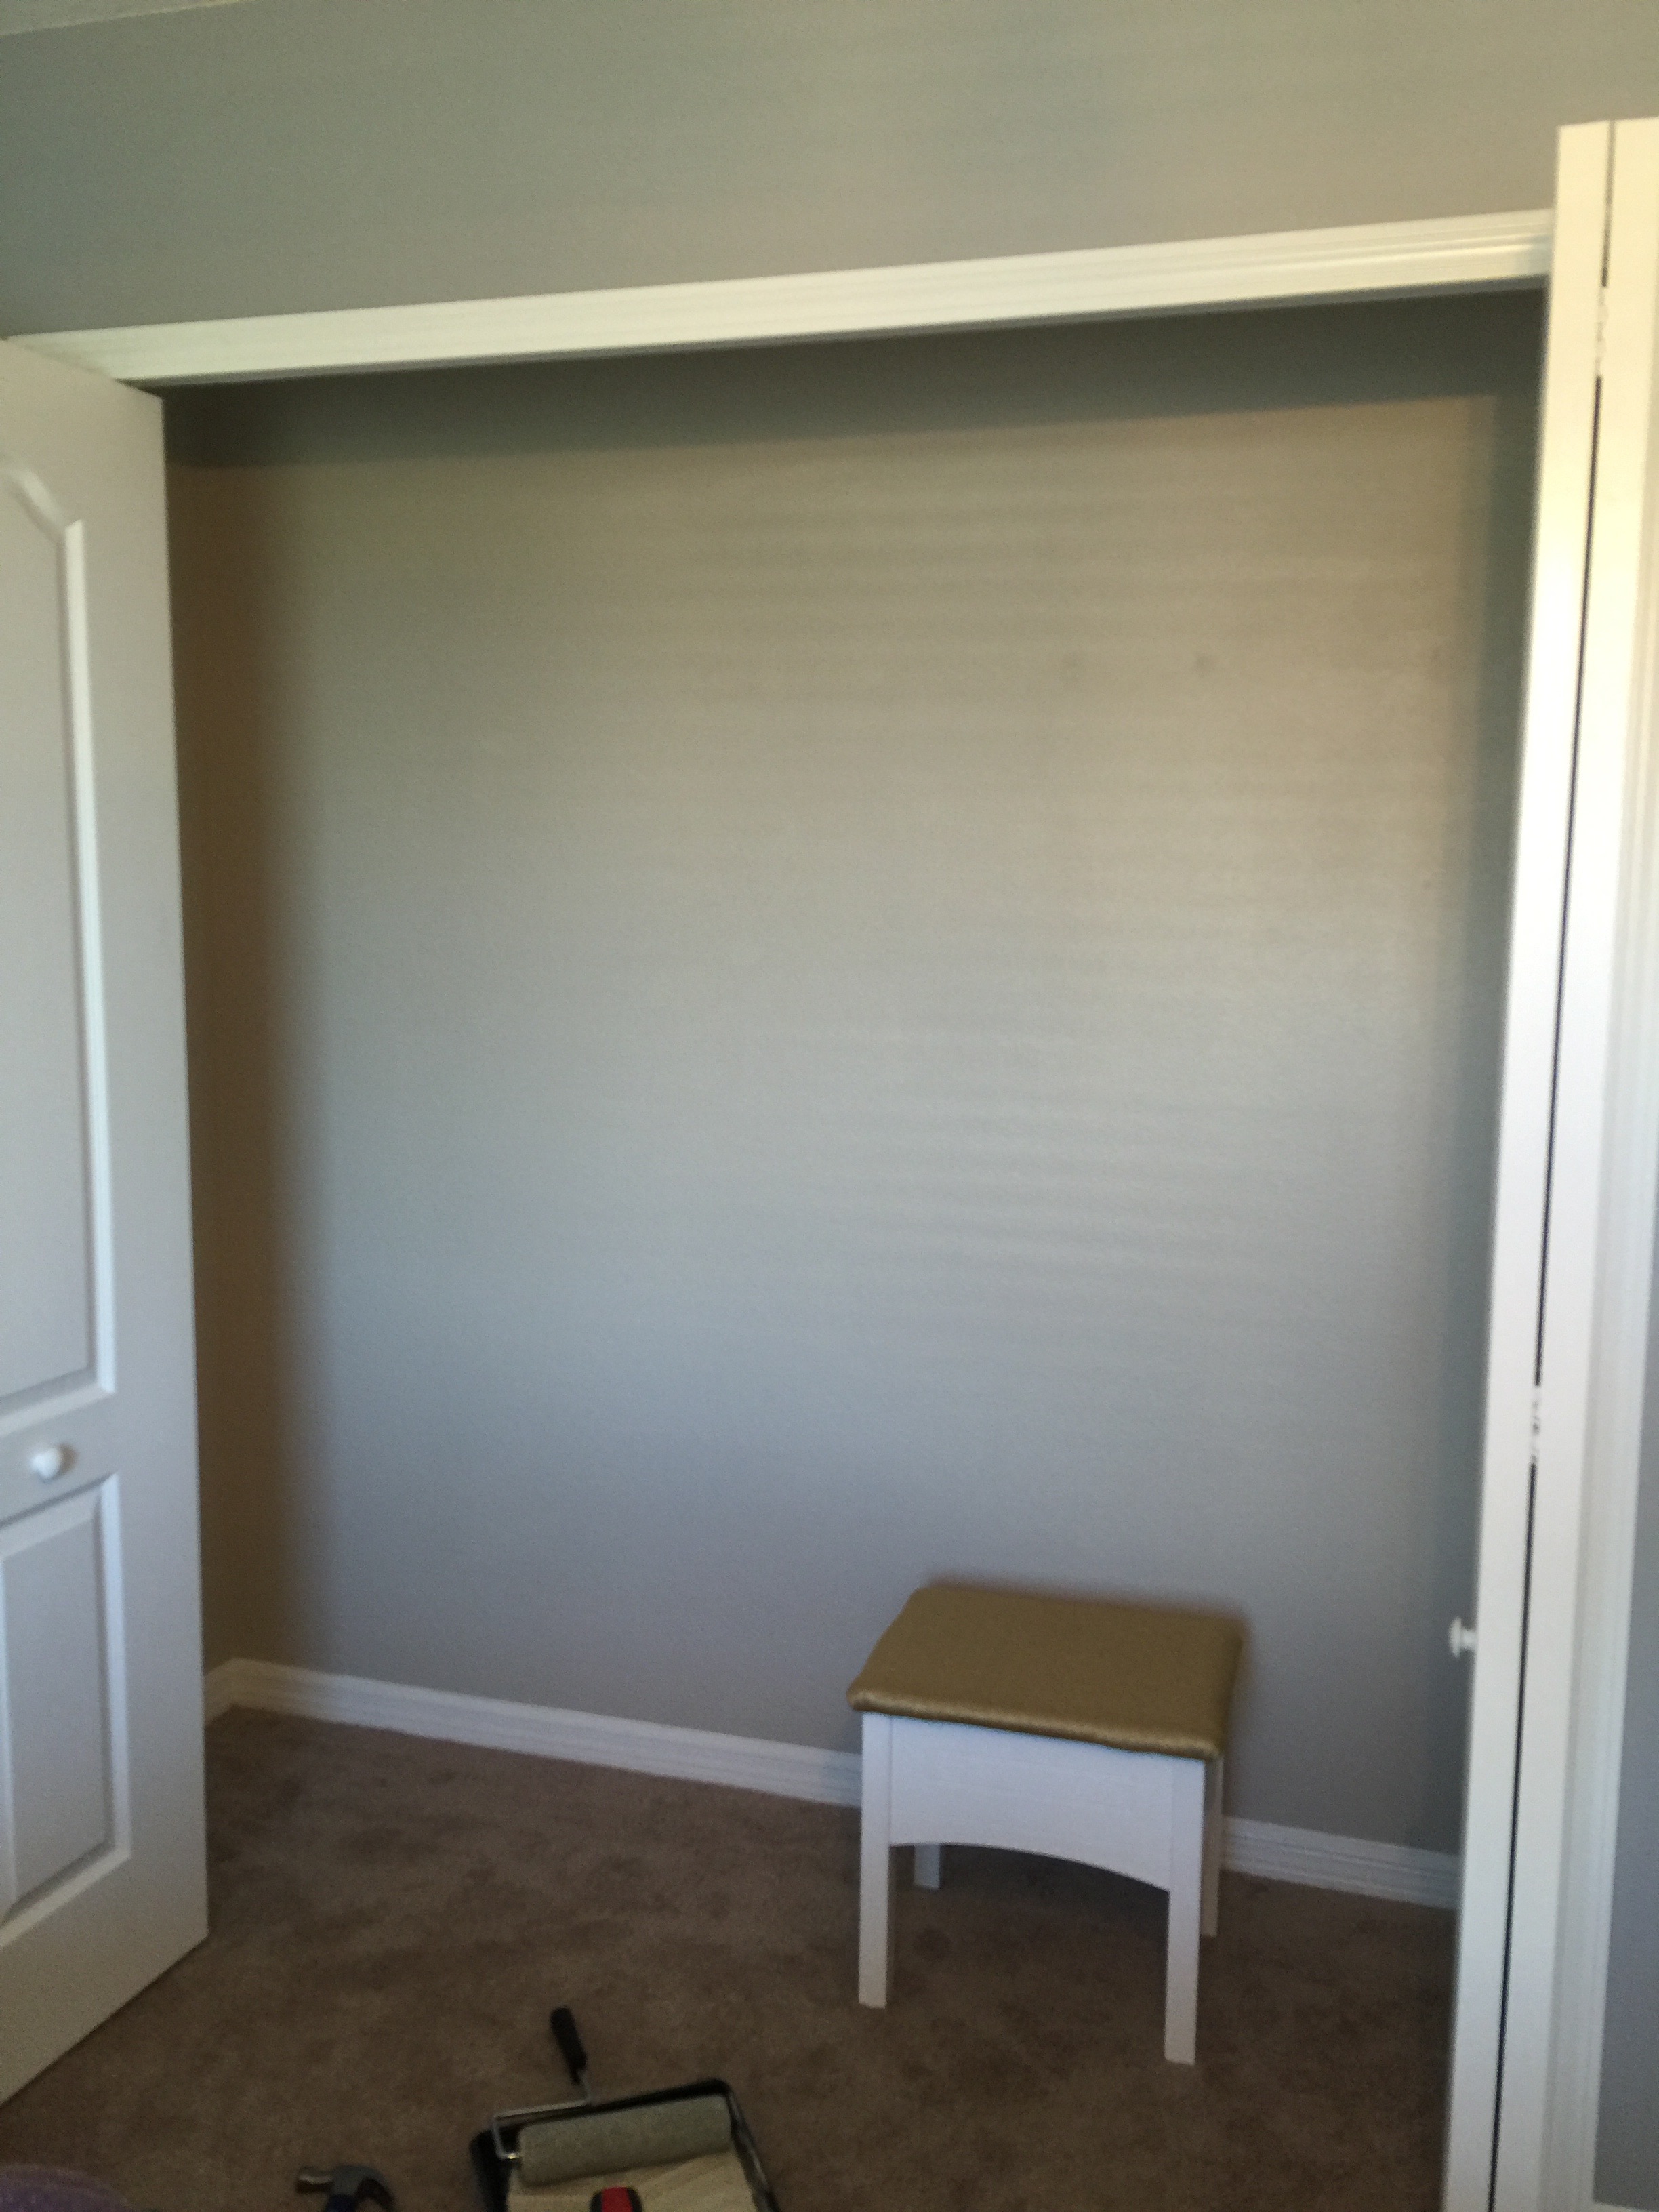
It started with that traditional wire rack that all my closets came standard with. Which is basically the worst for my closet organization happy heart. When it becomes a big boy room it will definitely need better clothing storage. Here it is:
For this project I partnered with Modular Closets to satisfy my heart’s need for closet organization. They specialize in creating multiple types of units that can be combined to fit any closet’s dimensions. I simply sent them the dimensions of my closet (24″d x 96″w) and they sent me back 2 custom designs to choose from. Their custom designs are completely FREE!
Here’s what they sent me:
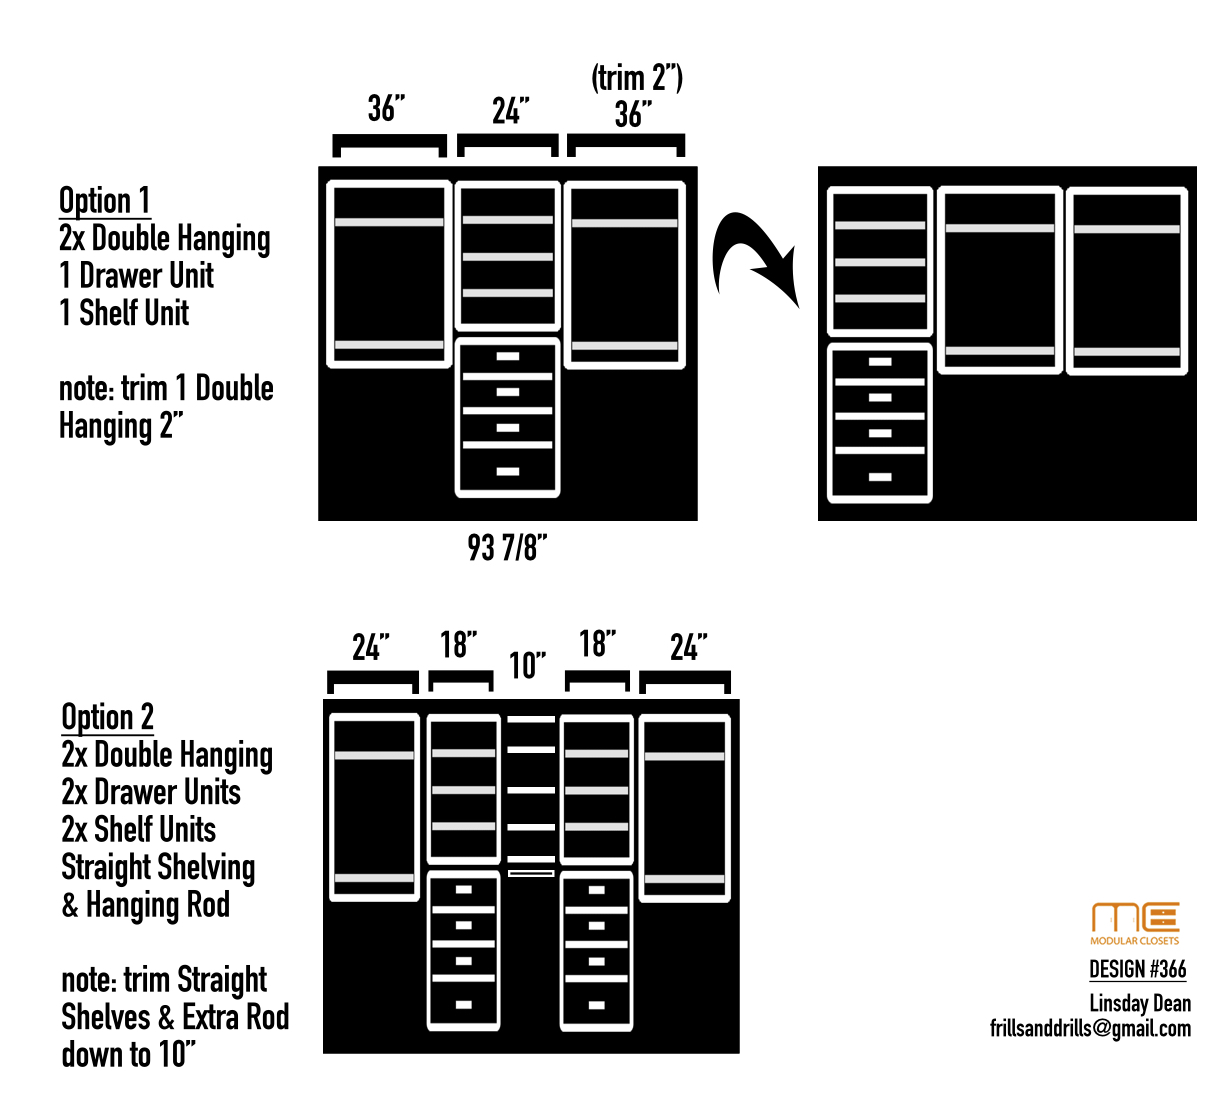
I decided to go with Option 2. Option 1 was so similar to Aiden’s Nursery Closet that I recently made over and I liked the idea of doing something different in this closet. (PS – if you have a larger or more square sized closet, I also just noticed Modular Closets carries these corner units which are SUPER awesome in my opinion and totally maximize storage space.)
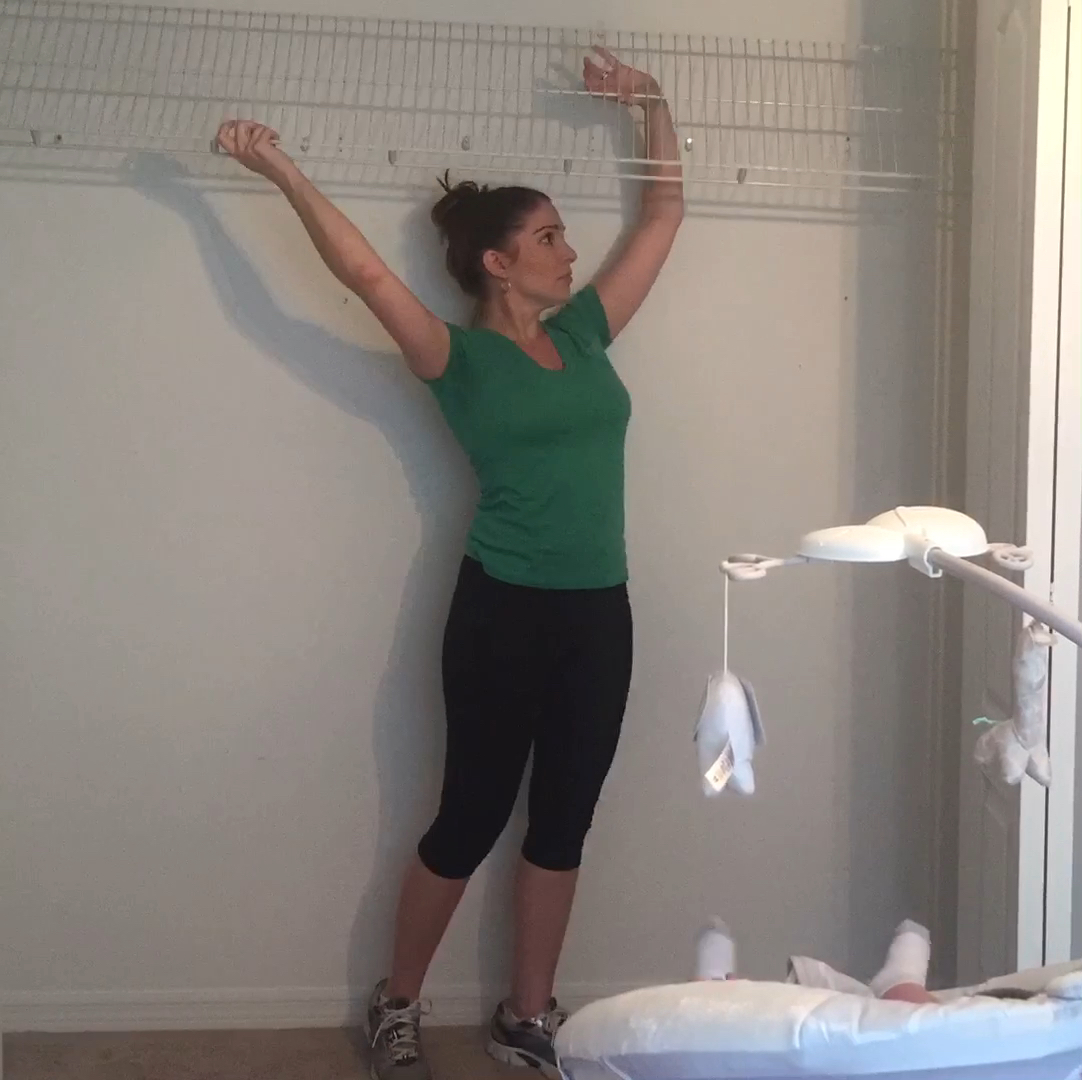
I had just a couple days to prep my closet before the new stuff arrived. First I removed the wire rack and patched the holes with drywall putty.
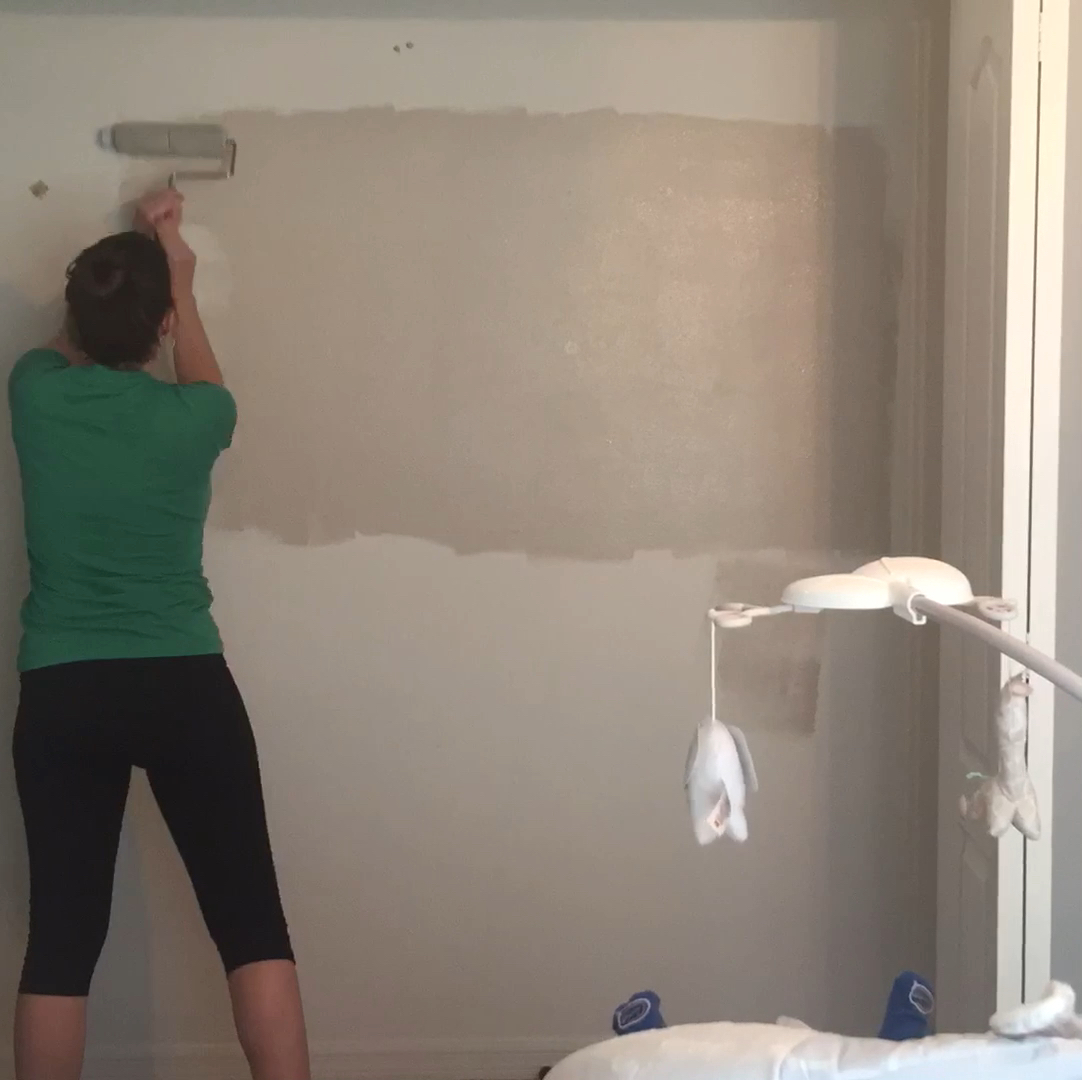
Then I gave the closet a coat of my favorite paint color, Sherwin Williams Accessible Beige.
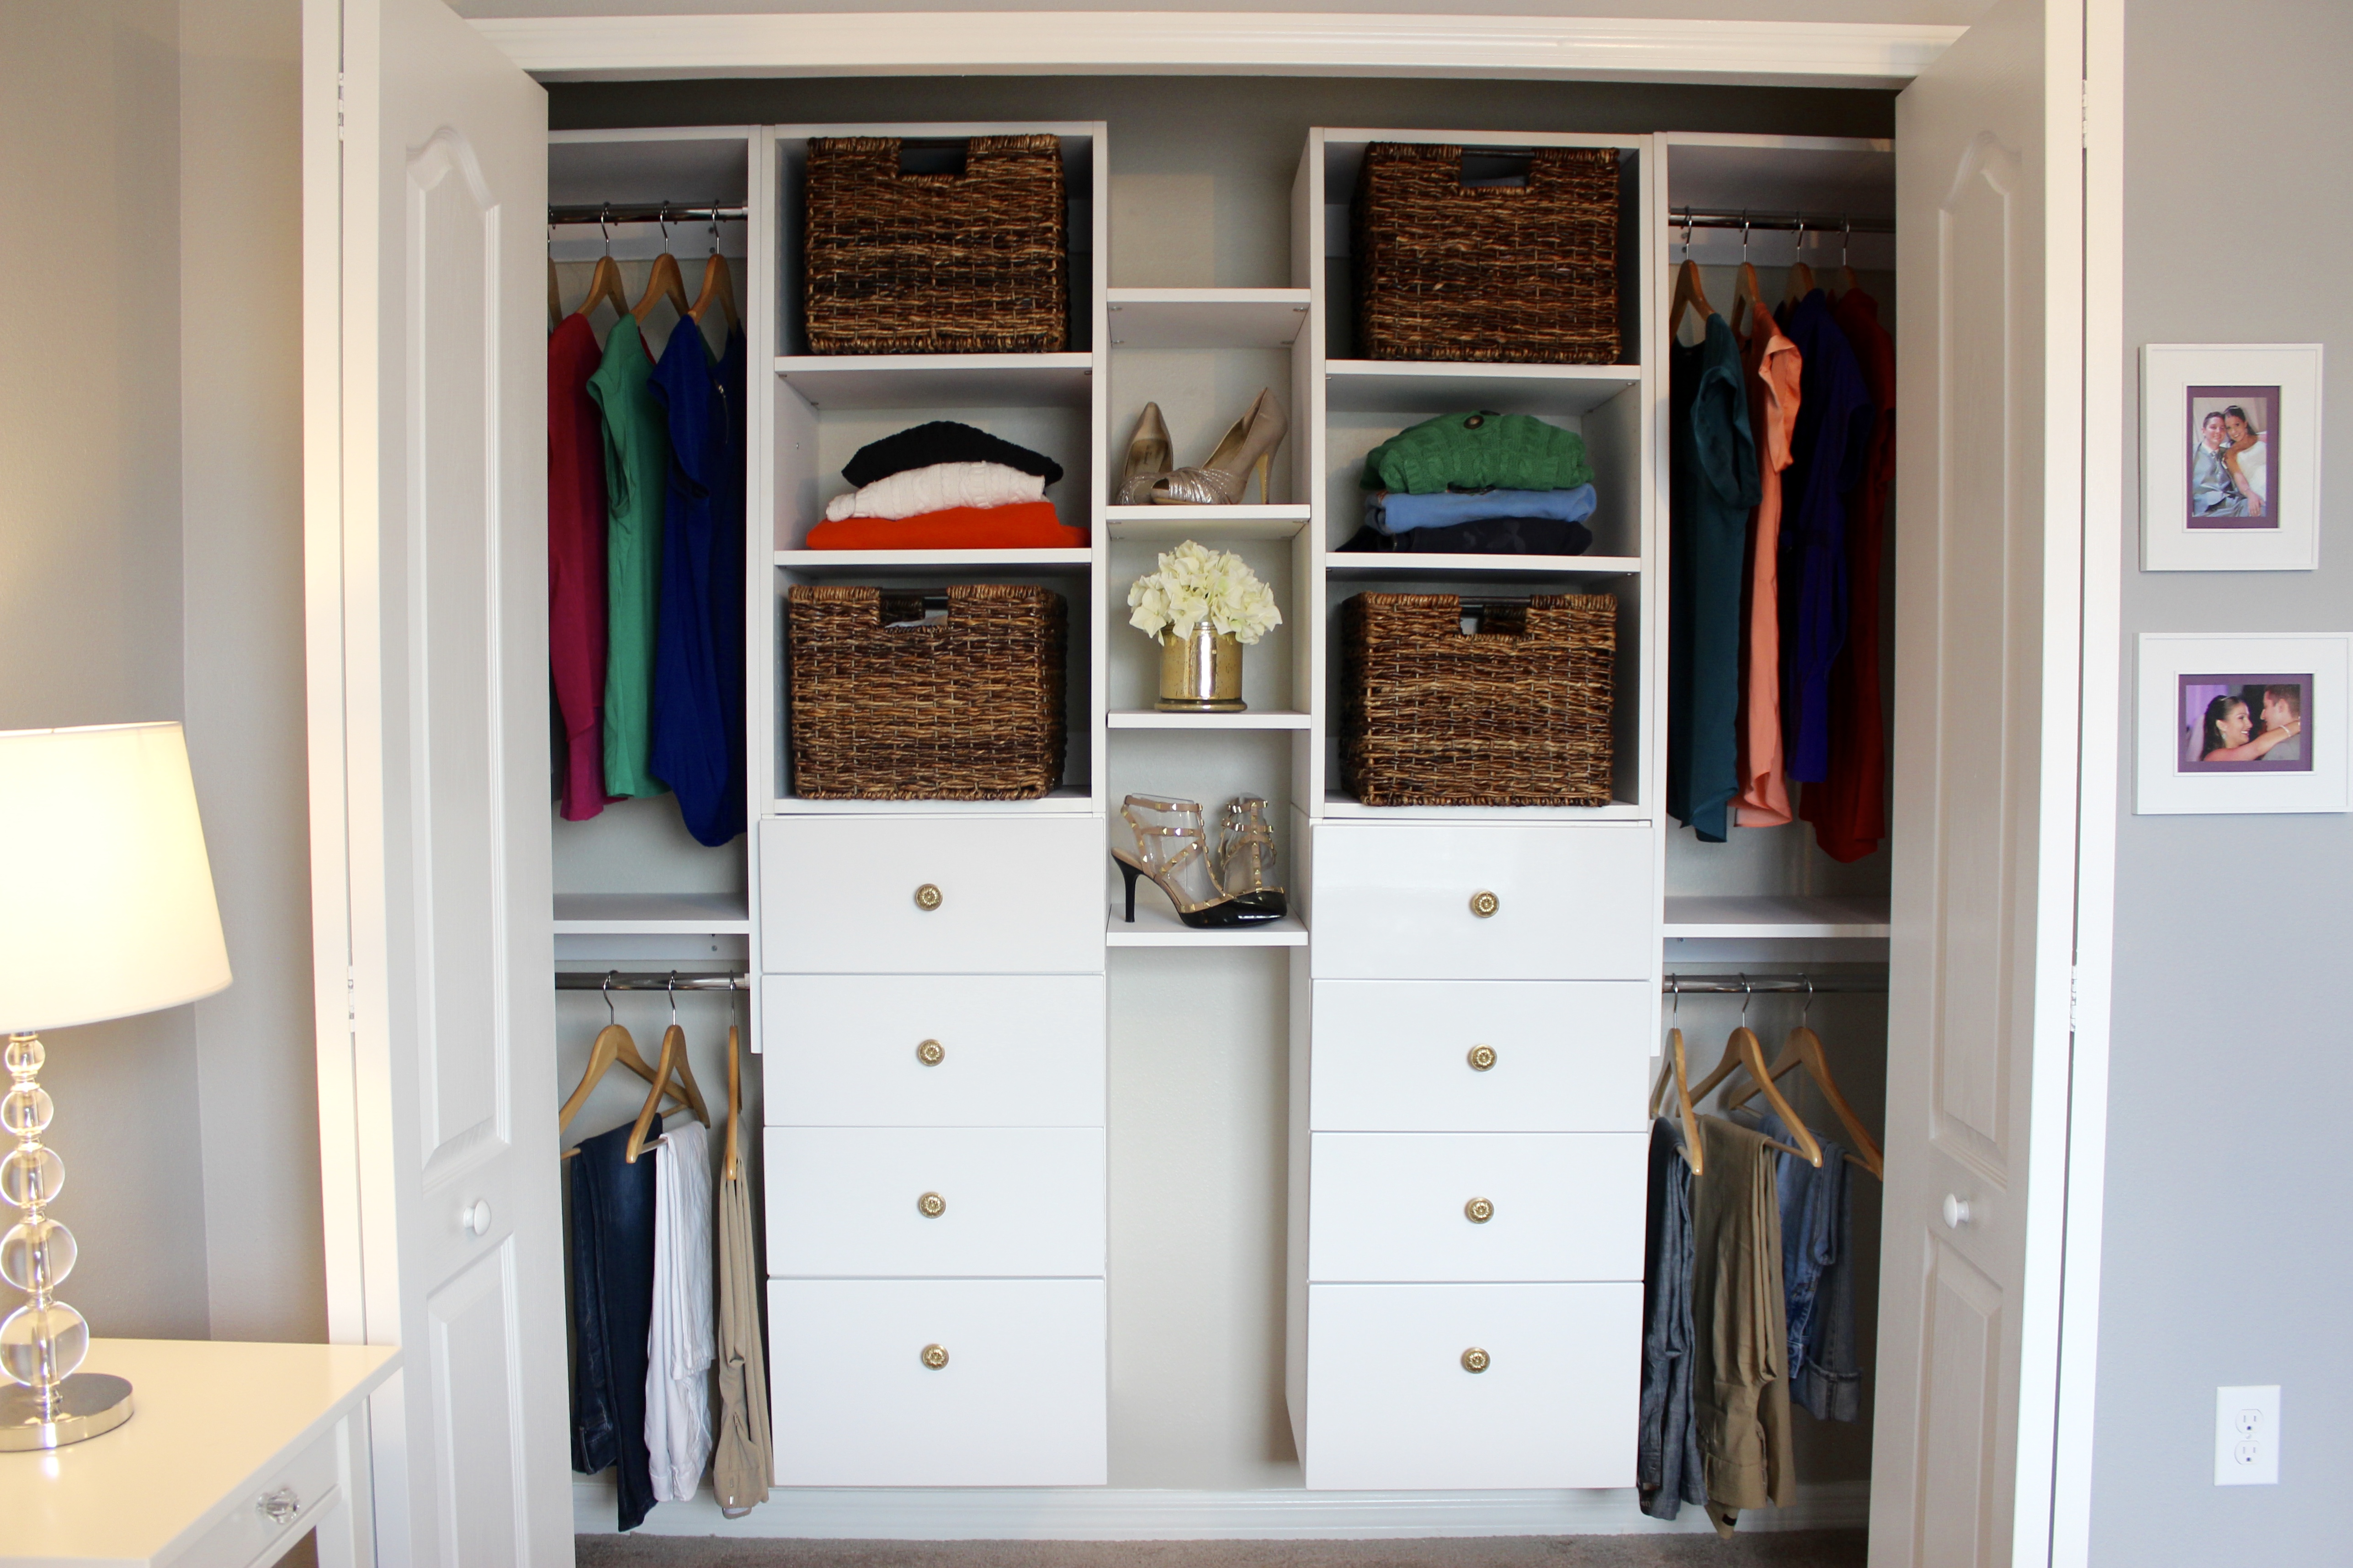
Everything arrived and I started building the individual units. To achieve the look you saw in the design above, I built 6 main units. 2 double hanging units, 2 shelving units, and 2 drawer units. They are all connected in the middle by small straight shelves.
The directions for each unit are only one page and easy to follow. WIN! And very easy to build! WIN!
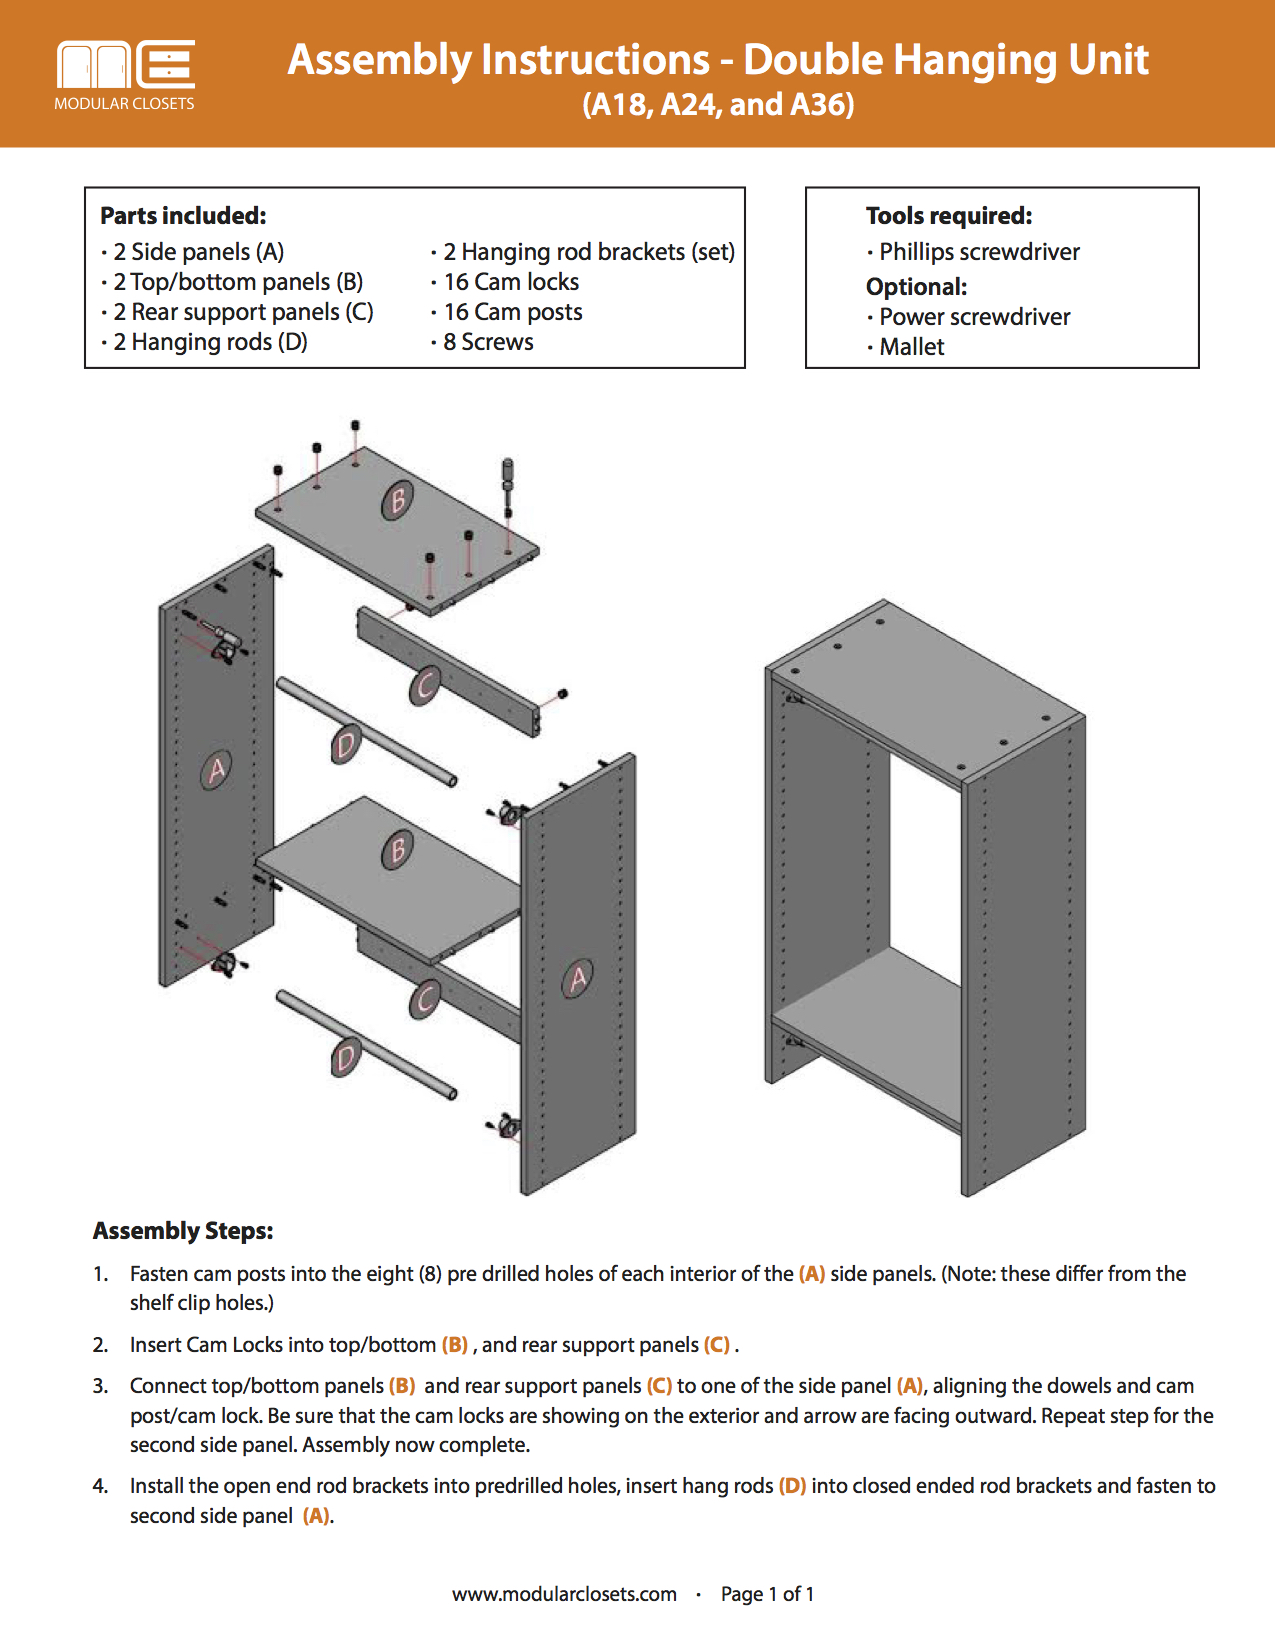
Everything is the cam screw and cam lock method.

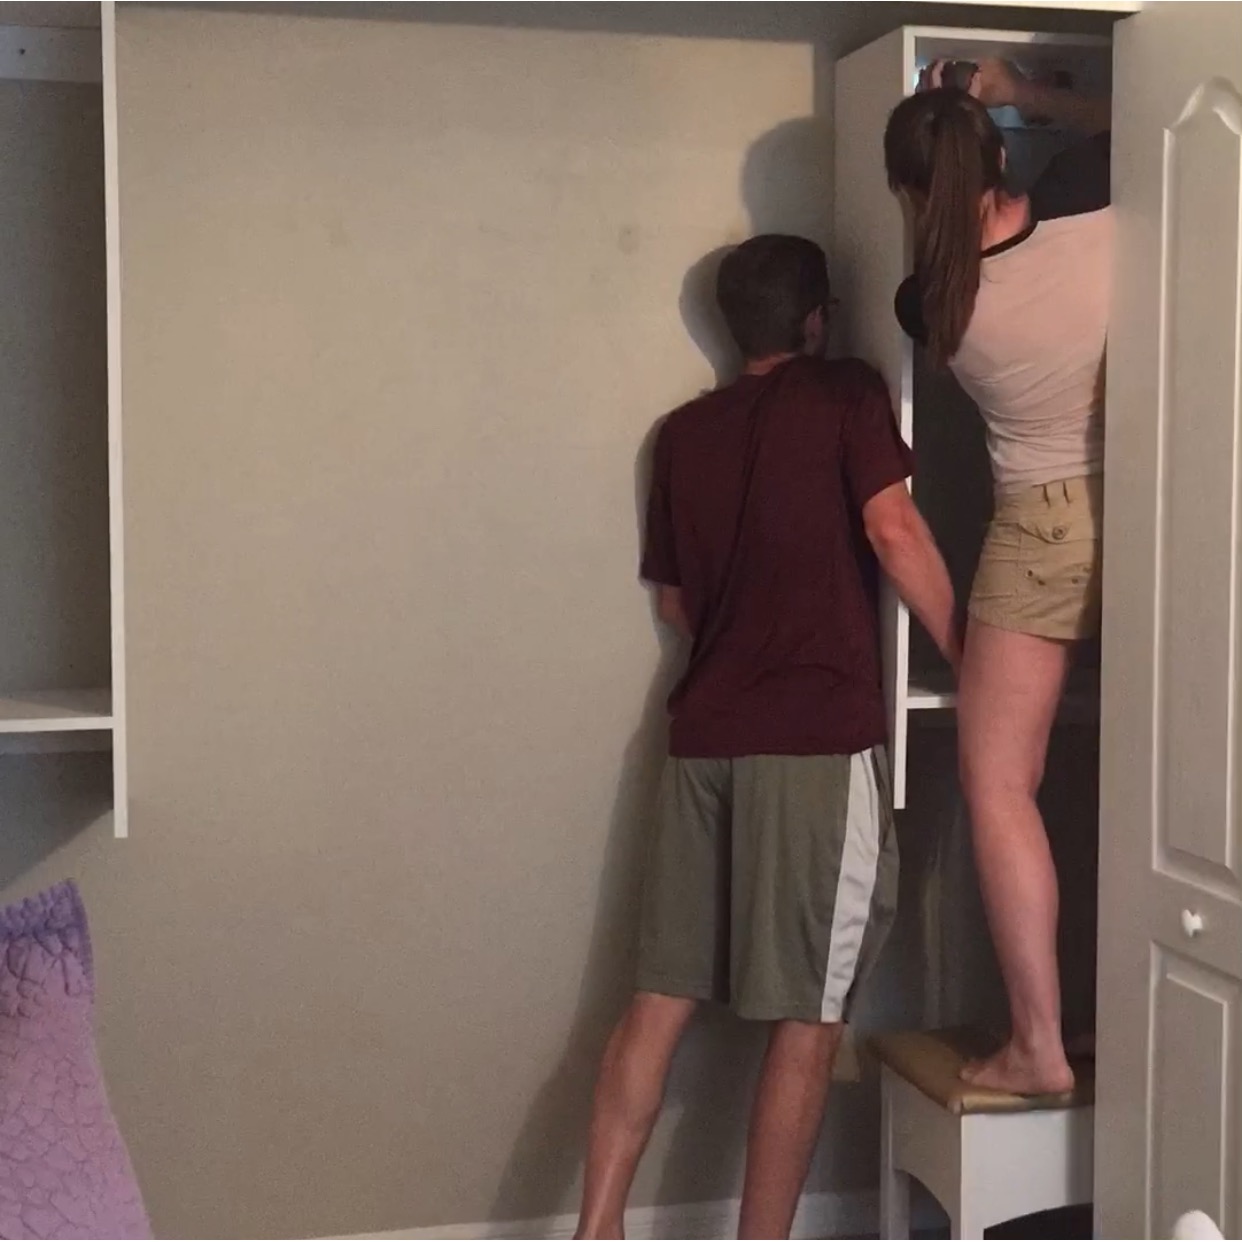
After the units were built, I enlisted the help of hubby. Not something I do often, because I am a true do-it-yourSELFer and I honestly hate needing help when it comes to my projects, ha! But these units are made of solid 3/4 inch plywood and therefore rather heavy. And they have to be hung on the wall so it’s not a one person task.
Speaking of hanging on the wall, they need to be screwed into the studs behind the drywall to hold the weight, and the screws to do this are not included with the units. I purchased basic 2.5″ wood screws from Lowe’s.
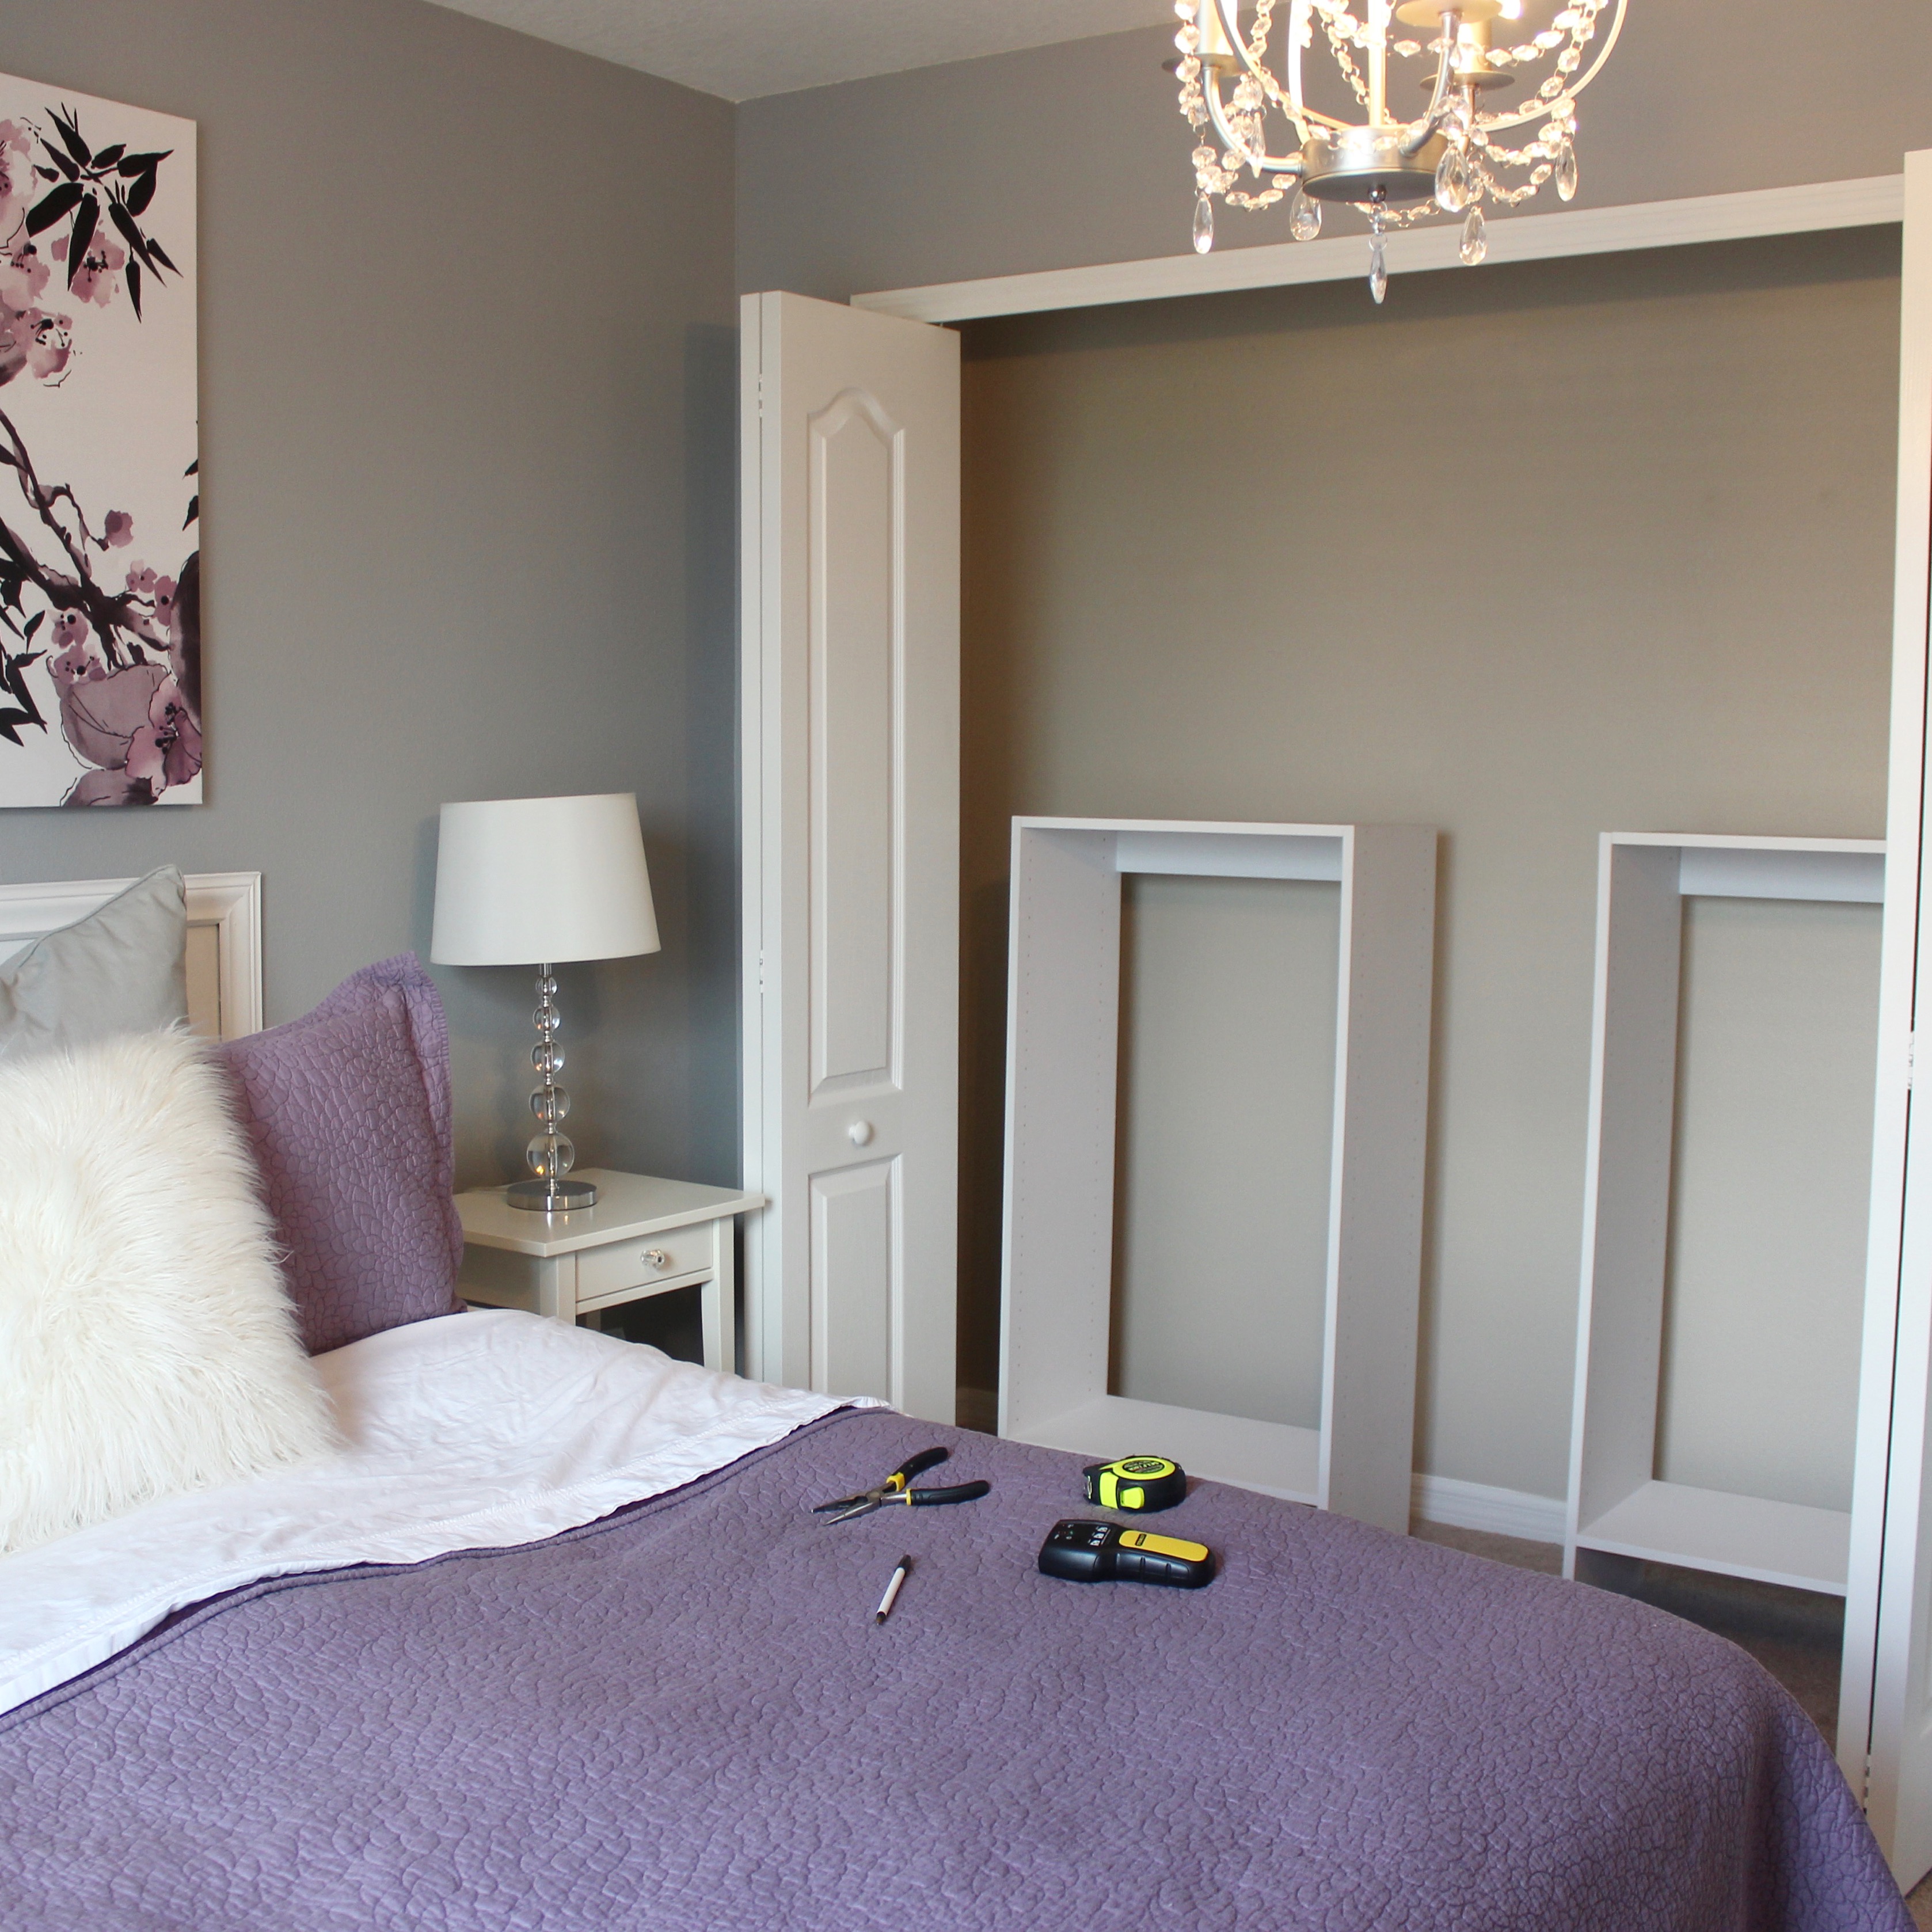
Prep work to do before hanging on wall: (Modular also has a handy guide HERE!)
- Use stud finder to locate studs in the wall and mark with pencil
- Measure height you want to hang all the units at and draw a line. This is where you will hold the units up to as you screw them in
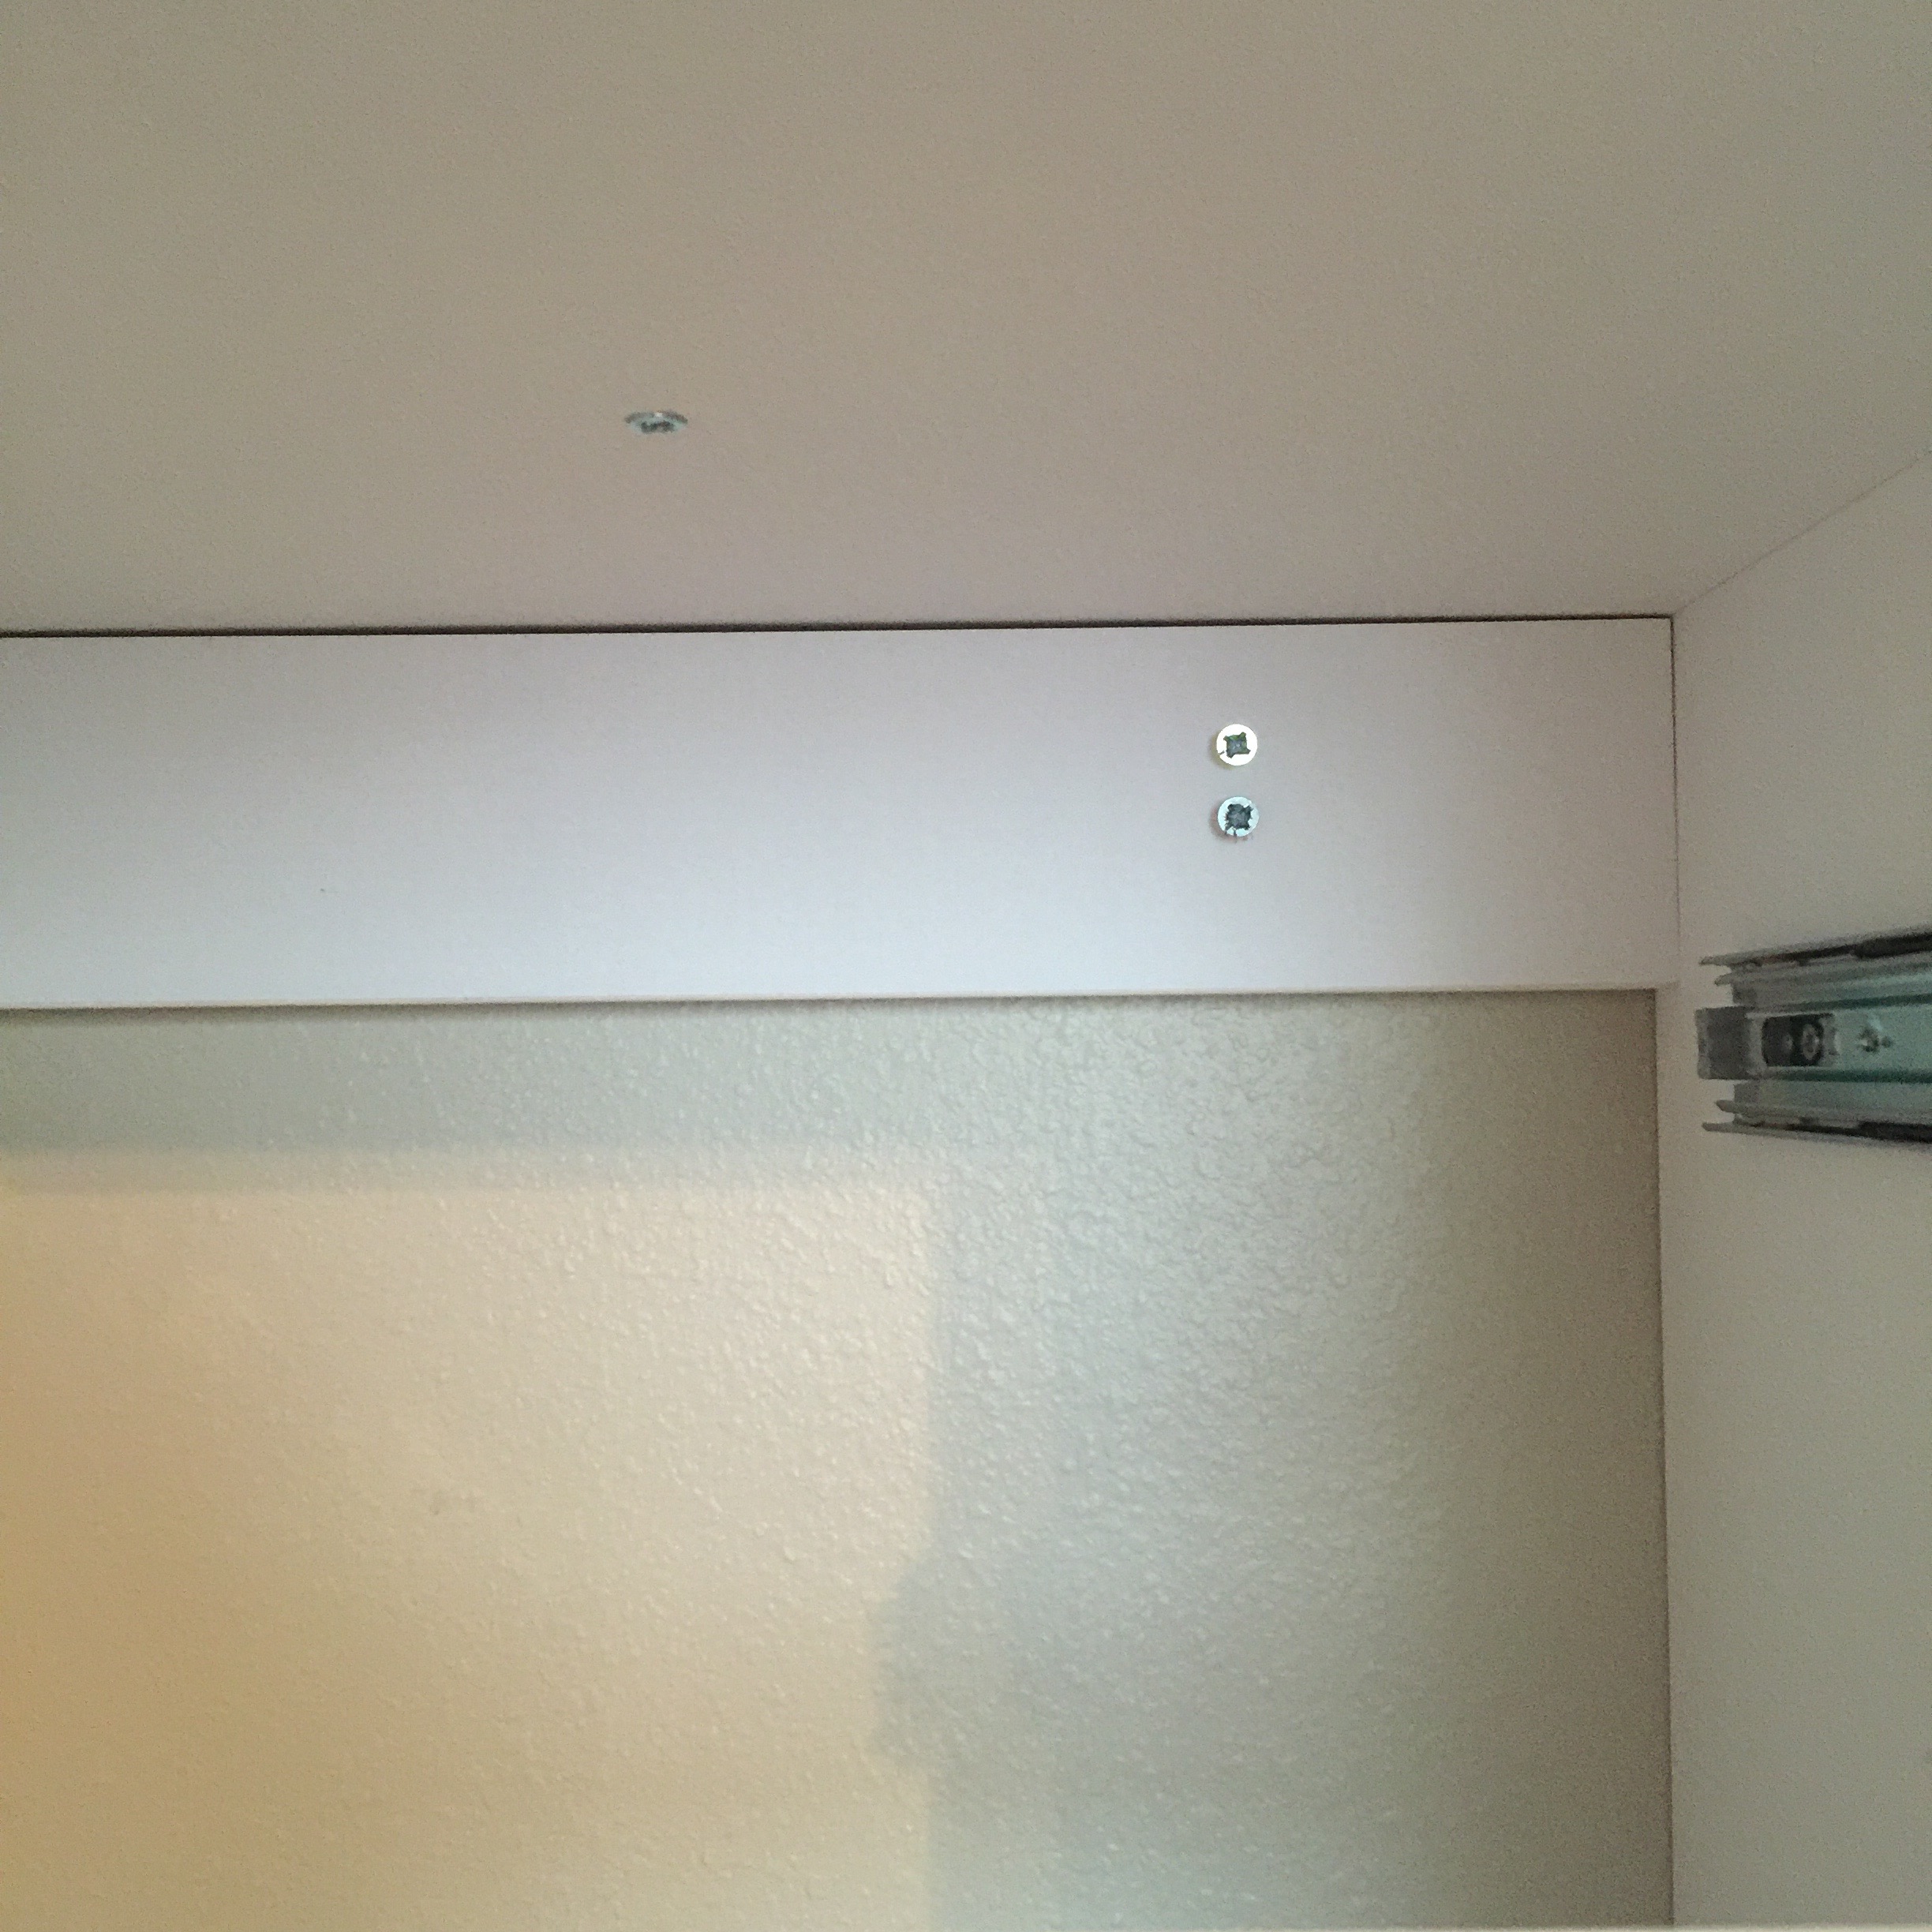
- Measure distance from side wall to stud and mark with pencil that distance on unit brace
- Predrill hole in unit brace and in drywall/stud
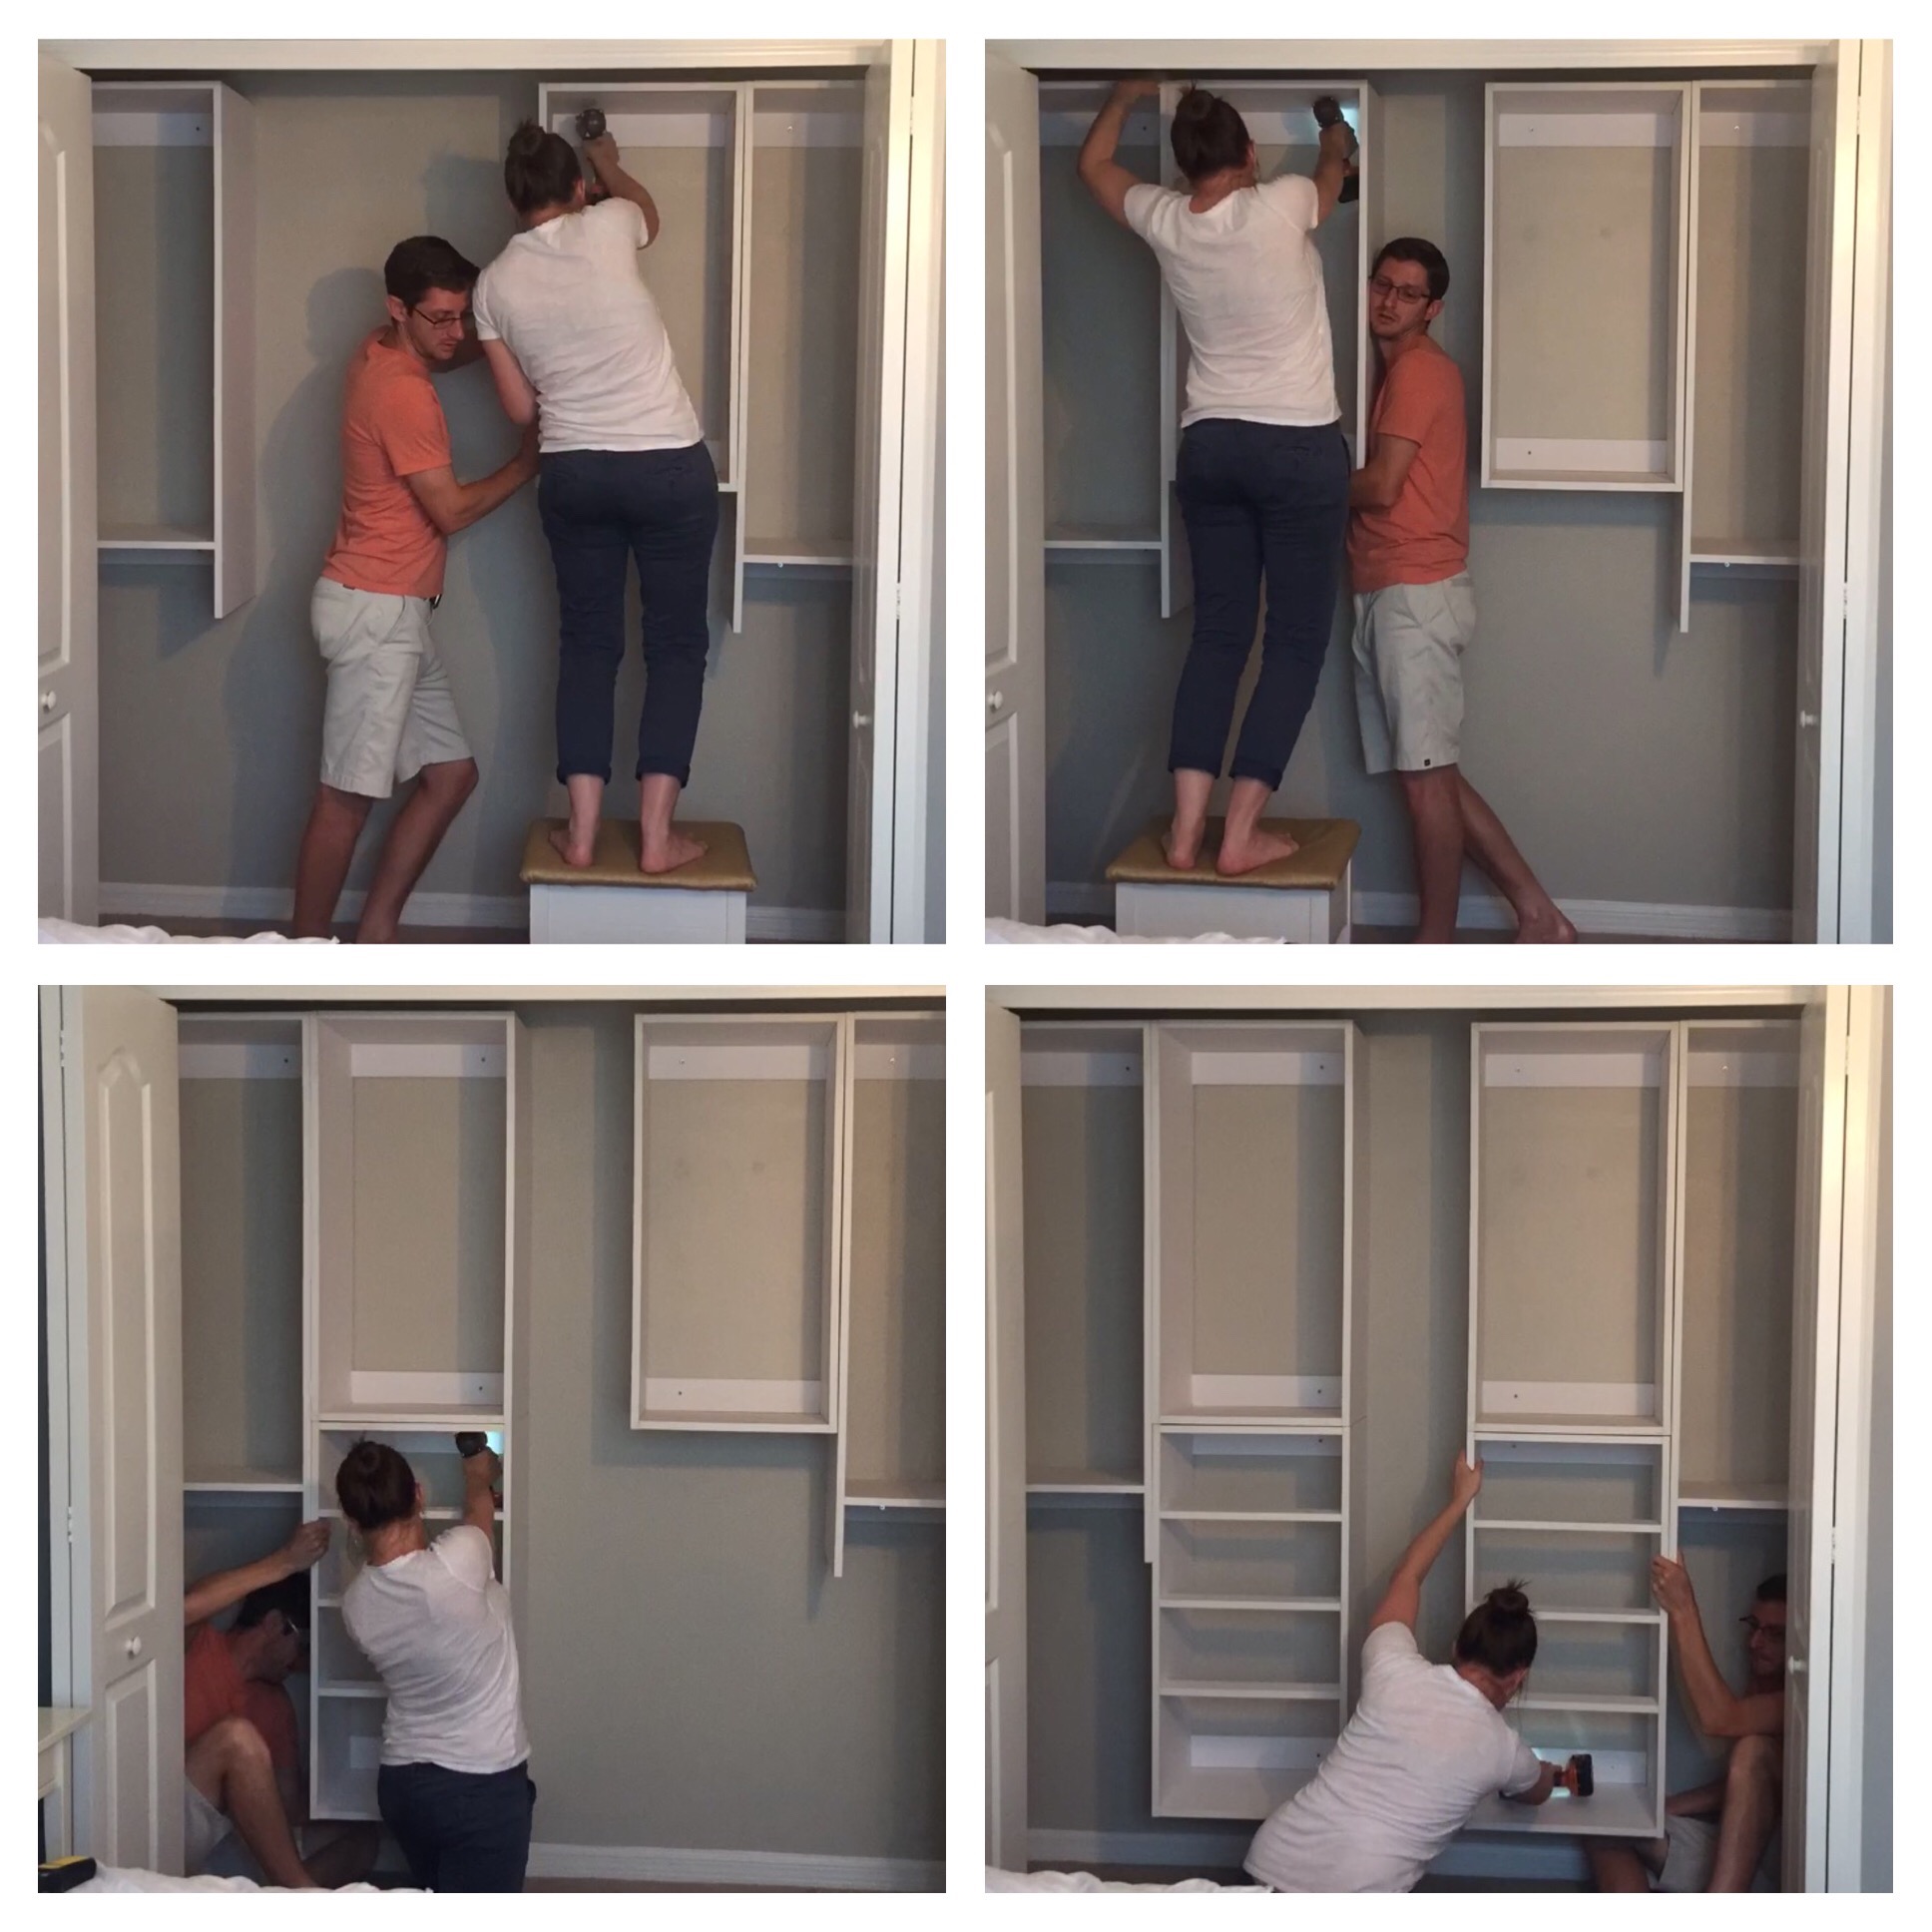
To actually hang them, I had hubby hold the first unit at the height of my line and flush in the corner of the closet while I used the drill to screw into the studs. The nice part was we didn’t have to worry about it being level since it was flush against the side of the closet. (Sorry for the poor quality iPhone photos.)
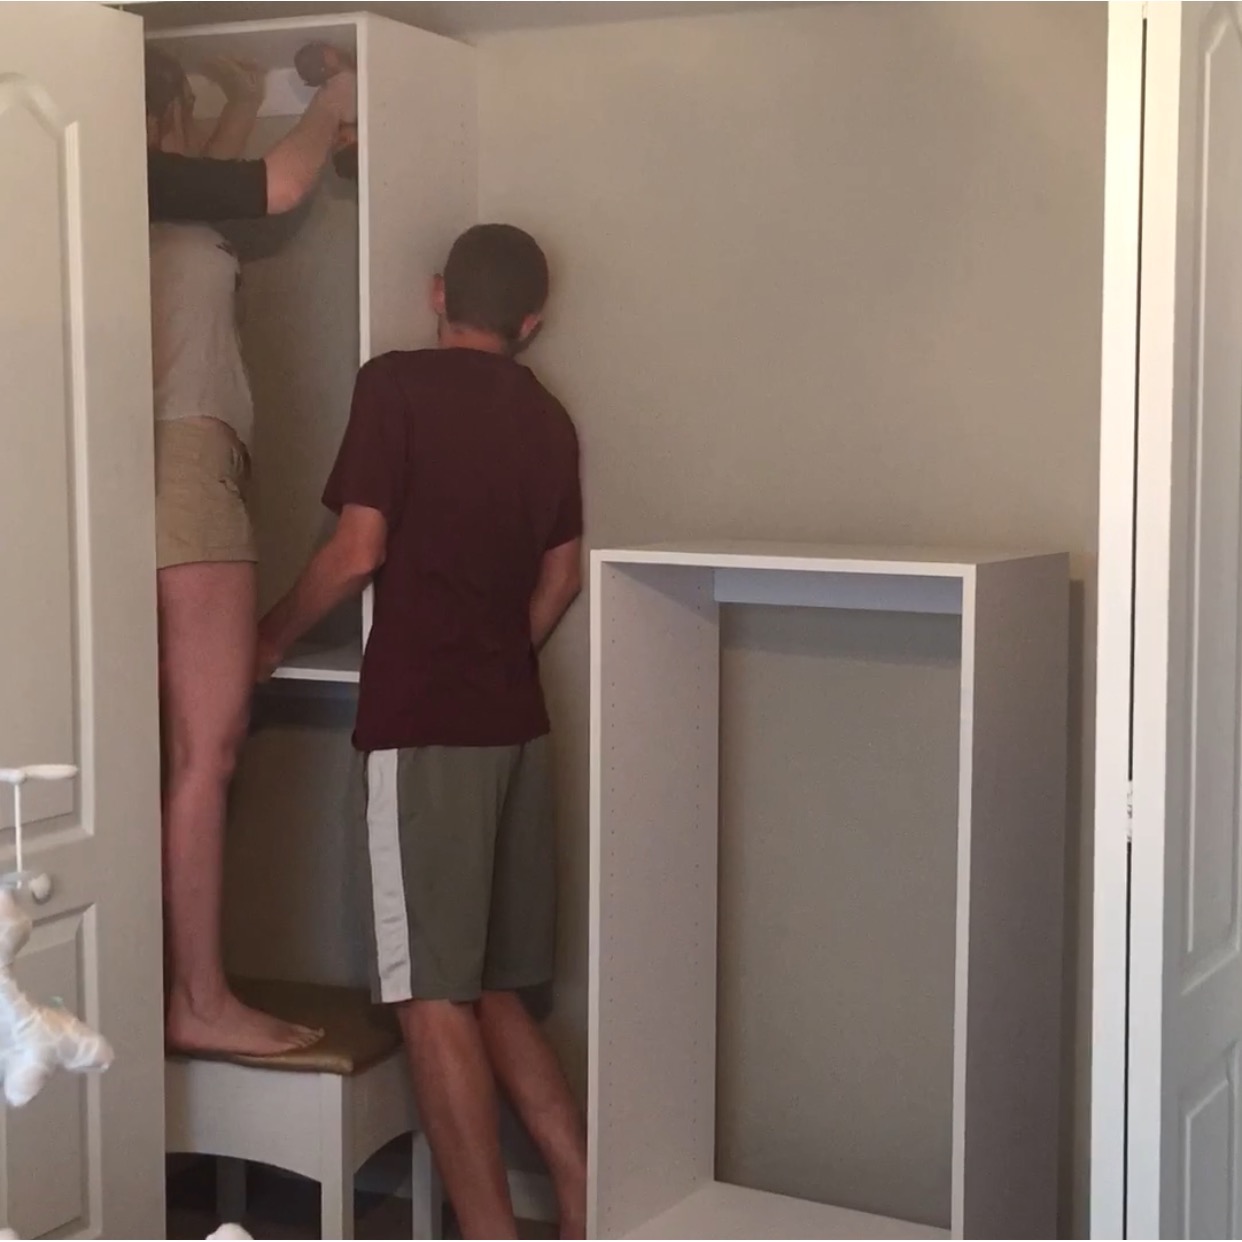
And repeated this on the opposite side. Unfortunately, due to the location of my studs, I was only able to hit one stud per unit. So to make it more sturdy, I placed 2 screws in each brace, so 4 total screws per unit.
We aligned the middle units with the units already installed and screwed these in the same way.
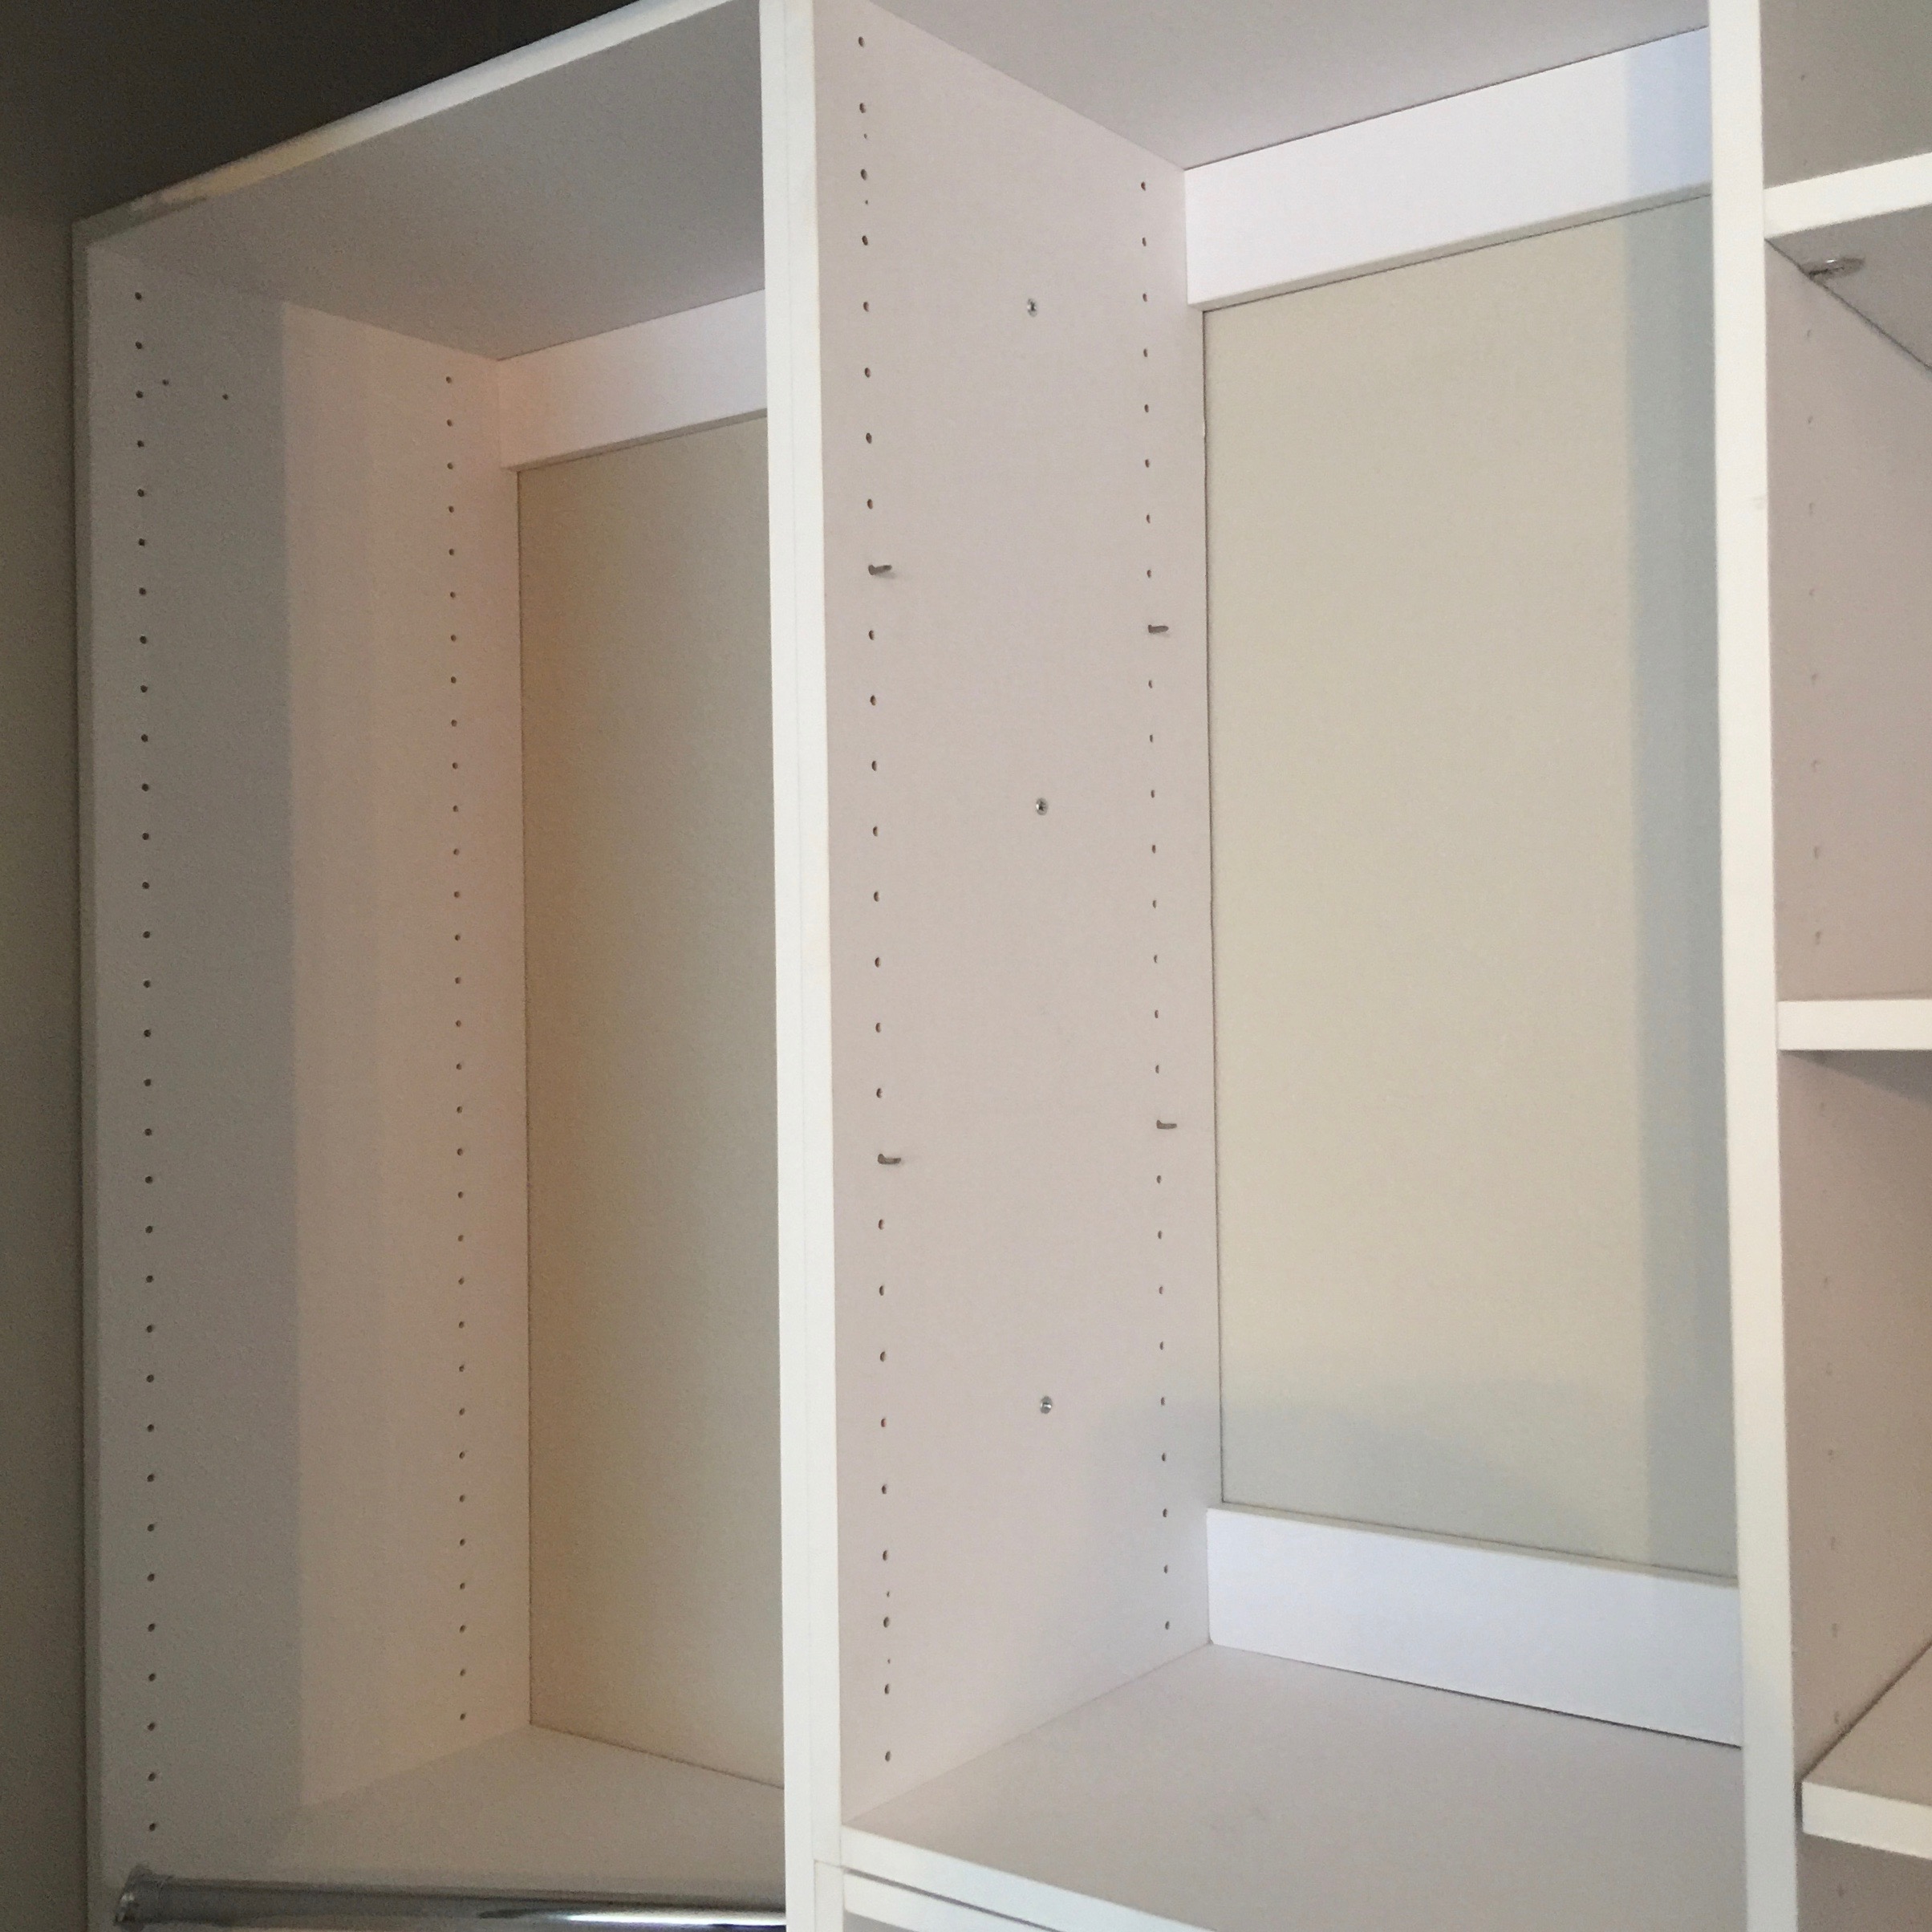
After getting the units secured to the studs individually by the backs, I also connected them together side to side with more screws. I did this because as I mentioned earlier, each unit is only supported by one stud. By screwing them together, it distributes the weight evenly and really made them super duper sturdy. This step is crucial and really made me feel one thousand percent confident these units could support a whole lot of weight.
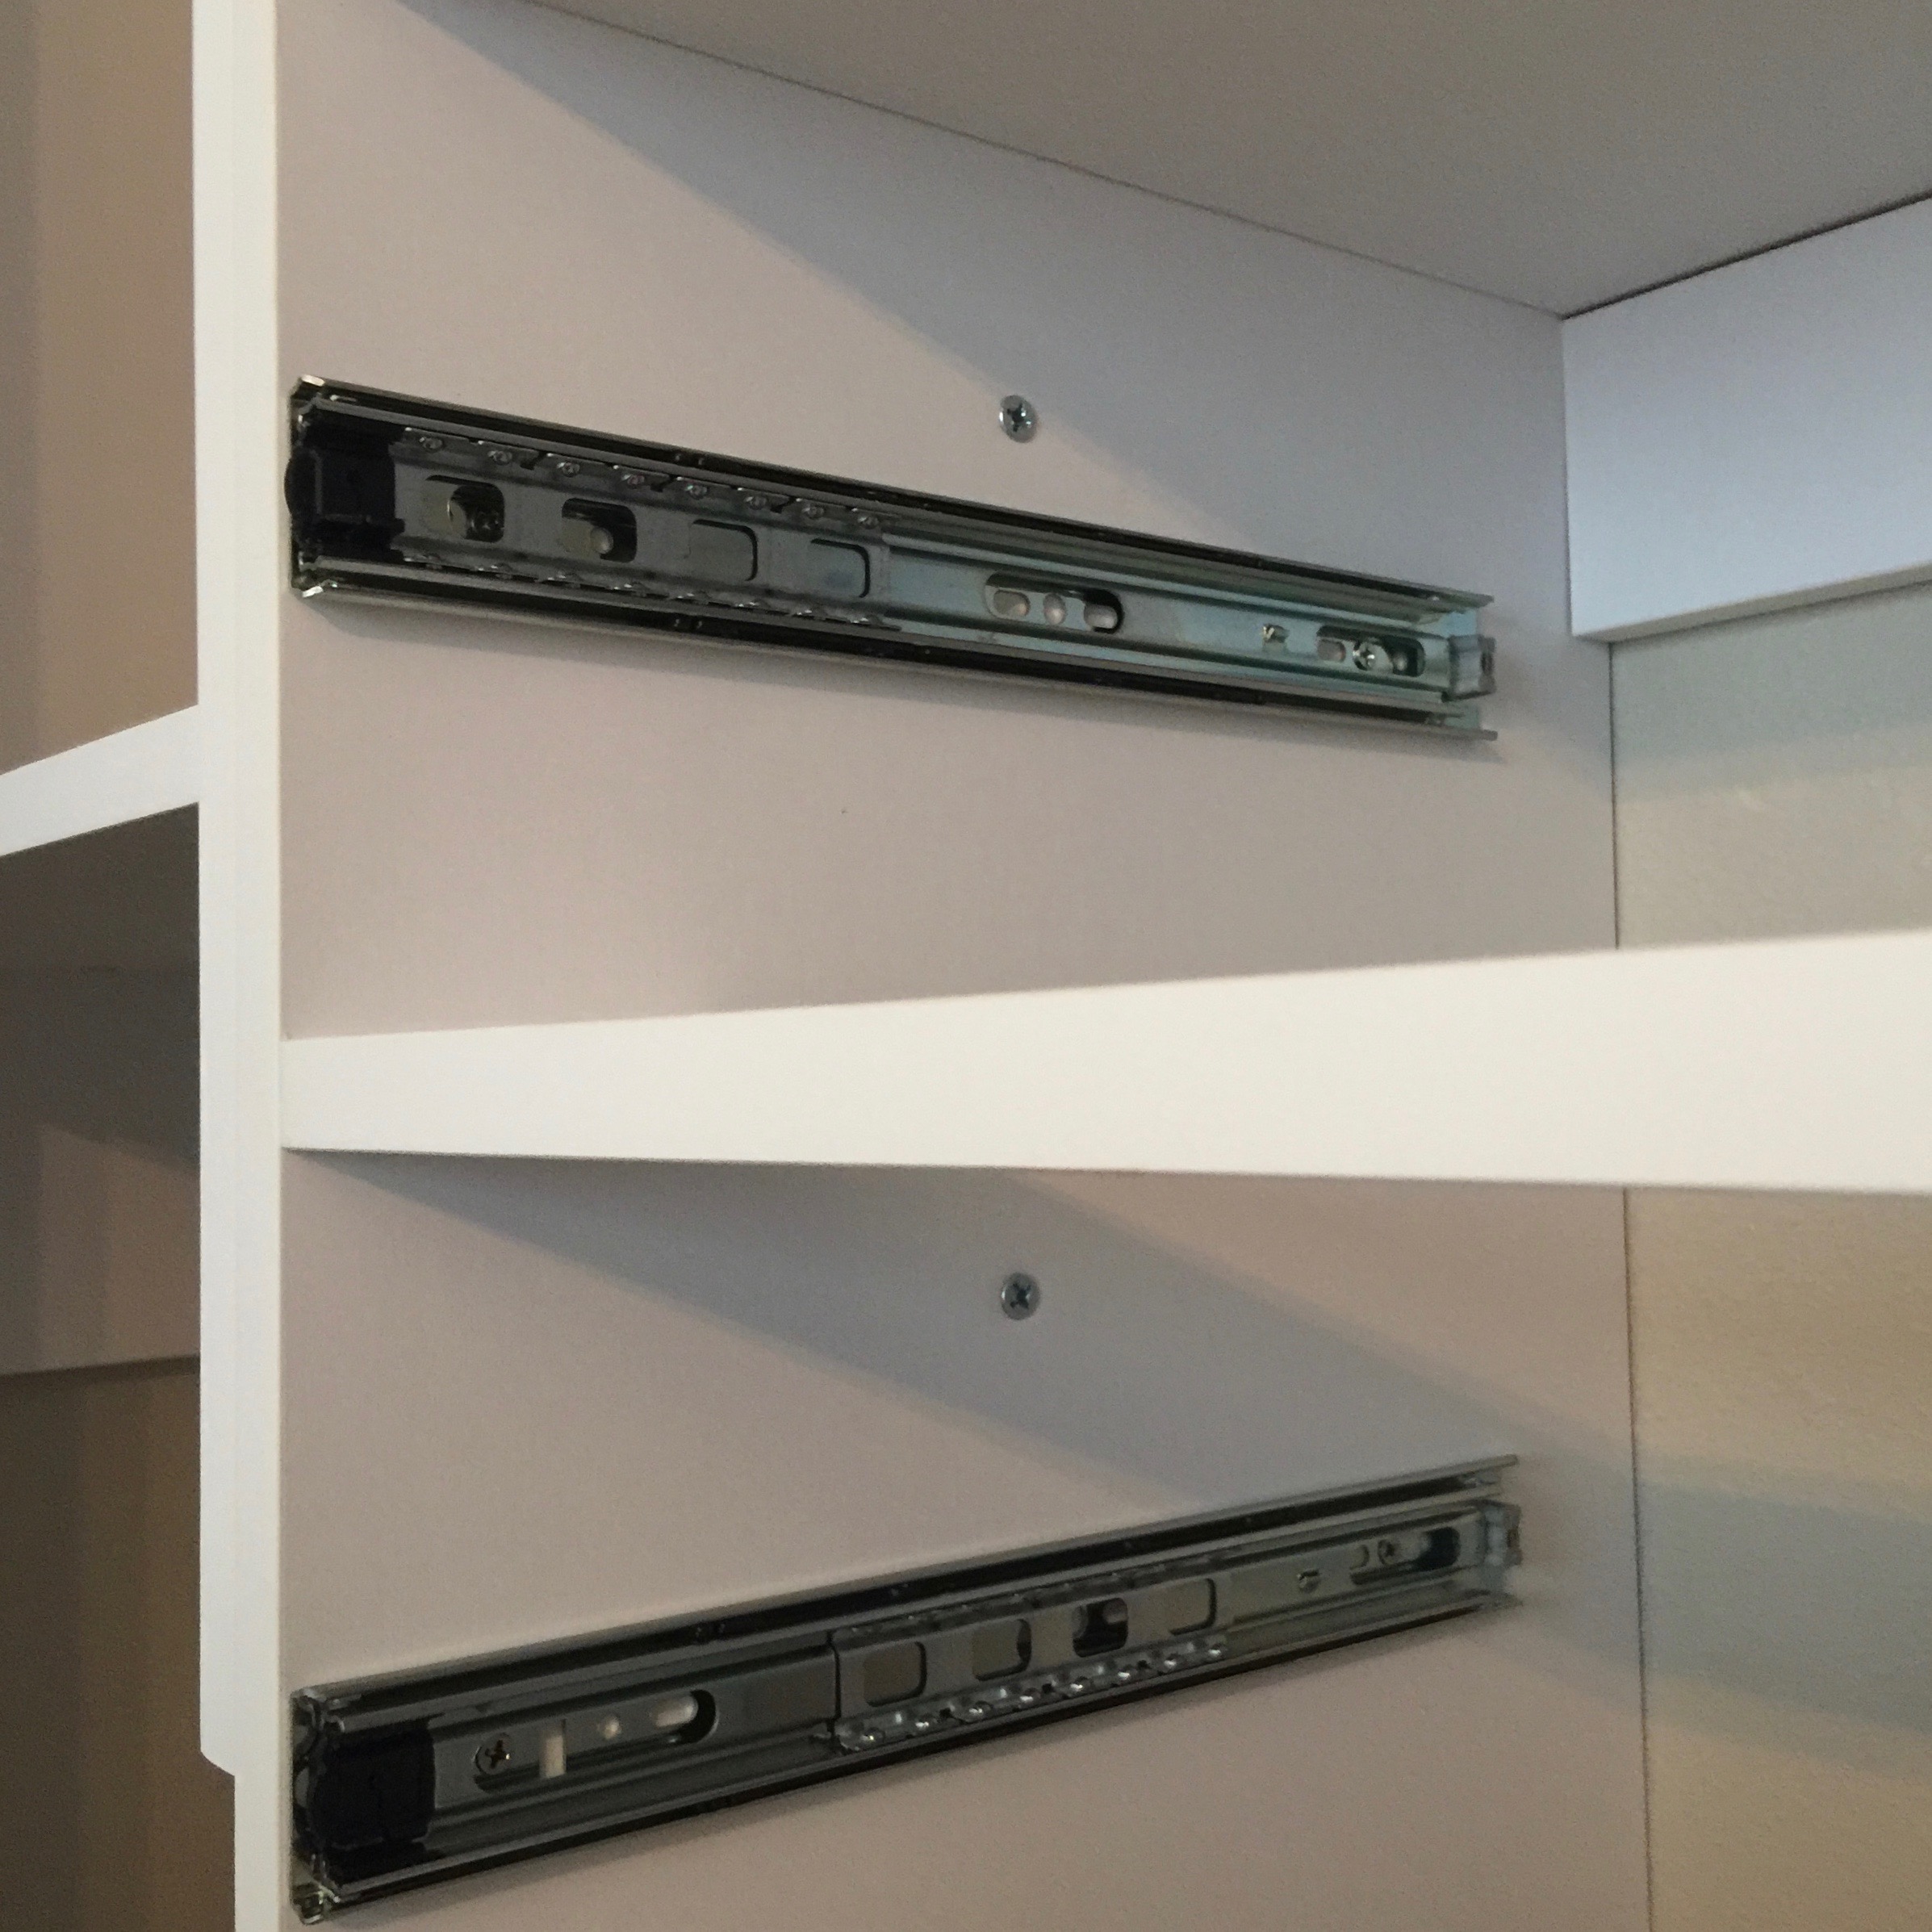
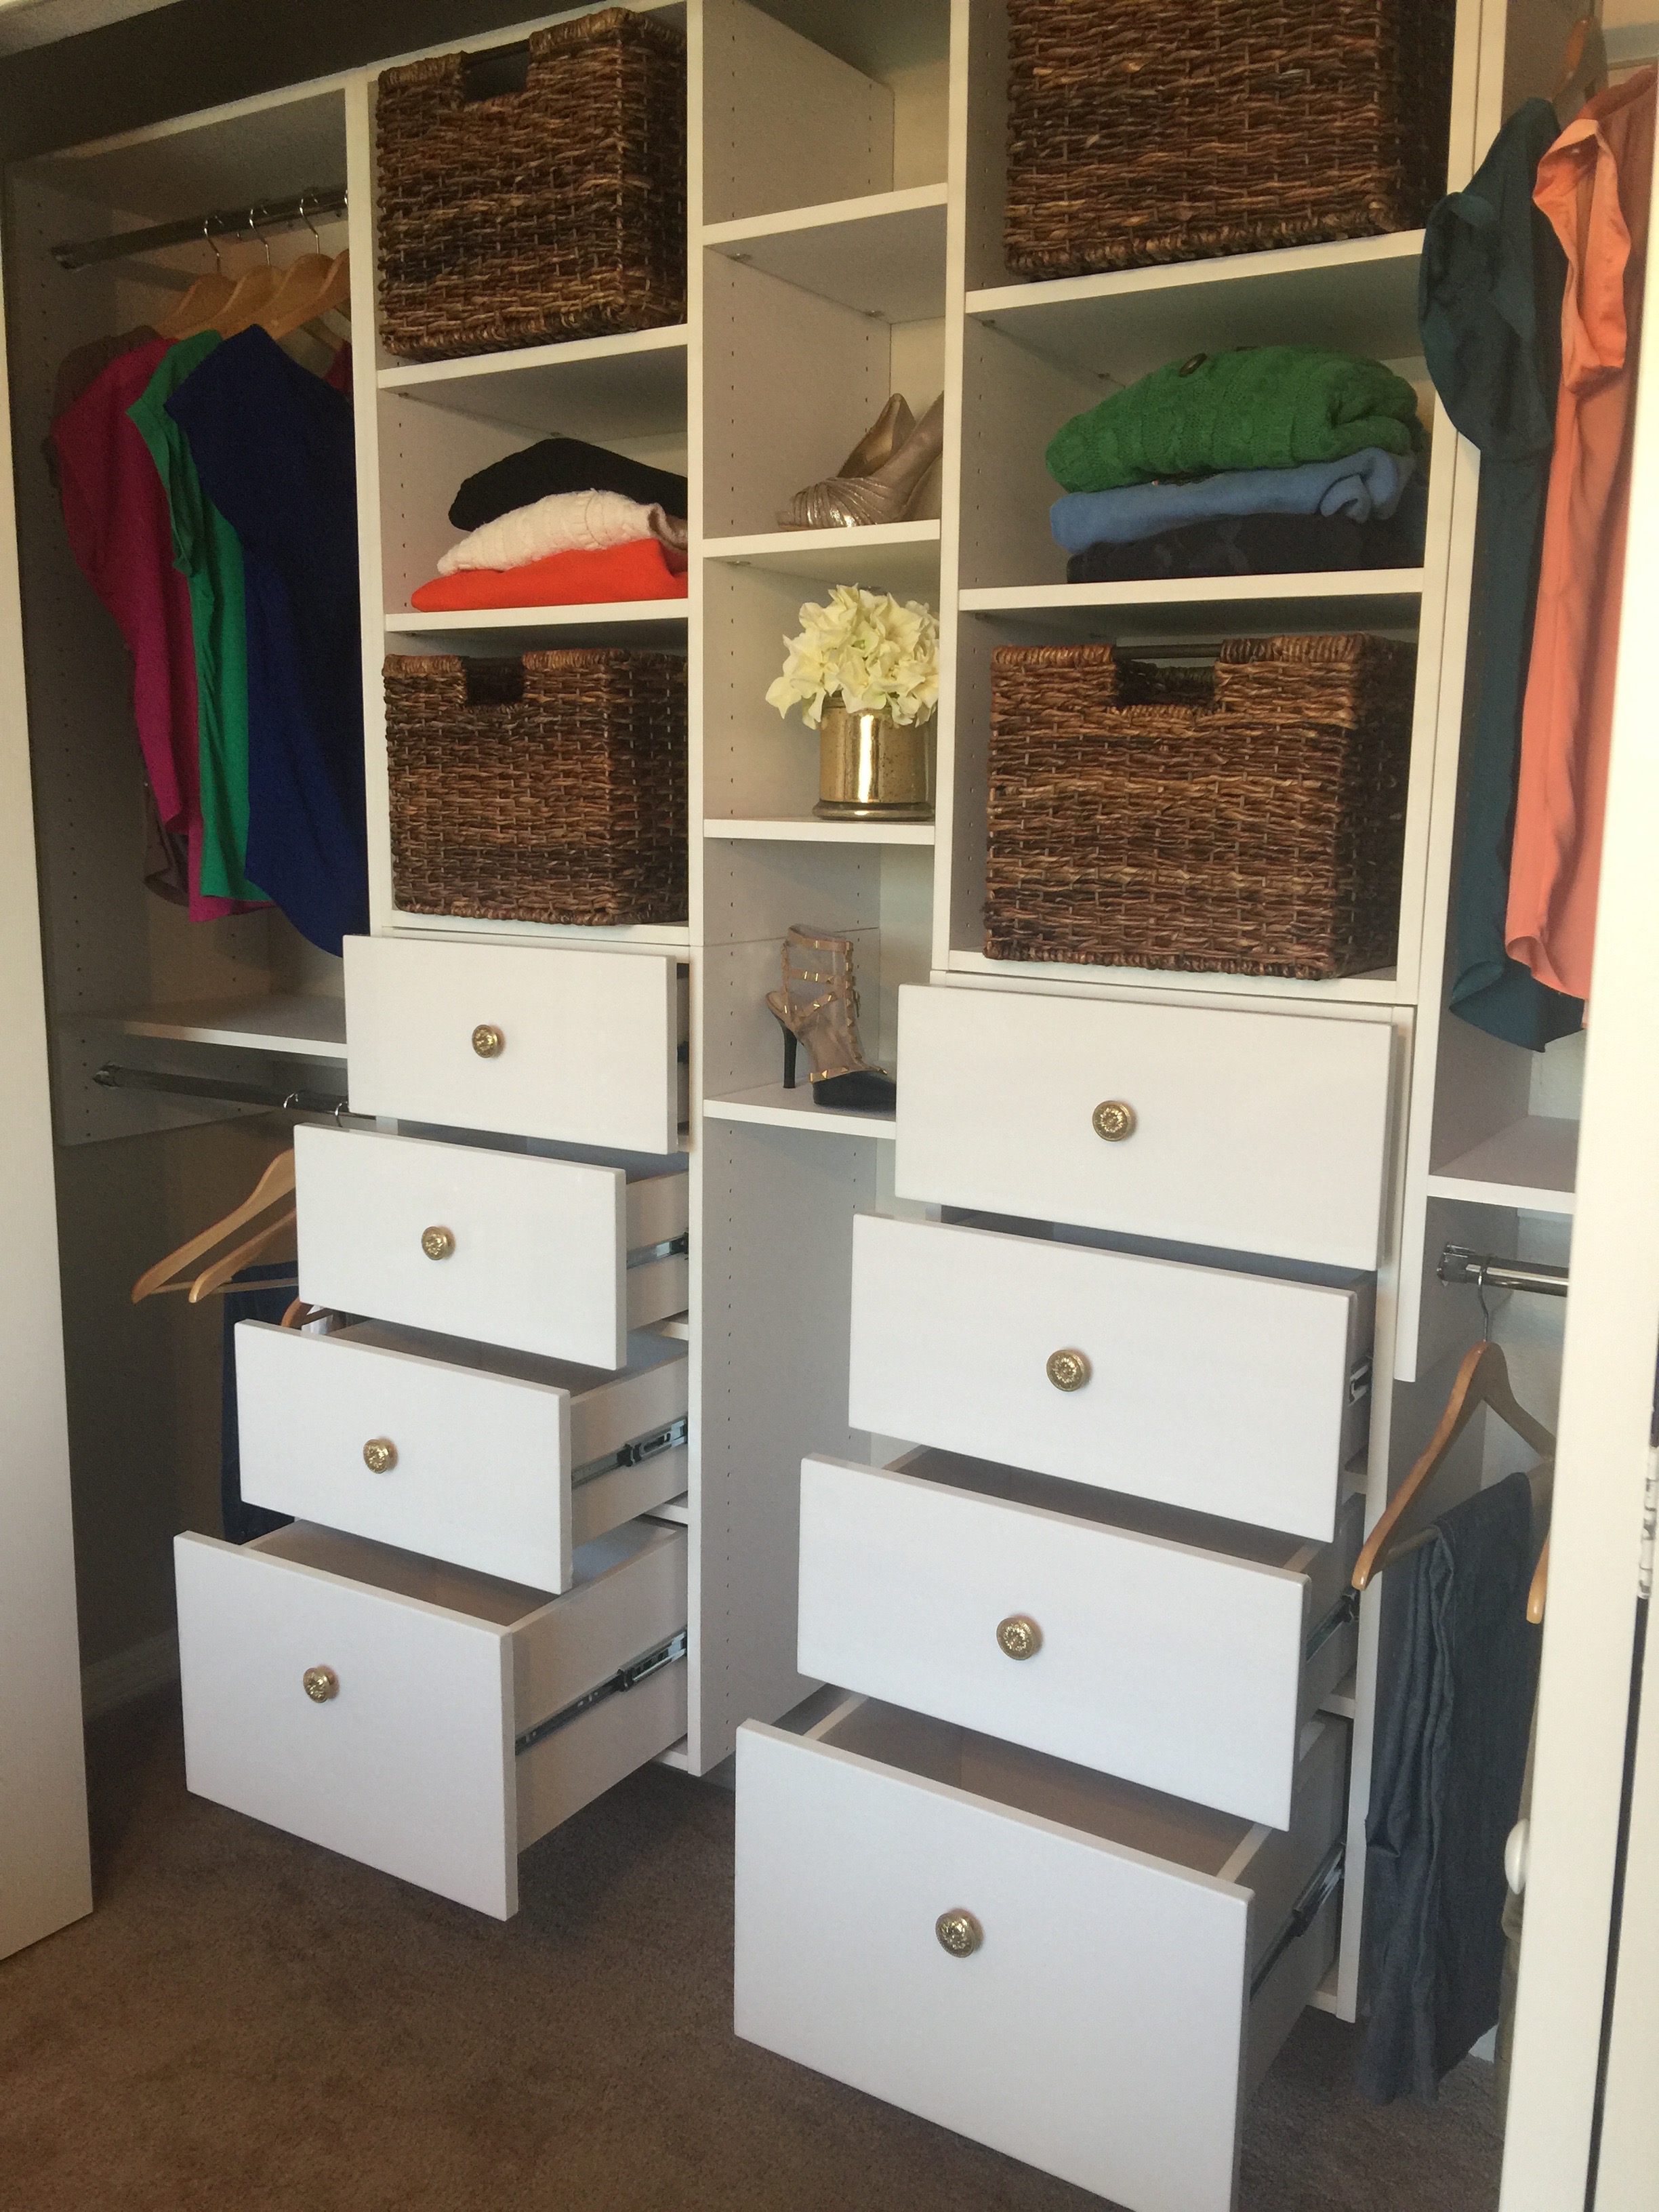
Lastly, I built the drawers, added the middle shelves, drawer slides, silver hanging bars, and these gold drawer pulls.
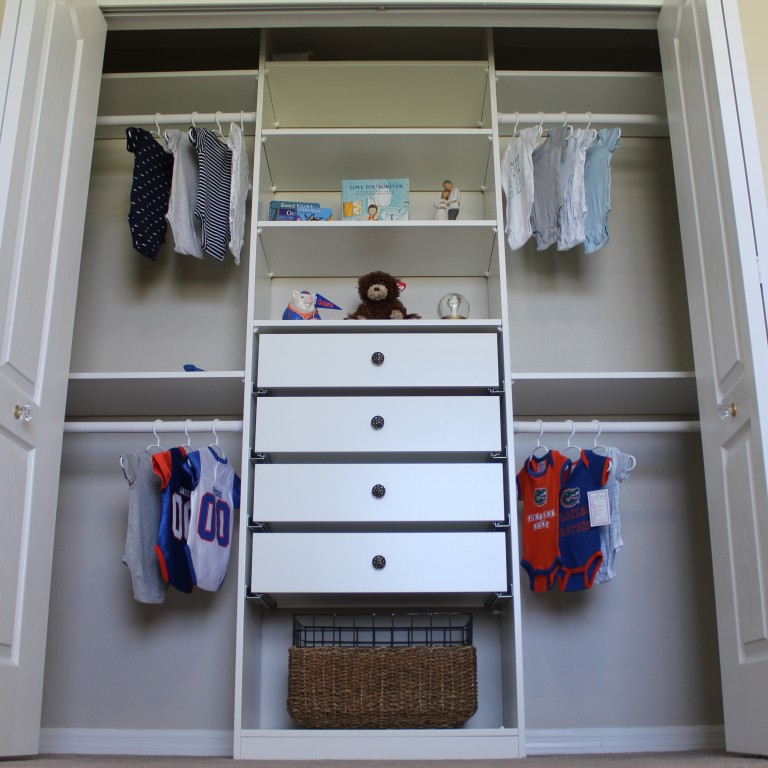
And now for the pretty part! The REVEAL!
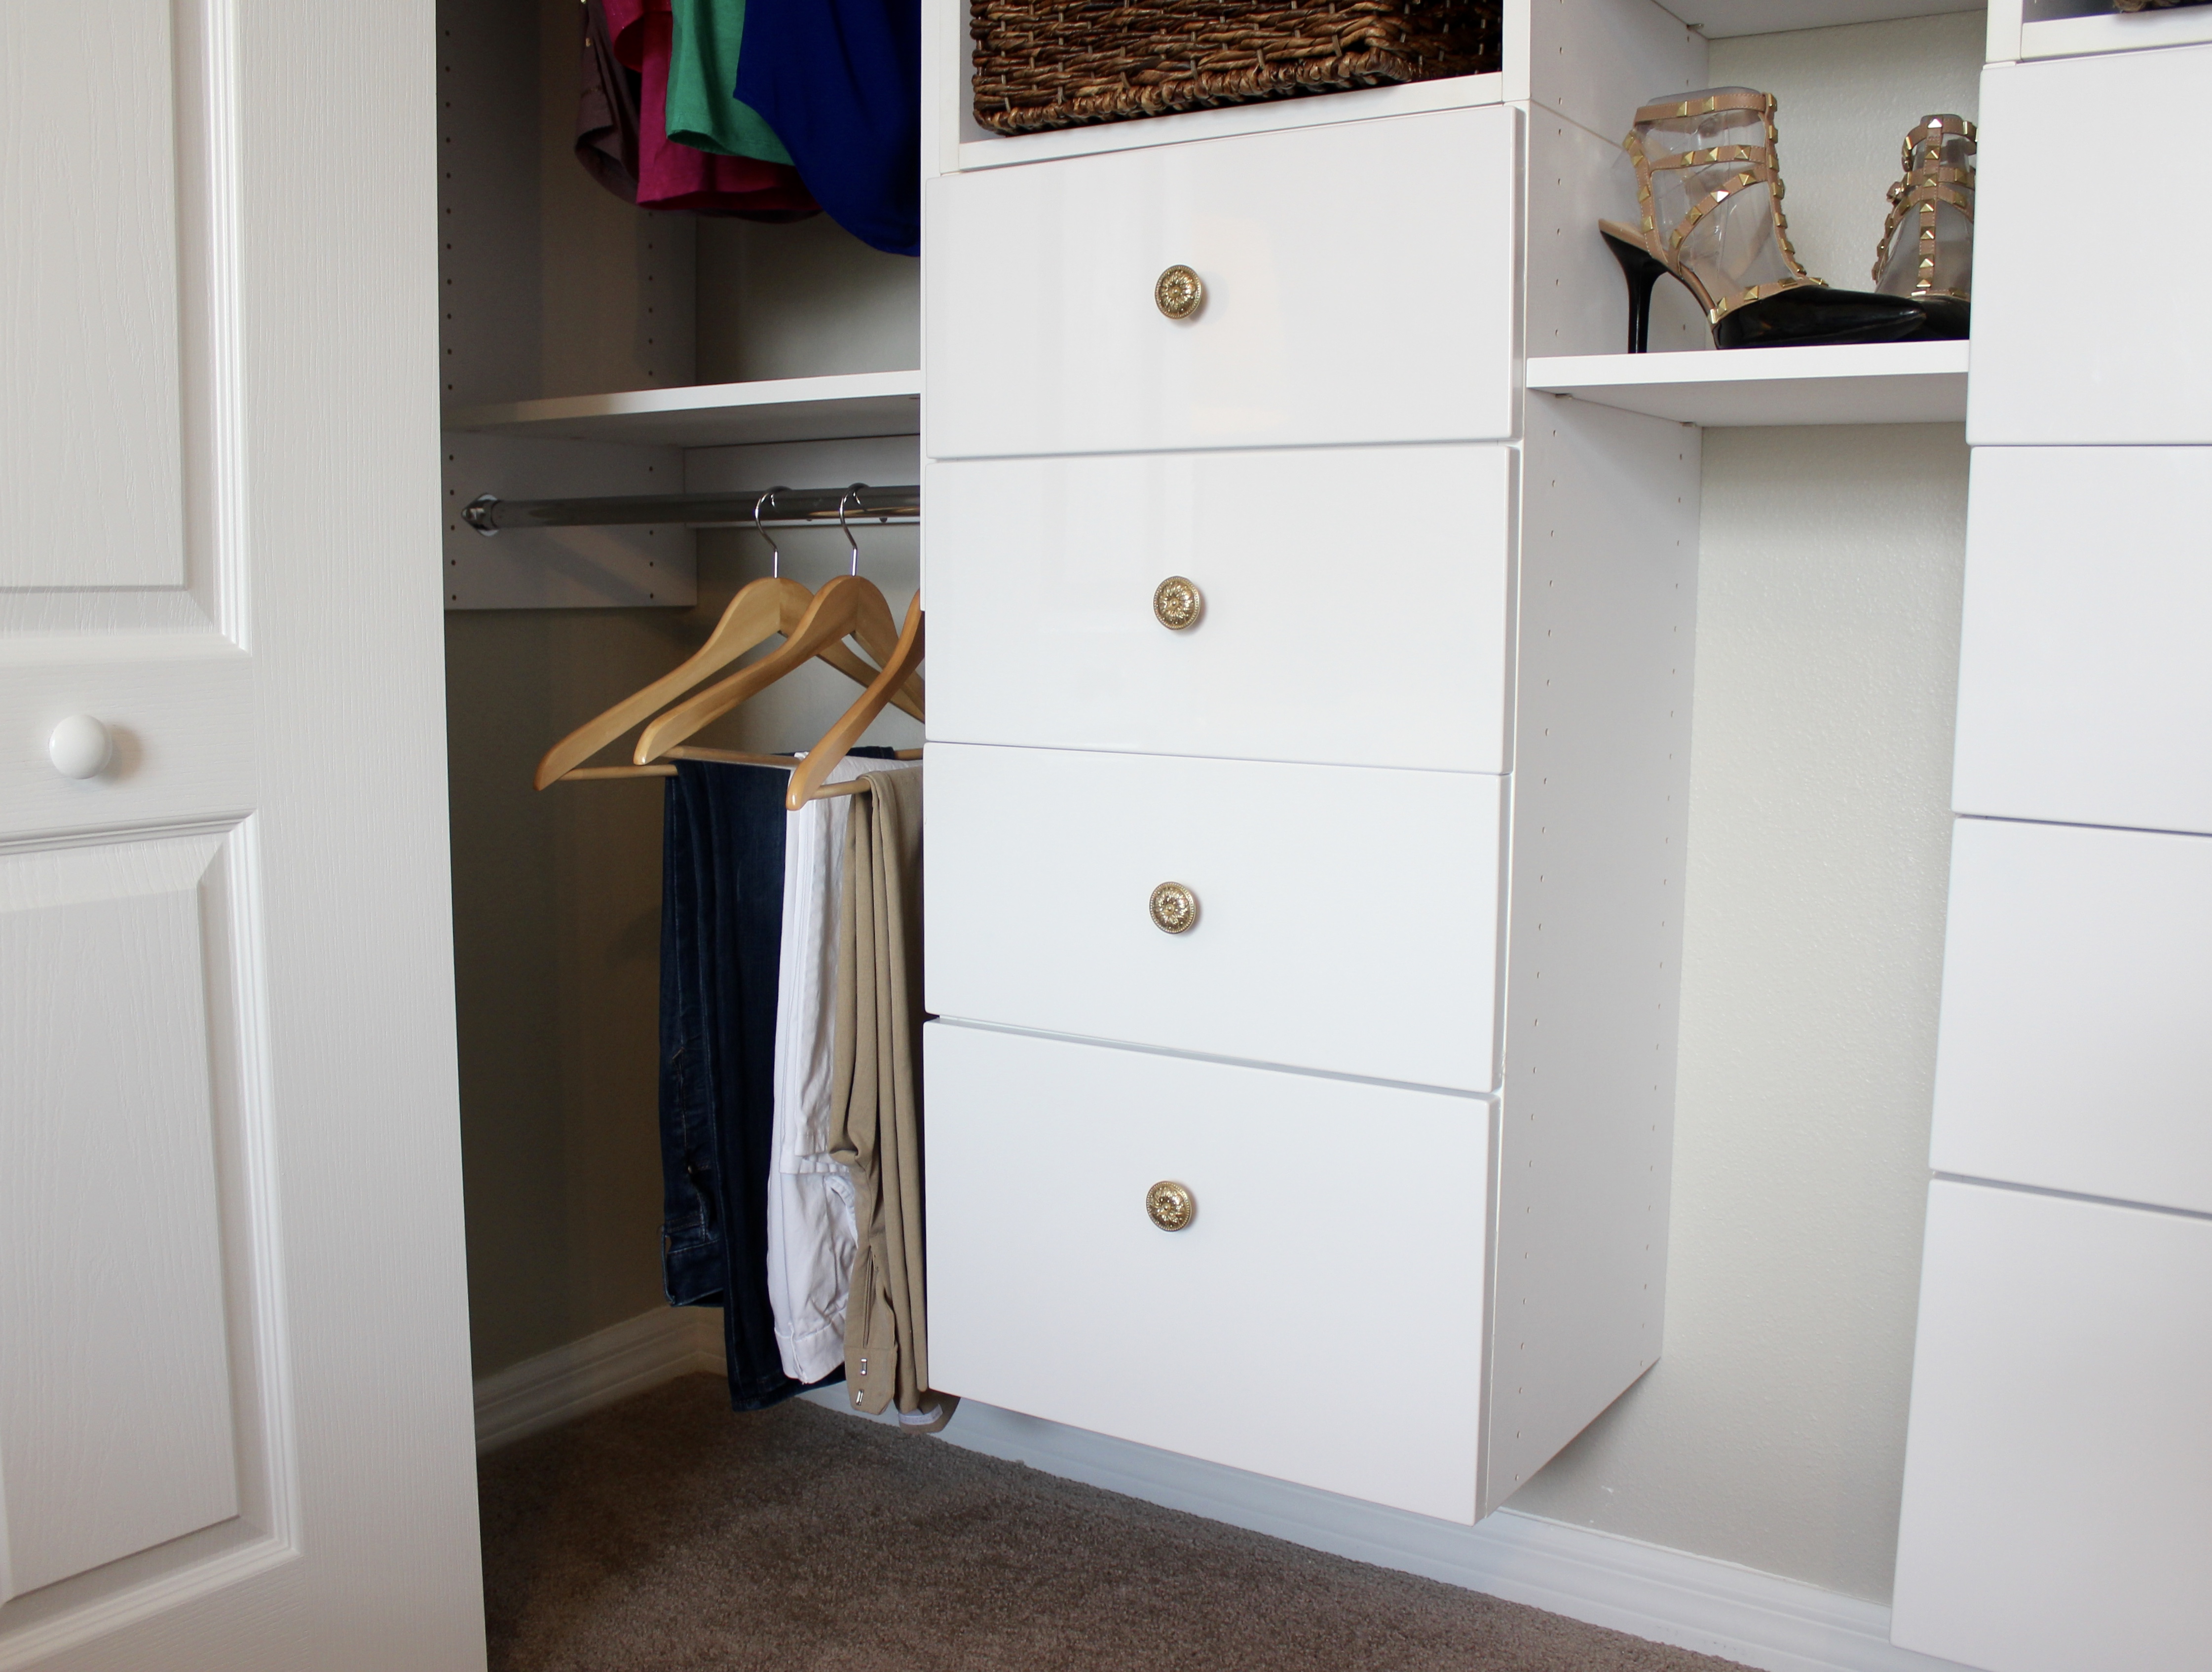

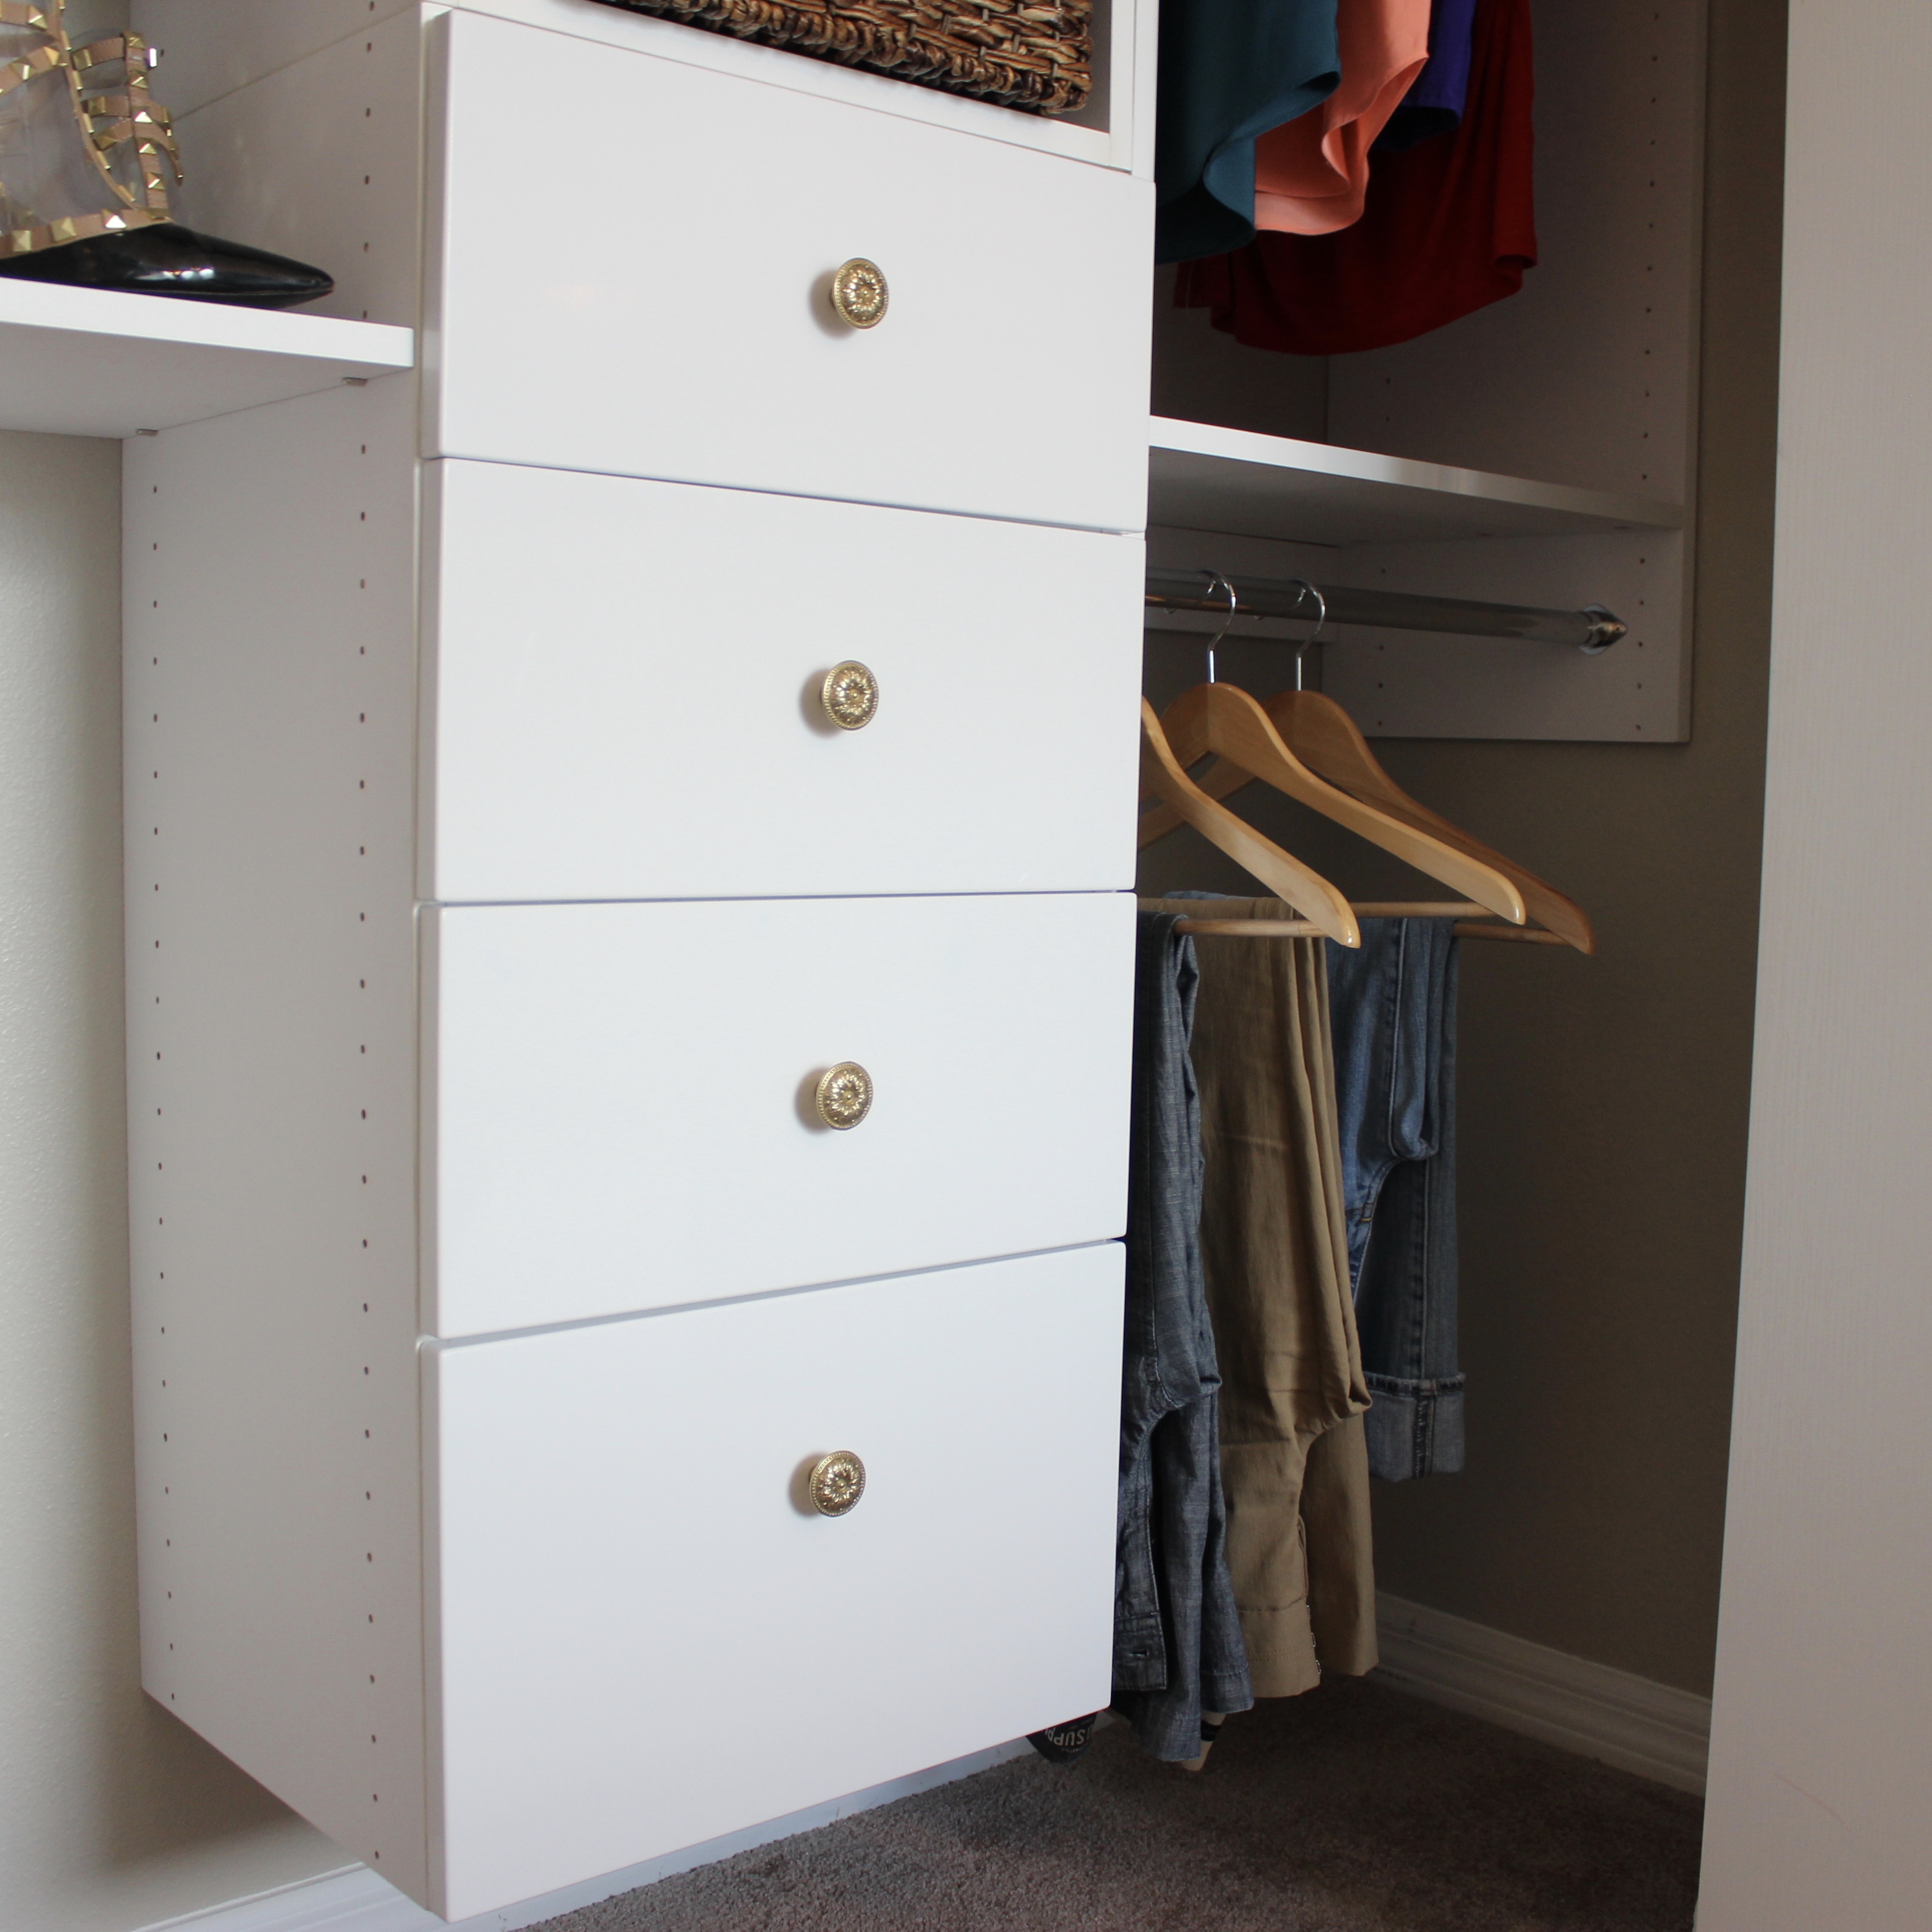
The drawers slide out super far which is awesome for storage.
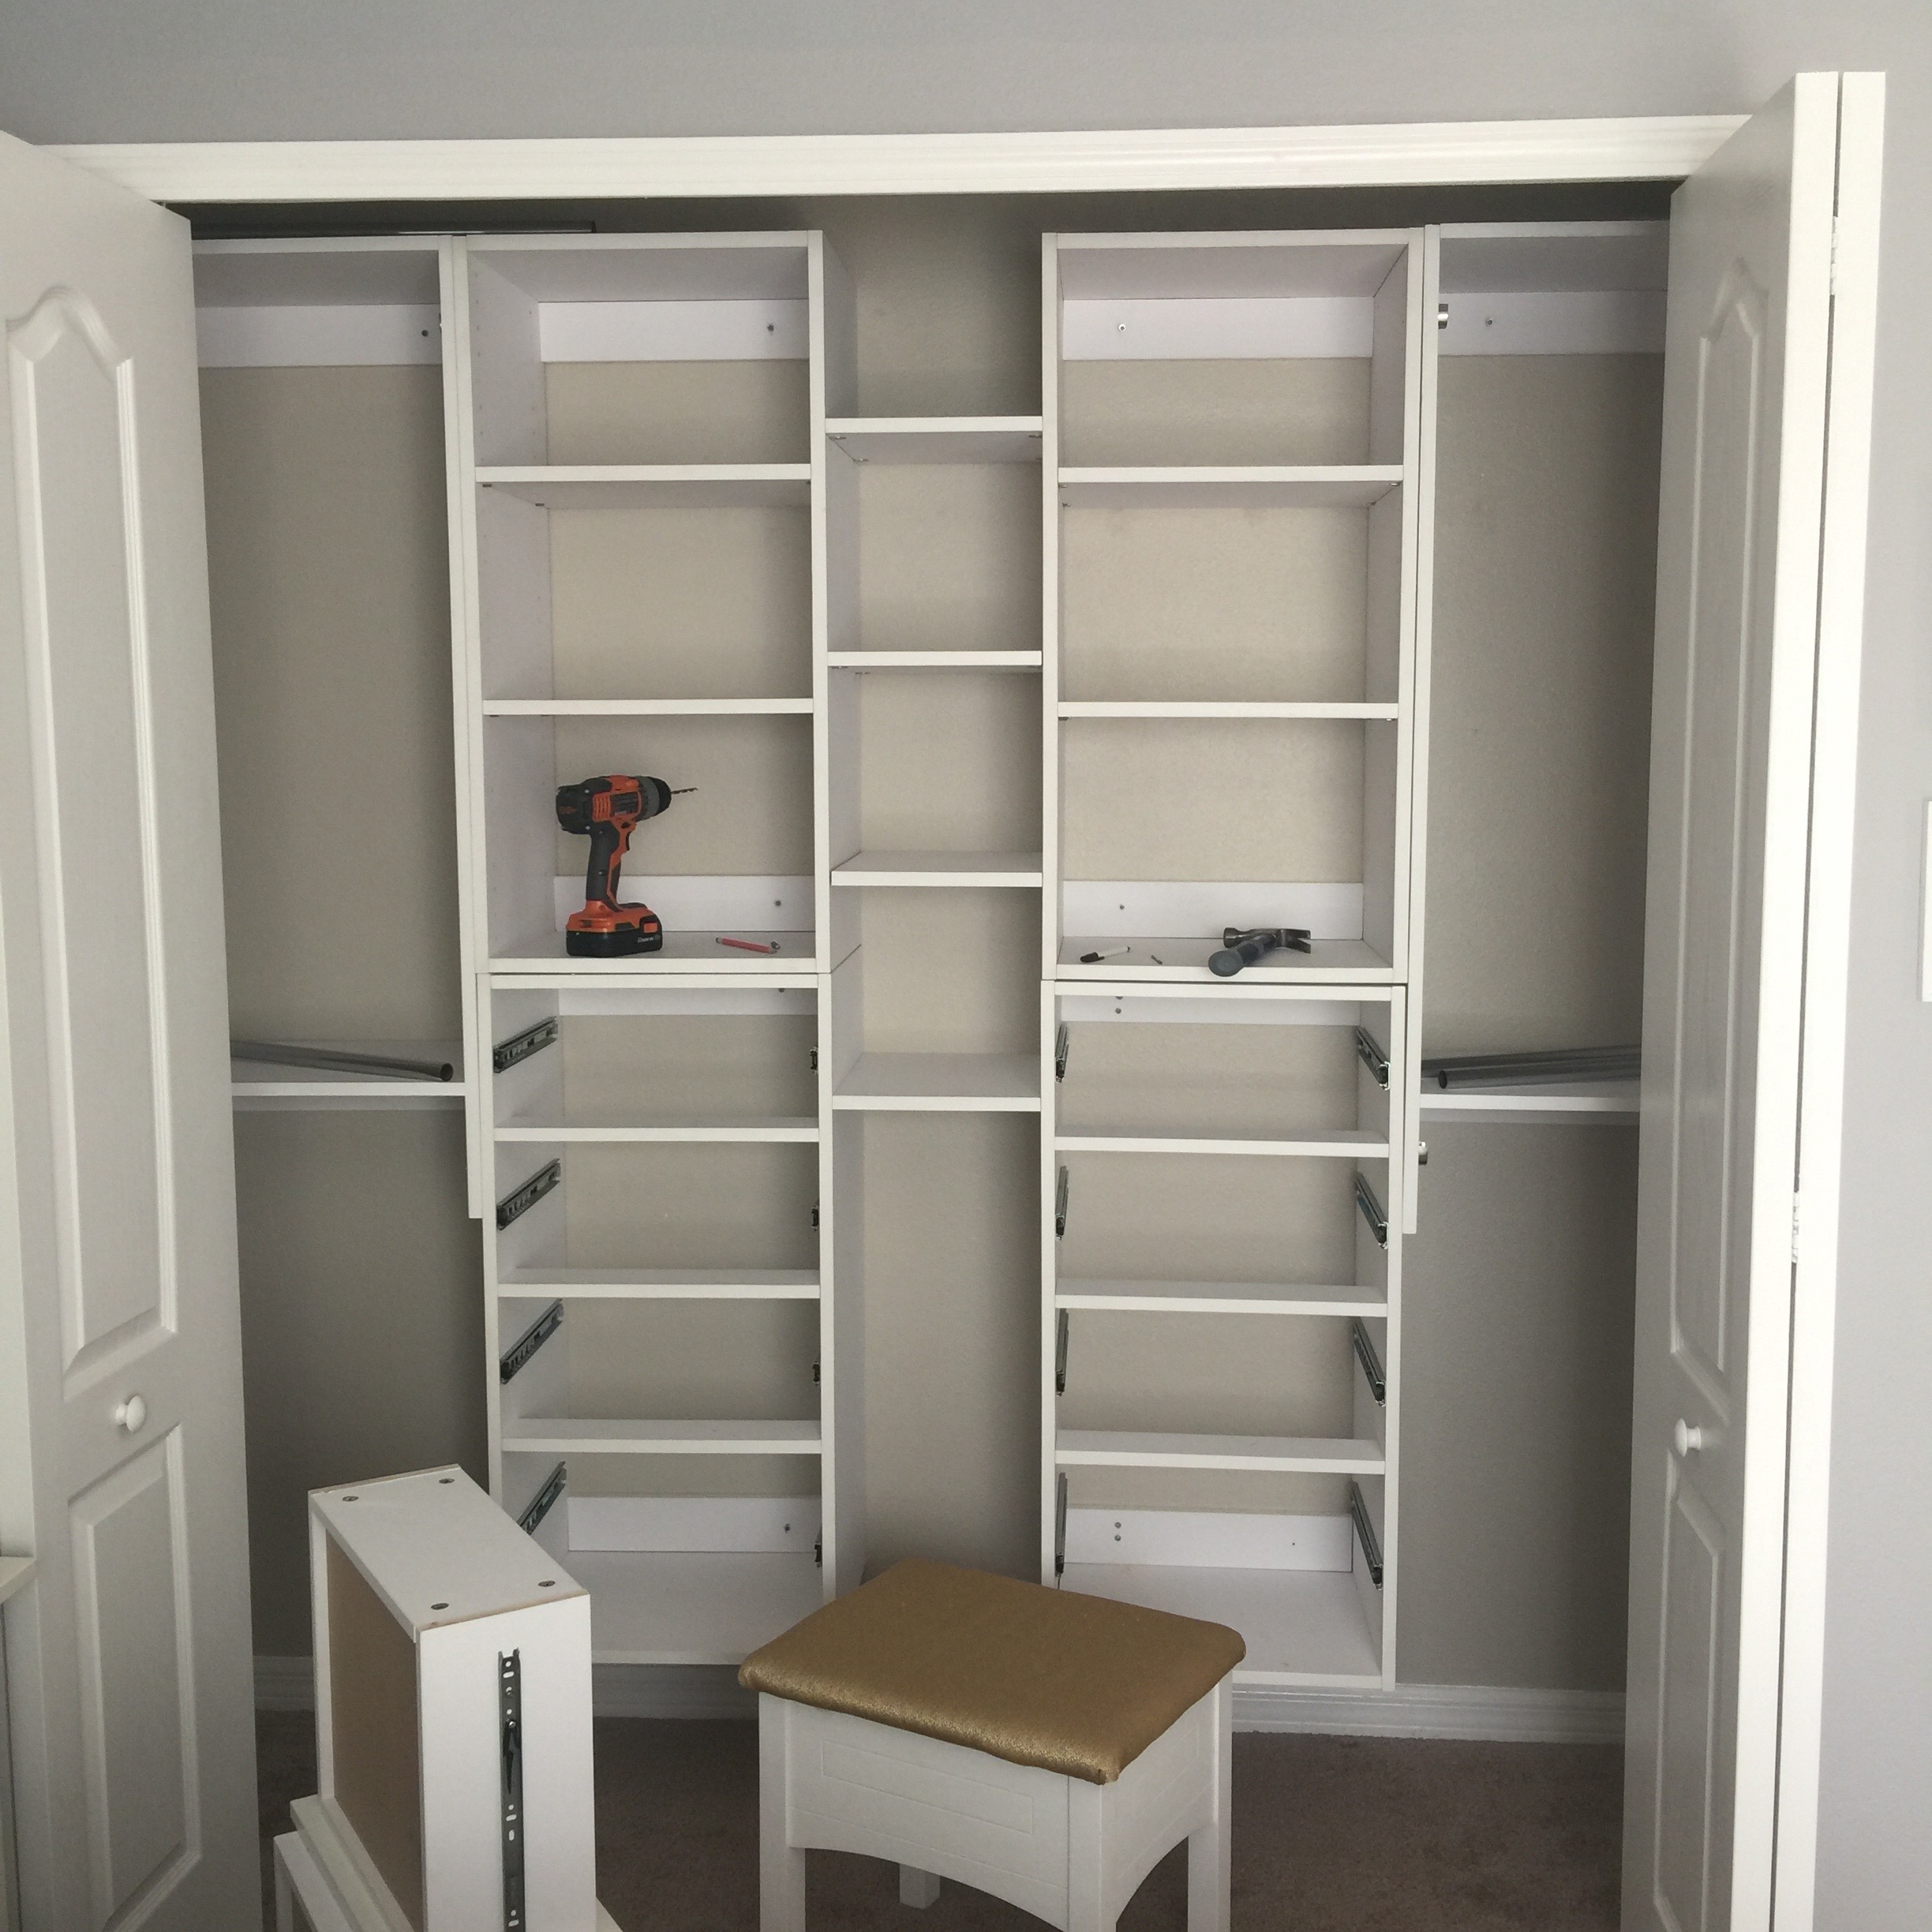
The BEFORE:
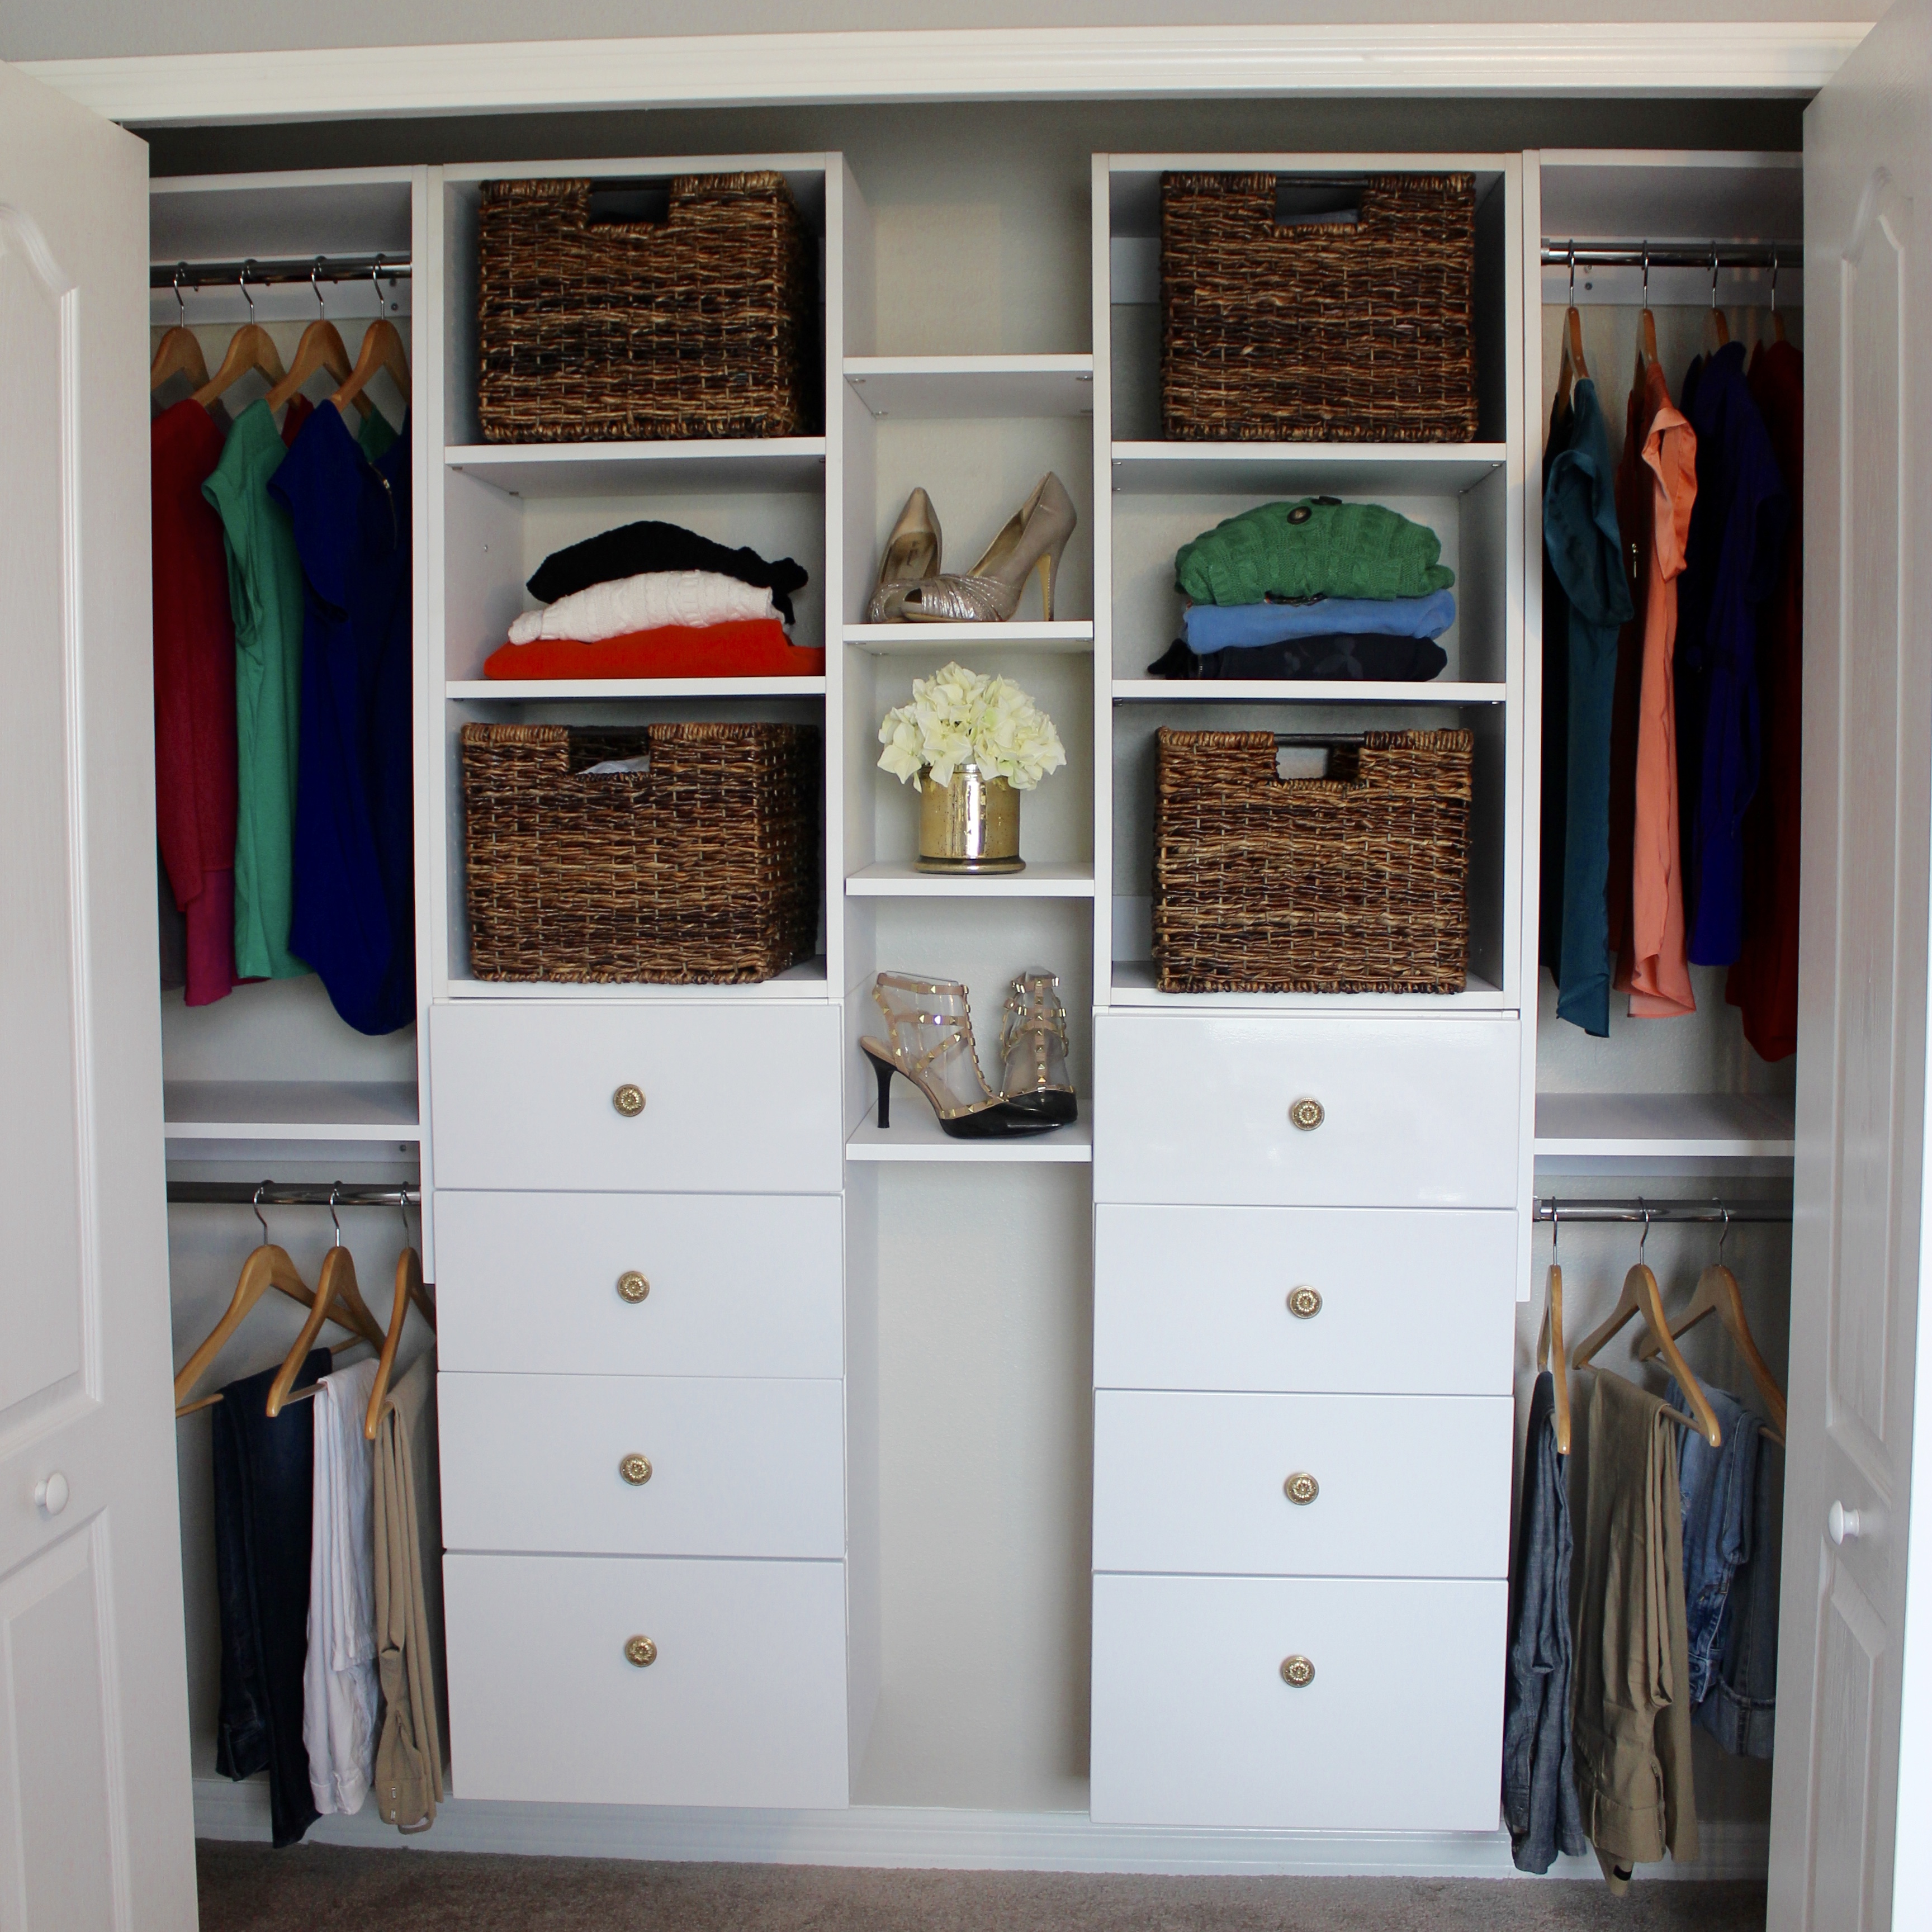
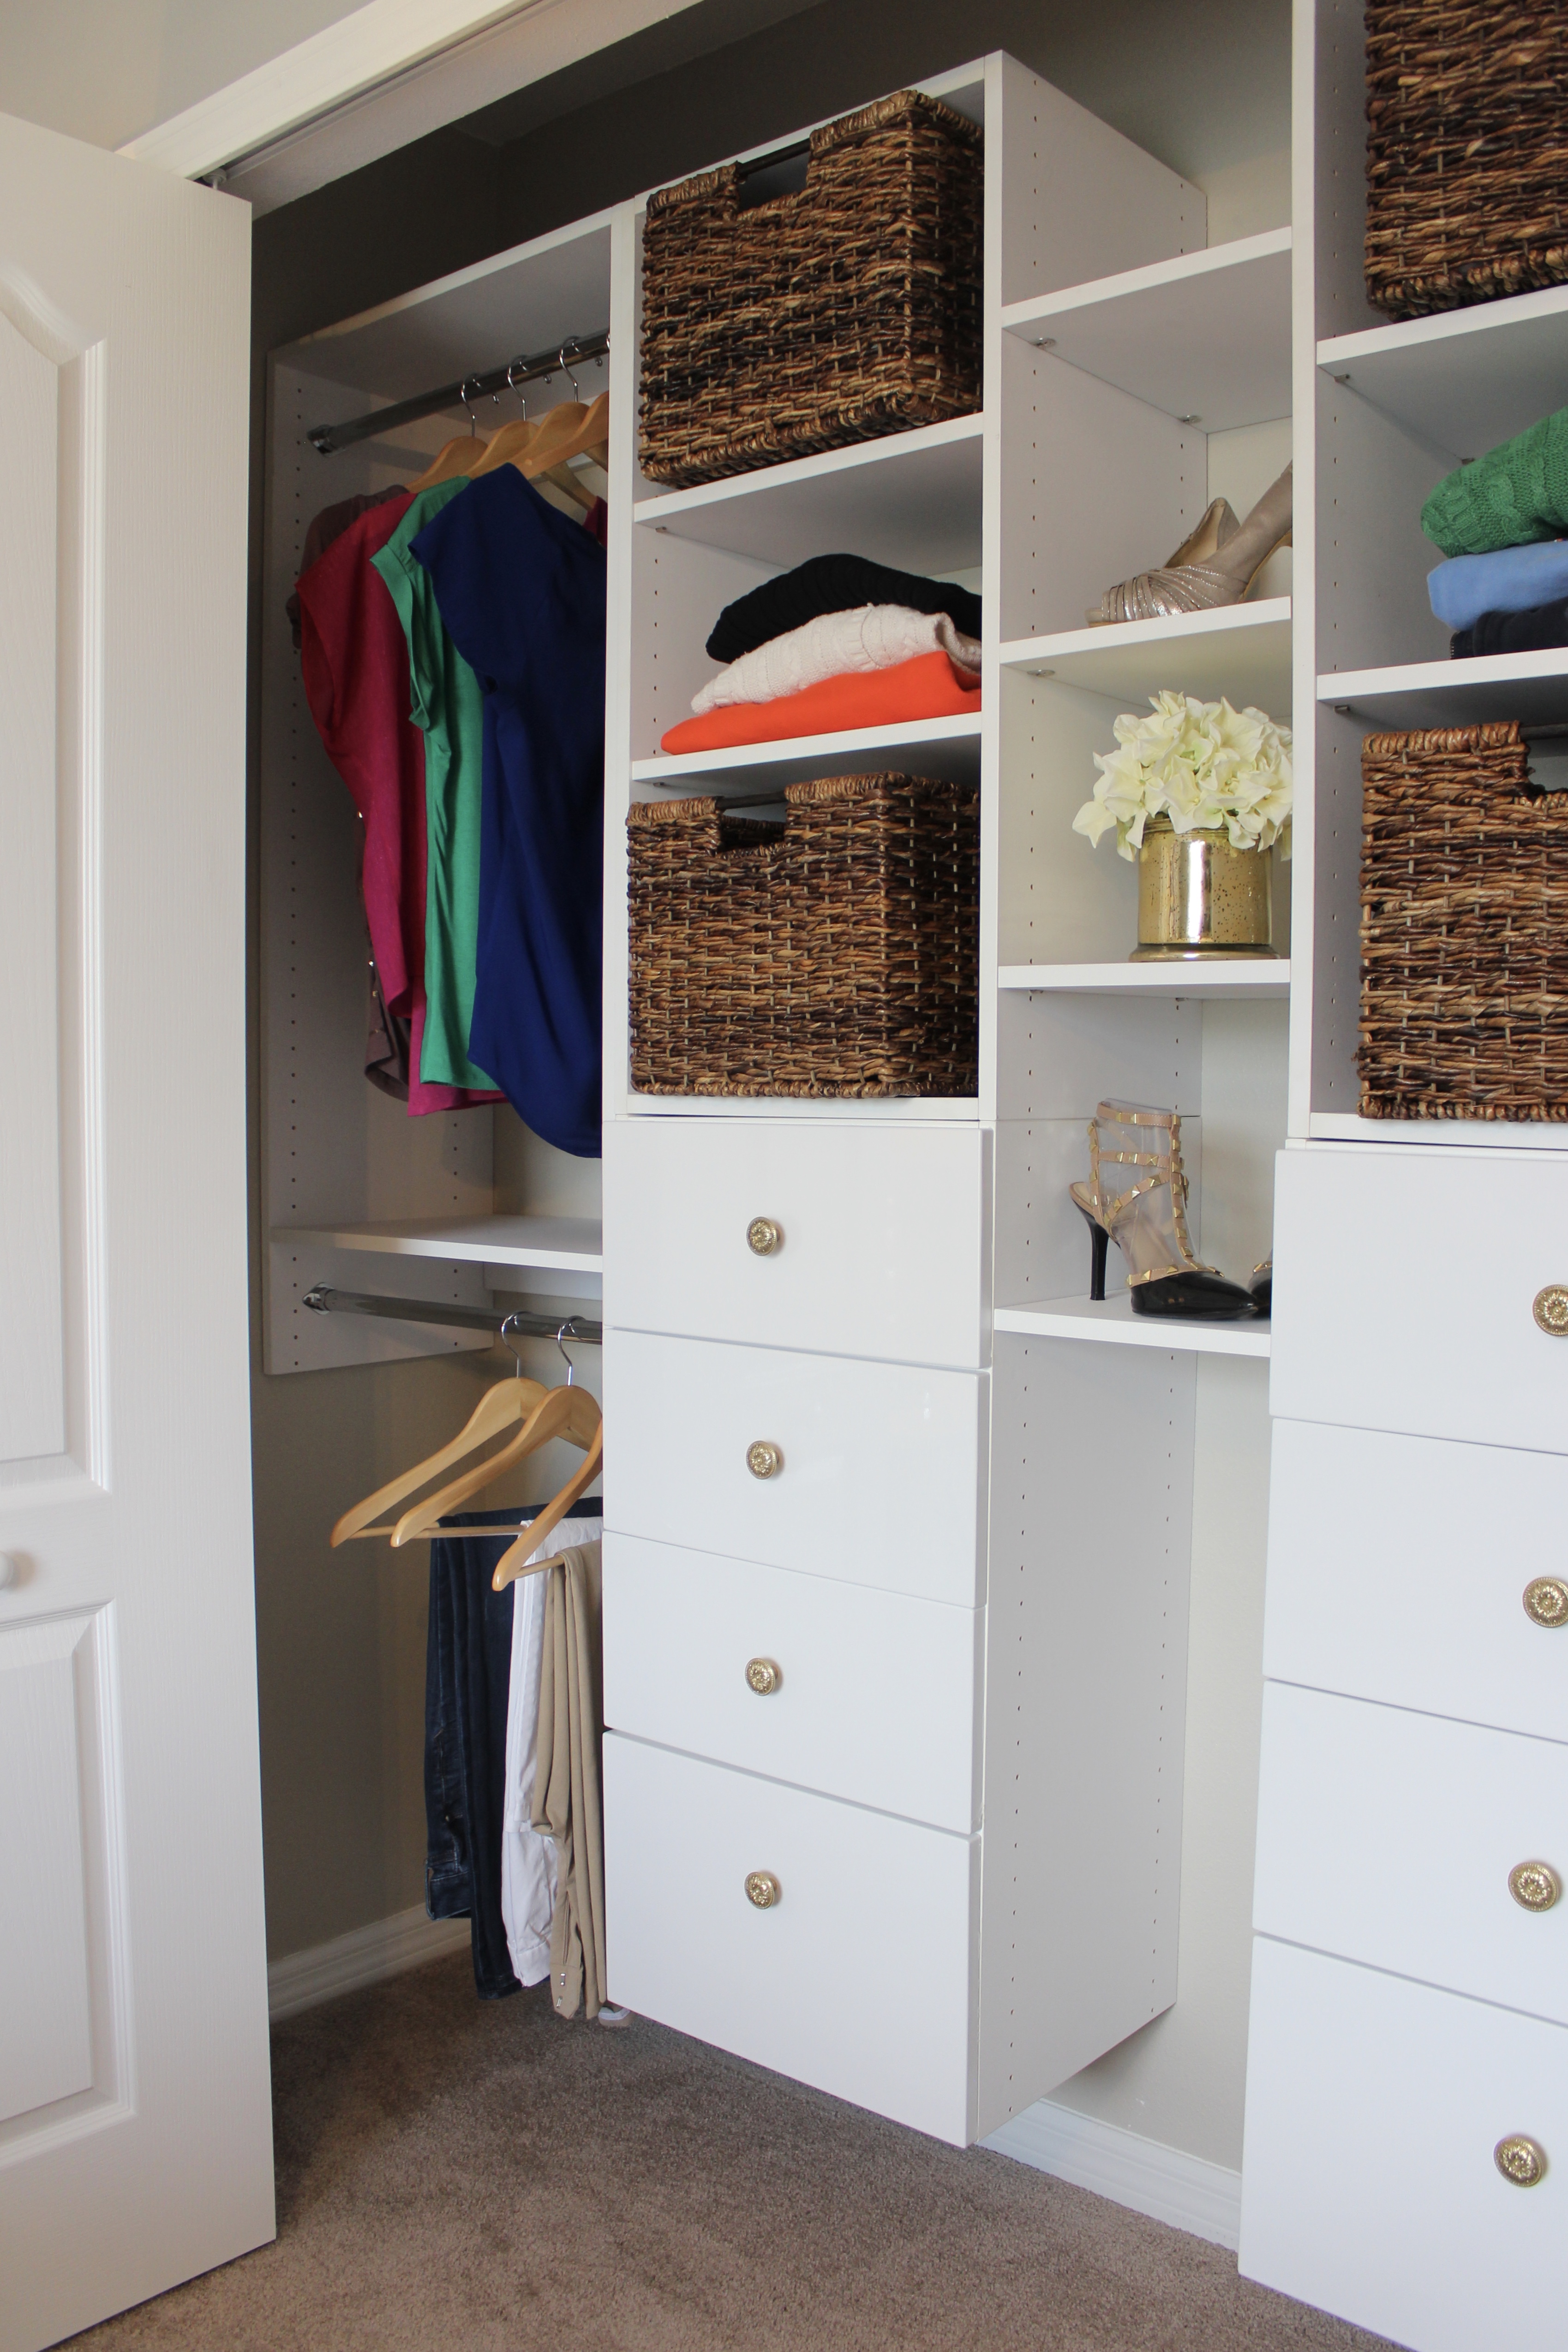
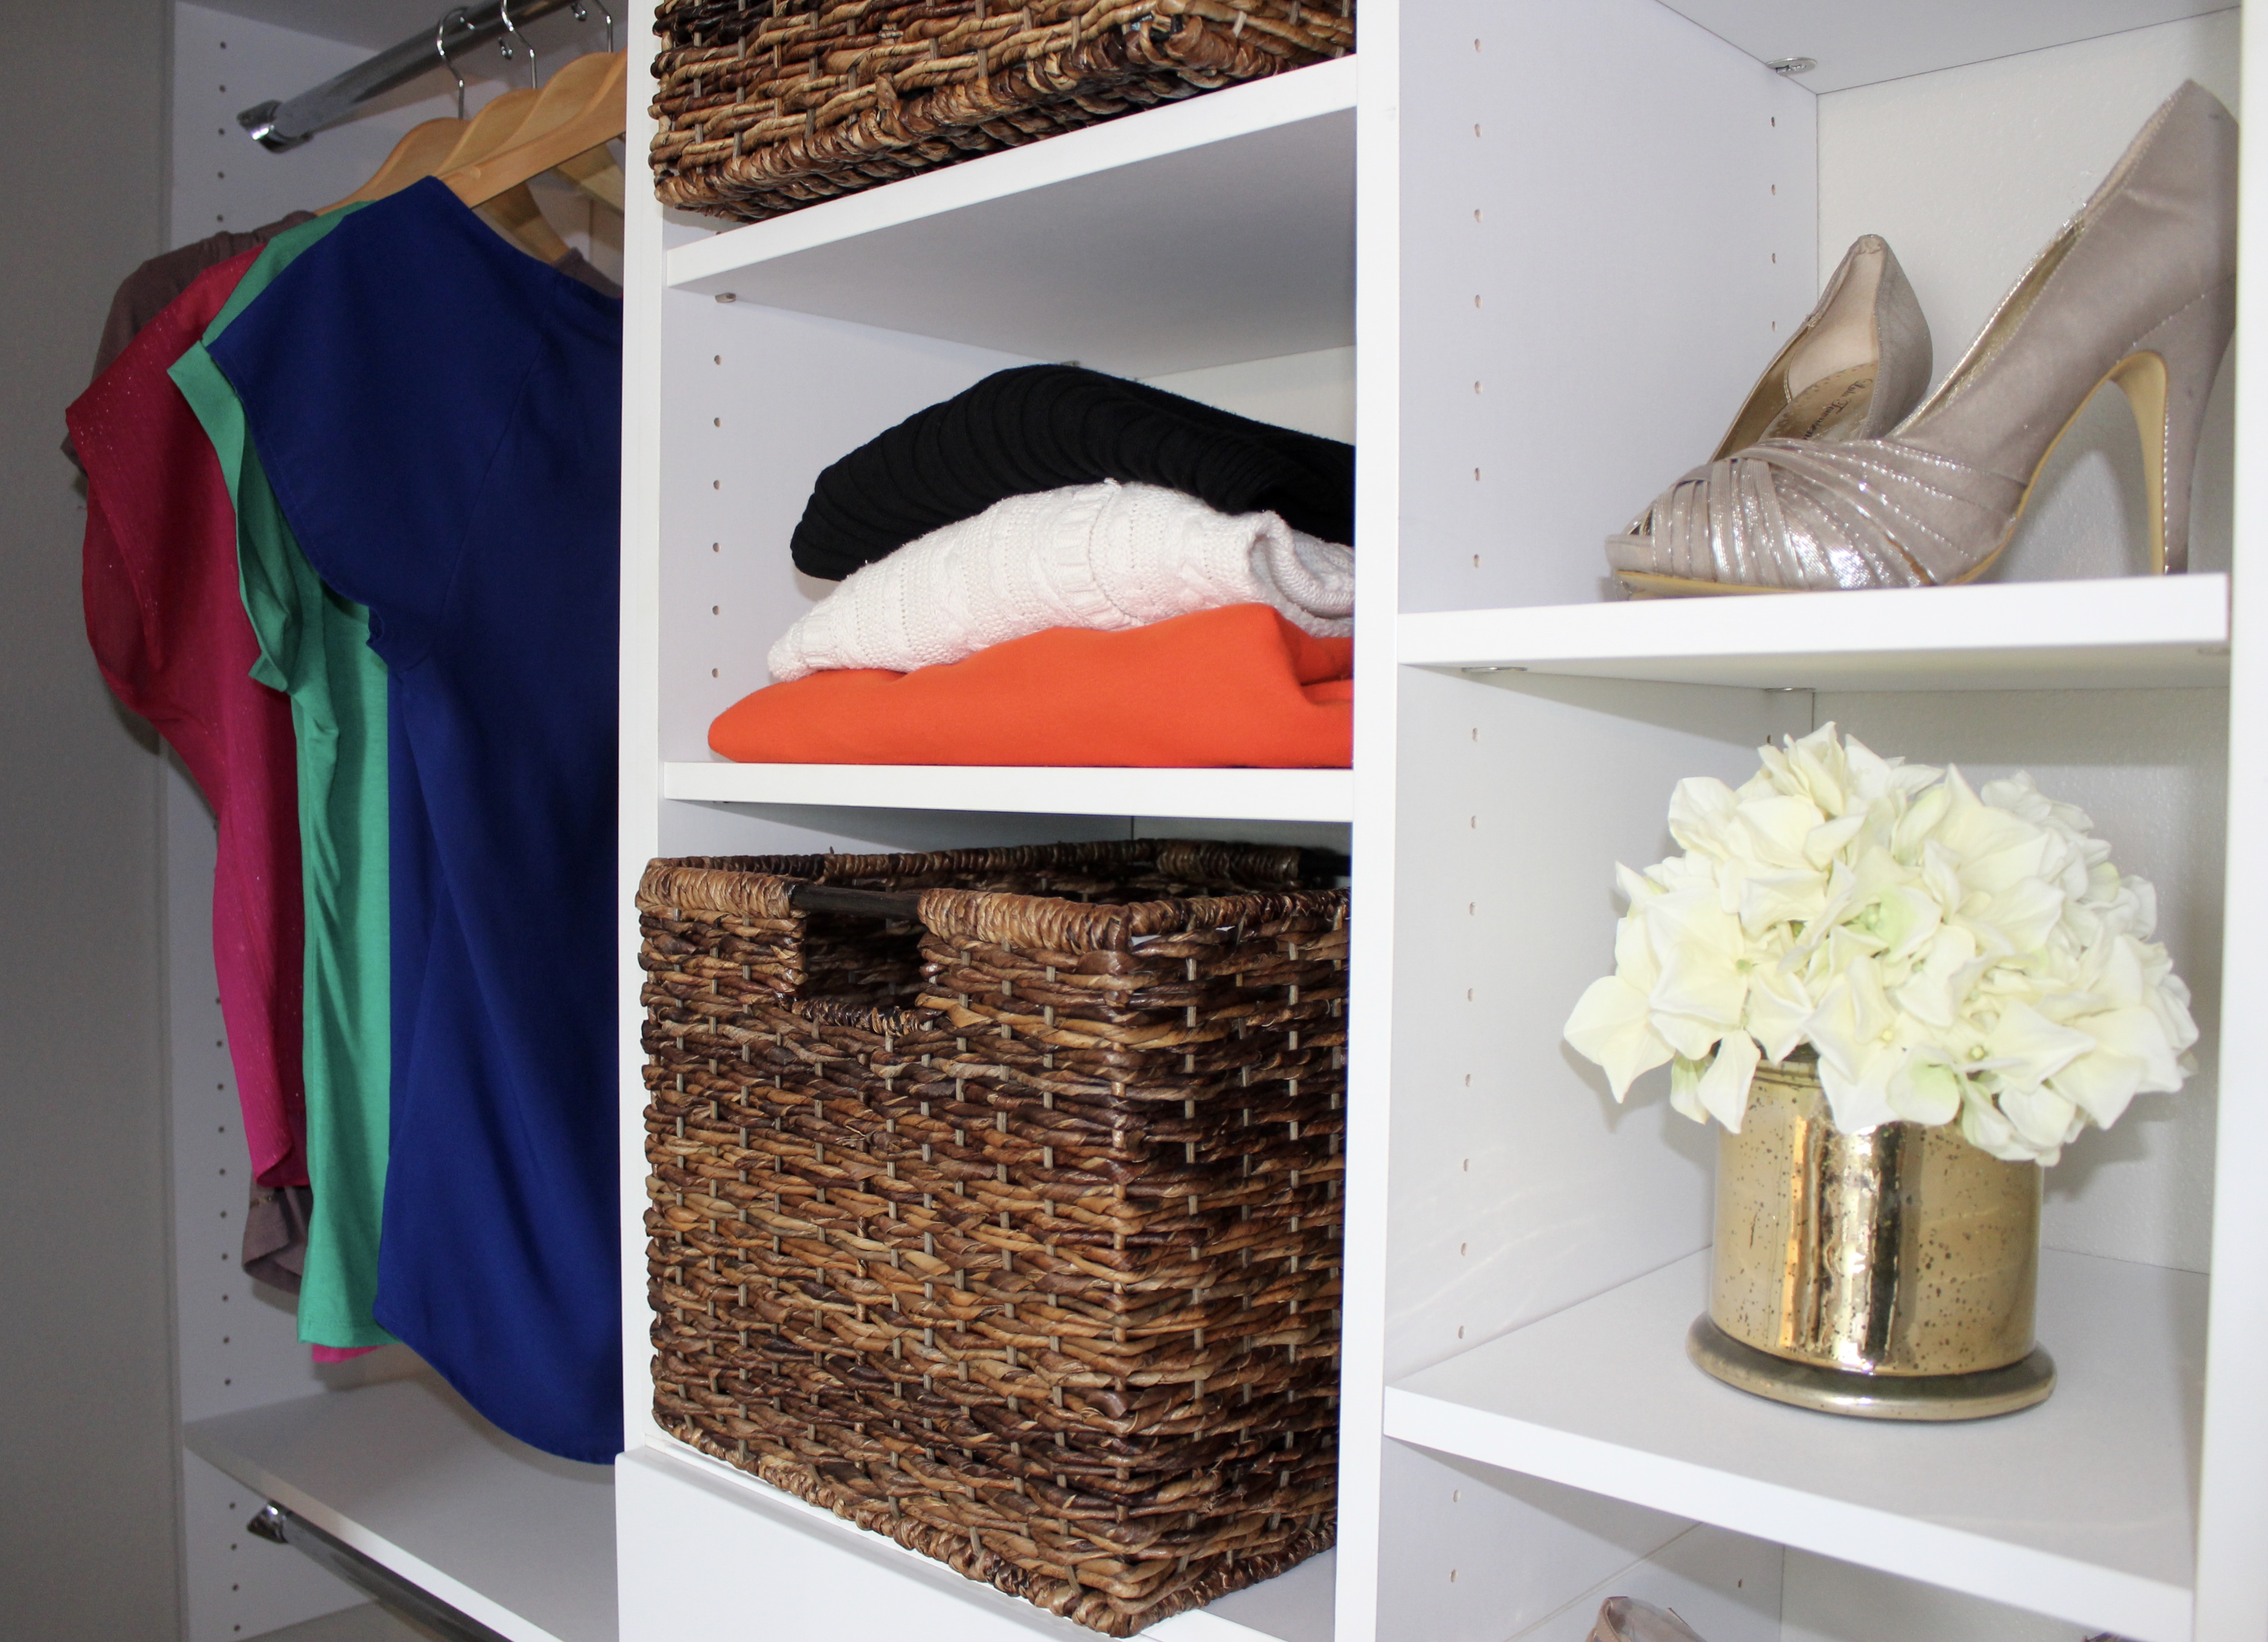
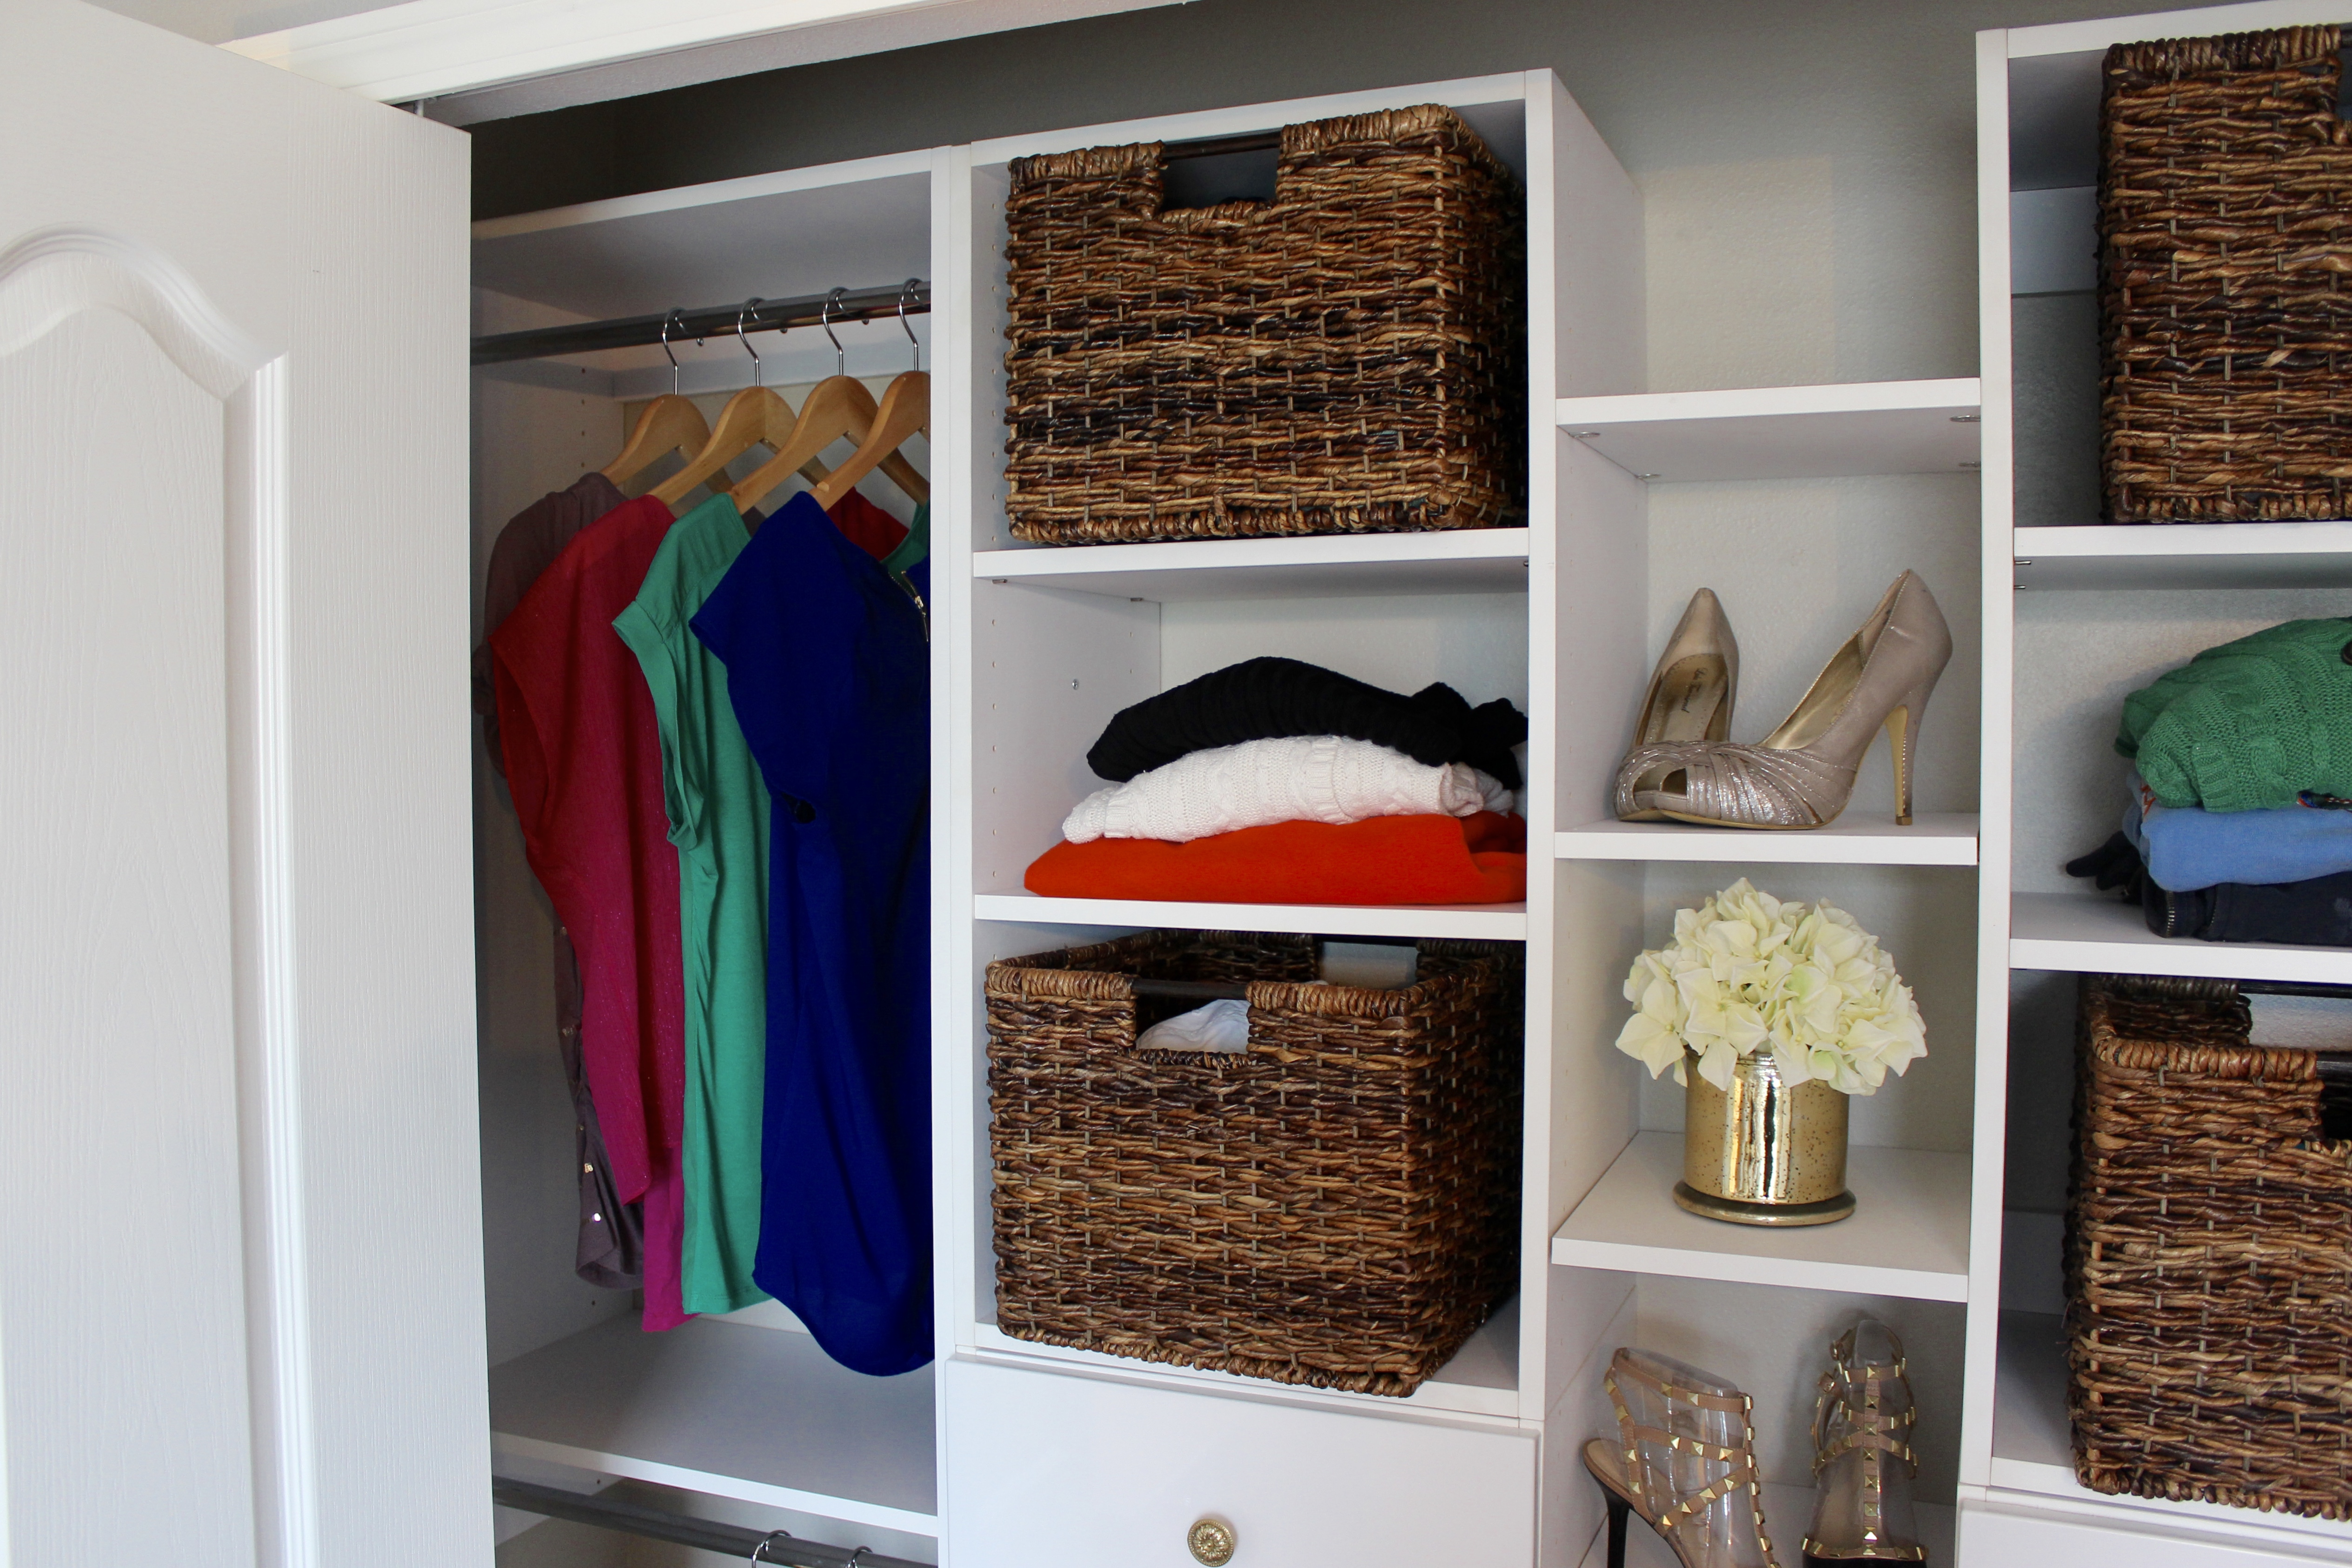
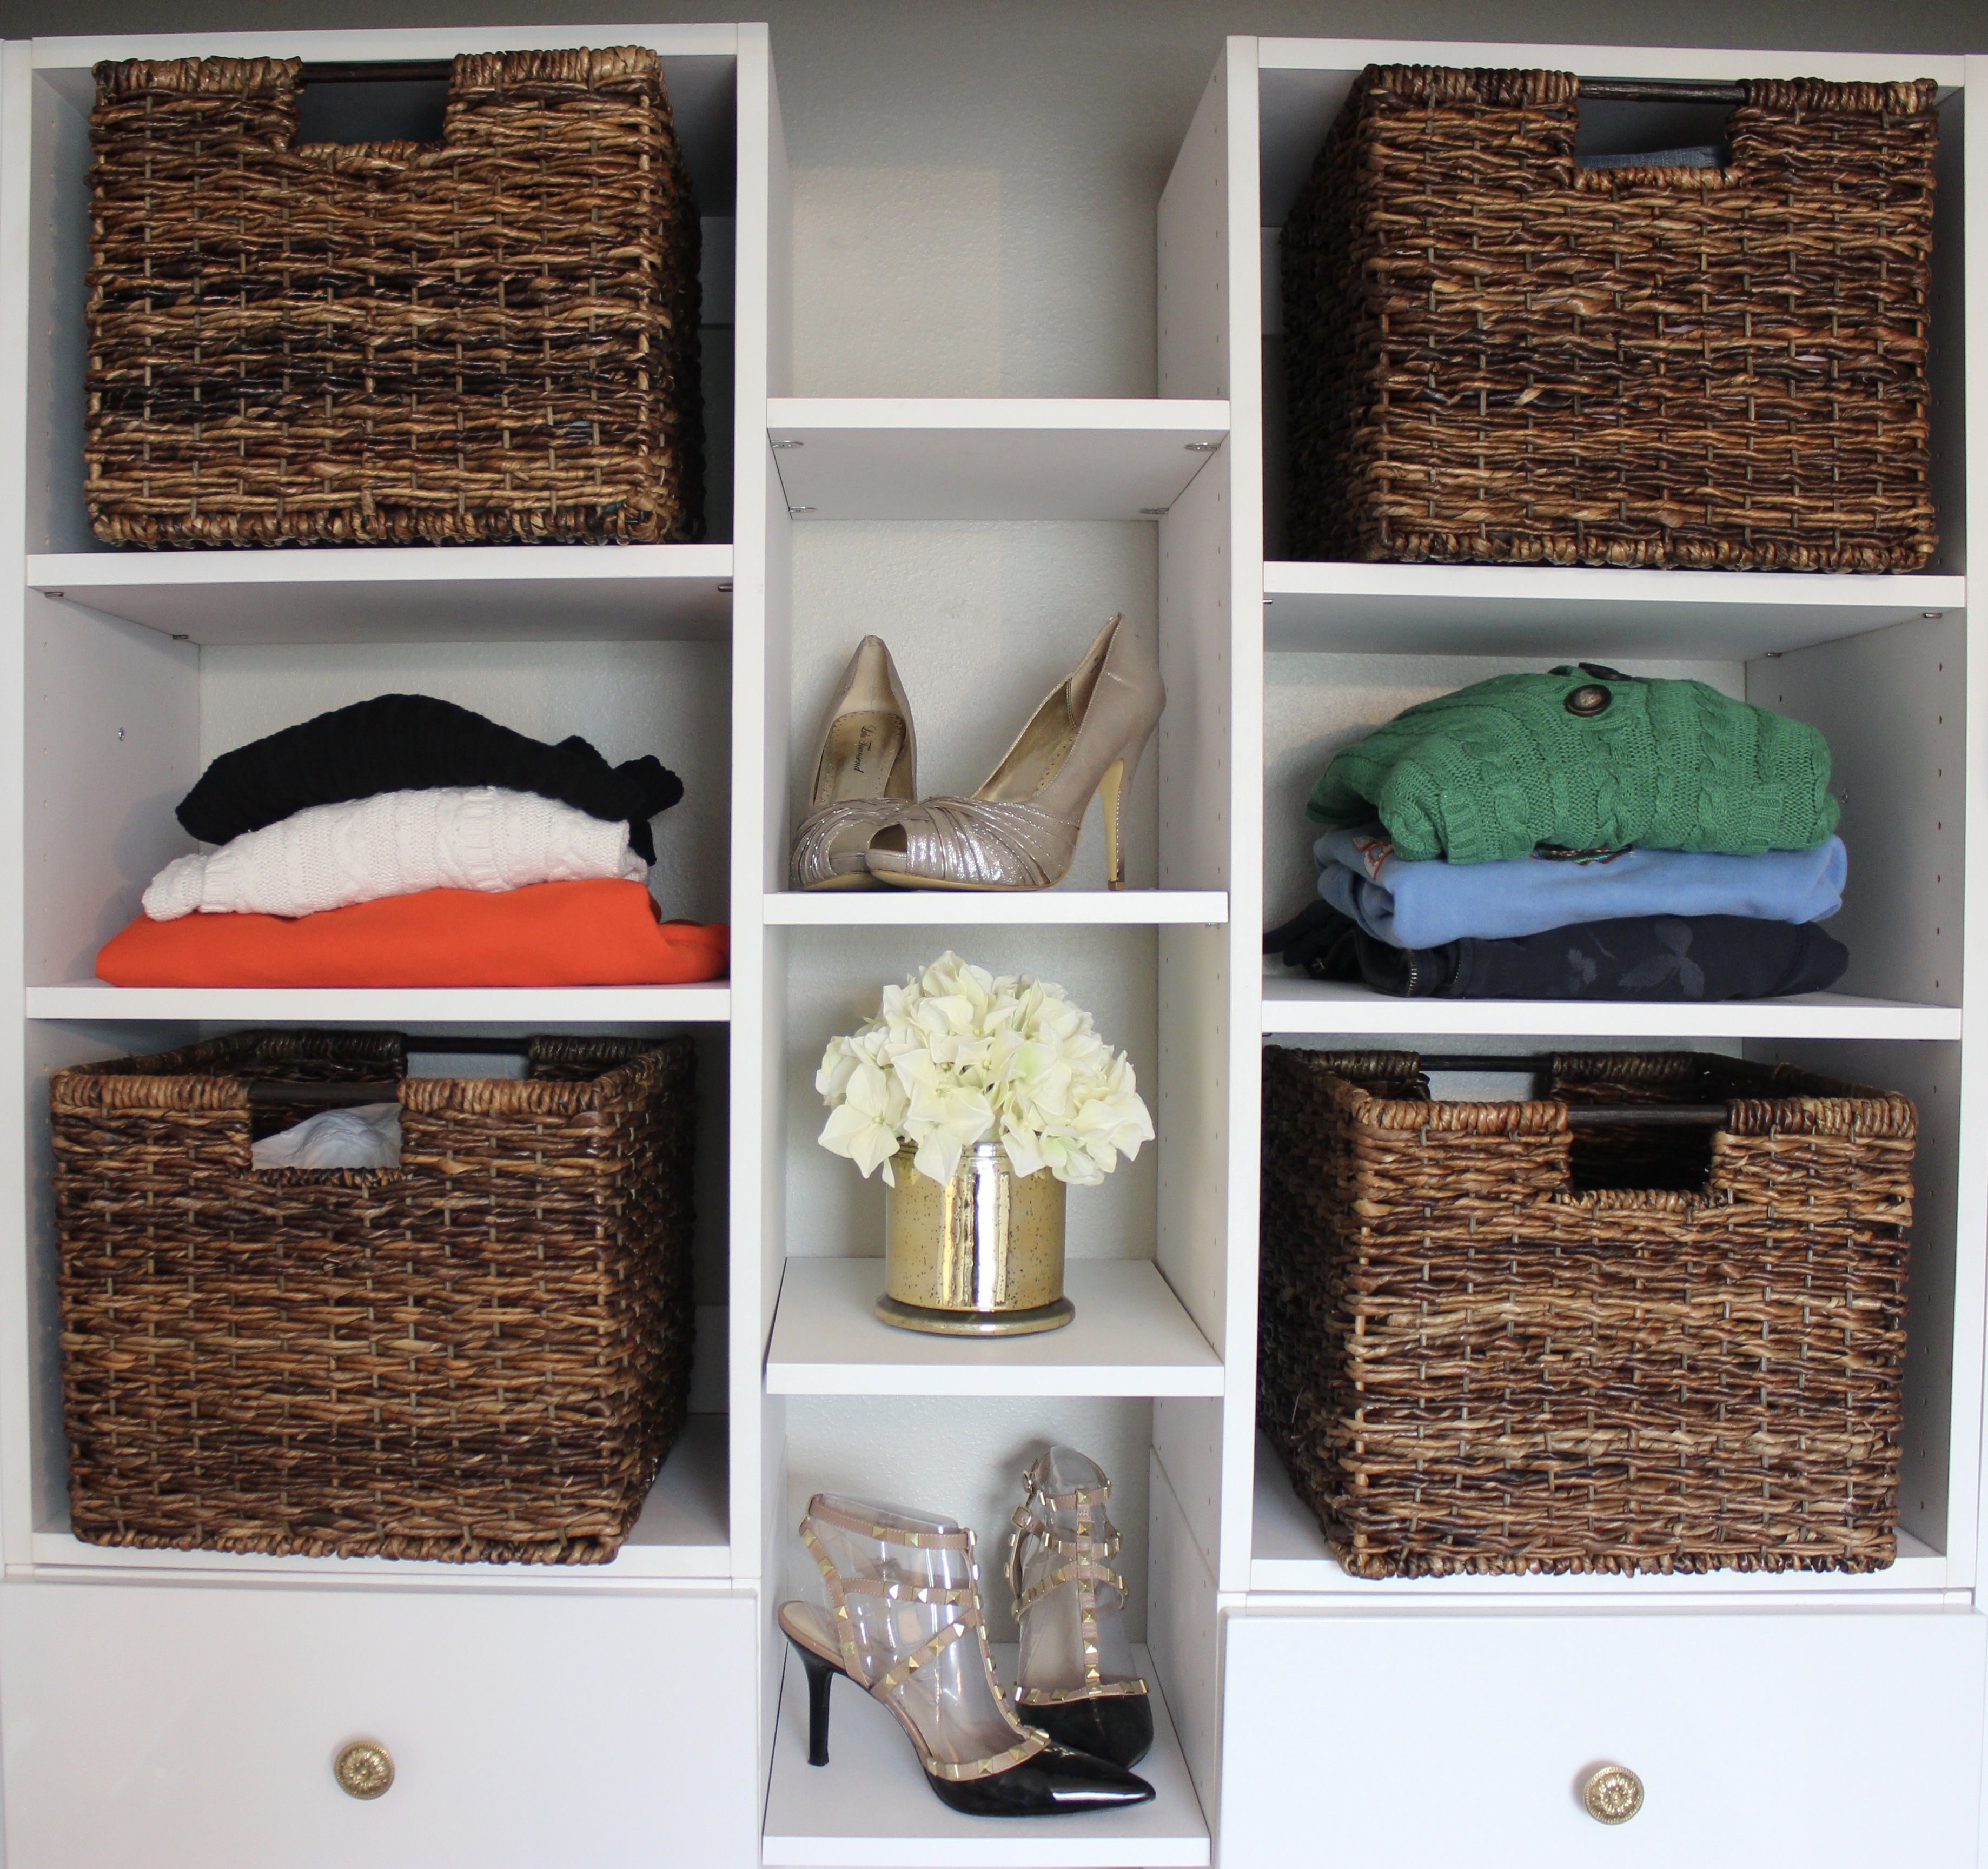
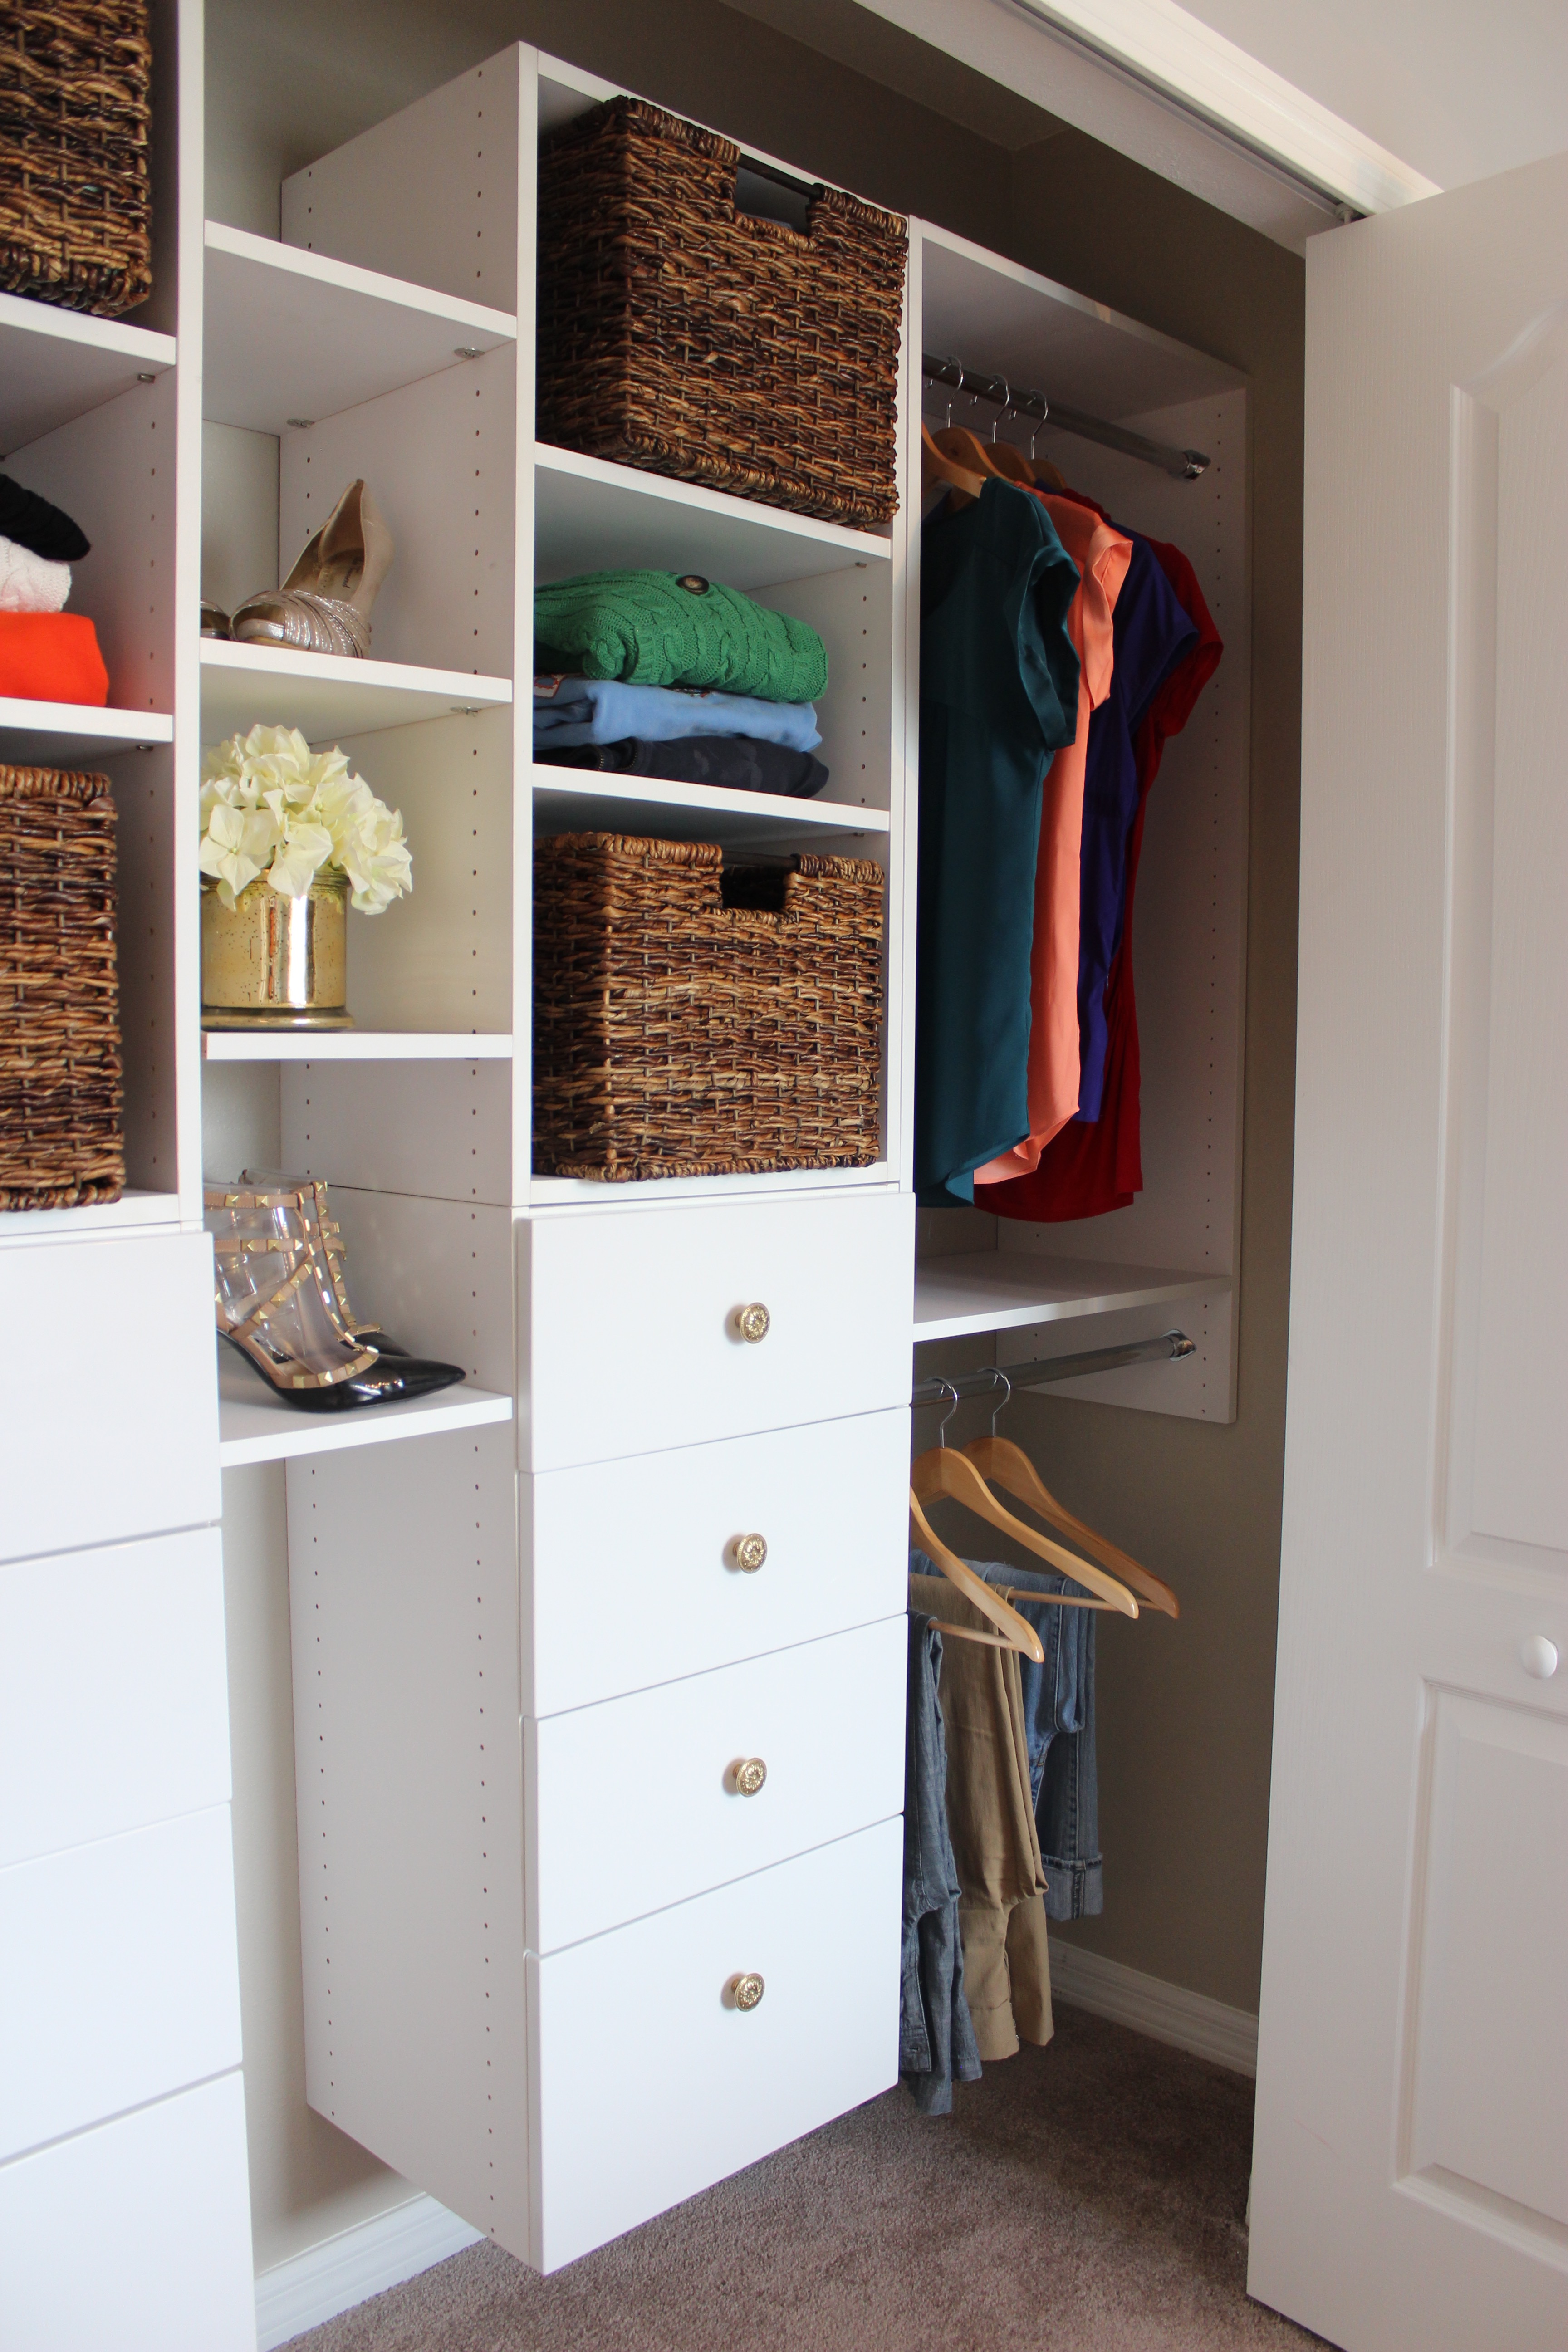
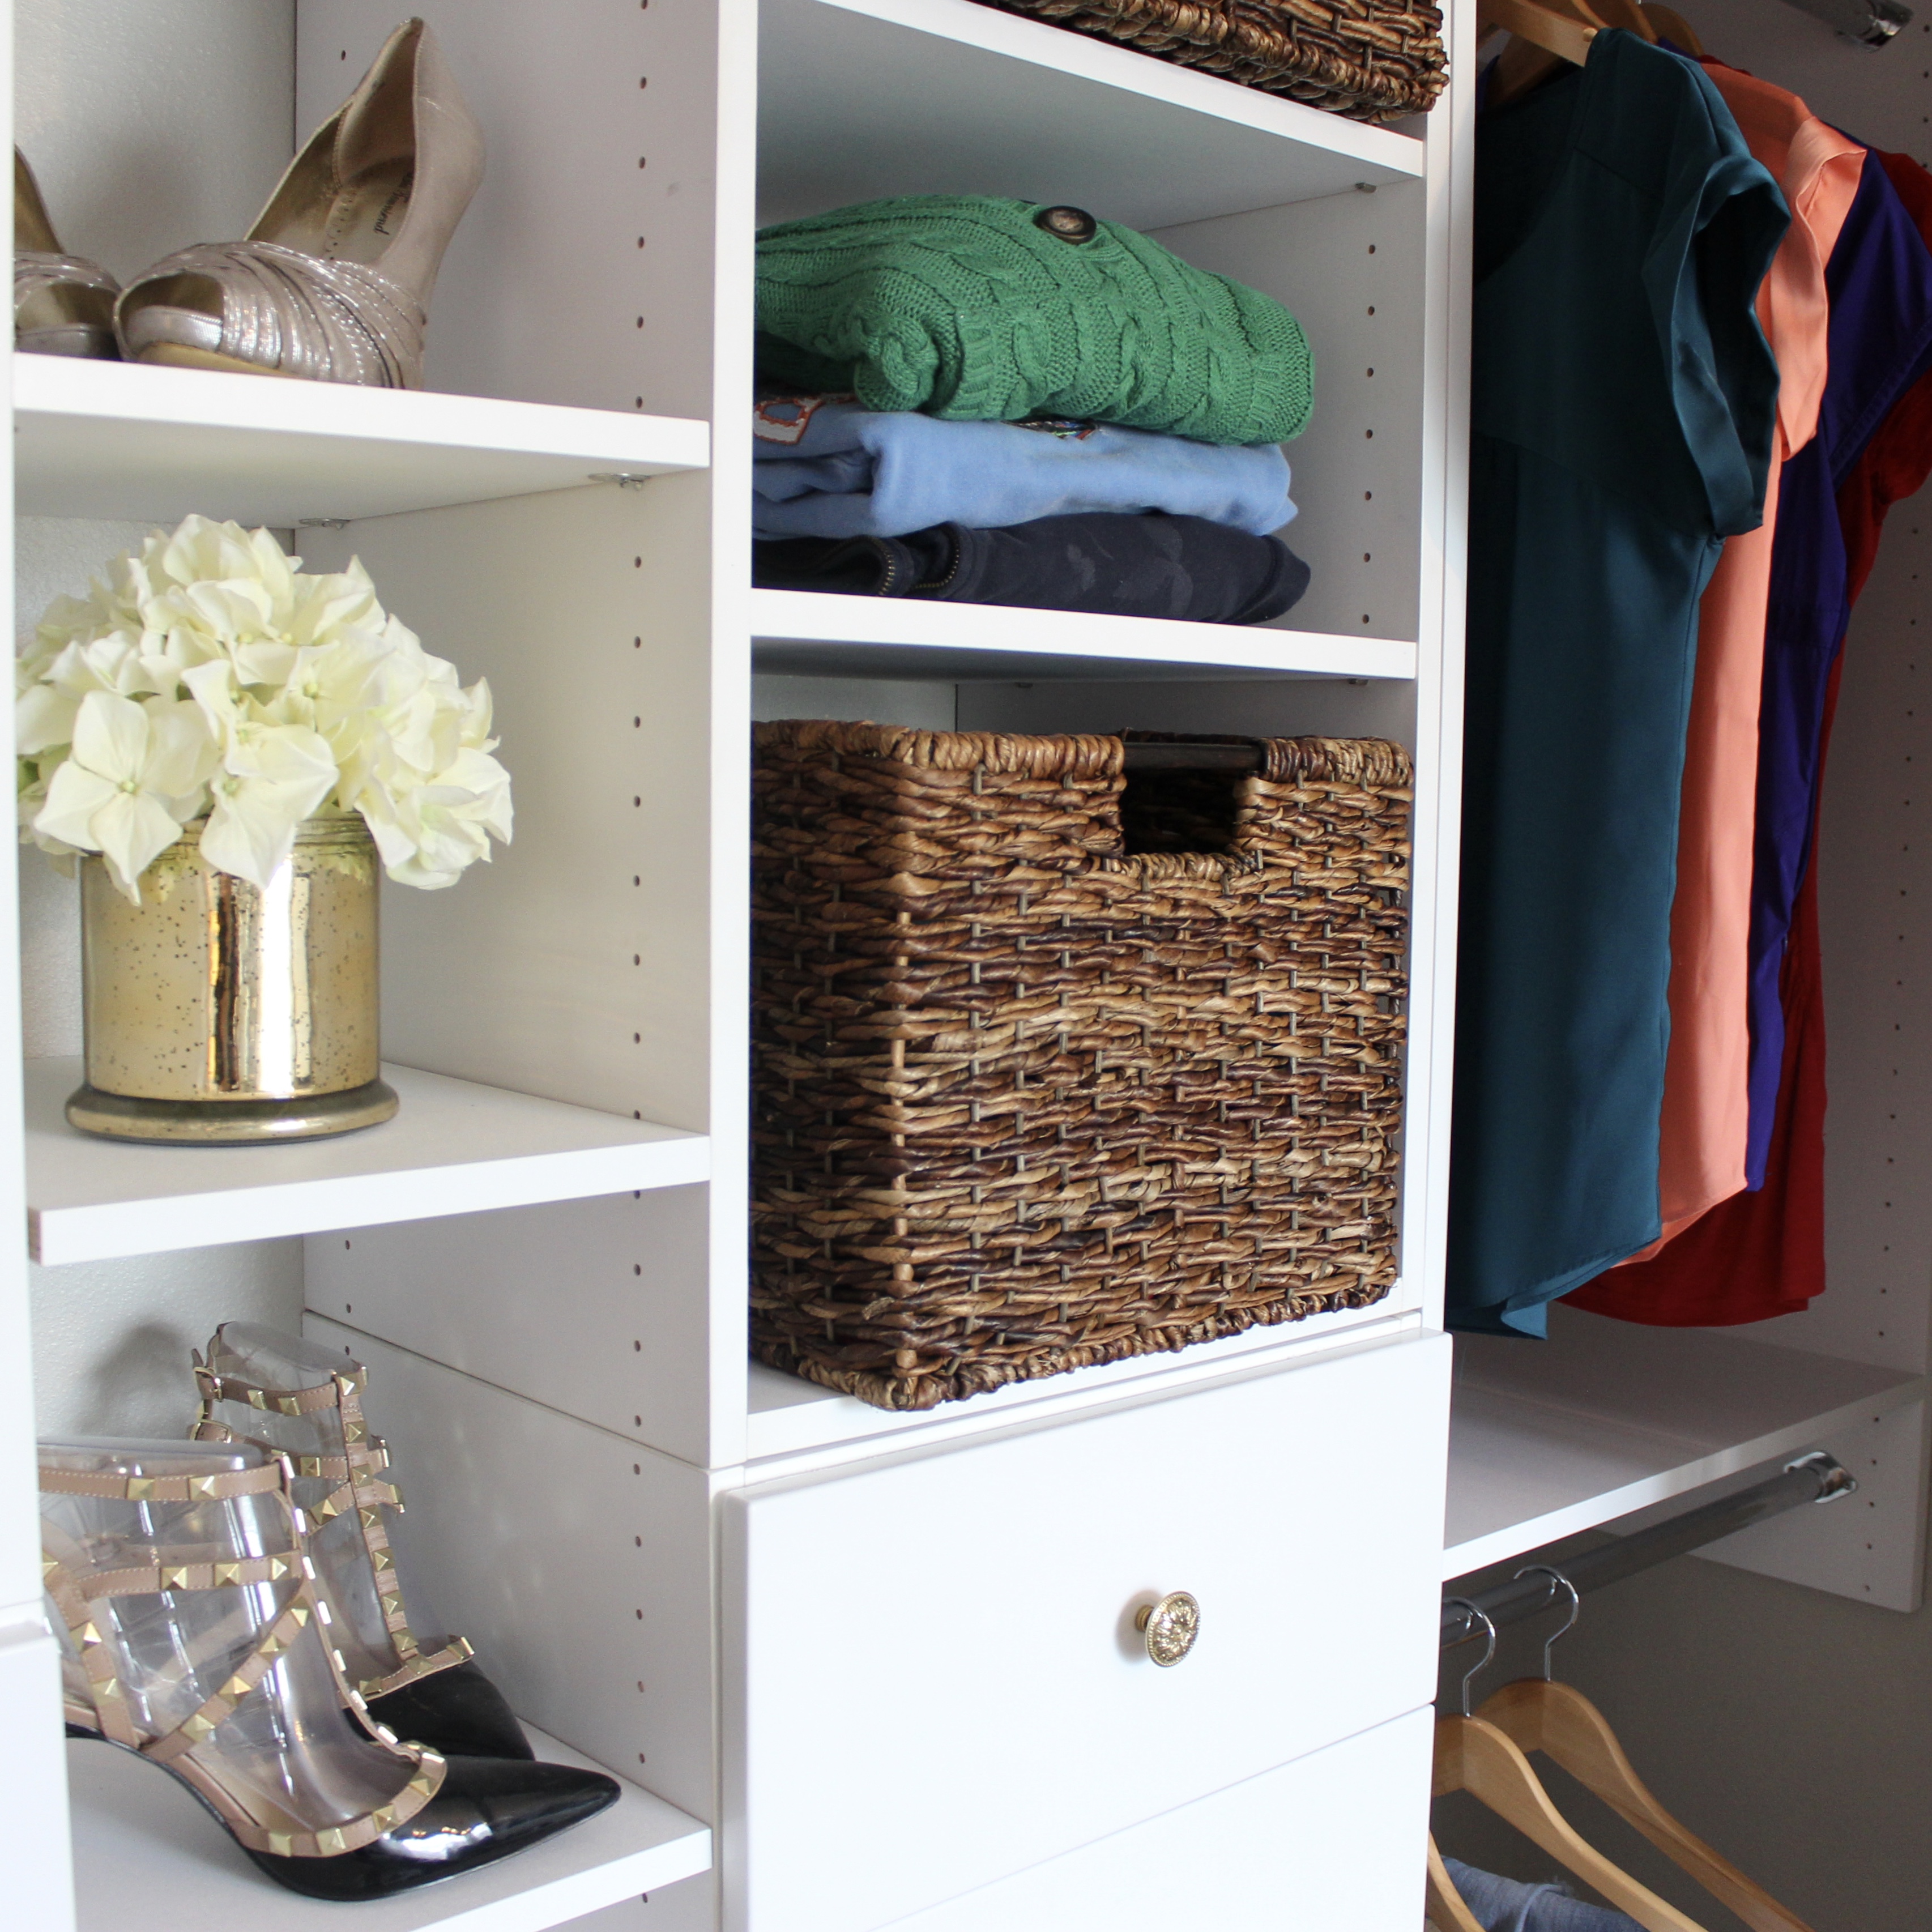
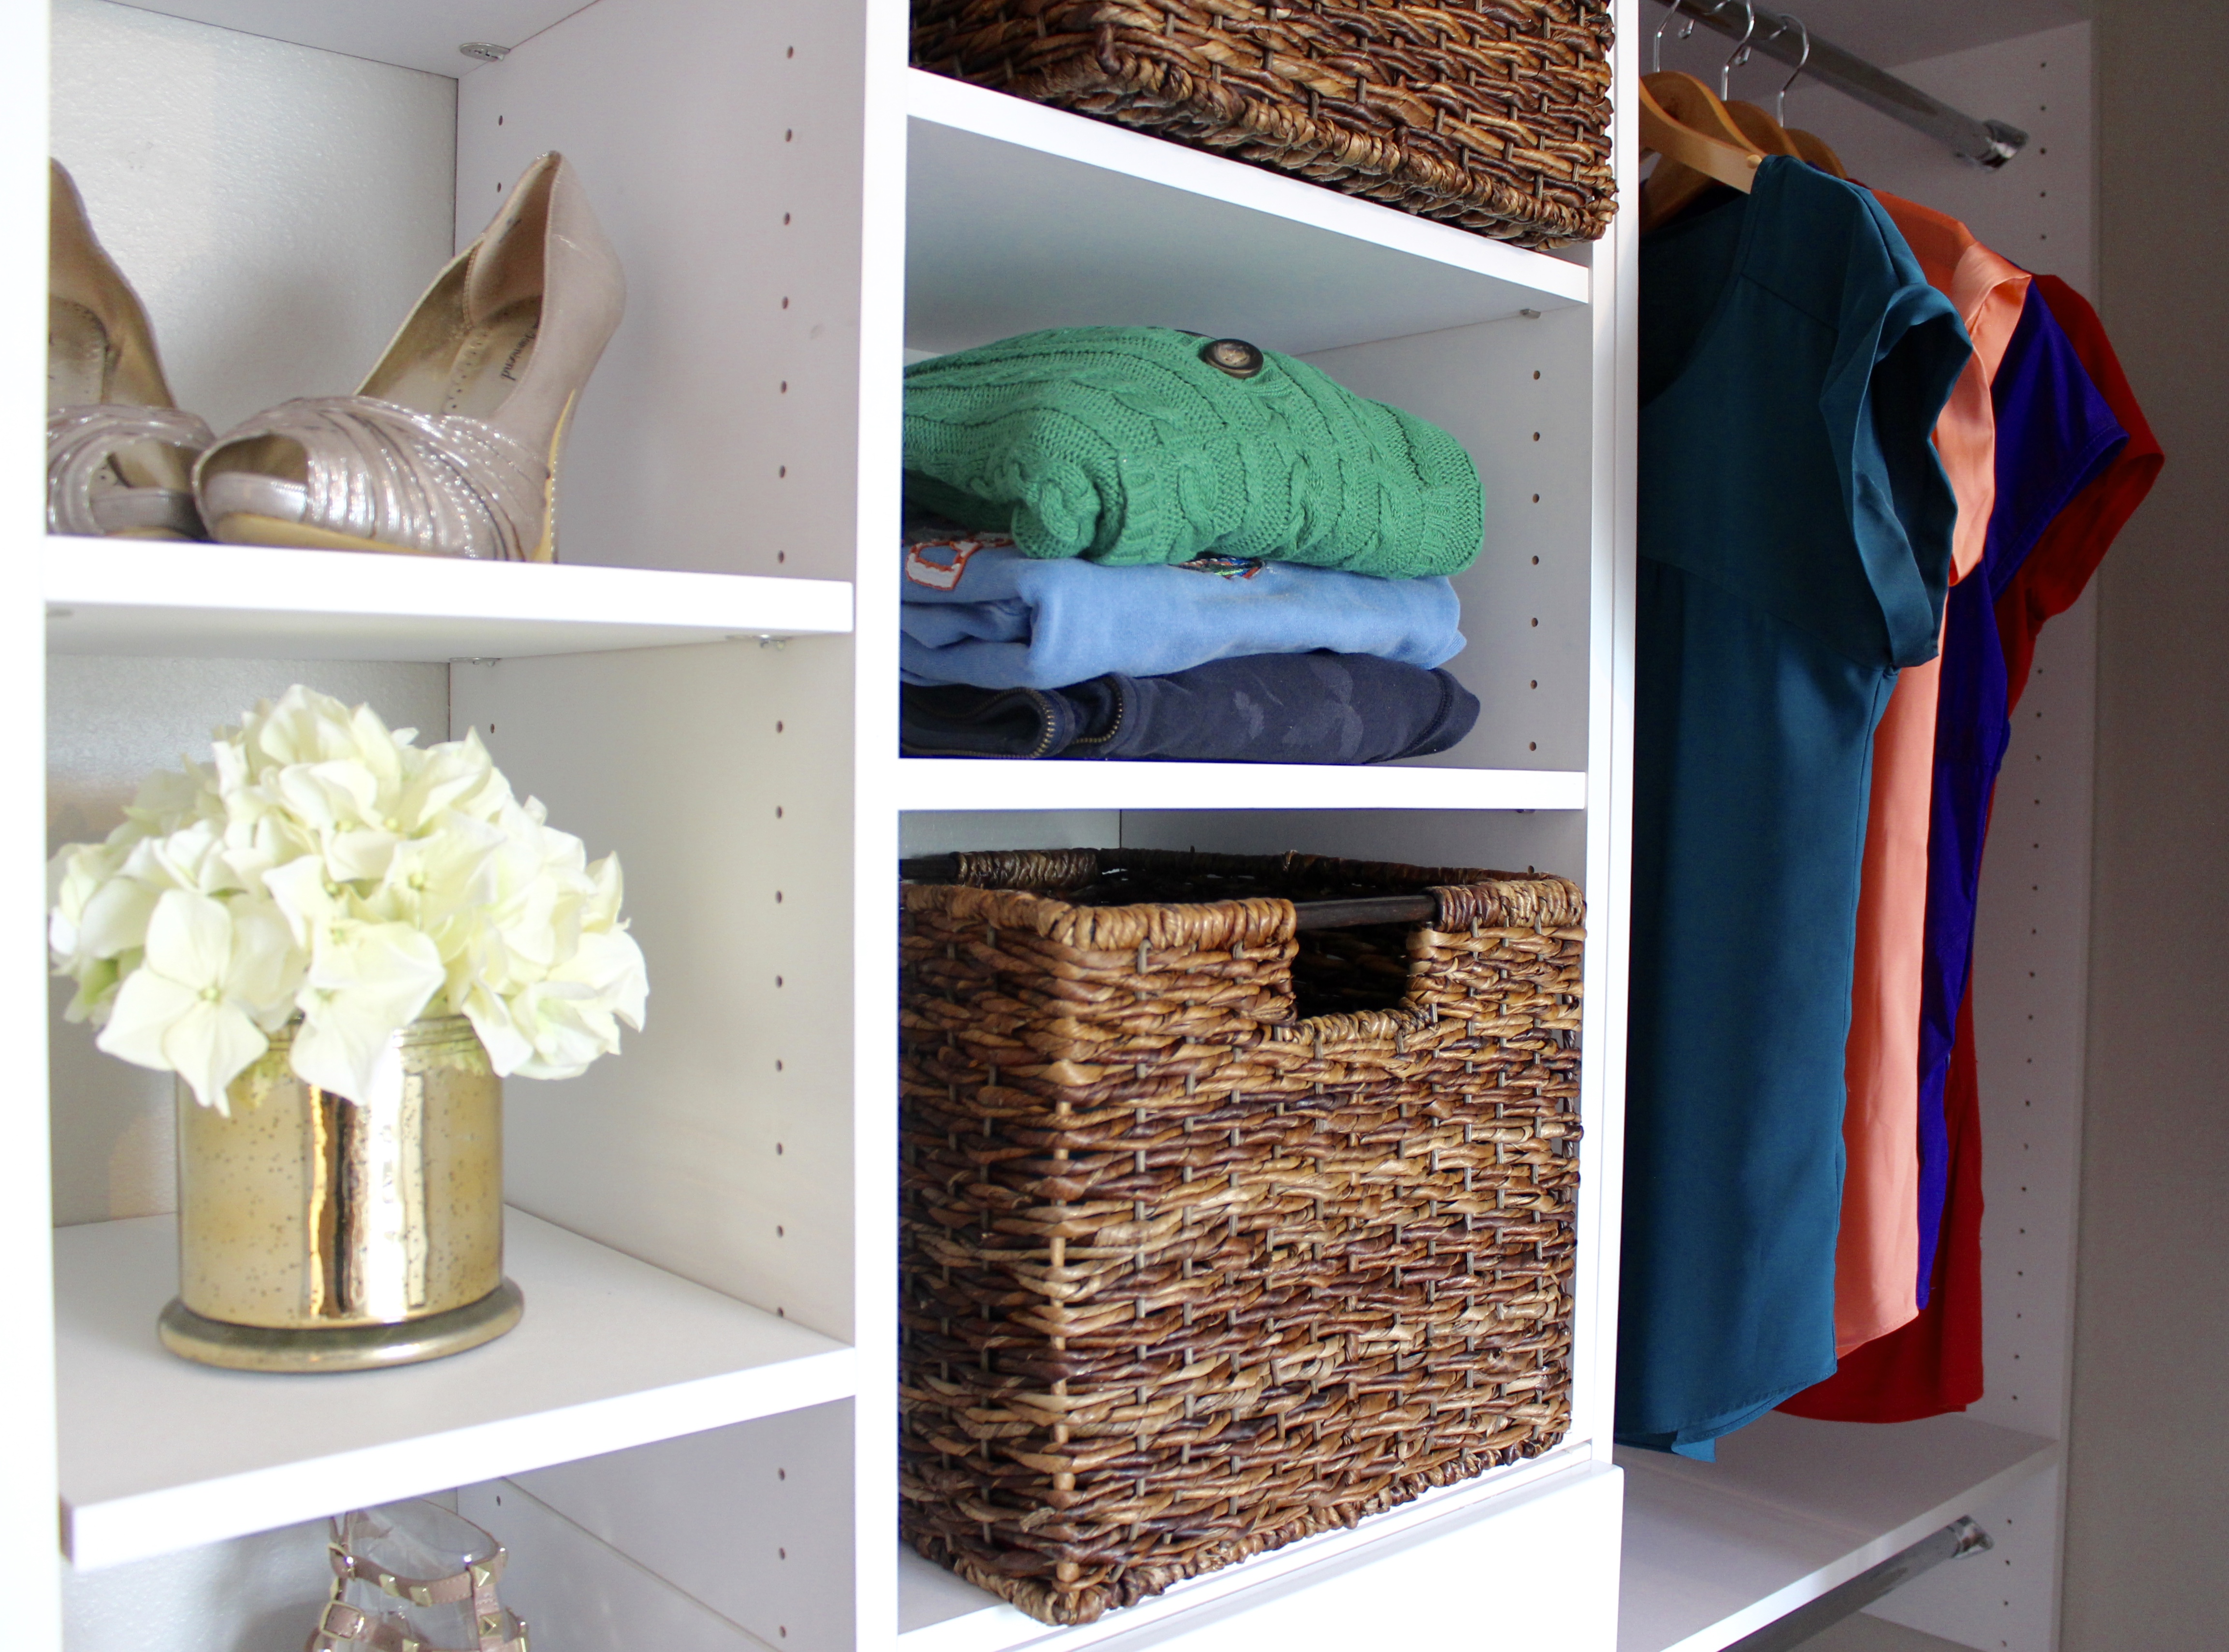
And the AFTER:
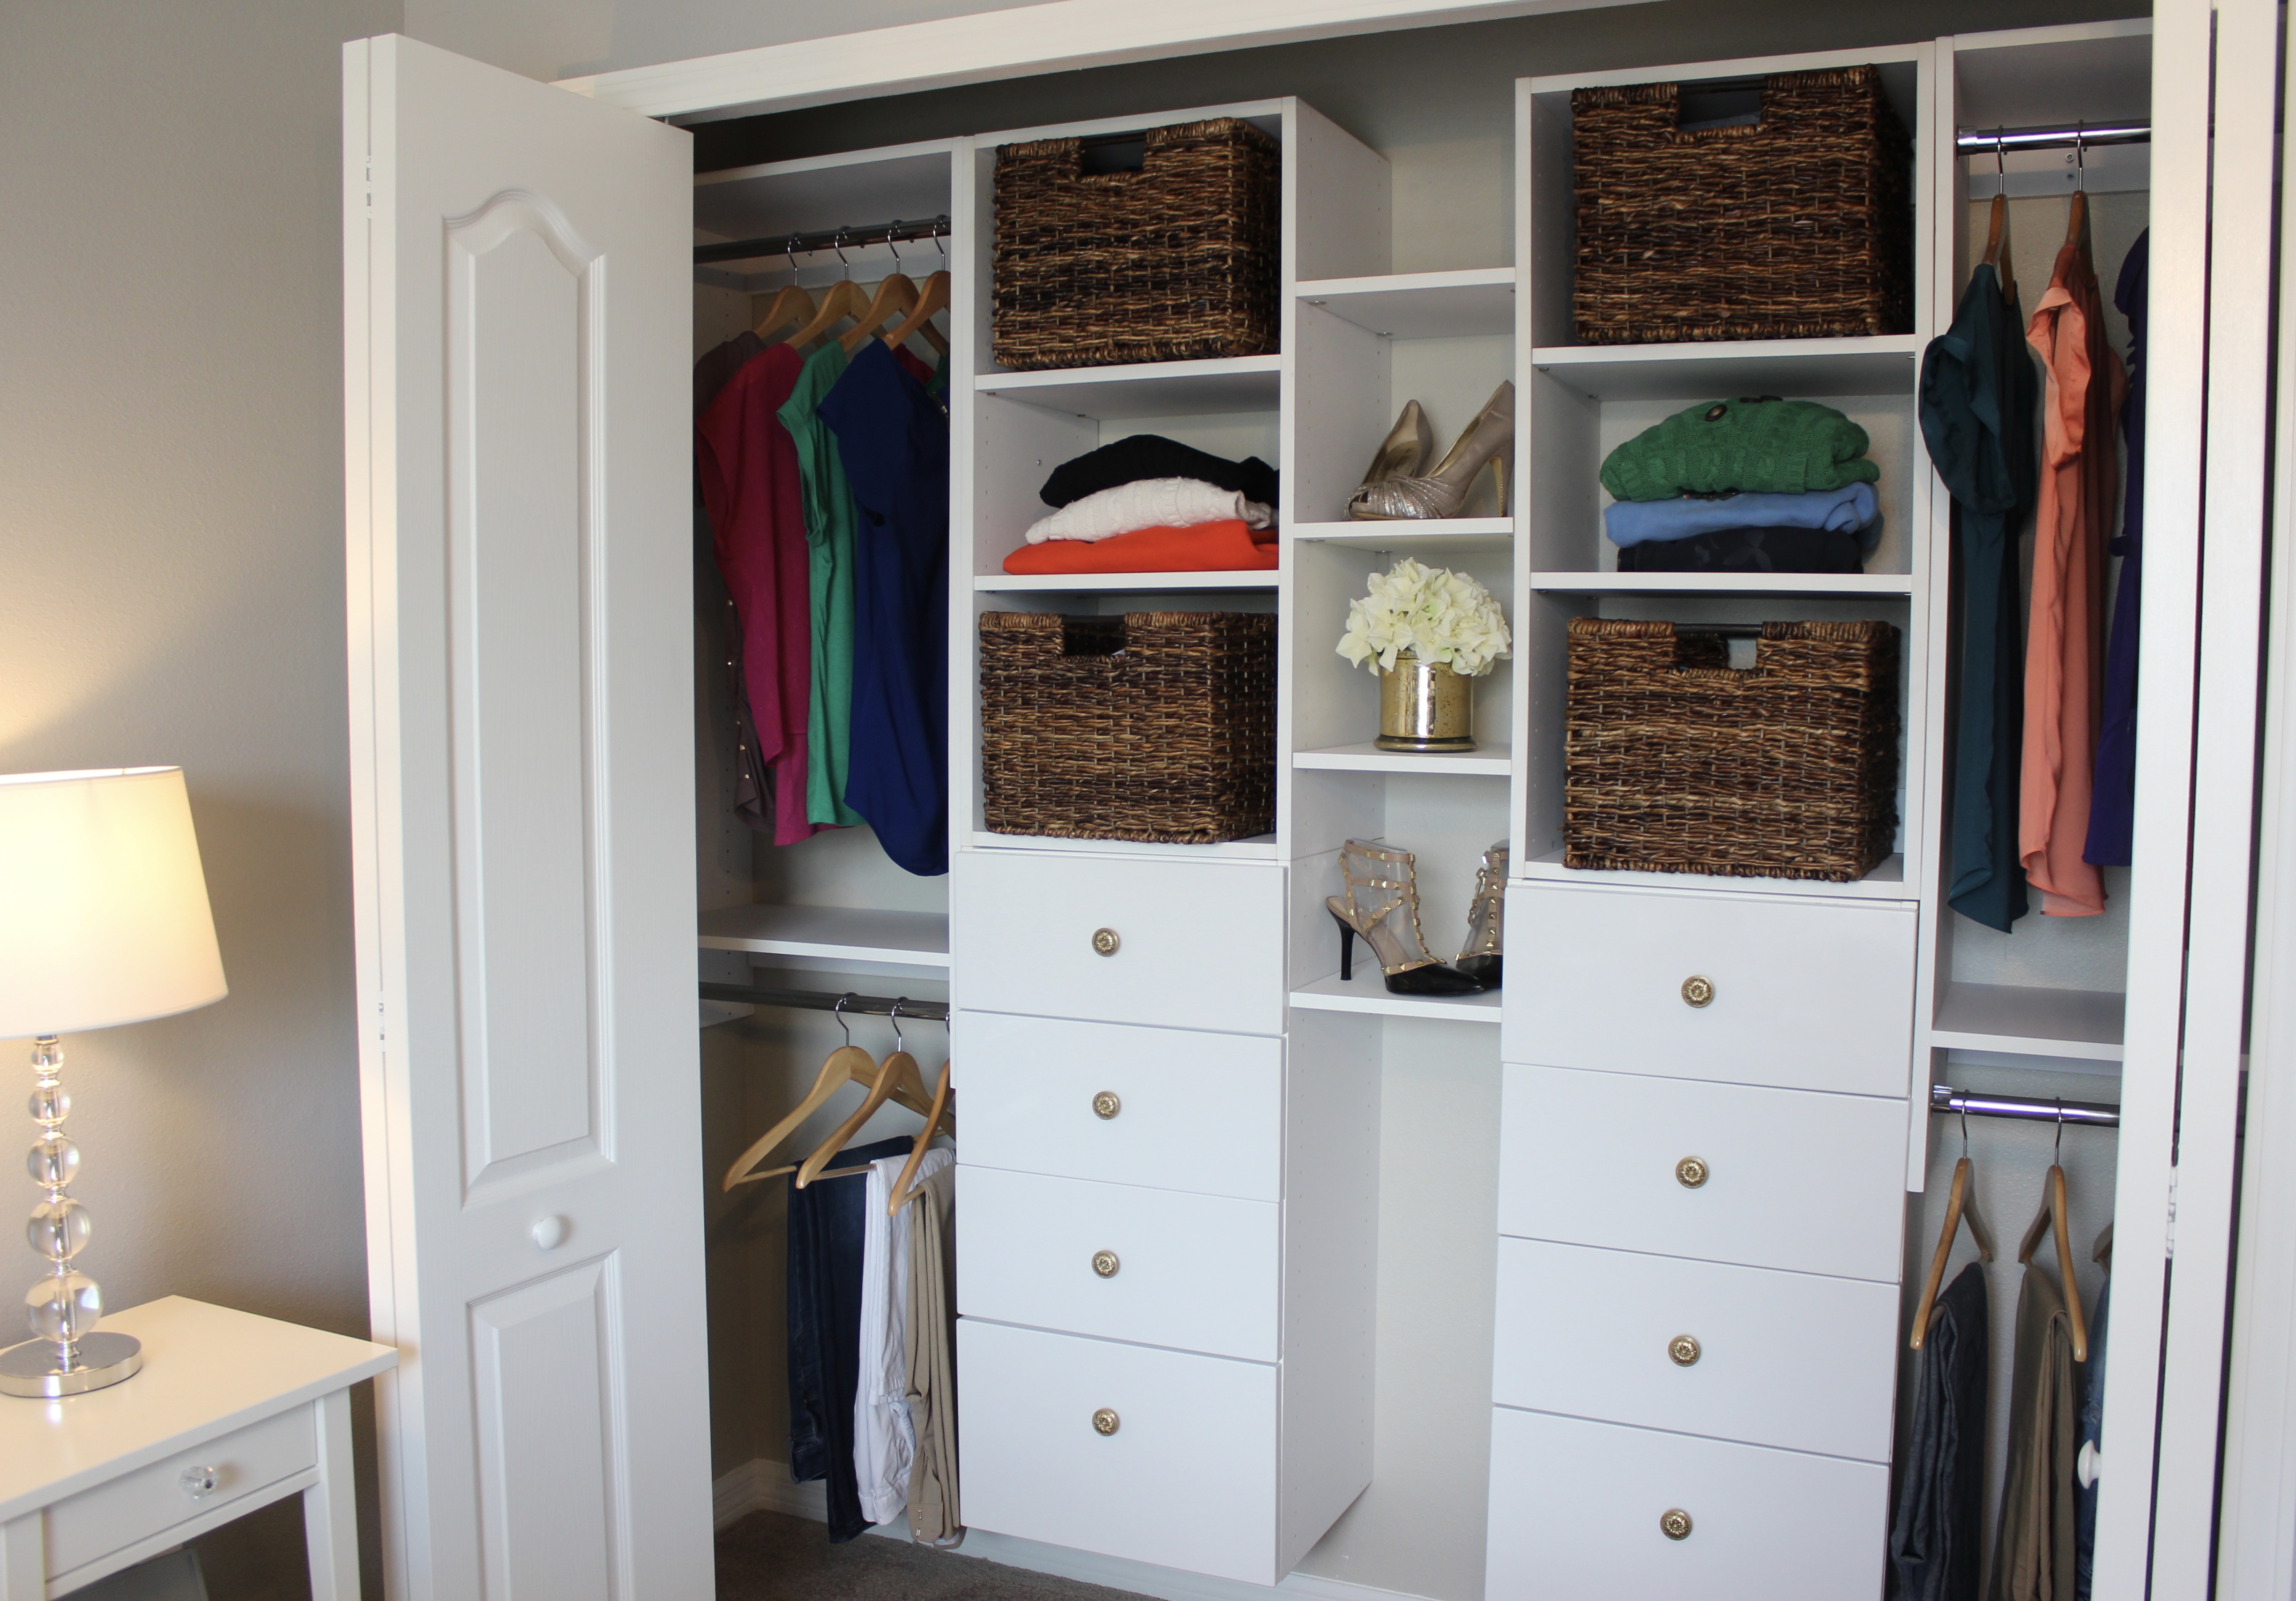
I think my new Modular Closet is eight thousand times more productive than how it was before. Wouldn’t you agree?? Besides the clear awesome storage it provides, I almost forgot to mention my absolute favorite part about it! I LOVE that it’s 100% off the floor and I can vacuum under it! It makes me so happy when things are up, out of the way, and have a “home”. Please tell me I’m not the only one!
Comment and let me know your thoughts or if you have any questions! I love hearing from you guys!
*This is a sponsored post. And although this post is sponsored, all opinions are 100% honest and my own.*
Also, the brown baskets in the closet are from Target. 🙂

![Office [REVEAL]](https://www.frillsanddrills.com/wp-content/uploads/2015/05/IMG_1227.jpg)
I, for one, love your closet makeovers so I’m happy to see a new one. When I’m ready to work on my closet, I will check out Modular Closets. It would be so nice to have the hardest and tedious parts done–cutting the boards and painting. It’s nice to see you and your husband in the photos as well. And little bits of Aiden, too!